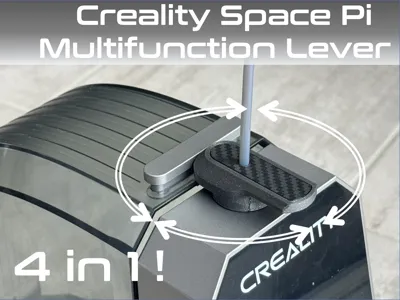
Creality Space Pi - Multi Function Lever


Print Profile(6)


Description
IMPORTANT NOTE : this design is made for the “1 spool” version of the Creality Space Pi
If you own the “double spool” version of the Creality Space Pi Plus have a look at this model : https://makerworld.com/en/models/1628386-creality-space-pi-plus-multi-function-lever#profileId-1719467
I was not completely satisfied of my filament dryer Creality Space Pi so I created this upgrade to improve its functions and ergonomic

It is a 4 in 1 multi-function lever :
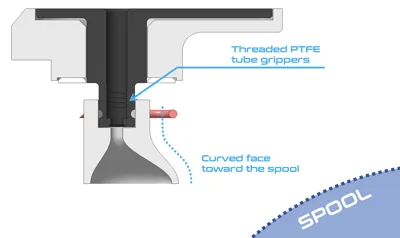
- It strongly hold the PTFE tube in place.
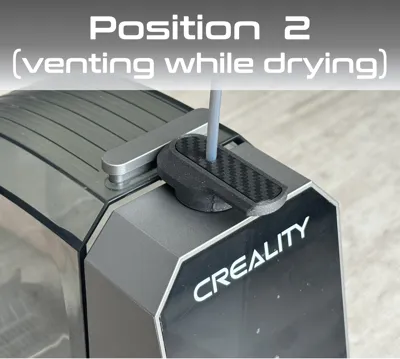
- It can create a small opening of the lid when you dry your filament, to allow moisture to exit while keeping the heat inside
- It can lock the lid closed, so it won't open accidentally if you grab the dryer by the lid when you need to move it, and it secures it if you want to store the spool inside for a long time
- The funnel on the inside really ease the filament insertion

The 4 positions of the lever are indexed, I thought it was a nice addition.
There is also a possibility to use a M10 connector if you absolutely need to secure the PTFE tube (see the special print profiles options). Just screw by hand the connector :

On the “Classic” version : the base of the PTFE tube housing has a “thread” to secure the tube, just push the PTFE tube to the bottom and screw it if needed!

You only need a small piece of filament of your choice to install it (approximately 50mm long) : no screws needed, no threads that could fail or create a mess while printing! It makes the removal also very easy : just pull on it!
The flat washer is adding smoothness (I suggest PETG for even less friction) and protects the paint of the dryer casing
The assembly should be straightforward, but here are the instructions :

I hope you will enjoy it as much as me.
I have tested it with ASA and PETG, both are ok for me (but I prefer ASA…)
You can print the lever in PLA for a better look, but keep in mind the other parts are exposed to the temperature of the dryer!
Boost Me (for free)
I hope you will enjoy this model, I did my best to refine it and propose a sturdy and practical object to upgrade your filament dryer, send me a message if you like, find a potential improvement etc...
Documentation (1)
License
You shall not share, sub-license, sell, rent, host, transfer, or distribute in any way the digital or 3D printed versions of this object, nor any other derivative work of this object in its digital or physical format (including - but not limited to - remixes of this object, and hosting on other digital platforms). The objects may not be used without permission in any way whatsoever in which you charge money, or collect fees.
Comment & Rating (463)