Nintendo Switch2 Single Joy-Con2 Grip


Print Profile(6)


Description
Modification, remixing, and commercial use of this data are strictly prohibited.
If you wish to sell prints, please obtain a commercial license from here
https://www.patreon.com/cw/Manabun_lab

Boost Me (for free)
👍If you like it, please consider boosting it!✨

Switch2 Pro controller stand is here:
https://makerworld.com/en/models/2597626

Switch2 Handheld Grip is here:
https://makerworld.com/en/models/1692685
Joy-con2 Single Grip Stand is here:
https://makerworld.com/en/models/1526063

Nintendo Switch 2 Joy-Con 2 Snap-Lock Grip is here:
https://makerworld.com/en/models/1514088

The Switch Joy-Con version is here:
https://makerworld.com/en/models/570404
This Joy-Con grip is a significantly improved version of the data I posted on Thingiverse in 2018, adapted for the Switch 2.
https://www.thingiverse.com/thing:2769344
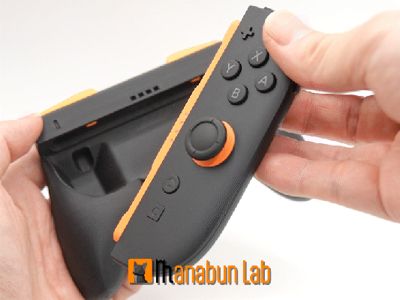
This is the single grip for Joy-Con 2 included with Switch 2.

We have developed an innovative attachment method.
Experience exceptional comfort and seamless operation!
Printing Instructions:

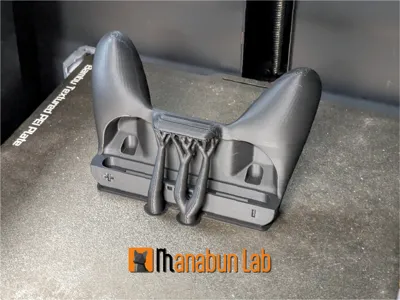
- Support is required for the part that holds the controller.
- The grip body in the 3fm file includes optimized support.
- No support is needed for the SR and SL buttons.
Usage Instructions:
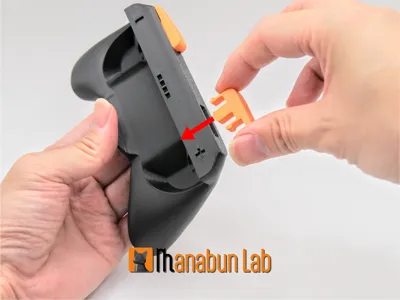
- Attach the SR and SL buttons to the printed grip.
- Insert the LED section of the Joy-Con 2 into the main body to secure it for use.
- To remove, simply lift the Joy-Con 2 slightly for easy detachment.
Enjoy your gaming life!
License
You shall not share, sub-license, sell, rent, host, transfer, or distribute in any way the digital or 3D printed versions of this object, nor any other derivative work of this object in its digital or physical format (including - but not limited to - remixes of this object, and hosting on other digital platforms). The objects may not be used without permission in any way whatsoever in which you charge money, or collect fees.
Comment & Rating (1169)