
Gridfinity Snap-Lid Storage Boxes
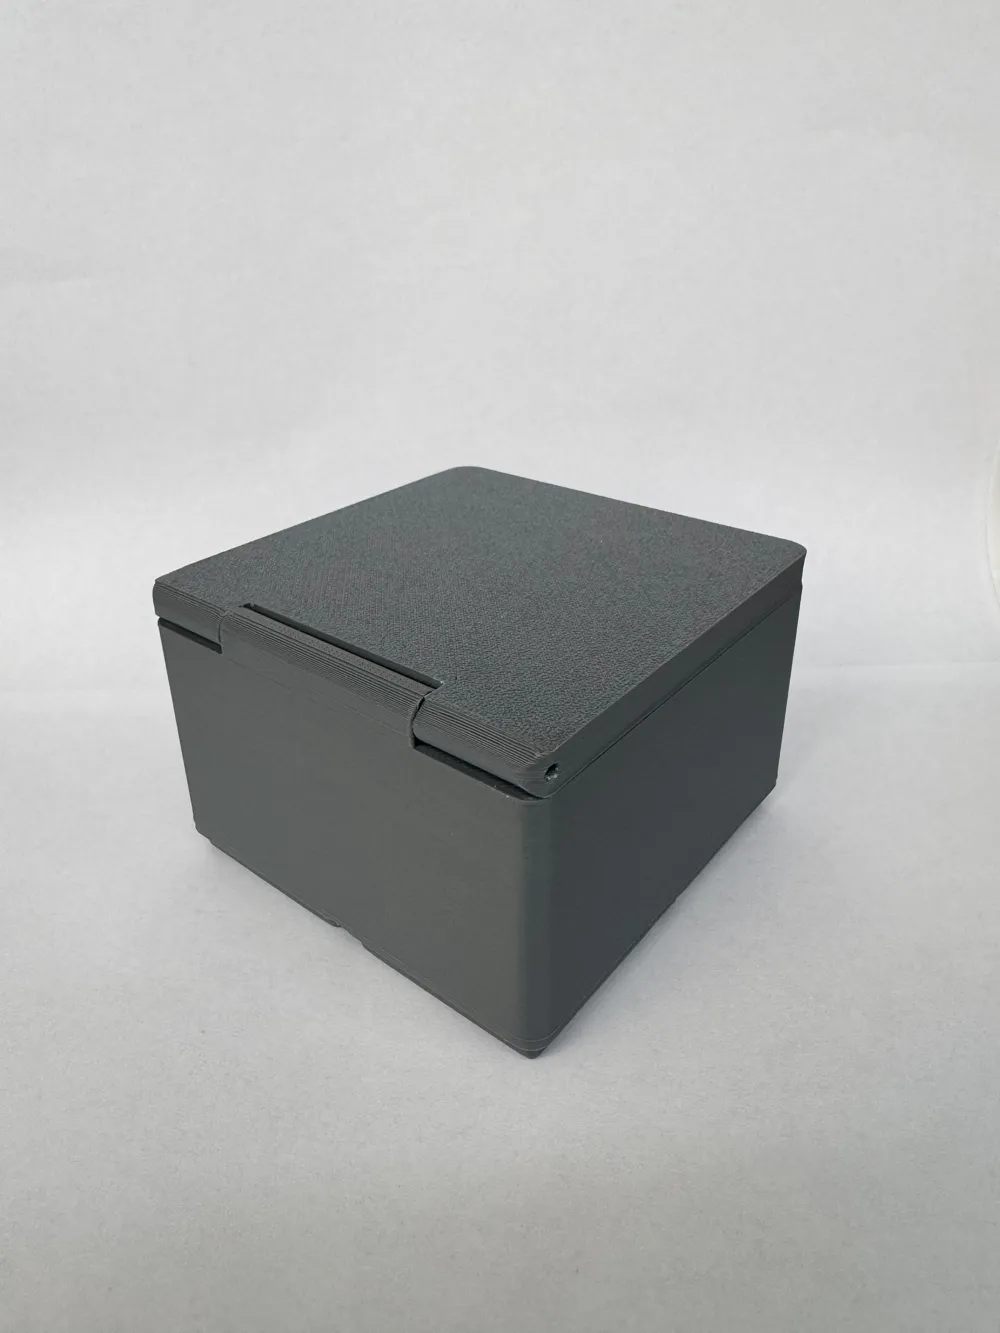
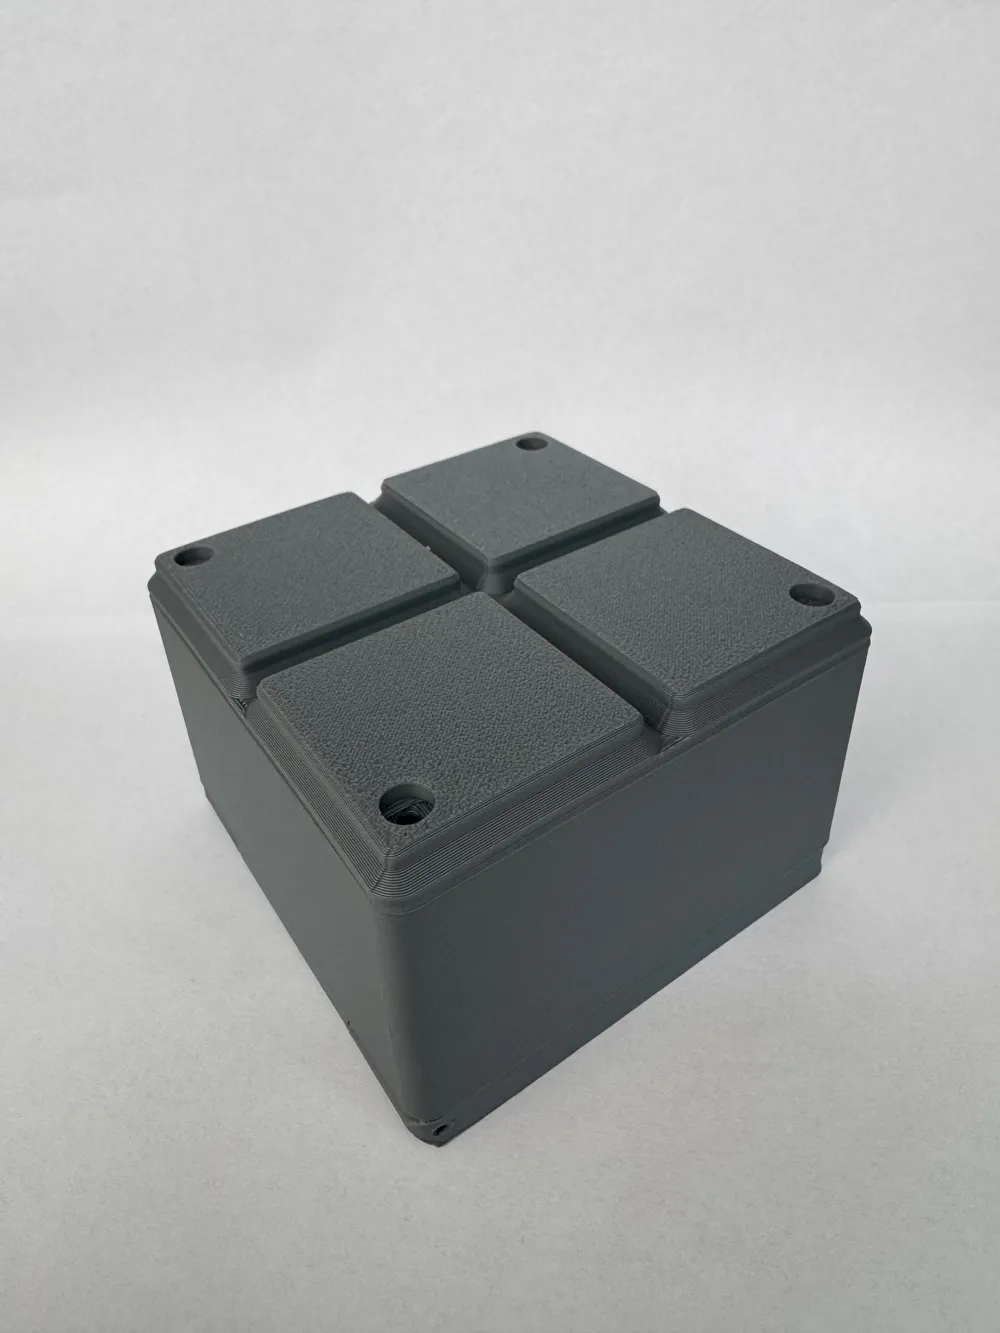
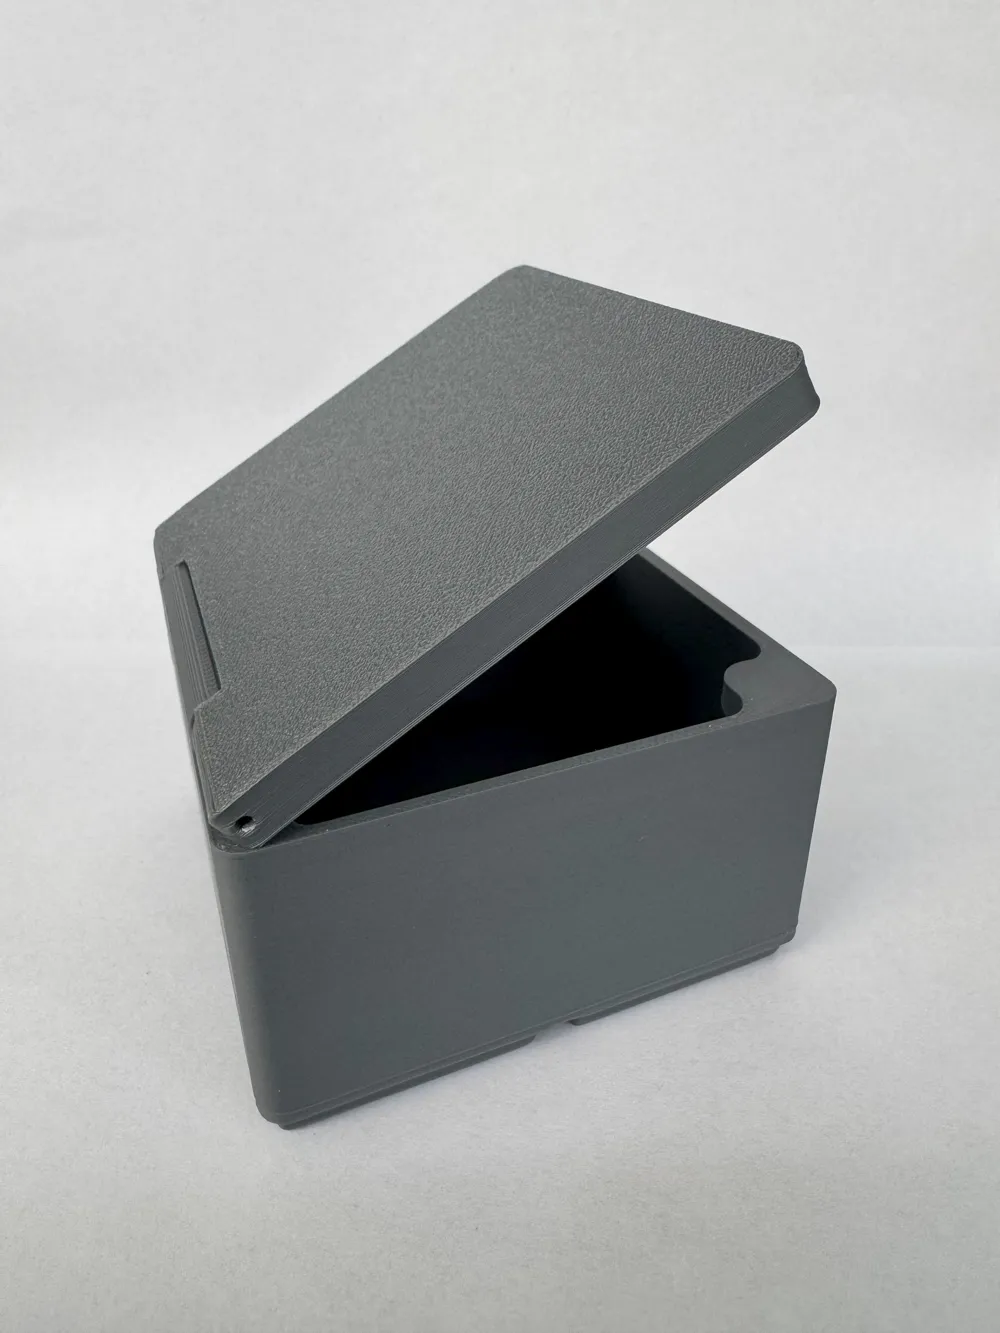
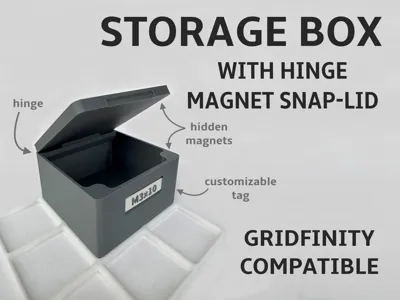
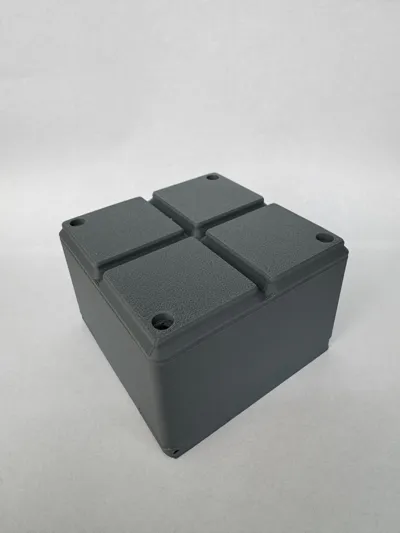
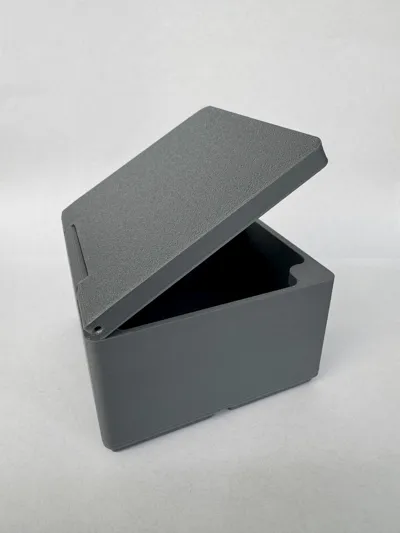
Print Profile(4)


Bill of Materials

Description
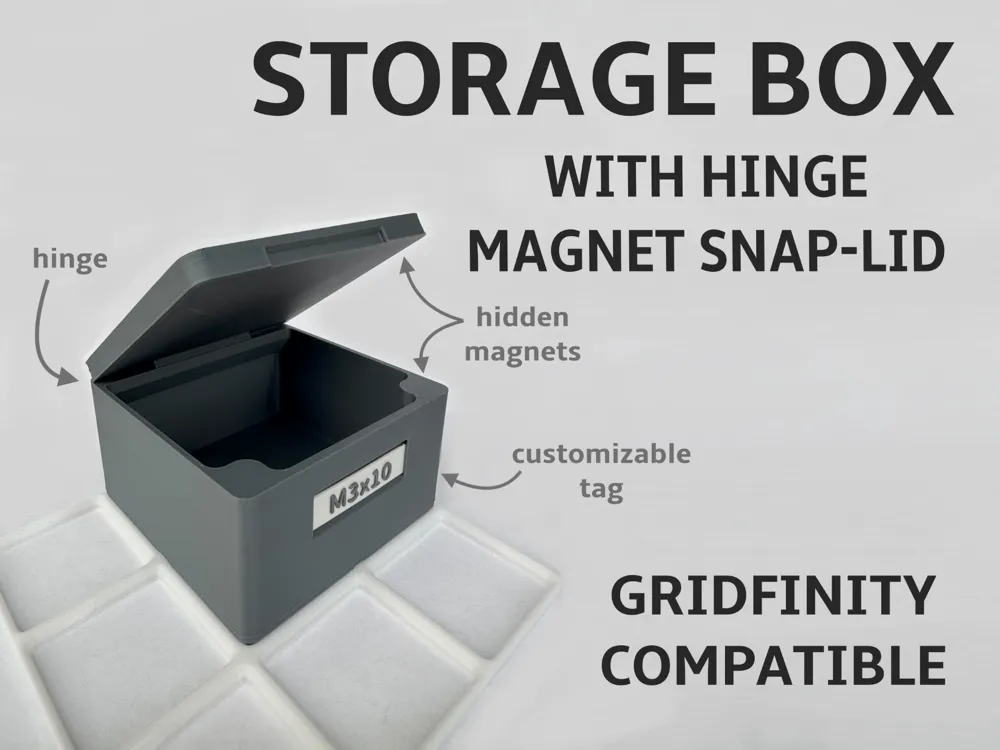
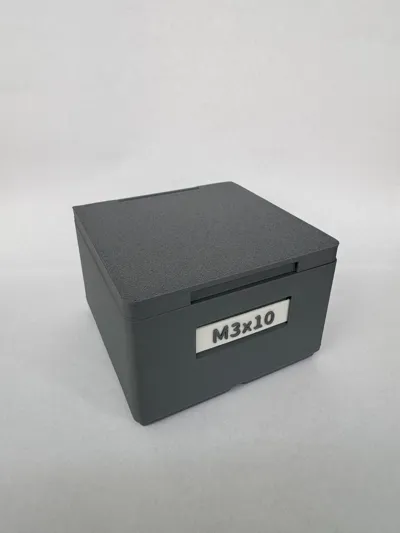
Need Gridfinity bins that actually stay shut?
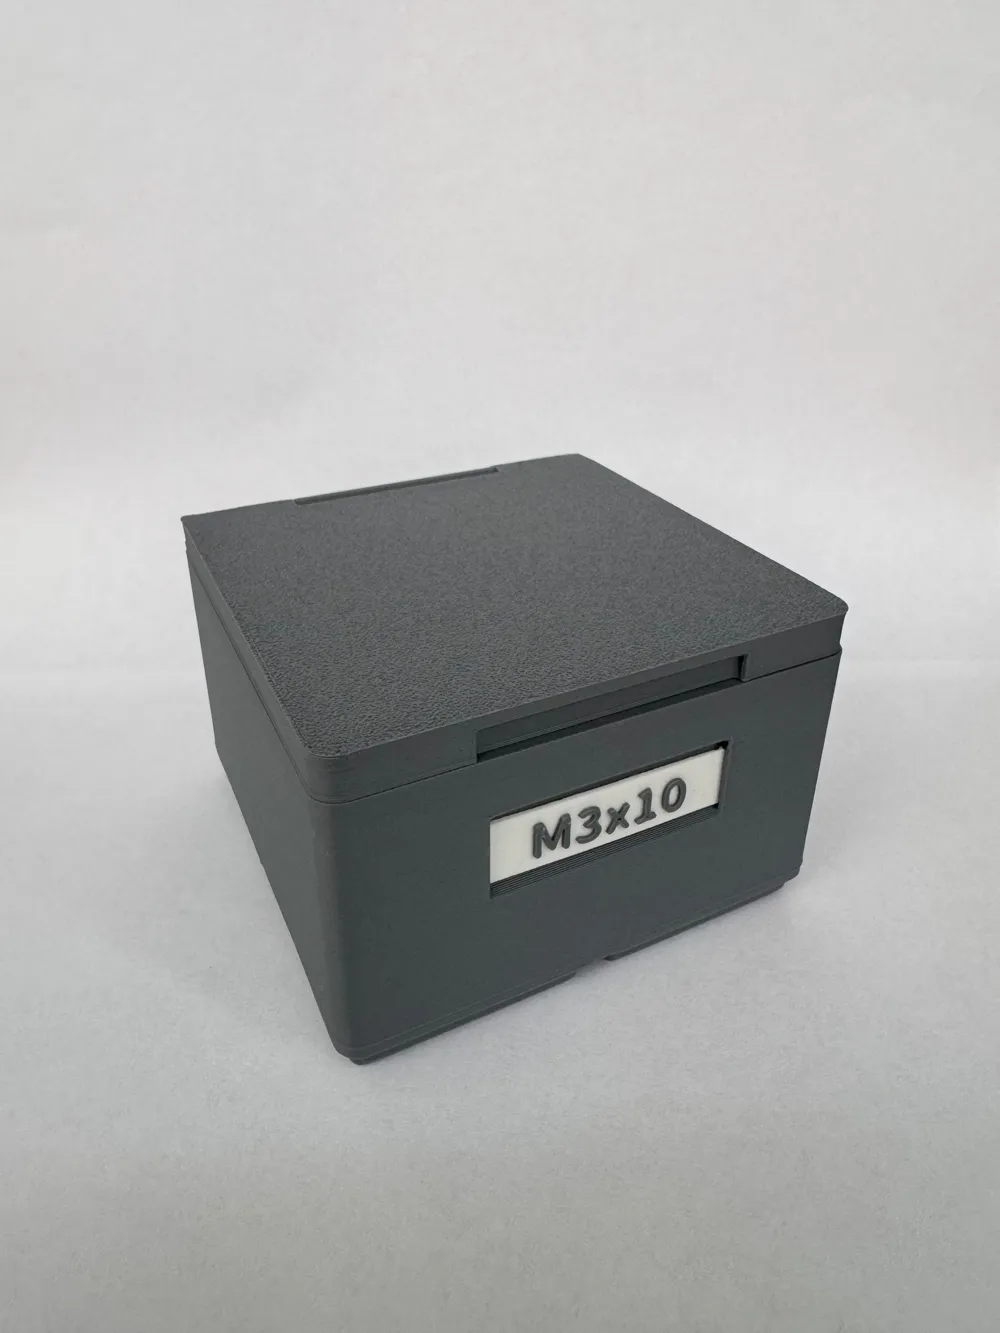
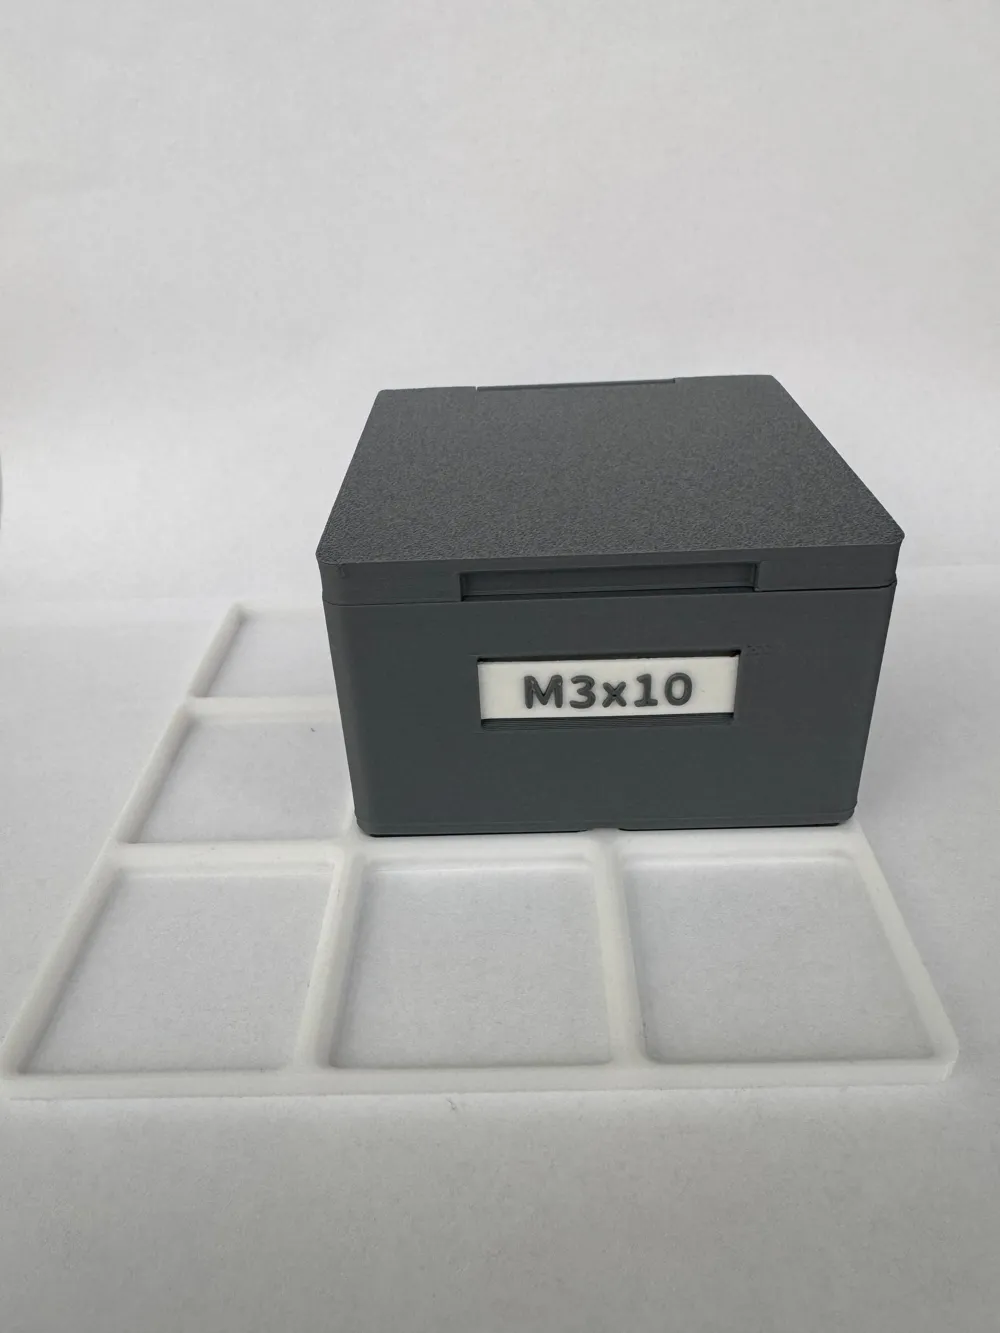
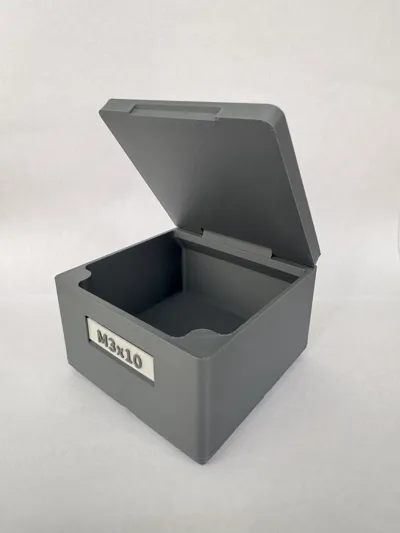
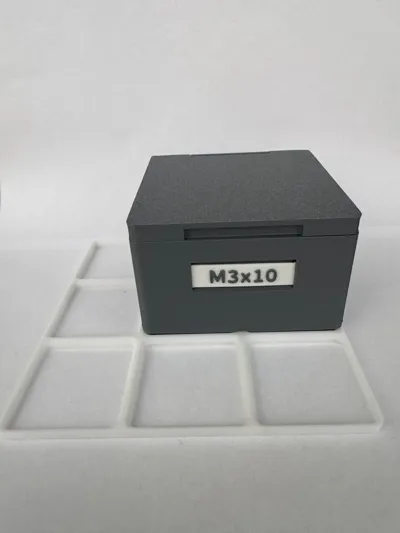
Here’s a full family of magnet-latched, hinged-lid boxes—ready to drop straight onto your Gridfinity board.
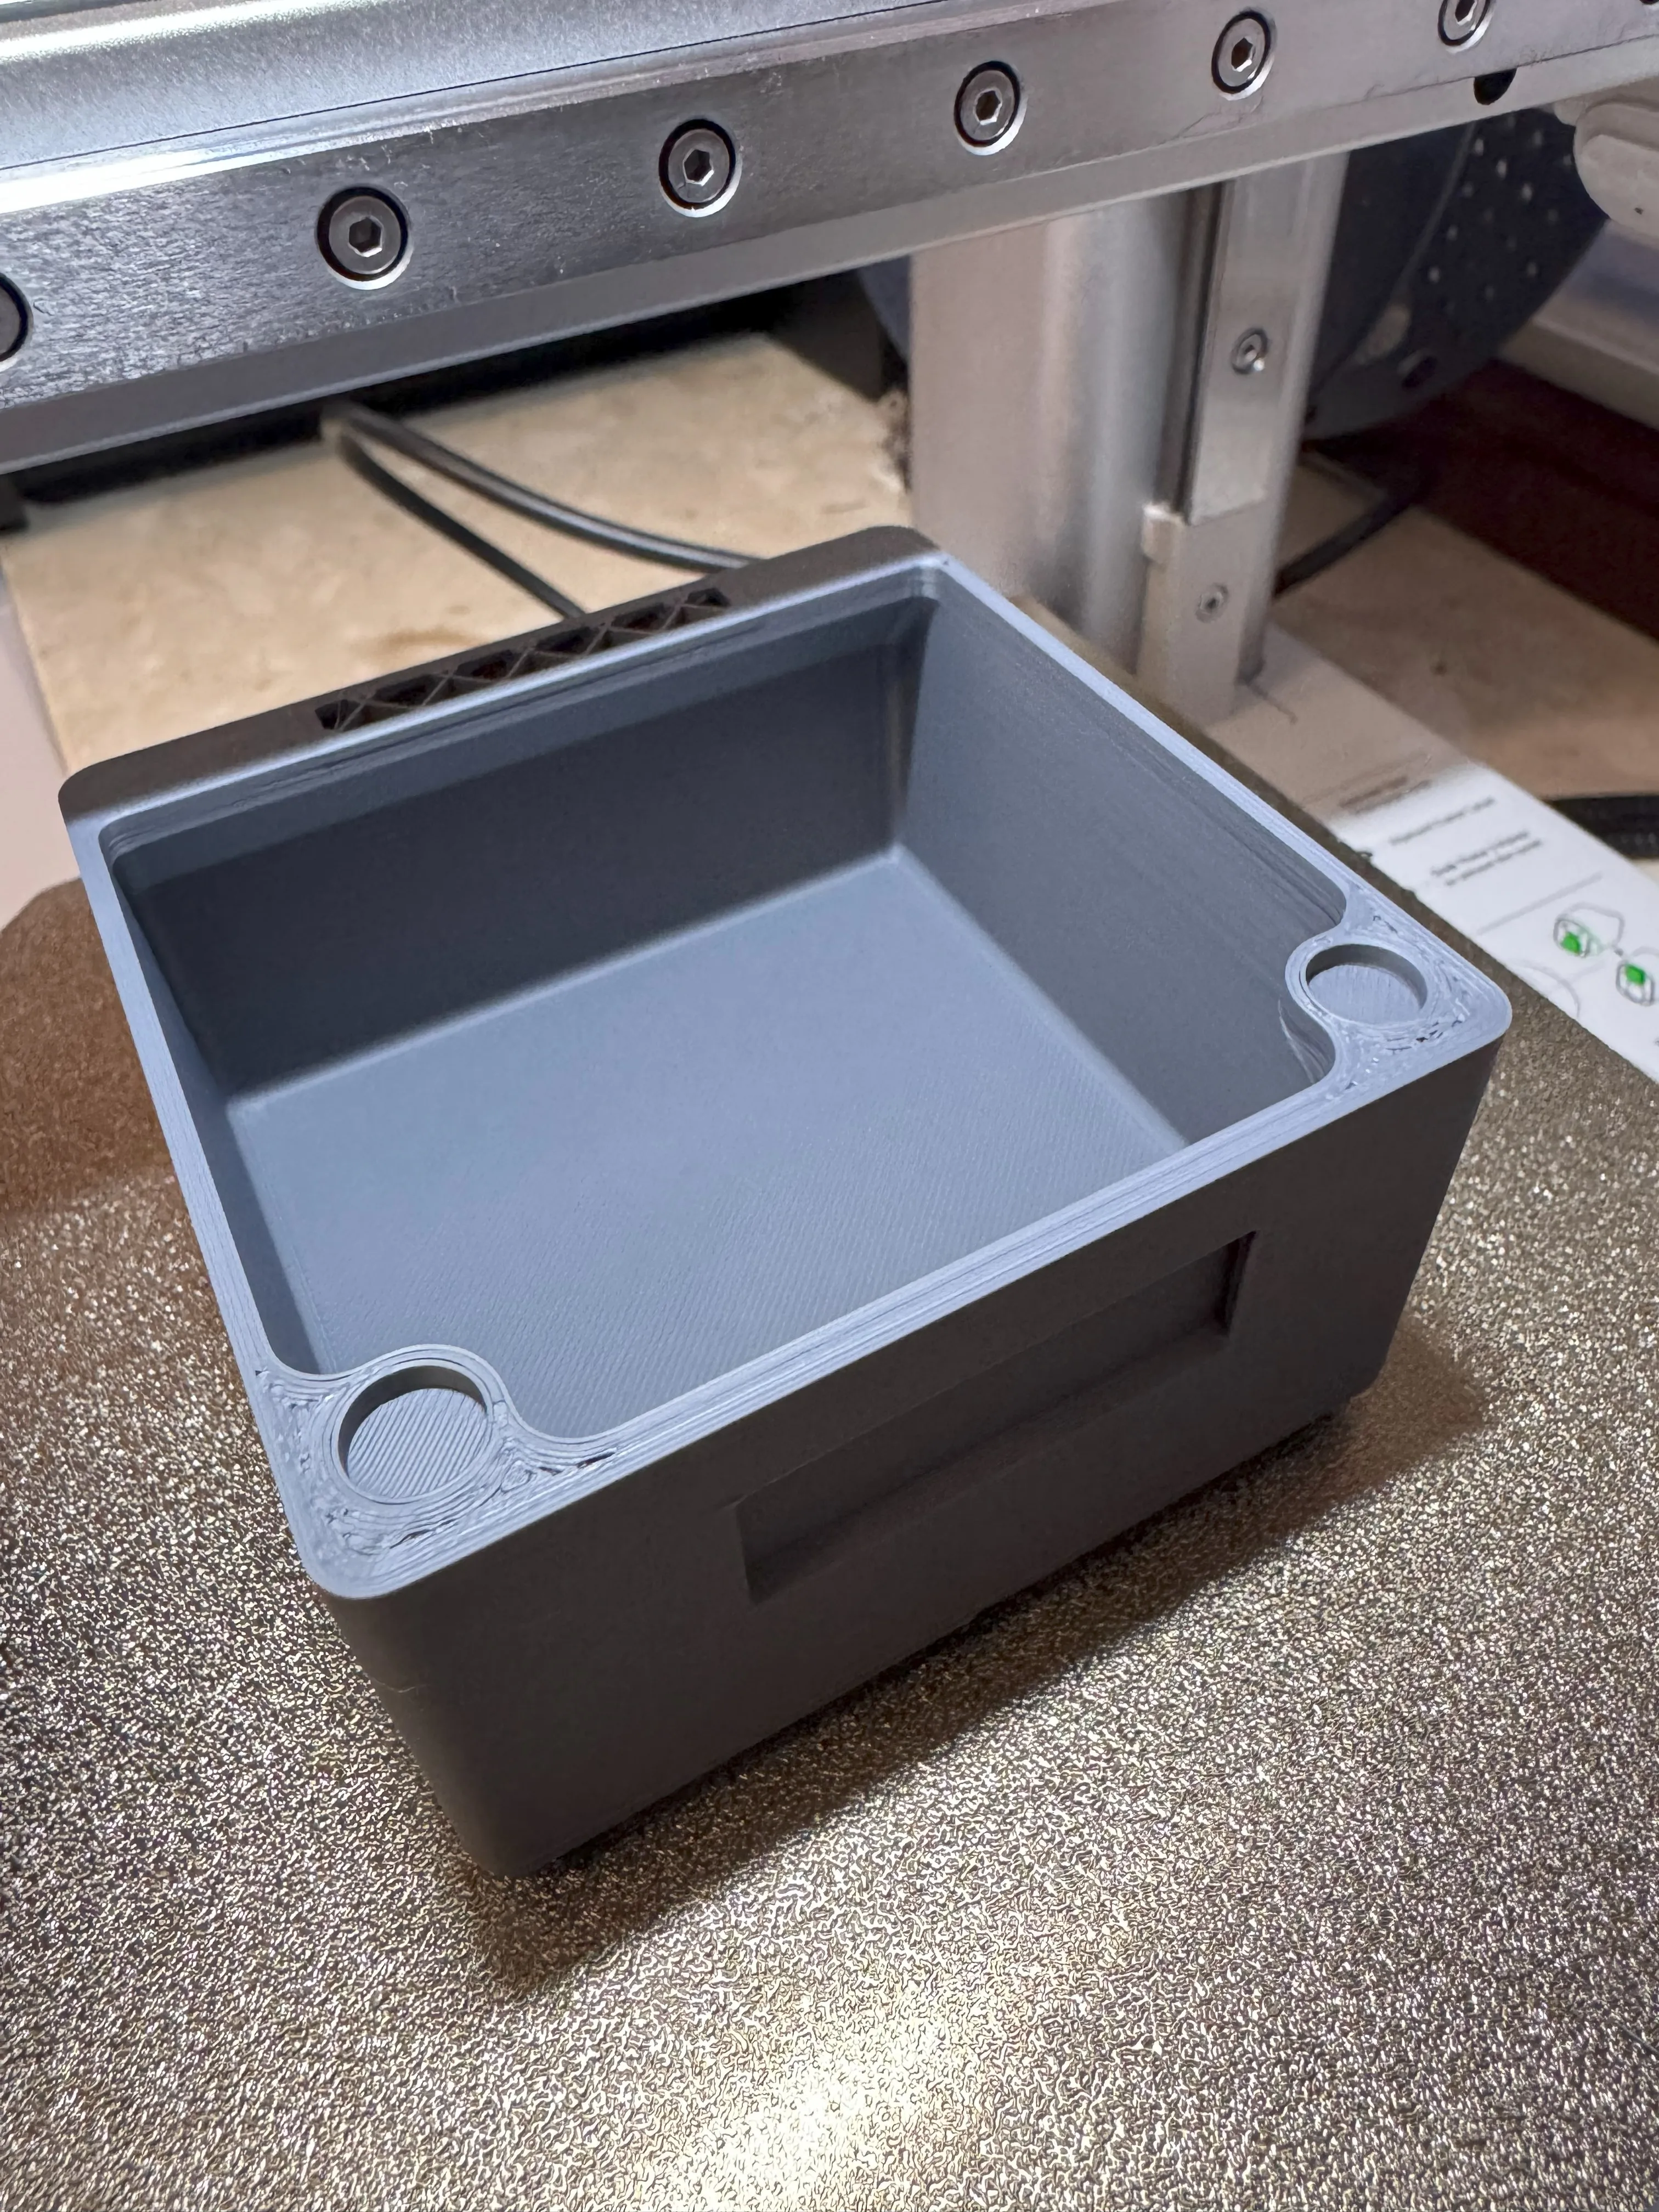
⚠️ Each included Bambu print profile has a pre-programmed pause right before the magnet cavities close, so you can drop the magnets in and resume the print—no manual tweaking needed.
(all boxes are 8 U tall ≈ 56 mm outside / 42 mm usable)
There are 16 sizes total (every combo from 2×2 up to 5×5, 1x1, 1x2, 2x1)—pick the one that fits your tools, bits or hobby parts.
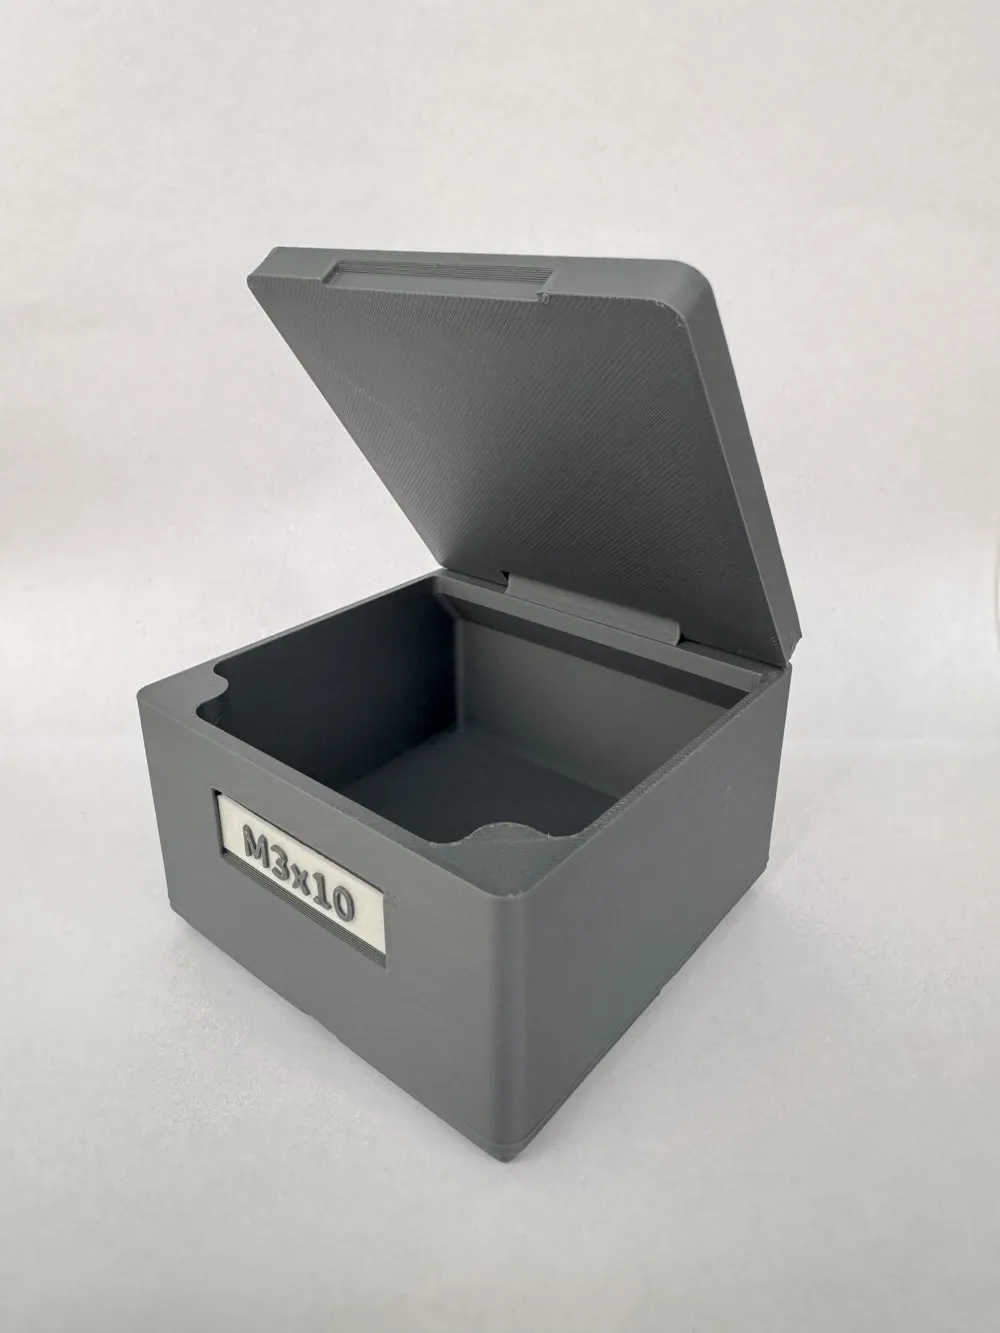
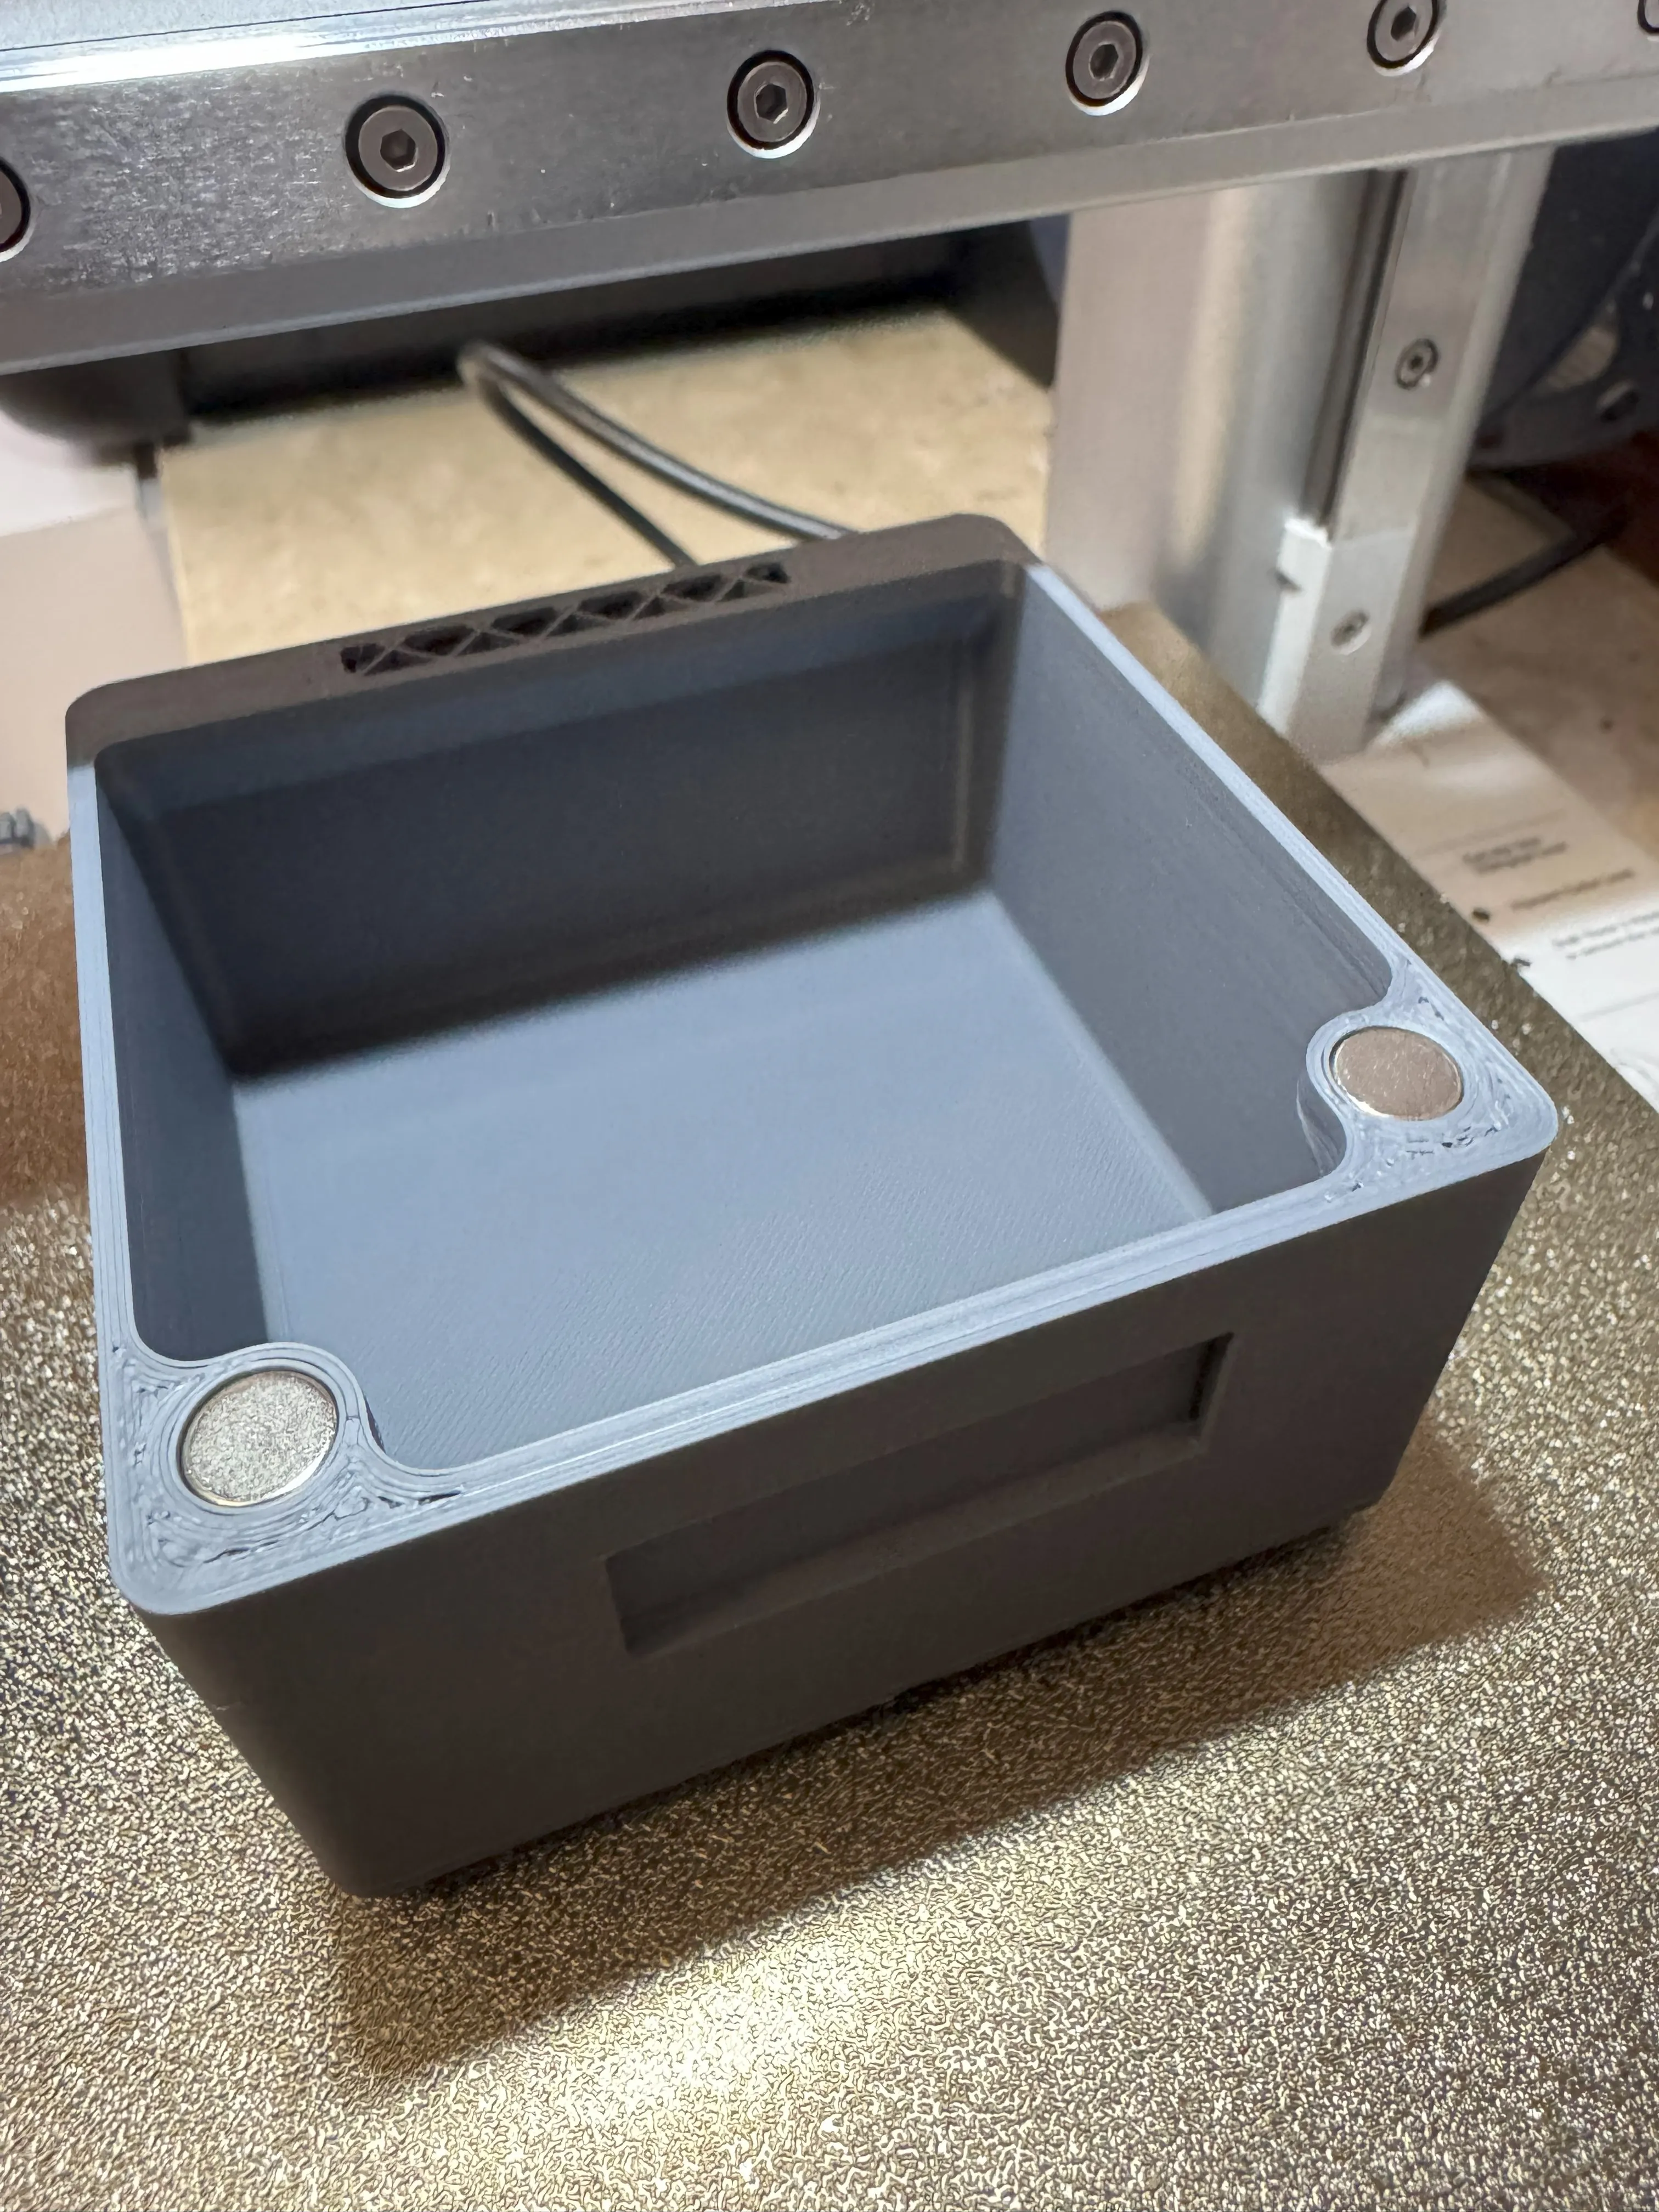
- Snap-shut lid – four 6 × 2 mm magnets hold it closed; a tiny chamfer makes one-hand opening easy.
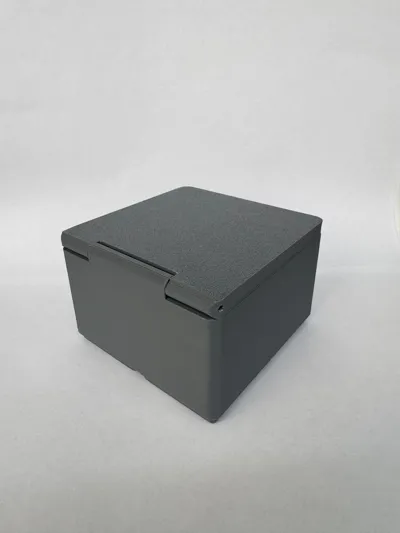
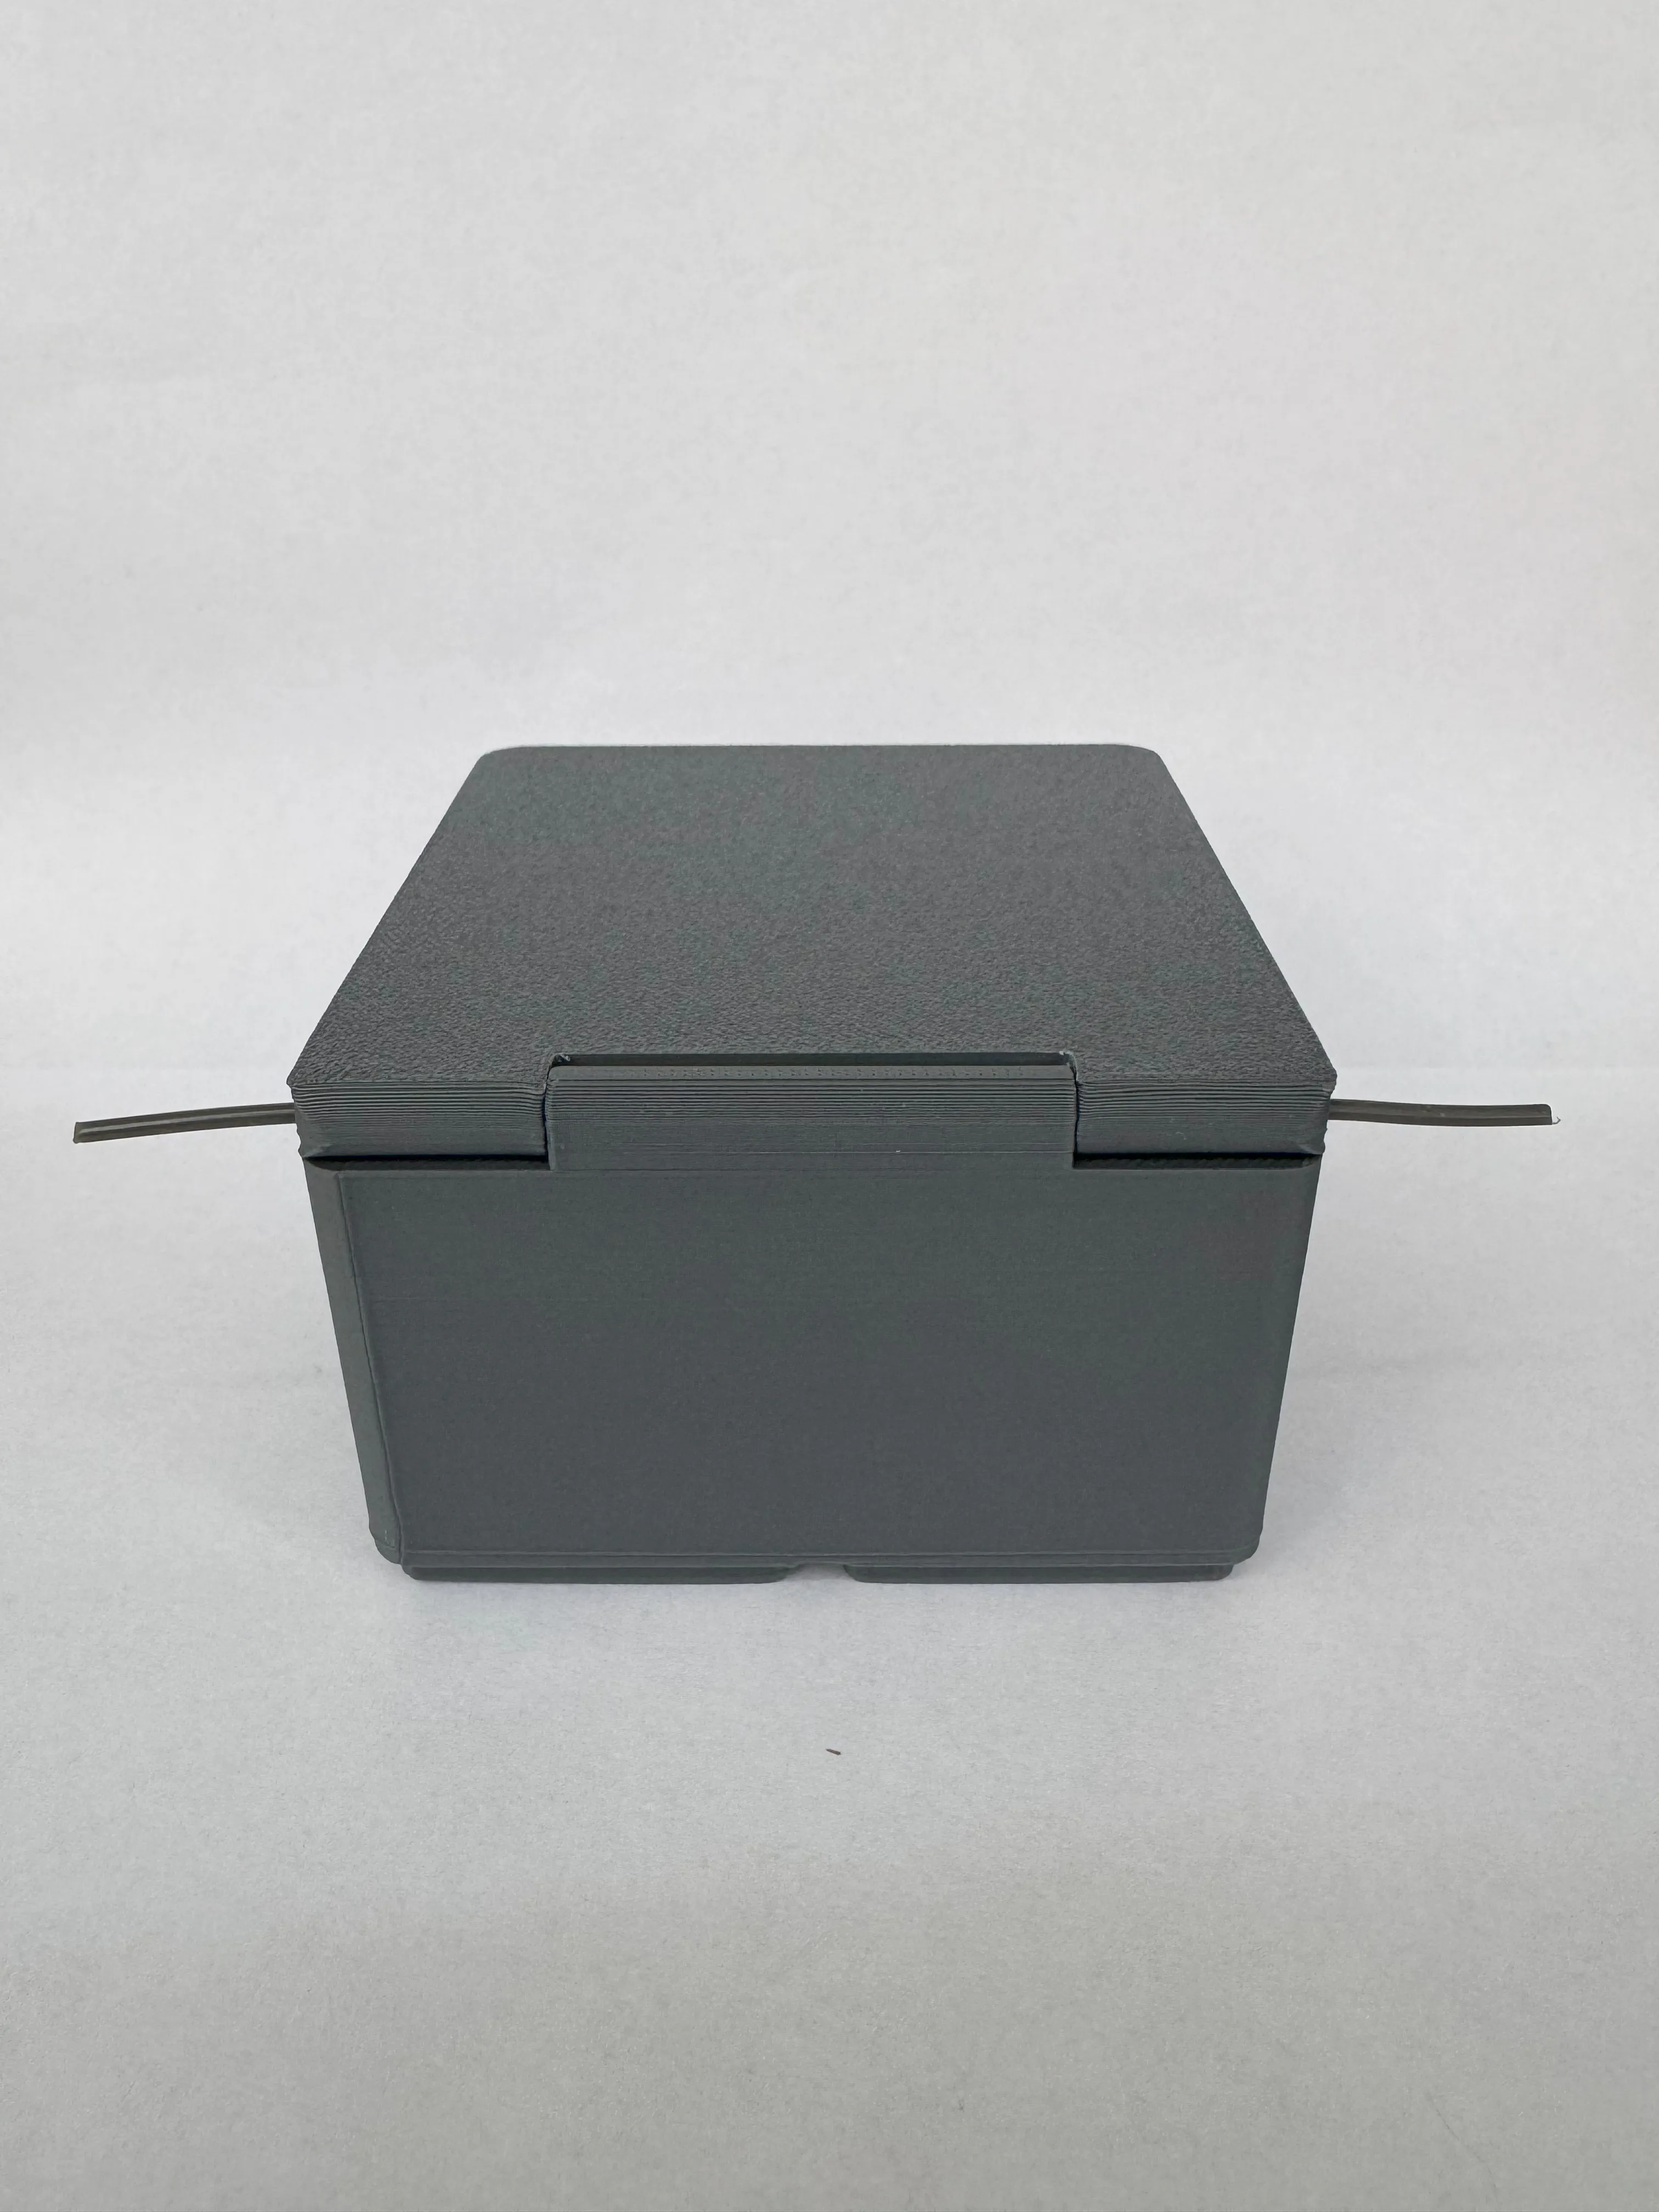
- Reliable hinge – a clipped filament axle (⌀ 1.75 mm) means no fiddly pins or glue.
- Tag slot up front – comes with a ready-to-edit Make-My-Sign template so you can label contents.
- Print-friendly – zero supports, flat top surfaces, and chamfers on every overhang.
- Pre-tuned Bambu profiles – each has an automatic Pause At Layer before the magnet pockets close. Load magnets, resume, done.
Printing tips
- Use 15-20 % gyroid or grid infill.
- PLA works great.
- Insert four 6 × 2 mm magnets when the printer pauses.
- Snip a piece of 1.75 mm filament (preferably PETG), slide it through the hinge.
Insert Magnets and Continue PrintWhen your printer pauses during the print:
|   |
Hinge: Cut a piece of 1.75mm filament (preferably PETG for durability) and push it through the hinge holes after printing.
|  |
If this box keeps your bench a bit tidier, please hit Boost ↓.
Thanks for checking it out and happy printing! 🎉
Boost Me (for free)
If you liked this model, give me a boost!
UPDATES
29/6/2025 - added 1x1, 1x2, 2x1 sizes + tag template for them
License

You shall not share, sub-license, sell, rent, host, transfer, or distribute in any way the digital or 3D printed versions of this object, nor any other derivative work of this object in its digital or physical format (including - but not limited to - remixes of this object, and hosting on other digital platforms). The objects may not be used without permission in any way whatsoever in which you charge money, or collect fees.


Comment & Rating (26)