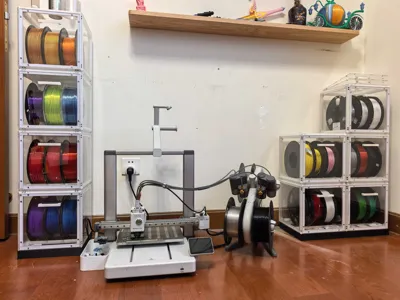
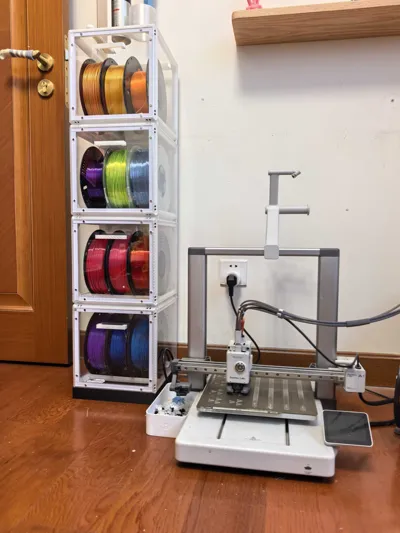
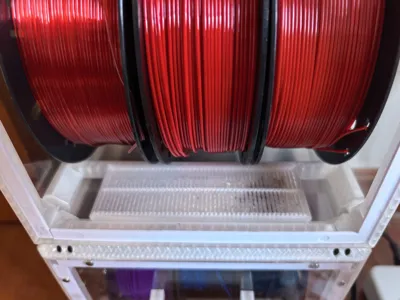
Filament Enclosure


Print Profile(4)


Description
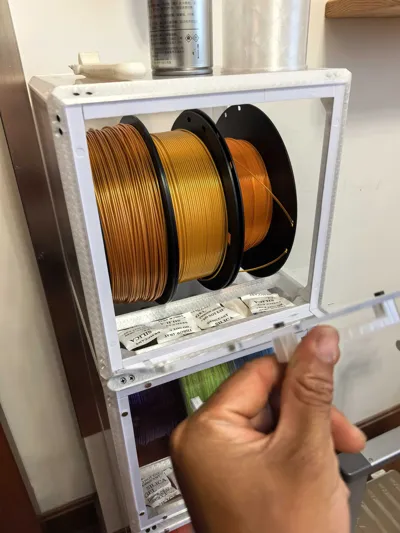
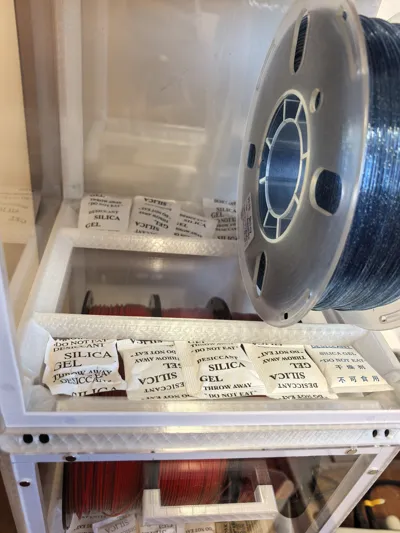
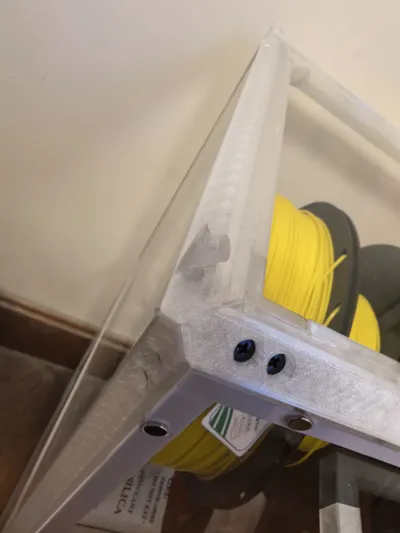
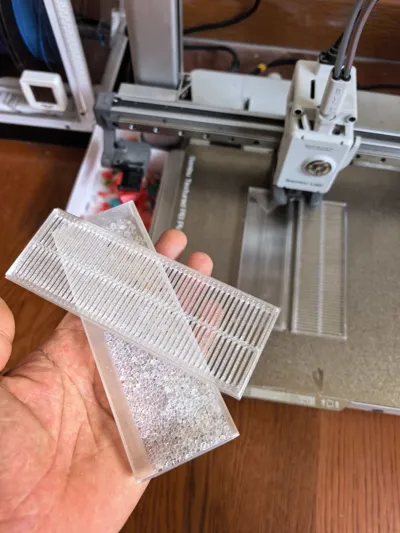
I've always wanted to organize and seal my filament, and I've printed many box designs from model websites. After several attempts, I found a few issues. First, strength. To control print time and filament consumption, most designs use thin-walled structures, which aren't sturdy enough. Second, sealing. All sealing structures on the market require thick materials as a prerequisite, but with 3D printing filament and thin walls, the sealing effect is generally poor. Third, it's not convenient to access. Given these issues, I strengthened the structure. Due to the 3D printing process, horizontally printed crossbars have very high strength, while vertically printed ones lose a lot of strength. So, I ultimately printed all 12 connecting rods separately and used screw connections. Once all connected, it can even be used as a stool. Regarding the second point, I also considered aesthetics, so I used transparent acrylic panels for all 6 sides, secured with double-sided tape. For the third point, many online designs use swing doors or latch-on lids. I opted for a magnetic closure solution, using 2mm single-sided foam for sealing. While it can't compare to the sealing effect of a finished rice container, it's much better than the gaps found in typical hinged doors. Of course, I wasn't the first to come up with this idea; I simply optimized many structures in terms of aesthetics, strength, and ease of access, and I designed stacking parts
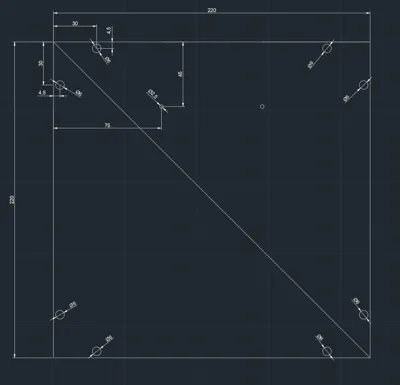
Now, let's talk about print time and material costs. The print time for 2 plates totals 8+6 hours, and one roll of filament can print 3 units. The acrylic panels consist of 5 ordinary 220*220mm pieces and one pre-drilled 220*220mm piece (CAD file already uploaded), all 3mm thick. Ordinary panels cost 5 yuan, while drilled ones incur an extra 3 yuan labor fee, widely available on Taobao. The remaining magnets, screws, double-sided tape, and single-sided tape together cost about 10 yuan. The total cost will not exceed 50 yuan, and it can hold 3 rolls of filament, making it relatively economical at about 17 yuan per roll
Regarding assembly, I'm not very handy myself, but I found it quite simple to put together. First, the frame; screwing in the parts is very easy. Then, apply double-sided tape to 5 sides (I used the transparent nano-type, 1mm thick * 5mm wide), and attach the acrylic panels. For the last side, first insert 8 magnets (pay attention to polarity); just press them in. Then, attach the single-sided EVA foam (2mm thick * 10mm wide), and the box body is complete. Next is the door panel. Since the outer diameter of magnets from different manufacturers varies slightly (I chose 6mm diameter * 3mm thick), I initially drilled 5.5mm holes and had to sand them down. The second time, I made 6mm holes and needed to use UV glue to secure them (note: the CAD drawing shows 6mm). It's up to you which method you prefer
Materials List
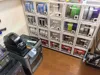
Large flat-head screws 48 pieces (see image)
Nano transparent double-sided tape 220mm * 20 strips
EVA foam single-sided tape 220mm * 4 strips
Magnets 3*6 16 pieces
Note The large square frame is the base only one is needed per stack or you don't have to print it

License
You shall not share, sub-license, sell, rent, host, transfer, or distribute in any way the digital or 3D printed versions of this object, nor any other derivative work of this object in its digital or physical format (including - but not limited to - remixes of this object, and hosting on other digital platforms). The objects may not be used without permission in any way whatsoever in which you charge money, or collect fees.
Comment & Rating (48)