
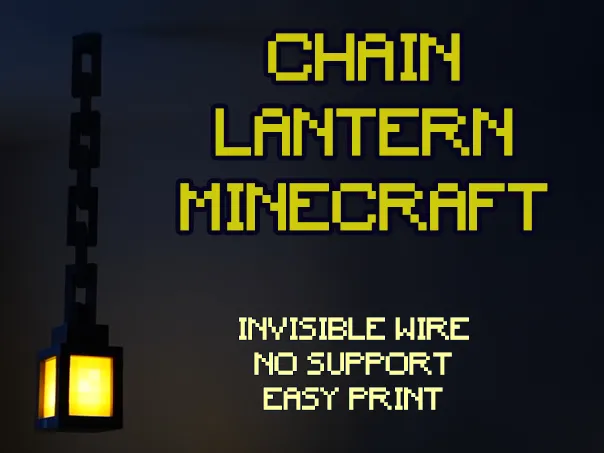
Minecraft Lanterns Chain V2 (with invisible wire)
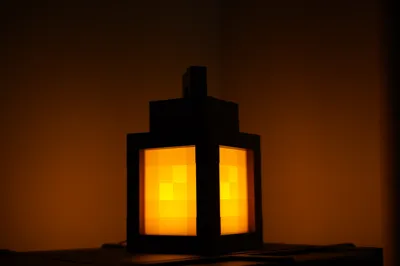
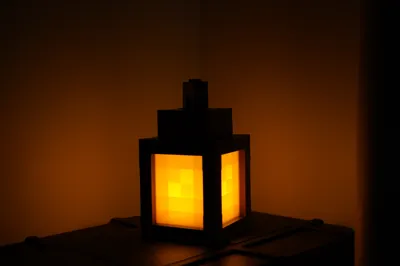
Print Profile(1)

Description
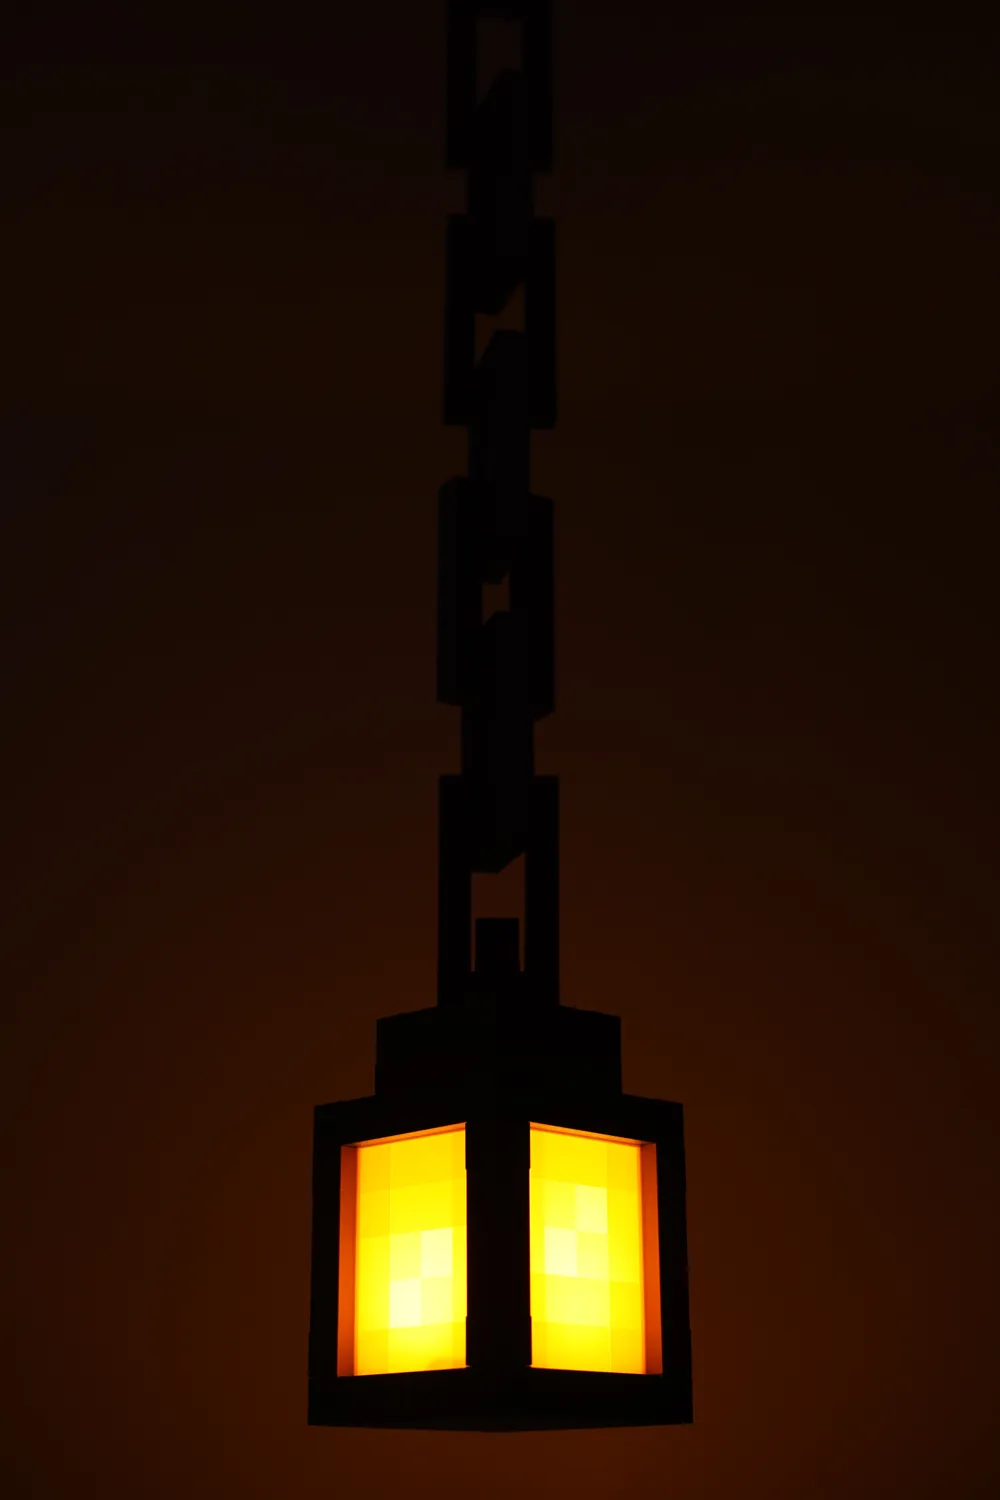

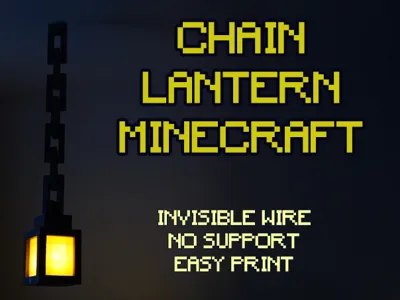
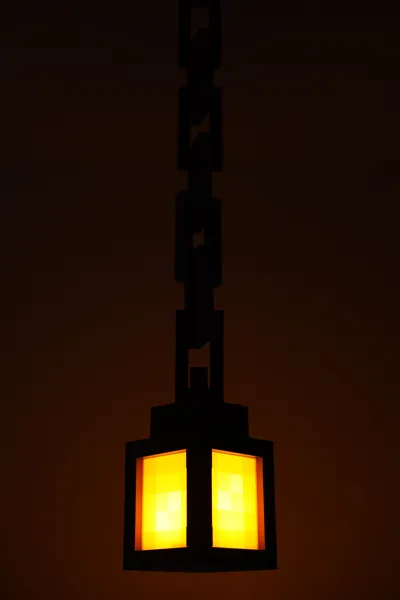
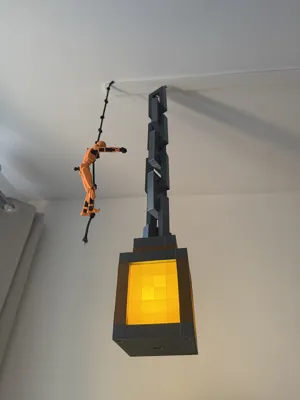
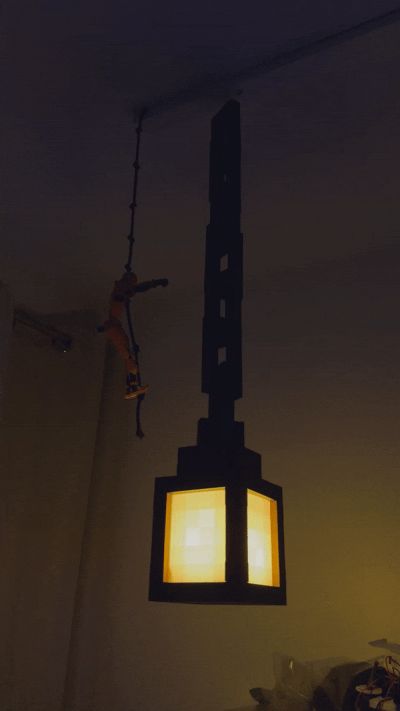
🔗 Minecraft Lantern Chain V2 (Invisible Cable)
🟨 Project Base
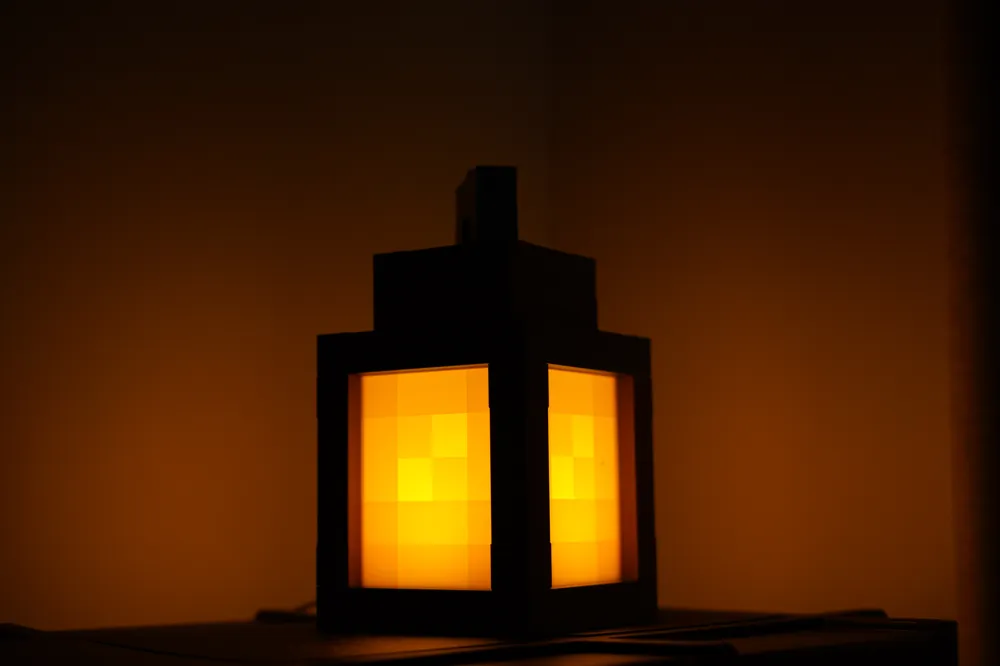
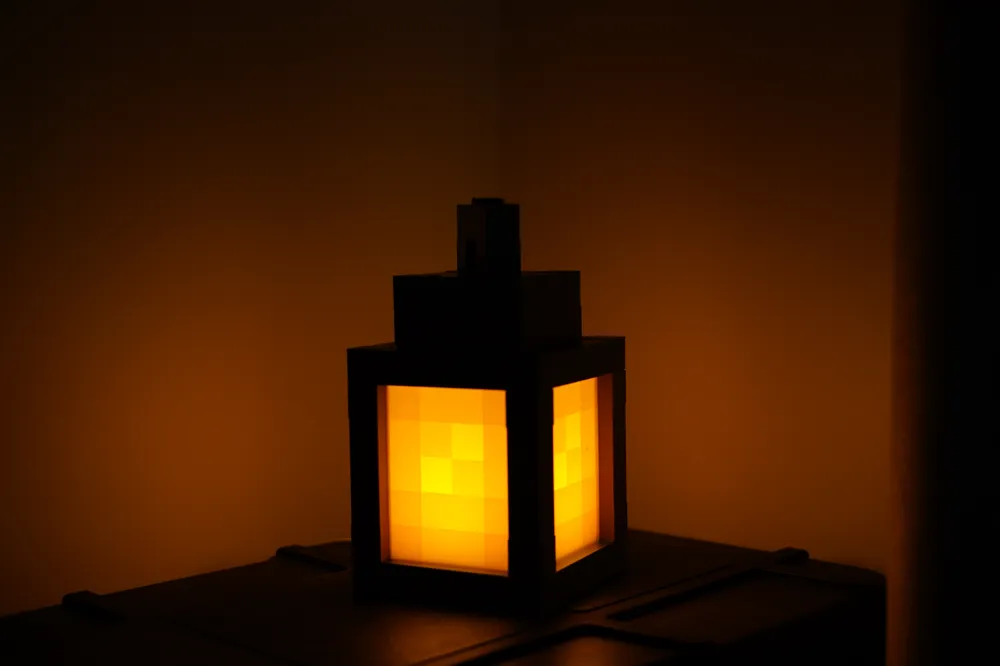
I utilized this Minecraft lantern available on MakerWorld:
👉 Minecraft Lantern on MakerWorld
This is a remix of this chain:
👉 👉 Minecraft Lantern Chain on MakerWorld
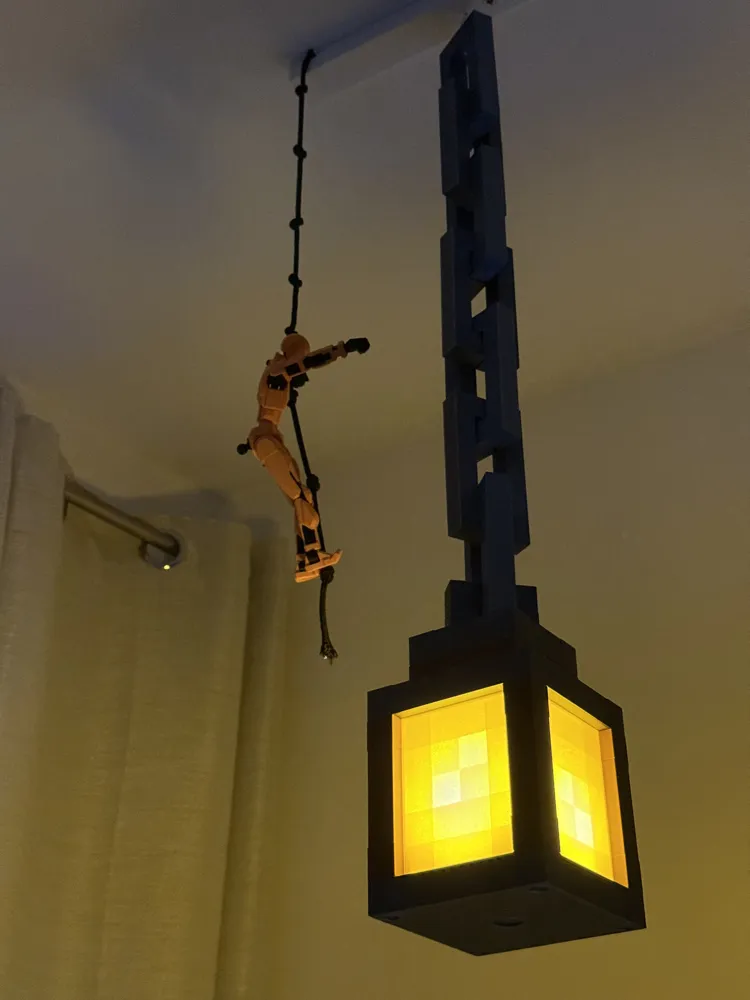
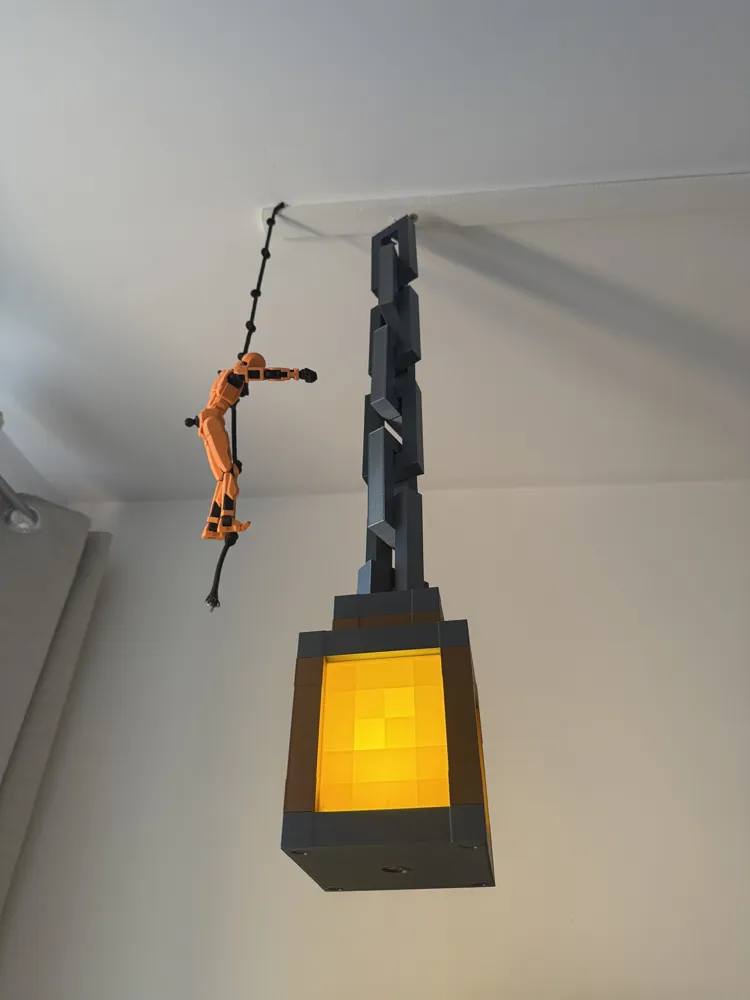
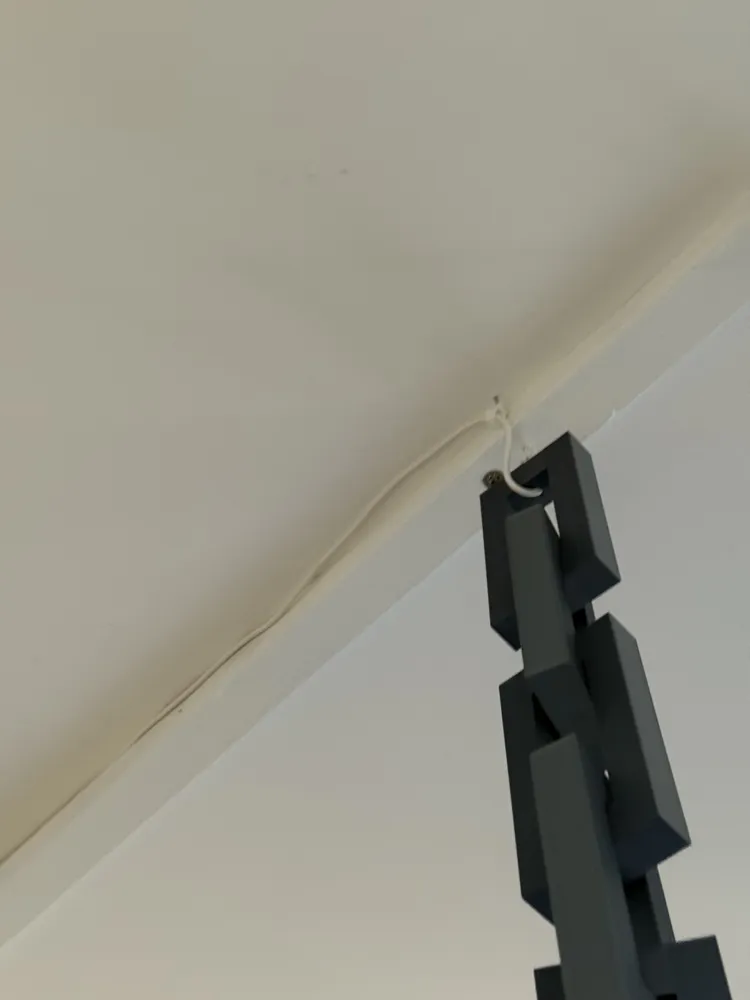
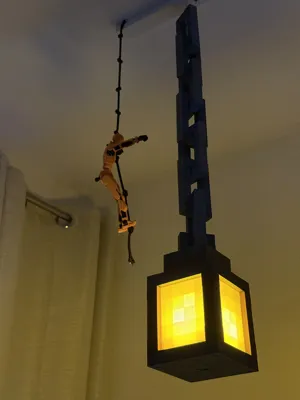
In the original version, the cable remained visible. I therefore modified the lantern and the chain so that the cable discreetly passes through the interior, resulting in a far more aesthetically pleasing outcome.
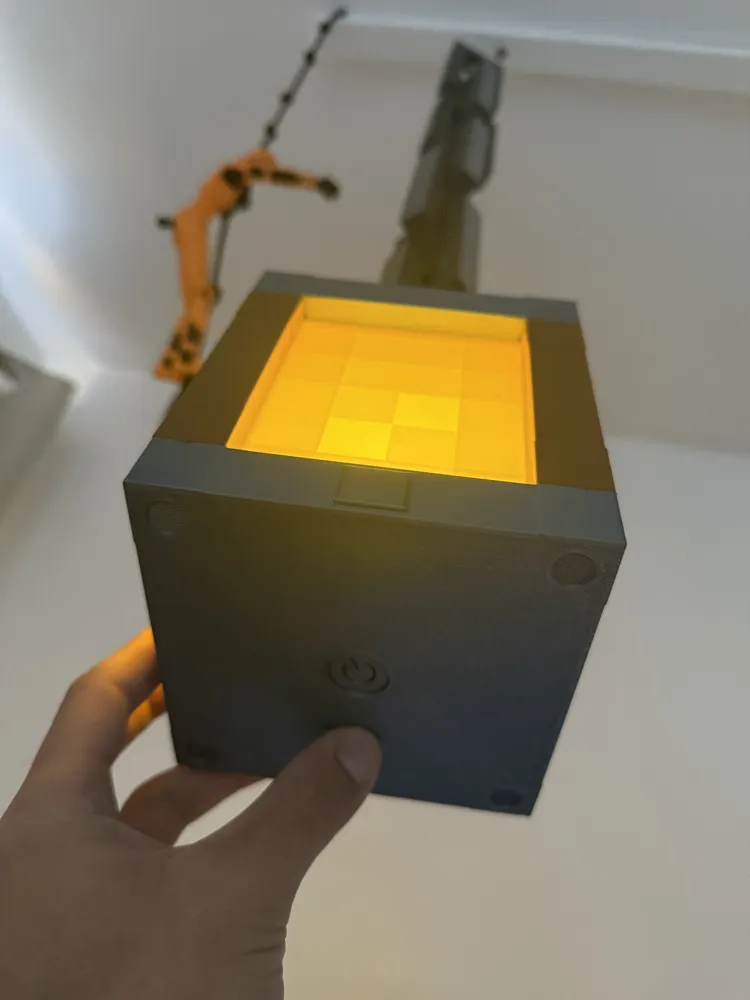
➡️ If you employ a solution other than the IKEA KAPPLAKE lamp, you simply need to replace the base.stl file.
🔧 Installation Guide - LAMP
- Sever the USB cable from the lamp.
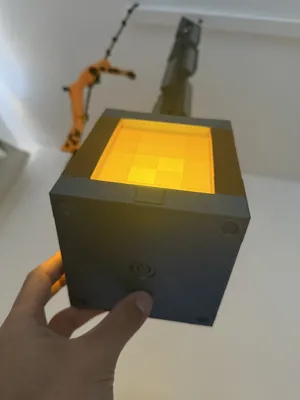
Thread the cable through the small grooves provided (See below), then apply 2 to 3 points of adhesive.
✅ This prevents visible cable shadows once the lantern is illuminated.
⏳ Allow ample time for drying before proceeding
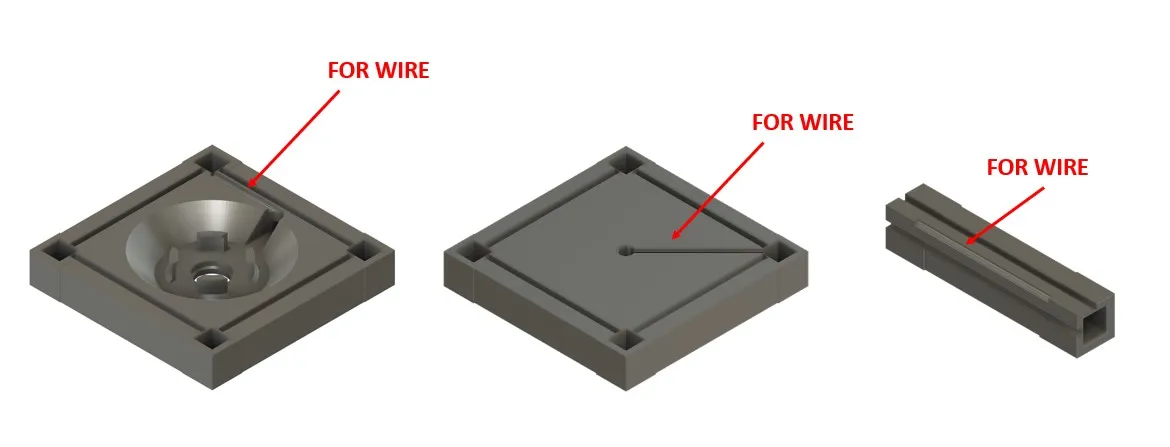
Installation Guide - CHAIN
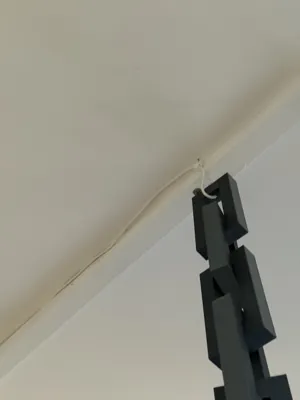
- First pass the cable through the links before adhering them (this is simpler).
- For the ends (ceiling and lantern), utilize the START / END links (tray 8)
➜ These links enable a clean finish, connecting the “invisible” cable on one side and the lamp or ceiling mount on the other.
- To adjust the length, use as many MIDDLE links as desired (tray 7).
- Once the cable is threaded, lightly adhere the links, then secure with clamps while drying.
⏳ Allow ample time for drying before proceeding
- Resolder the USB cable or connect it to a 5V source (Arduino, power supply unit, etc.).
I have also modeled a small blocker for the hole in the lamp base, in order to close it without permanently sealing it (practical if you change your mind later).
Cable passage is designed for a 3.3 mm diameter (flexible cable), or up to 4 mm with a little lubricant.
Feel free to provide feedback in the comments, share your photos, leave a like, and boost if you enjoyed it.
Happy printing everyone!
Epsilon
Boost Me (for free)
A free boost is always welcome. It's a great support, thank you!
This remix is based on


License



Comment & Rating (7)