


Print Profile(2)


Description
Crafted from a 3D-printed frame and hand-threaded with raw jute, Jute Star captures the quiet elegance of Nordic design through natural texture and geometric light play.
🔹 Designed for E27 pendant fittings
🔹 No glue required for frame assembly
🔹 Hand-woven with 2mm thick natural jute twine
Let it hang as a centerpiece in a calm reading nook, above a dining table, or as a soft accent in a hallway — where light filters gently through the woven threads
Assembly:
To create the full woven pattern, you'll thread jute twine around all six ribs in repeating loops. Each pass connects the same notch number on every second rib and returns to where you started.
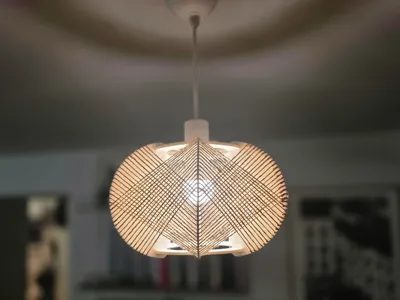
Step 1 – First Diagonal Layer (See Image 1)
- Start on the rib with deeper grooves – this is where both the beginning and end of each twine pass is secured.
- Glue the twine to notch 1.
- Thread the twine to notch 18 on the next rib clockwise, then to notch 1 on the following rib — and continue this pattern around all six ribs.
- You will return to notch 1 on your starting rib, completing a full loop.
- Repeat this with:
- notch 2 → 19 → 2 → ... → back to 2
- notch 3 → 20 → 3, and so on.
- Continue until you have filled notches 18–36 on the even-numbered ribs (2, 4, 6) and notches 1–18 on the others.
Once all even ribs are fully threaded, the first half of the pattern is complete.

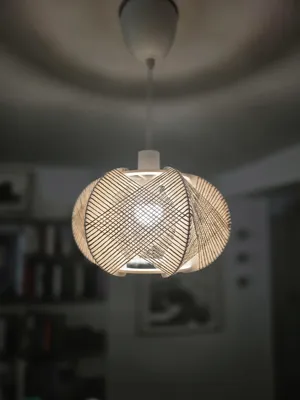
Step 2 – Second Diagonal Layer (See Image 2)
- Now begin from notch 36 on your original starting rib.
- Thread across to notch 17 on the next rib, then to notch 36 on the following rib, and continue around.
- As before, return to the starting rib to complete the loop.
- Repeat in descending order:
- notch 35 → 16 → 35,
- notch 34 → 15 → 34, etc.
- Continue until all odd-numbered ribs (1, 3, 5) are fully threaded.
This final pass crosses over the previous layer, forming the distinctive criss-cross weave.

Boost Me (for free)
If you like this design, a boost would be greatly appreciated! It helps me continue creating and prototyping new projects. 🚀😊
License
You shall not share, sub-license, sell, rent, host, transfer, or distribute in any way the digital or 3D printed versions of this object, nor any other derivative work of this object in its digital or physical format (including - but not limited to - remixes of this object, and hosting on other digital platforms). The objects may not be used without permission in any way whatsoever in which you charge money, or collect fees.
Comment & Rating (46)