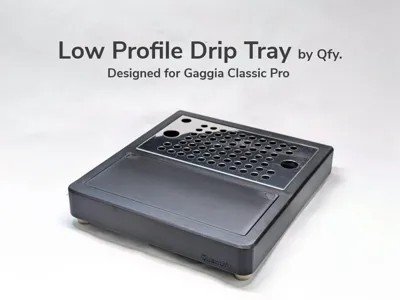
Low Profile Tray for Gaggia Classic Pro


Print Profile(1)
![[All Versions] v1](https://makerworld.bblmw.com/makerworld/model/US4de133ecc8d221/445997582/instance/2025-06-11_771c290eec699.jpg?x-oss-process=image%2Fresize%2Cw_100%2Fformat%2Cwebp)
Bill of Materials


Description
Boost Me (for free)
The creator will be greatly motivated by your ratings and boosts. ⭐⭐⭐⭐⭐
General Printing Tips:
|
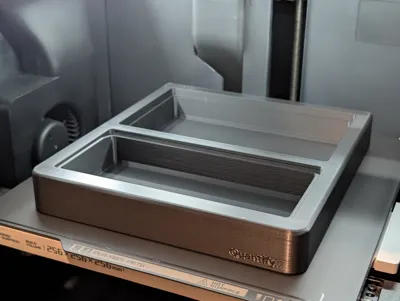
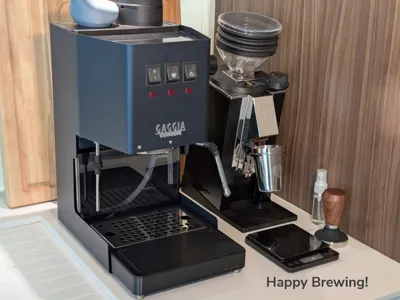
Low Profile Tray for Gaggia Classic Pro
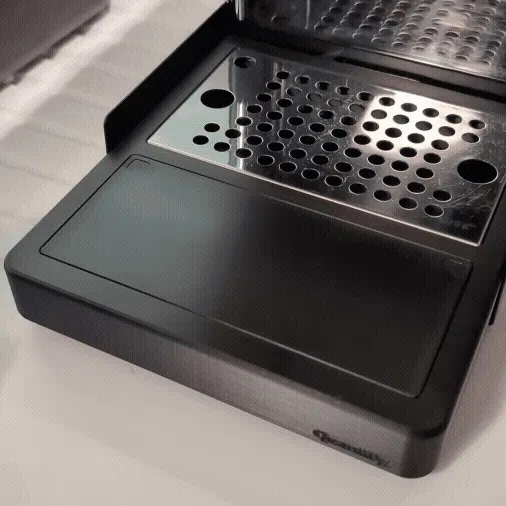
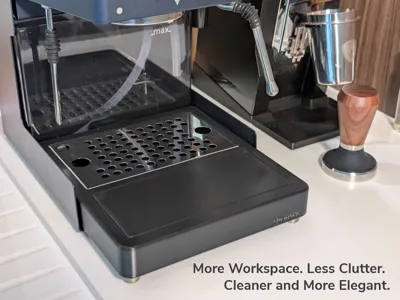
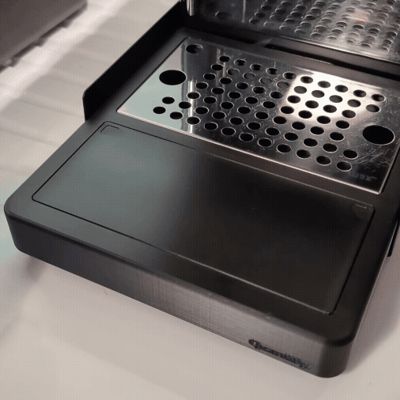
This low-profile drip tray enhances the Gaggia Classic Pro. It's a direct replacement for the original, taller tray, providing significantly more clearance for cups and scales. This improves workflow and user convenience.
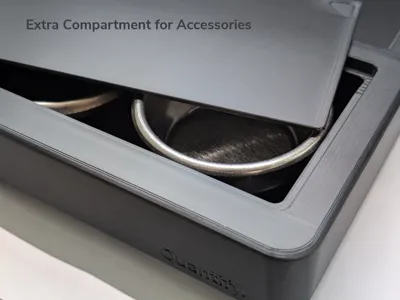
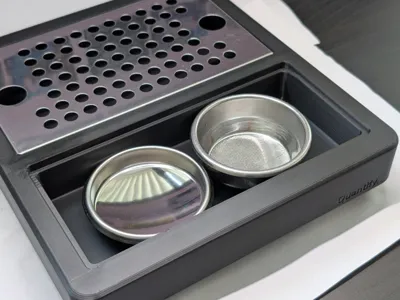
The design reuses your machine's original metal grille. It also features an easily accessible front storage compartment, perfectly sized for your original basket and small accessories, keeping your brewing area tidy.
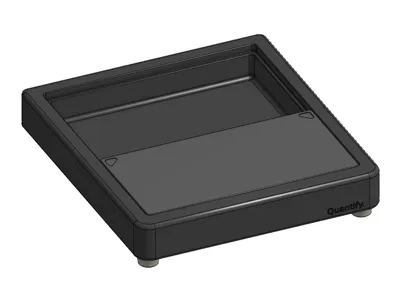
Available in (4) versions:
- Compartment c/w Magnetic Lid Version – Features a sleek, embedded magnet system. The lid stays securely in place and opens effortlessly with a slight press at the corners.
- Compartment c/w No Magnets Version – A simple option with no magnets. Works with pure gravity.
- XL Reservoir – Features a bigger reservoir volume to hold more liquid giving the user a less frequent cleaning time.
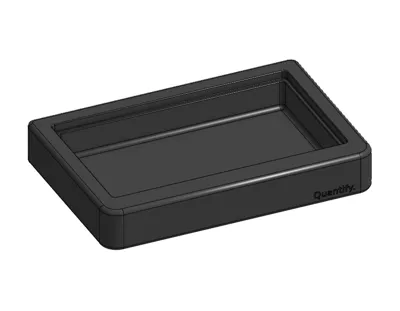
- Minimal – Smallest option that requires no extra space and no hardware.
Material and Hardware Requirements
- PETG or better (PLA is not recommended because of low melting point.)
- (2) M3x12 up to M3x24 Button Head Cap Machine (or Self Tap) Screw for attaching the feet
- (4) D3x1mm Magnets (Optional) for magnetic lid version
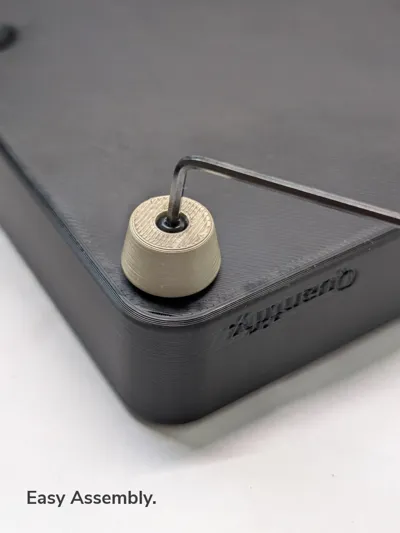
Assemble Guide
Step 1: Gather material and tools. Flip drip tray upside down.

Step 2: Insert screw into the foot.

Step 3: Insert screw and foot into the hole on the drip tray and tighten until you feel resistance. Do not over-tighten the screw as it may damage the structure.

Step 4: Repeat for the other foot. After that, installation is completed.

Designed by Qfy.


Membership
License
You shall not share, sub-license, sell, rent, host, transfer, or distribute in any way the digital or 3D printed versions of this object, nor any other derivative work of this object in its digital or physical format (including - but not limited to - remixes of this object, and hosting on other digital platforms). The objects may not be used without permission in any way whatsoever in which you charge money, or collect fees.
Comment & Rating (22)