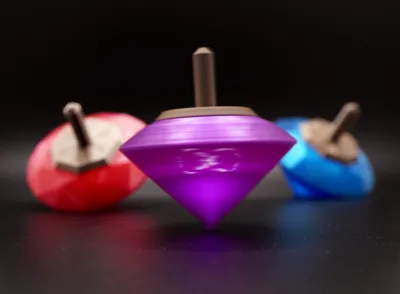
Diamond Zoetrope Illusion Top


Print Profile(3)


Bill of Materials


Description
Engineering + Art = Magic | ||
 Beginner's Guide |  The Next Dimension |  How It's Made |
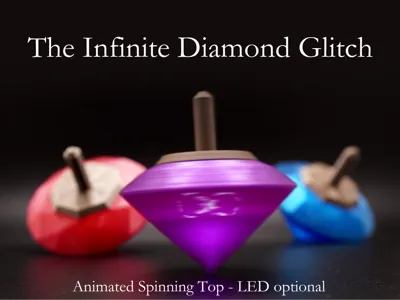
Optical physics meets 3D printing! The Infinite Diamond Glitch is a hybrid spinning top zoetrope, using innovatively arranged pinhole tunnels in a miniaturized form factor to create a magical naked-eye illusion. Choose from 2 animations. Since the LED is optional, this is a quick print - no special parts required!
Boost Me (for free)
Each Boost fuels more free designs - THANK YOU!
Setting Expectations
This is a naked-eye optical effect that relies on precision, so viewing conditions matter. If anything seems off, please reach out. I respond quickly, and most issues are resolved with simple lighting adjustments. Follow the instructions to achieve a result similar to the demo GIFs.
Taking it Further
The first negative zoetrope, my StarCaster fidget spinner, proved the concept with a 9-frame animated galaxy swirl. The Infinite Diamond Glitch builds upon it and packs in a whopping 32 frames of animation, resulting in a smoother, brighter image which no longer requires an internal LED (or any other non-printed parts) – perfect if you’re looking for a quick print!
Like a real cut diamond, the no-LED version takes in light from the top and reflects it out the sides. For an even more dazzling effect, you can always upgrade to the LED version. Whether or not you do that, there are 2 animations to choose from:
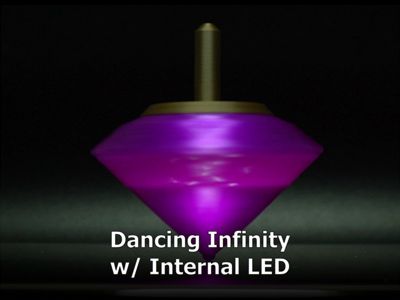
- Dancing Infinity: Crisscrossing point lights which reveal an infinity symbol when spun.
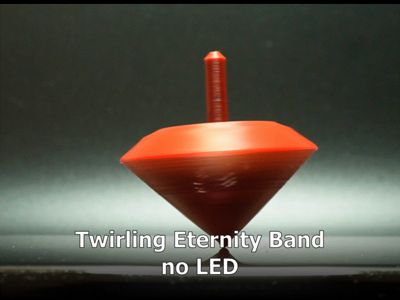
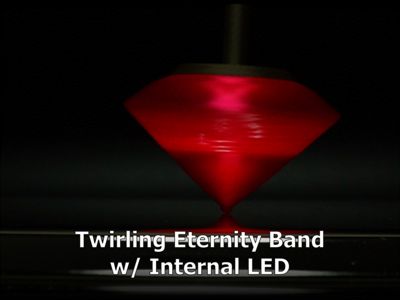
- Twirling Eternity Band: I see the diamond, but where’s the ring? Just give it a twist to reveal the 3D spinning eternity band! Makes an excellent engagement gift (but maybe don't propose with it).
How Does it Work?
You can read more about my pinhole zoetrope invention (at least I think I invented it) in the description of The StarCaster fidget spinner. In short, it achieves miniaturization by combining the slits and images of a classic zoetrope into pinhole tunnels arranged in patterns. You only see light from these pinhole tunnels when they are oriented properly between your eye and the light source. As the top spins, you see the 32 animation frames light up sequentially in a loop, creating the illusion of motion.

These tunnels don’t have to strictly be pinhole-shaped. What’s most important is that the zoetrope uses negative space in the form of elongated holes to focus light. Pinholes tend to work well, but other shaped holes are viable, which is why I sometimes refer to these devices as pinhole zoetropes and other times as negative zoetropes.

My designs also accommodate the smaller size (faster rotation) by using looping animations with progression symmetry – e.g. after one rotation of the top, each dot in the infinity only travels to the position of the next dot, rather than traversing the whole path.
Required Materials
The no-LED version does not require any special parts. Just a light-colored (usually white) filament for the diffuser and a not-too-light colored filament for the body. Oh, and a small bit of superglue.
The LED version requires a couple additional parts:
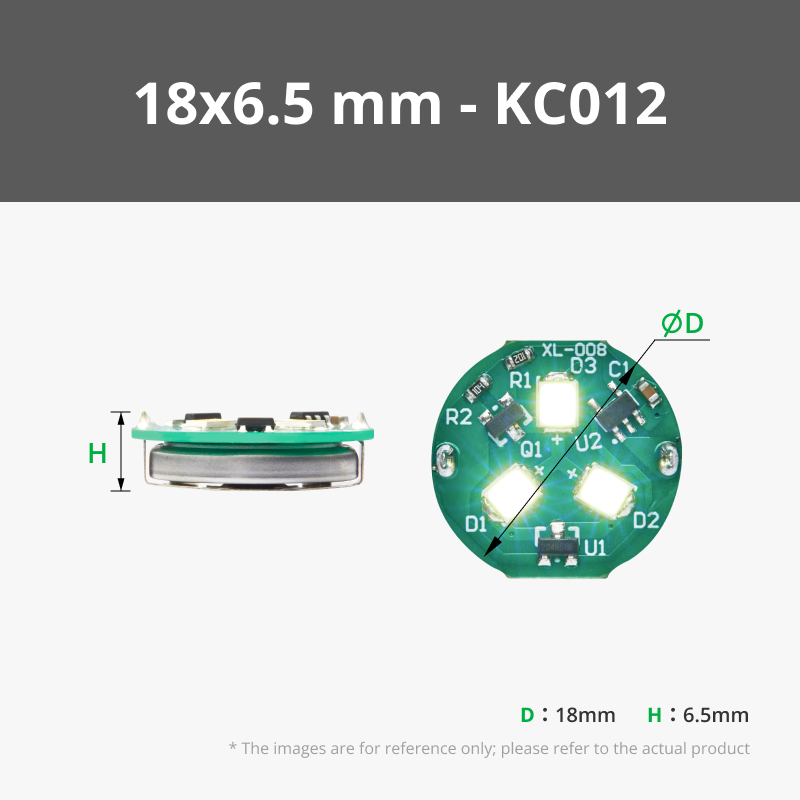
- Magnetically activated LED. My print profiles provide plugs which fit 3 different types of LEDs, so you can choose any of those. Alternatively, if you have a different kind of LED with similar dimensions, you can use the Customize button at the top of this page to create a plug for it.
- Option 1 - Y Shape LED Light with Magnetic Control Switch – Cool White (Maker’s Supply): This is my go-to and is the one linked in the Bill of Materials section of this page.
- Option 2 - Y Shape LED Light with Magnetic Control Switch – Warm White (Maker’s Supply): Similar to the cool white one, but the dimensions are slightly different. Both look good. Note that The StarCaster uses this part.
Option 3 – Rainbow LED (AliExpress): I’m not affiliated with the seller and can’t vouch for them, but I purchased a couple of these lights and have been pretty happy with them. I did have a bit of trouble at first, but I noticed that the batteries had some gunk (from an adhesive) which was preventing a complete circuit. Once I removed the gunk, they worked well.
BTW, Bambu also sells LEDs in a ring configuration, but they do not have a steady on mode - they always flash.
- 1 10x2mm round neodymium magnet. Make sure it’s a strong one – some cheap generics are weaker. While most magnetically activated LEDs come with a magnet, they tend to be small and not strong enough to reliably activate the light through the body of the top. So the Universe Key part of the model is specifically designed for a 10x2mm magnet.
Printing
Download the print profile which matches your scenario (especially no-LED vs. LED).
Diamond
- Each profile contains two variants: an infinity animation and a ring (eternity band) animation. Just pick the variant you want.
- I suggest using a textured PEI plate to make gluing the printed halves easier and less messy. The textured pattern helps superglue set faster and provides space for excess to pool, so it is less likely to seep out the sides.
- The LED version looks particularly slick with a dark translucent PLA or PETG. I already set the print profile to use 0% infill (but 4 walls for strength) so that it lights up evenly with such material.
- Supports are easily removed.
Explainer: The LED version has a “cooling tower” which is a throwaway piece. It just helps the diamond tip print nicely by giving it some extra time to cool. While minimum layer time can be configured in the filament profile, people often switch to use different filament profiles, which is why I took this approach. In any case, the cooling tower isn’t necessary for the no-LED version since the plate has a peg which happens to slow down the print anyway.
Light Diffuser
- Use a light to medium-colored PLA (matte works but isn’t quite as good) for the light diffuser. Whitish ones will produce the brightest result but colored PLAs can be fun here.
- You might be tempted to use a translucent PETG for the diffuser, but in my testing it resulted in the light being too concentrated in the center, so the side pinholes appear too dim.
- Since its thin wall tends to not adhere to the plate, the diffuser prints on a thin raft. It is easily removed.
Cap & Plug (LED version only)
(Updated on 11/30/2025 to improve strength of cap's connection to its stem.)
- Don’t print all 3 plugs – pick the one which matches whichever LED you want to use.
- If you have a similar LED which doesn’t fit, use the Customize button at the top of this page to create a custom plug for it.
- You want it to be a snug fit so that the light doesn’t fall out when you spin the top.
- Don’t glue it in if you want to ever change the battery. Use thin paper strips to help wedge the LED into the plug if it’s slightly too loose.
- Make the plug as short as possible to allow for optimal magnetic activation of the LED. Additionally, so that the top pinholes illuminate, the plug shouldn't be longer than 7mm.
- The assembly video shows how to remove the support structure from the cap.
Universe Key (LED version only)
- This is the same key that The StarCaster uses. No need to print if you have one already.
- The print will pause so that you can insert the magnet. Carefully place it in the slot and make sure it does not protrude above the print surface before resuming the print.
- Optional: Hang on a necklace to reduce chance of the key getting lost, especially if giving to a child.
Assembly
No-LED Version
LED Version
Use
No-LED version
Just spin it directly underneath a bright light (one which shines directly into the top) and observe from the side. Small flashlights like this one (affiliate link) work best. The closer the top is to the light source, the better. Try not to illuminate the front surface since the goal is to maximize contrast. The less ambient light, the better.
LED version
Tap the key to the cap to cycle through light modes (steady on is best). If one side of the key doesn’t work, flip the key over (the LED's magnetic activation seems to be sensitive to a particular magnetic pole). The animation should be easily viewable from the side in normal room lighting, but it looks especially striking under dim lighting. When done, don’t forget to turn off the light; it doesn’t turn off automatically.
Tips
For the best animation experience, practice to get a nice even spin. Sometimes trying to spin too fast can make it less controllable. Part of the fun is working on your spin technique, balancing speed and stability. For an easier viewing experience, take a look at The StarCaster fidget spinner (which admittedly is more work to make and requires special bearings, but provides a super satisfying fidget experience).
If you see what appears to be a static image, try darting your eyes back and forth. Your peripheral vision is more sensitive to movement. As the top slows down, the animation should become more obvious.
With either version (though easier with the LED version), another fun thing to try is to pinch the top between your index finger (on the peg) and your thumb (on the tip). Holding it this way, you can spin it with your other hand to observe the animation progress more slowly.
Thank You
Message me if interested in commercial opportunities beyond standard licensing options.
Membership
You can always print this model for yourself or to gift, for free. Selling prints requires a tier 1 or higher membership. The allowed sales quantity is specified within each tier's terms.
 Enter the Next Dimension |
Boost Me (for free)
Boosts, follows and honest reviews all help me keep releasing free designs. THANK YOU!
License
You shall not share, sub-license, sell, rent, host, transfer, or distribute in any way the digital or 3D printed versions of this object, nor any other derivative work of this object in its digital or physical format (including - but not limited to - remixes of this object, and hosting on other digital platforms). The objects may not be used without permission in any way whatsoever in which you charge money, or collect fees.
Comment & Rating (97)