
Print Profile(1)

Description
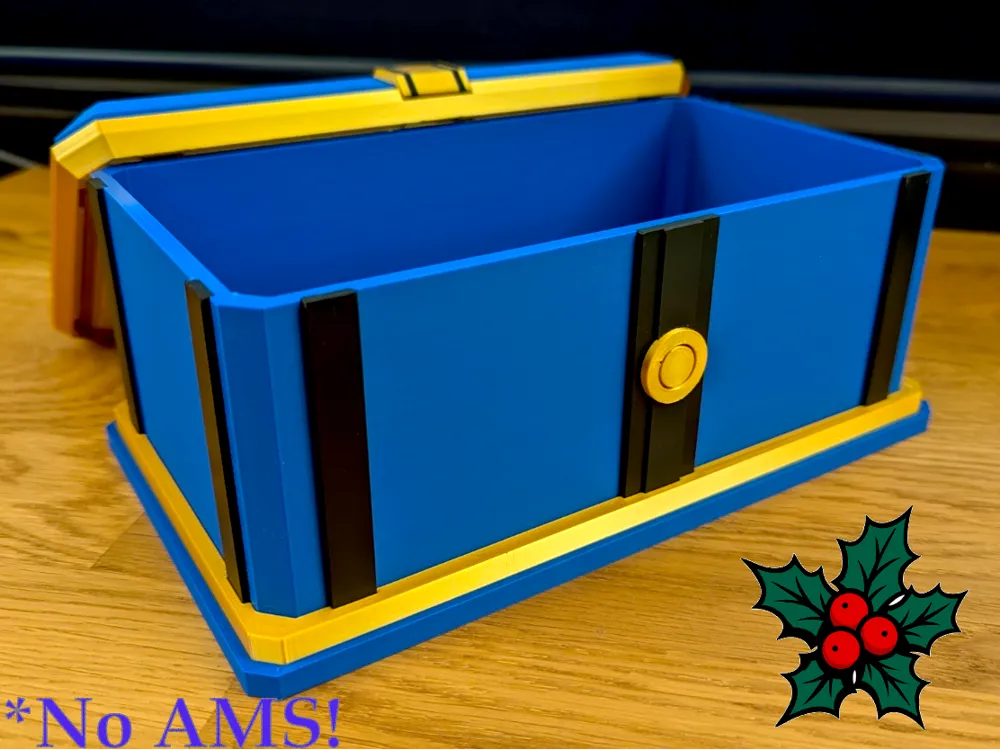
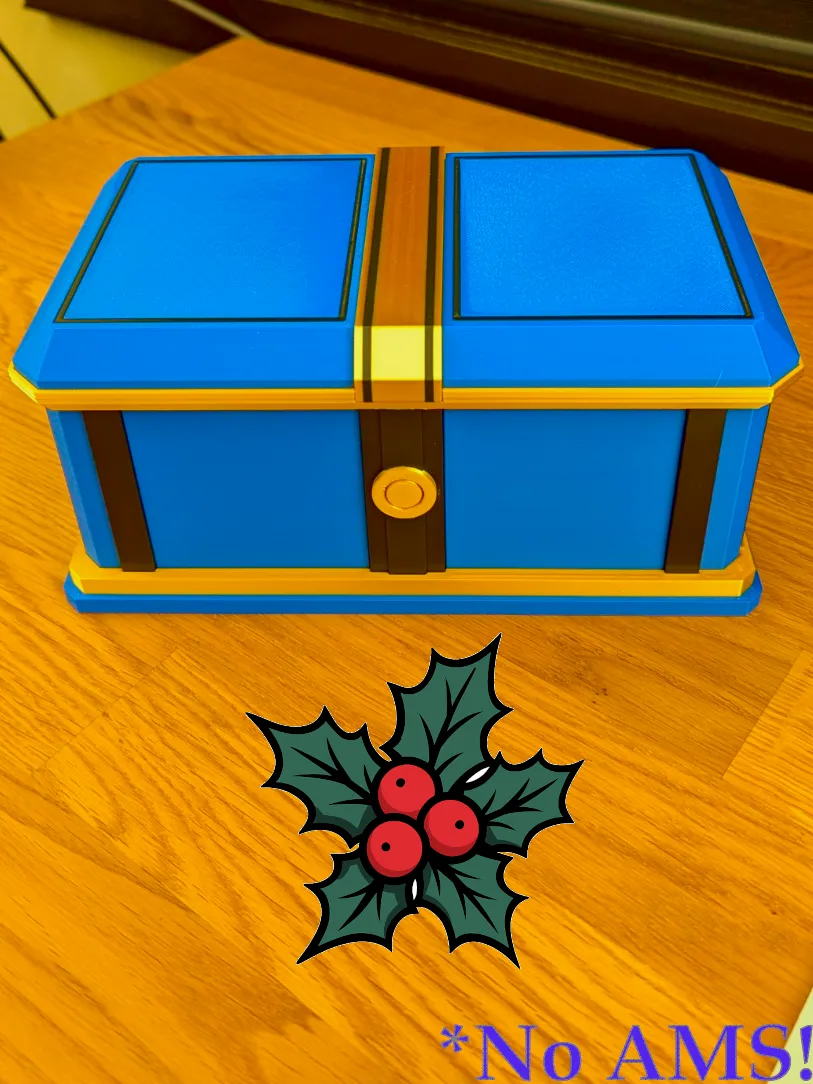
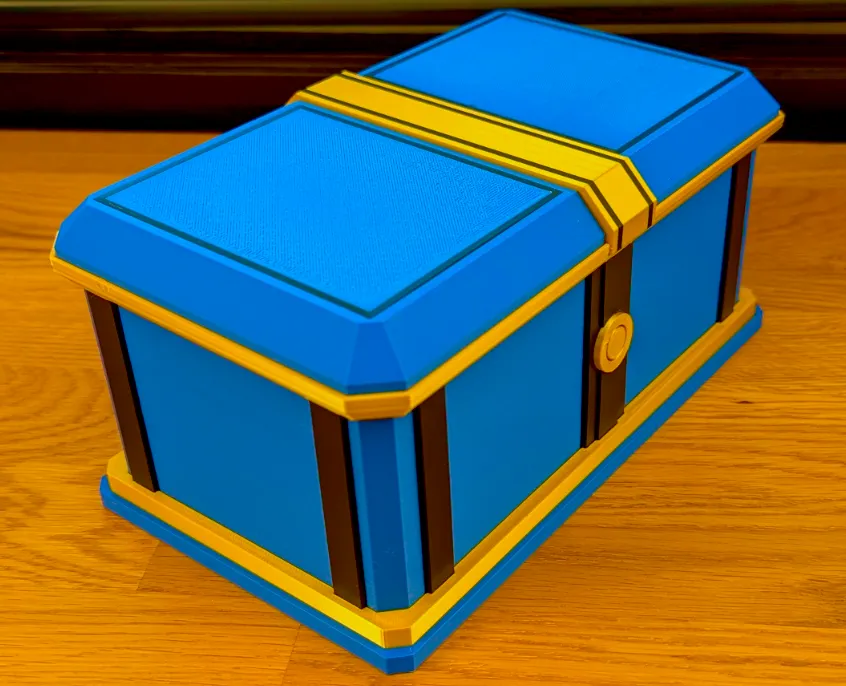
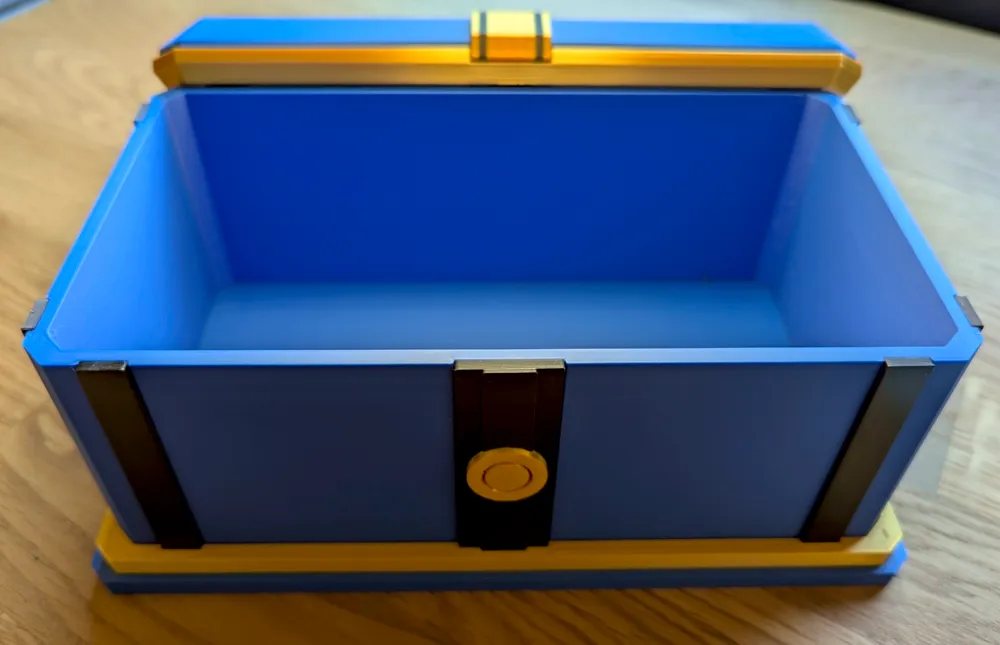
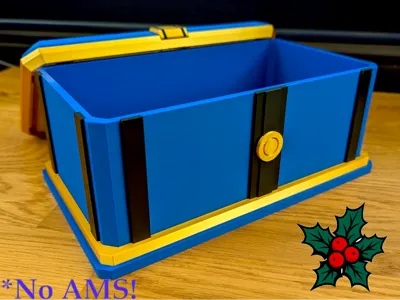
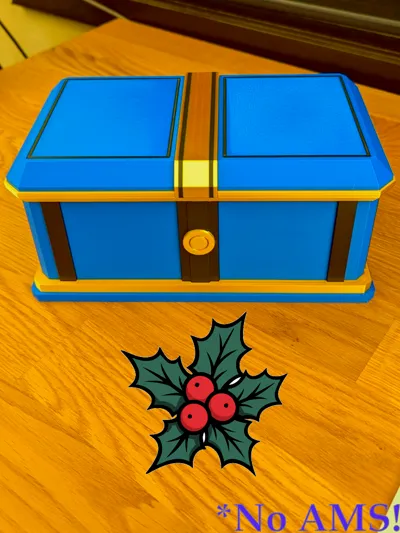
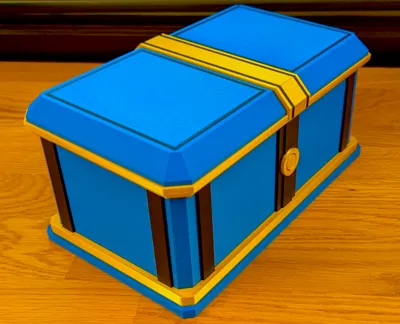
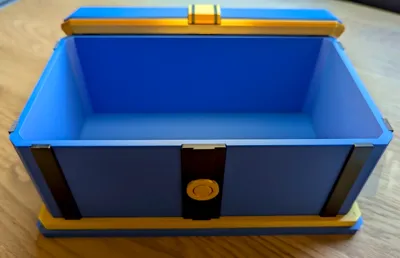
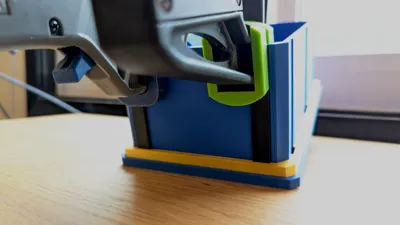
This model was inspired by the parlor boxes found in the Parlor puzzle room in Blue Prince. I've attempted to faithfully model the dimensions of those boxes based on the blueprints found on the wall of the Workshop.
Boost Me (for free)
Boosts help me realize more designs! Please consider a boost to recognize the effort that went into designing, testing, and assembling this model.
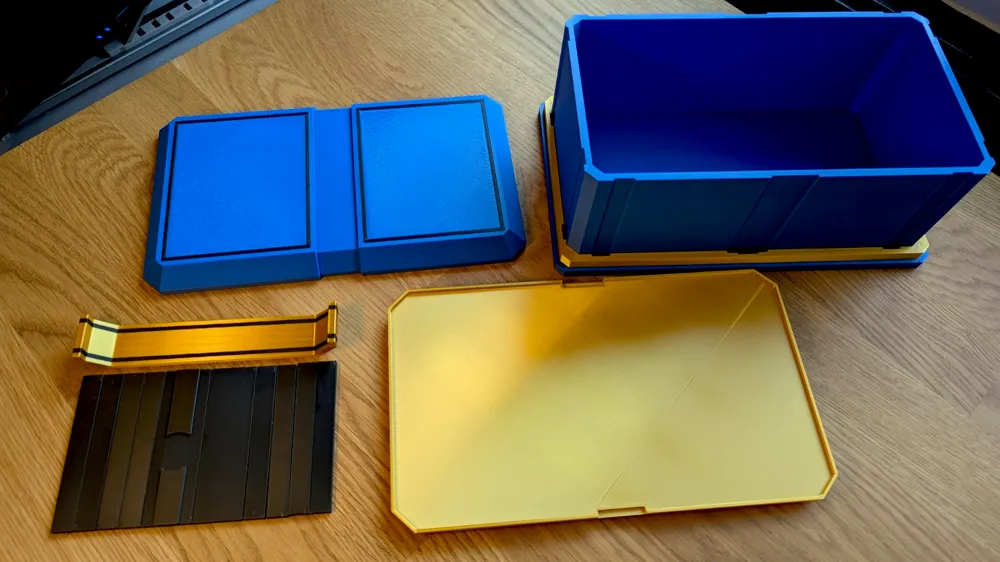
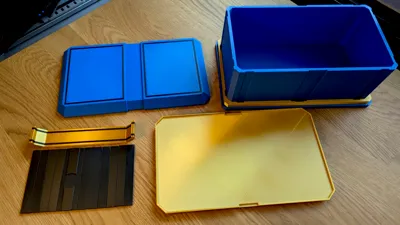
The print is designed to minimize waste, and no AMS is needed. Each piece is printed separately then glued together using standard superglue (cyanoacrylate adhesive - “CA glue"). I've made assembly as simple as possible, but have included assembly instructions to follow as the design isn't quite symmetrical due to different front/back pillars.
🛠️ Assembly Tools
- Cyanoacrylate adhesive (CA glue)
- (Optional) Rubber-footed clamps
- (Optional) Rubber mallet for ensuring pillars are fully pushed down (I didn't use one, and had no issues)
🛠️ Assembly Instructions
Time required: Less than 5 minutes of effort, plus glue drying time.
Prep: Test for fit before gluing. Model is designed with tolerances for printer variability.
1️⃣ Base Assembly
- Press Bottom - Tier onto Bottom - Base.
- No glue needed - friction holds it in place.
2️⃣ Keyhole Pillar Prep
- Apply a small amount of CA glue to the circular cutout in the Keyhole Pillar.
- Insert the cylinder into place.
3️⃣ Base Pillars (Thin 1-8, Keyhole, Thick)
⚠️ Insert the keyhole pillar before the thick pillar to avoid mixing them up. All thin pillars are identical.
- Insert one side of each pillar into the Base and Base - Tier.
- Push down firmly until flush with the top.
- Slightly pull the pillar away from the base, apply a bit of CA glue near the top, and push back in.
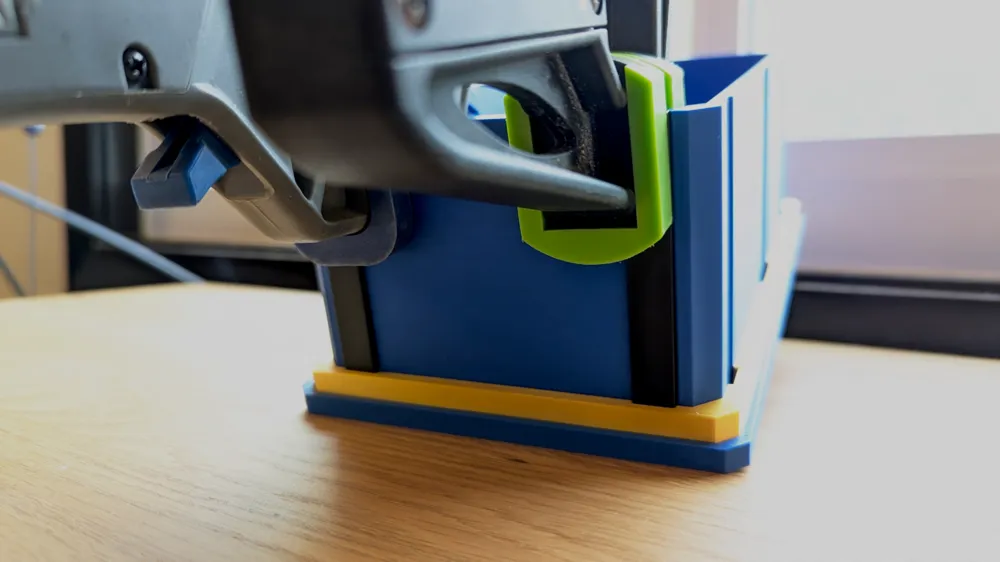
- Hold in place. Rubber-footed clamps recommended (2 minutes). No clamps? Pinch firmly by hand for about 3 minutes.
- If it doesn’t stick at first, add a bit more glue and try again.
4️⃣ Top Assembly
- Insert square inserts into Top - Hat (glue optional).
- Press Top - Hat onto Top - Base (glue optional - usually held by friction).
- Add a small amount of CA glue to the center strip on Top - Hat. Snap Top - Band into place.
Questions? Want to show off your print? I'd love to hear from you in the comments.
License

You shall not share, sub-license, sell, rent, host, transfer, or distribute in any way the digital or 3D printed versions of this object, nor any other derivative work of this object in its digital or physical format (including - but not limited to - remixes of this object, and hosting on other digital platforms). The objects may not be used without permission in any way whatsoever in which you charge money, or collect fees.


Comment & Rating (6)