
The 1 Wallet (Stealth-Inspired)
Print Profile(2)


Bill of Materials

- m3x4mm x 8: https://www.google.com/search?q=https://www.amazon.com/dp/B0C5M9ZB17
- 6-7 in of 1 5/8" woven elastic x 1: https://www.google.com/search?q=https://www.hobbylobby.com/fabric-sewing/sewing-quilting-notions/elastic/black-woven-elastic---1-5-8/p/80786948
Description
Hello fellow makers!
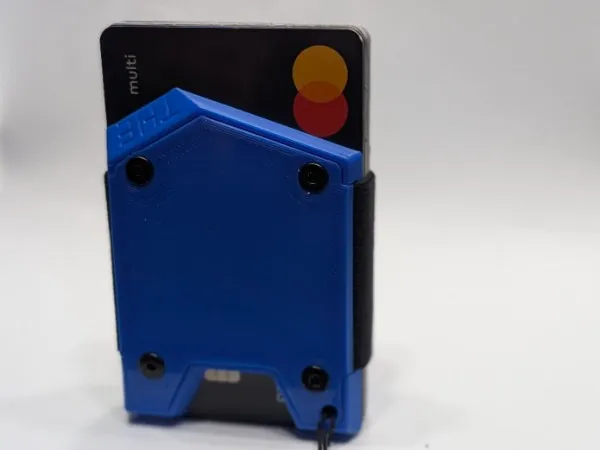
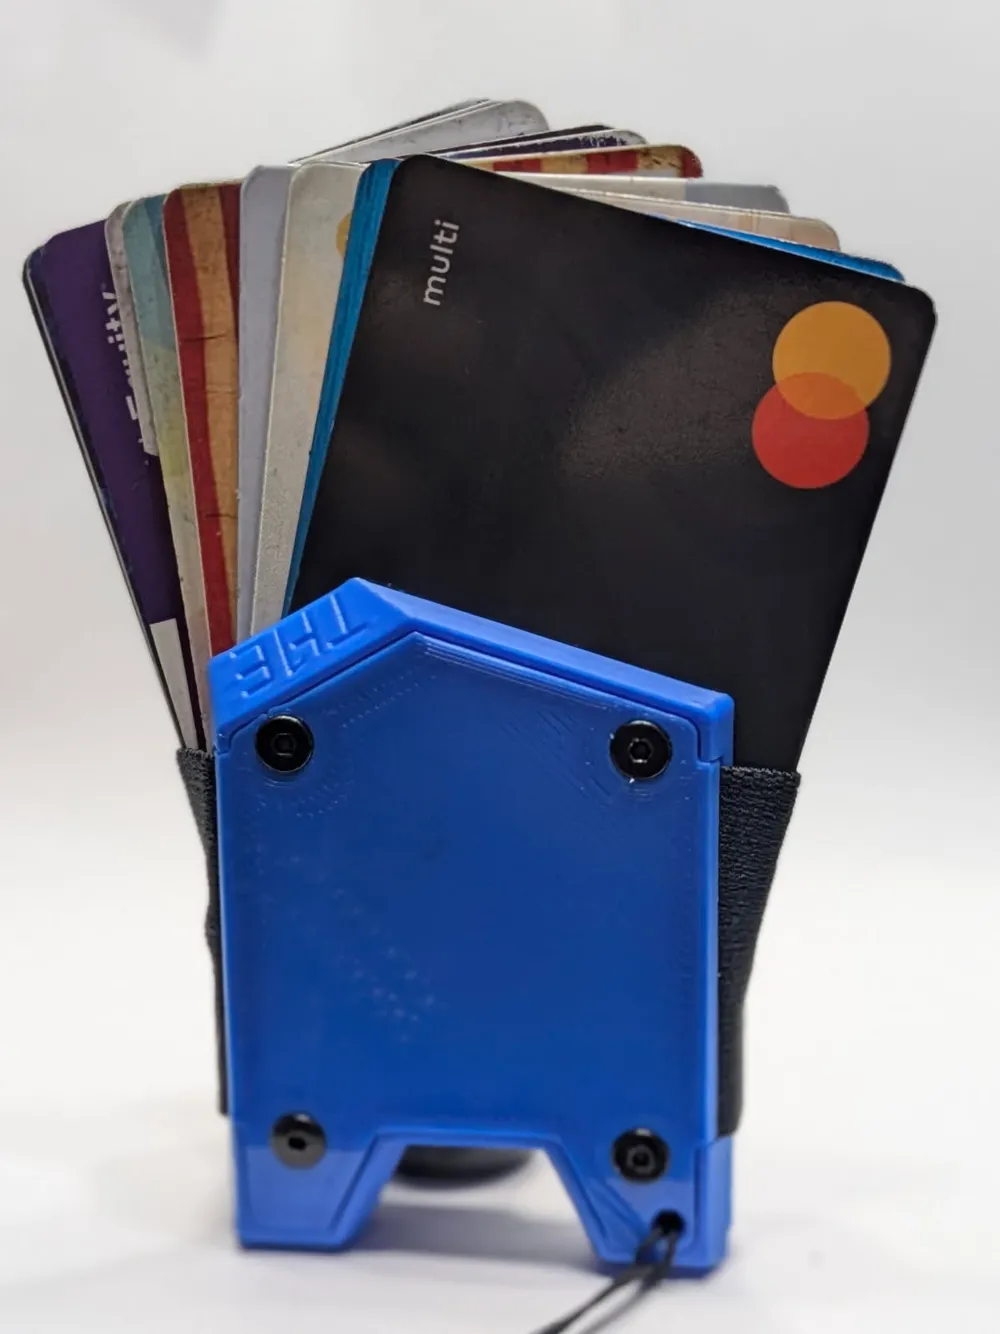
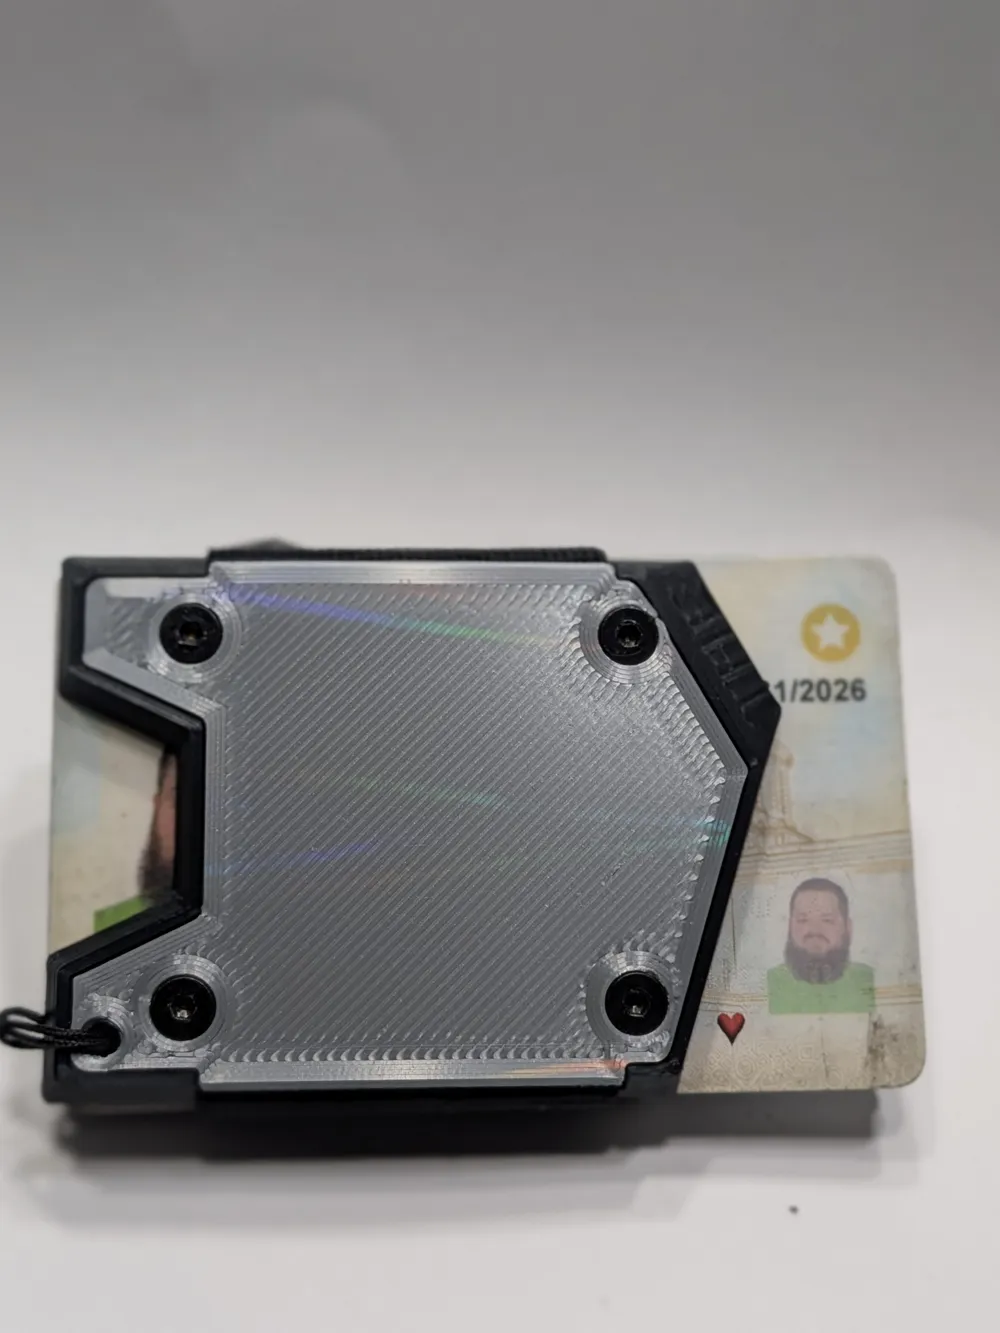
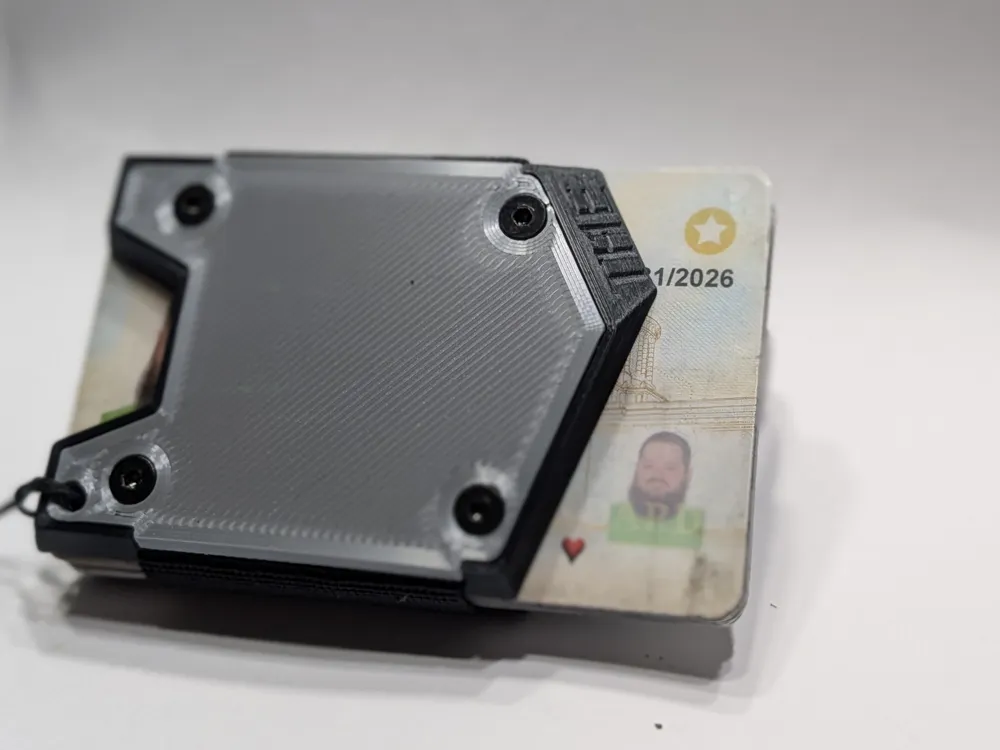
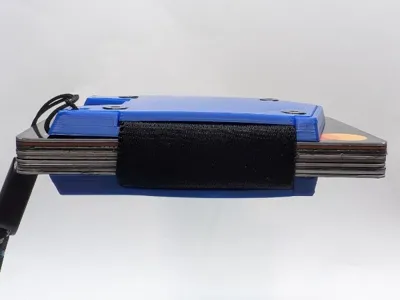
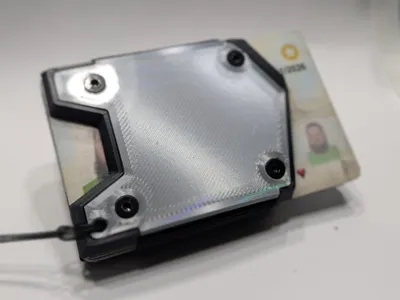
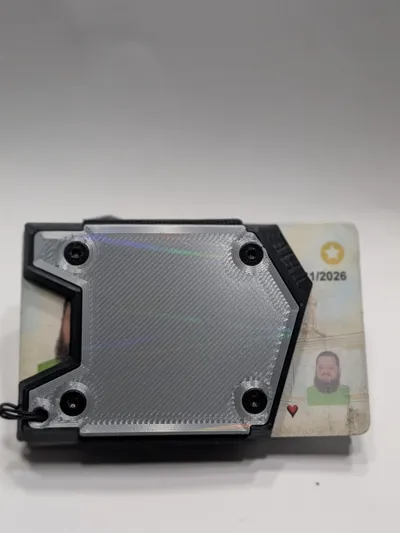
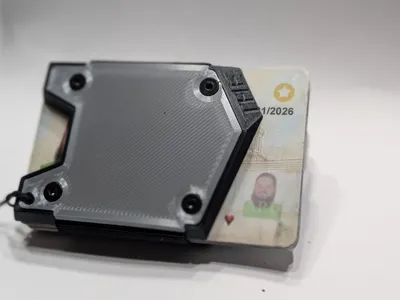
This is my take on a slim, durable, and stylish minimalist wallet. I call it "The 1 Wallet." This design is a personal project, created because I'm a huge fan of the aesthetic and function of the Groove Stealth Wallet. My goal was to design a version that could be easily 3D printed and assembled with readily available hardware, allowing the maker community to create their own version.
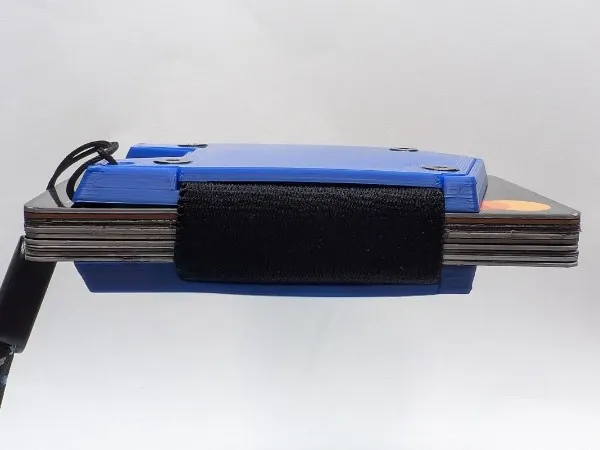
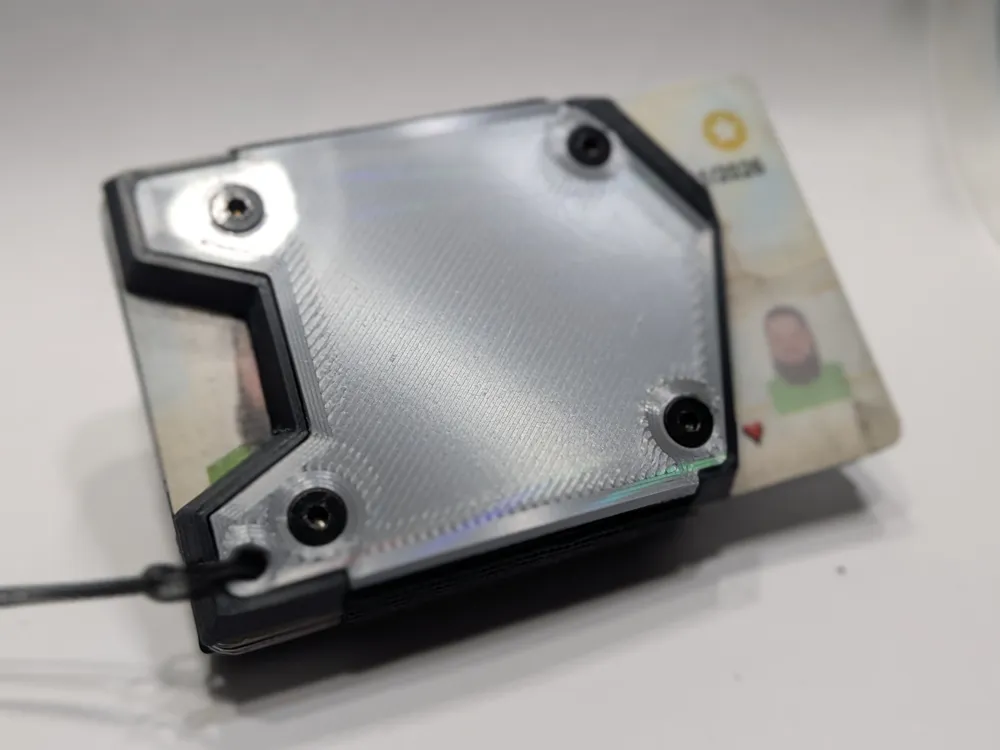
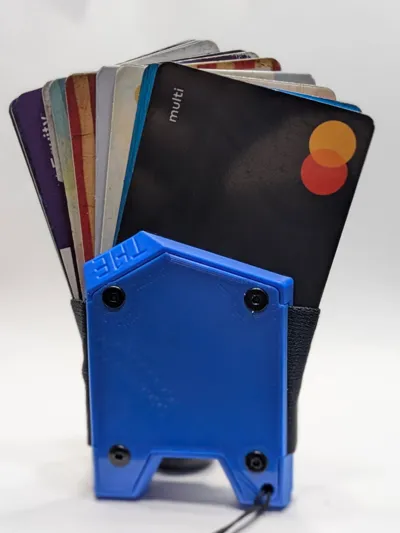
It's designed to be printed with very little fuss and assembled in minutes. The wallet is held together with eight M3 screws and uses a wide elastic band to securely hold your cards, with a tested maximum capacity of approximately 10 cards.
Design Inspiration & Disclaimer
This design is heavily inspired by and pays homage to the Groove Life Stealth Wallet. It is not an exact copy, but rather my own 3D-modeled interpretation of that style, created for personal use and to share with the hobbyist community.
If you love the design and want the professional quality of the original, I highly encourage you to support the official creators by purchasing the real deal directly from them: Groove Wallet® - Stealth Black
Required Hardware (Bill of Materials)
You will need two non-printed components to complete this wallet:
- Screws: 8x M3x4mm Flat Head Screws
- Amazon Link: M3x4mm Screws
- Elastic Band: 1 5/8" (approx. 41mm) wide woven elastic. You'll only need about 6 inches (15cm).
- Hobby Lobby Link: Black Woven Elastic - 1 5/8"
Printing Instructions
- Creator's Setup: The settings below are from my successful print on a Bambu Lab P1S.
- Slicer Profile: I used the standard "0.08mm Extra Fine @BBL X1C" profile as a base.
- Filament: I have only printed this in Generic PLA so far, and it came out great. For maximum long-term durability, PETG, ABS, or ASA are also excellent choices.
- Layer Height: It is strongly recommended to use a 0.08mm layer height. This fine resolution is critical for keeping the small elastic retaining points sharp and ensuring they grip the elastic band properly. While a 0.16mm layer height is possible for a faster print, it may result in less effective elastic retention.
- Supports: Supports are needed ONLY for the eight screw holes. Standard (normal) supports work perfectly. For easy removal, I used a Top Support Z-Distance of 0.1mm.
- Orientation: Print both main body pieces flat on the print bed.
Assembly Instructions
- Print both halves of the wallet and carefully remove the small supports from the screw holes.
- Cut a length of the 1 5/8" elastic. The perfect length will depend on how many cards you plan to carry (up to a tested maximum of 10). Start with a 6-inch (~15cm) piece and adjust for your preferred tension.
- Loop the elastic through the dedicated slots inside one of the wallet halves.
- Place the second half of the wallet on top, making sure the elastic is seated correctly in its channels and isn't twisted.
- Use eight (8) M3x4mm screws (four on each side) to secure the two halves together. Be careful not to overtighten, as this can strip the plastic threads. Snug is good enough.
- Test the card retention. If it's too loose or too tight, simply unscrew the halves and adjust the length of your elastic band.
License

You shall not share, sub-license, sell, rent, host, transfer, or distribute in any way the digital or 3D printed versions of this object, nor any other derivative work of this object in its digital or physical format (including - but not limited to - remixes of this object, and hosting on other digital platforms). The objects may not be used without permission in any way whatsoever in which you charge money, or collect fees.


Comment & Rating (9)