
cappy blower-always a cool forehead
Print Profile(1)

Bill of Materials

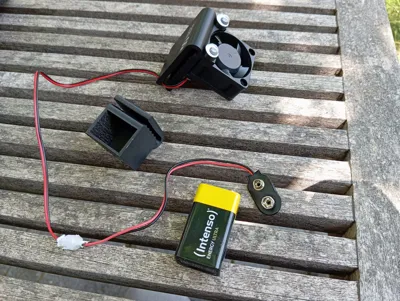
- 4020 fan 24v x 1: I bought it from aliexpress
- 2xM3x30mm screws x 1: I bought it from aliexpress
- 2xM3 nuts x 1: I bought it from aliexpress
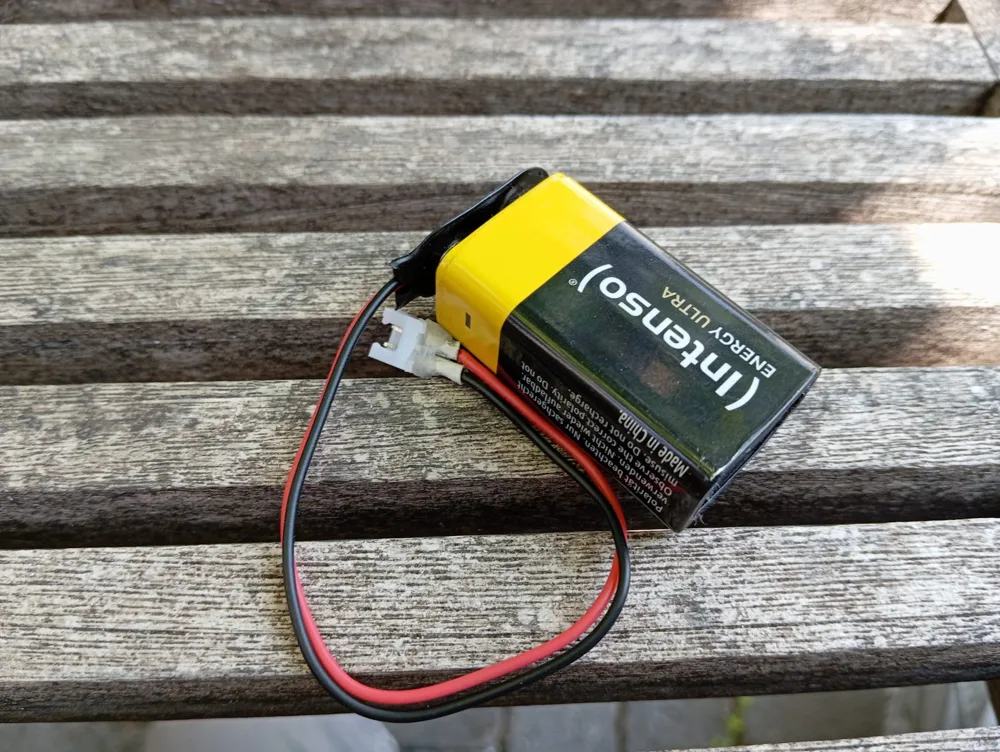
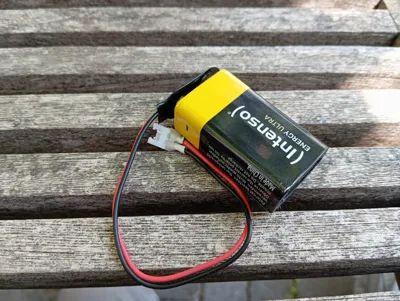
- 9v block battery x 1: I had lying it around
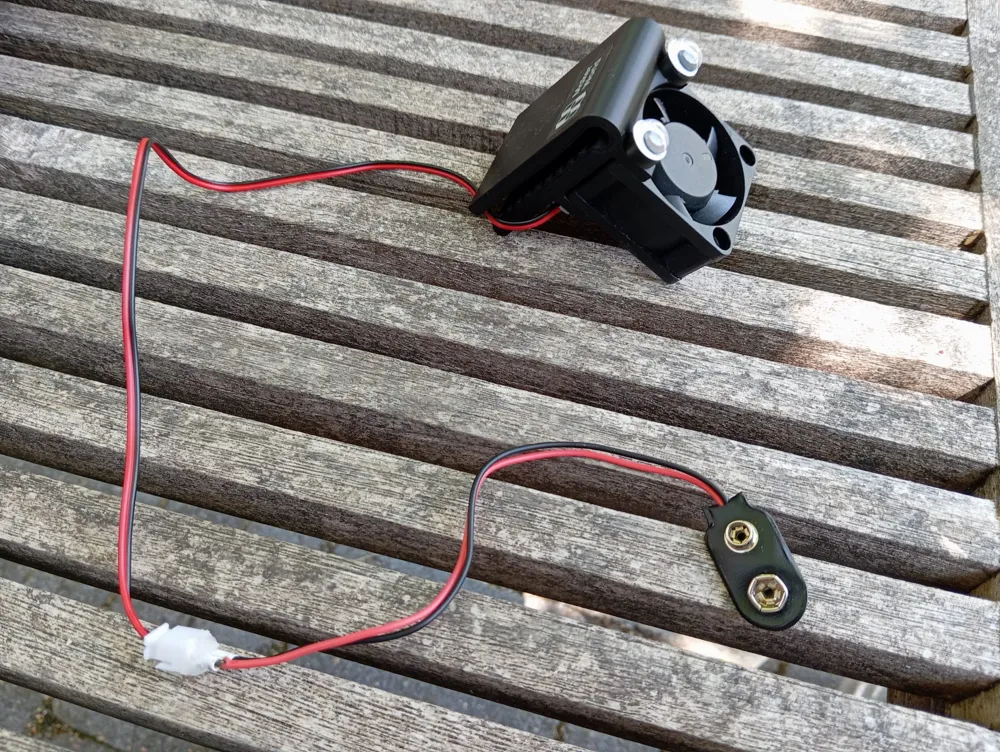
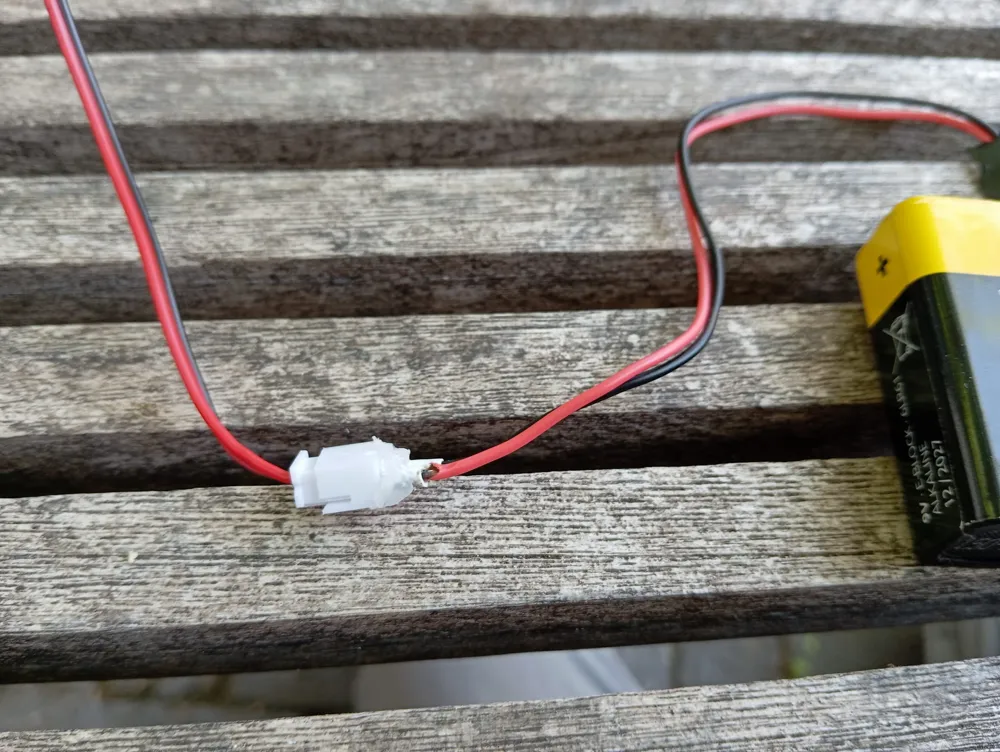
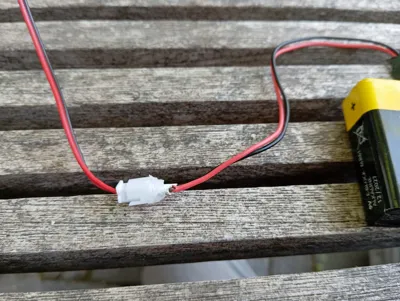
- 9v block battery conector / battery to 2 pin x 1: I had lying it around
Description
Cappy Blower
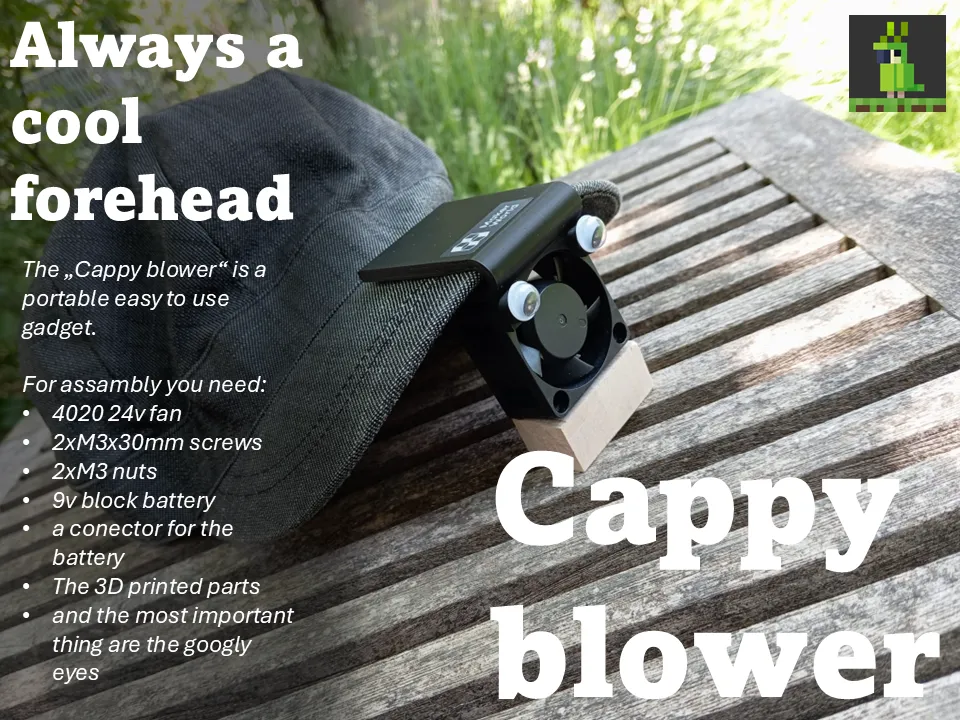
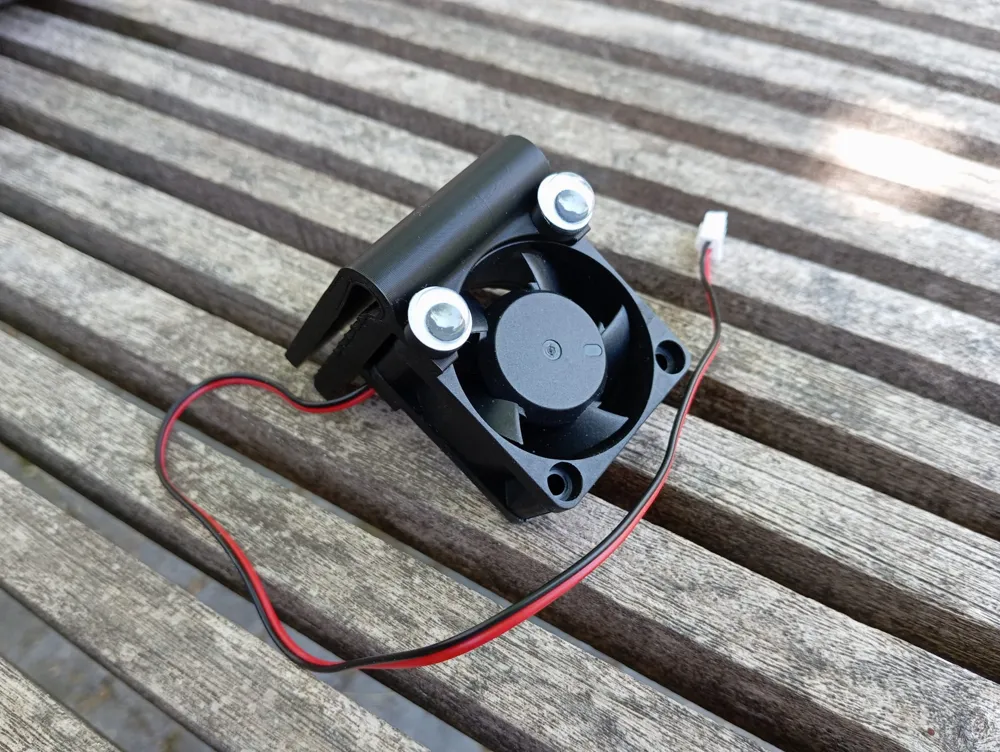
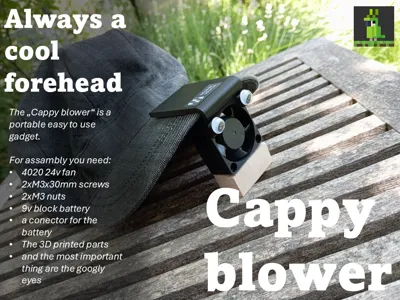
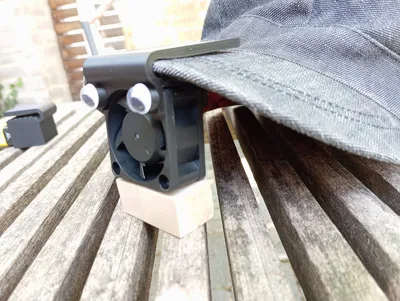
The „Cappy blower“ is a portable easy to use gadget.
I printed everything on my Bambulab A1 mini and it works realy good with the standart settings (0.2) in Bambu Studio.
I used a 24v fan but you can easily swap out the 24v fan with a 12v fan it youst increase the air which will blow.
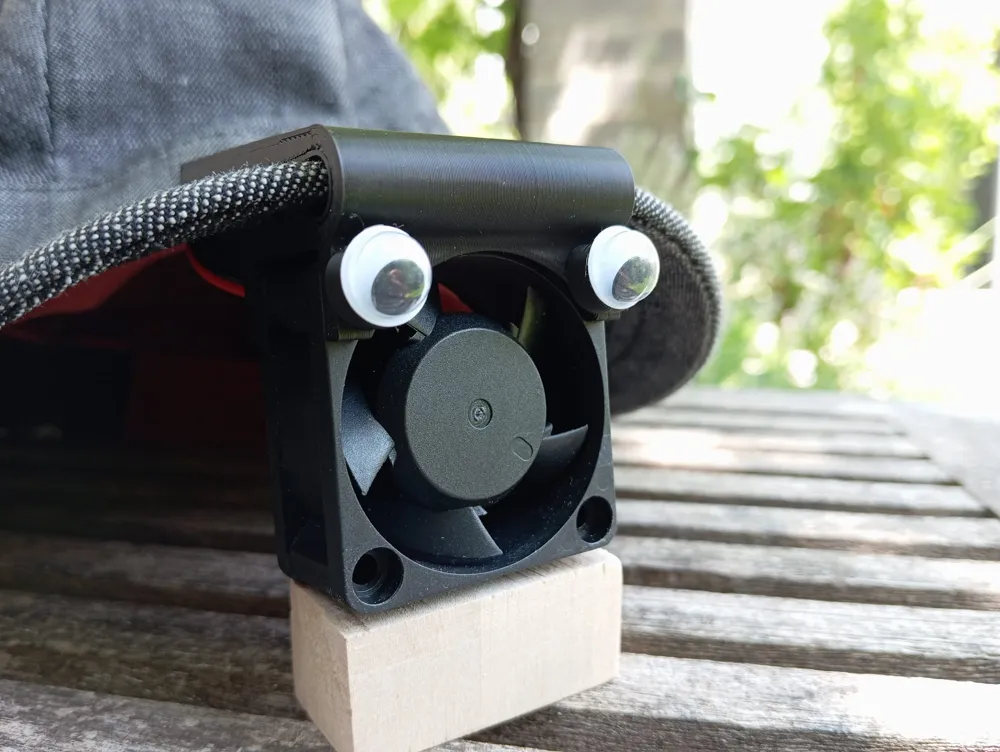
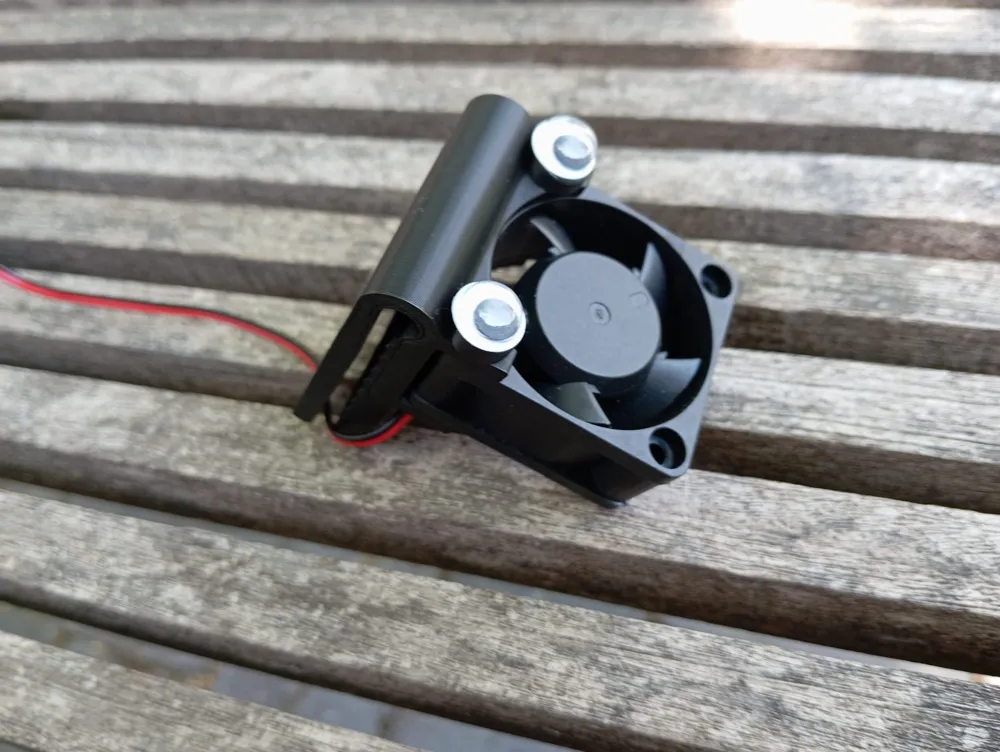
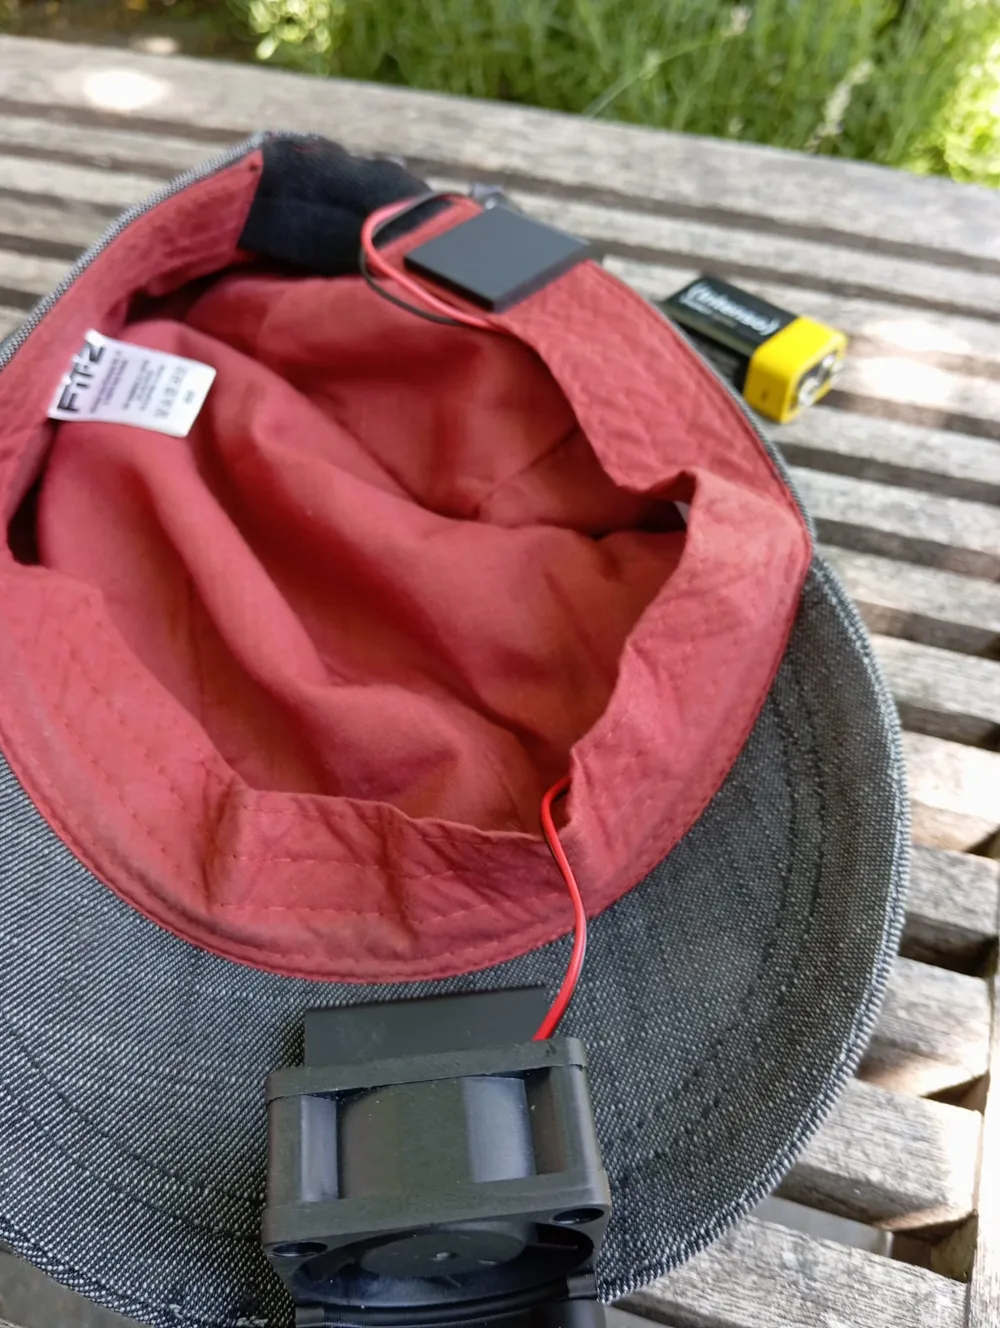
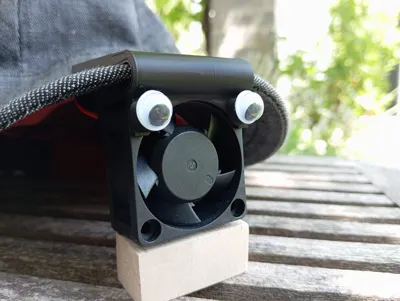
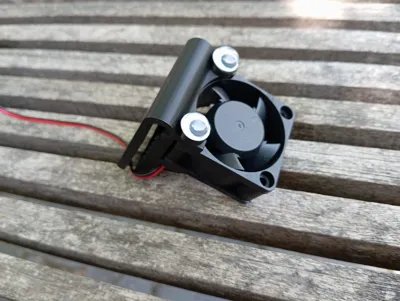
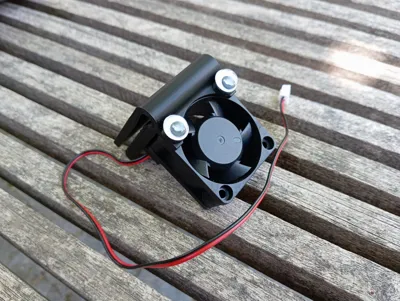
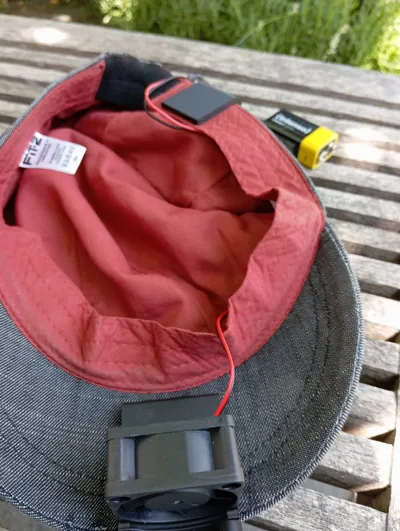
To assemble, place the 4020 fan in the bracket and secure it with the M3x30 screws and M3 nuts.
Glue the googly eyes onto the small screw covers and place the printed googly eyes onto the screw and secure them with a small drop of glue.
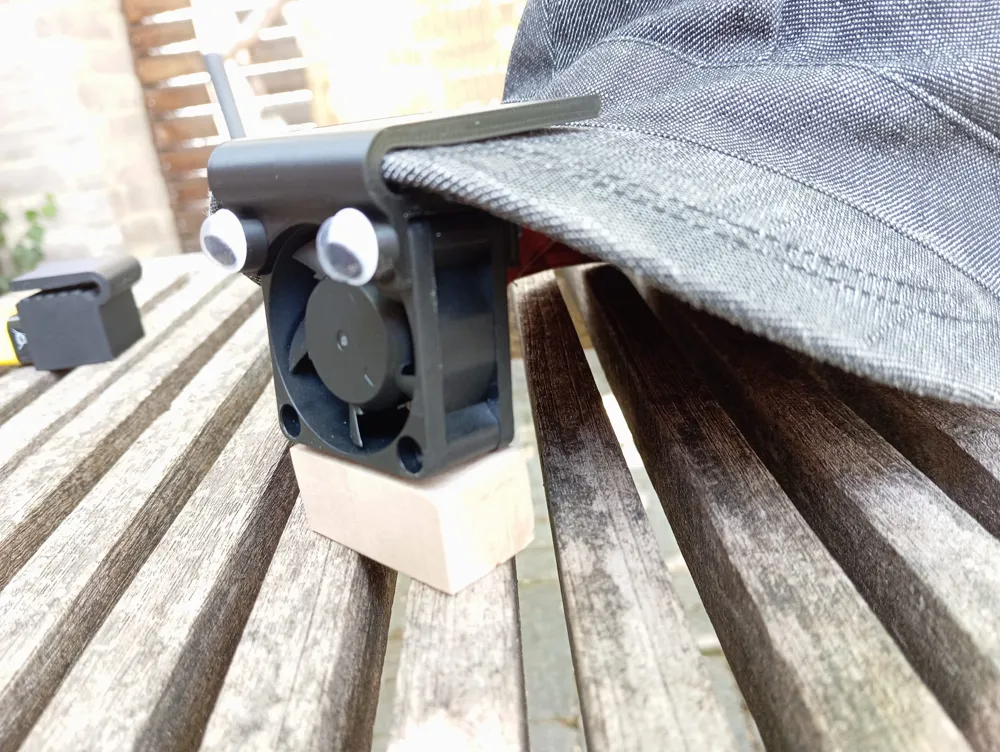
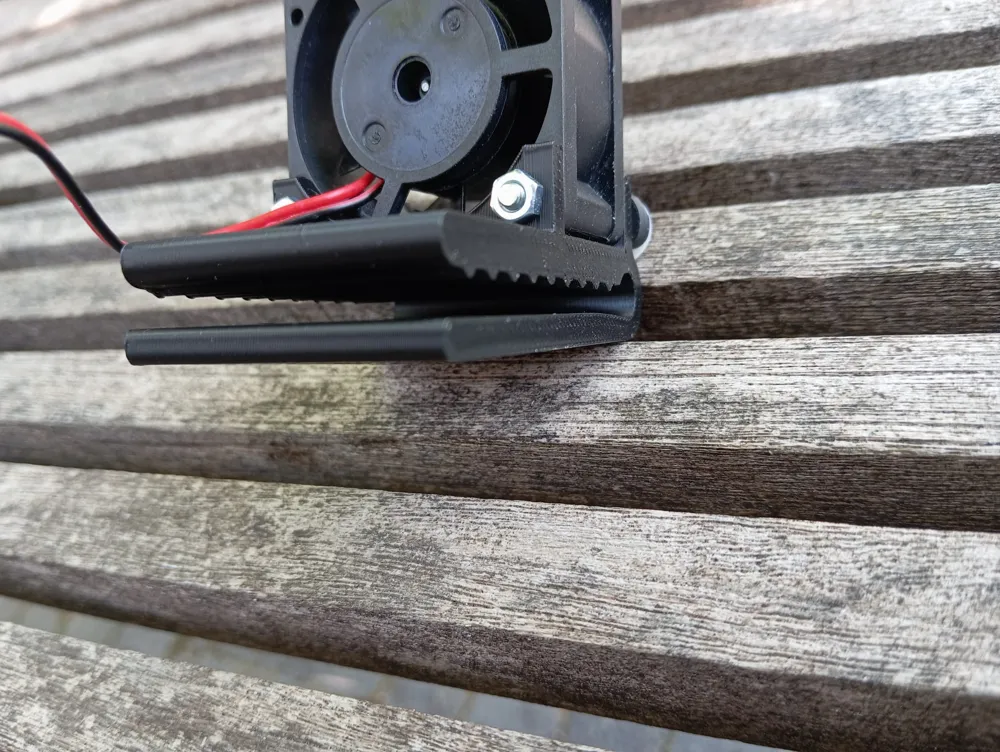
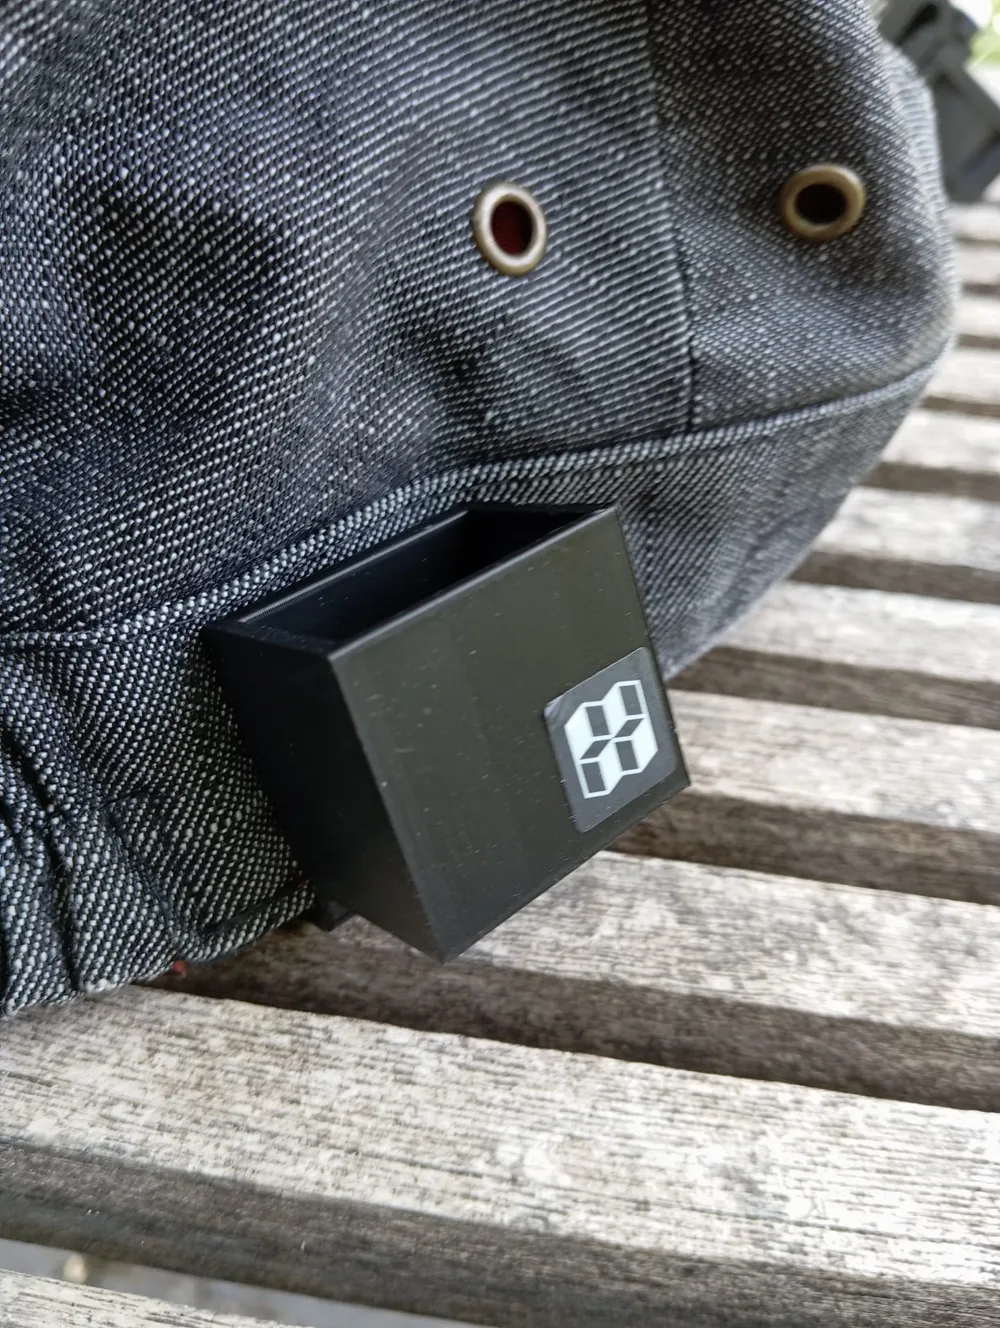
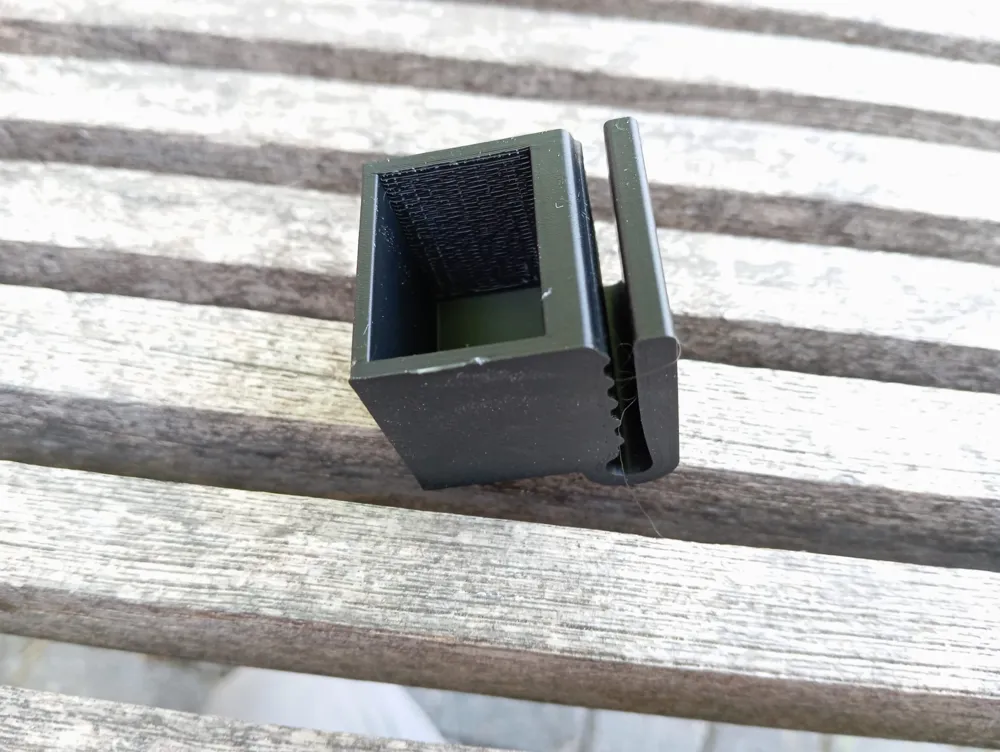
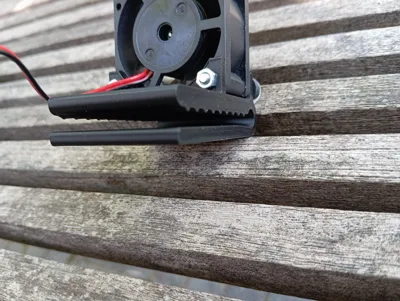
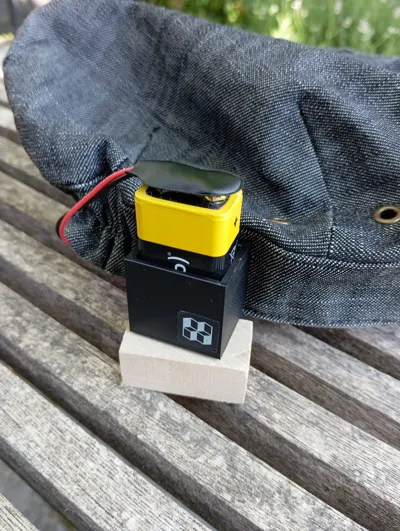
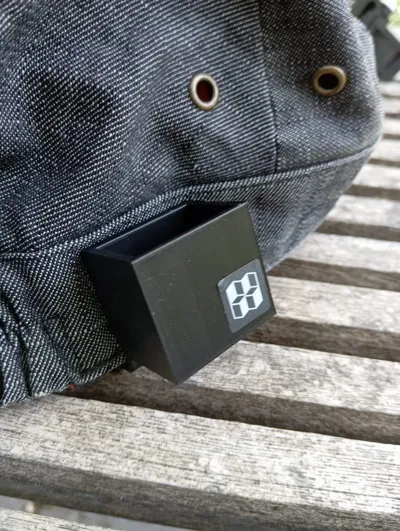
And slide everything on your cap.
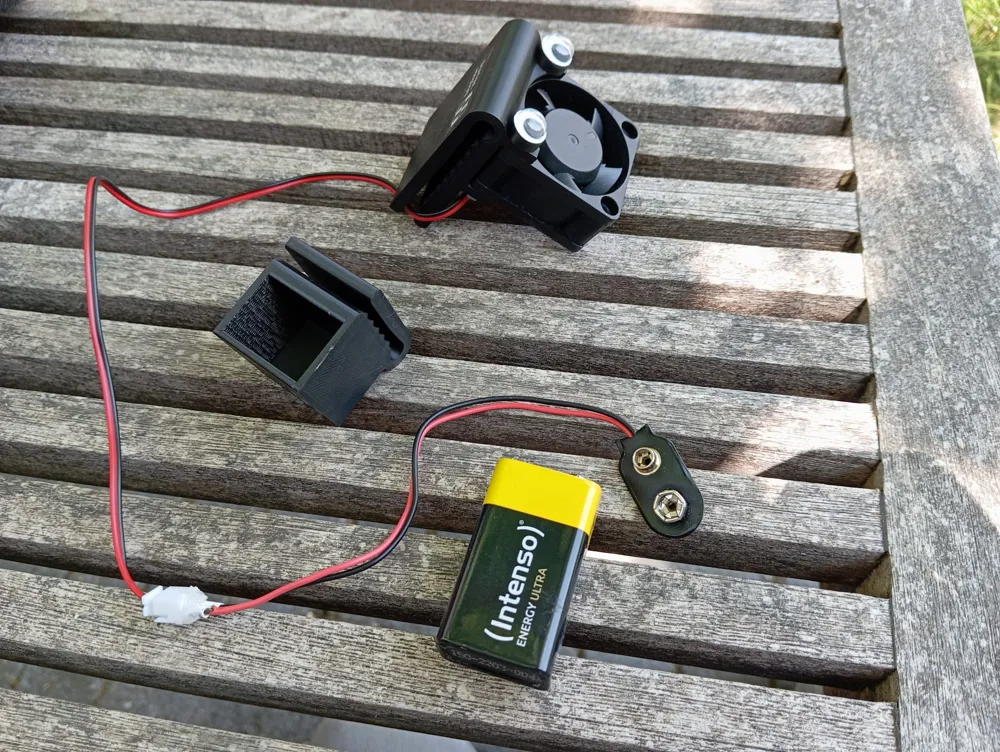
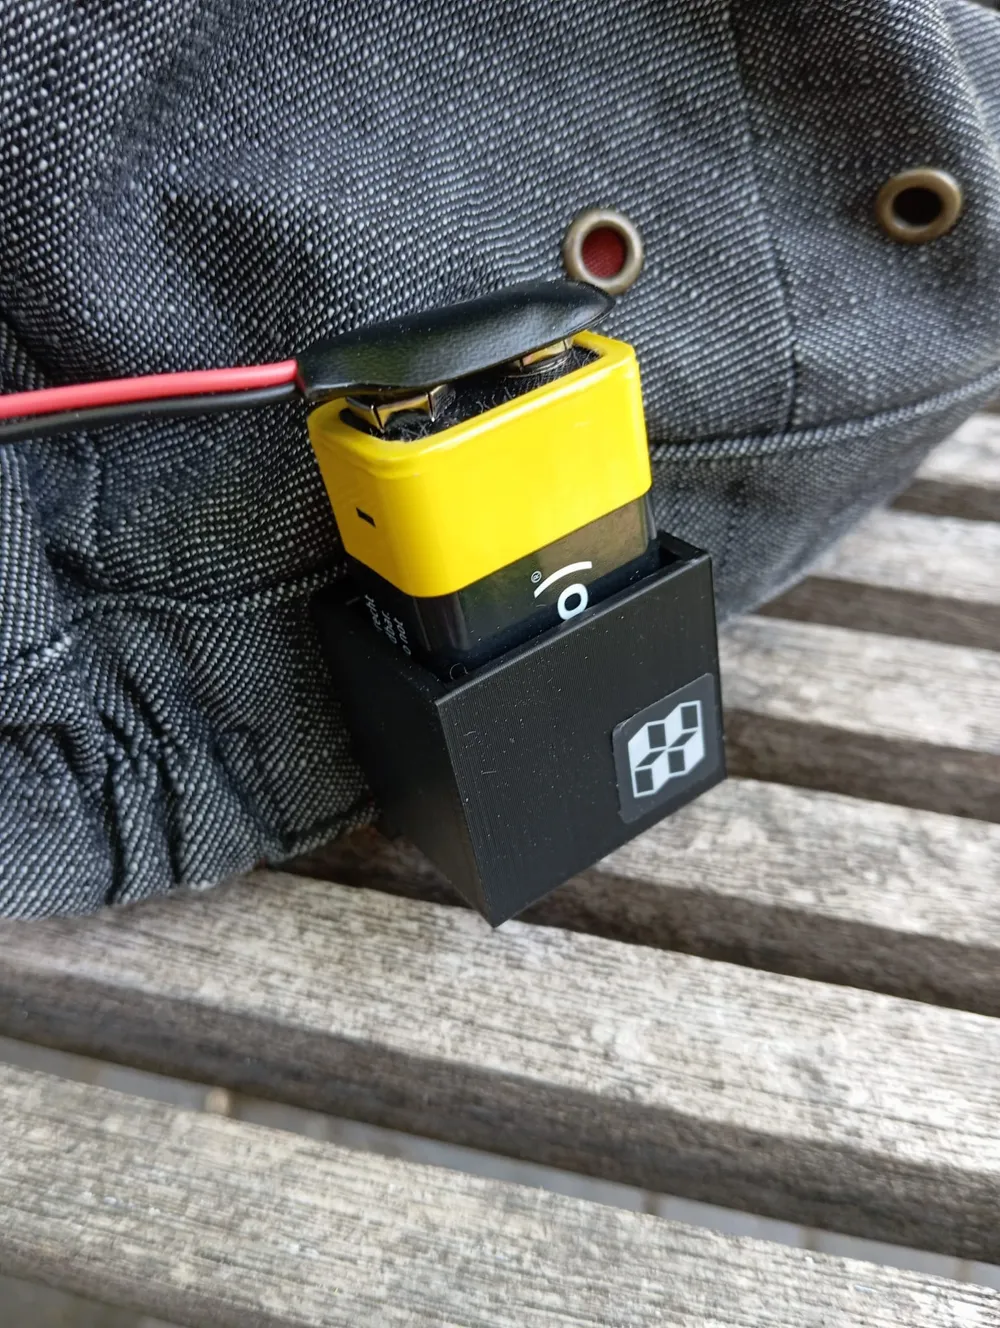
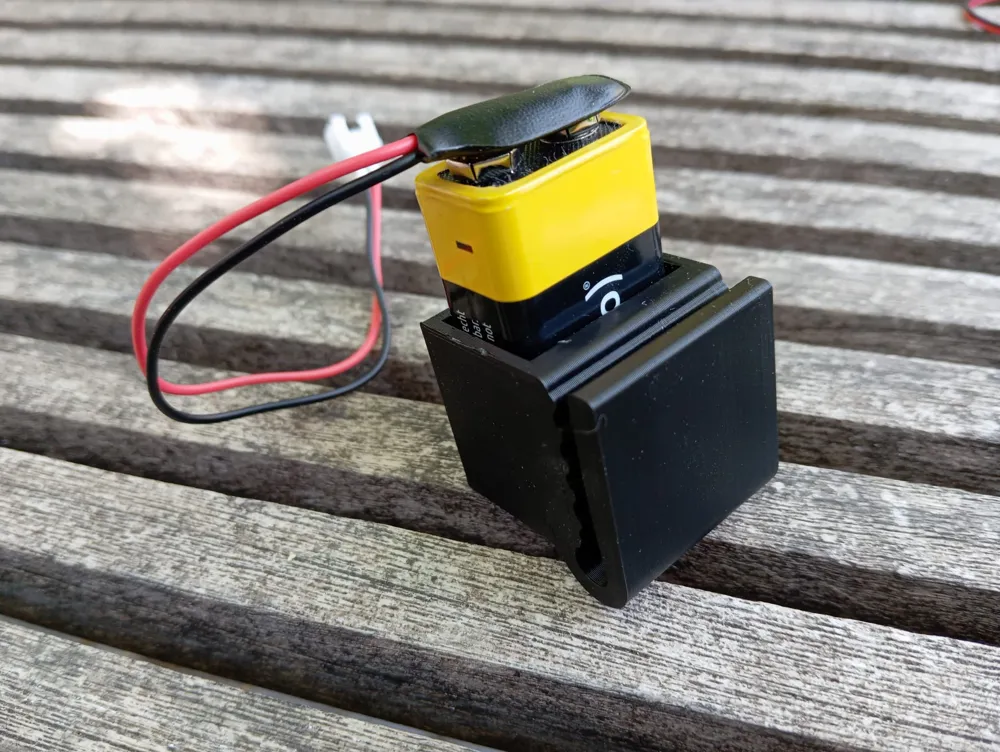
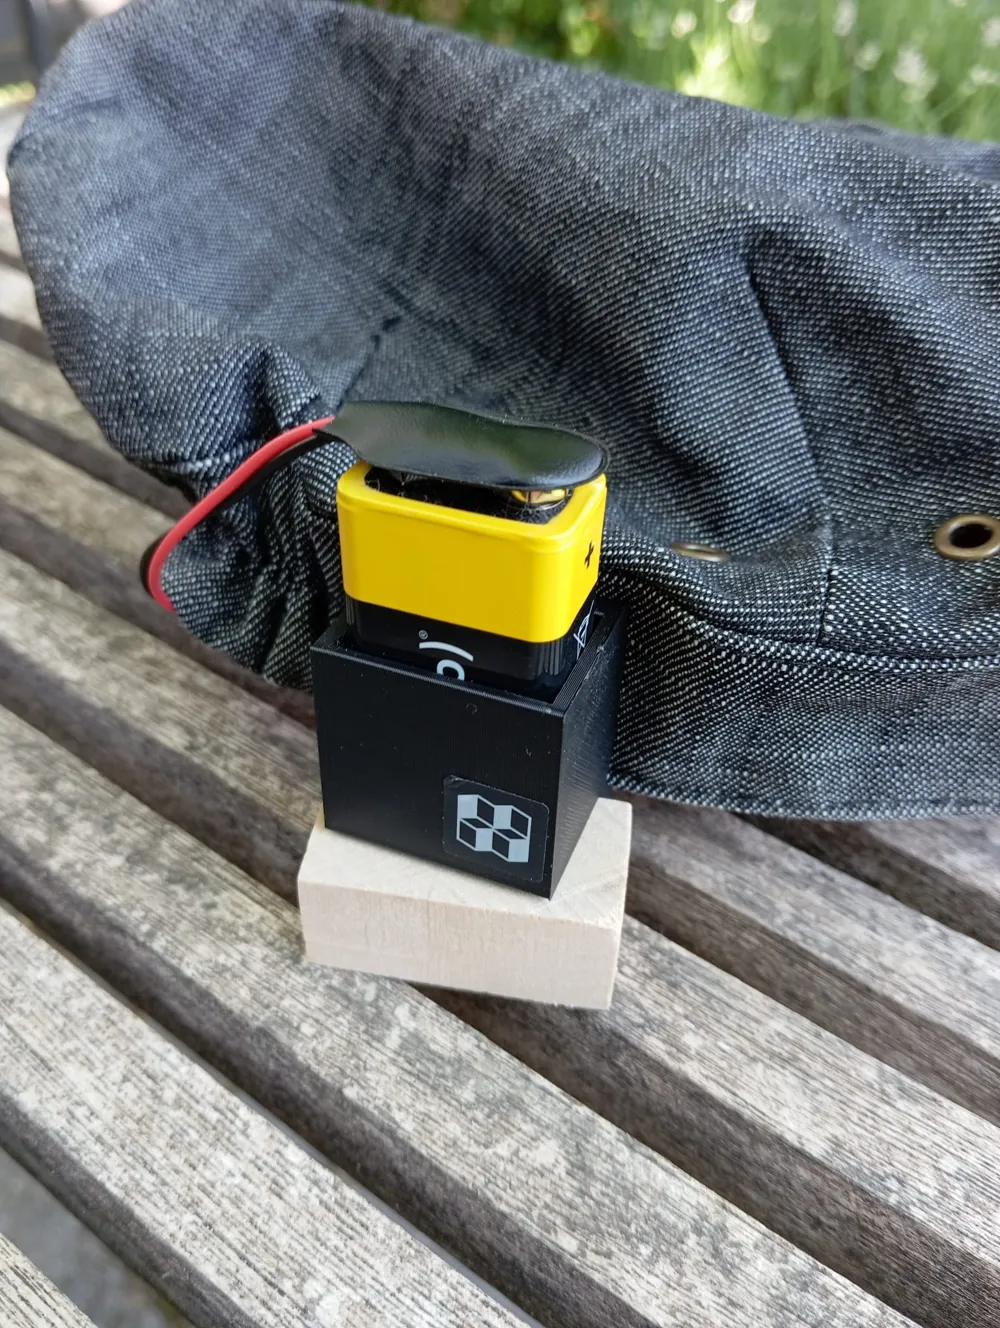
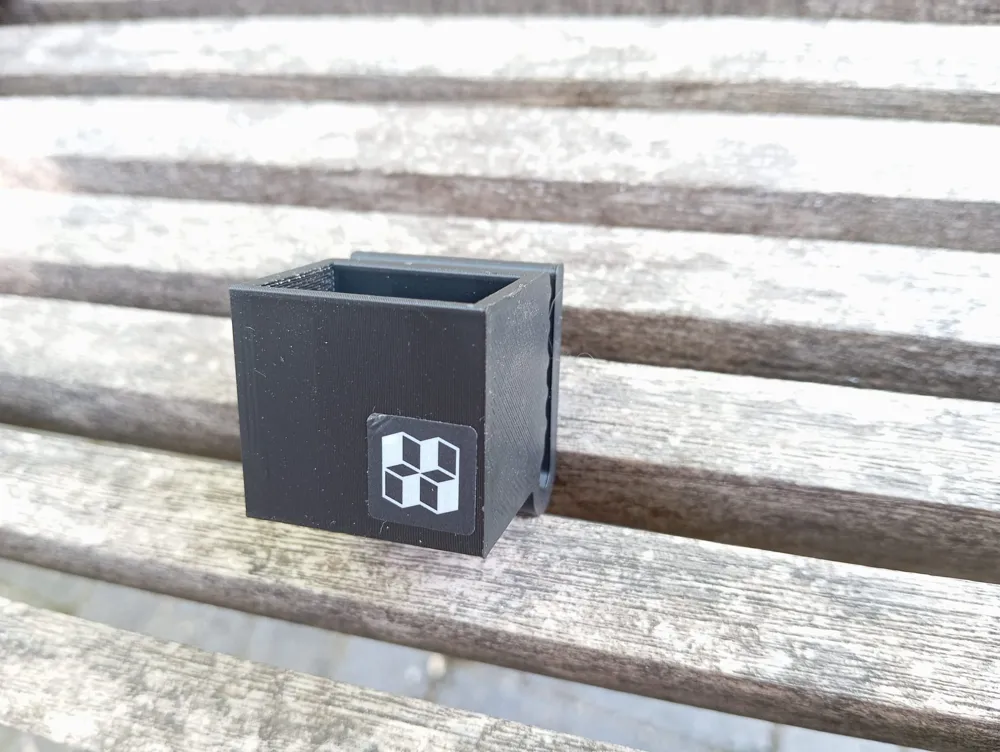
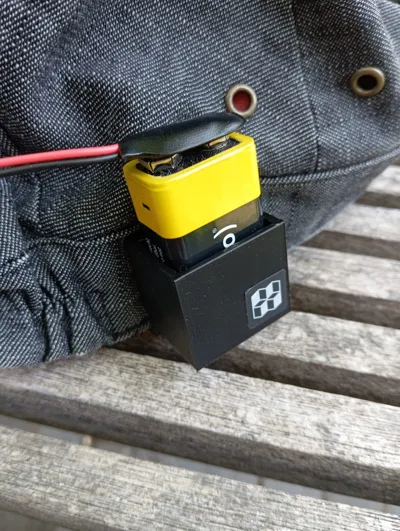
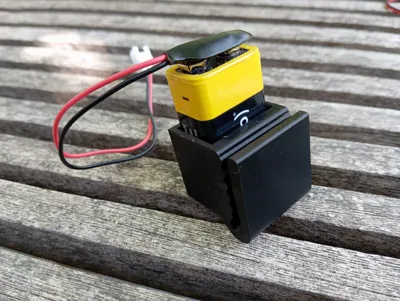
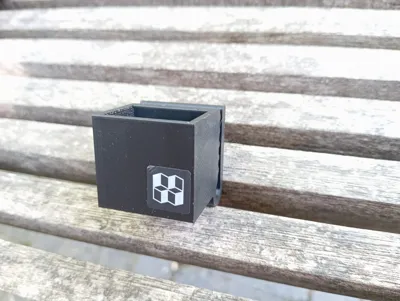
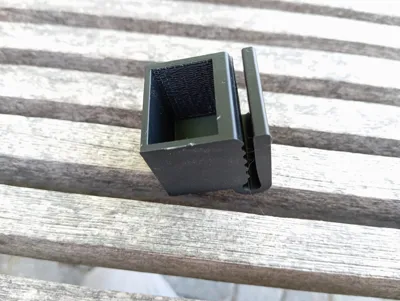
Slide the 3D-printed battery holder onto the cap and insert the battery into the 3D-printed part. It should hold perfectly in place.
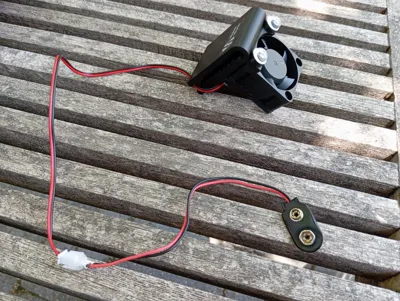
Now just connect the two cables together, and you've got a cool forehead.
For assambly you need:
- 4020 24v fan
- 2xM3x30mm screws
- 2xM3 nuts
- 9v block battery
- a conector for the battery
- The 3D printed parts
- and the most important thing are the googly eyes
You can use conector like i did but you don't have to. (2.54)
Boost Me (for free)
Thanks!!
If you have any questions fell free to send my a massage.
@AgentTropenfish
License

You shall not share, sub-license, sell, rent, host, transfer, or distribute in any way the digital or 3D printed versions of this object, nor any other derivative work of this object in its digital or physical format (including - but not limited to - remixes of this object, and hosting on other digital platforms). The objects may not be used without permission in any way whatsoever in which you charge money, or collect fees.


Comment & Rating (3)