
Macro photography rail for focus stacking.
Print Profile(1)
Description
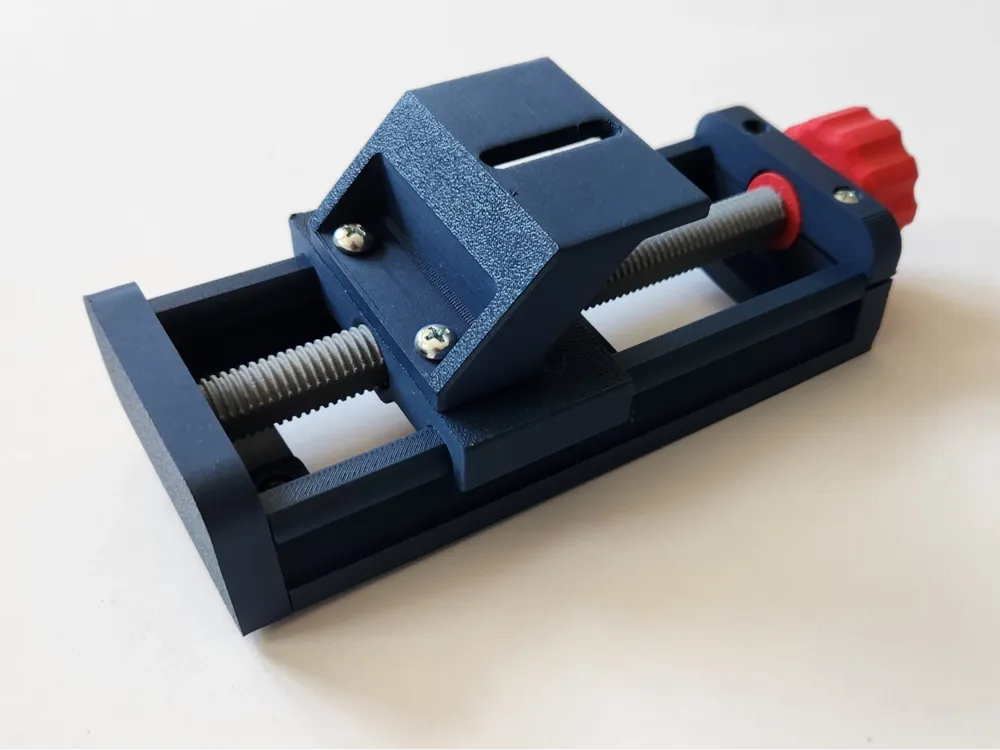
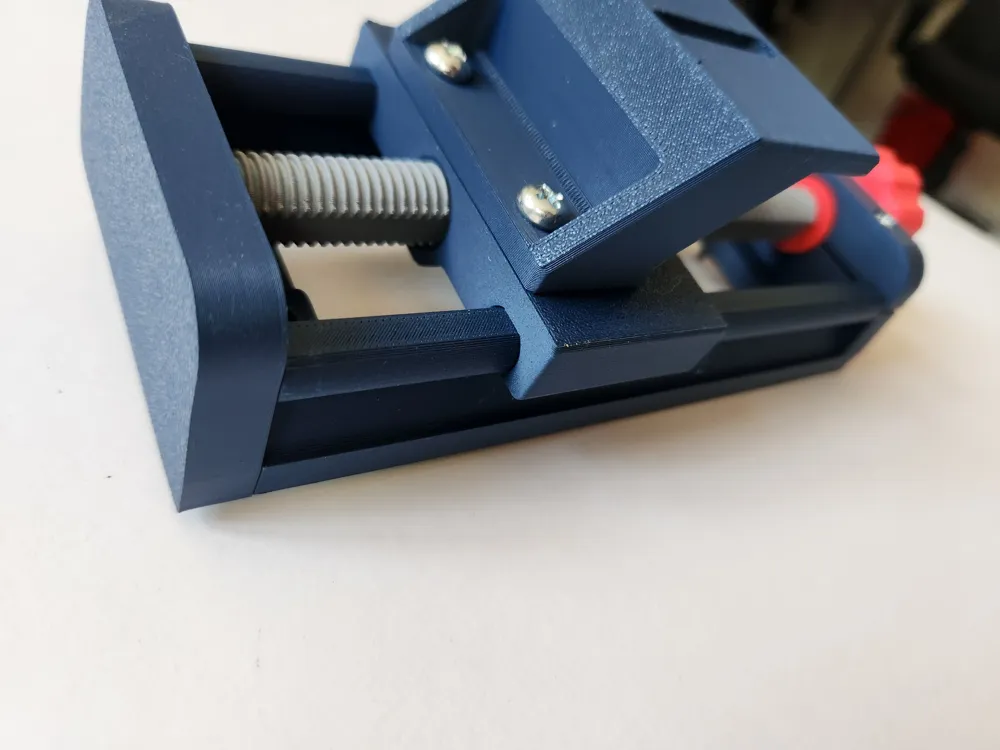
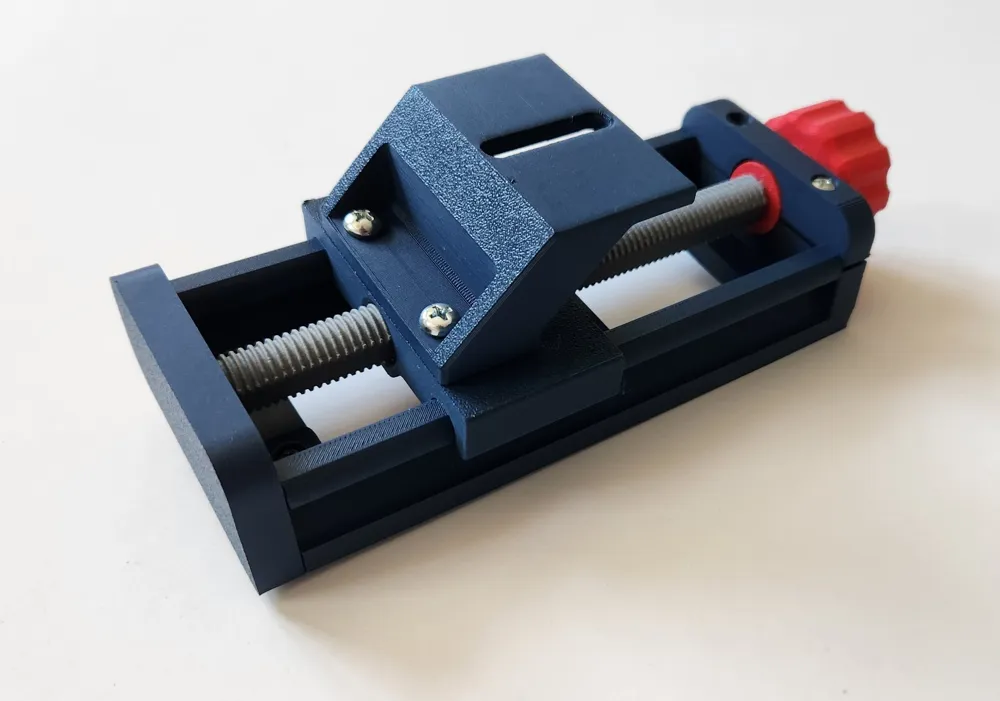
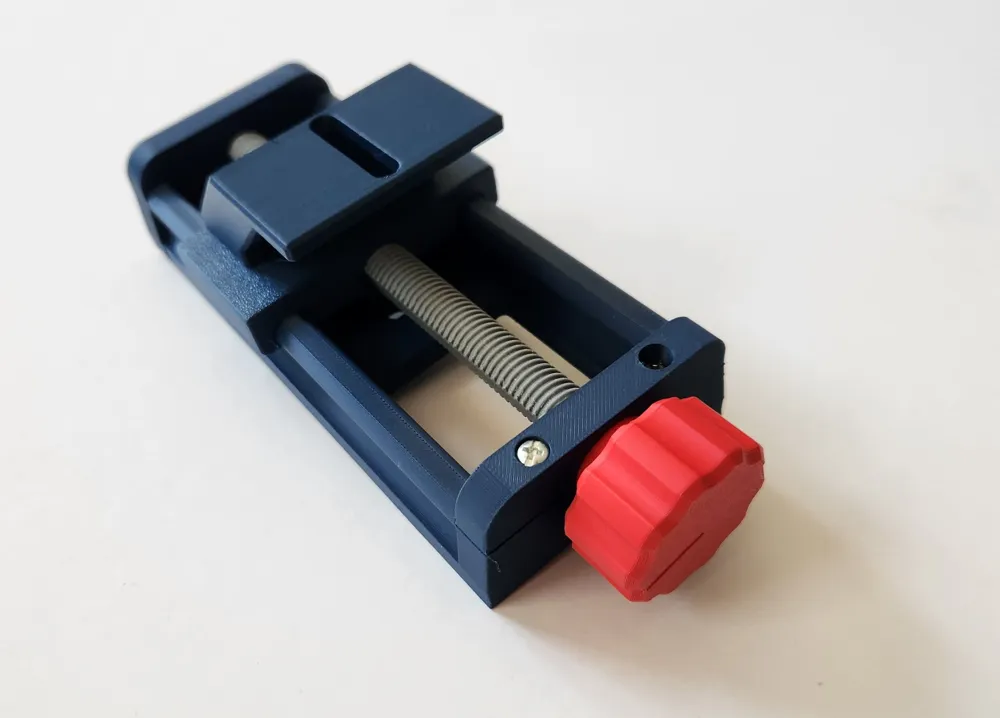
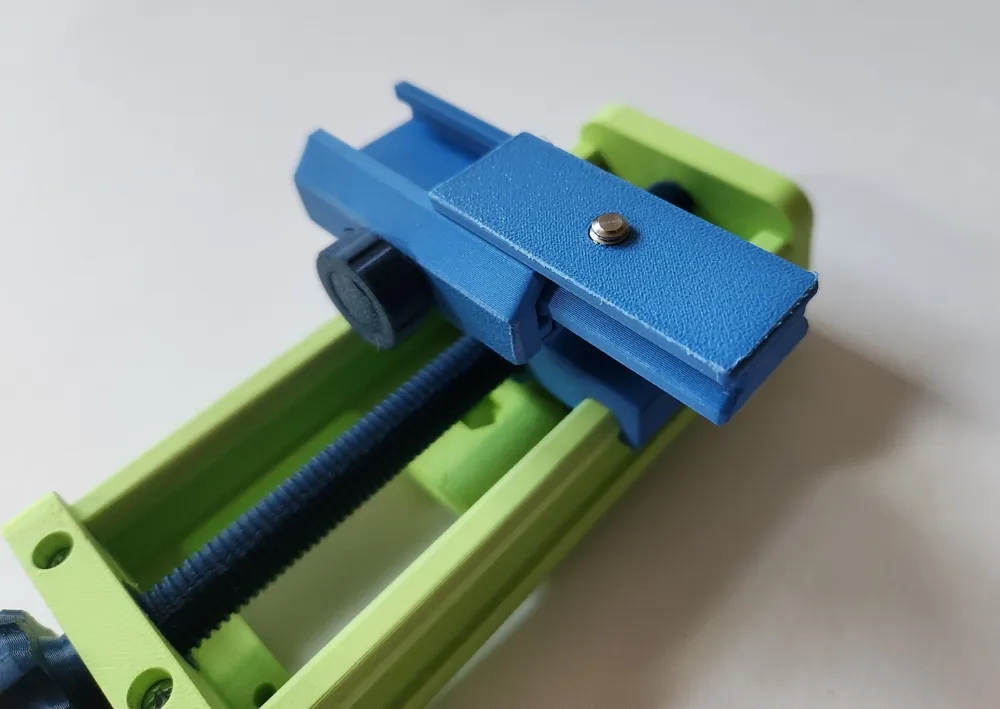
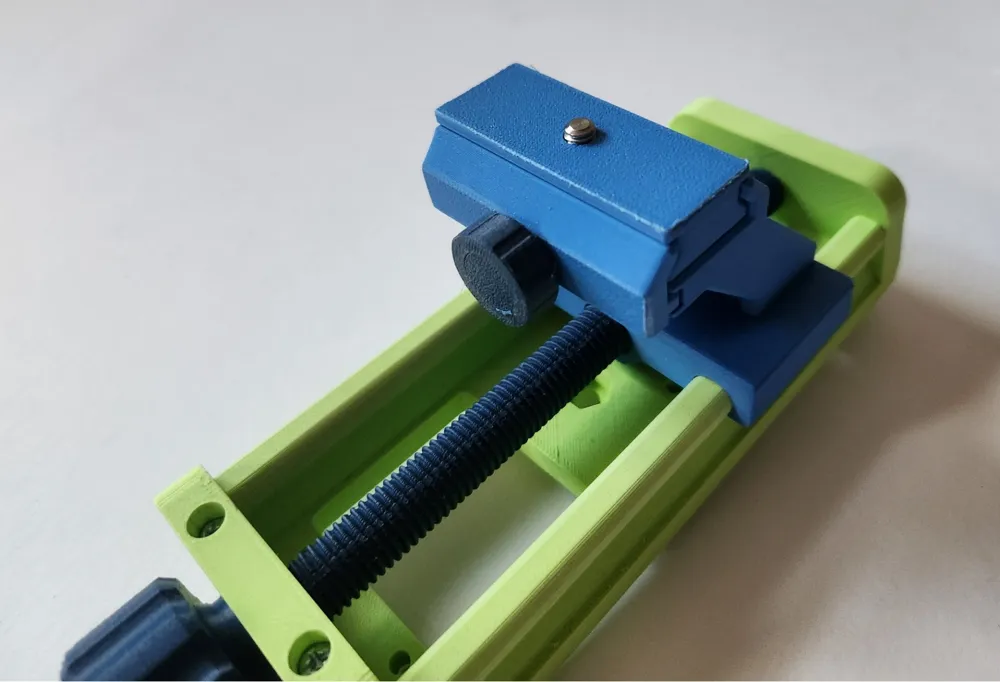
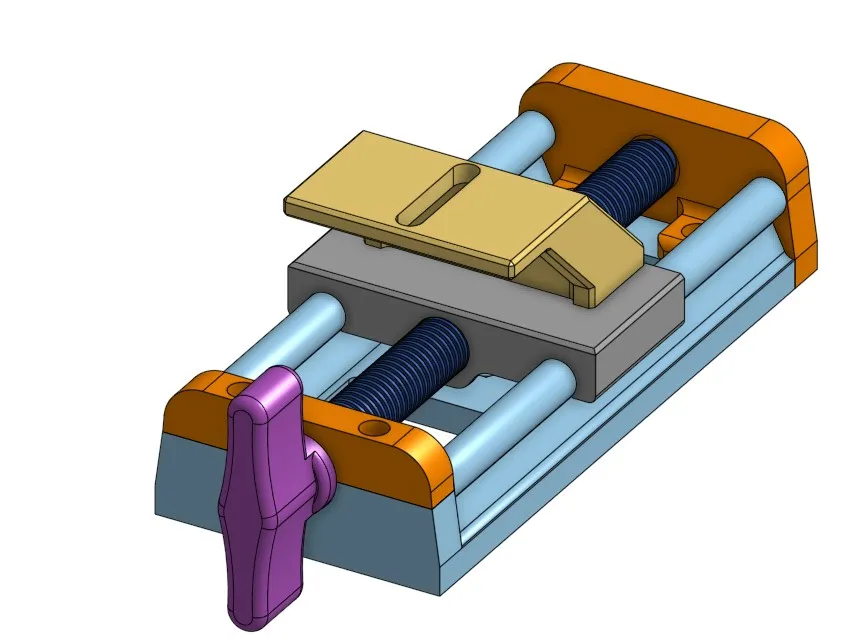
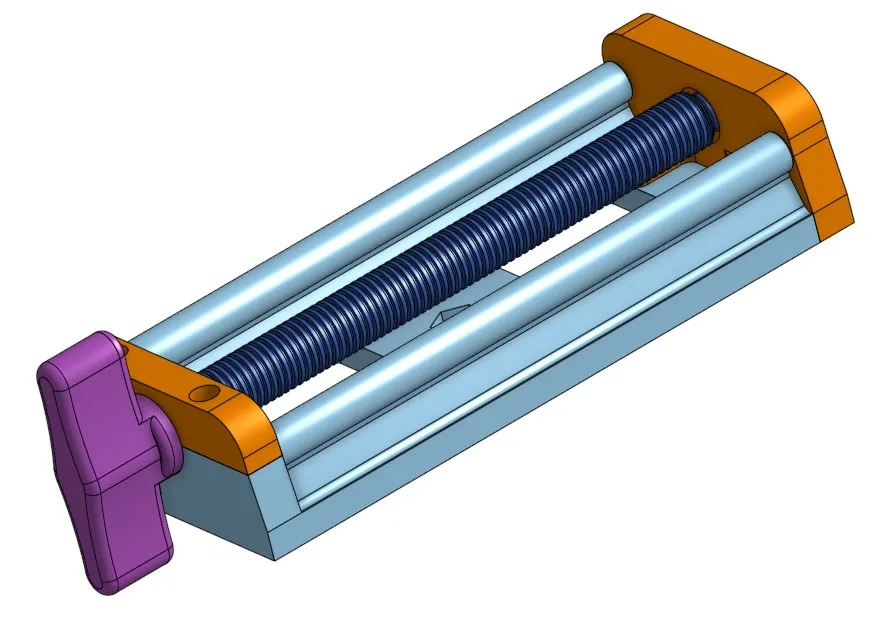
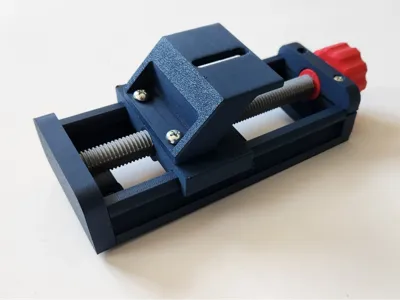
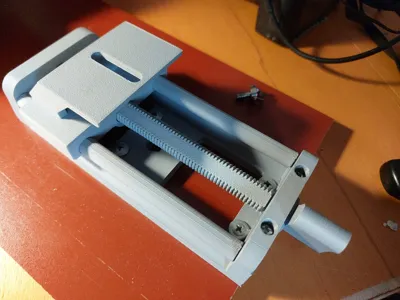
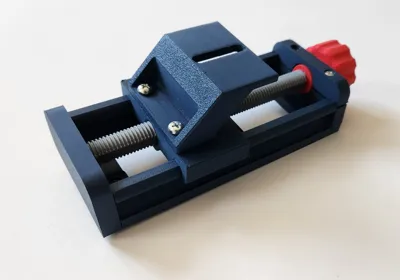
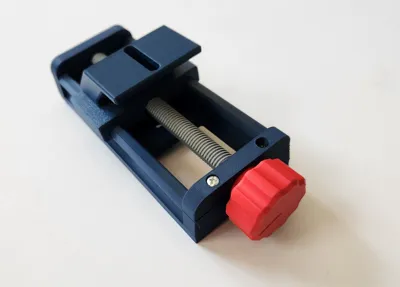
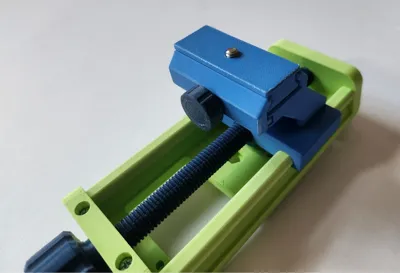
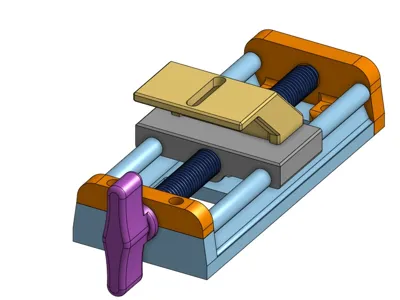
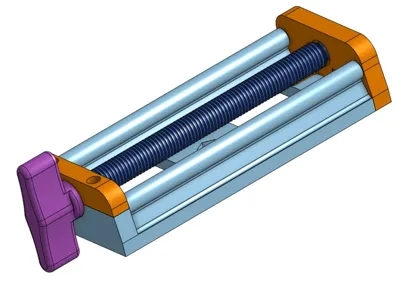
This is a manually operated macro rail to assist with precise image capture for focus stacking in macro photography.
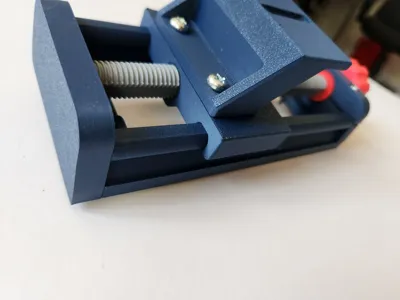
The winding mechanism has a metric thread with a 1 mm pitch, so a full turn of the knob advances the camera by exactly 1mm. Half or quarter turns will make finer advances. This is ideal for consistent, incremental movements along the Z-axis.
A left-hand thread was intentionally used on the drive screw, turning it the “normal” way felt counterintuitive during testing, whereas this orientation just felt right.
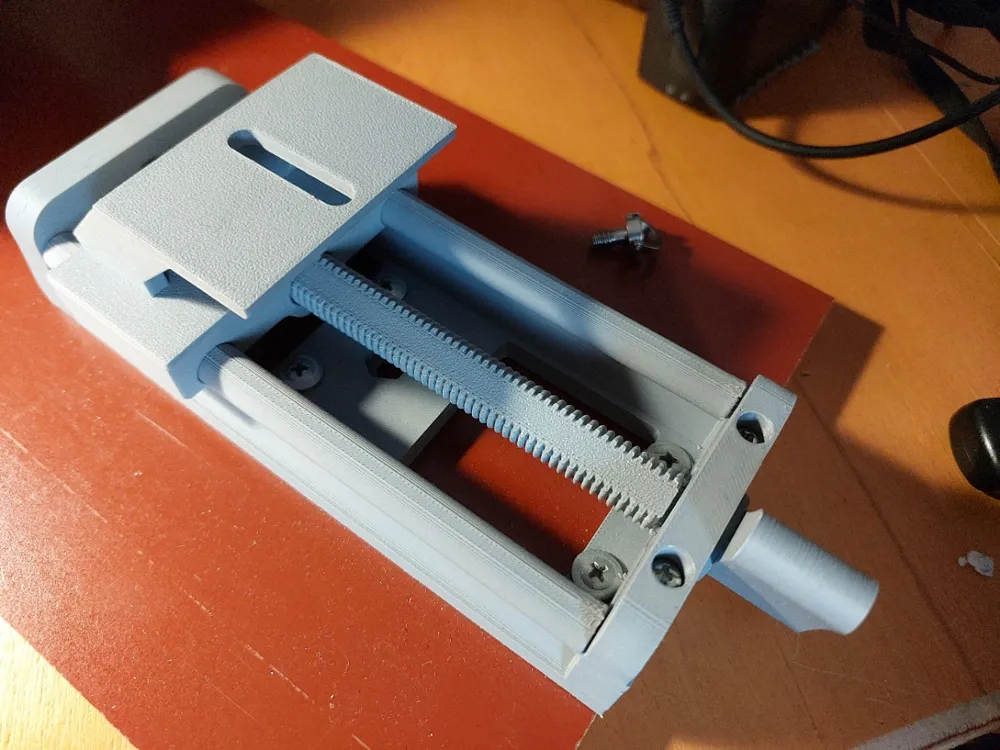
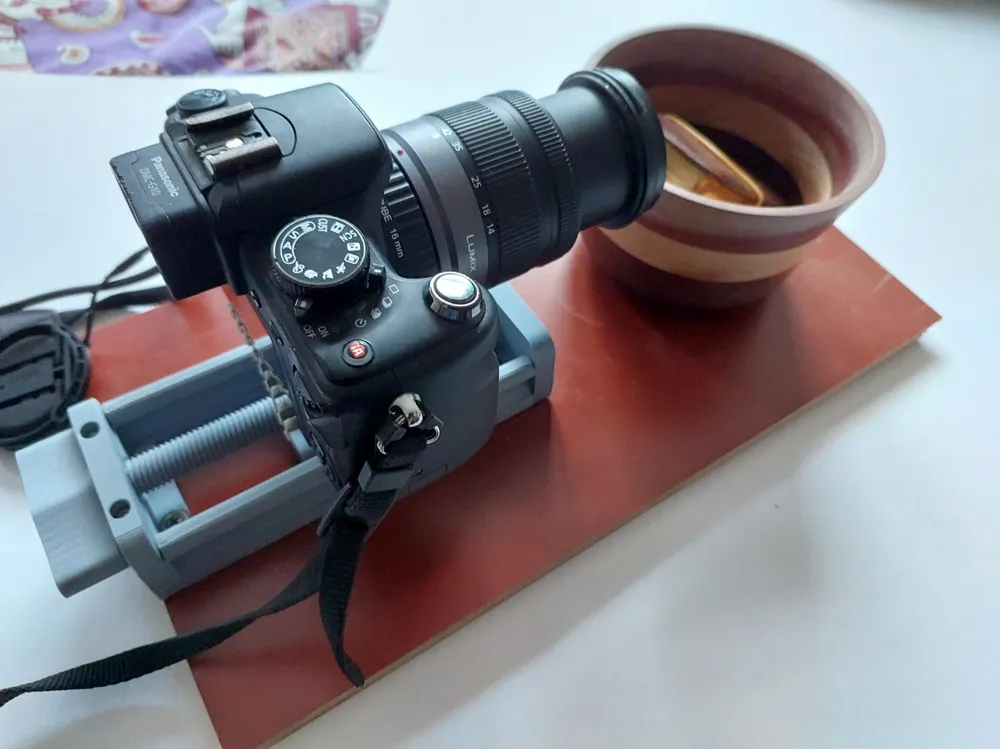
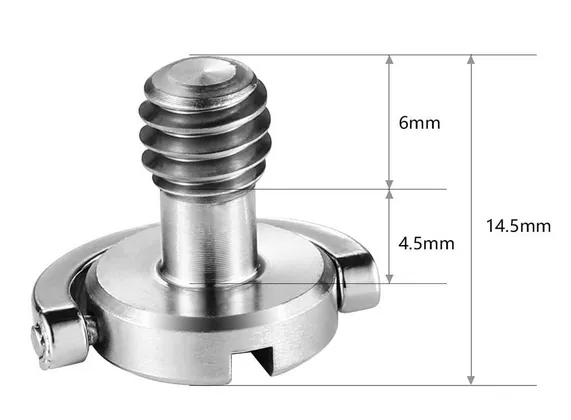
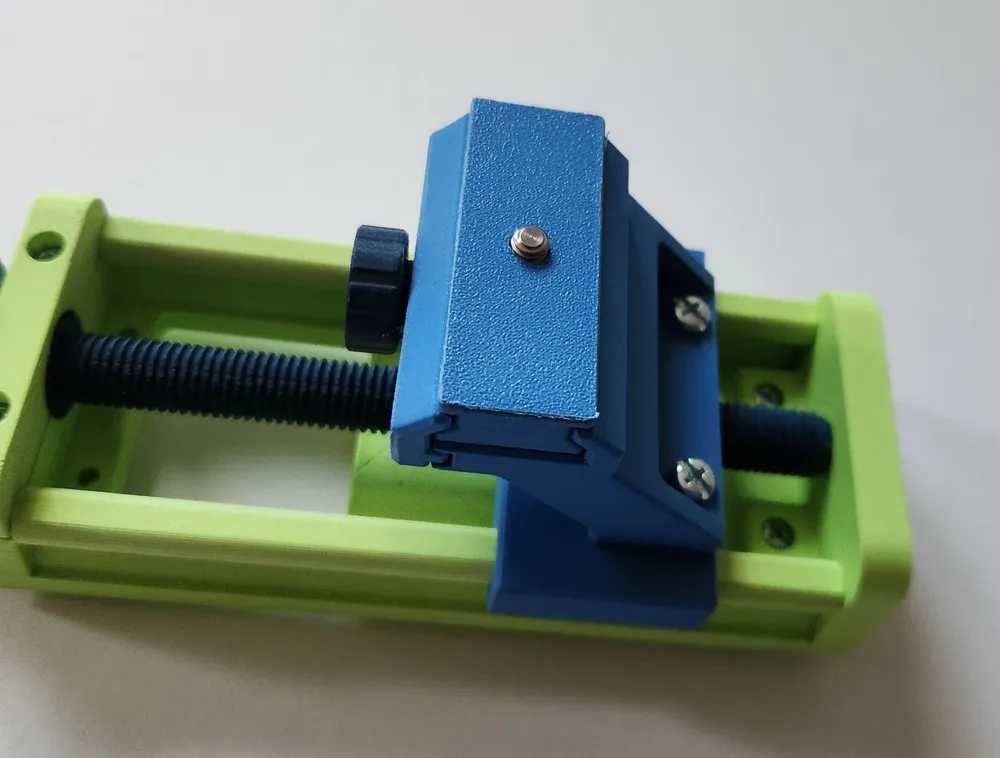
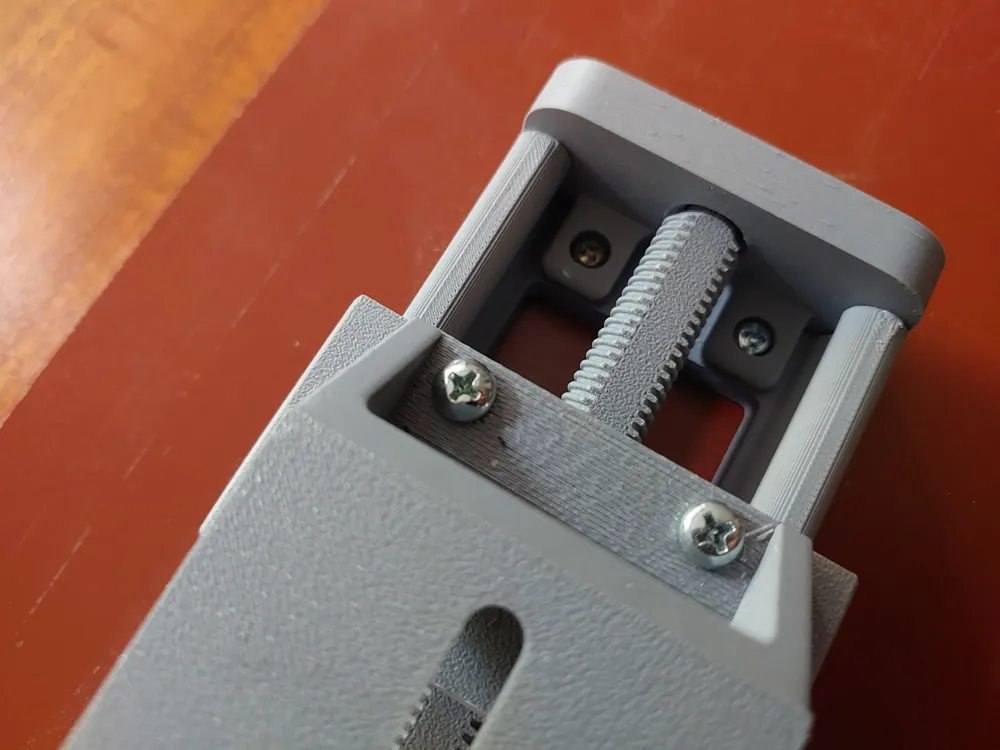
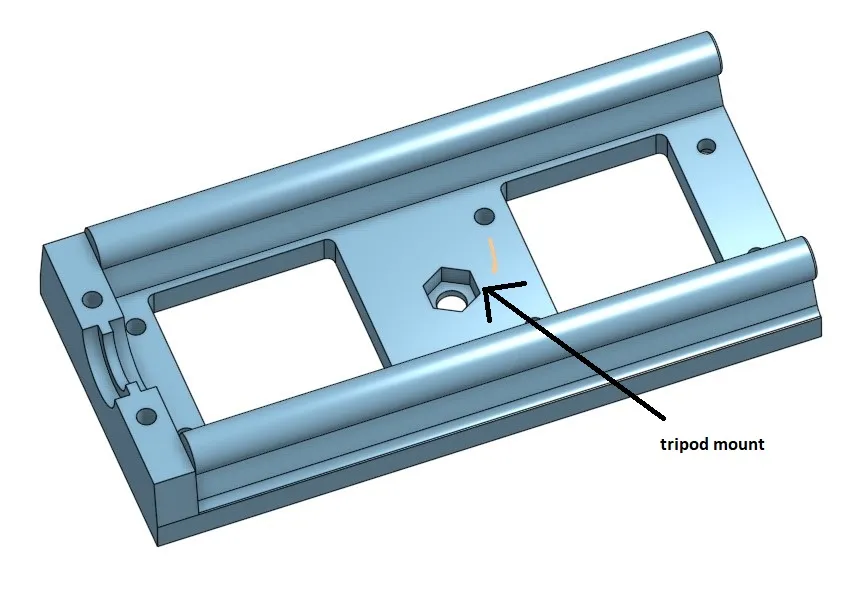
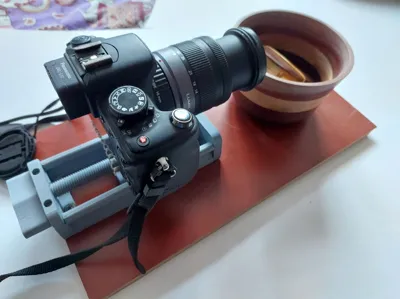
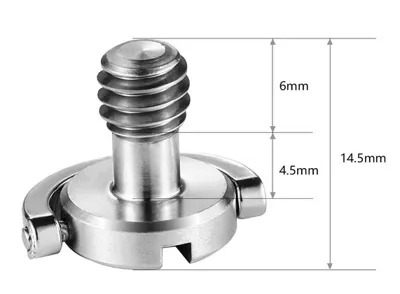
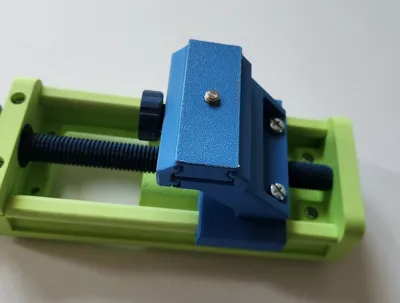
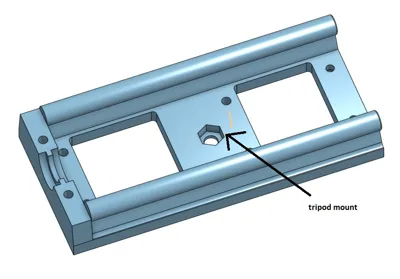
For mounting the camera, I recommend adding a non-slip pad and a standard 1/4" thread camera screw. The design includes a built-in tripod mounting option, though in my case, the tripod wasn’t quite sturdy enough, so I’ve secured the rail to a solid board for added stability. There are holes for mounting this way, but it needs to be mounted on the end of the board so the handle can turn. V2 - I have added a round knob which will clear.
While not motorised, this macro rail offers reliable precision at low cost, making it a practical solution for achieving sharp, detailed focus-stacked images in macro work such as product photography, scientific documentation, or nature close-ups. All you need is the camera-specific shutter cable.
Required hardware for the rail:
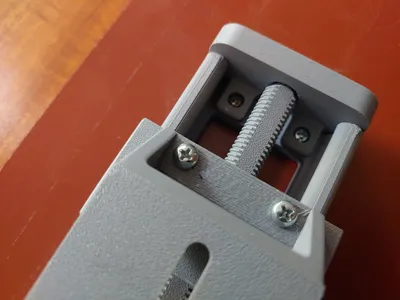
2x M5x20 screws & nuts
2x M4x10 screws & nuts
2x M4x30 screws & nuts (Edit wrongly stated M4x40)
¼" thread camera screw
And for mounting the rail to a tripod, a ¼" thread nut (7/16AF). Or four self-tappers to mount it to a board.
The rails may need sanding as this is a close tolerance build. A little silicone spray will help to make the mechanism smoother.
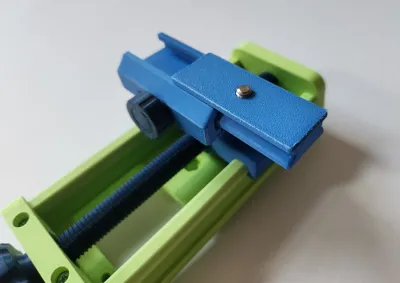
V3 - changed the rails by flattening the top for improved print quality, & made the corresponding change to the slider.
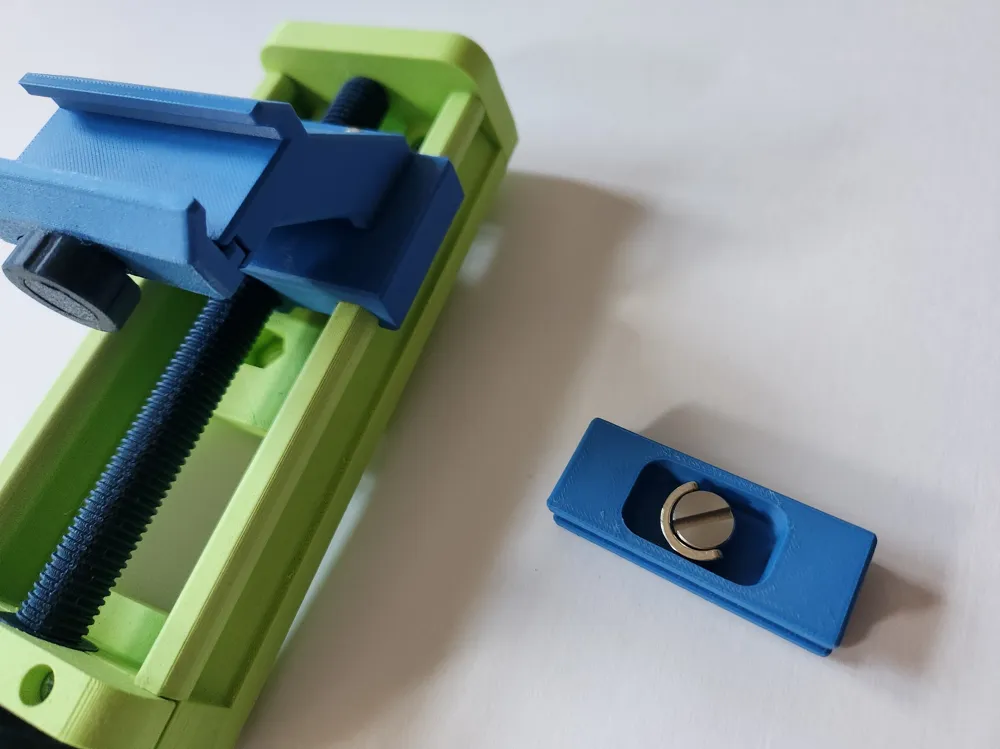
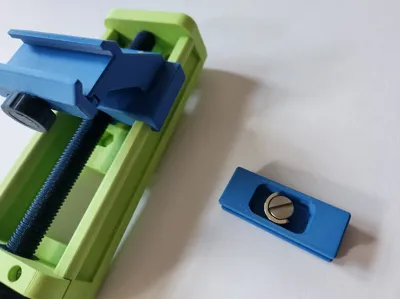
Added a quick mount.
- Replace mounting block with QR mounting block. Use a 4mm nut on the underside after snapping off the cover (if it doesn't come off with the supports).
- Use a 30x4mm bolt in the knob4small (I didn't have a bolt that size on hand, but found a screw and hot melt glue worked), and then snap on the cap4 to cover the knob. Use that to attach the QR clamp.
- Attach QR camera block to your camera with your camera mounting screw.
- Slide it into the QR mounting block, and tighten.
License

You shall not share, sub-license, sell, rent, host, transfer, or distribute in any way the digital or 3D printed versions of this object, nor any other derivative work of this object in its digital or physical format (including - but not limited to - remixes of this object, and hosting on other digital platforms). The objects may not be used without permission in any way whatsoever in which you charge money, or collect fees.


Comment & Rating (25)