
Multi-color without AMS (!) & with AMS - Test

Print Profile(2)


Description
Boost Me (for free)
🚀
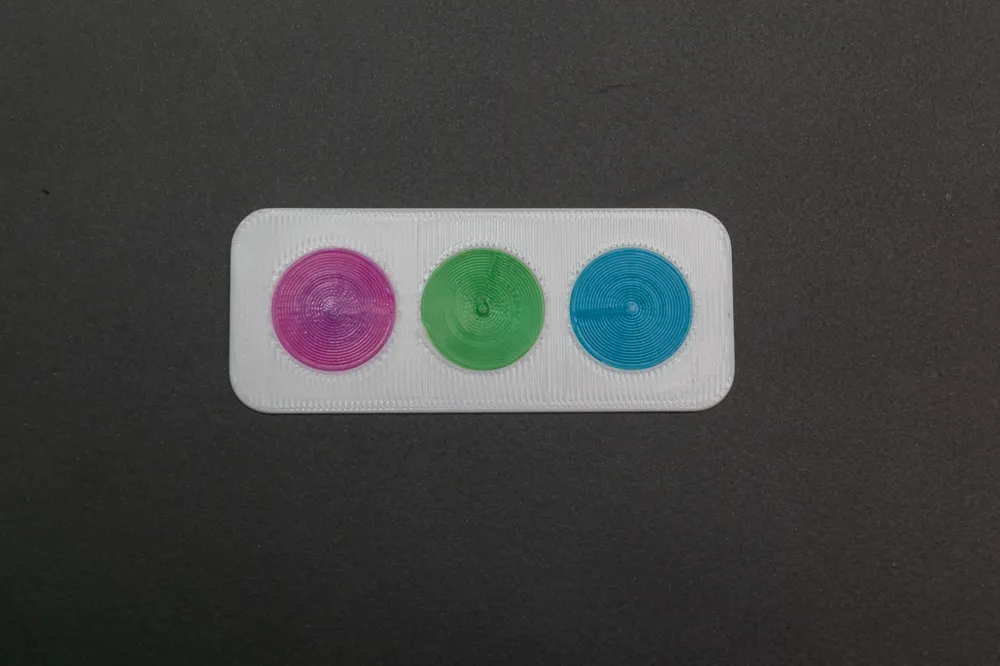
Test your AMS: just print the provided printing profile as-is. Printing quality is not really important here - we're testing color changes.
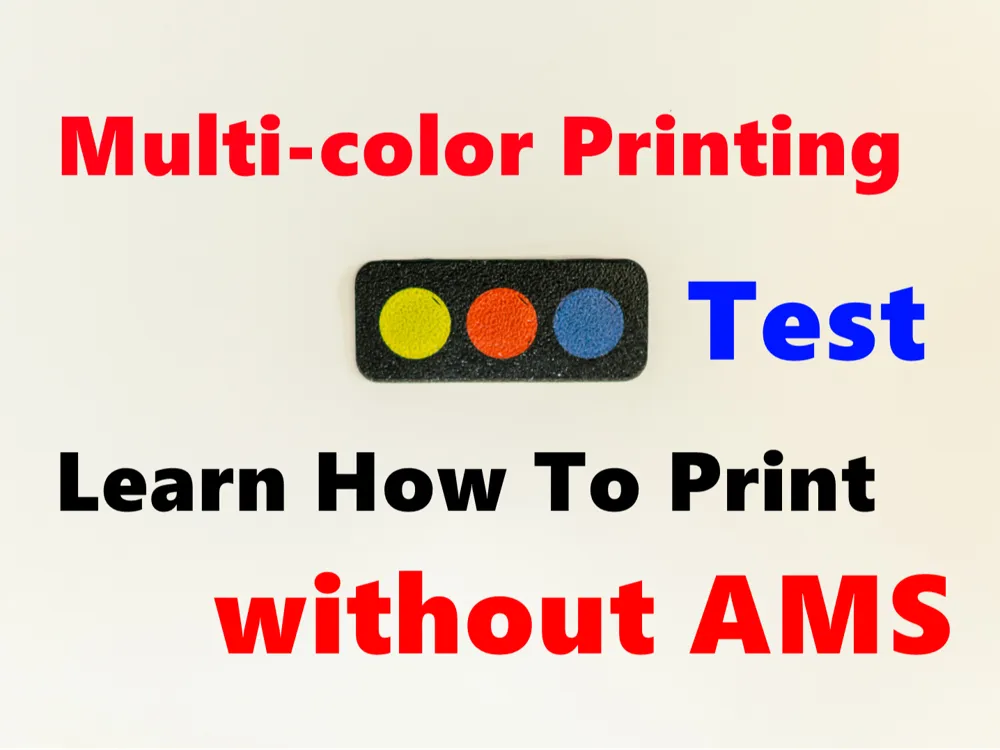
The model is three layers high (0.2 mm × 3 = 0.6 mm). The middle layer is black. The order of colors on the top and bottom surfaces of the model is different: yellow 🟡, red 🔴, blue 🔵 on one side and blue 🔵, yellow 🟡, red 🔴 on the other. Printing this model requires four filaments and seven color changes. Feel free to use your own color combinations.
or Learn How to Print in Multiple Colors without AMS
Manual filament change for Bambu Lab A1 without AMS
This method allows multi-color printing without using the AMS. It supports 3D models with multiple color changes on the same layer. Manual filament replacement is required, so it is practical only for flat models (keychains, signs, labels, decorations, etc.) or for models where multi-color printing is needed only on the bottom and/or top surfaces (such as boxes with labels) or on a limited number of layers anywhere in the middle of the model. It is not suitable for models that require hundreds of filament changes.
This method also supports multi-material printing (e.g., PLA core inside a TPU model) and allows the use of a different filament type for the support interface (e.g., a PETG support interface in a PLA print, PLA support interface in a TPU print) in cases where the model or support interface is flat and such printing requires only a handful of material changes.
Even if you have AMS, this method may be helpful with regular TPU (without using AMS and TPU for AMS).
How many manual filament changes is too much? Find out your own limit. This method ensures as little time as possible is needed per manual filament change (pull out, push, resume). You can see in the comments that someone printed a model with 46 color changes.
Supported features
➡️ There is no need to add a pause manually in the slicer. A print profile designed for AMS can be used as is (just replace the printer profile with this one).
➡️ Automatic filament unloading before pause (simply pull filament out without using the Unload menu)
➡️ Automatic pause with sound notification (if sound is enabled in Print Options in Bambu Studio)
➡️ Sound notification (Morse code) indicates which filament # should be inserted
➡️ Semi-automatic filament load (simply push the new filament in and press Resume Printing without using the Load menu)
➡️ Filament flushing in accordance with Purging volumes matrix in Bambu Studio.
➡️ Flow dynamics calibration for each color (if enabled before printing)
Boost Me (for free)
The model is simple (it's just a test model), but the development and testing of the no-AMS method were not. Downloading, printing, boosting and sharing are appreciated.
Create Printer Preset
- In Bambu Studio click this button to edit printer settings preset:
❗Only for Bambu Lab A1, not compatible with Bambu Lab A1 Mini, not compatible with other printers. I believe the only difference between A1 and A1 Mini is in the X position where it cuts filament, but I have no A1 Mini to properly test code modification.
- Copy G-code (from the attached .txt file) and paste into Change filament G-code field of the Machine gcode tab (replace any code existing in the field).
- Save as new preset:
Print a Model using the Preset
1. Select the preset for printing:
2. Start printing a multicolor model with as many filament changes as you're comfortable handling manually.
For example, I printed a model with 6 filaments and 15 filament changes.
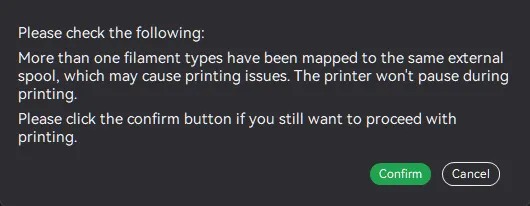
Multi-material printing is possible (e.g., interlocked TPU and PLA parts in one model, see Flying Ring example). Ignore the warning and just click Confirm. The printer will pause for all required filament changes.
3. Wait for the pause. If "Allow Prompt Sound" is enabled in Print Options, you will be notified of a pause by a sound.
4. Pull out the filament, push in the next filament, click Resume Printing.
There is no need to use the built-in Unload and Load procedures - just pull out, push in, resume printing.
Hold the filament between two fingers for a few seconds until you feel it has been caught by the extruder.
Inserting new filament right after the pause is faster than doing it a bit later, because the nozzle starts cooling down and will need to be reheated afterward.
Repeat steps 3-4 for each pause.
❓ How can I know which color to load?
➡️ Method 1: In the slicer, on the "Preview" tab, use the vertical (layers) and horizontal sliders to see the color printing order.
❗ Re-slicing the model, even without any changes to print settings, may alter the filament change order. Avoid this method if the model has already been re-sliced after being sent to the printer.
➡️ Method 2: Export sliced file, extract and open G-code file and search for all "M1020 S" commands.
"M1020 S0" - change to project filament #1, "M1020 S1" - change to project filament #2, "M1020 S2" - change to project filament #3, and so on.
For example, "M1020 S5" inG-code means project filament #6 (red color) on this screenshot:
❗ Re-slicing, even without any changes to the print settings, may change the filament change order in the G-code. Make sure you exported and printed the same version of the G-code. Avoid this method if the model has already been re-sliced after being sent to the printer.
➡️ Method 3: Listen for Morse code sound 2 seconds after the pause sound notification.
Morse code for digit 1 - change to project filament #1, Morse code for digit 2 - change to project filament #2, ..., Morse code for digit 9 - change to project filament #9.
Morse code notification works for up to 9 filaments. There will be no Morse code sound for filaments #10+.
Morse codes (a sequence of dits and dahs) for digits from 1 to 9:
Corresponding project filaments:
Printing the support/raft base/interface using a different filament type
Select Filament for Supports.
In "Send print job" dialog match all filaments (regardless of filament type) with the same external spool.
Send the printing job for printing.
Ignore the warning and just click Confirm. The printer will pause for all required filament changes.
❗ WARNING! The attached .txt file contains unofficial G-code. This code (method of multi-color/multi-material printing) is not authorized, endorsed, or supported by MakerWorld or Bambu Lab. MakerWorld, Bambu Lab, and the author (@3dnaut) are not responsible for any negative consequences resulting from the use of this code, including but not limited to filament waste, printing task failure, or printer damage. Profile raring and comments confirm the method works, but still use with caution at your own responsibility.
Boost Me (for free)
🚀
Documentation (2)
License



Comment & Rating (56)