
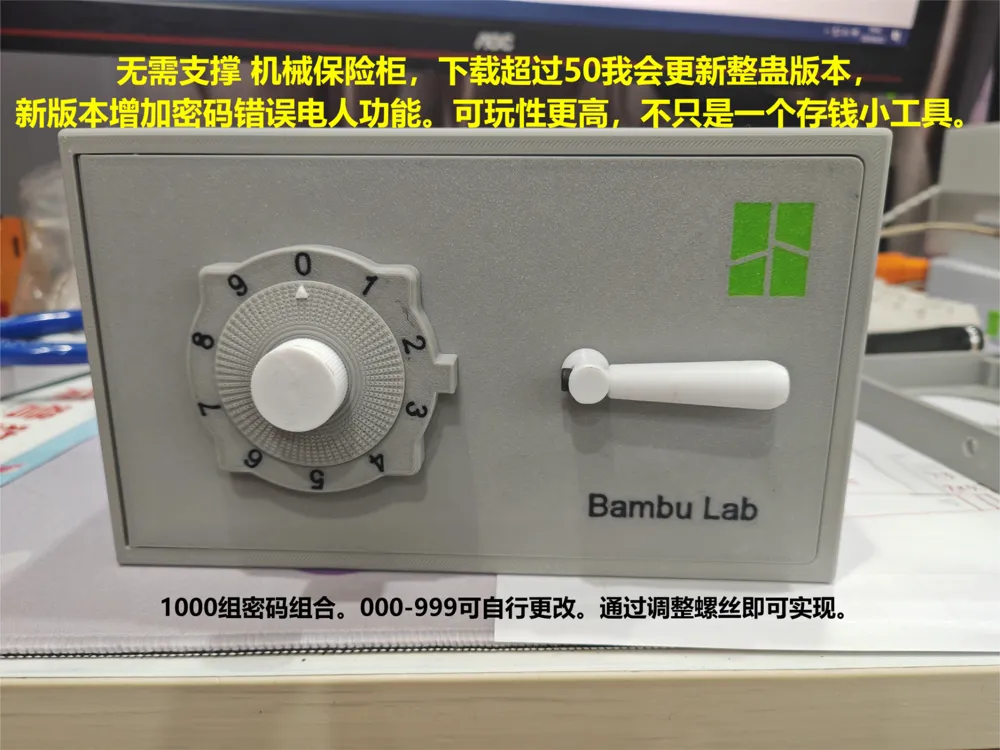
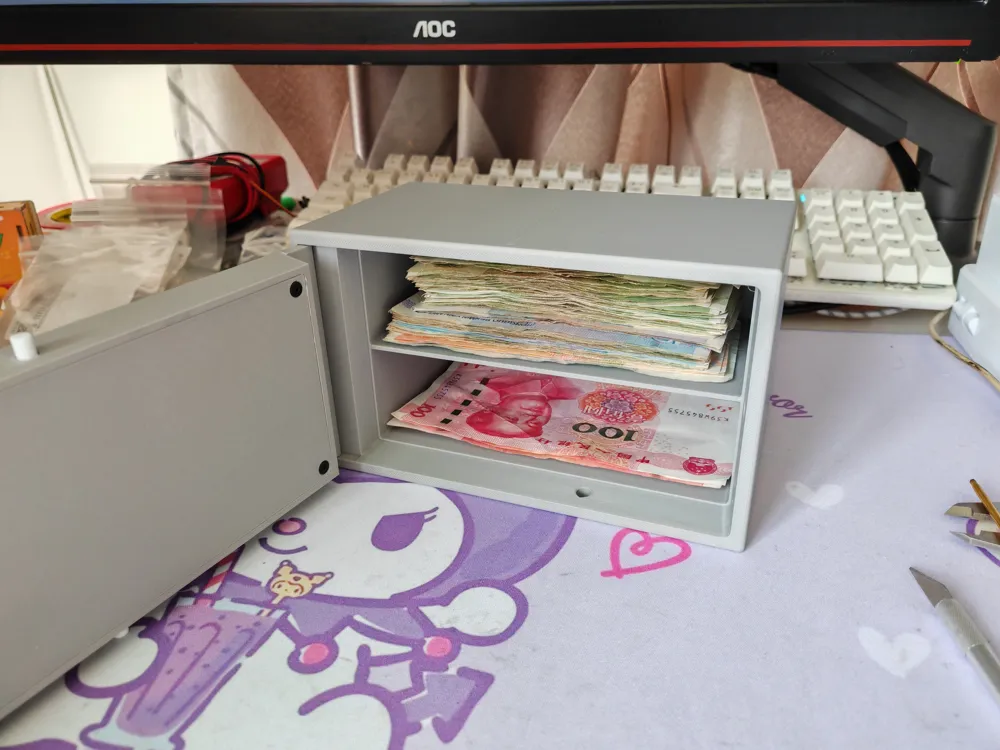
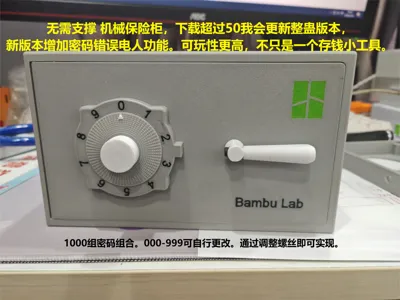
Safe, Security Box, Changeable Password (This model includes two sets of boxes and doors, and the actual printing time is usually 11 hours)
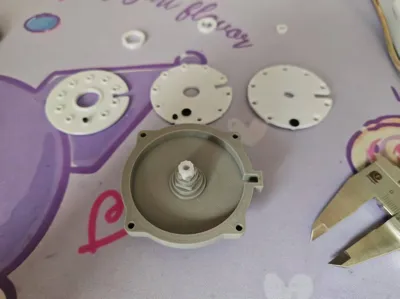
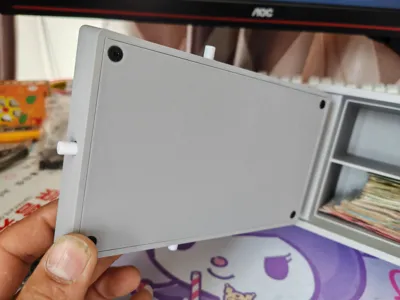
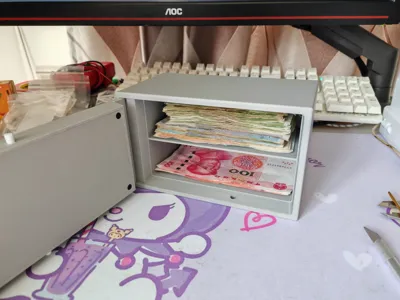
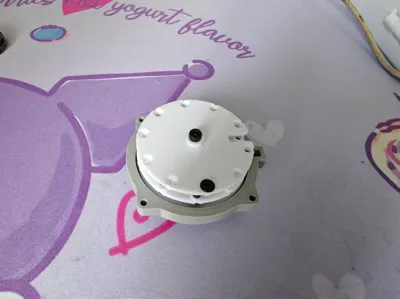
Print Profile(1)

Description
The prank version has been updated, search "Electric Safe" on the homepage for the new version, installation video included
Boost Me (for free)
It's not easy to create, please give it a boost. Many thanks!!!
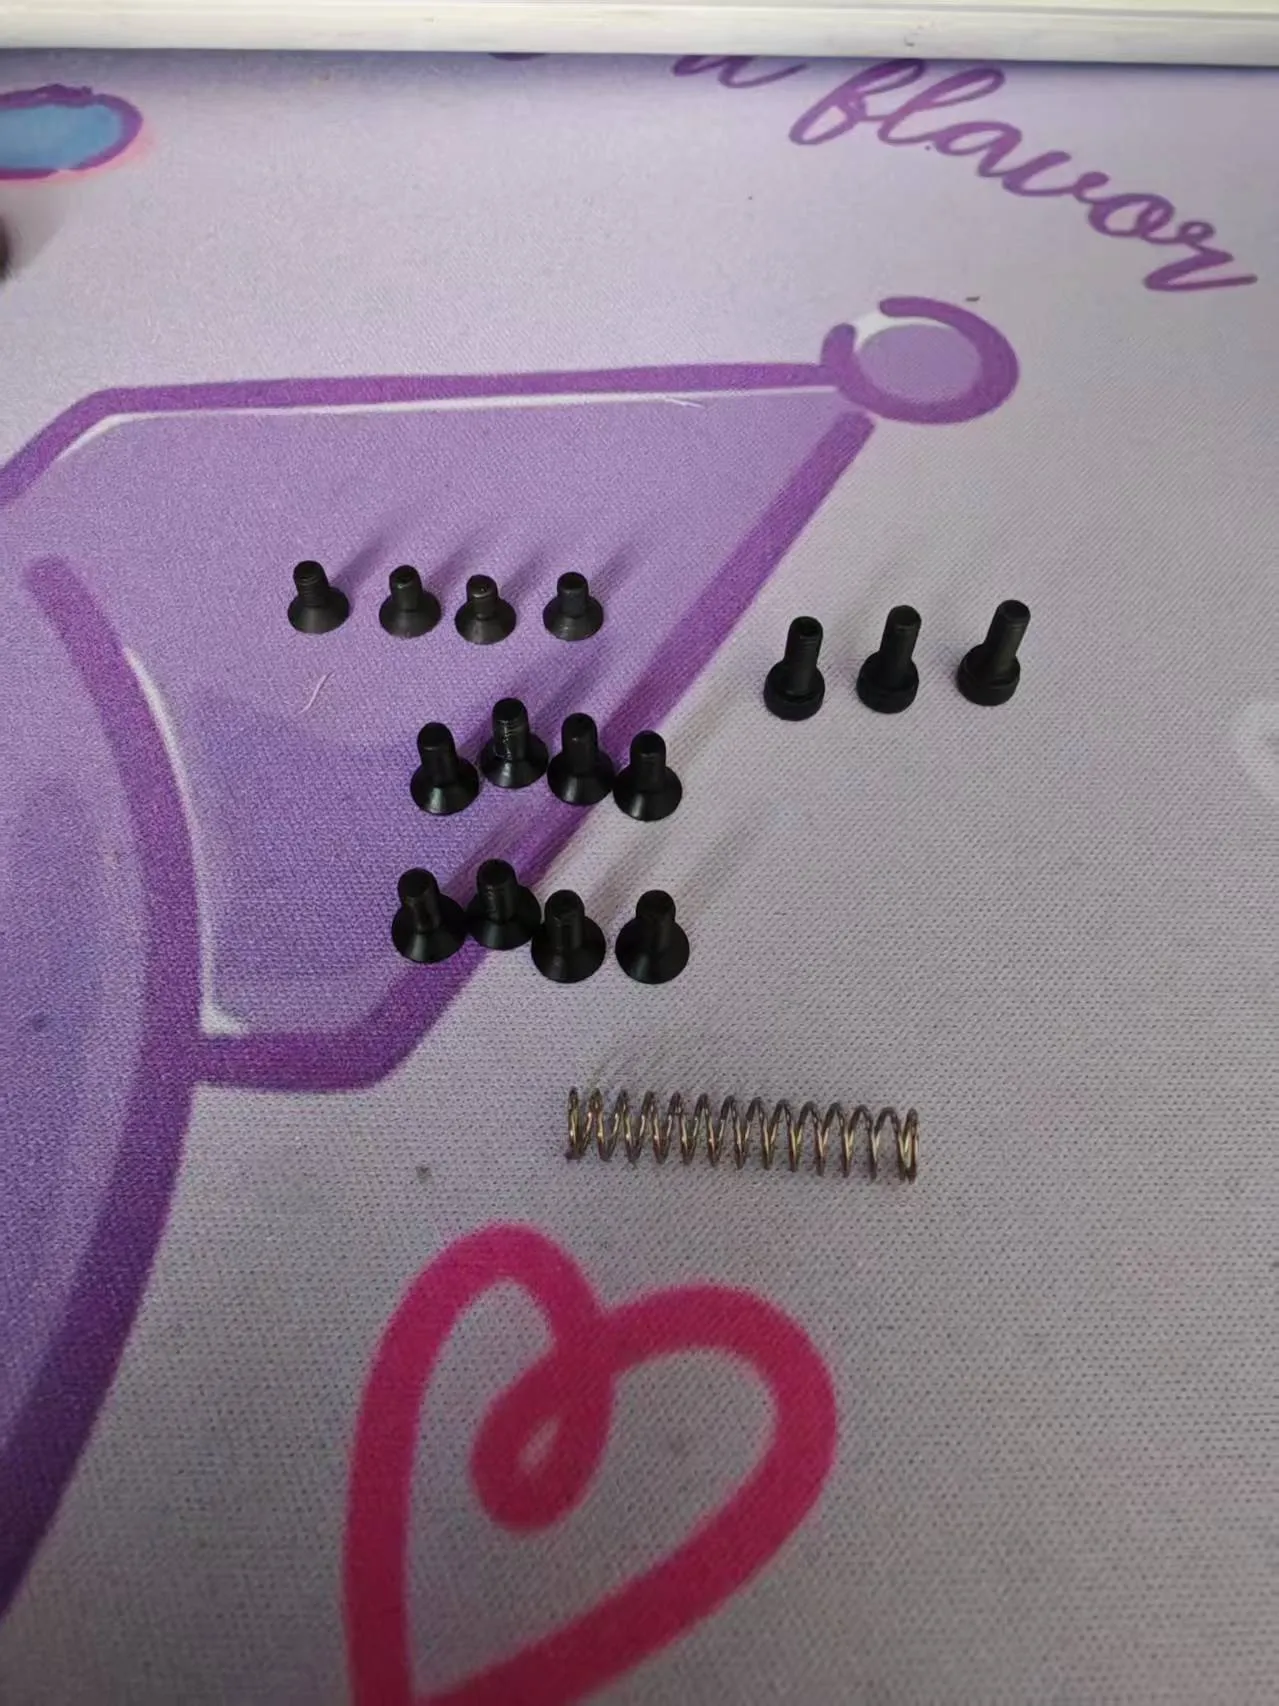
The materials required are 4 M3*5 countersunk screws (some vendors define M3*5 differently, it is recommended to prepare both M3*5 and M3*6 screws), 8 M3*8 countersunk screws, 3 M3*8 flat head screws, and 1 0.5*5*25mm spring. Springs are available in a maker's starter parts kit or can be removed from a ballpoint pen
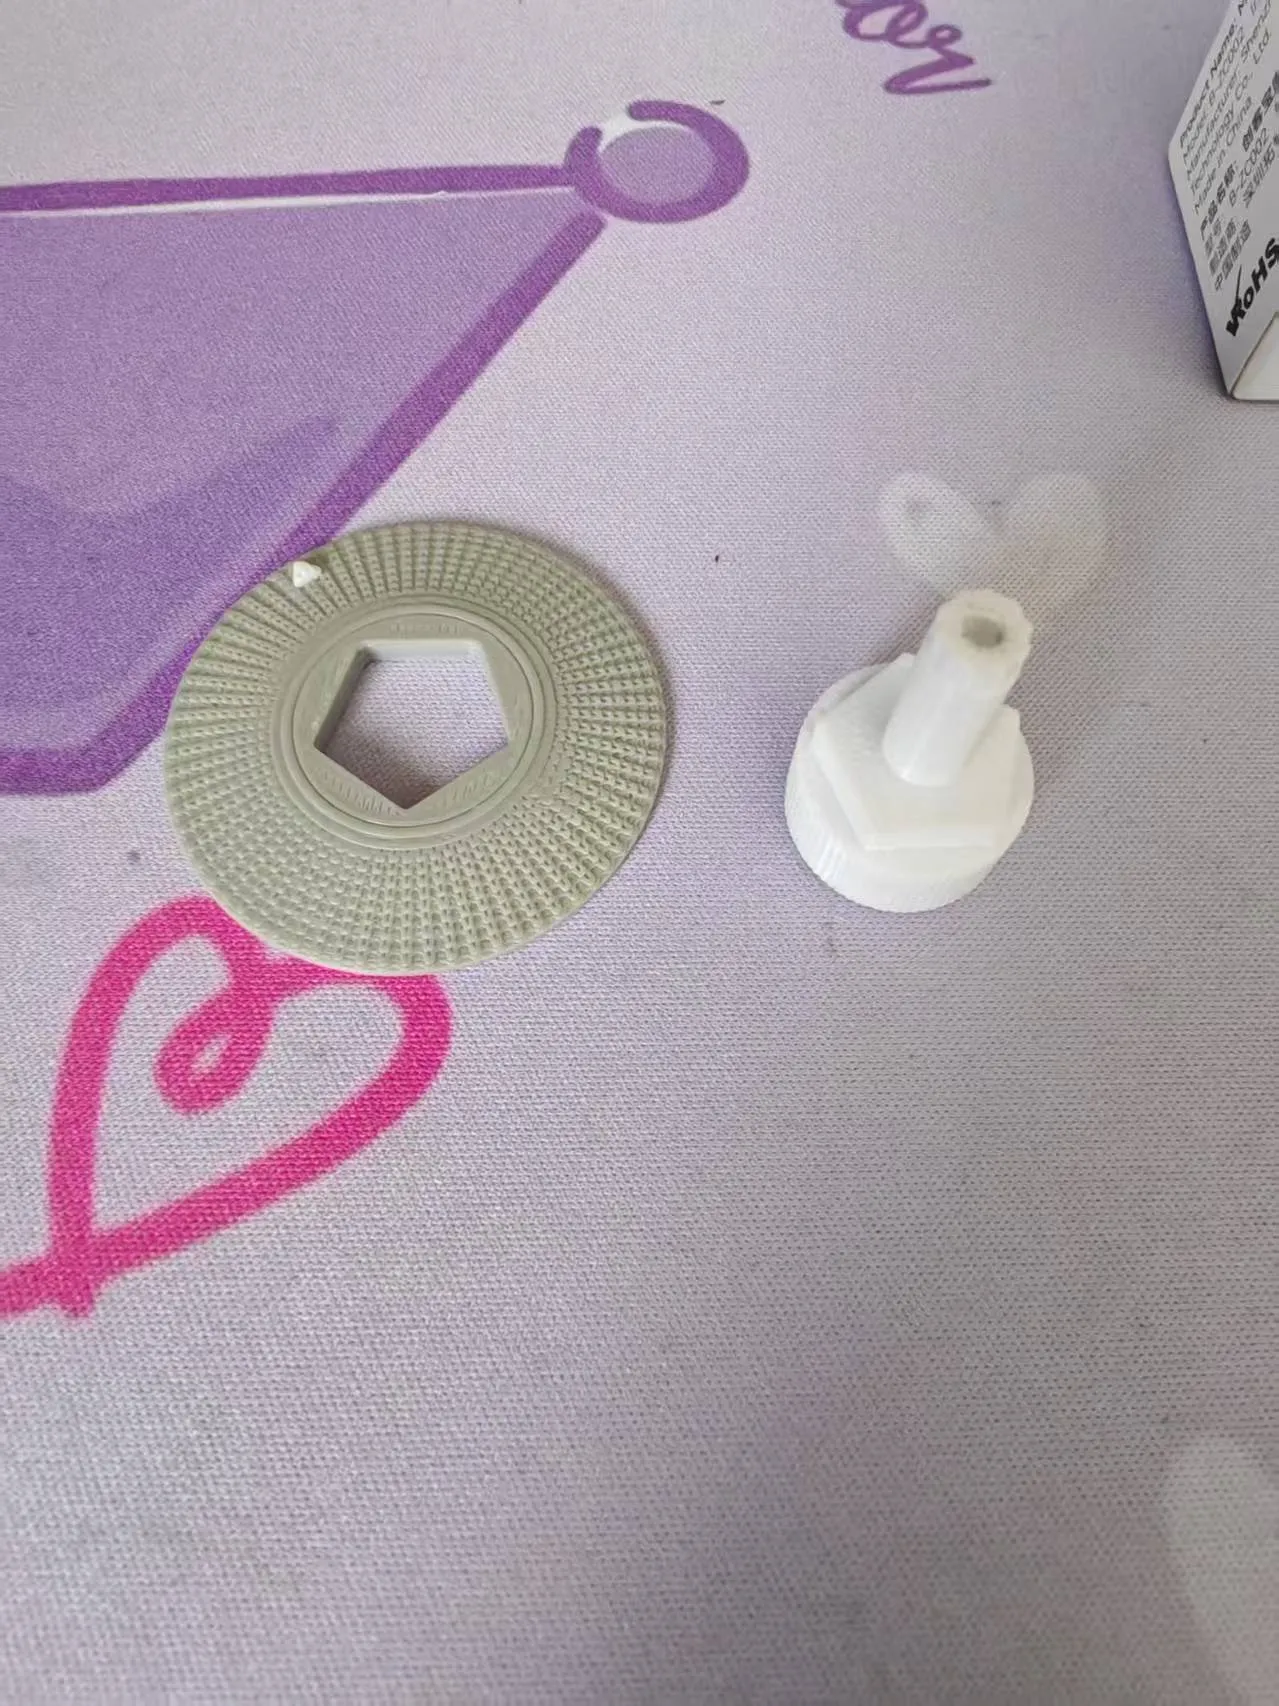
Find these two parts
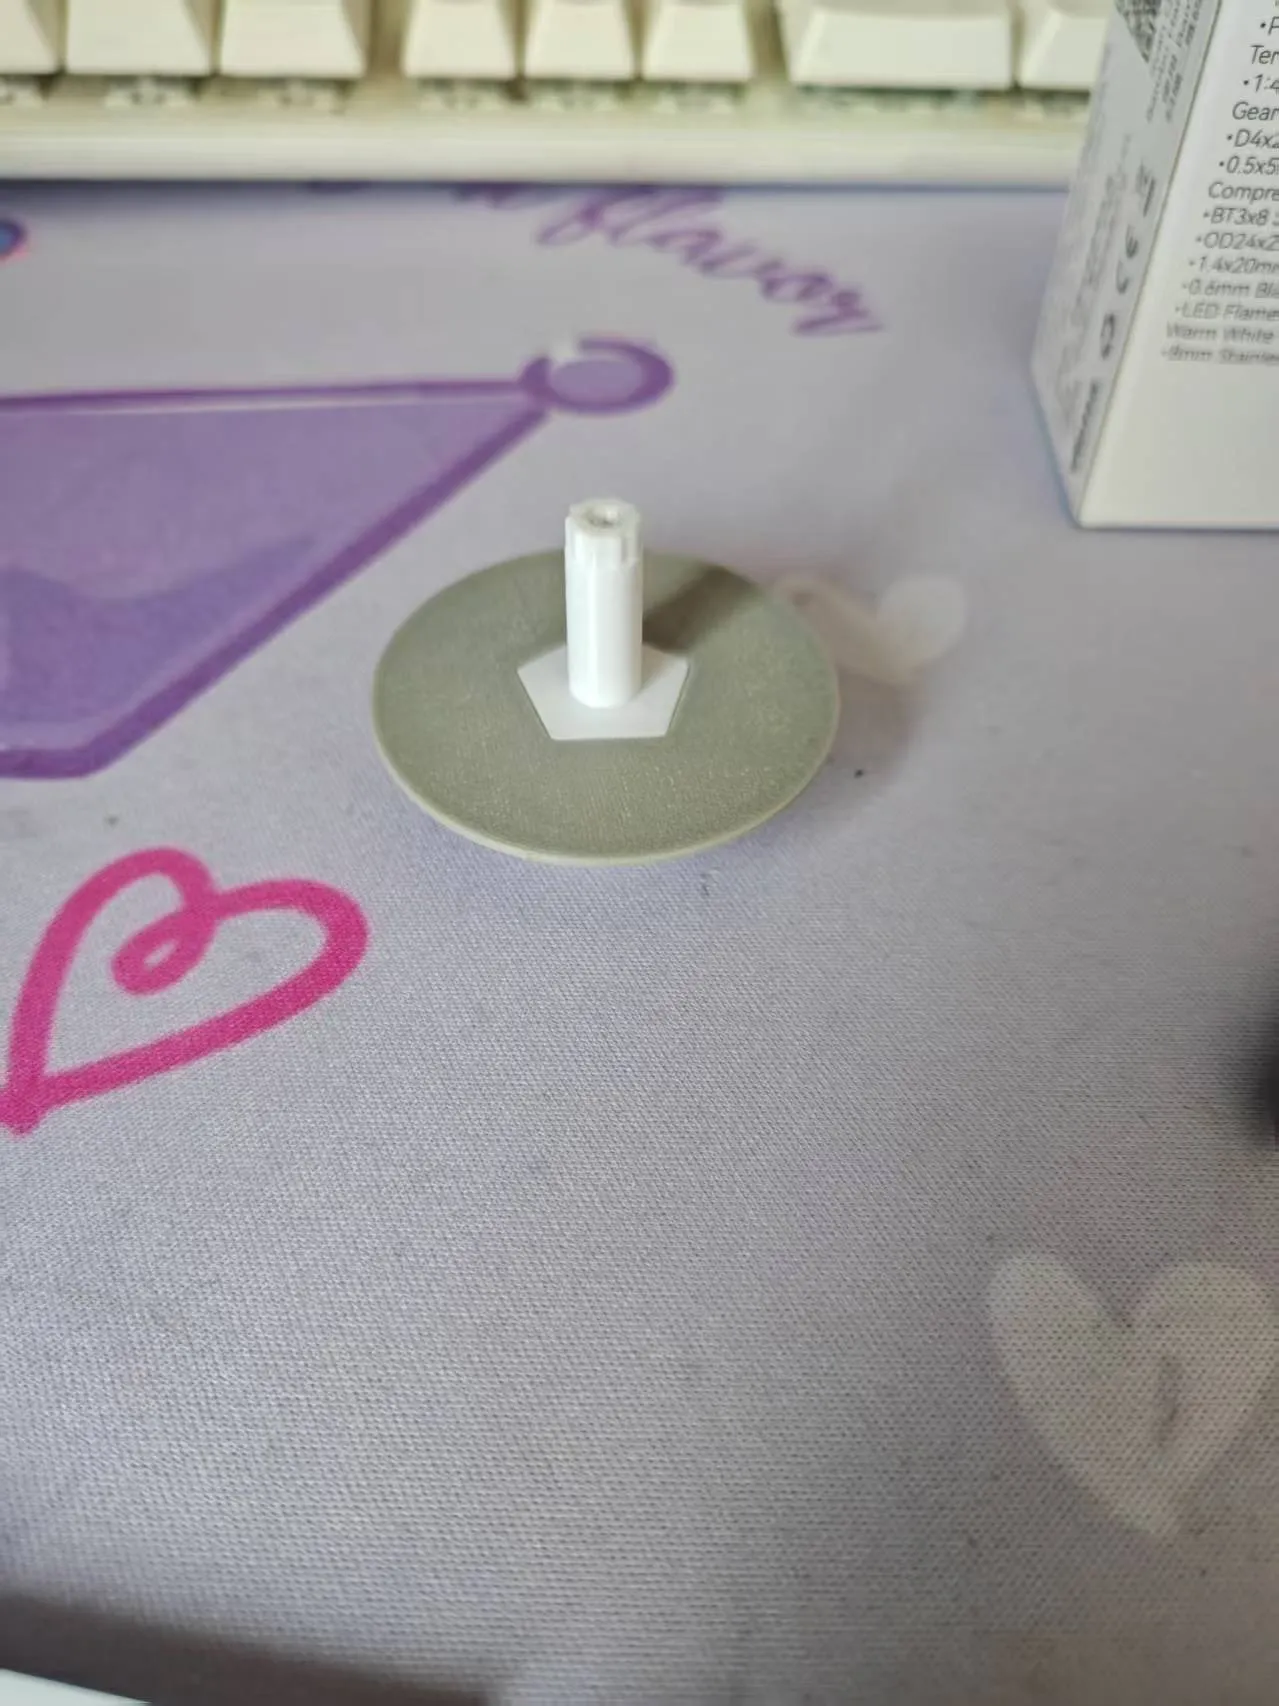
Assemble them together
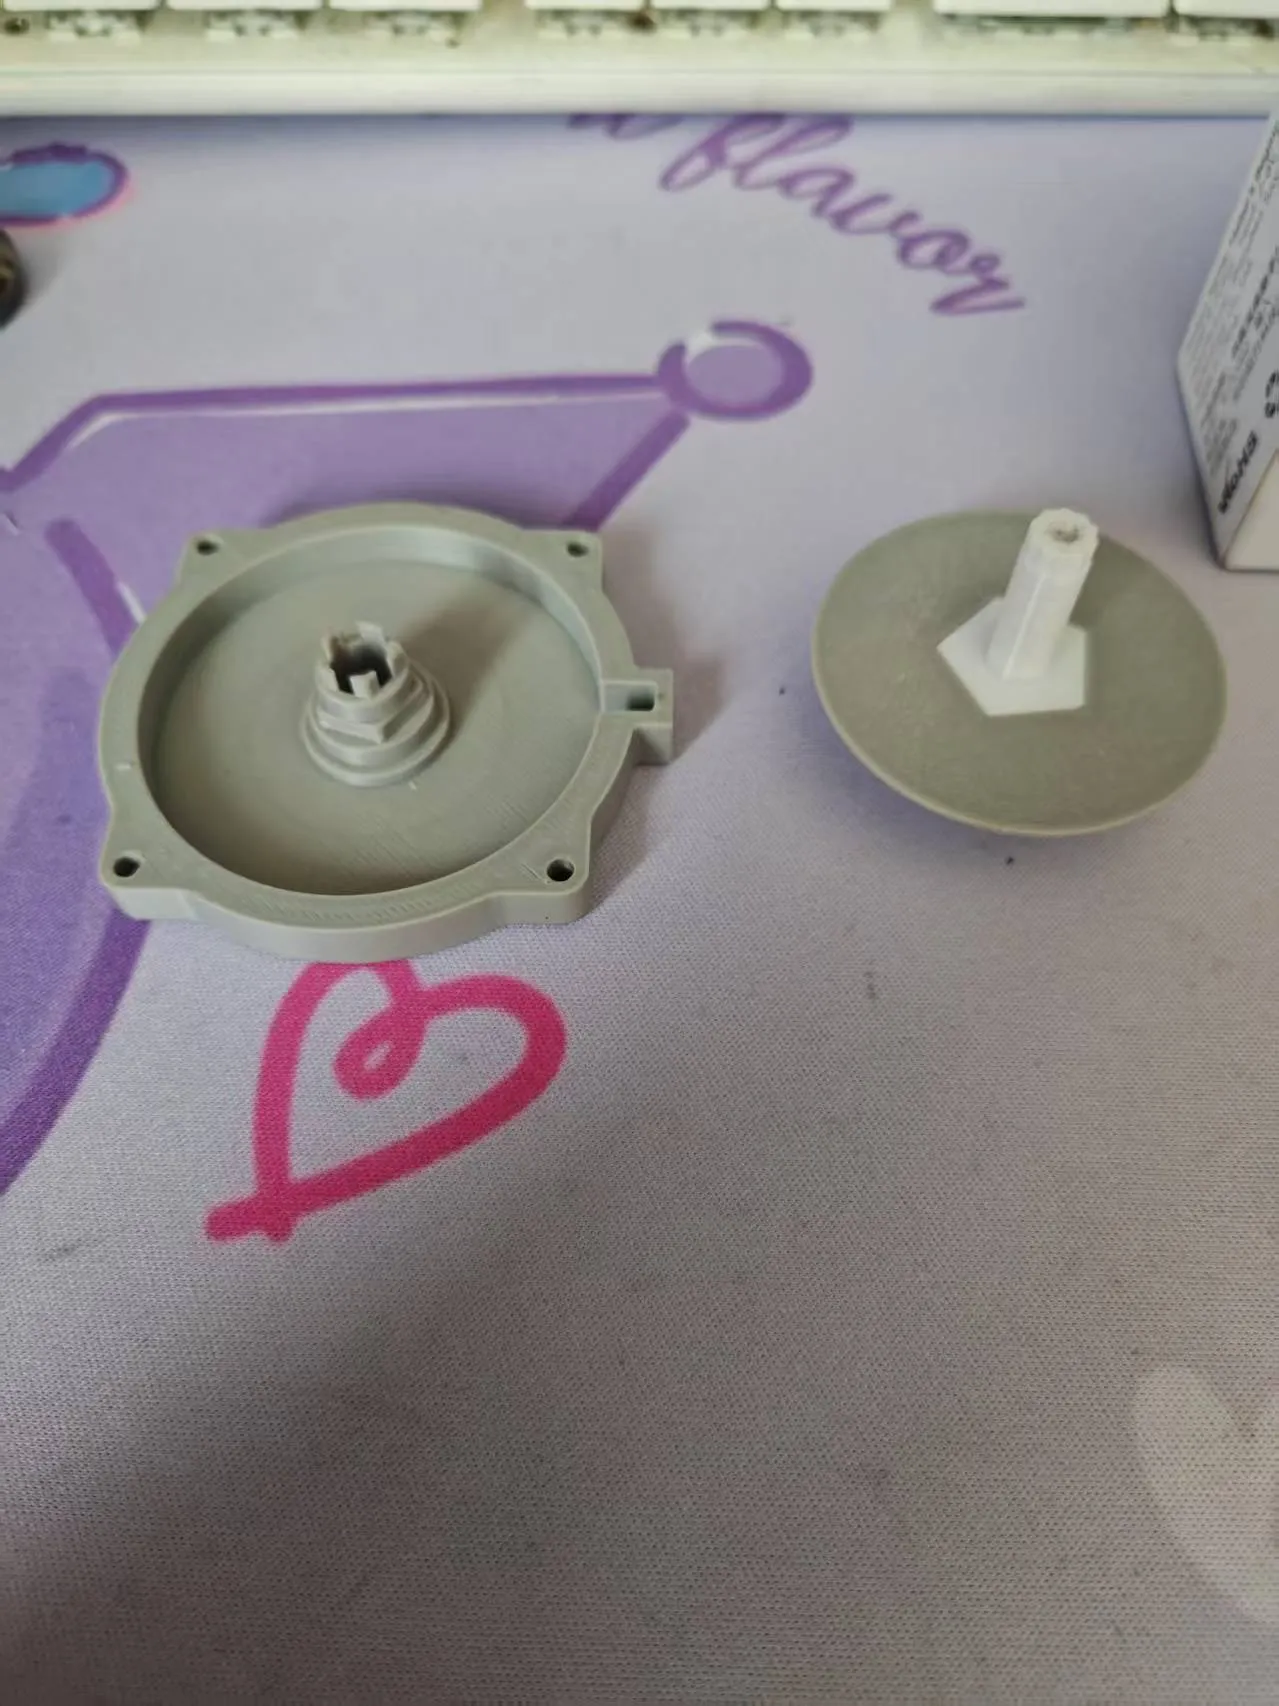
Then find this part
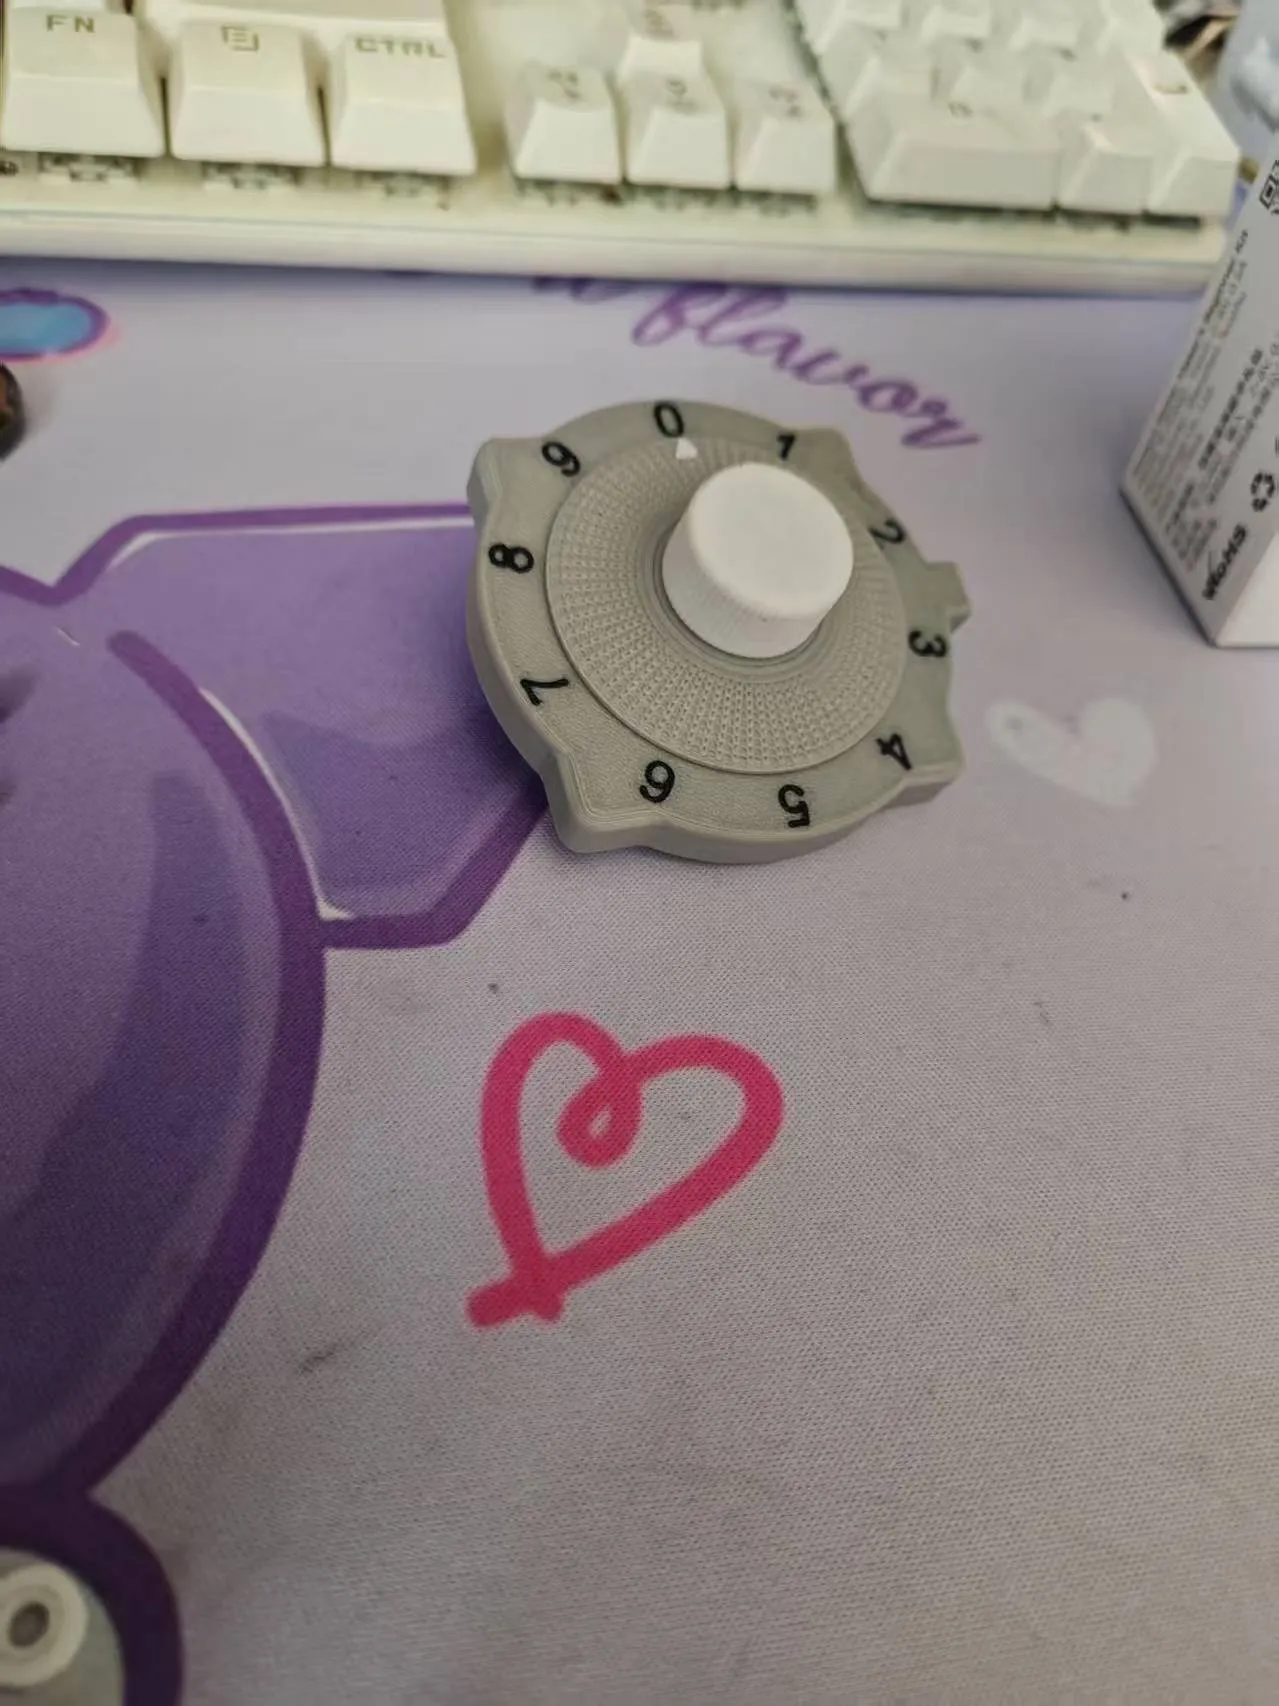
Assemble them together
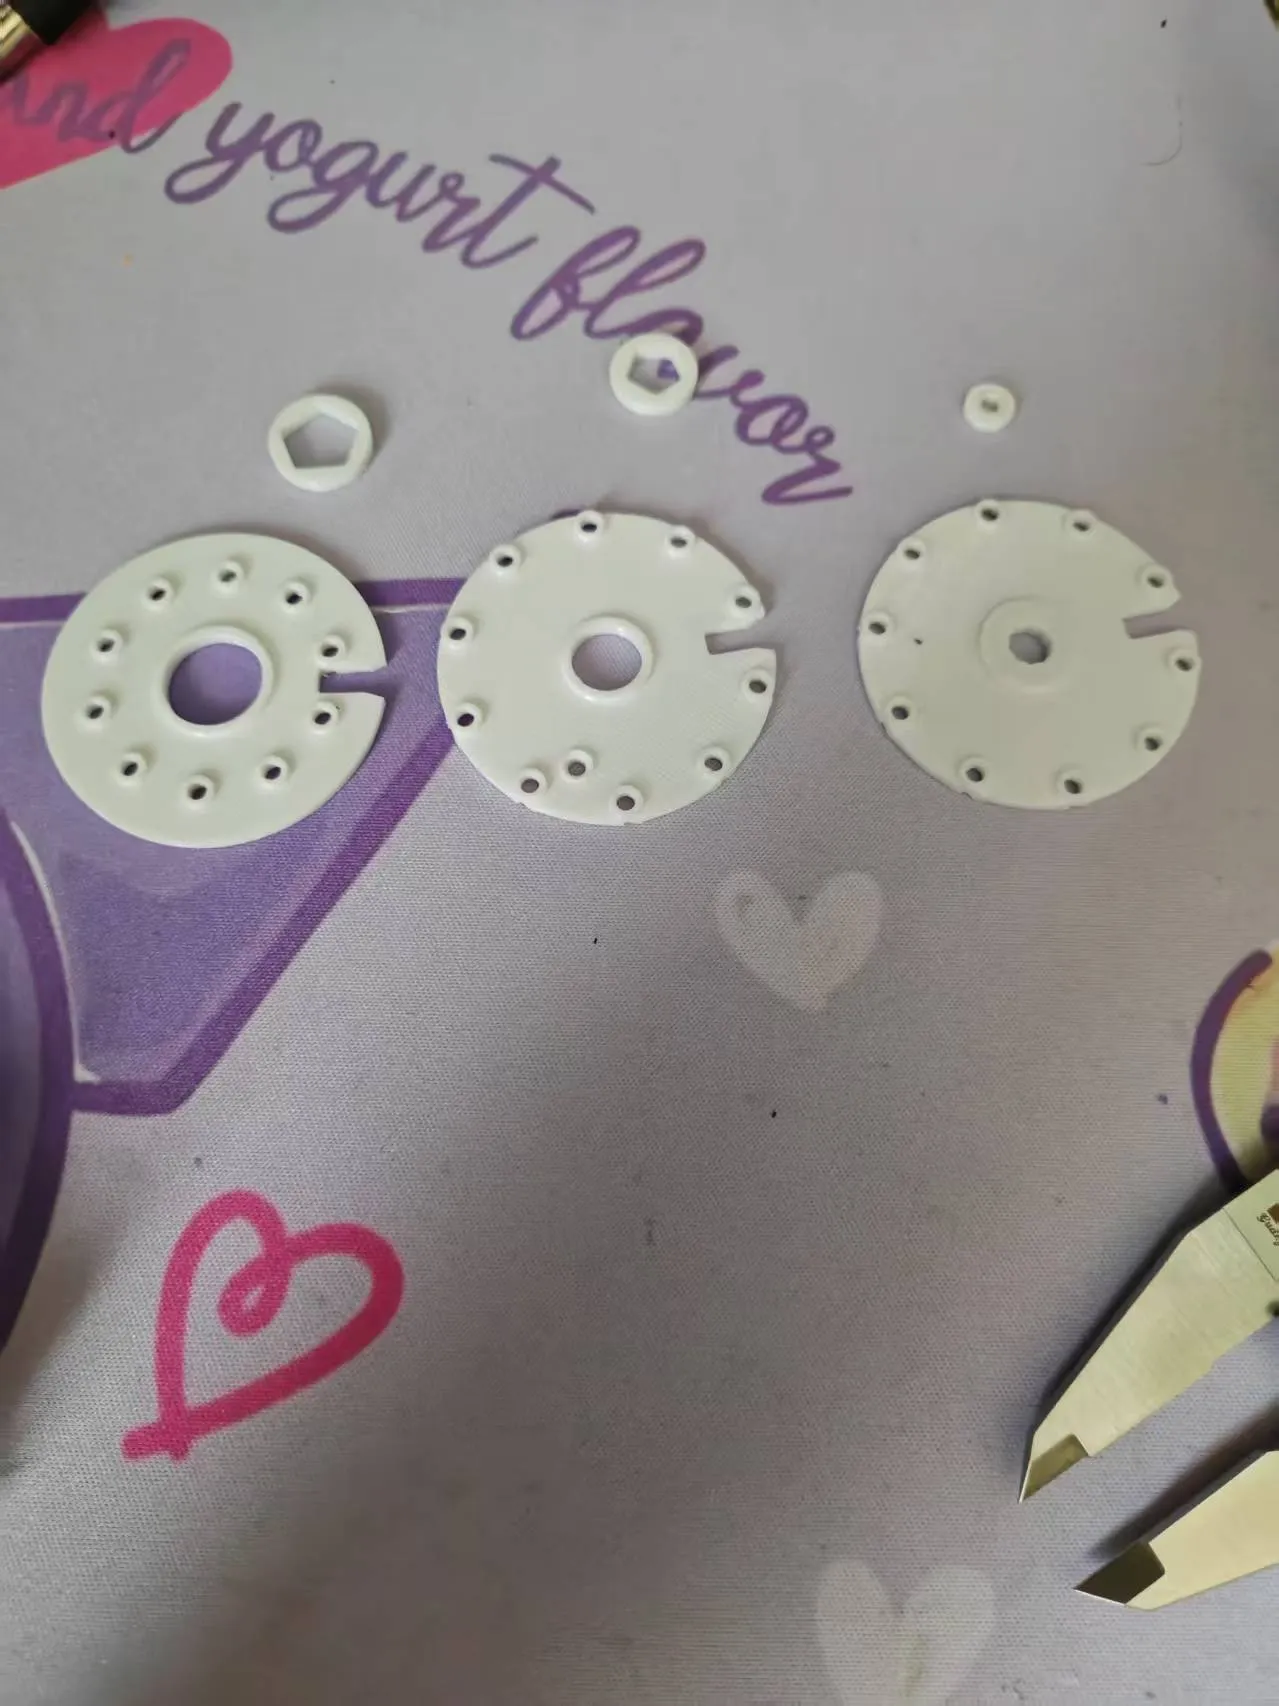
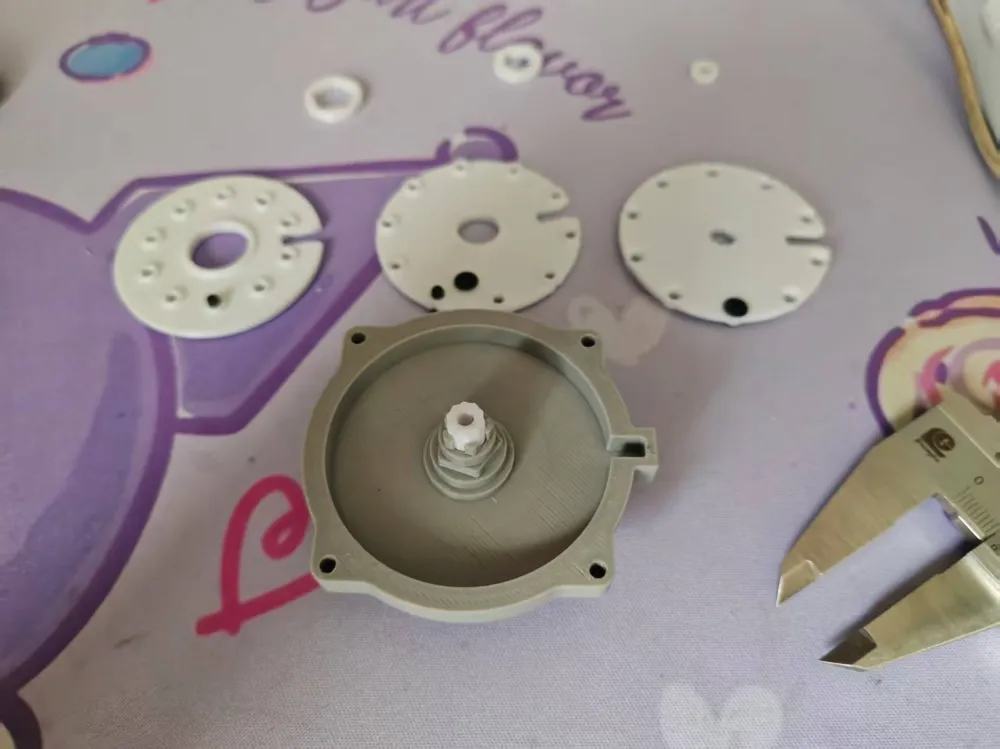
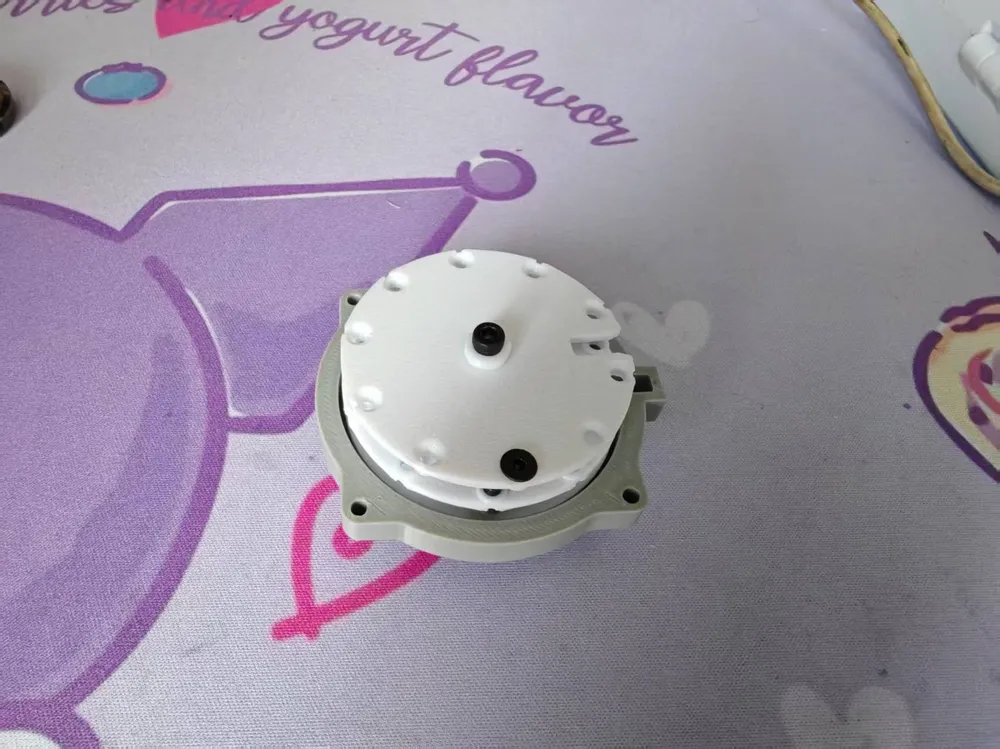
Find these 6 parts. I call them password wheels. To change the password later, you need to adjust the screw positions on these 3 wheels. For now, let's install them with 000 as the password
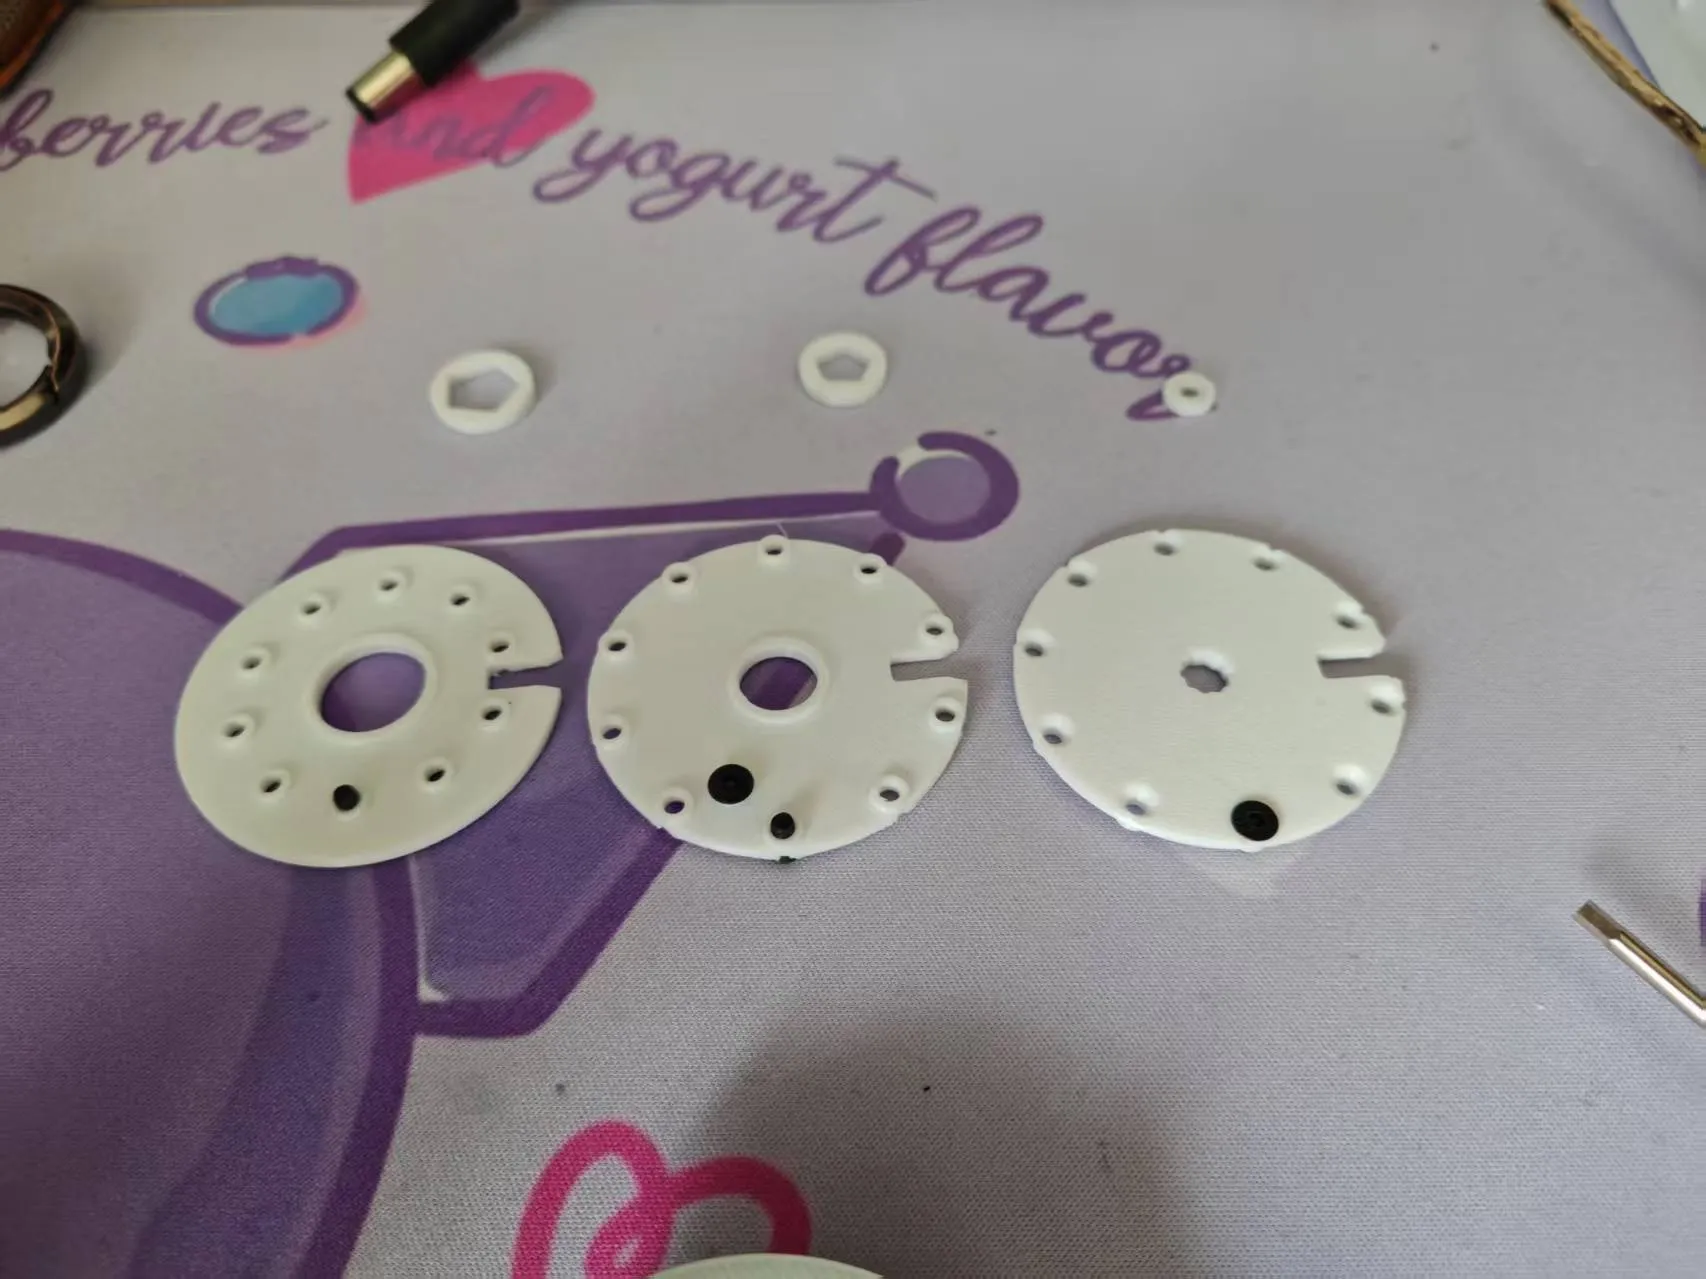
Install 4 M3*5 countersunk screws as shown in the picture. Pay attention to the installation direction
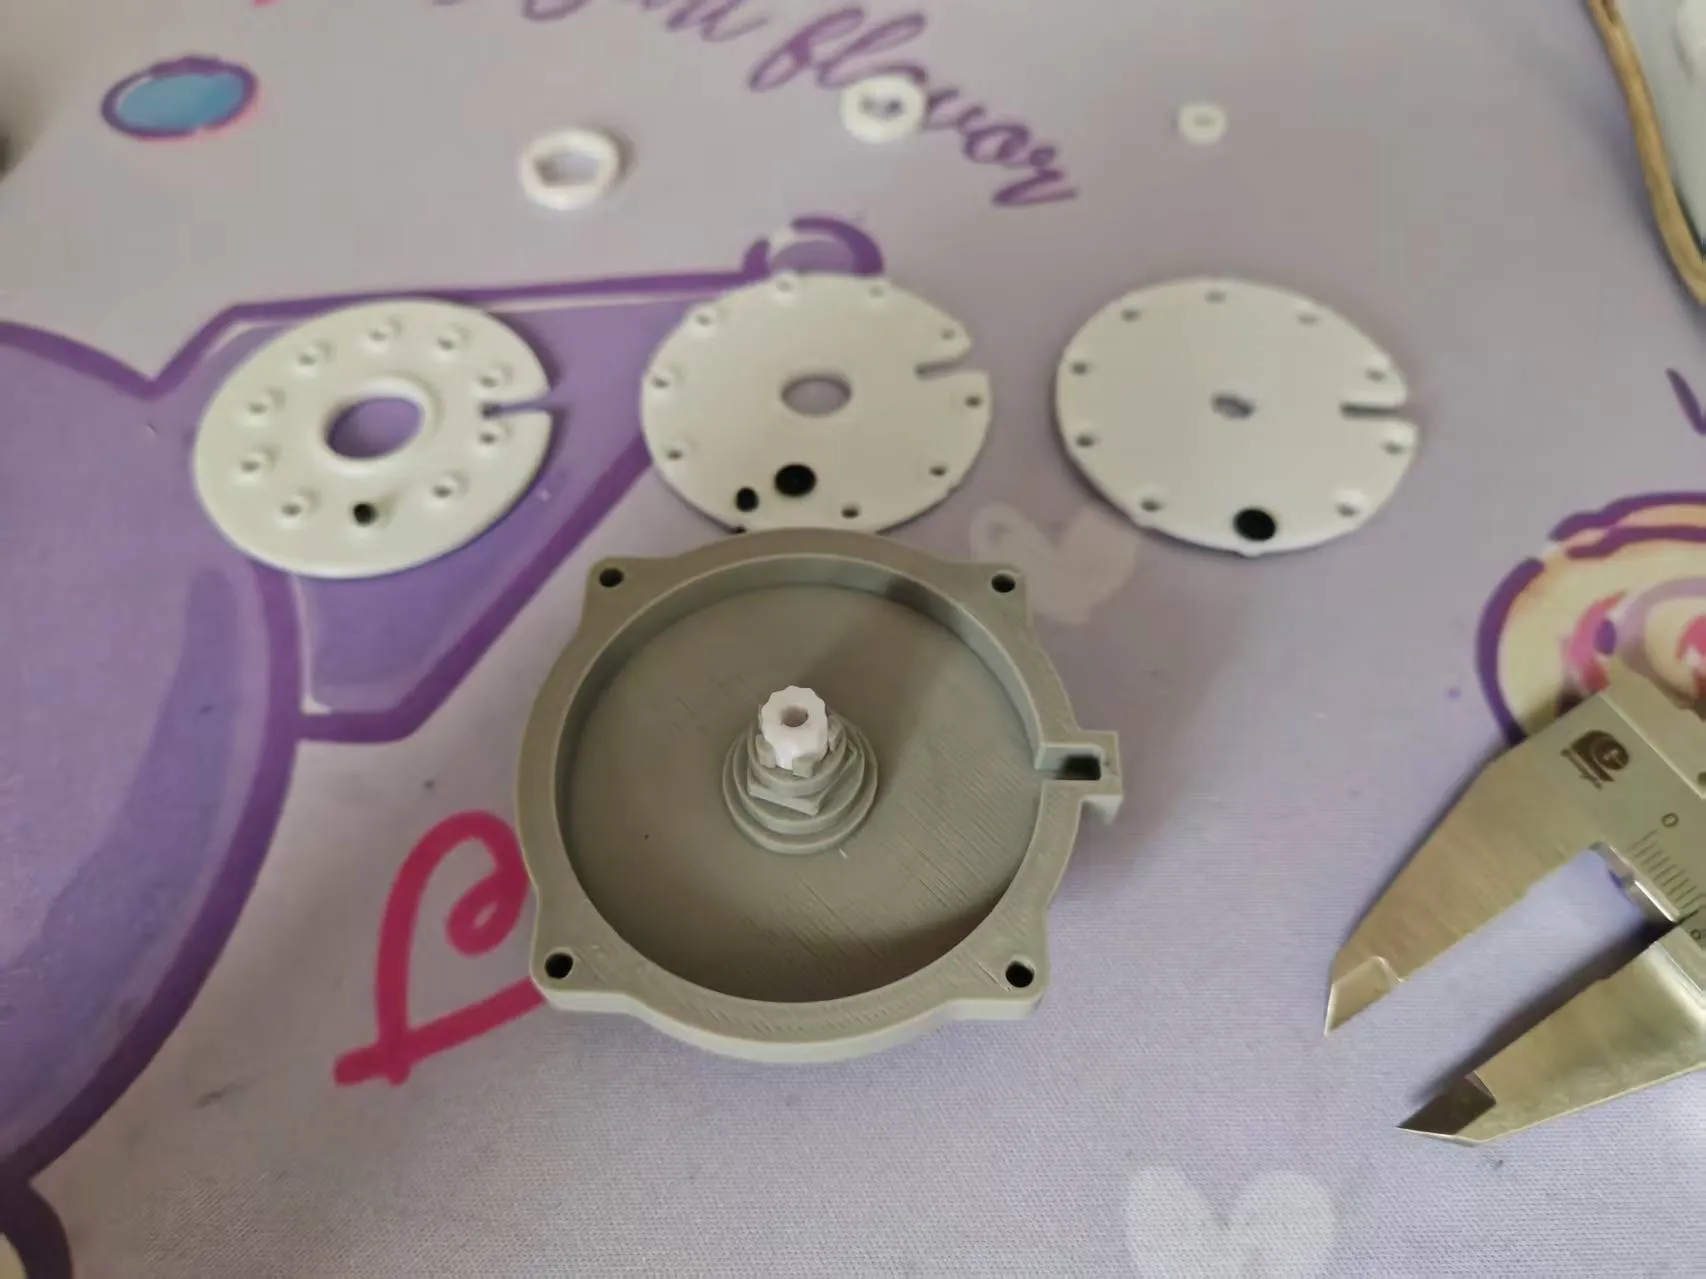
Pay attention to the installation direction
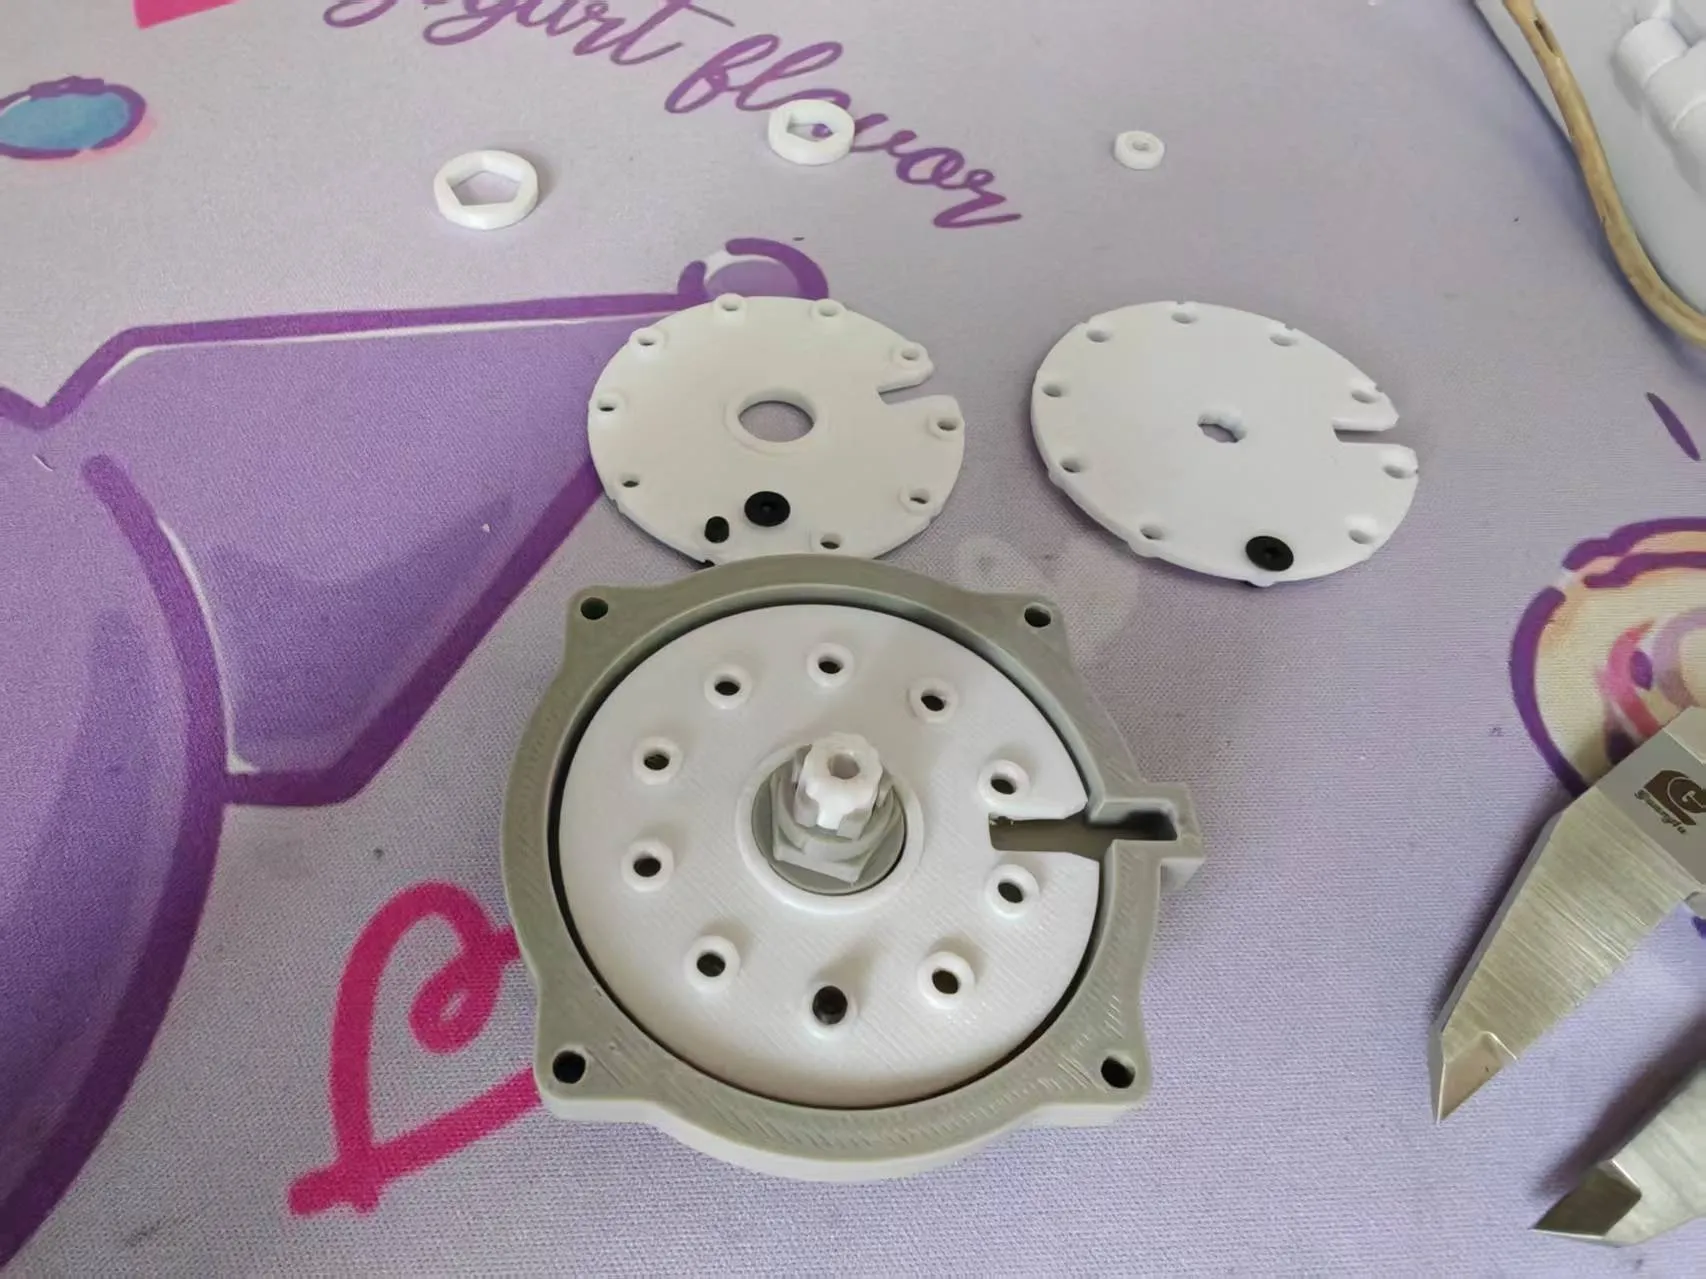
Install the driven password wheel
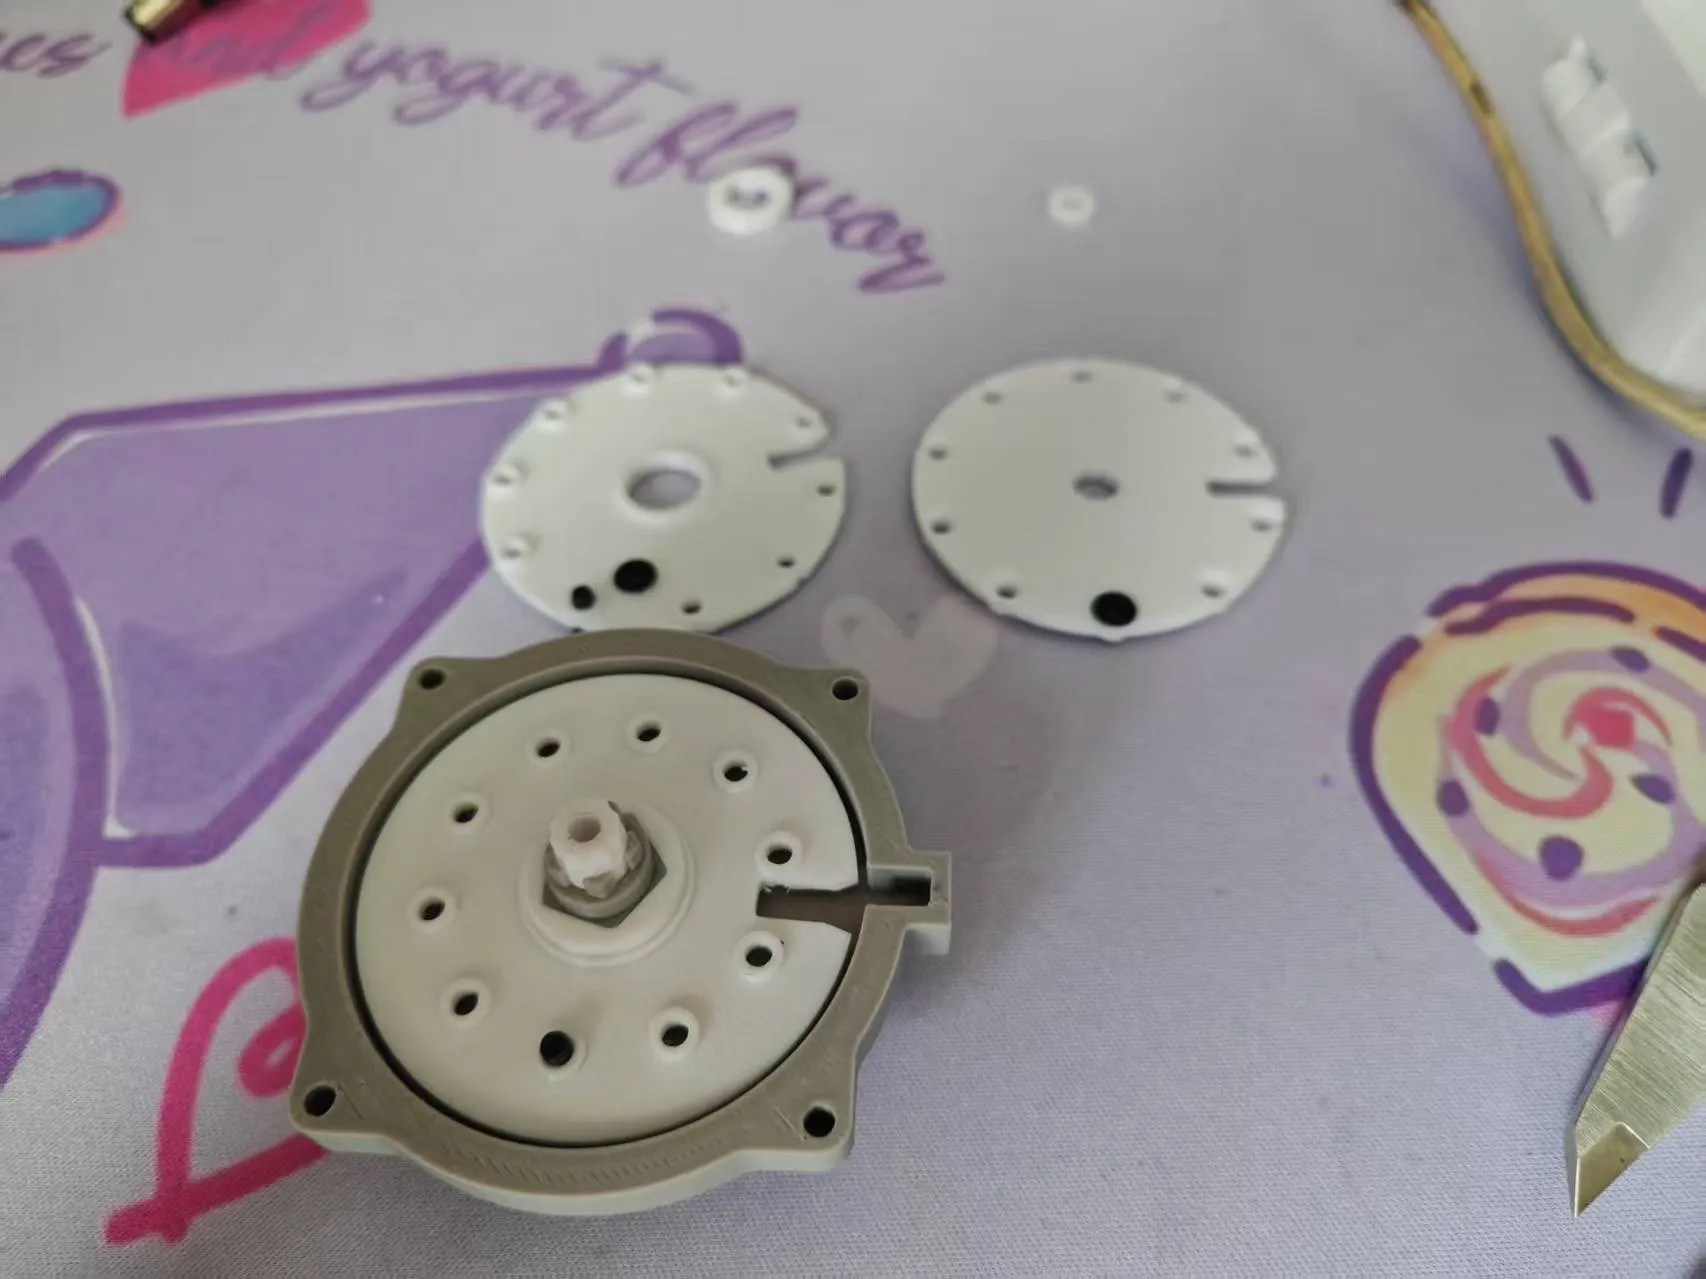
Install the largest washer
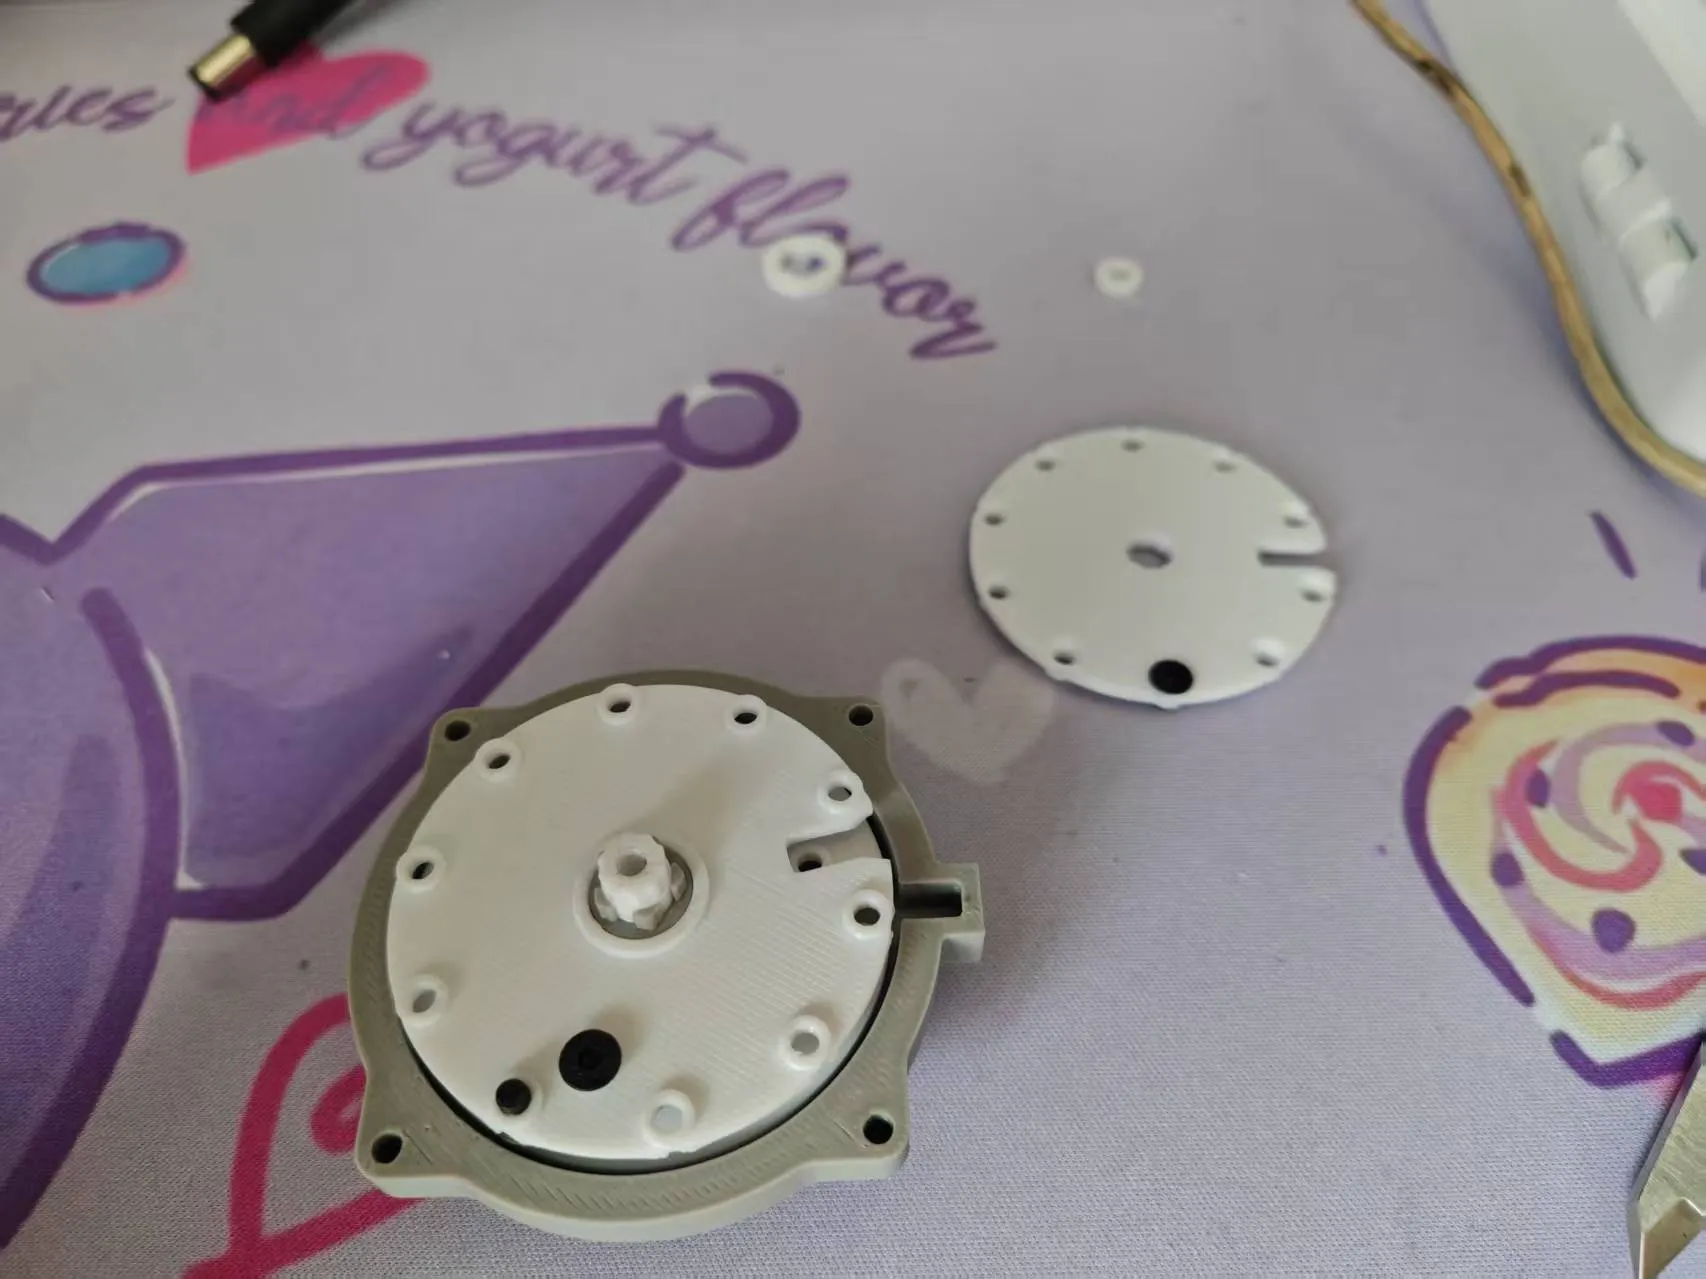
Install the middle wheel
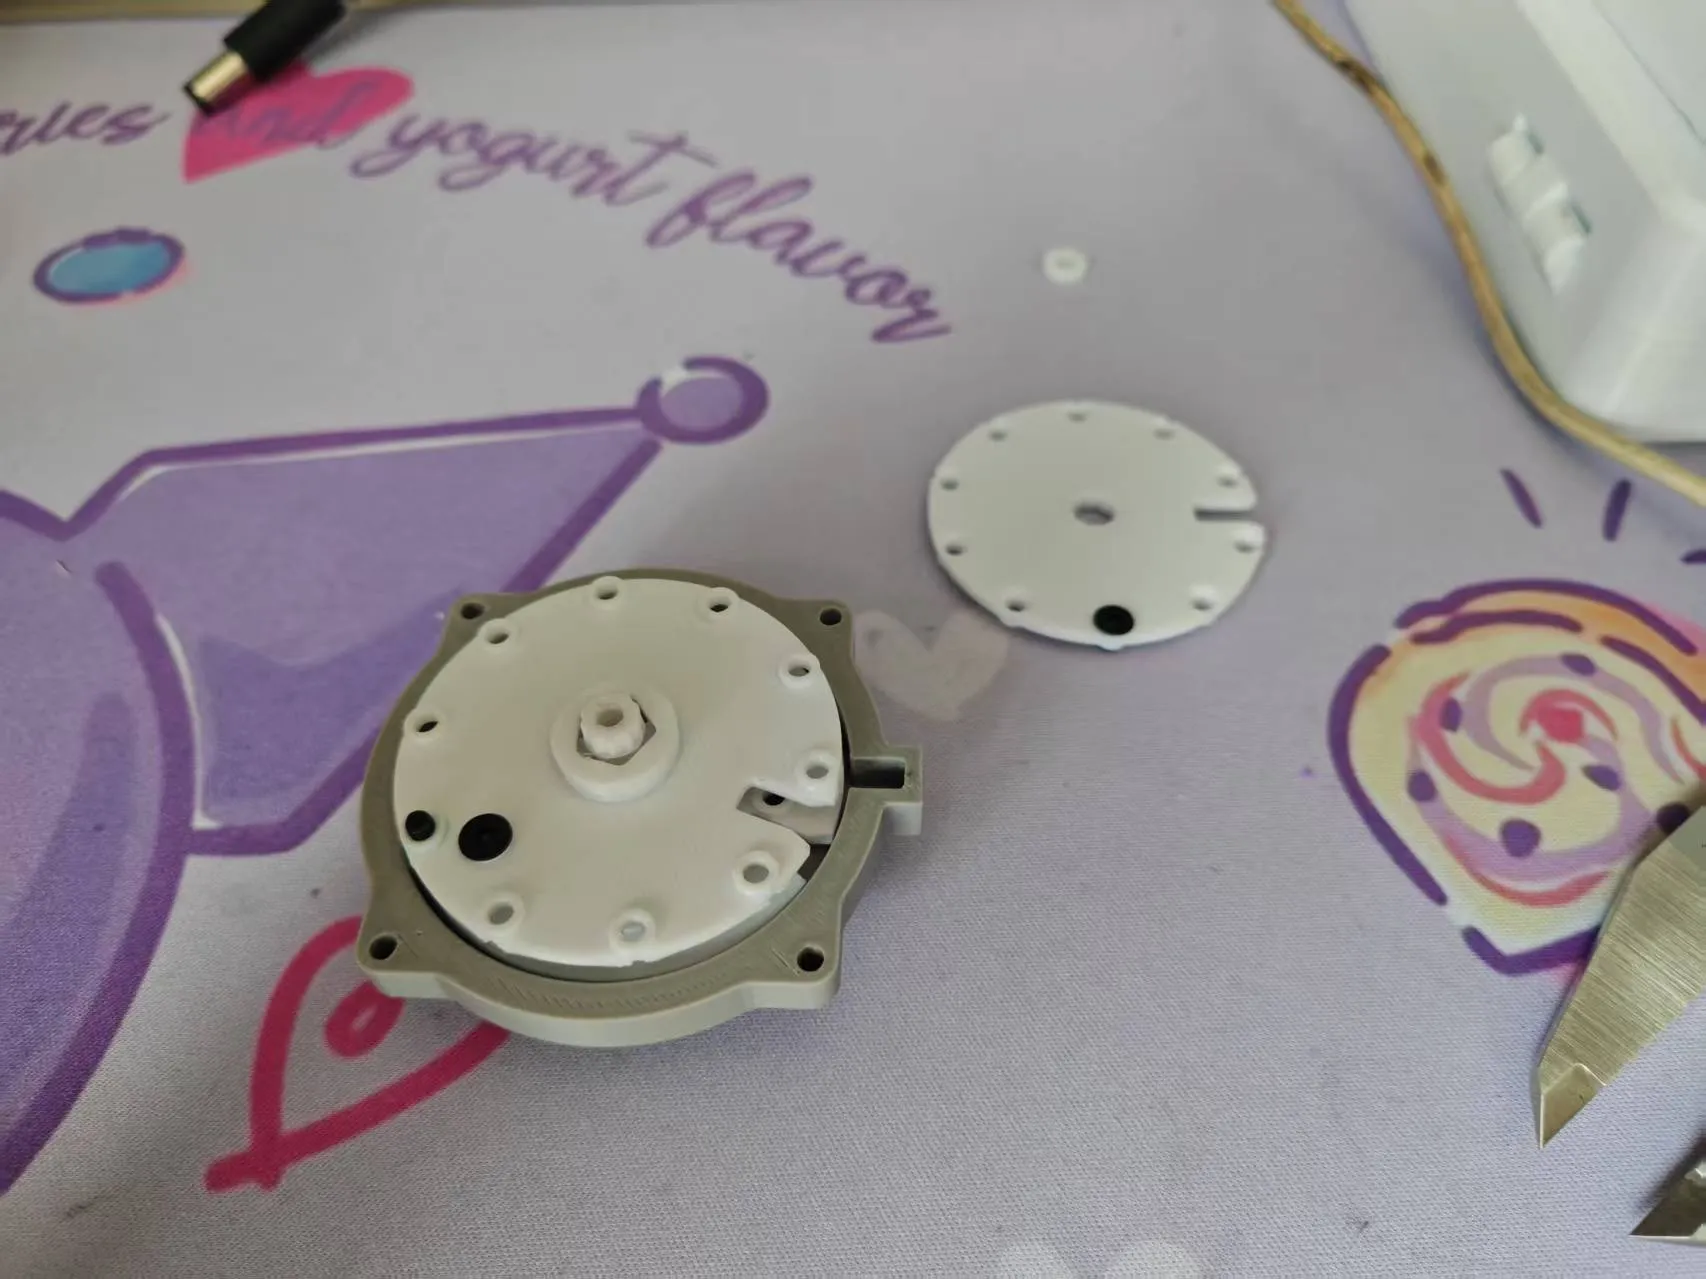
Install the washer
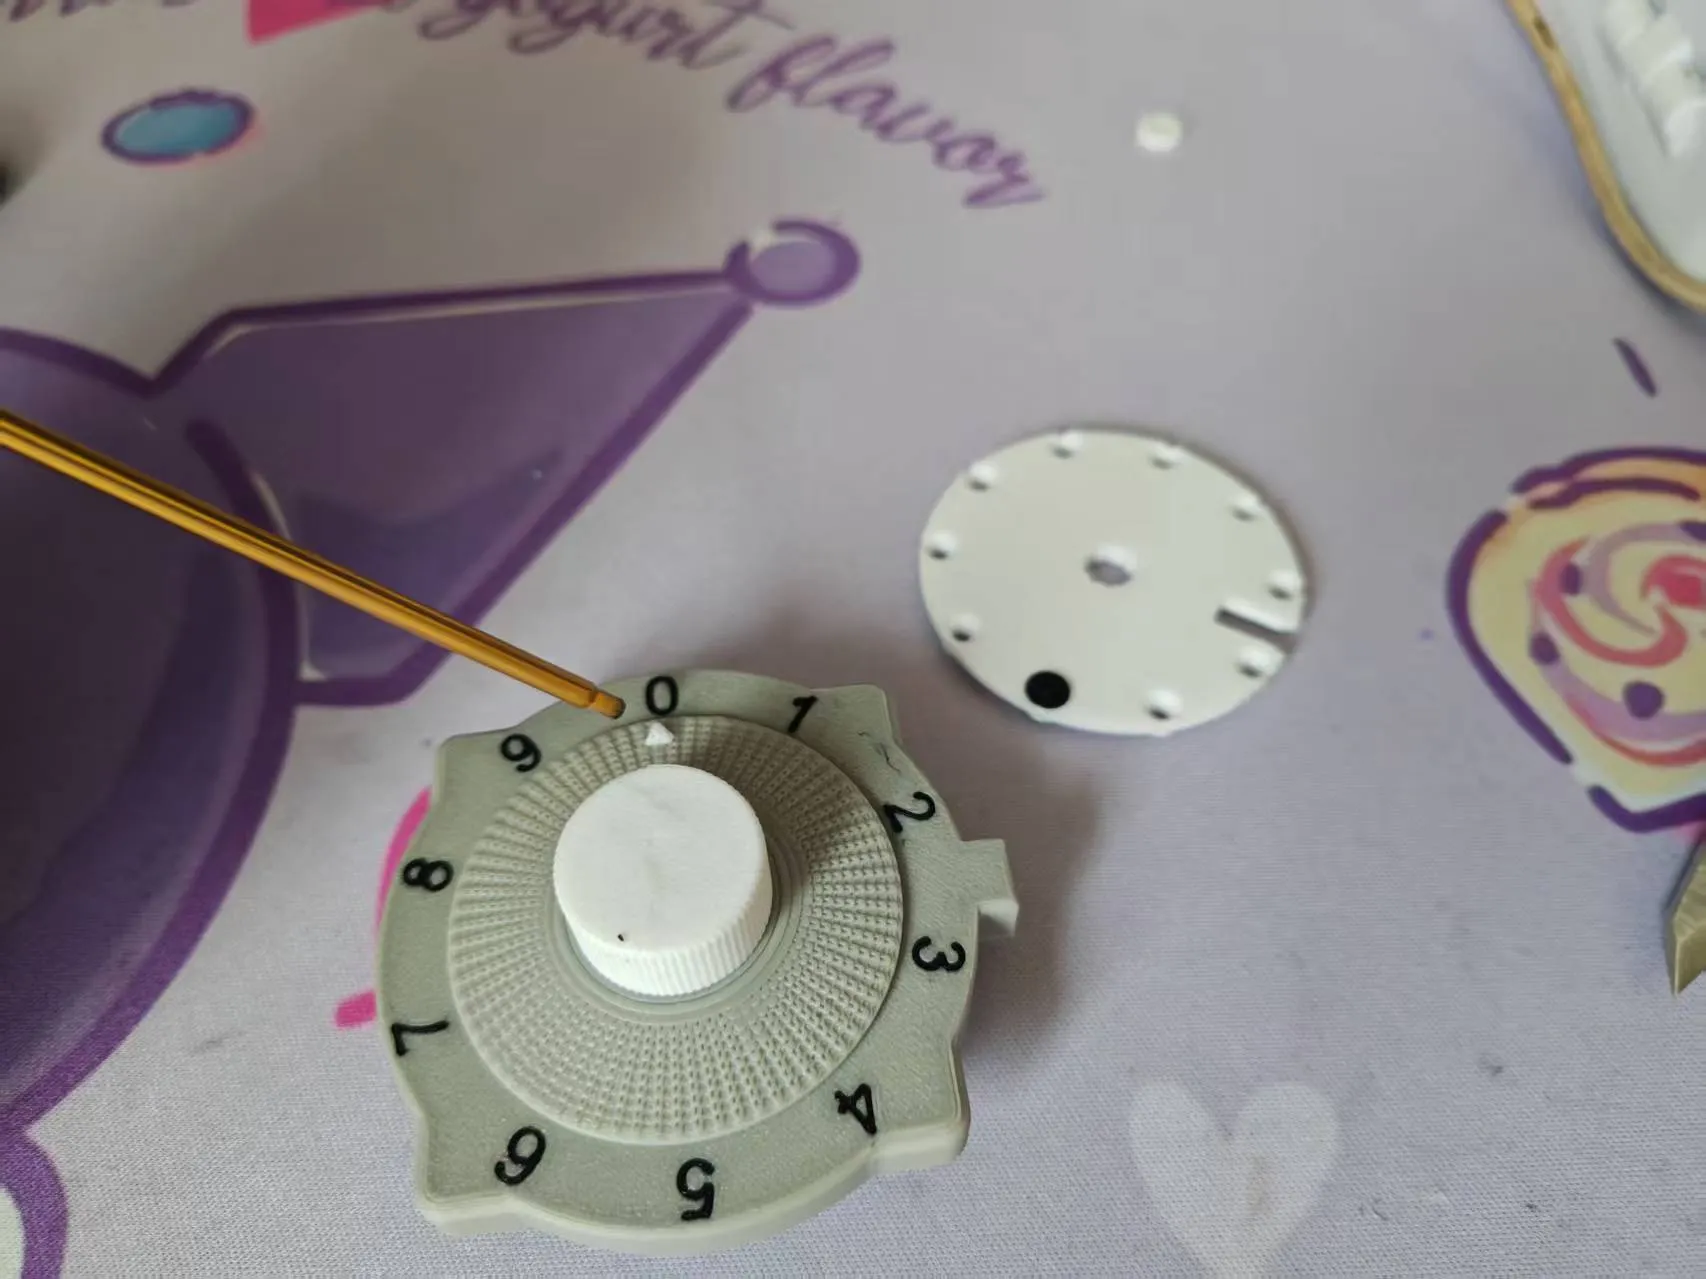
Now adjust the front wheel to the 0 position
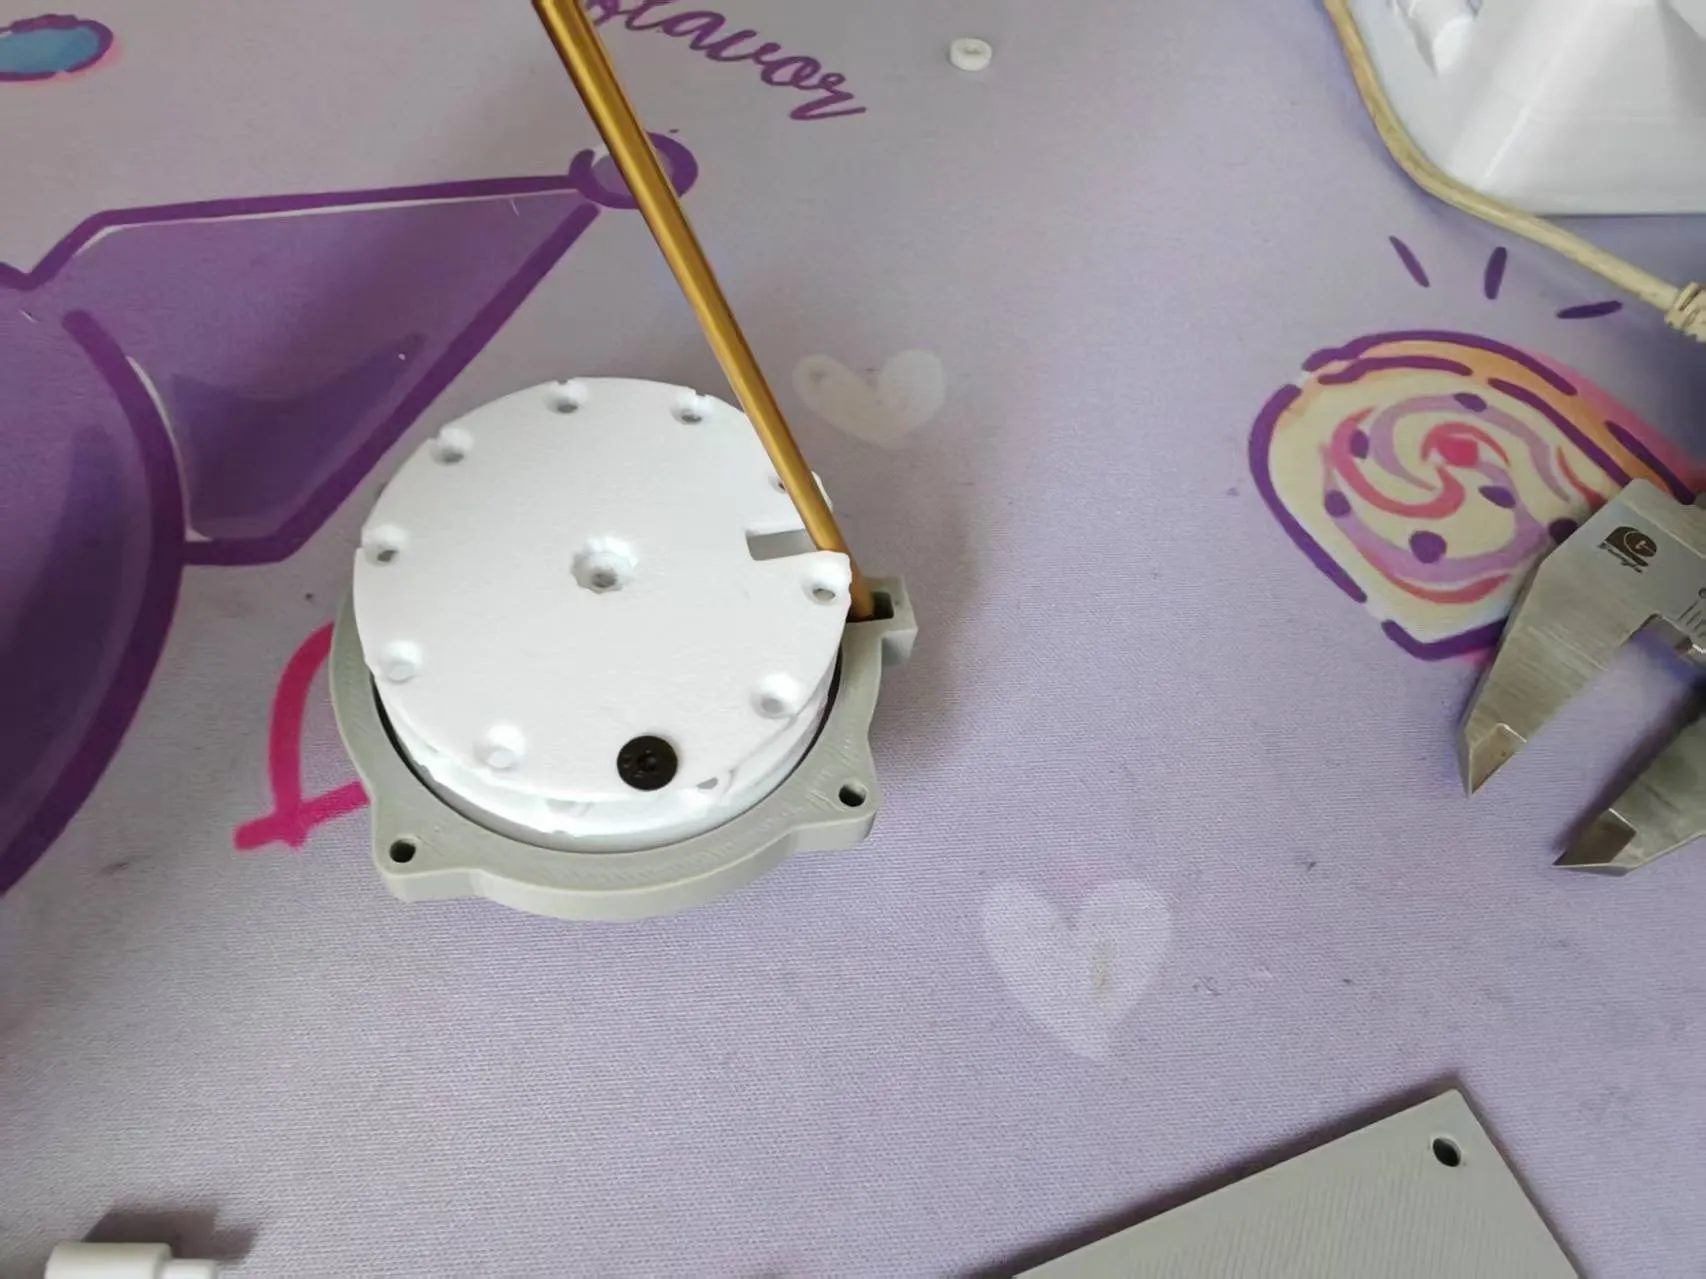
Align the notch and install the driving wheel. Pay attention to the front and back of the password wheel
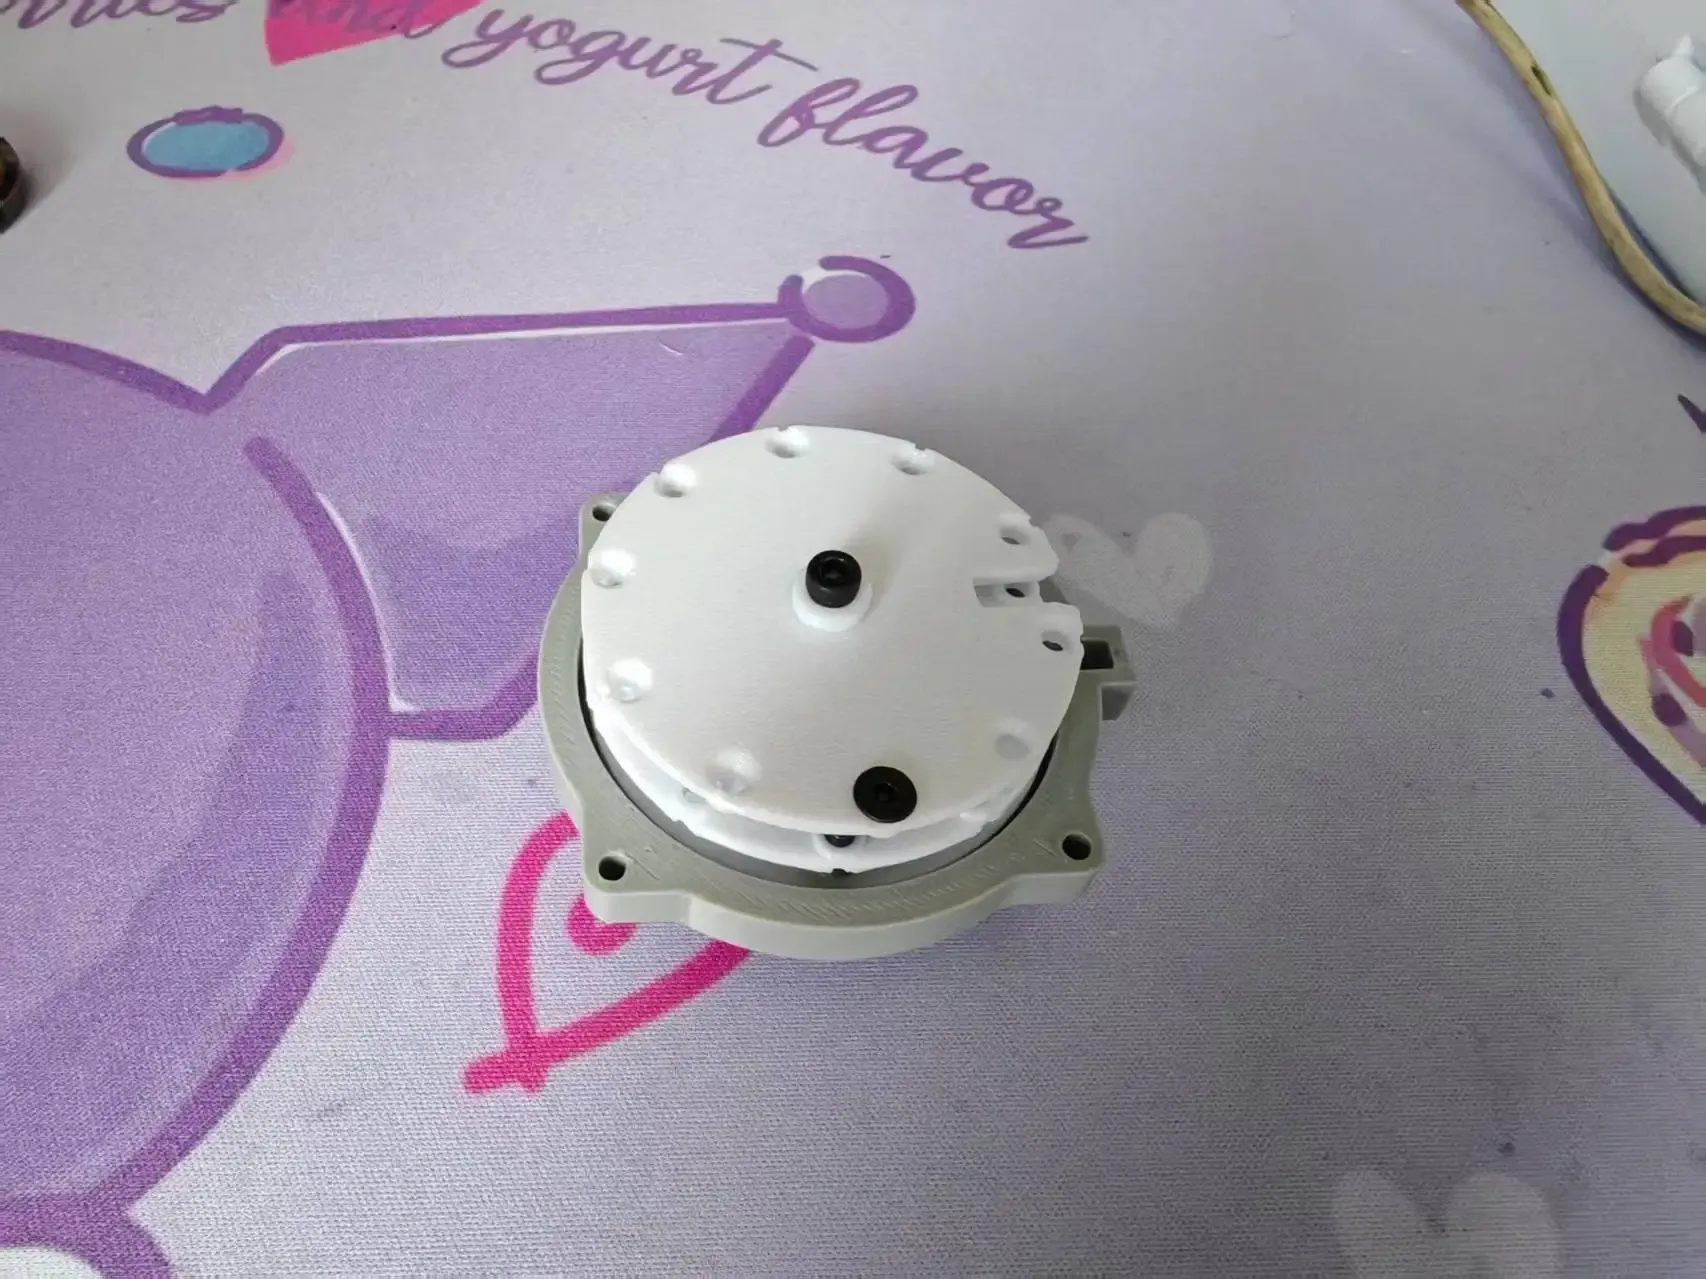
Install the small washer and secure it with M3*8 flat head screws. Note: Do not overtighten. This will make it difficult to adjust the password. First, test if the password is correct. Note: If the last two digits of a 3-digit password are the same, you only need to turn it back once. That means, rotate clockwise 2-3 turns to 0, then counter-clockwise 1 turn to 0, and you will not need to rotate clockwise again. The password mechanism installation is now complete. I will release a password change tutorial on Bilibili later
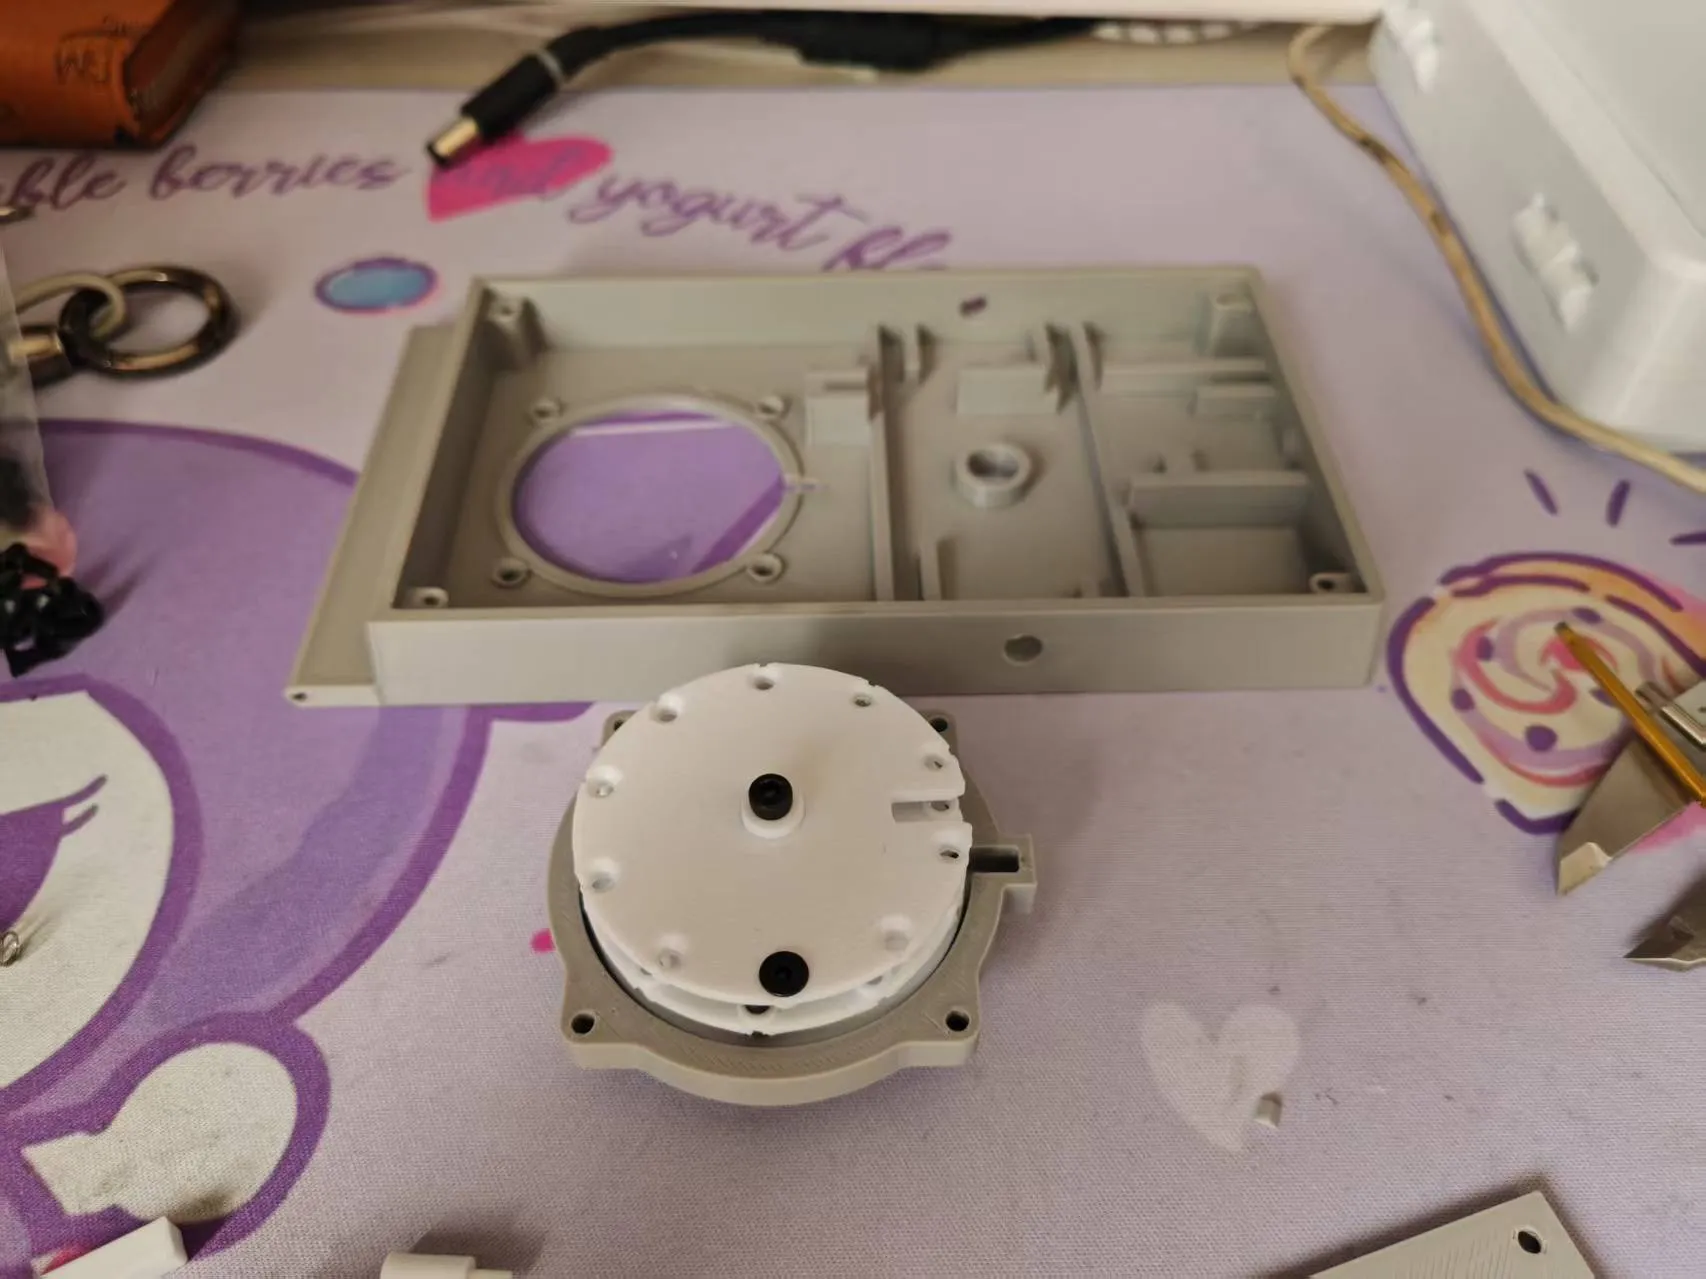
Find the front door. Mine is the no-LOGO version. There is a Bambu Lab logo version in the drawing
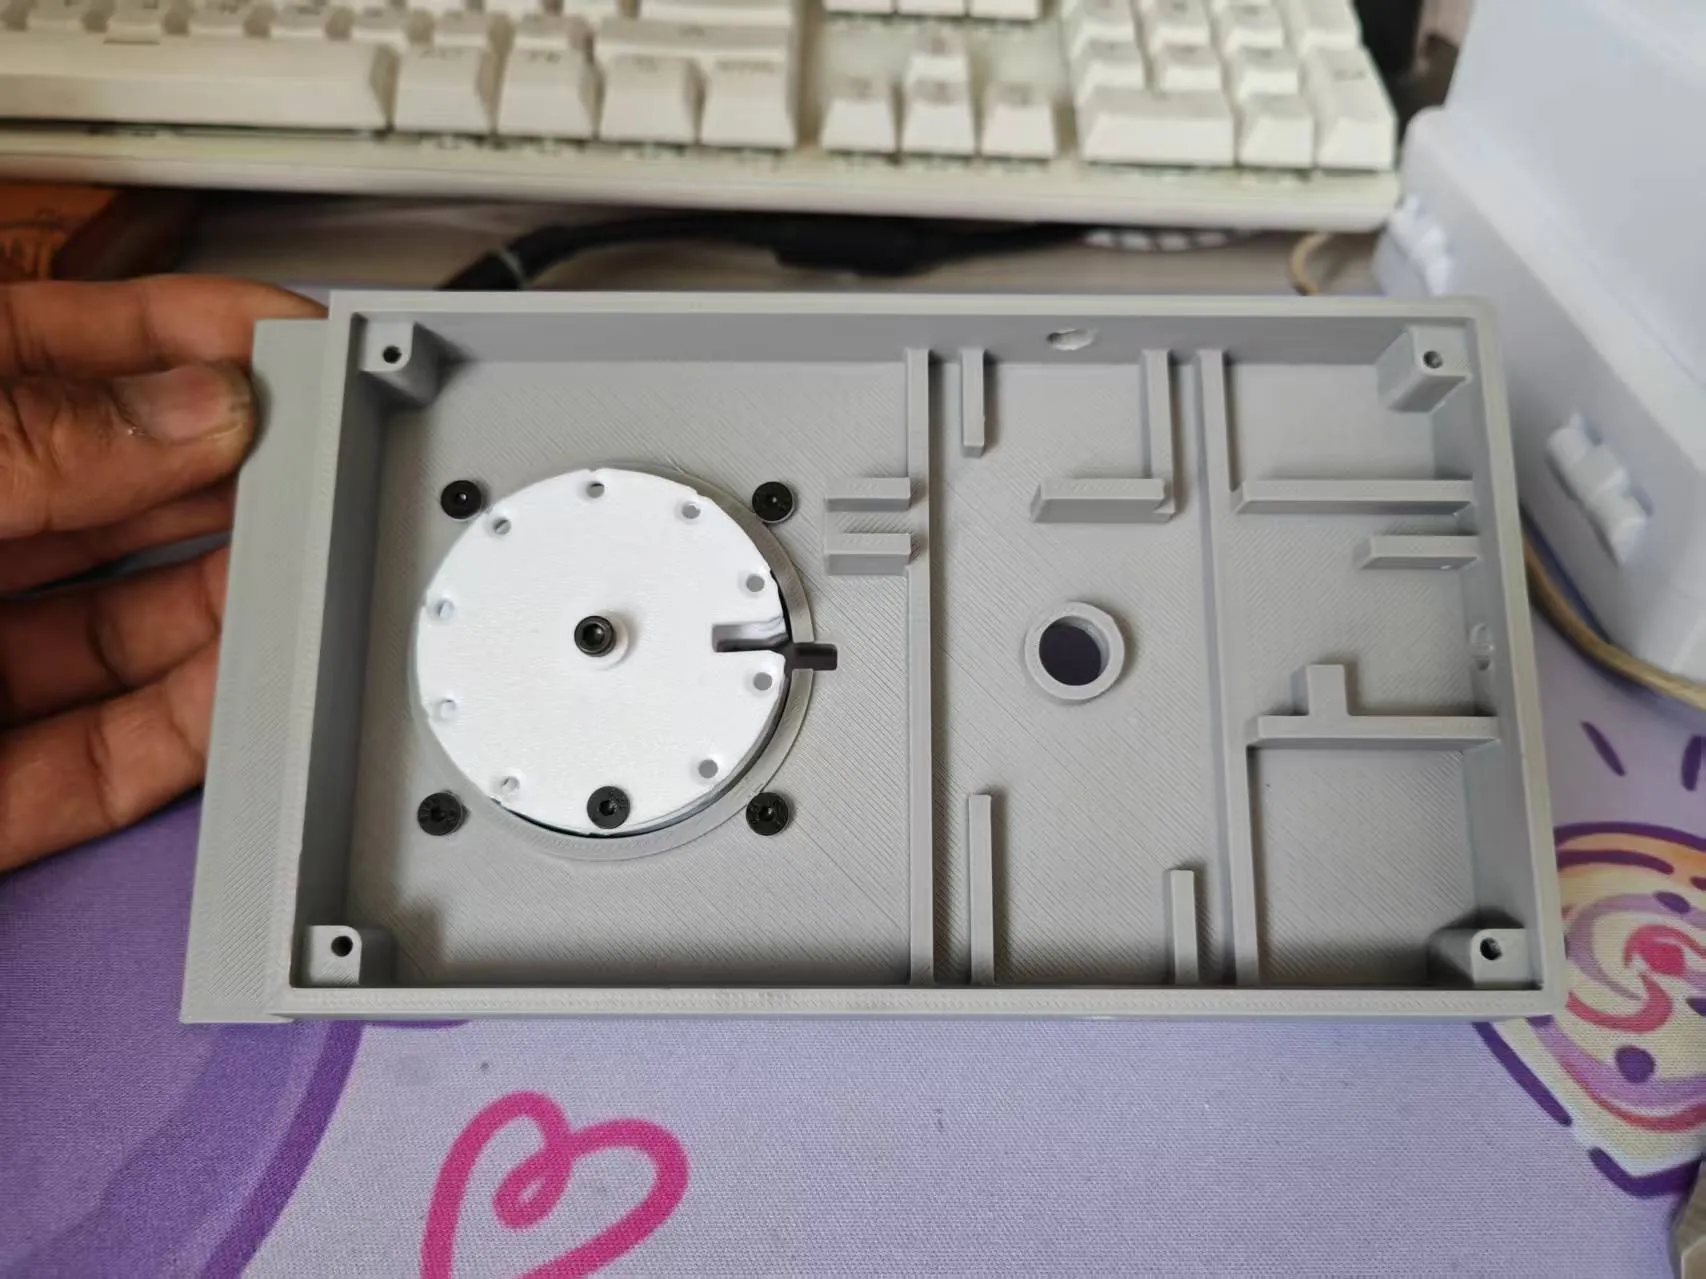
Install the front door and secure it with 4 M3*8 countersunk screws. Pay attention to the installation direction
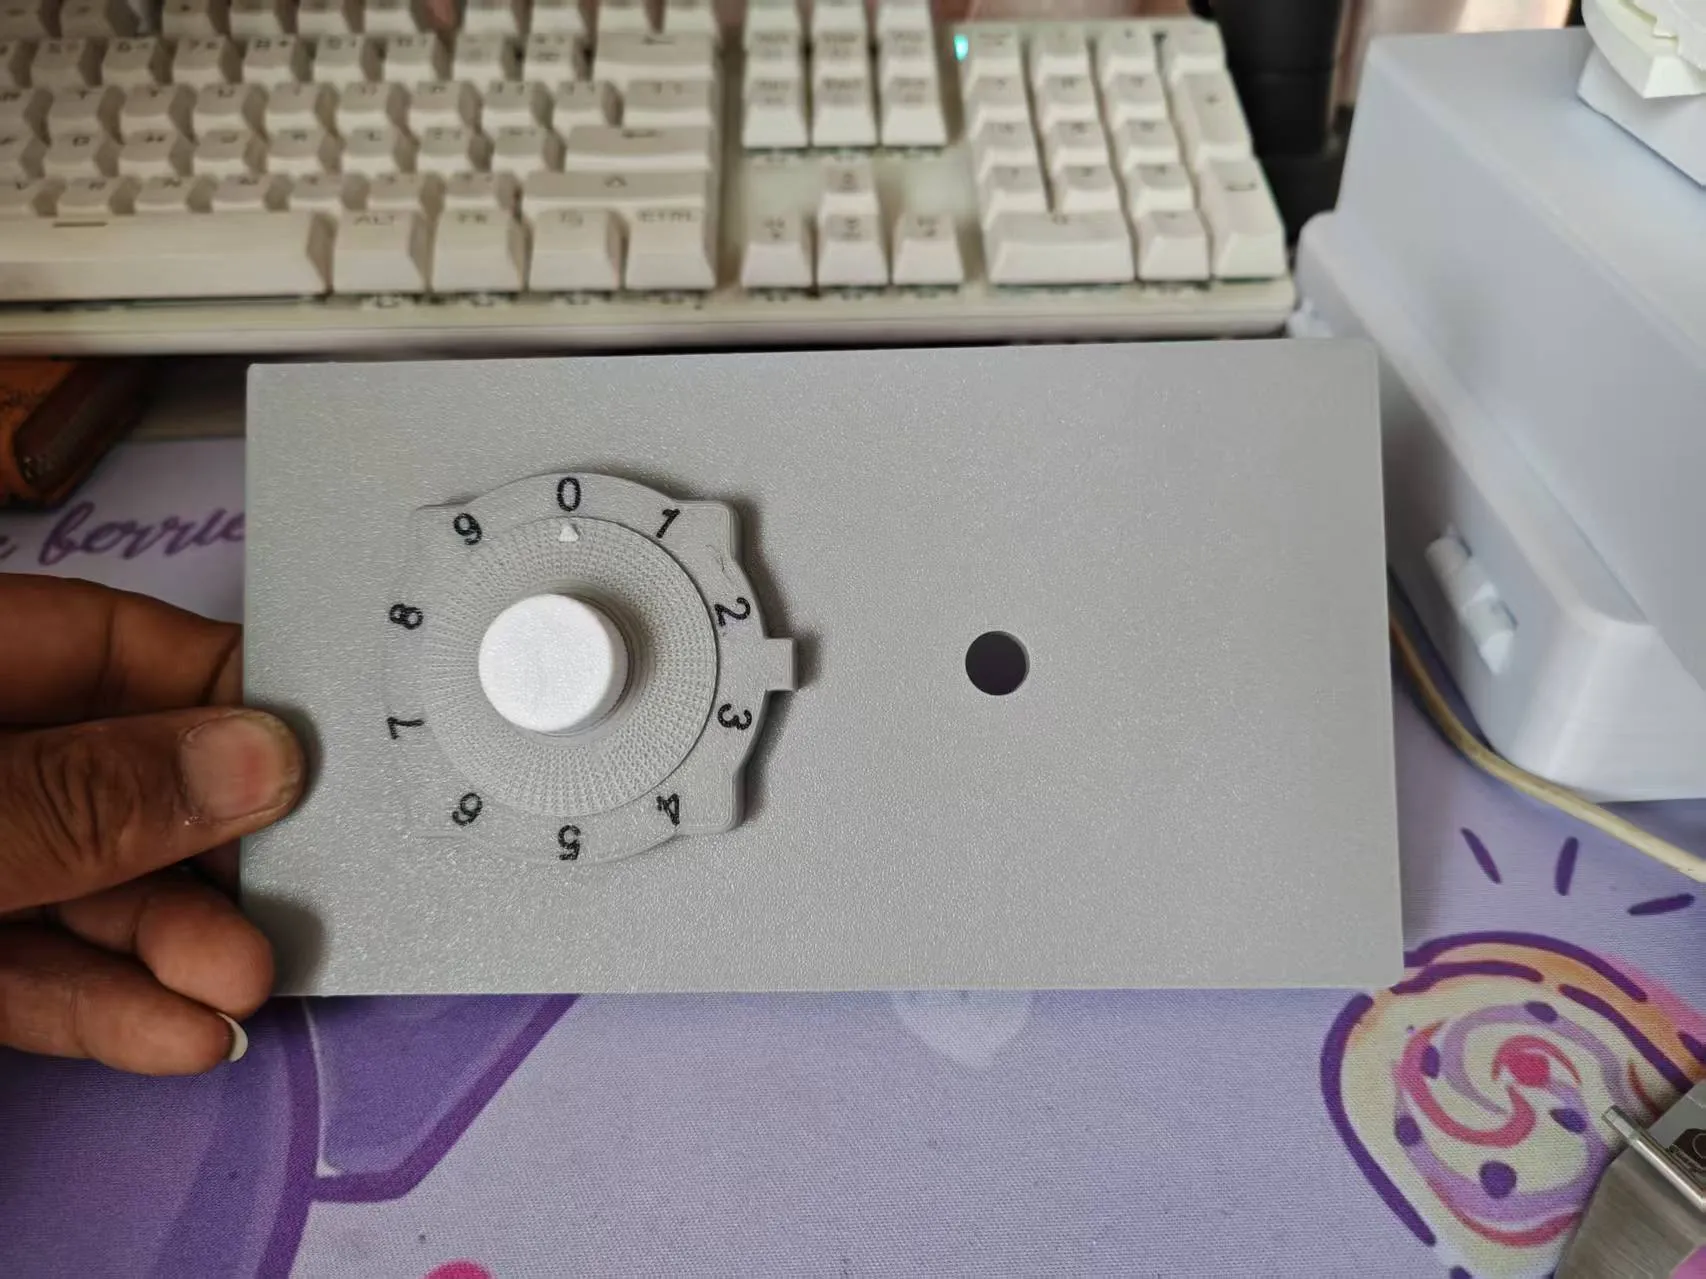
Front view after installation
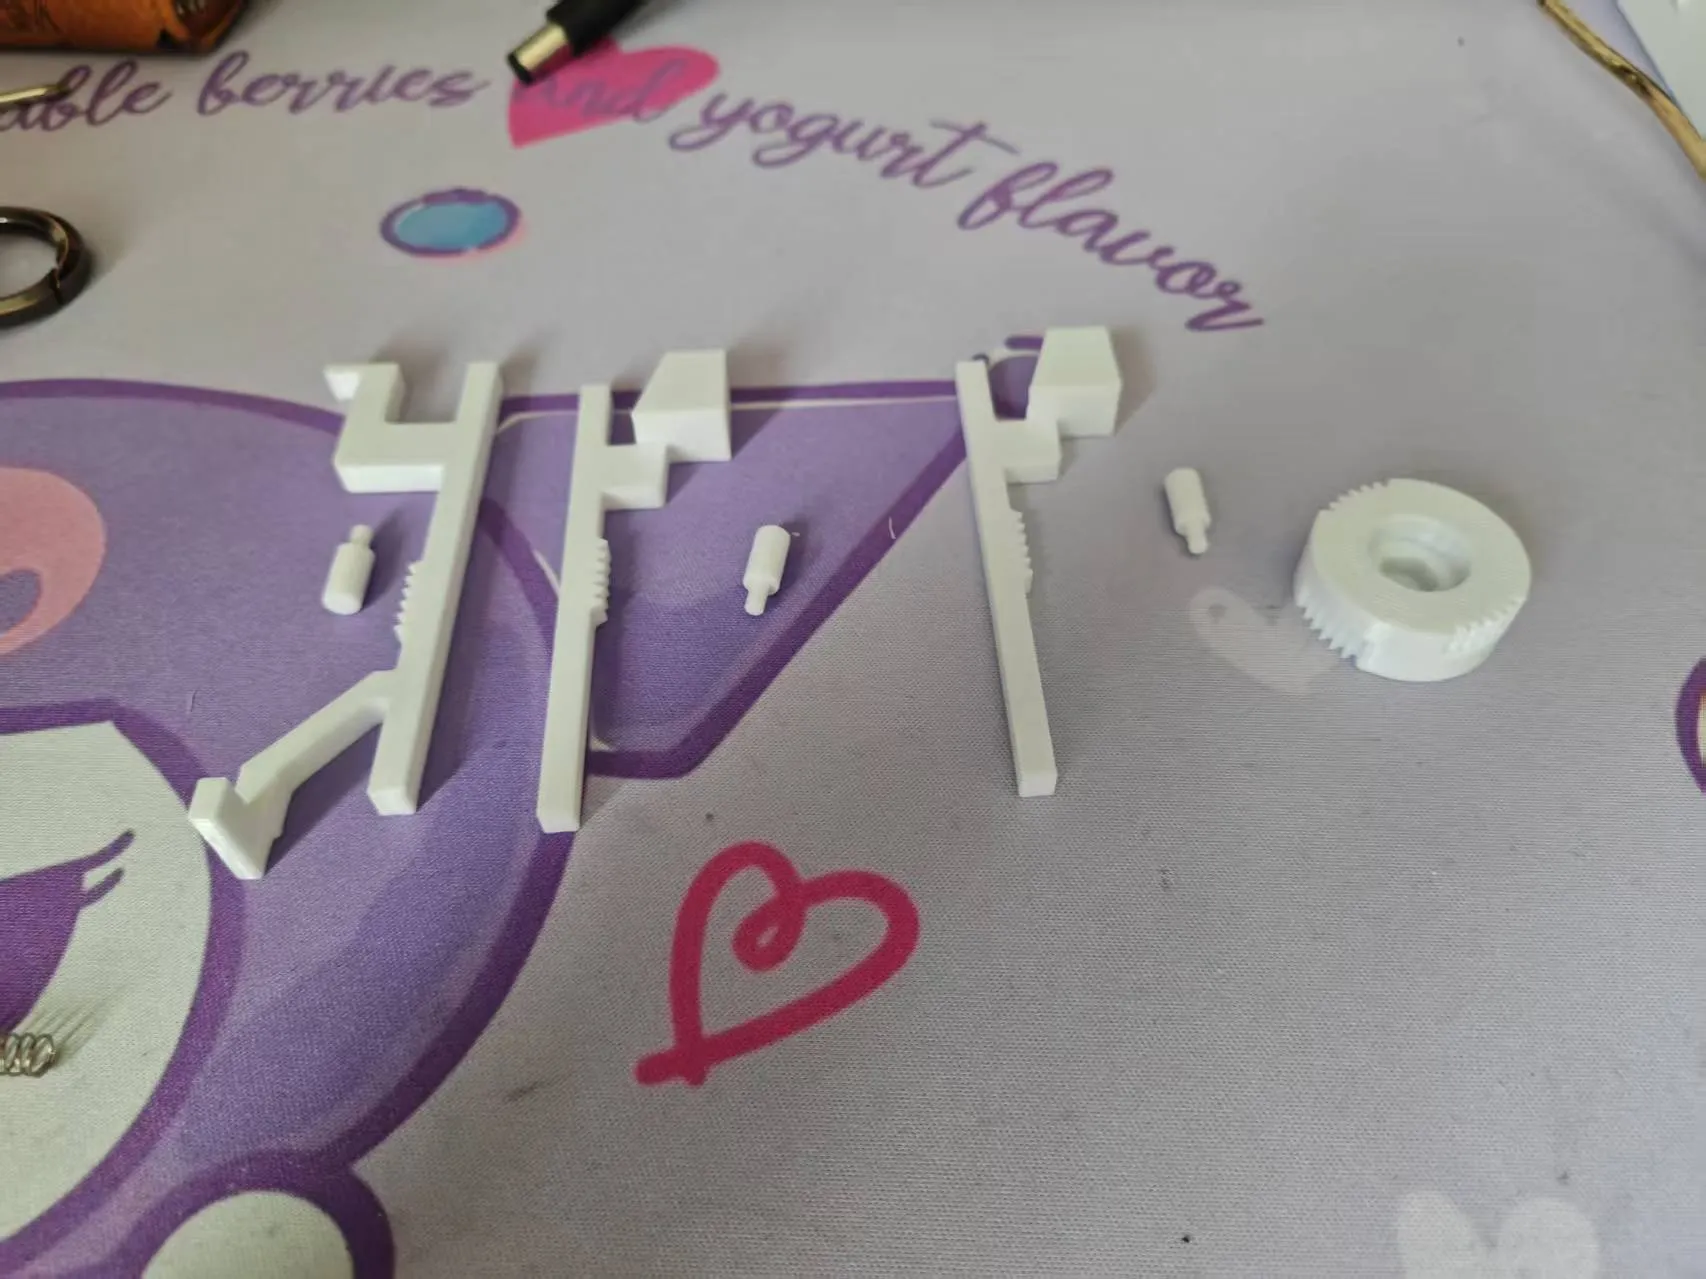
Find these parts
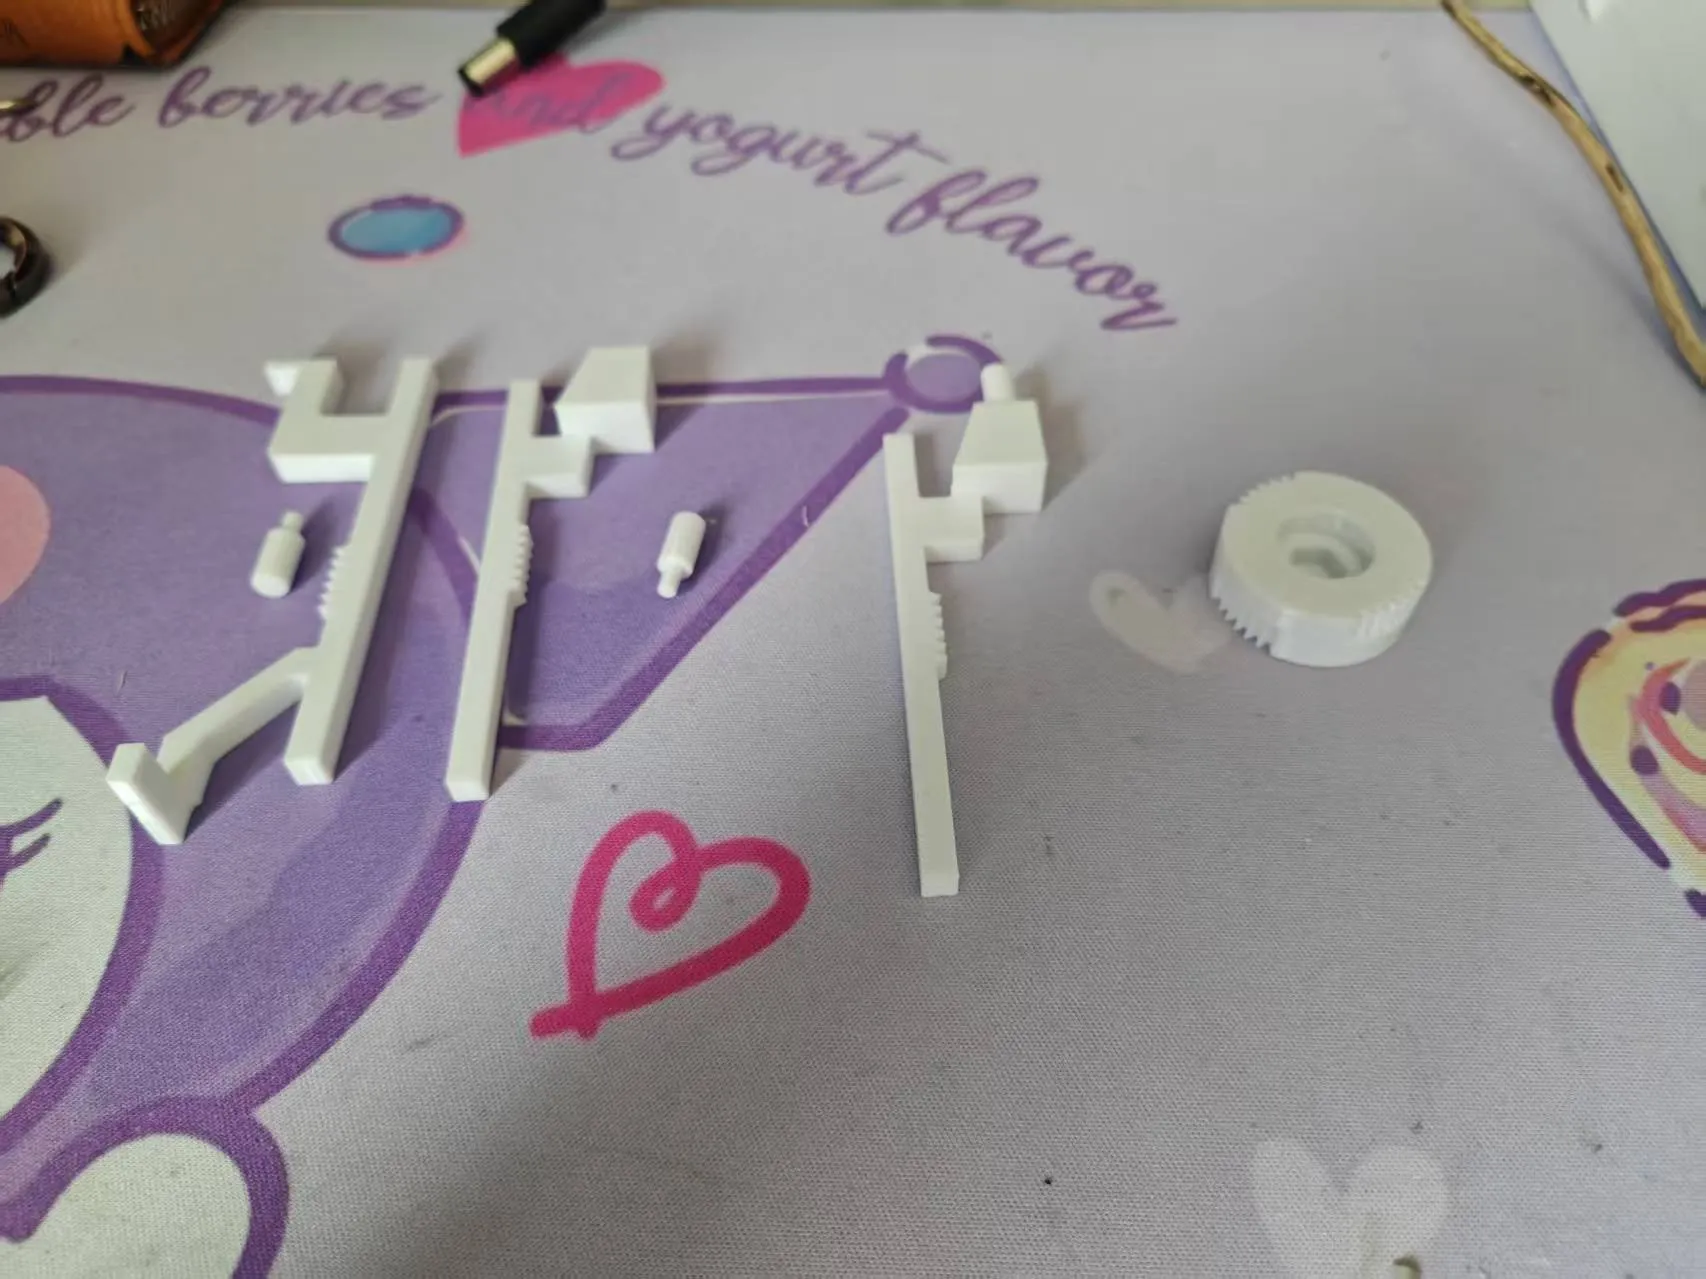
Install one of the two identical latch mechanisms
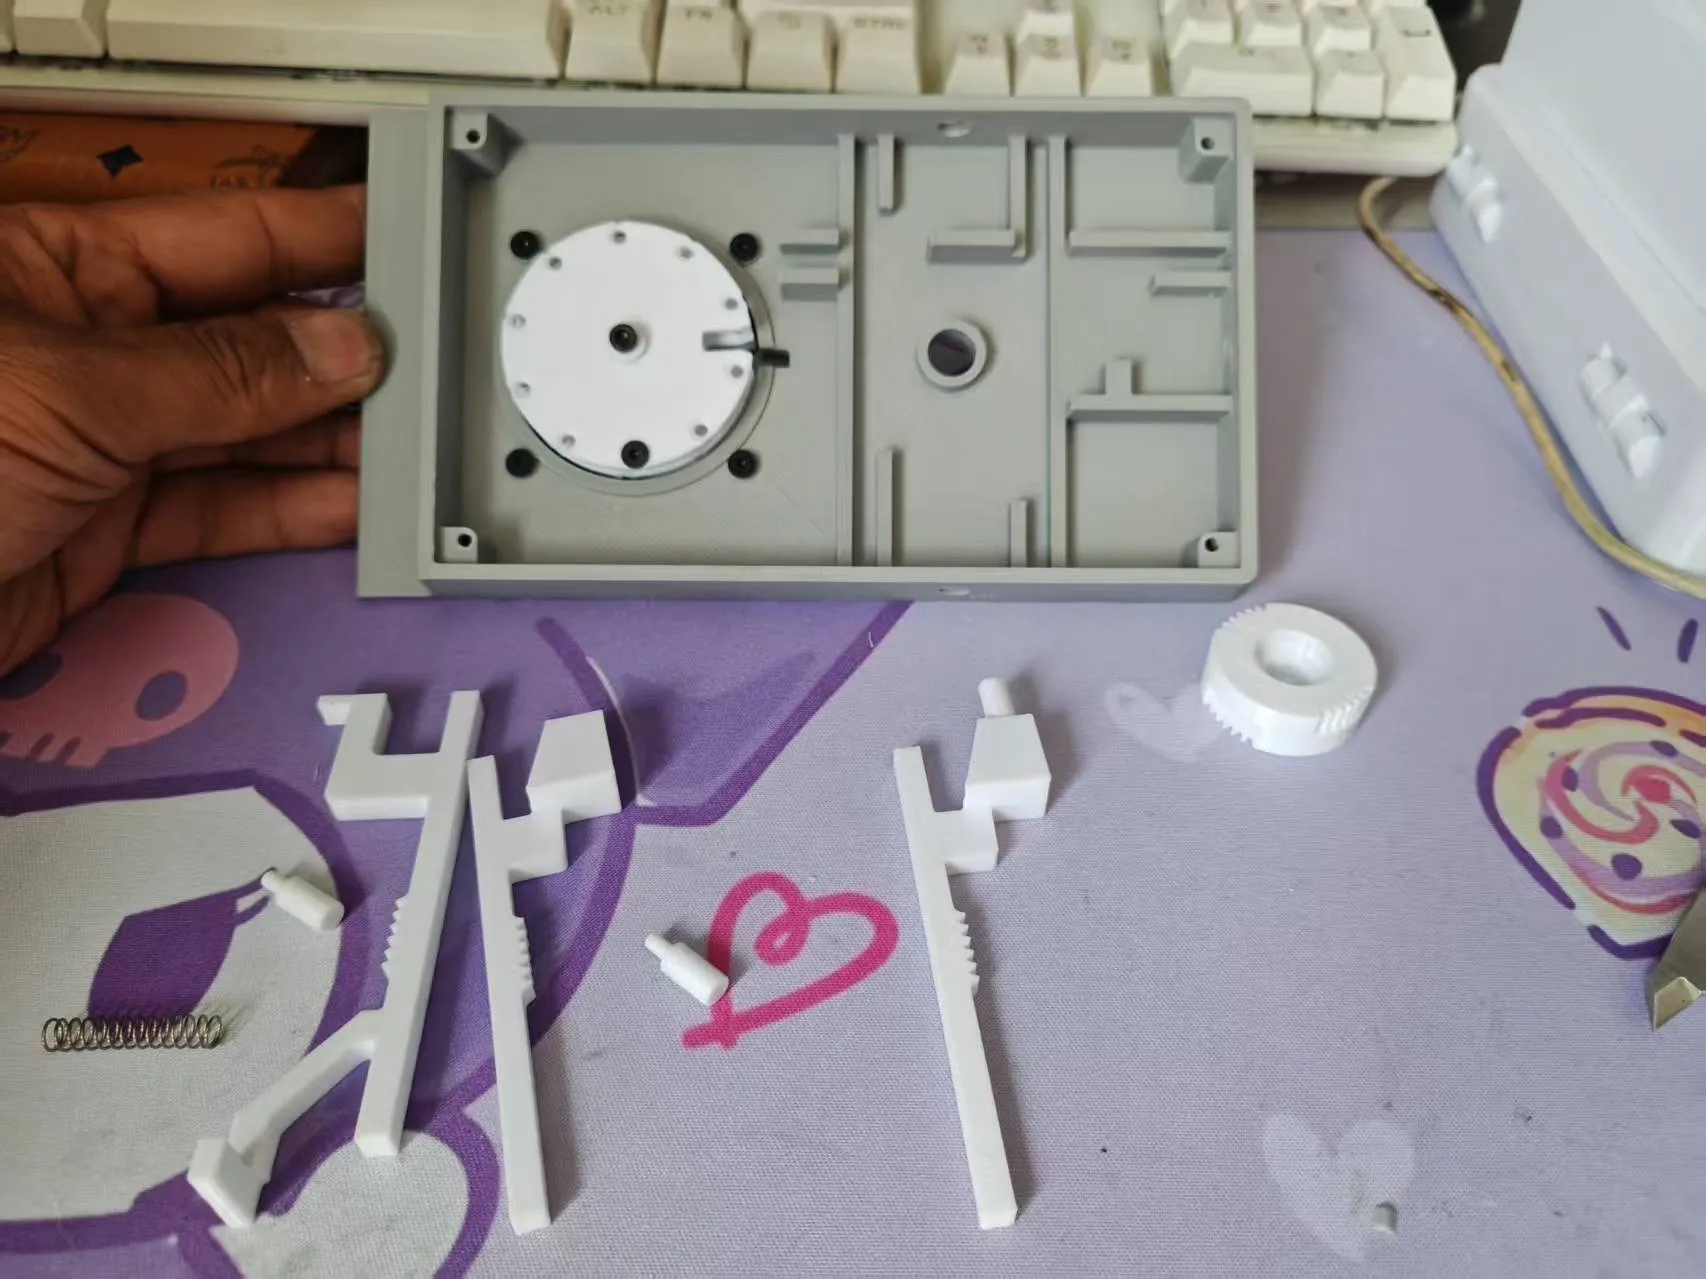
Take out the front door assembled earlier
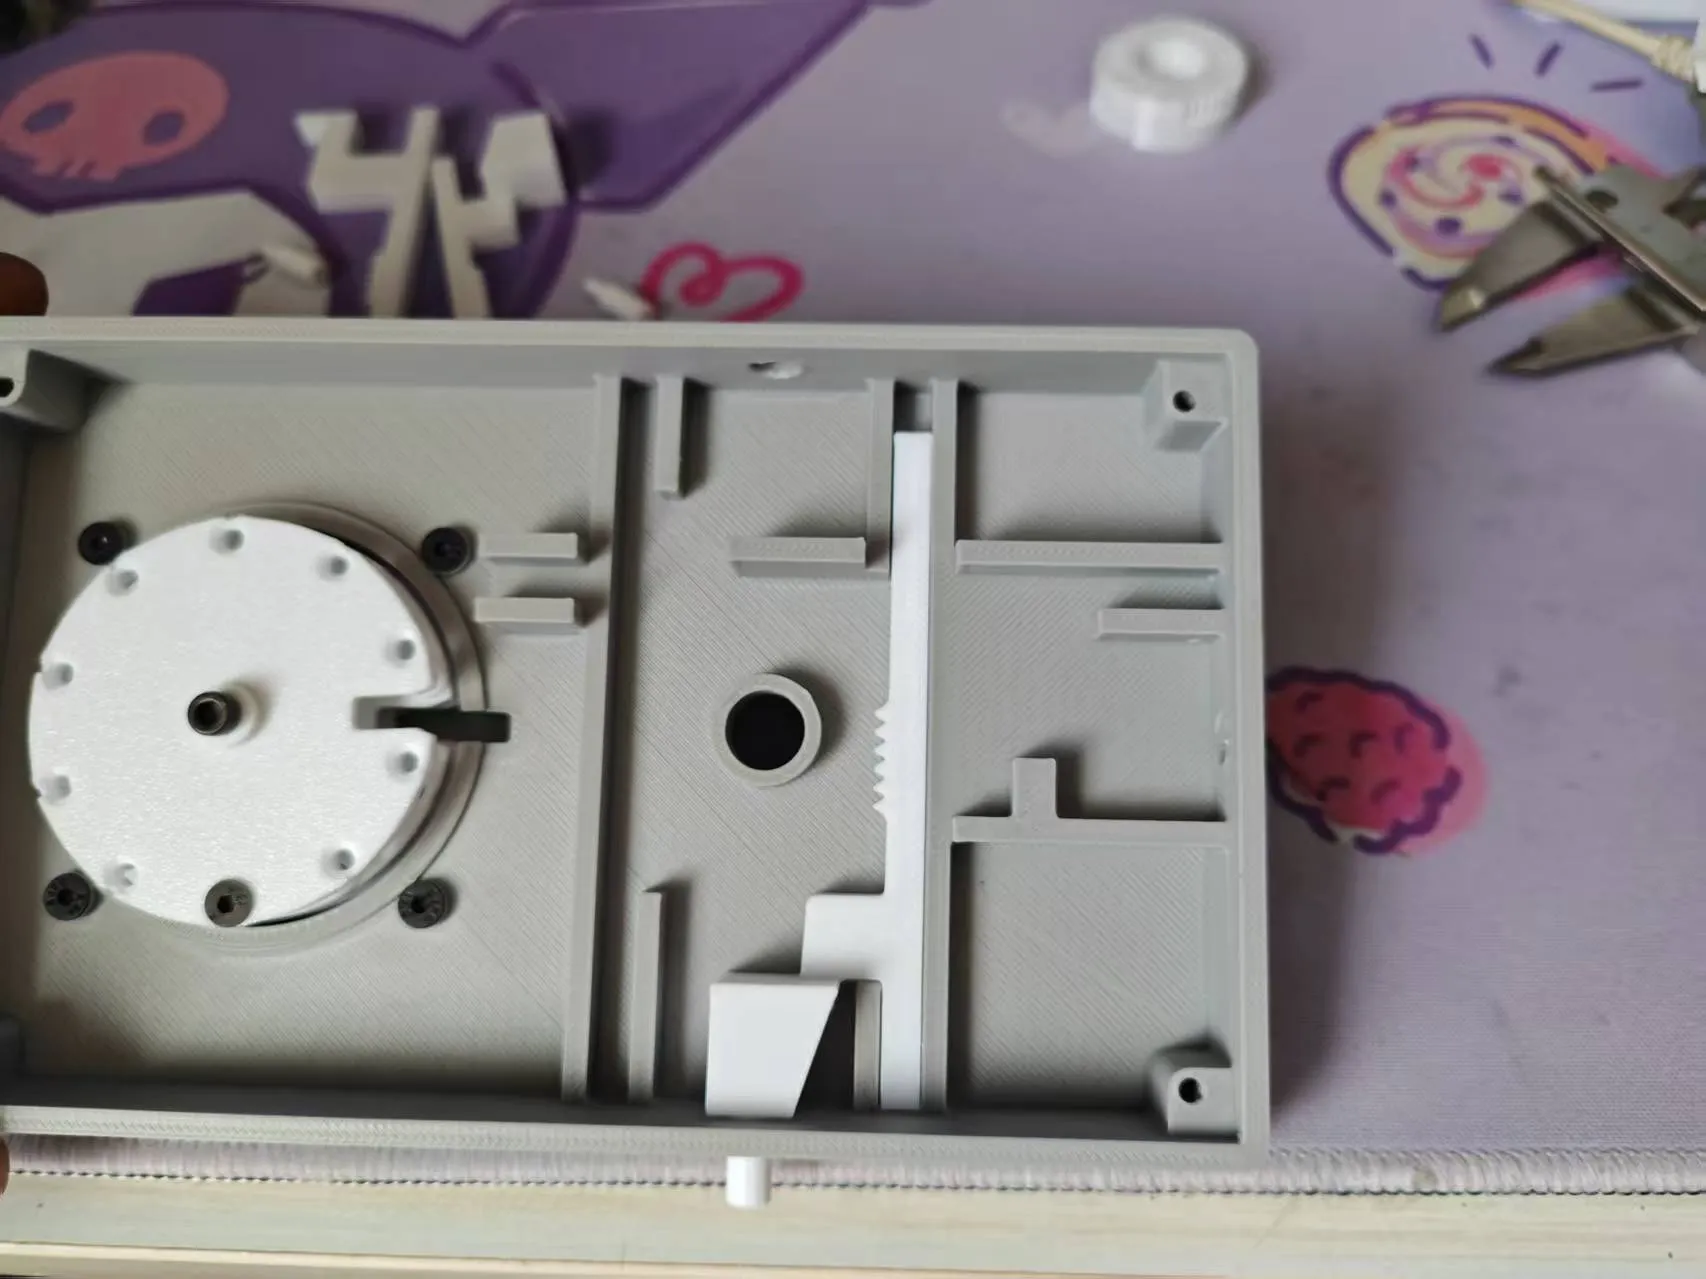
Install it in position
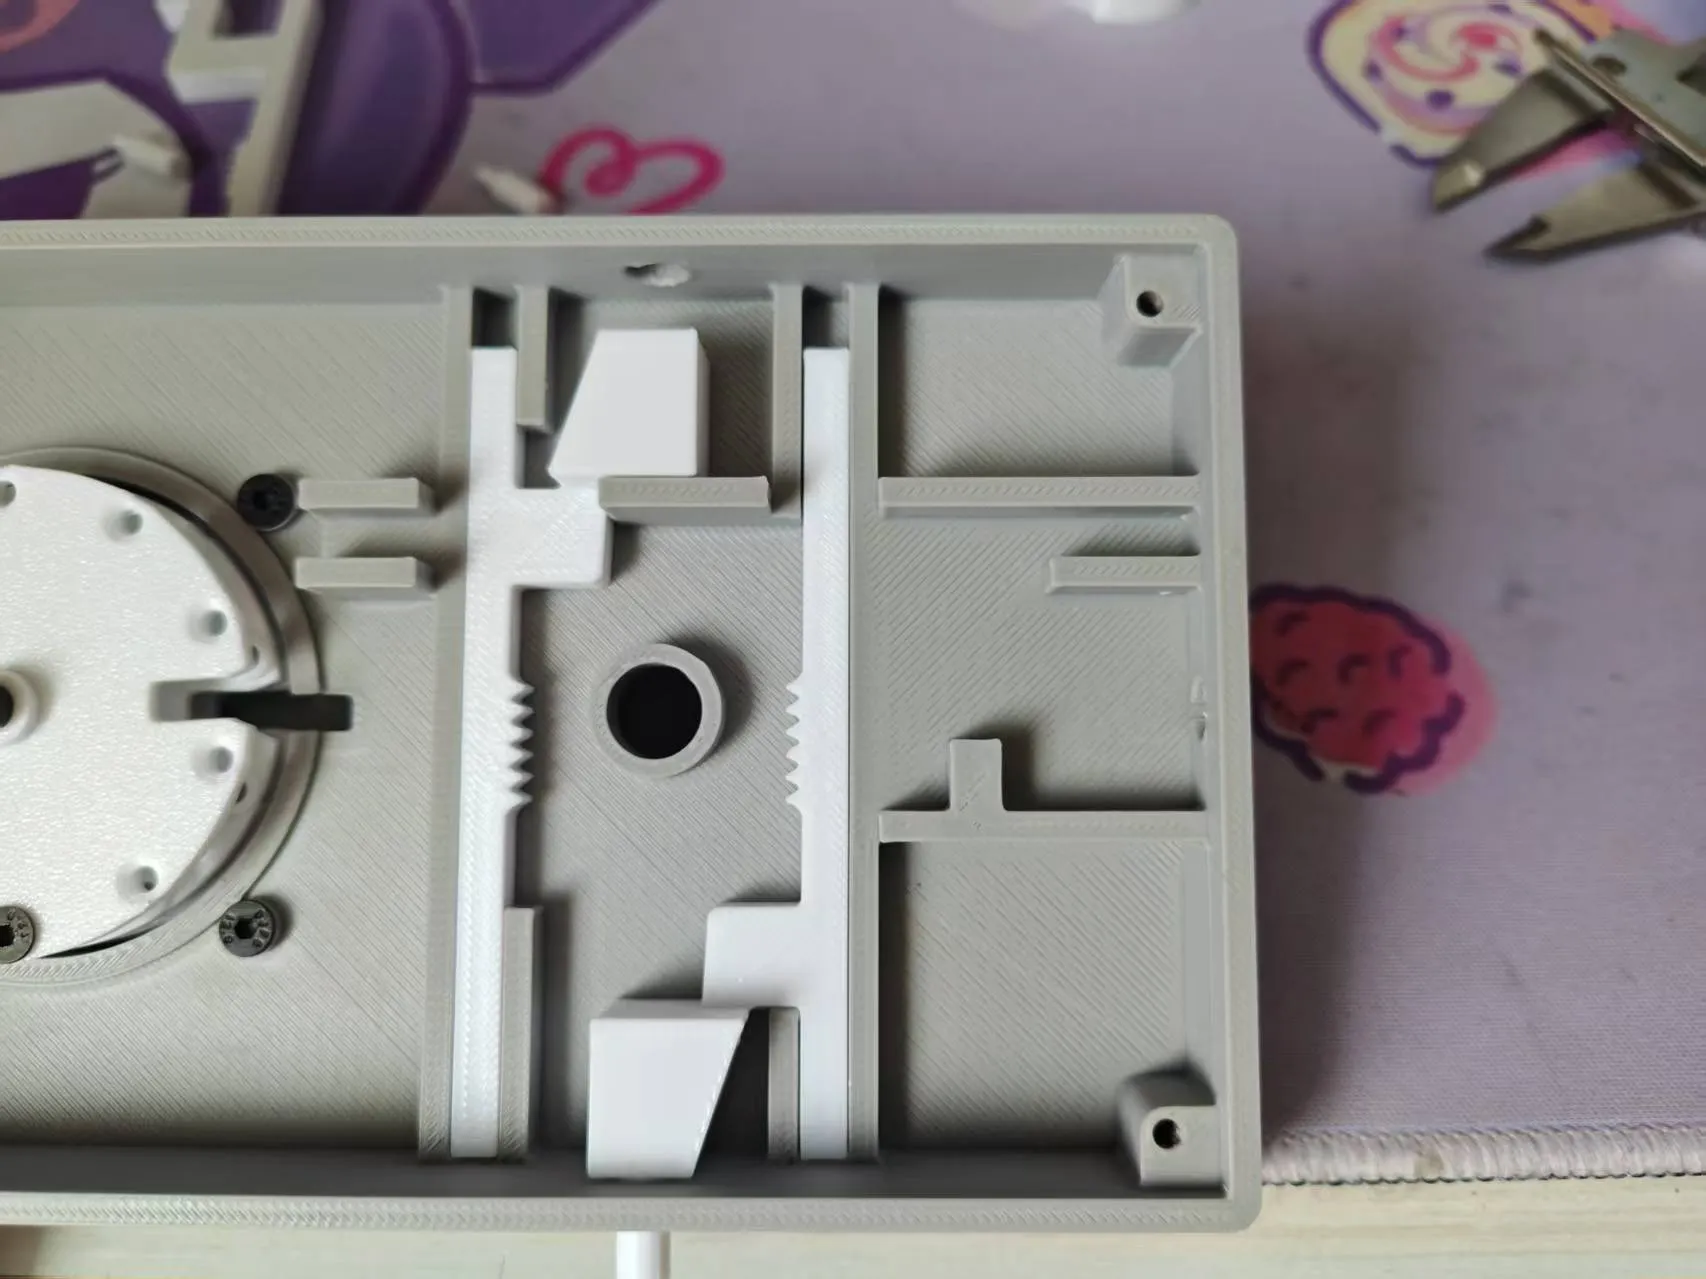
Install the other side first
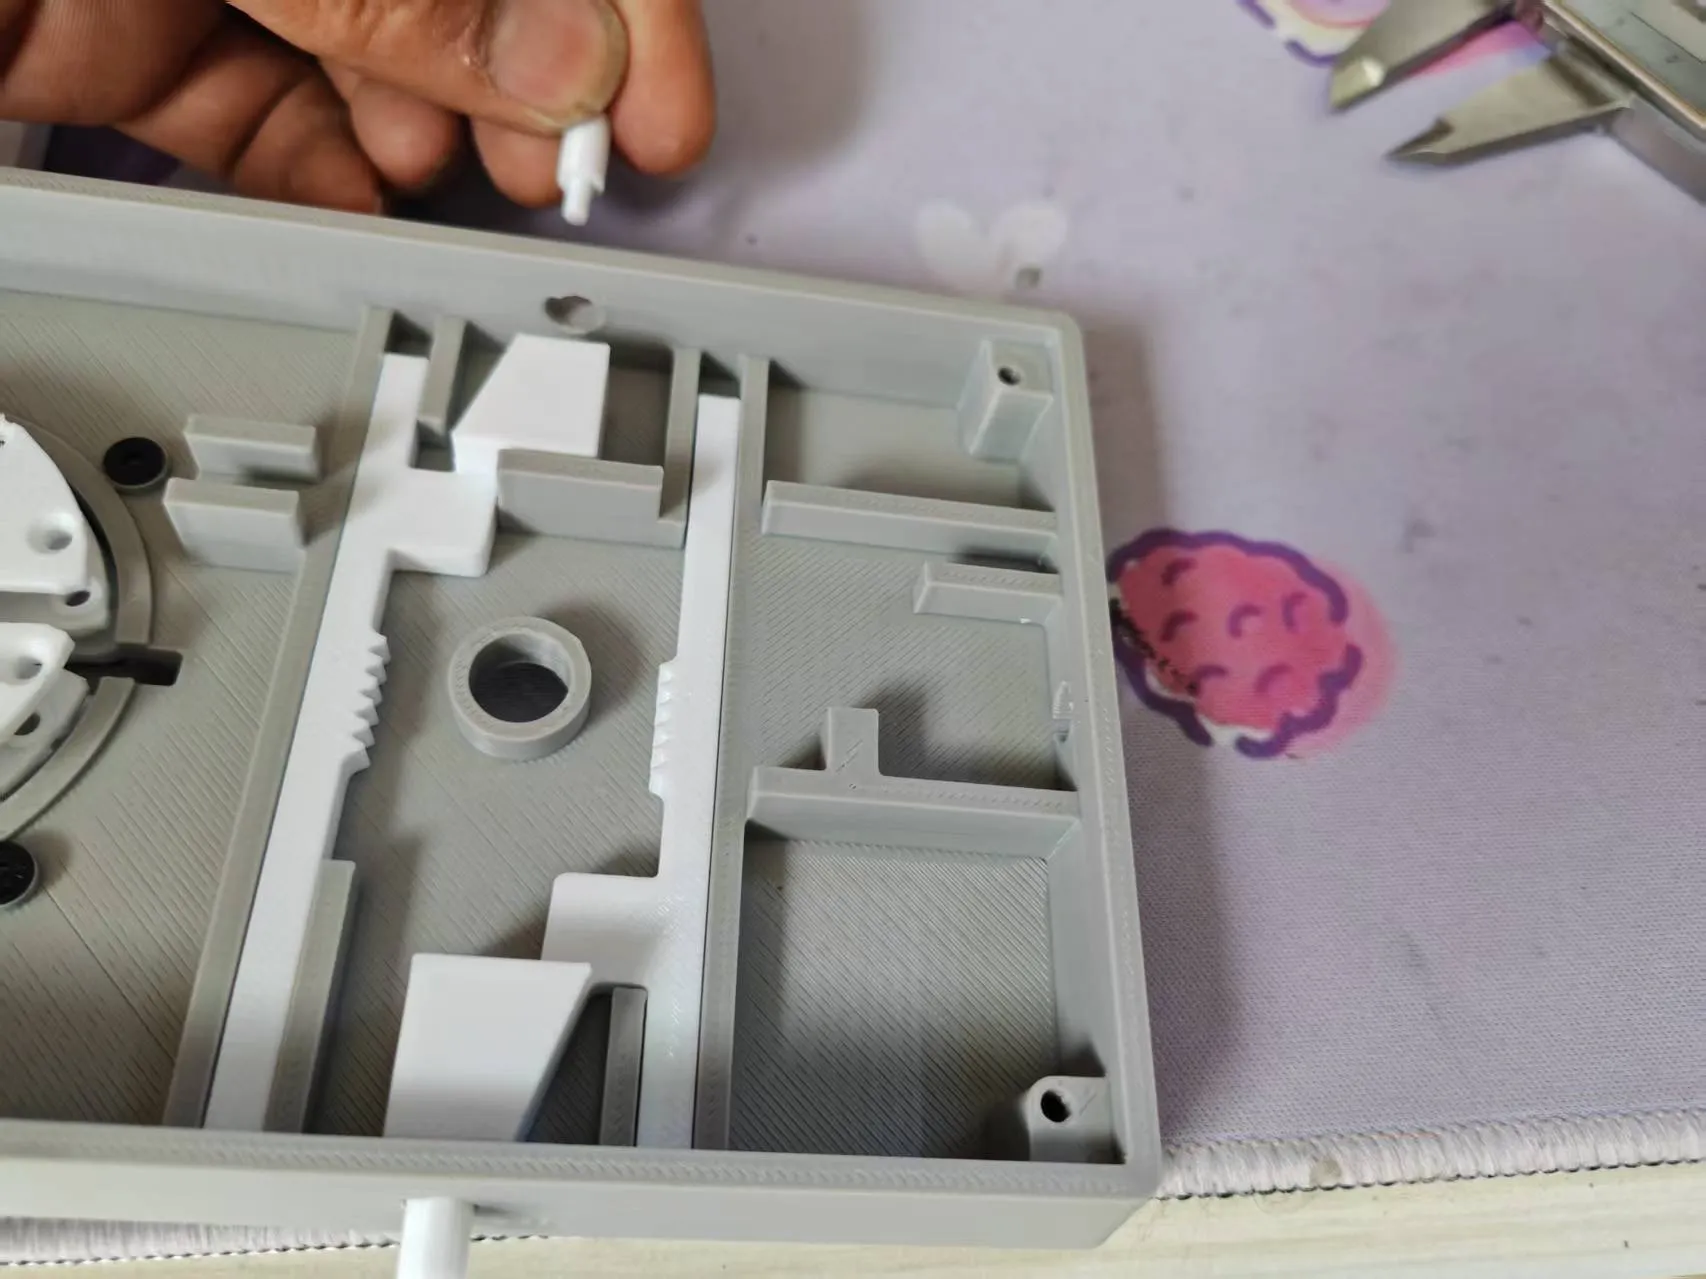
Insert the latch
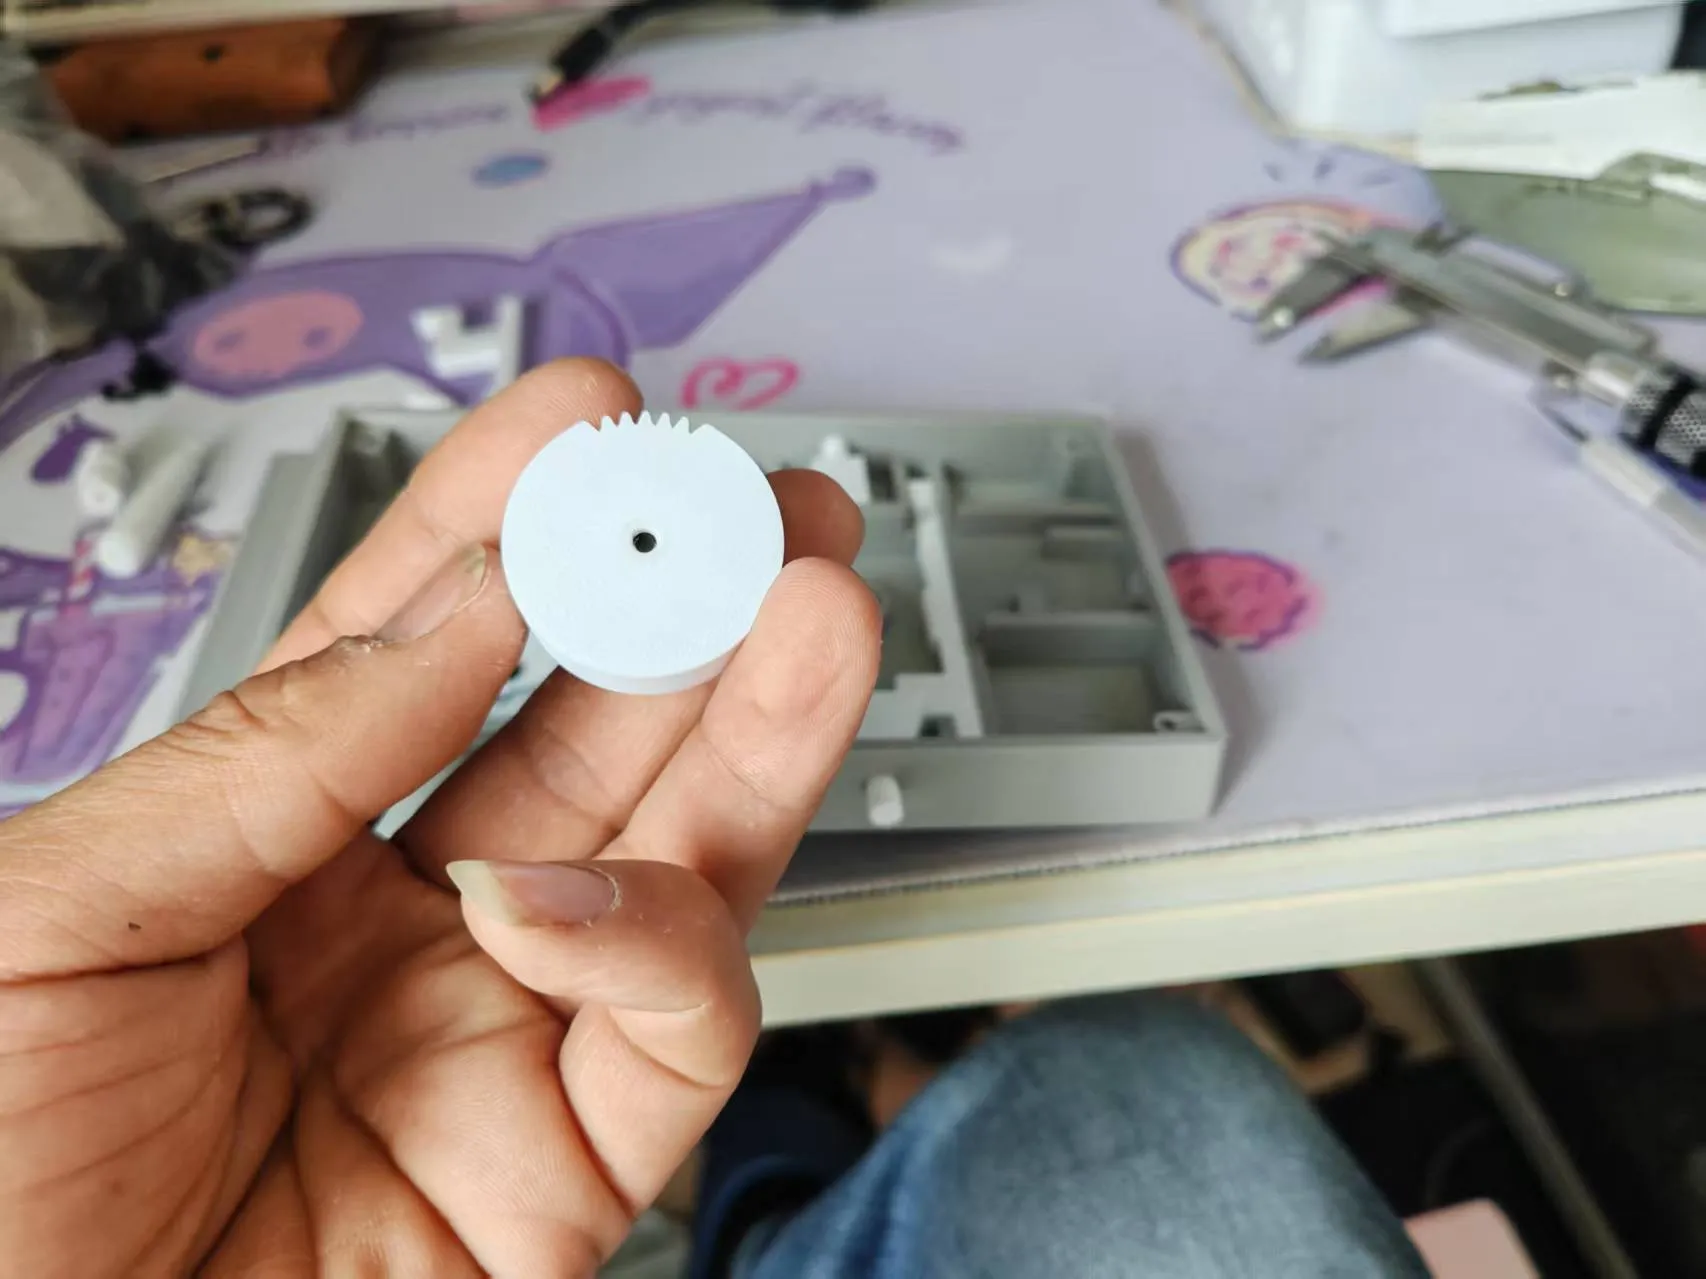
Find this part. Pay attention to distinguishing the front and back
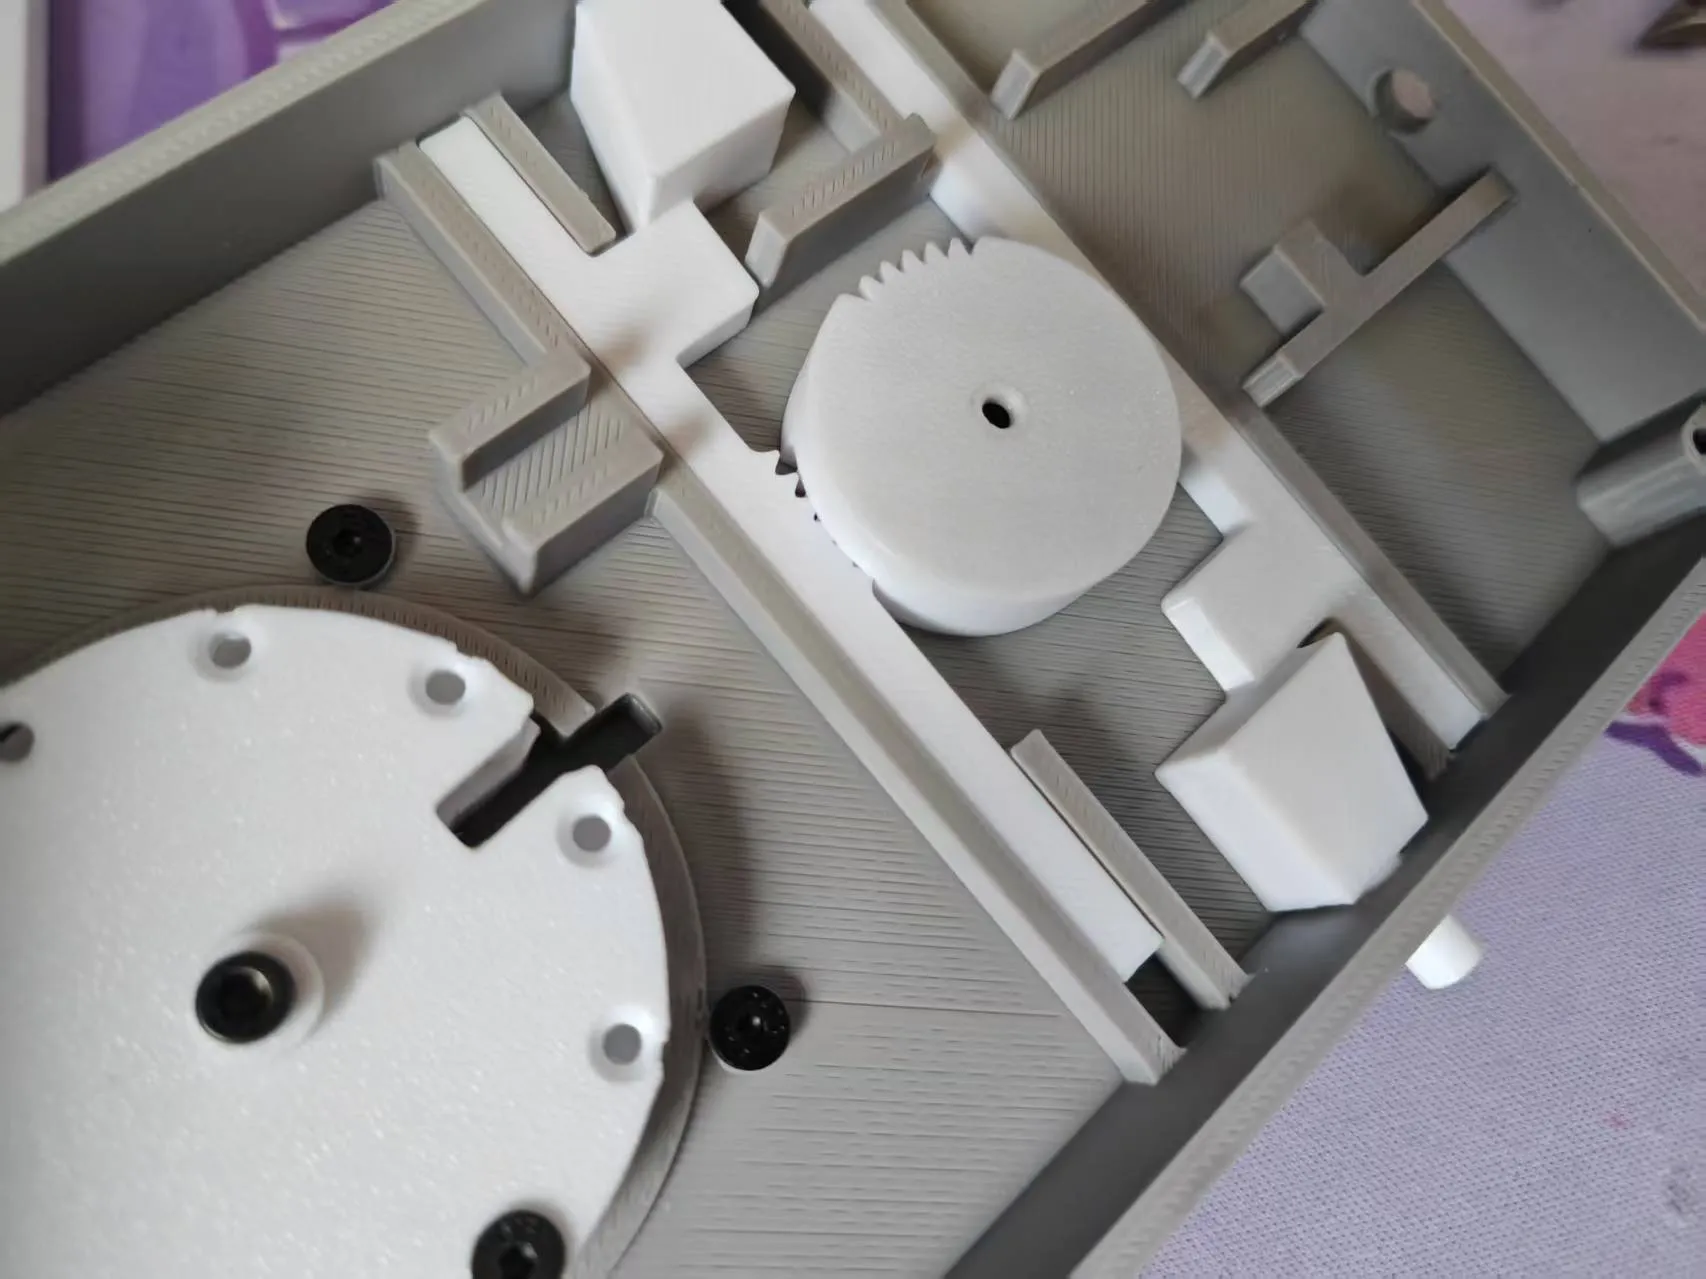
Install it in position
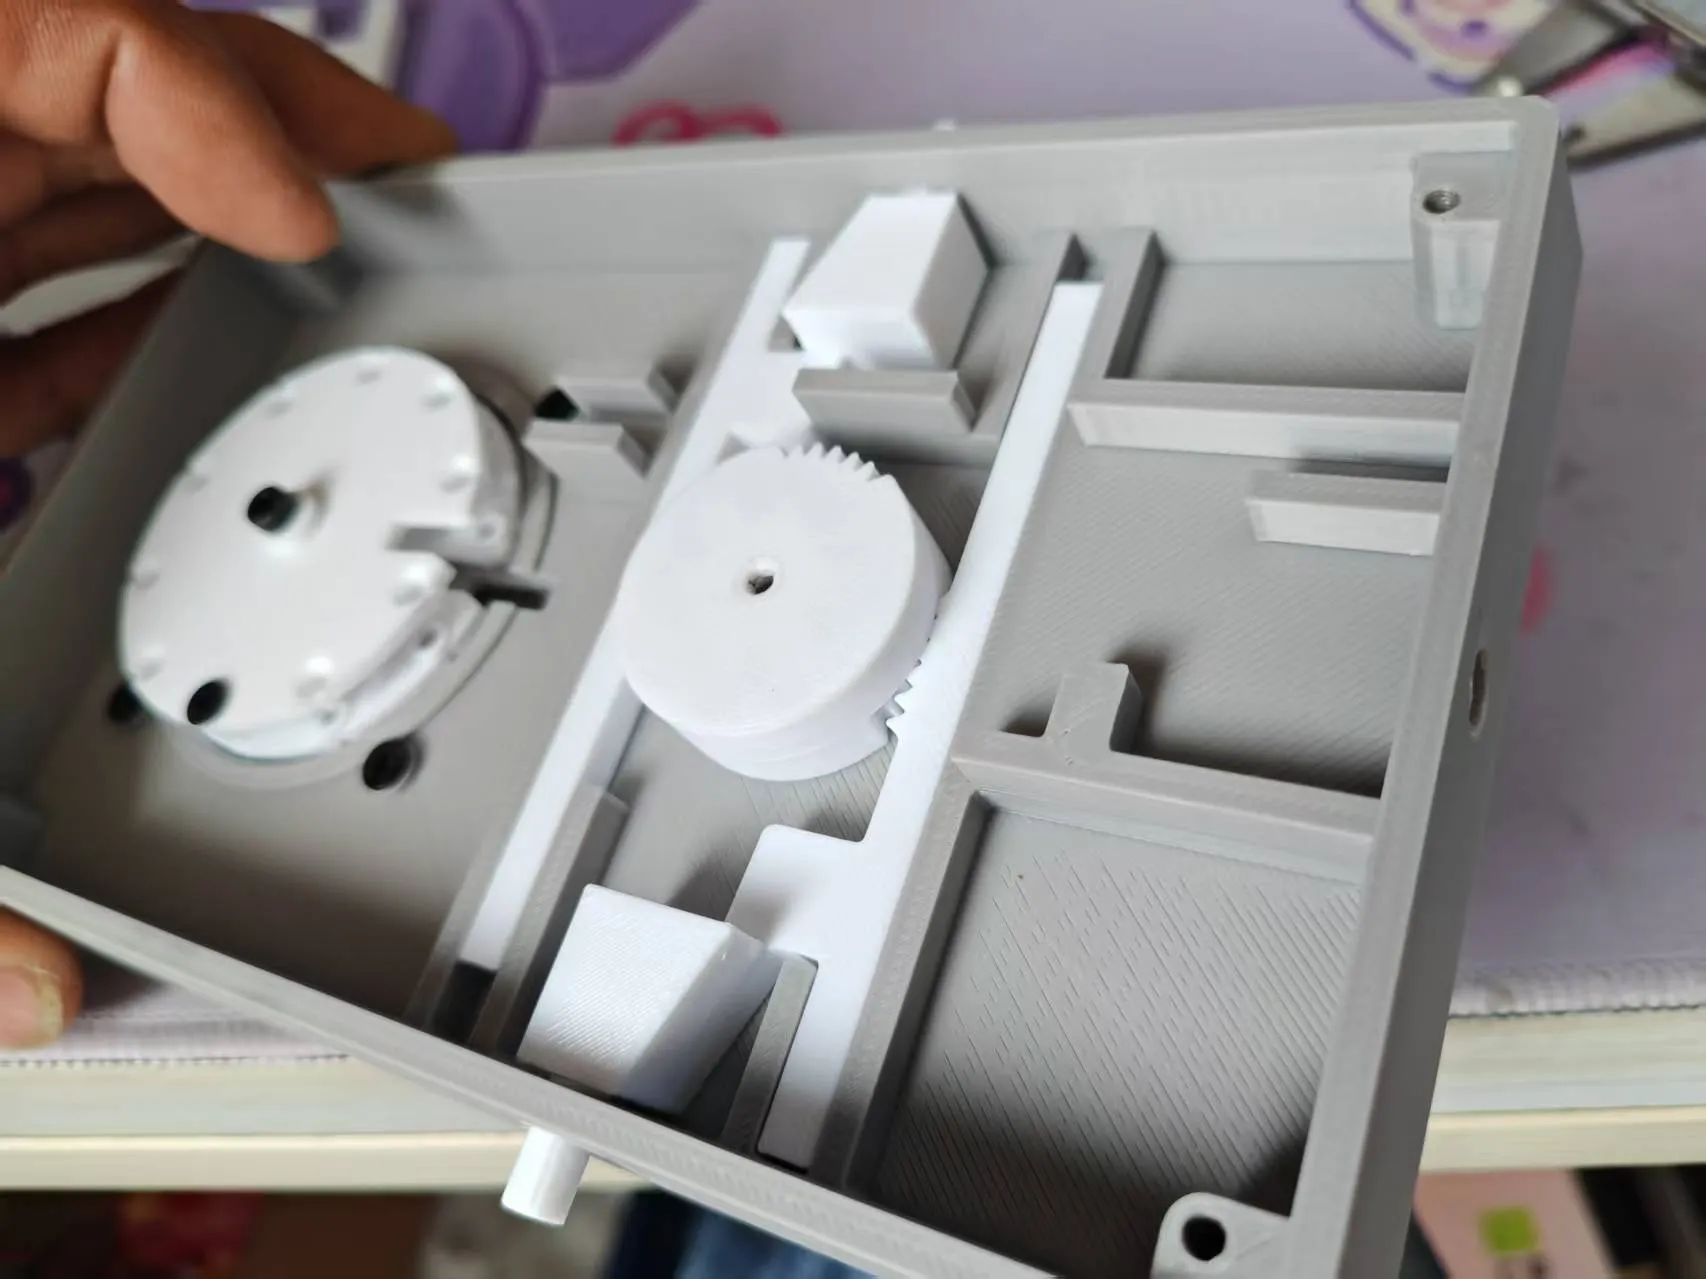
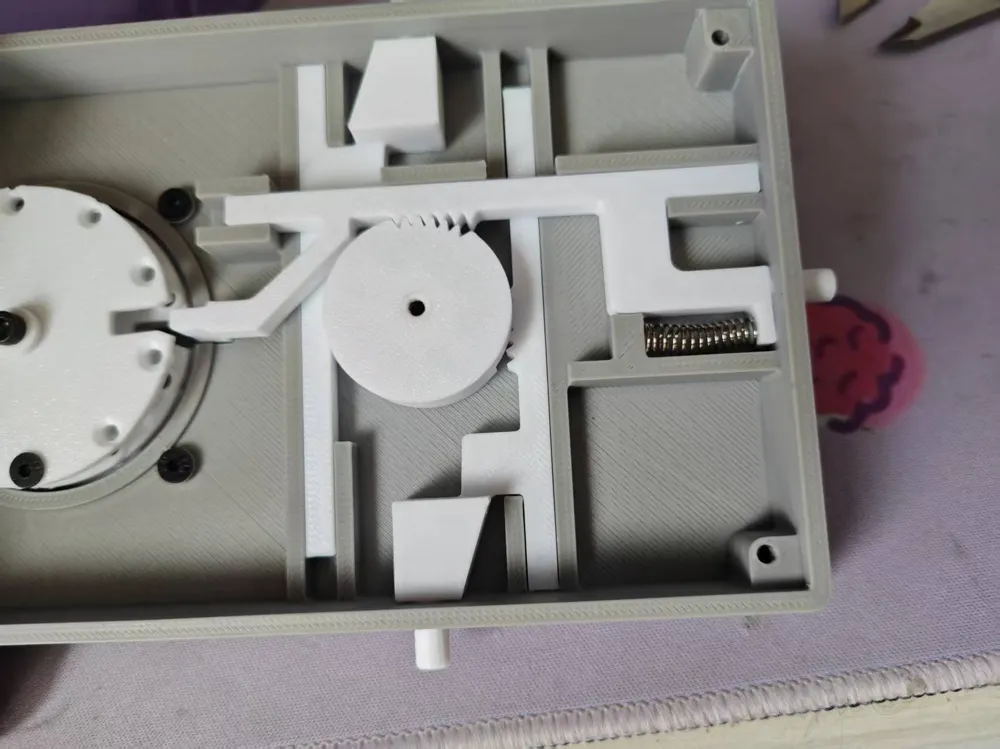
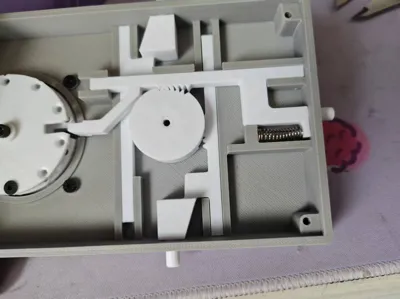
Note: Align the rack and pinion
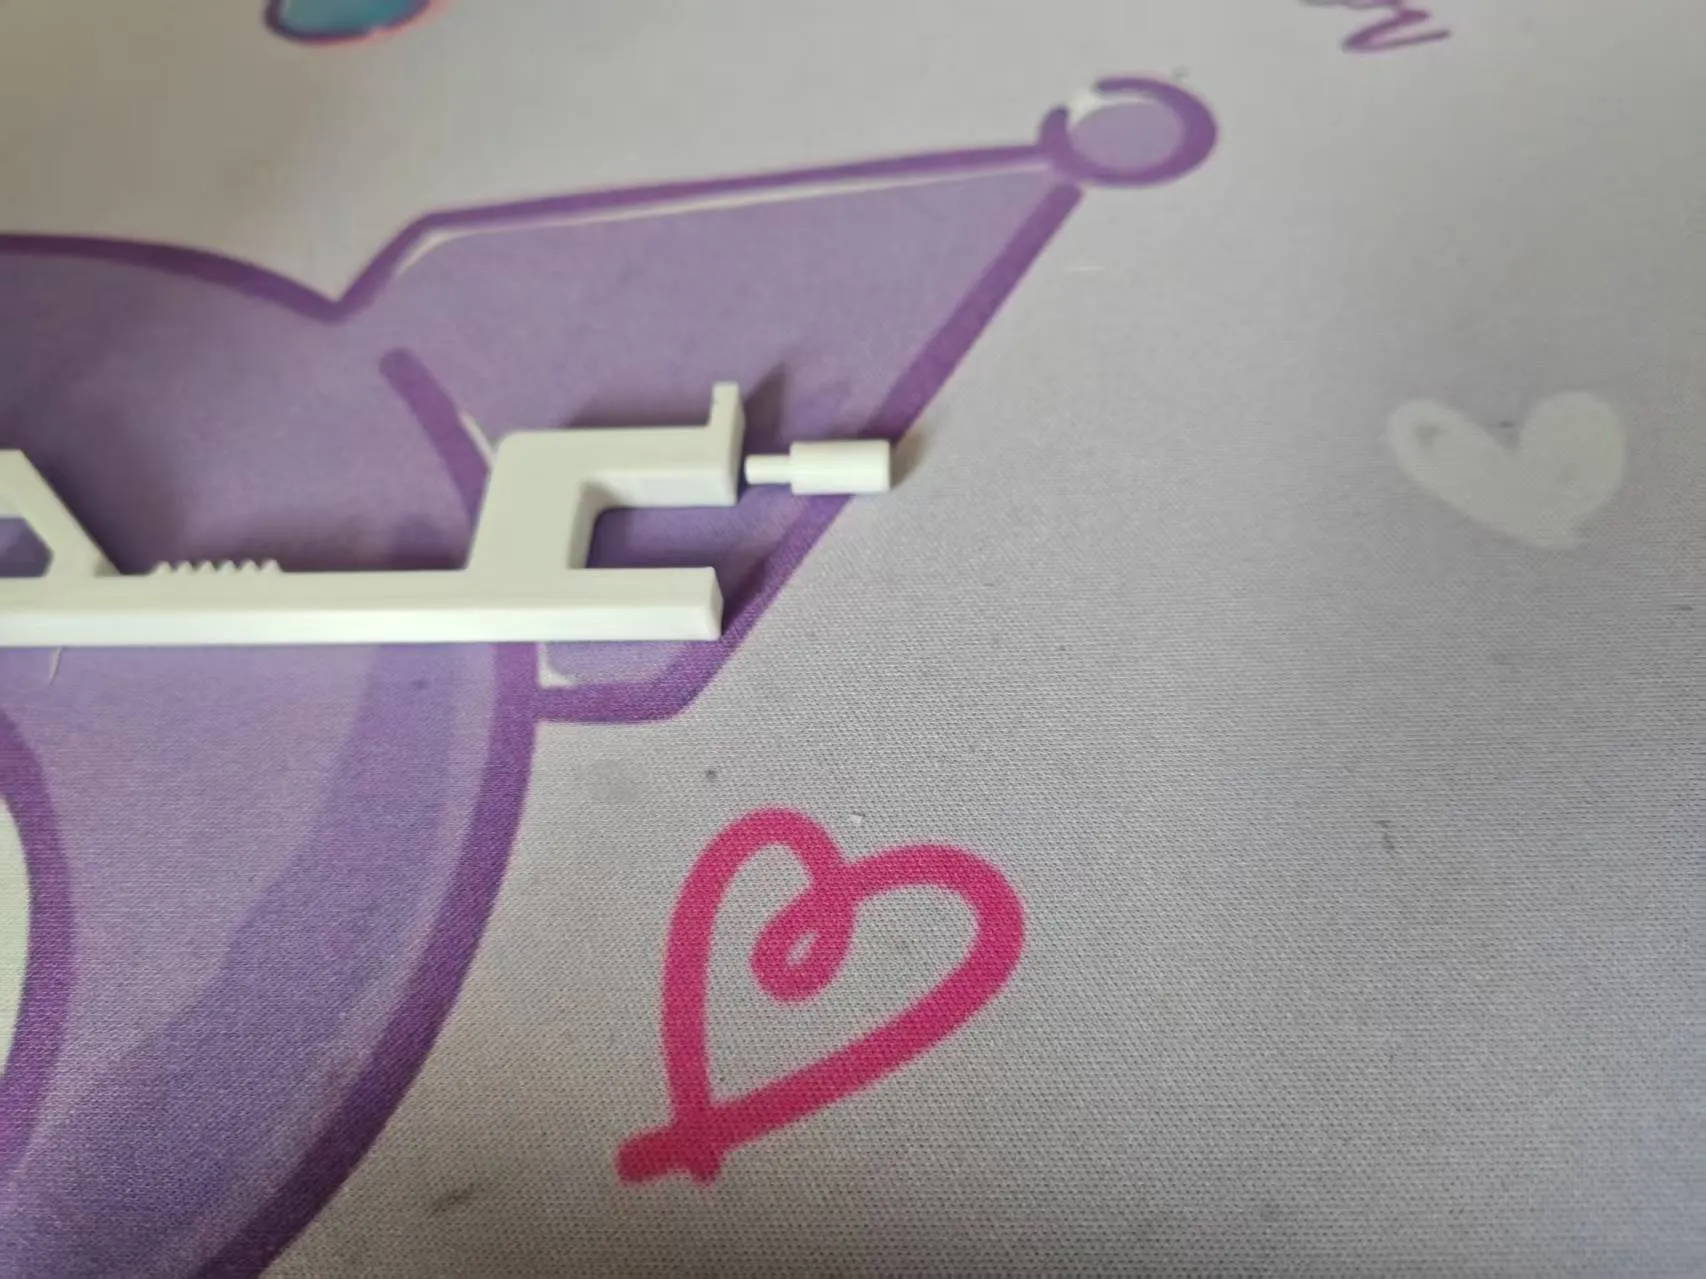
Install this part's latch
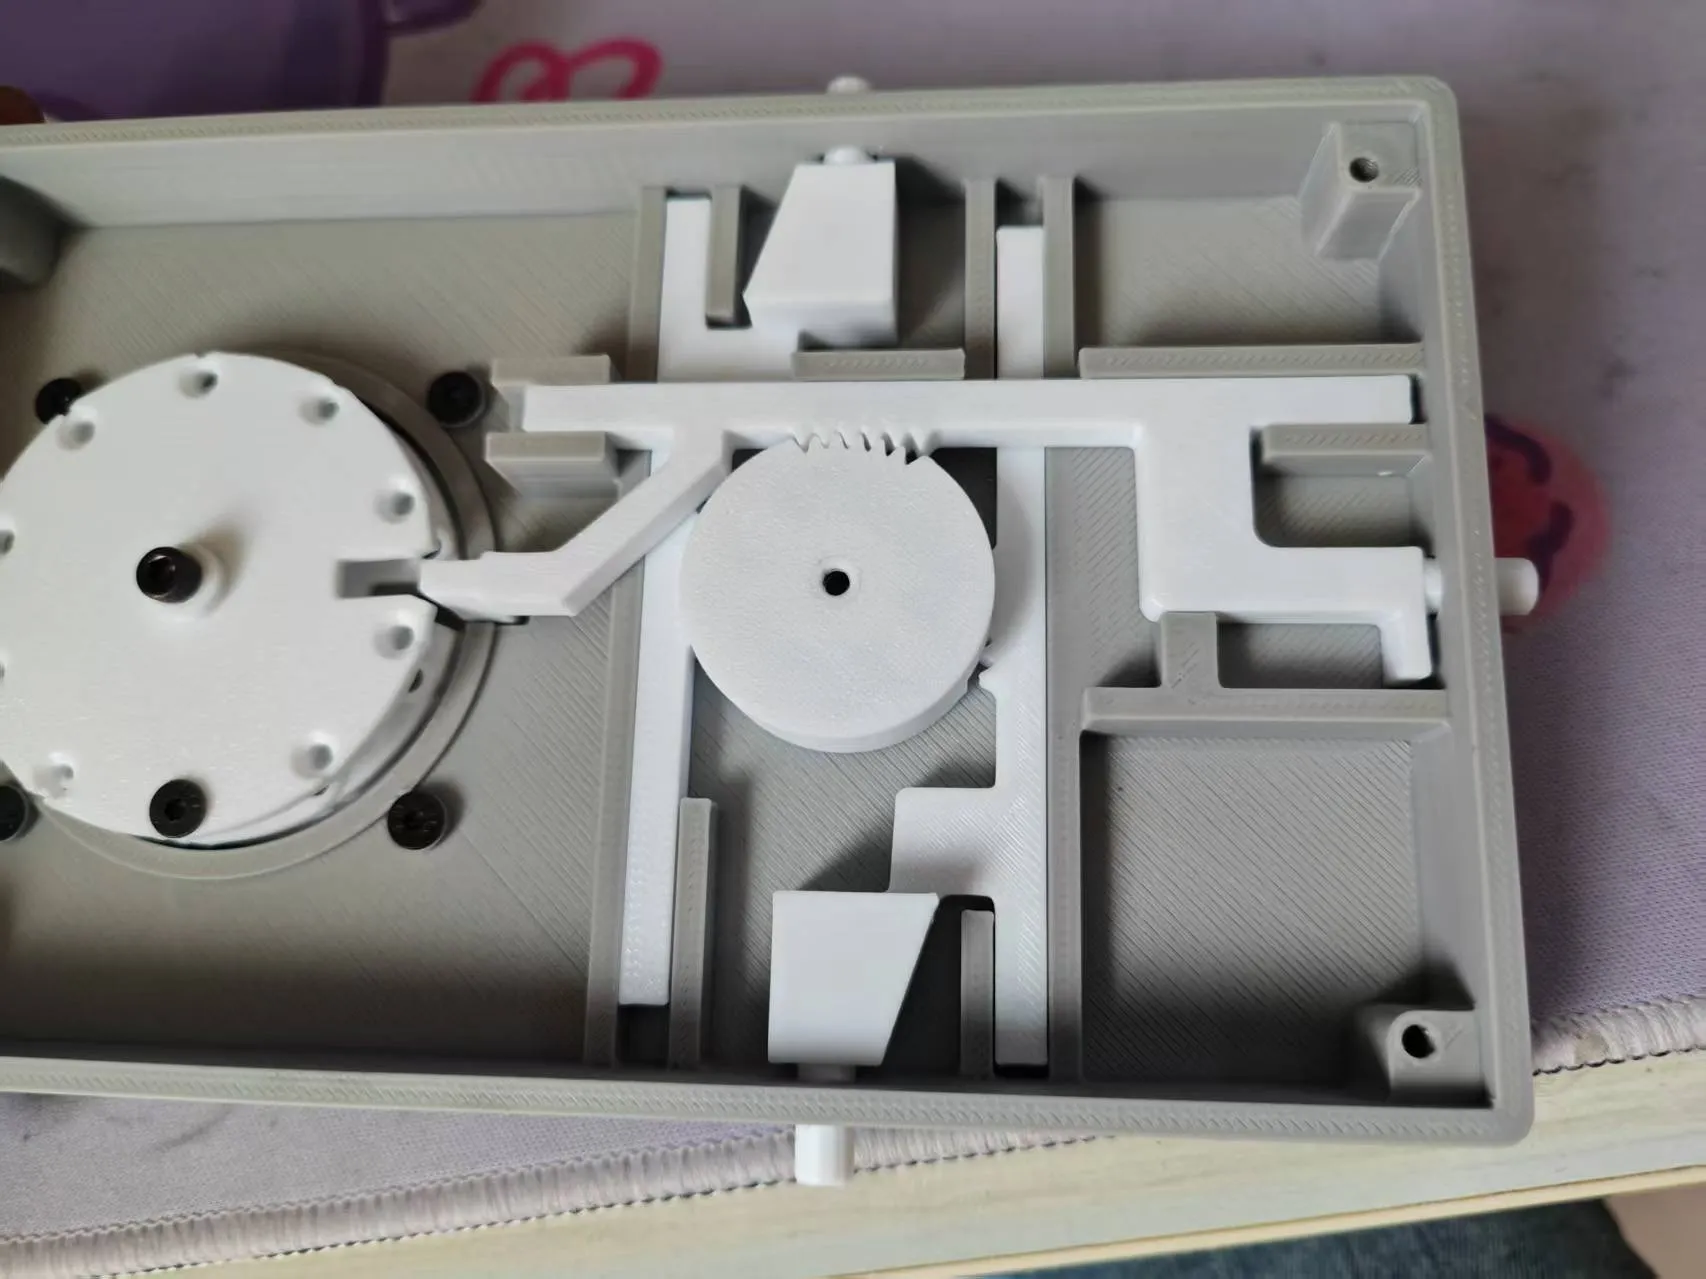
Install it in position. Note: Gear position, adjust the password wheel notch to the unlocked state
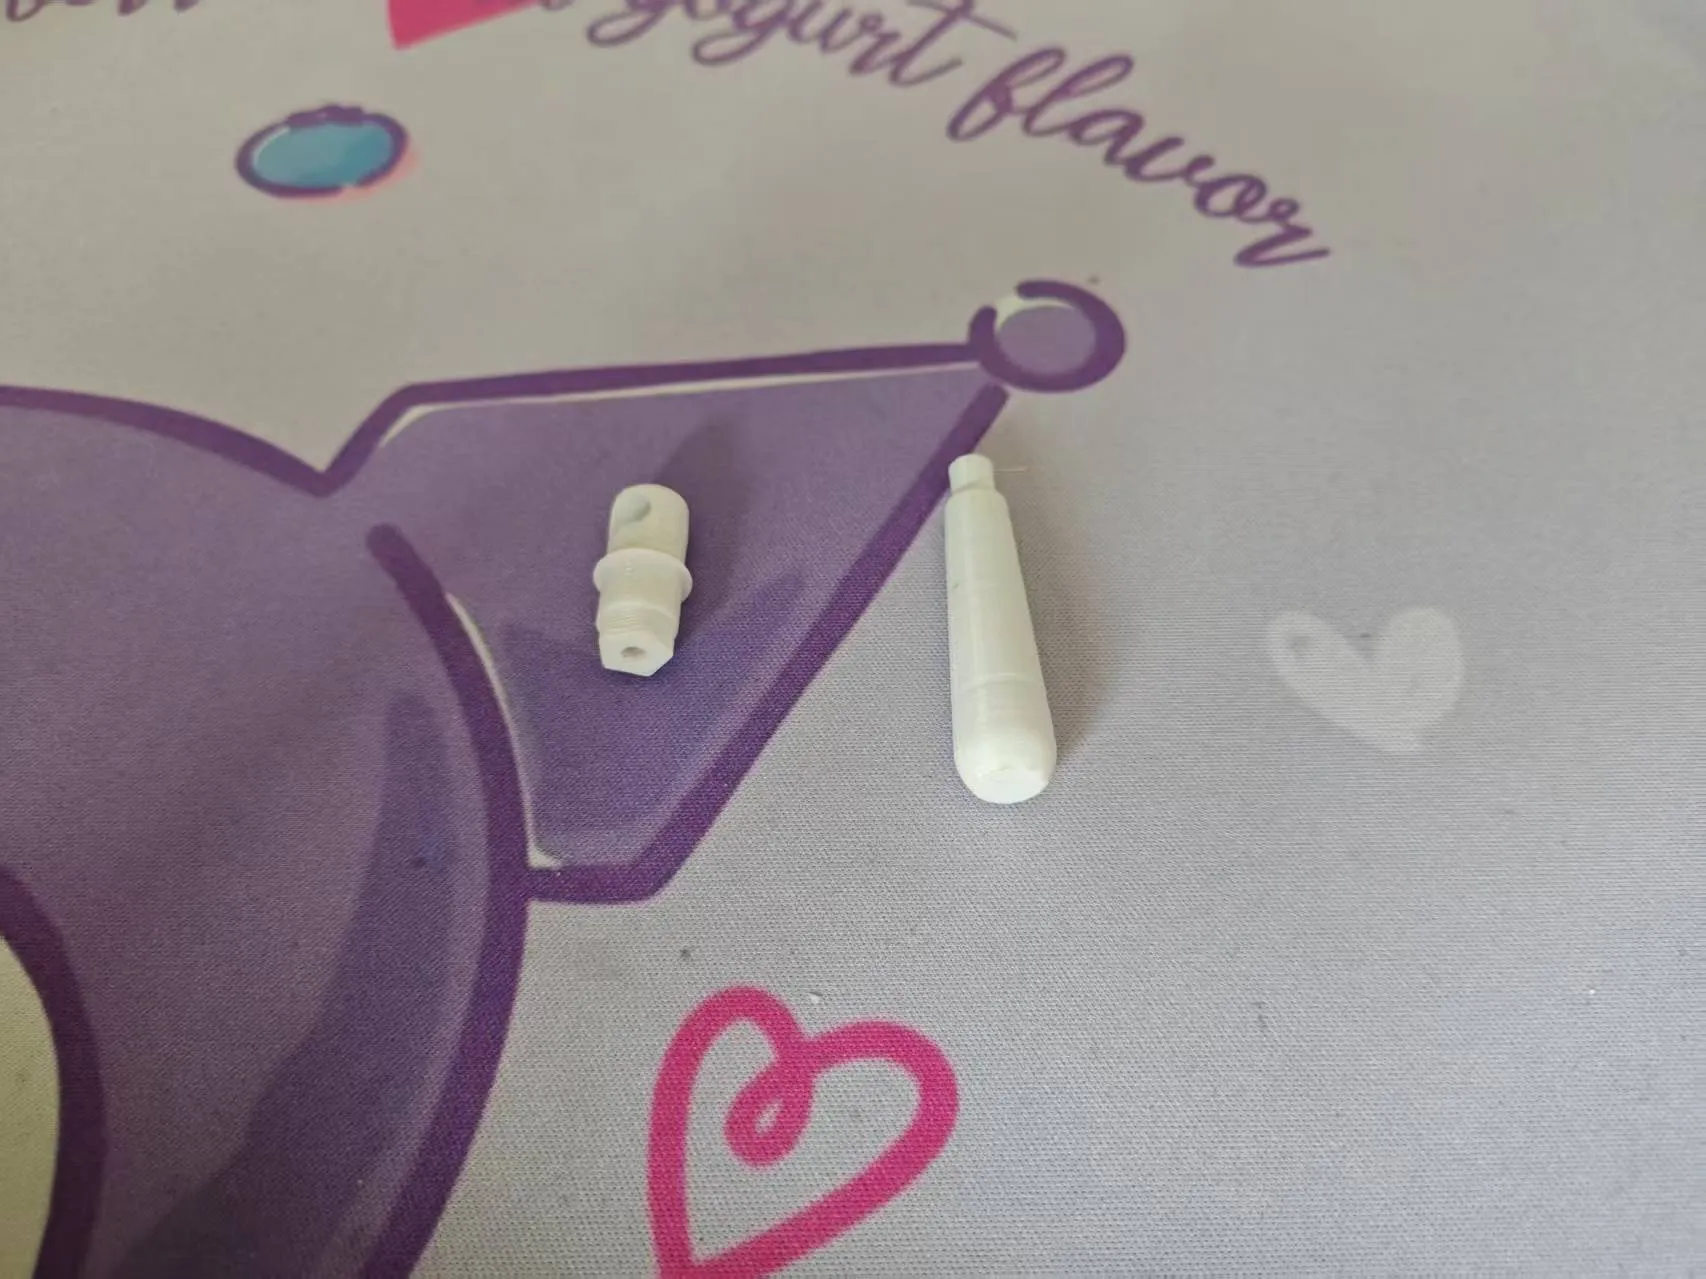
Find the door handle part
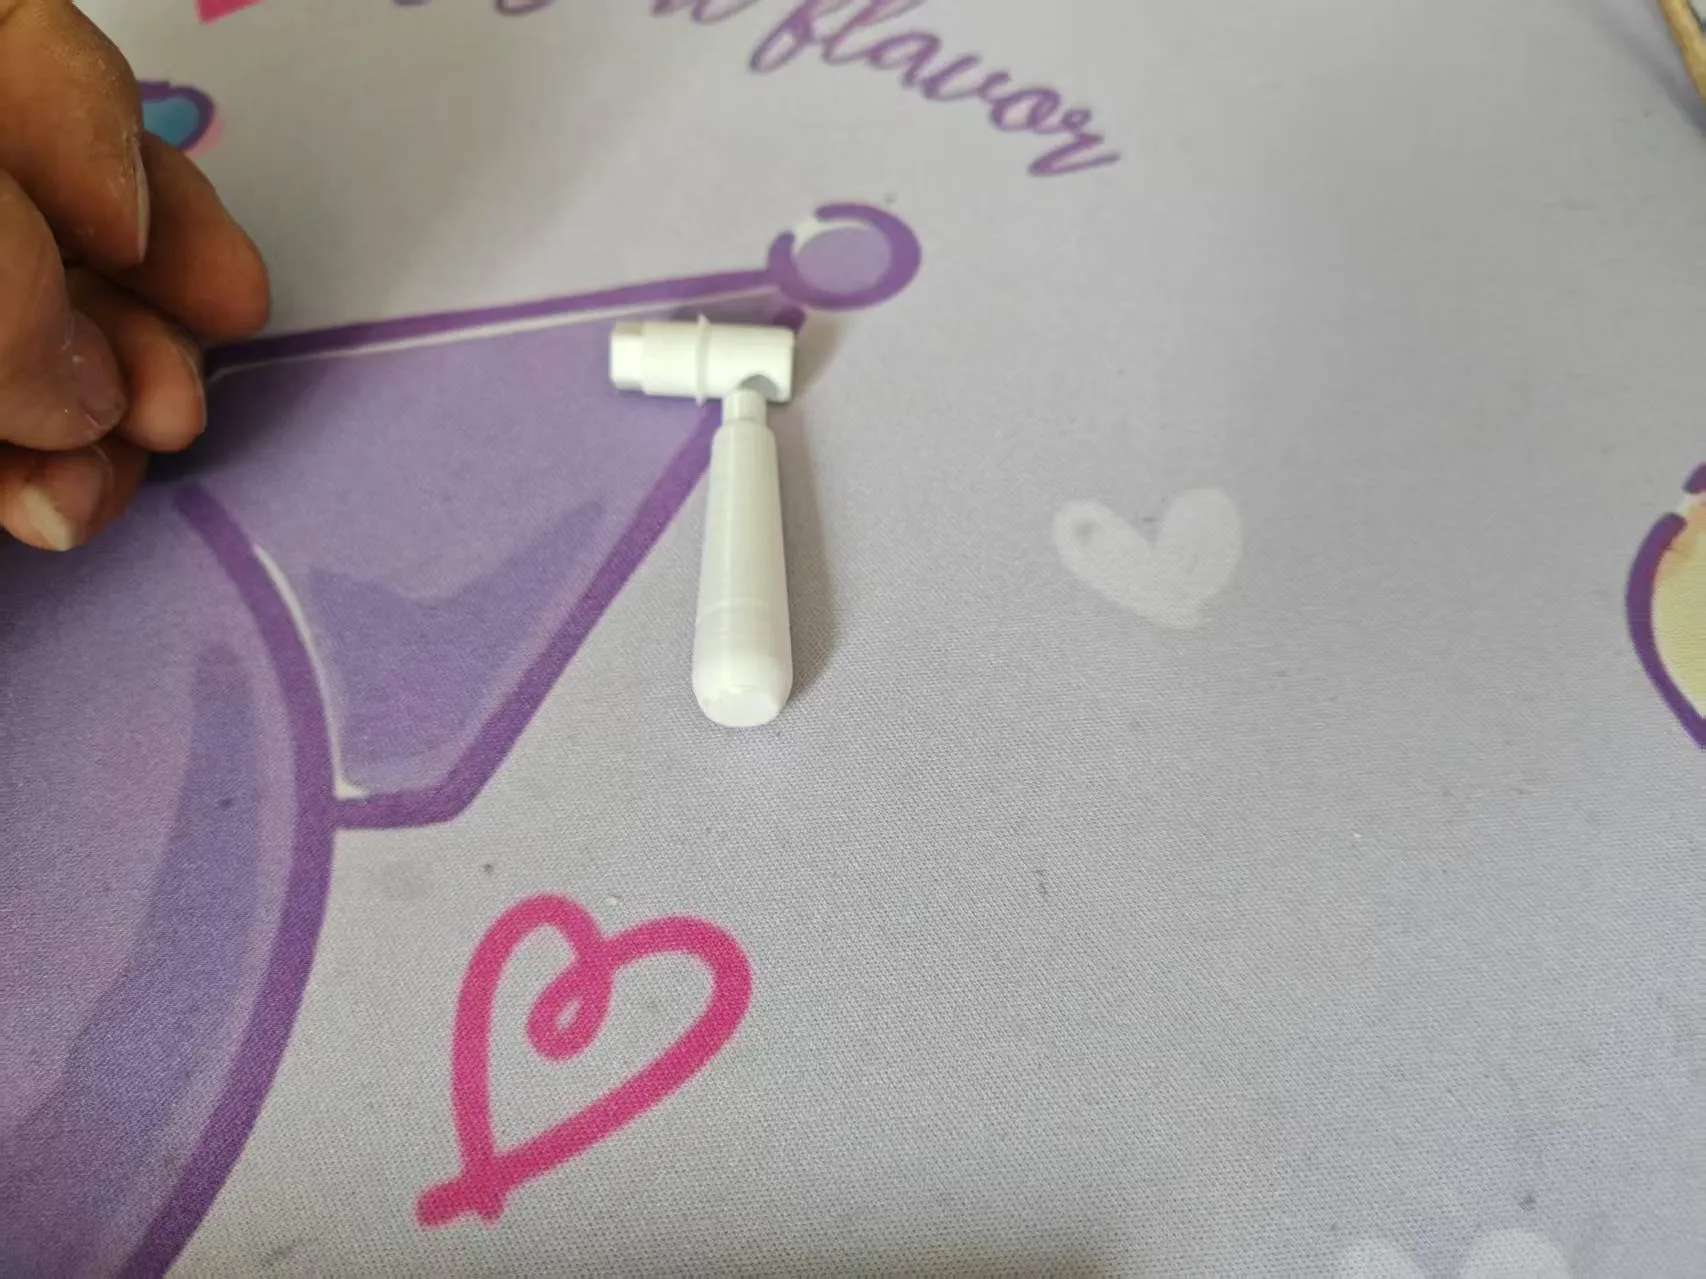
Assemble it and secure it with M3*8 flat head screws
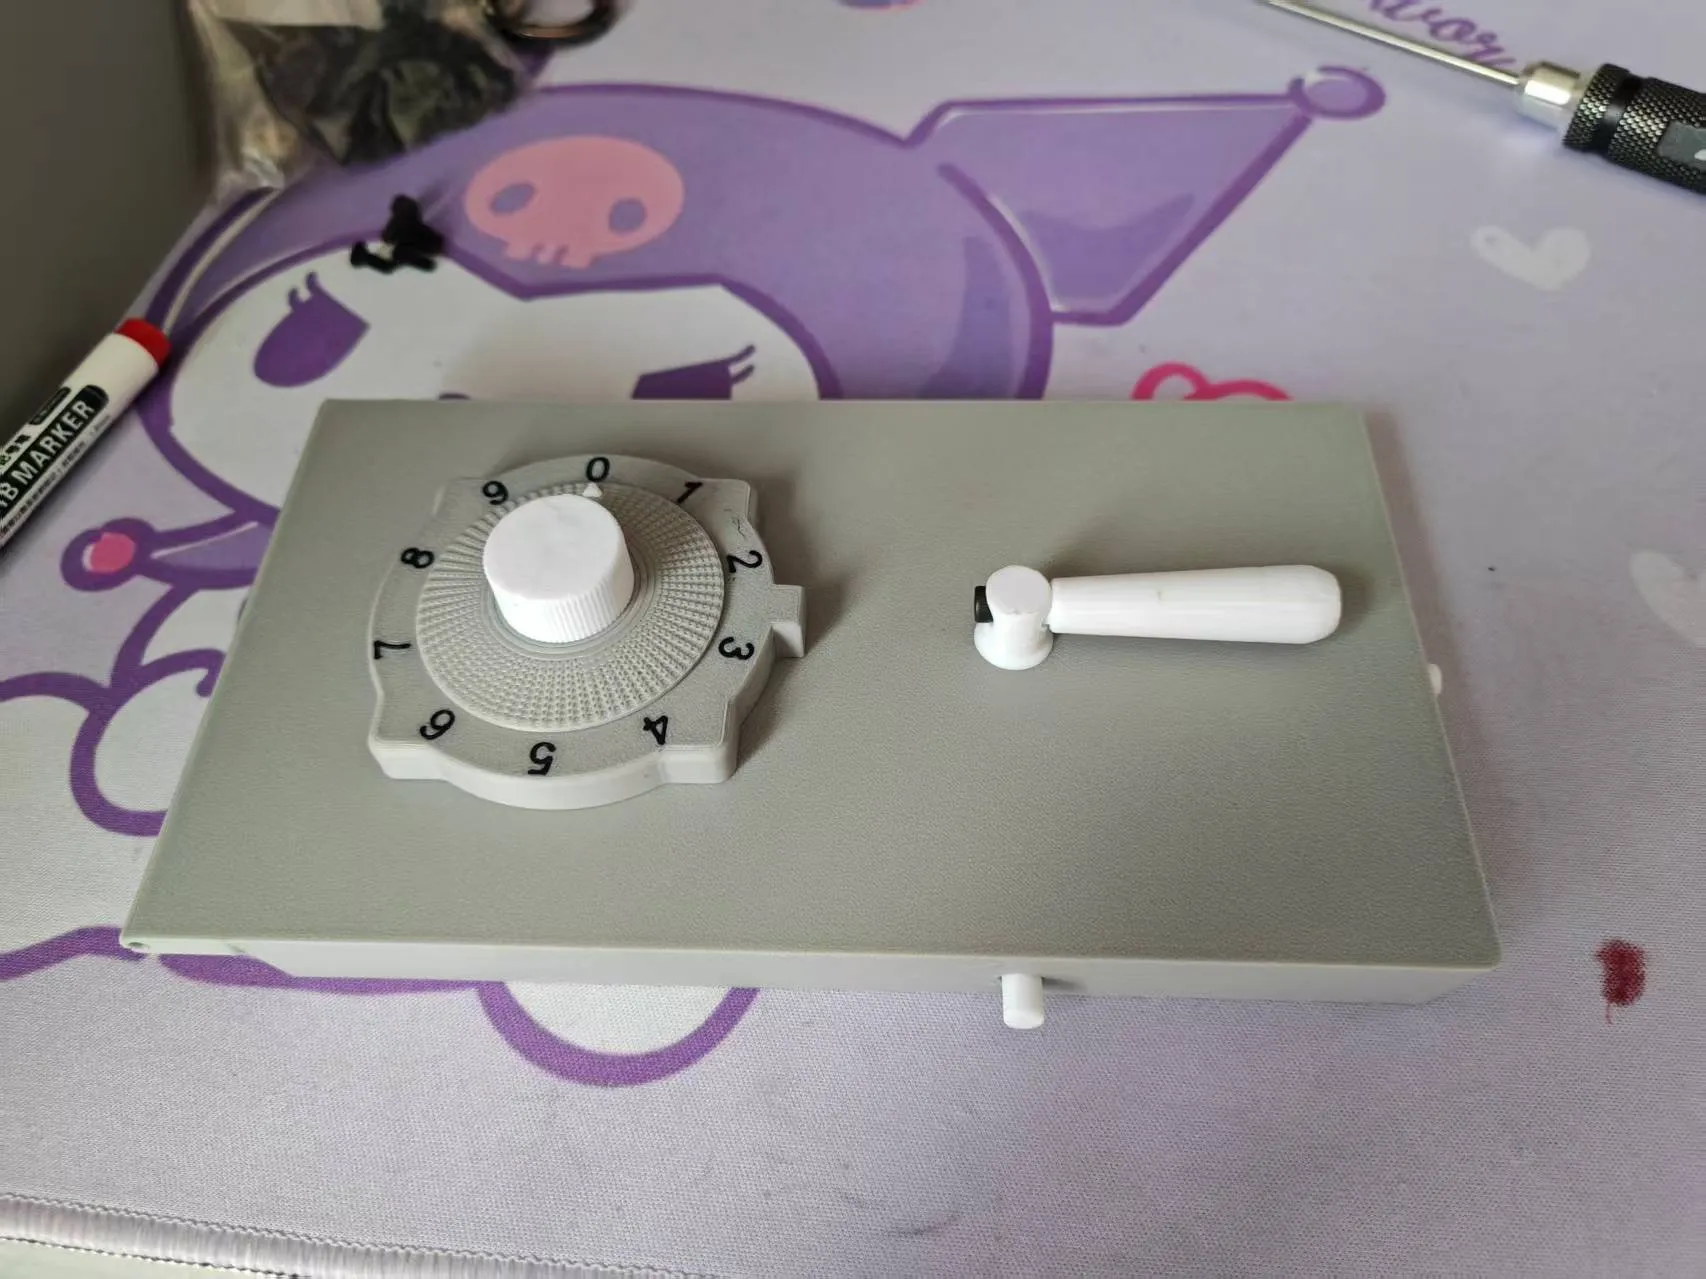
Install horizontally. Note: The latch should remain extended
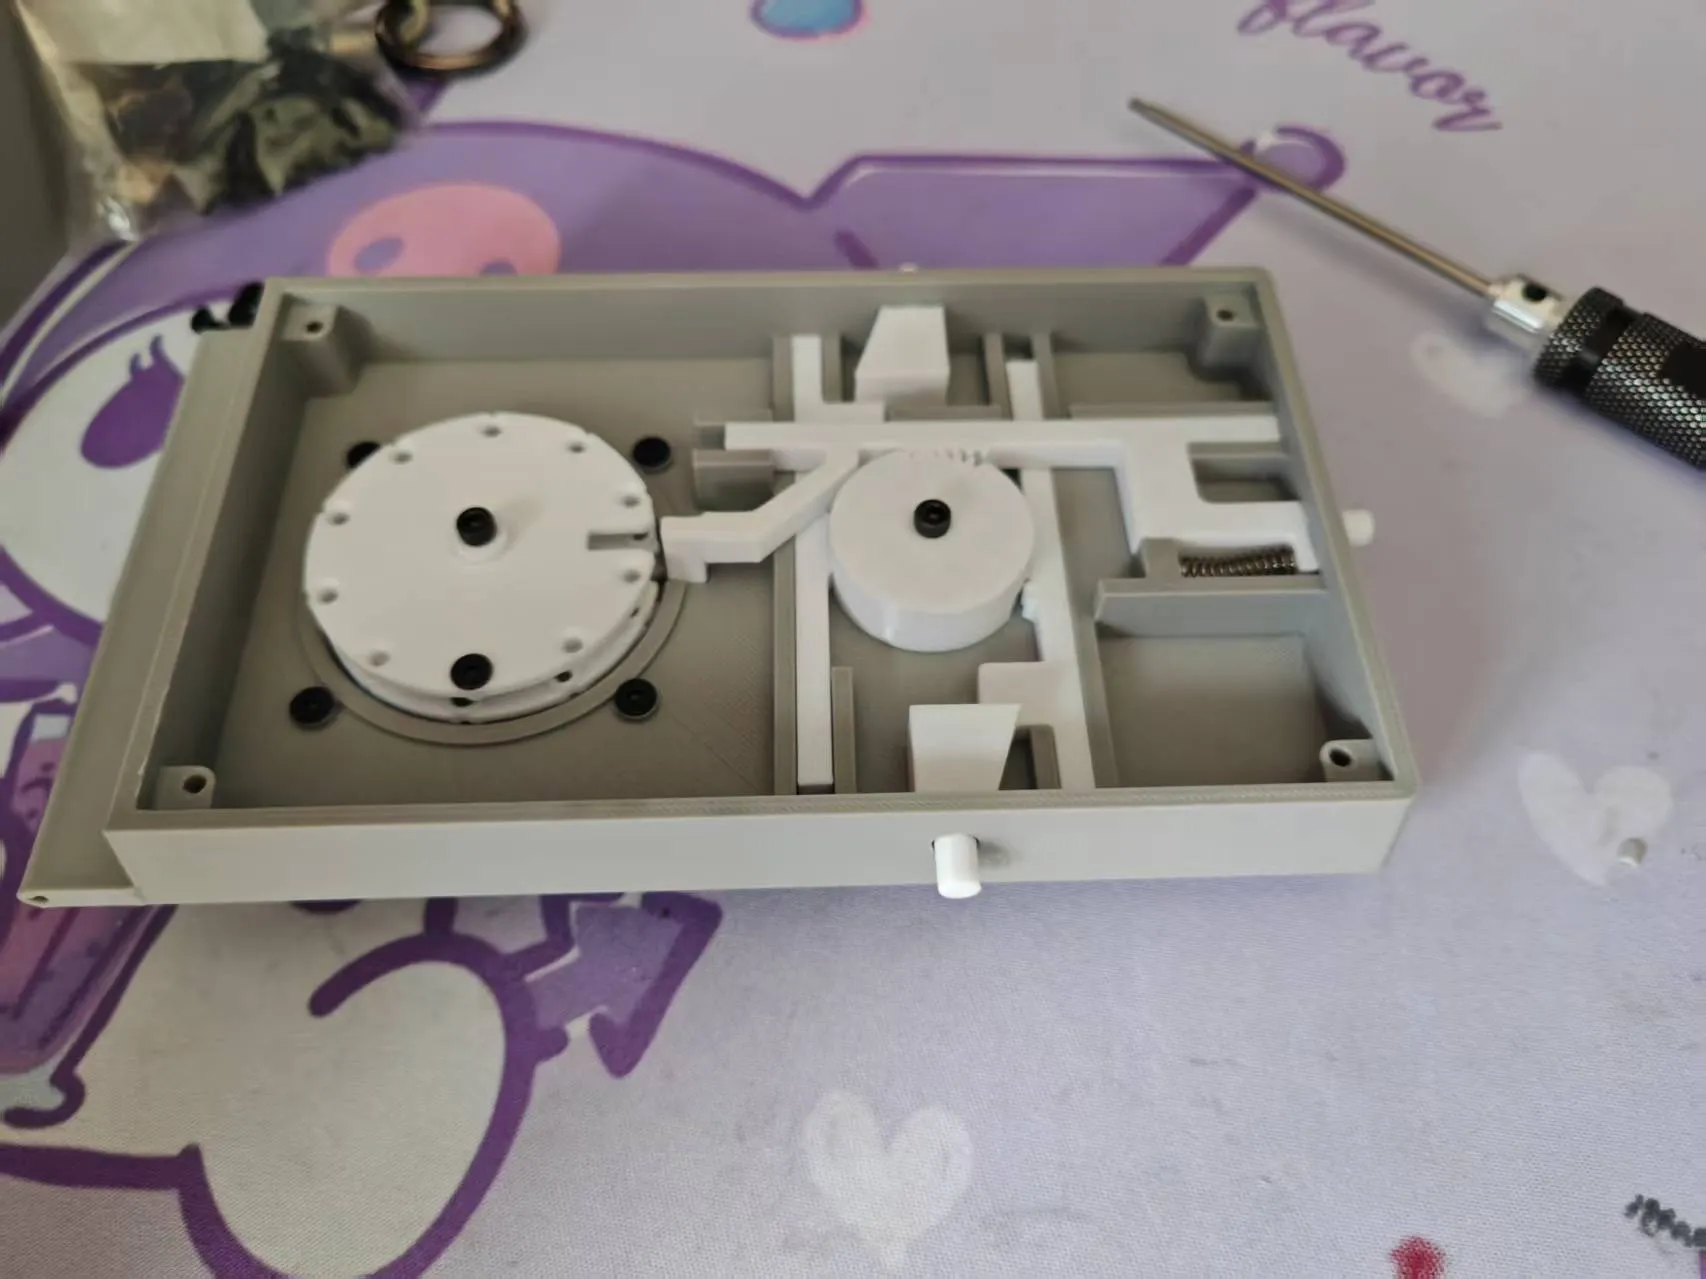
Insert the spring internally and secure the handle with M3*8 flat head screws
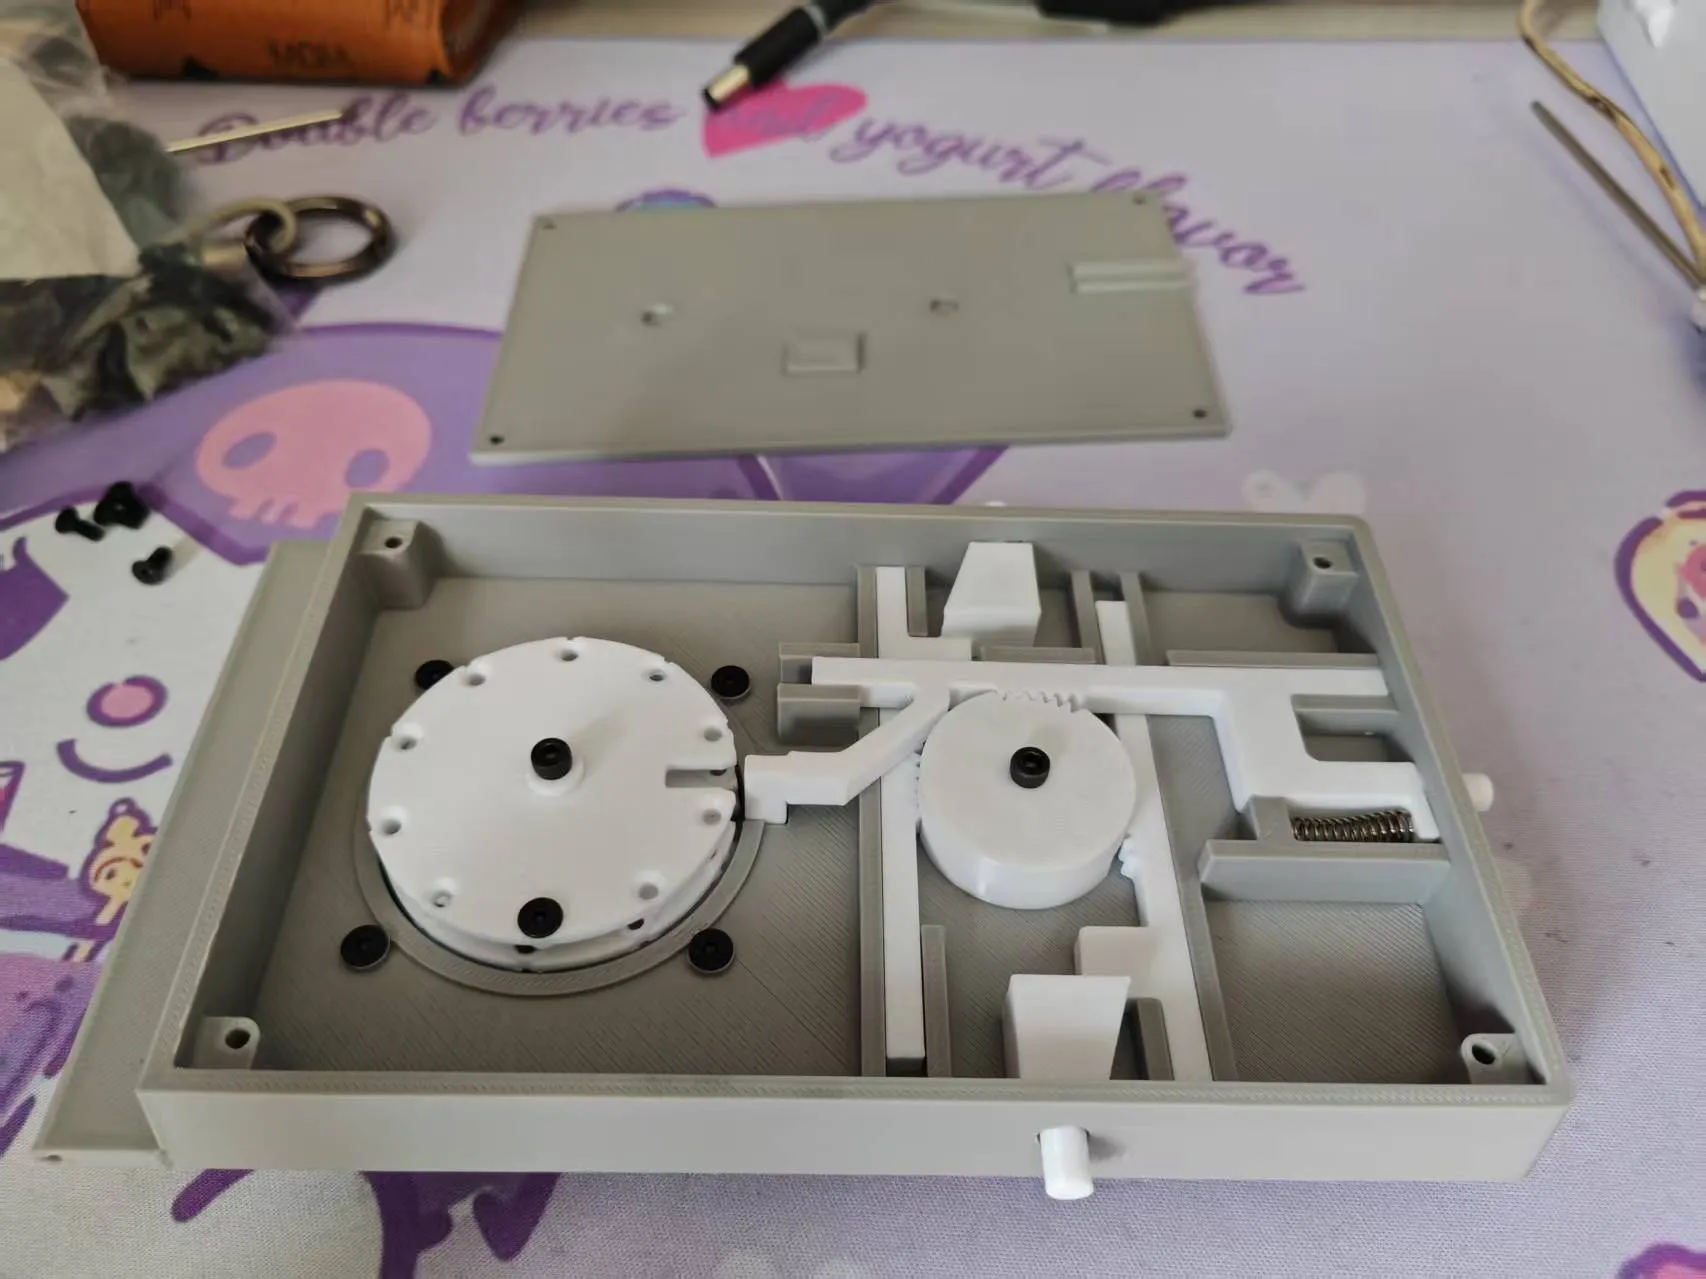
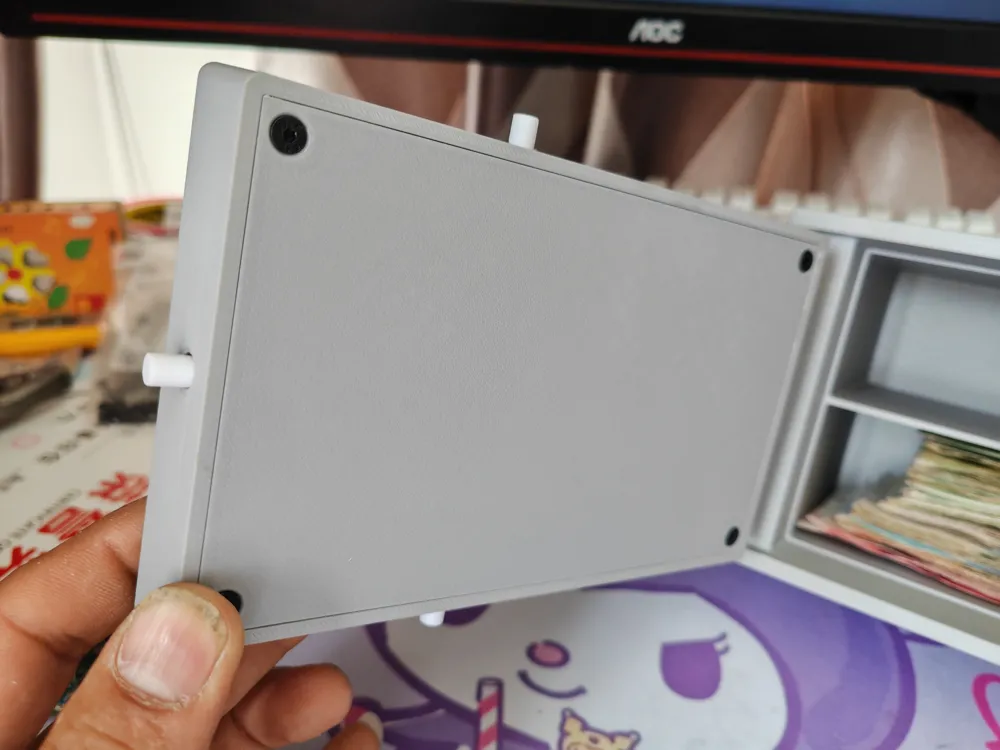
Find the inner door panel
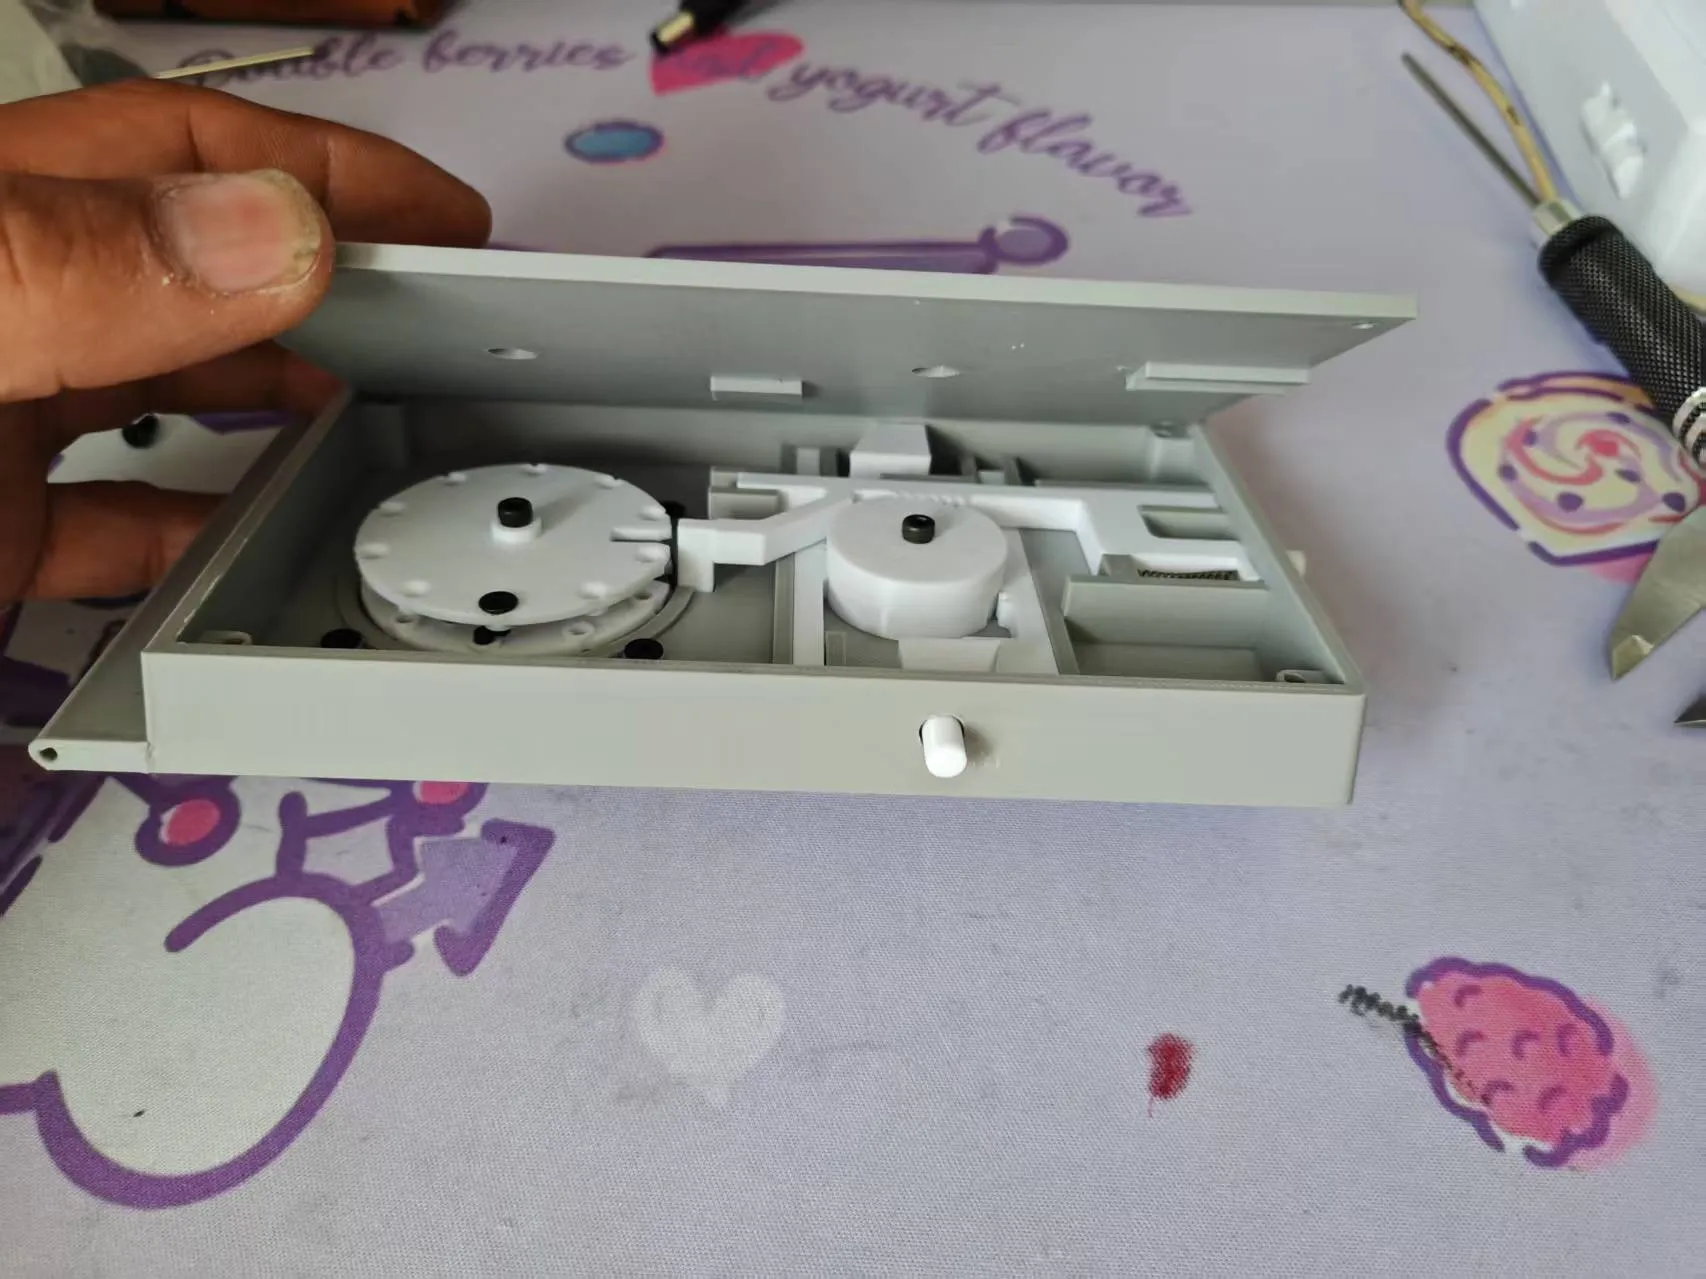
Pay attention to the direction and install
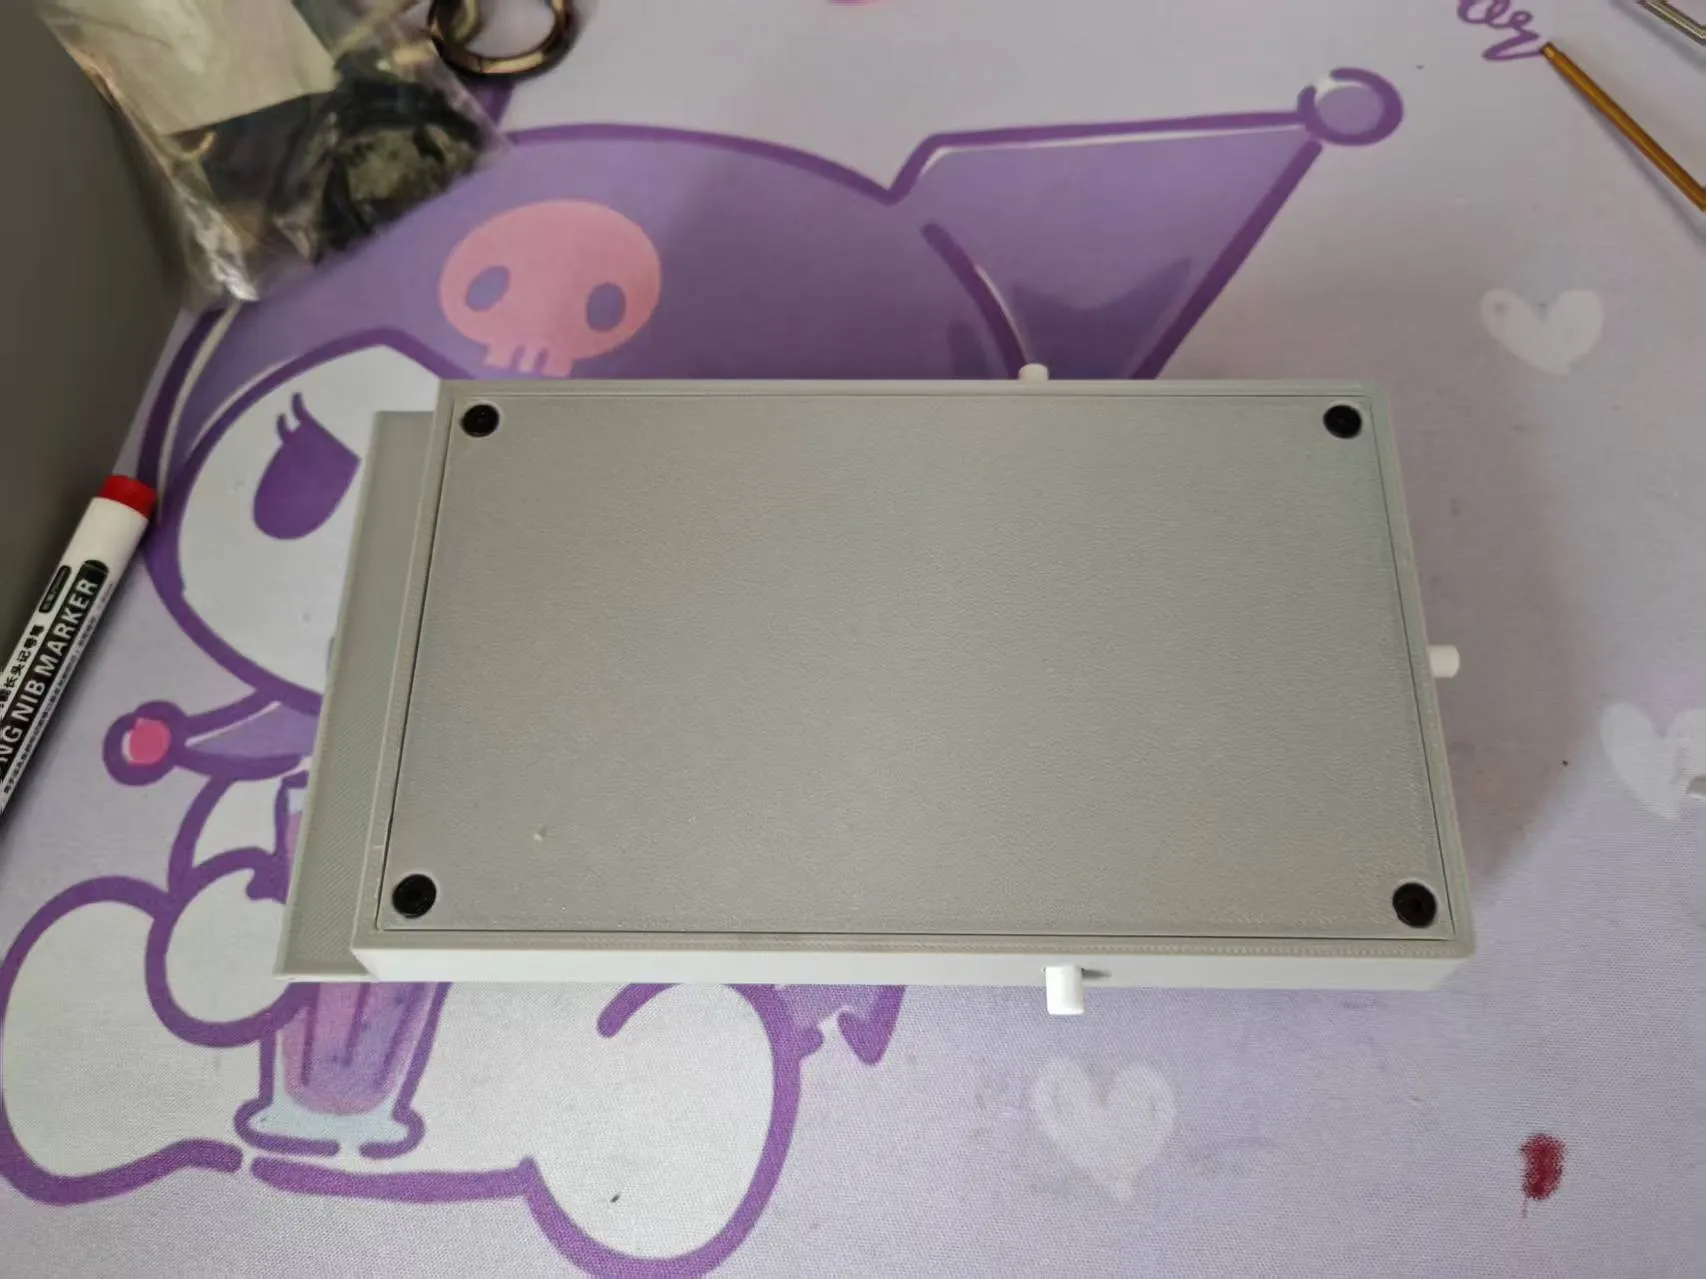
Secure with 4 M3*8 countersunk screws. The door mechanism installation is now complete
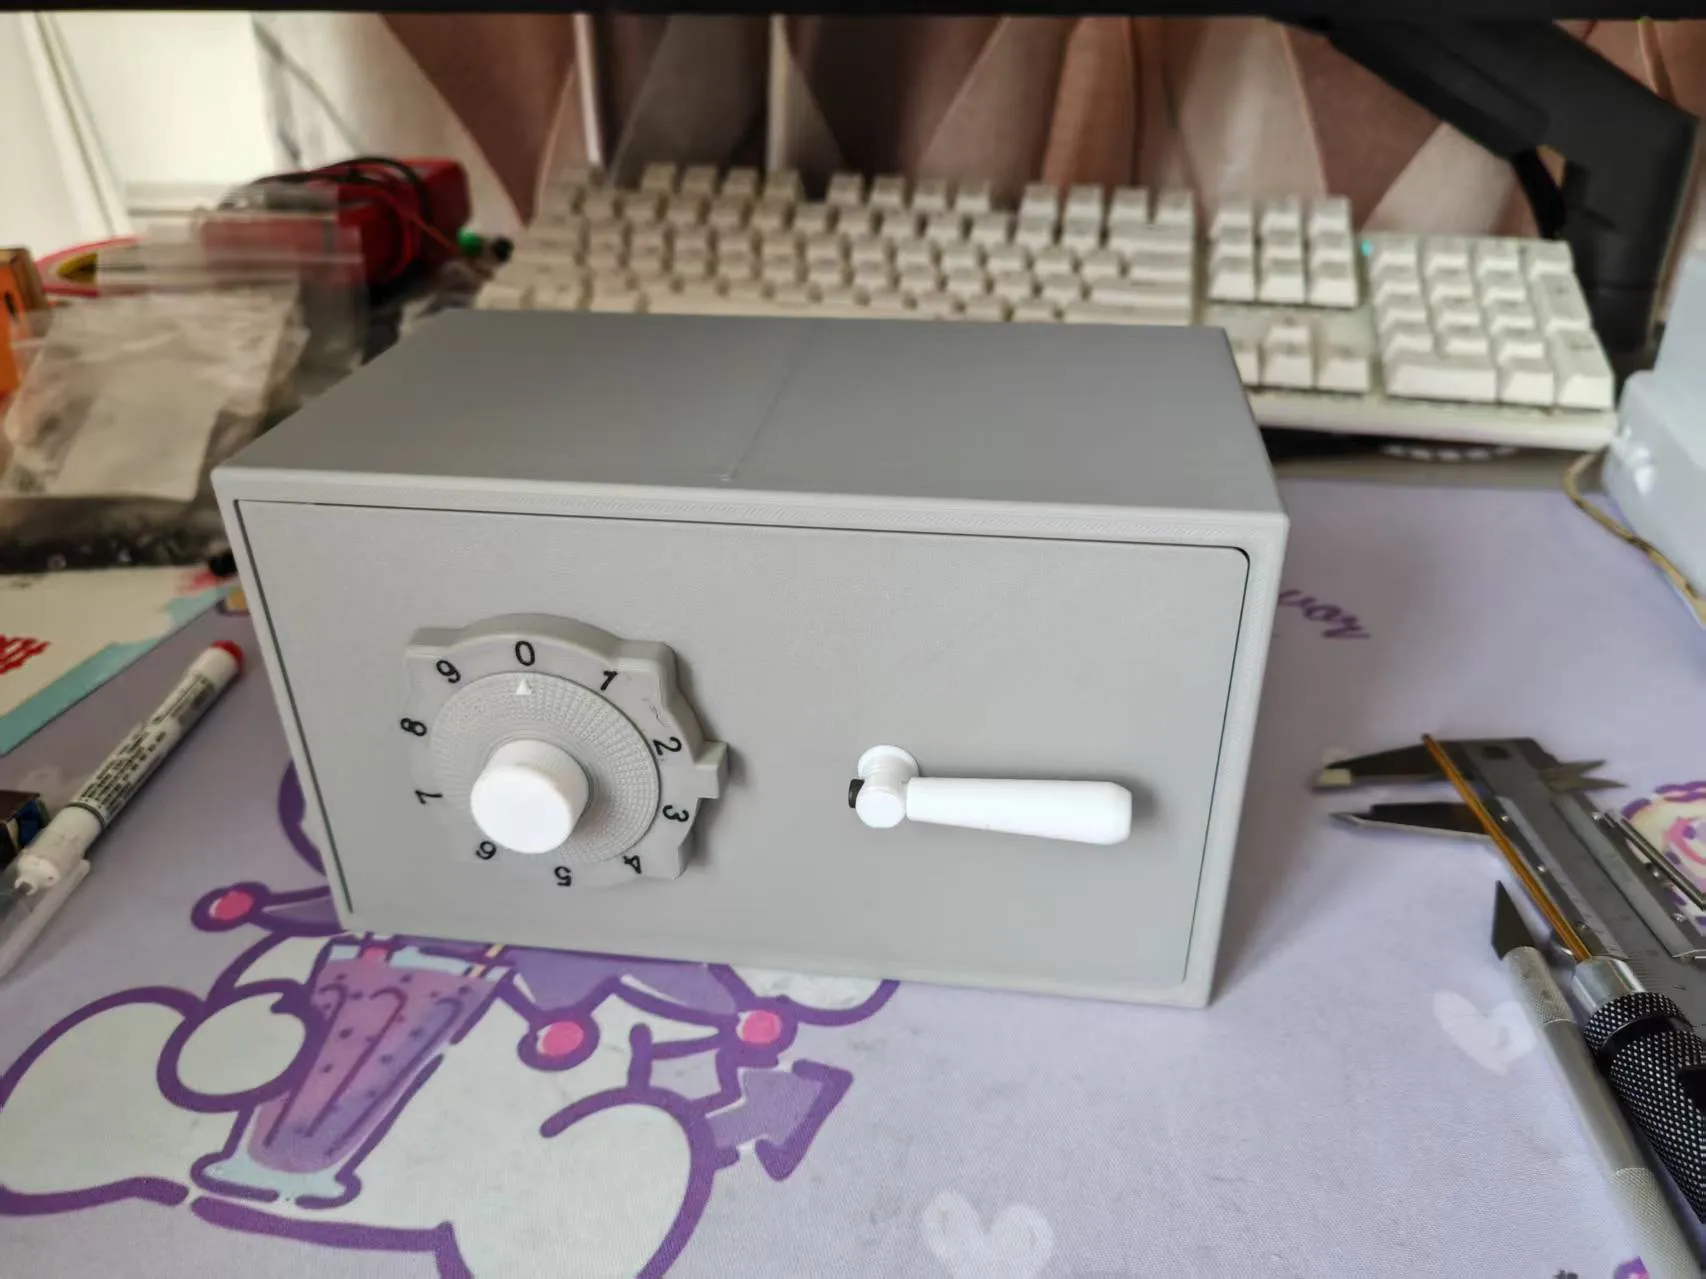
Thread the filament from below. Our safe is now complete
License

You shall not share, sub-license, sell, rent, host, transfer, or distribute in any way the digital or 3D printed versions of this object, nor any other derivative work of this object in its digital or physical format (including - but not limited to - remixes of this object, and hosting on other digital platforms). The objects may not be used without permission in any way whatsoever in which you charge money, or collect fees.


Comment & Rating (2)