
X1C/X1E/P1S mini posable keychain
Print Profile(3)


Bill of Materials




- Super Glue x 1:
Description
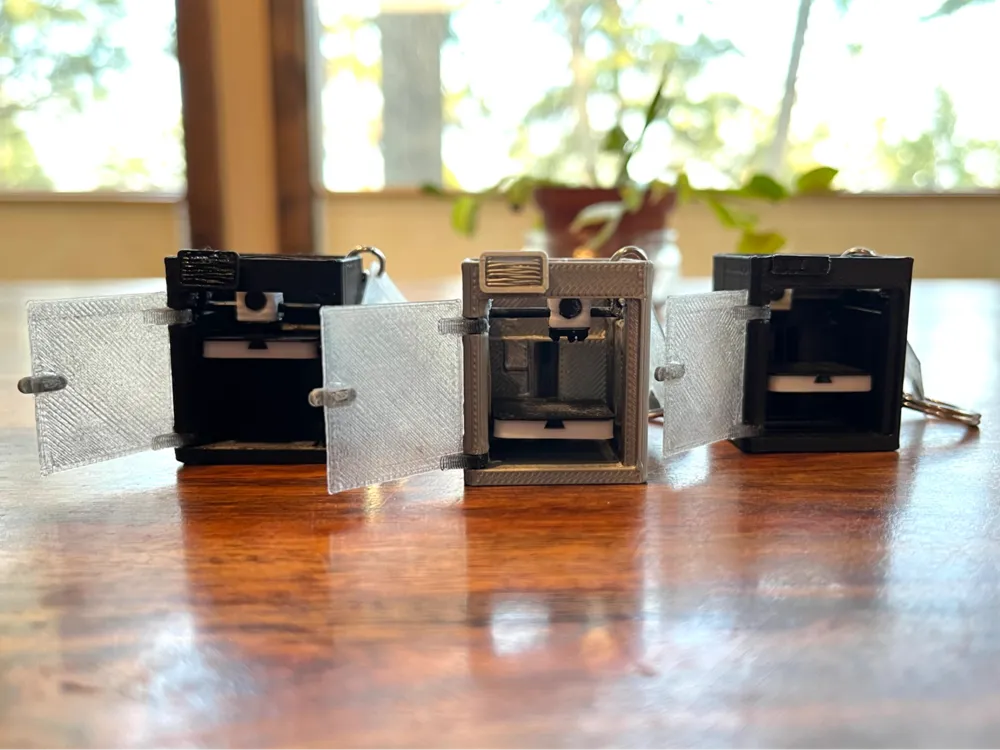
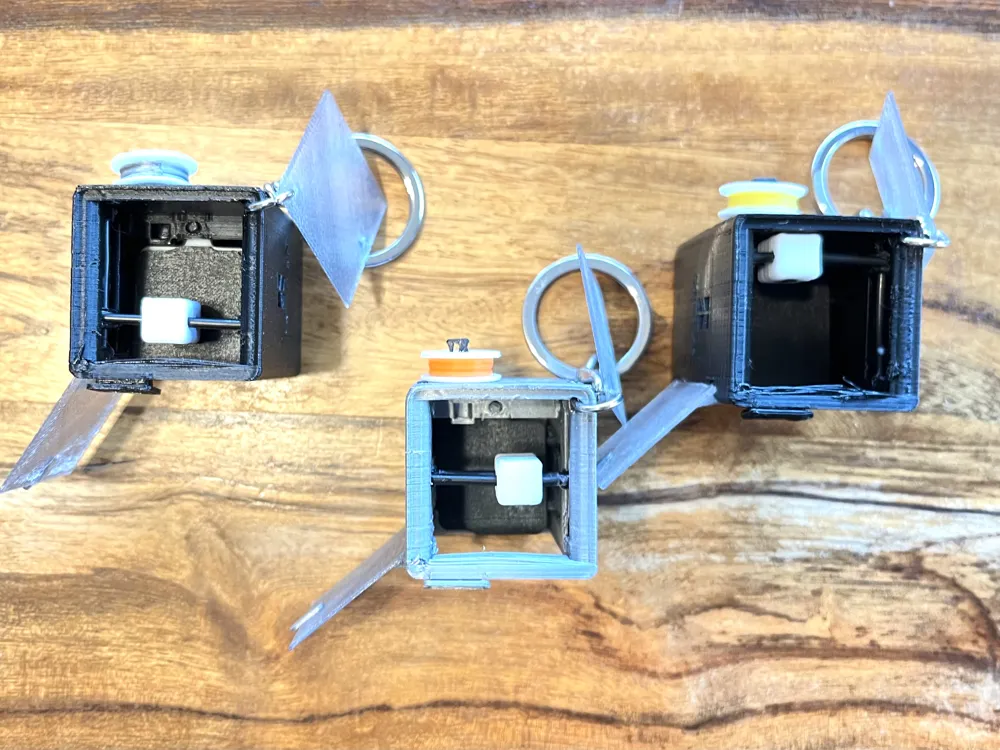
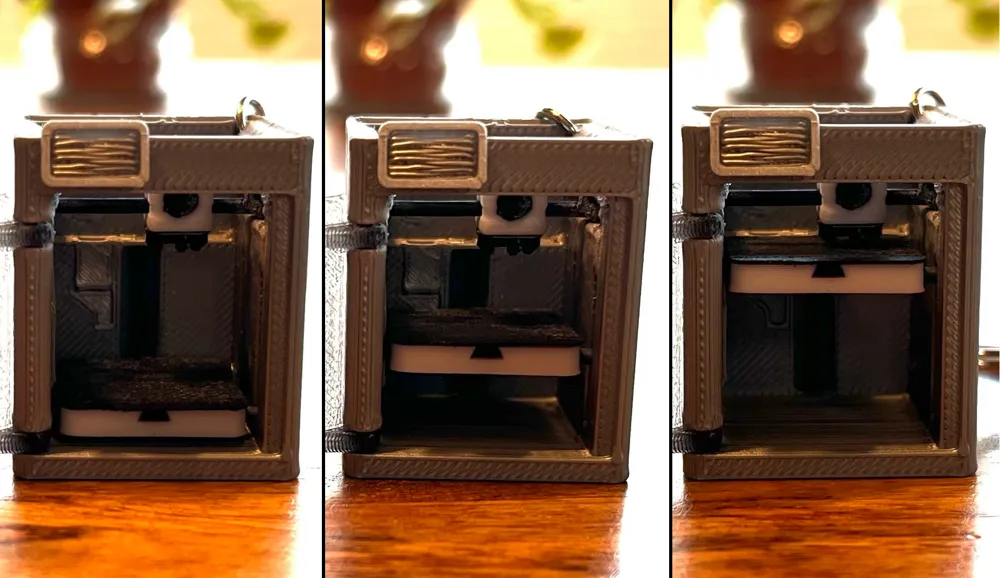
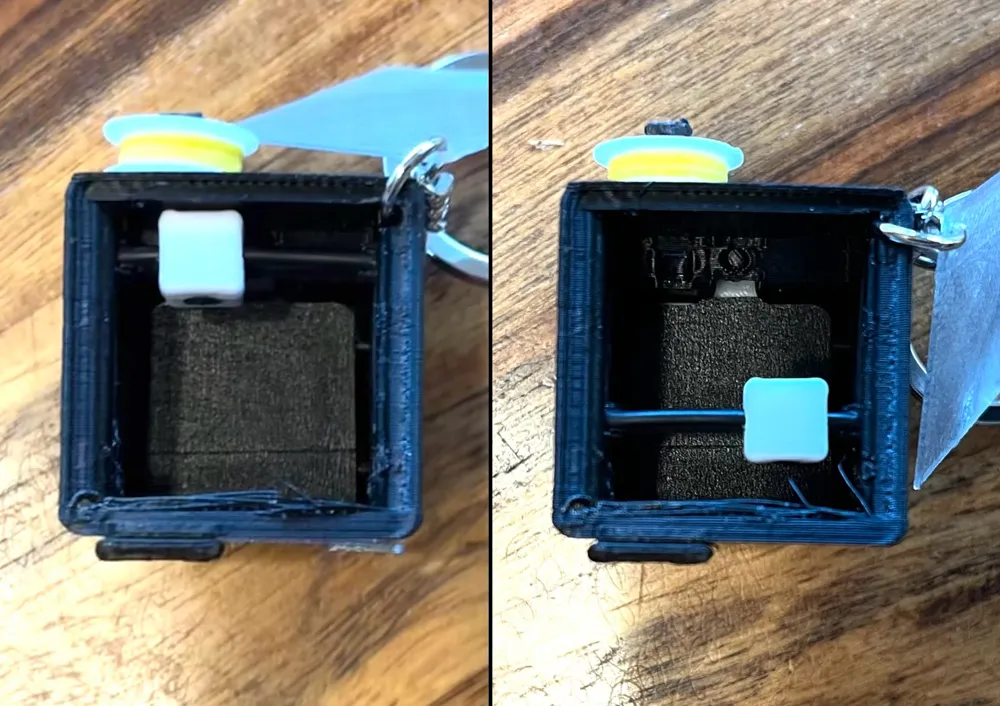
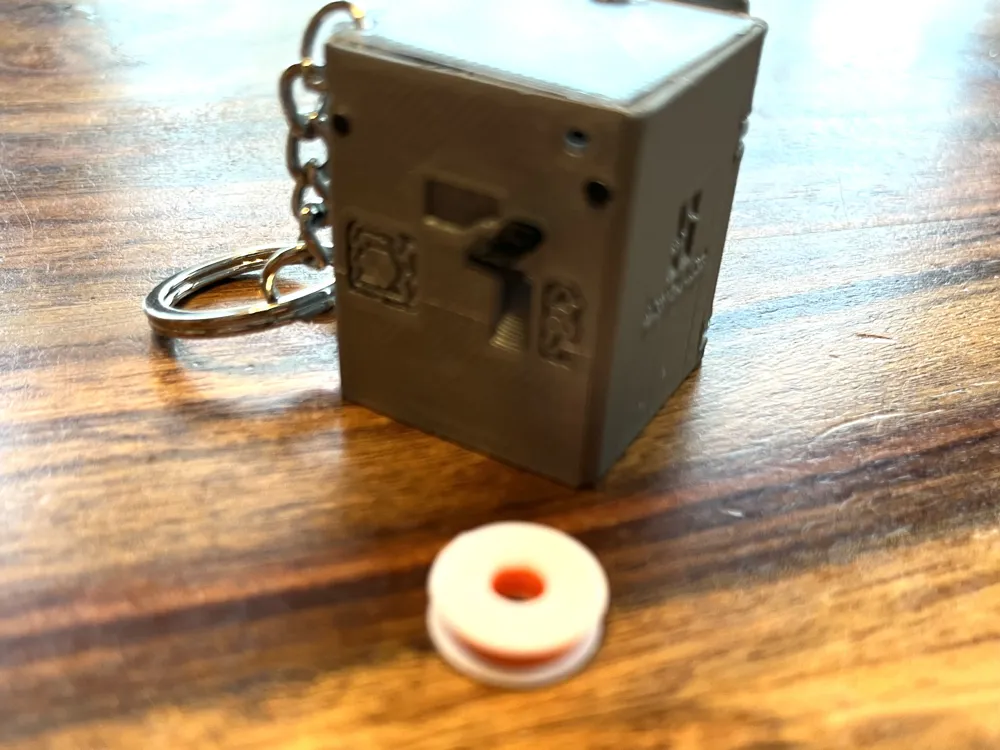
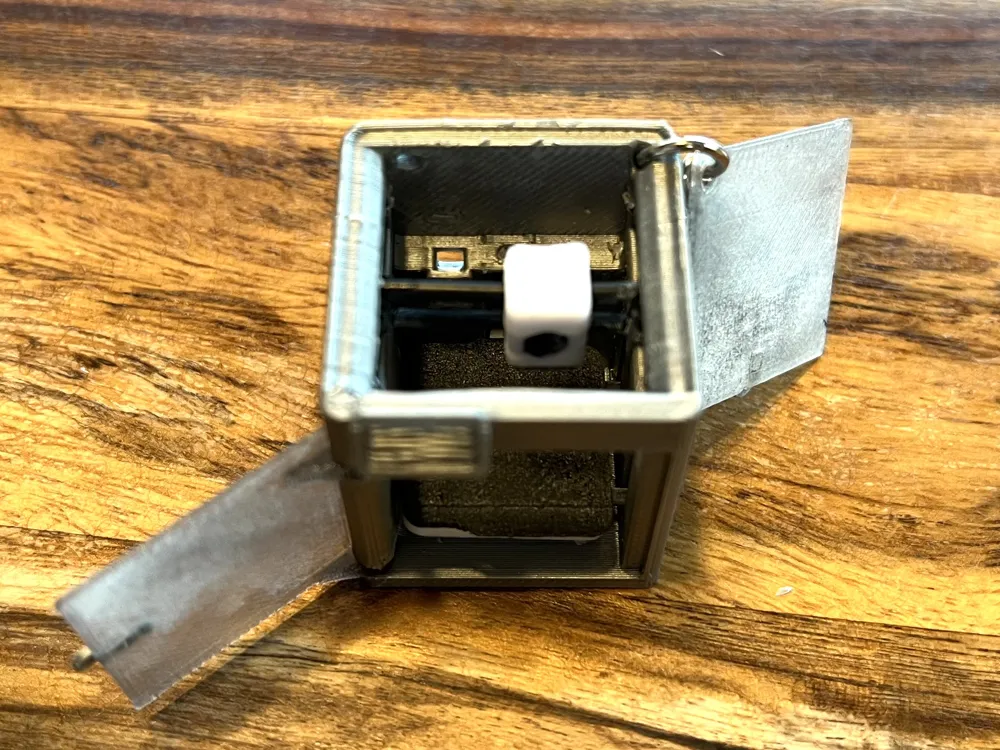
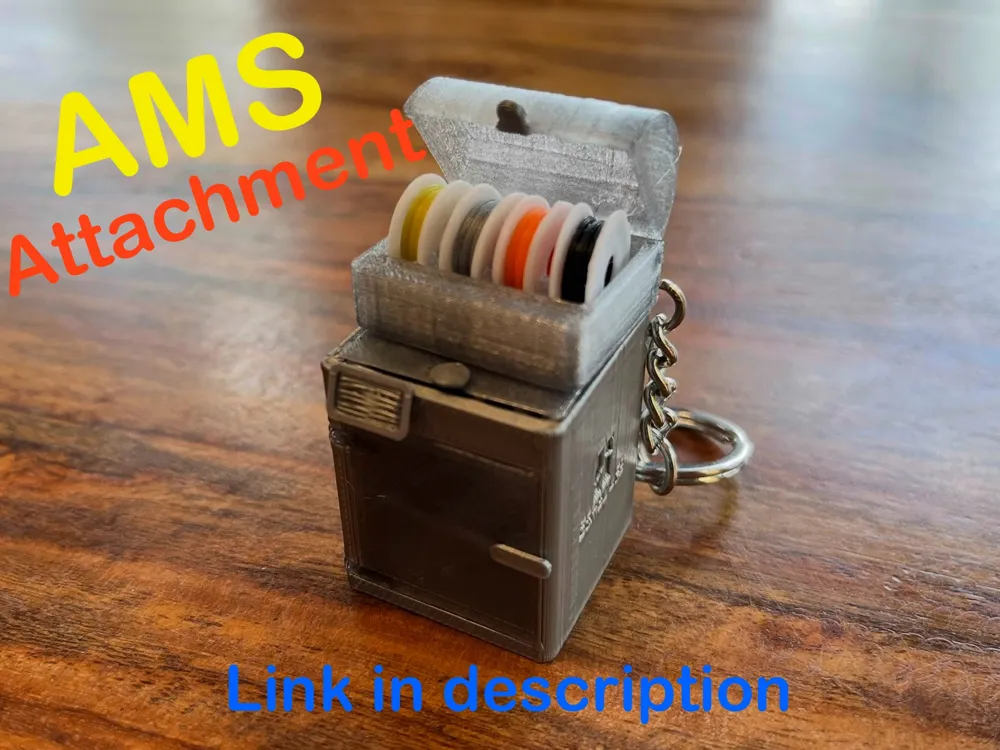
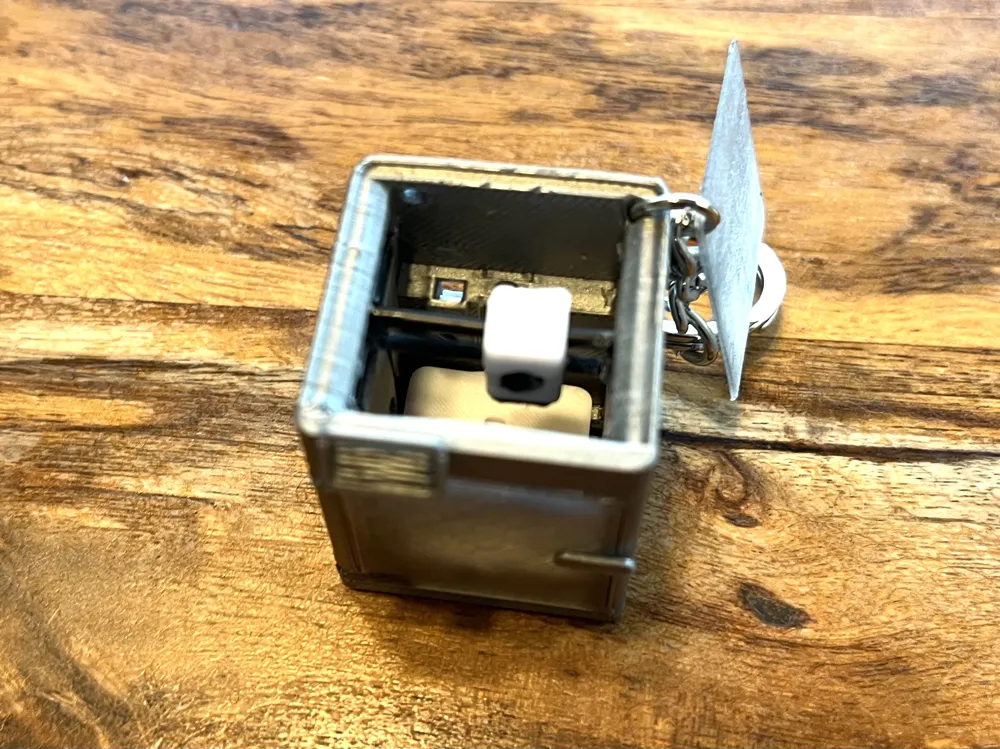
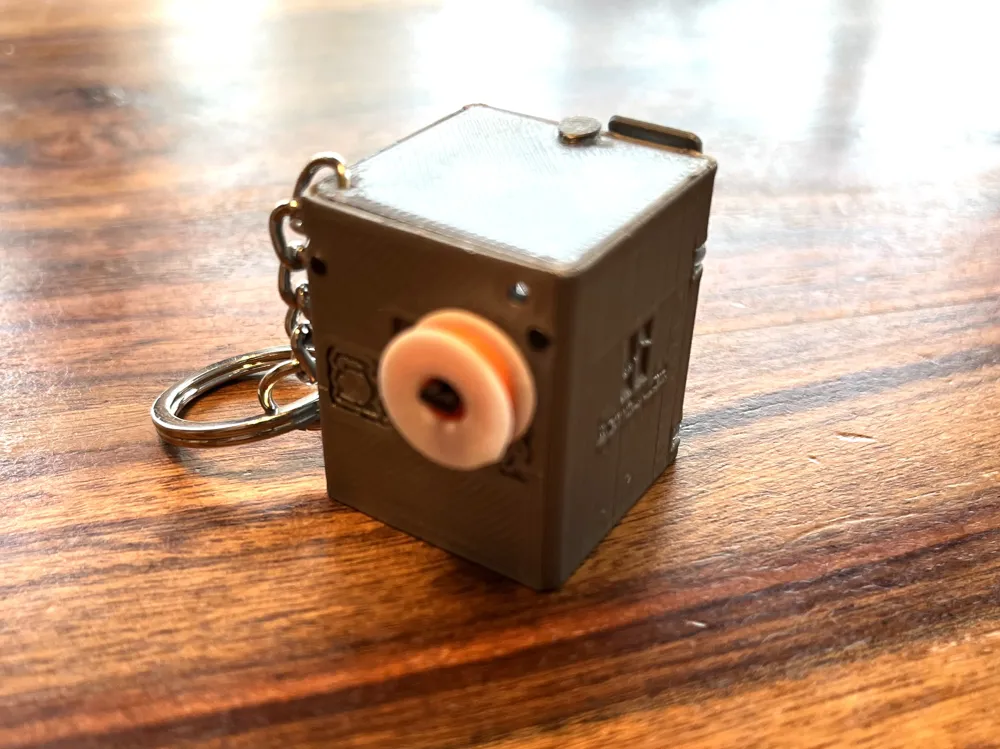
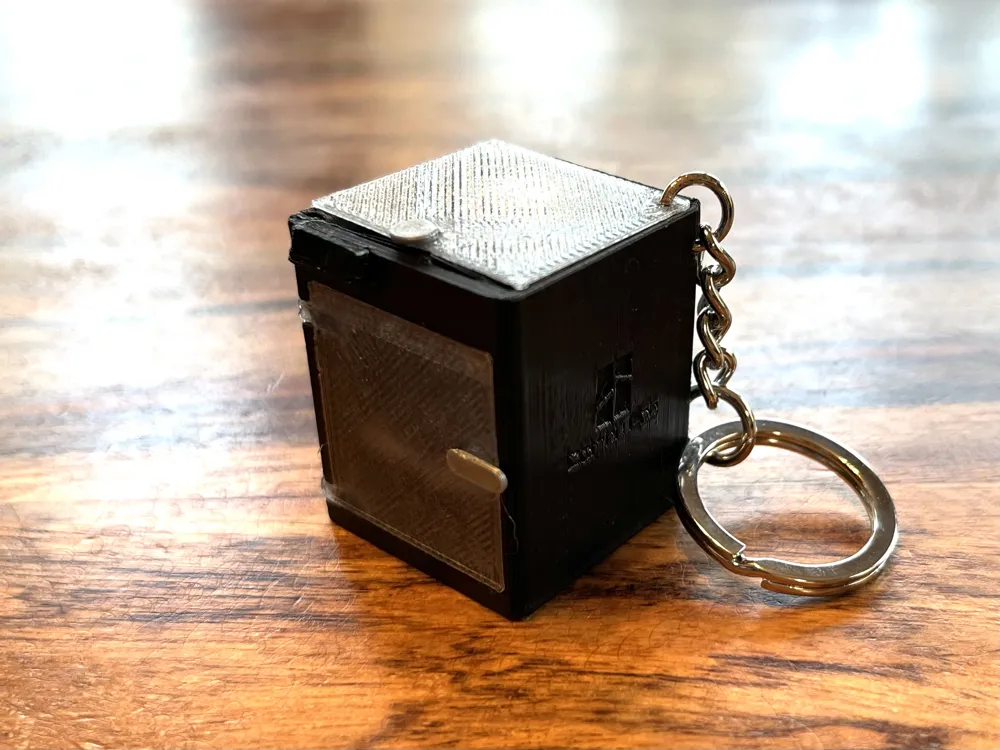
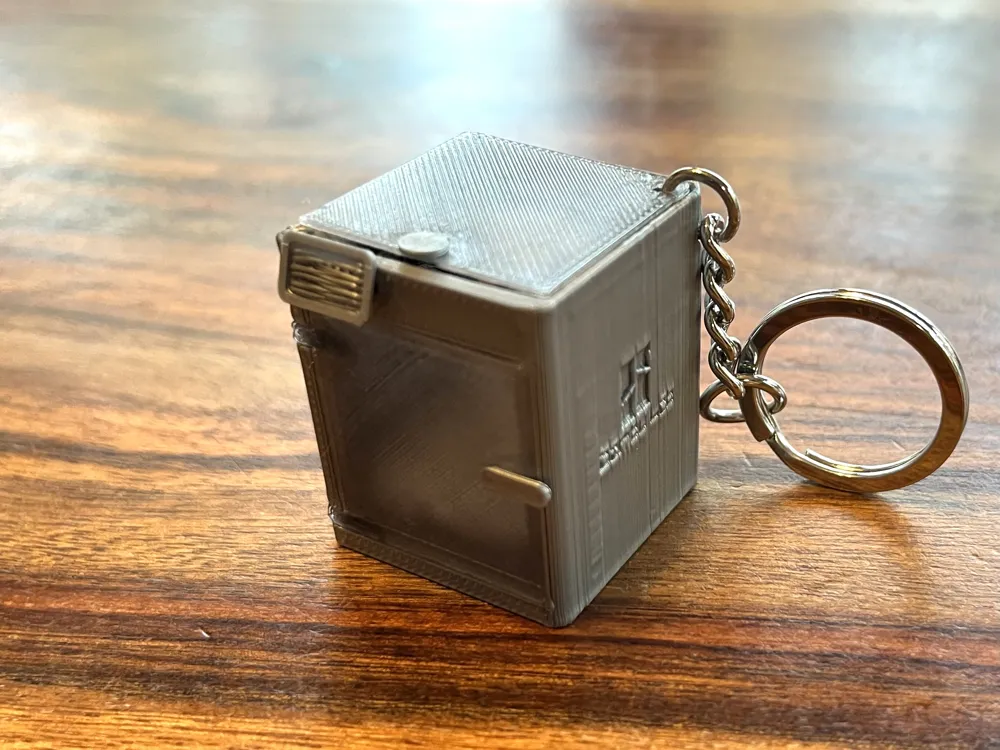
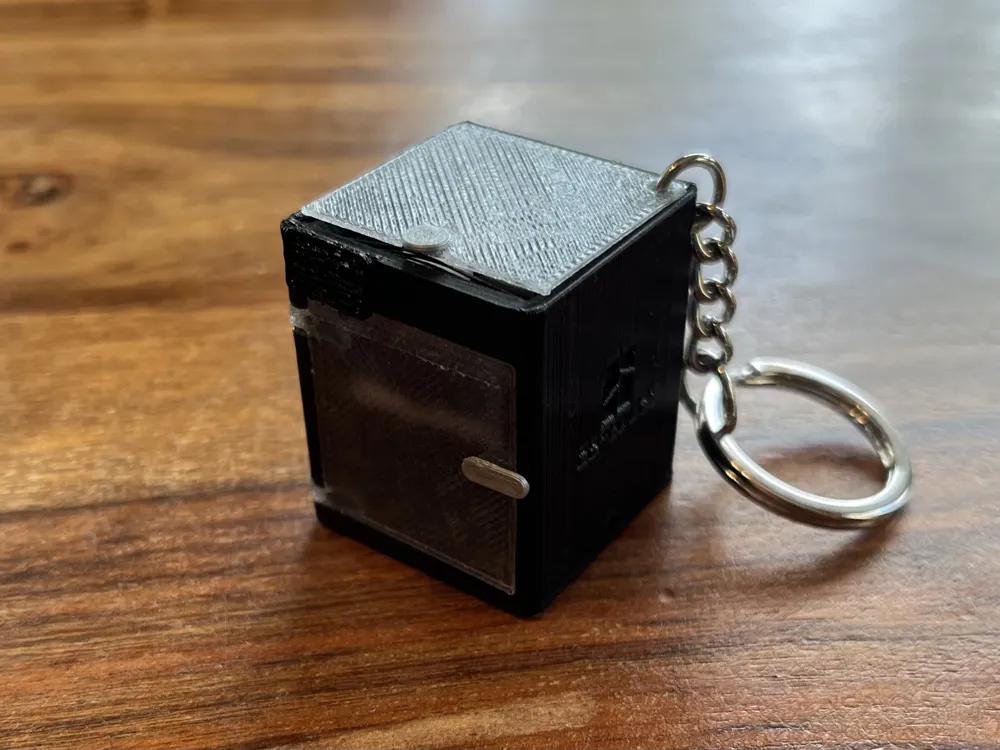
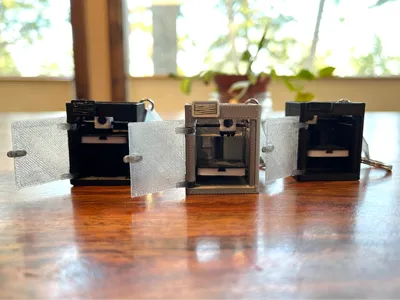
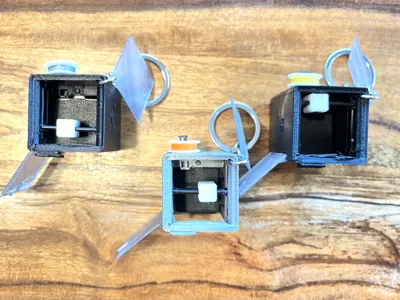
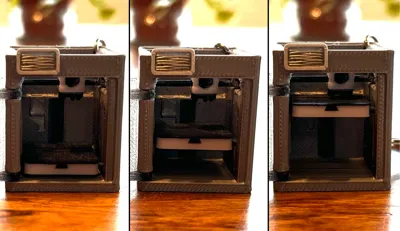
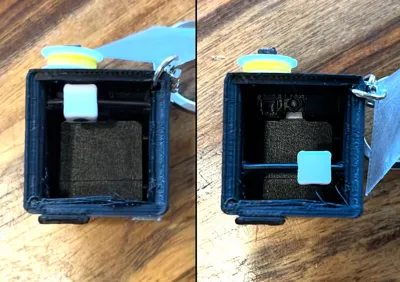
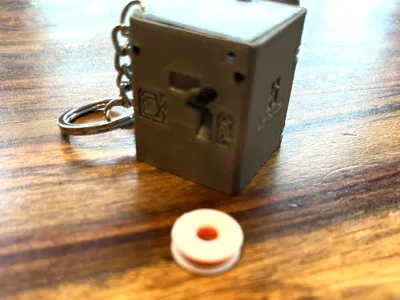
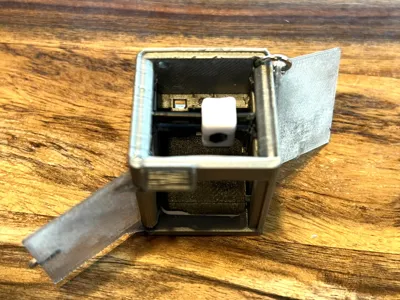
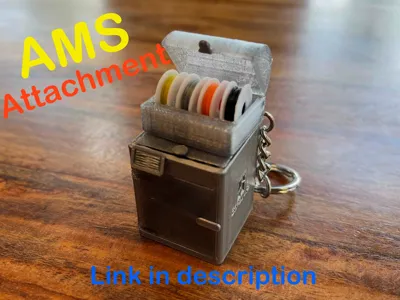
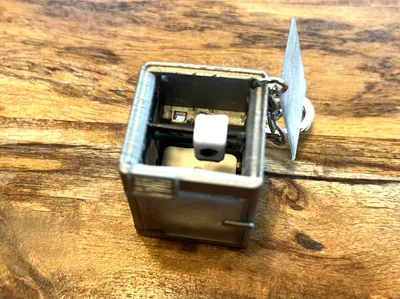
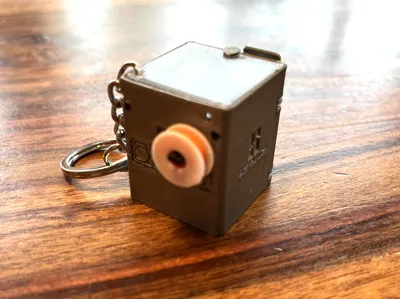
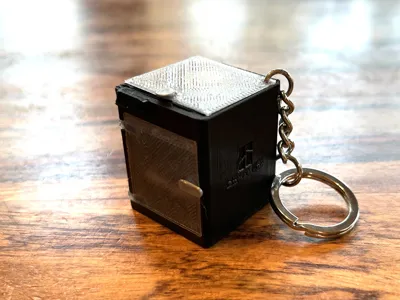
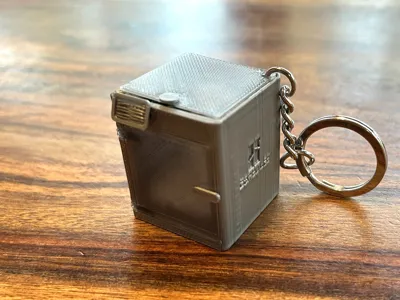
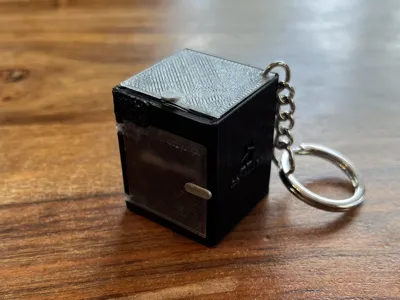
These are detailed posable models of Bambu Lab’s X1C, X1E, and P1S. The doors of the printer open. The extruder moves in the X and Y aces, and the hotbed in the Zed aces. The build plate is removeable and with a small enough piece of filament the poop shoot actually works! These models took me months to complete so I hope you enjoy them.😁 I have also created an attachable mini AMS unit.
AMS attachment: https://makerworld.com/en/models/1553816-ams-for-x1c-x1e-p1s-posable-keychain#profileId-1632295
If you want to support me, boosts are always appreciated, and buying the keychains from the Bambu store via my link helps me out. God bless!
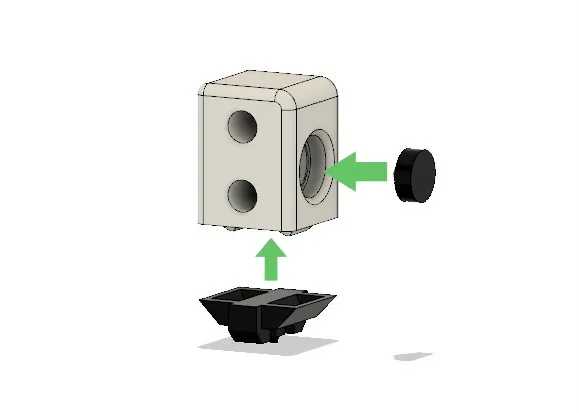
Glue the extruder indicator and the hot end to the extruder head.
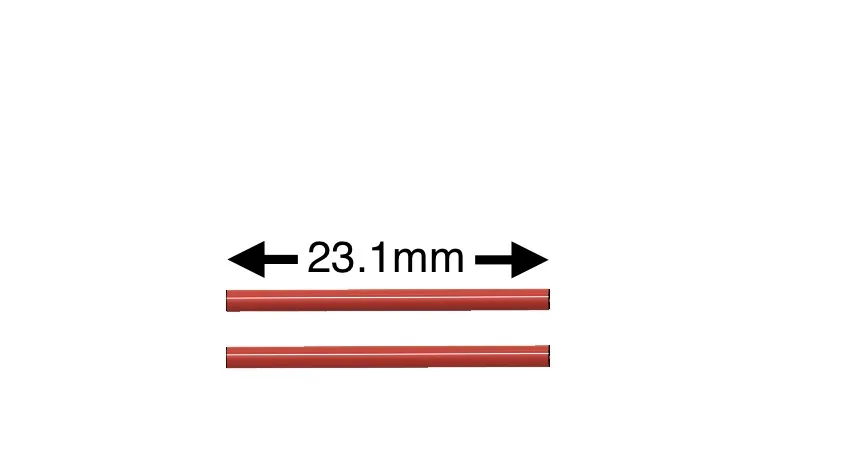
Cut two pieces of filament to 23.1 millimeters.
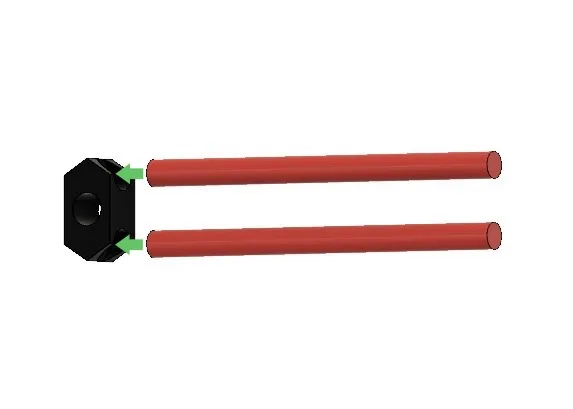
Glue the pieces of filament to one of the extruder guides.
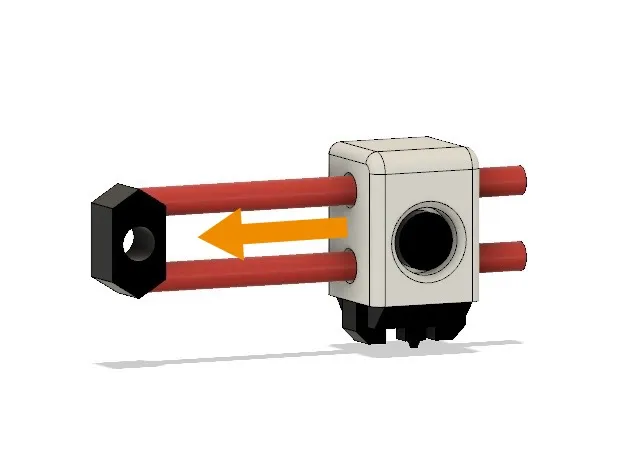
Slide the extruder through the pieces of filament.
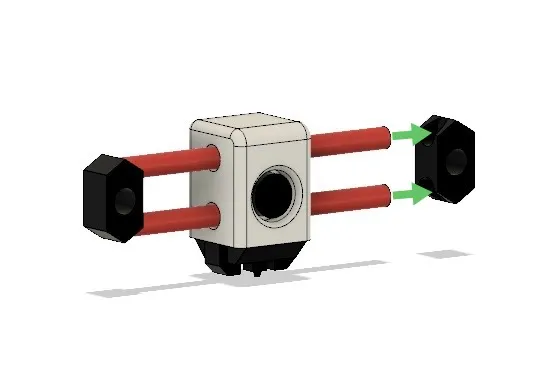
Glue the other extruder guide to the ends of the pieces of filament.
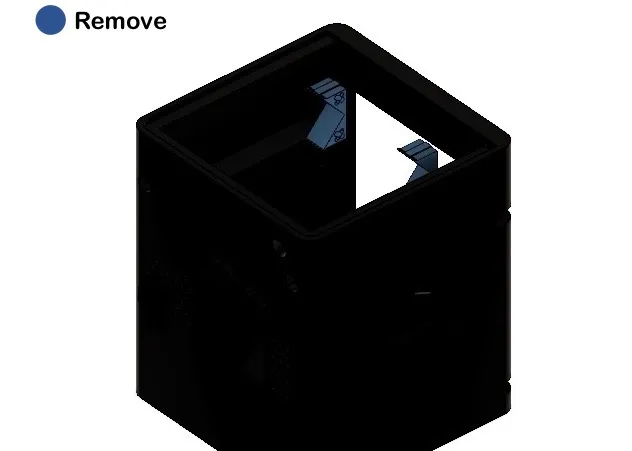
Remove the printed supports with a knife. Cutting just the edges where they meet the printer body makes it easier to remove them.
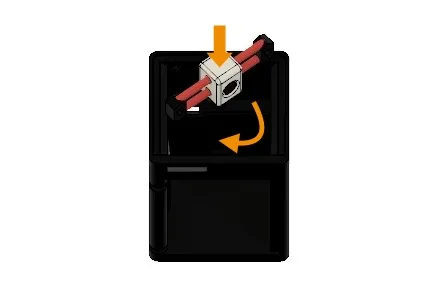
Lower the extruder assembly into its slot in the printer.
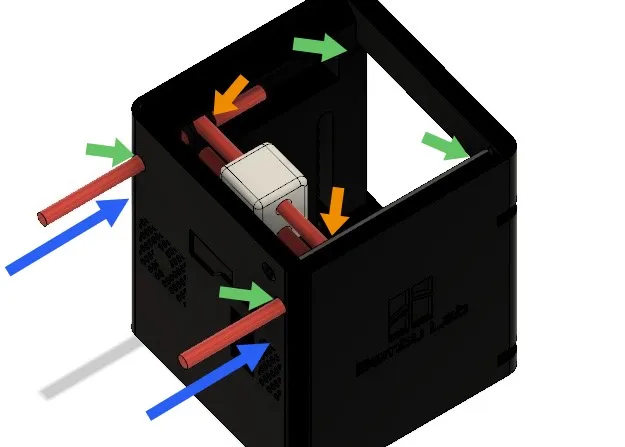
Push two straight pieces of filament through the two holes on the printer located on the back, and through the two holes of the extruder guides. Glue the filament where it touches the printer. Cut off excess filament.
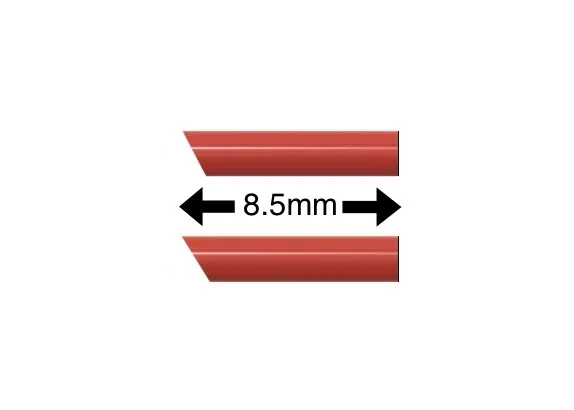
Cut two pieces of filament to 8.5 millimeters with one side cut at a 45 degree angle.
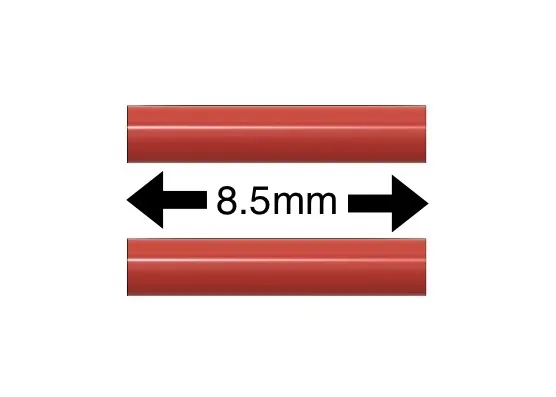
Cut two more pieces of filament to 8.5 millimeters.
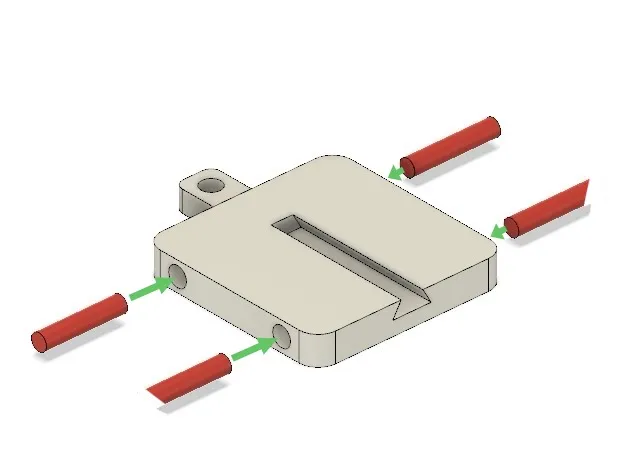
Glue and insert the two filament pieces with the 45 degree angle at the front of the hot bed with the longest side of the angle pointing up. Glue and insert the other two pieces of filament on the remaining side holes.
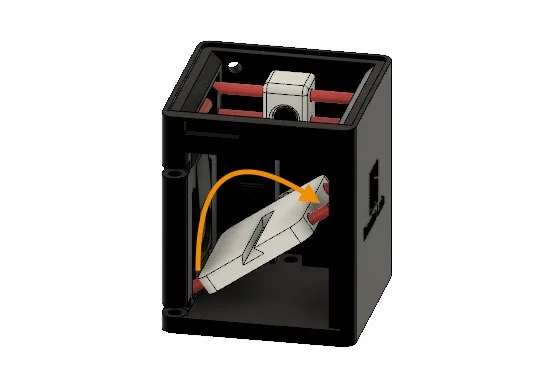
Insert the hot bed into the printer by pushing it in at an angle and turn it into place. If any filament piece is to long gradually cut them until it has a snug fit.
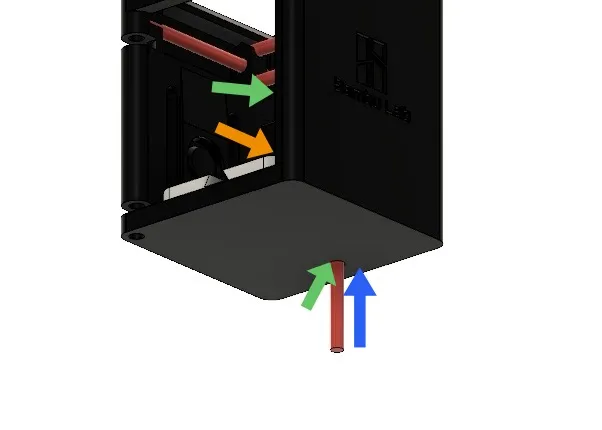
Straighten a piece of filament and push it through the hole located at the bottom of the printer and the hold of the hot bed. The filament should be even with the poop shoot level in the printer. Glue the filament where it touches the printer. Cut off excess filament.
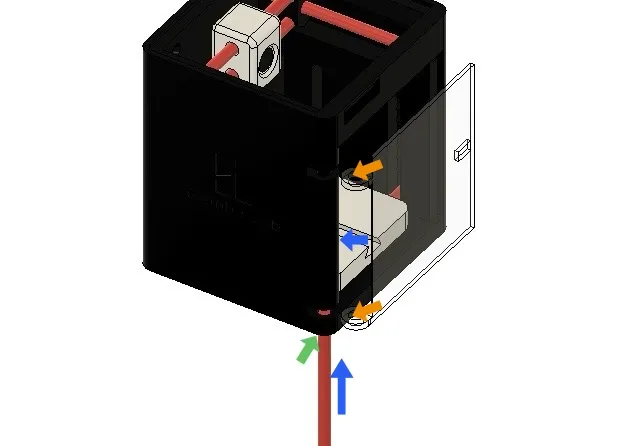
Insert the door using a piece of filament by pushing the filament through the holes on the bottom corner of the printer and through the holes of the door. Glue the filament where it touches the printer. Cut off excess filament.
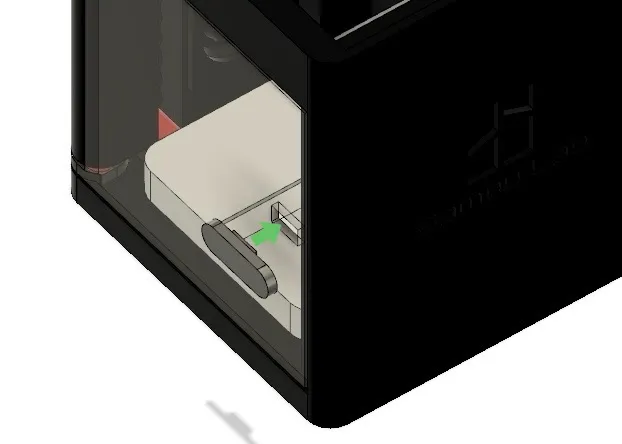
Glue the door handle to the door.
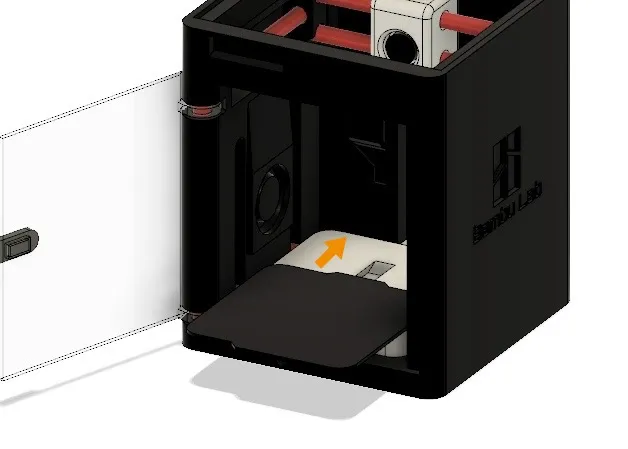
Slide the build plate onto the hot bed.
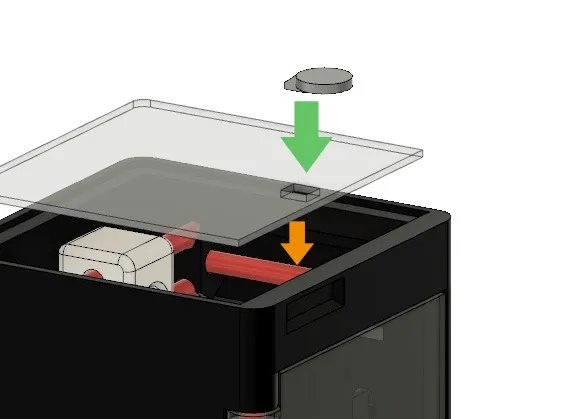
Glue the top plate handle onto the top plate.
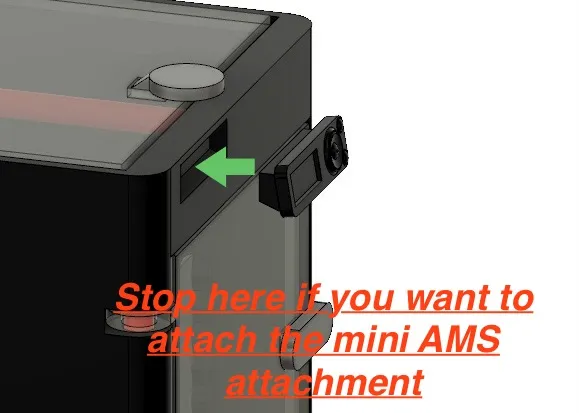
Glue the screen onto the printer. STOP HERE IF YOU WANT TO ATTACH THE AMS ATTACHMENT. Link for AMS: https://makerworld.com/en/models/1553816-ams-for-x1c-x1e-p1s-posable-keychain#profileId-1632295
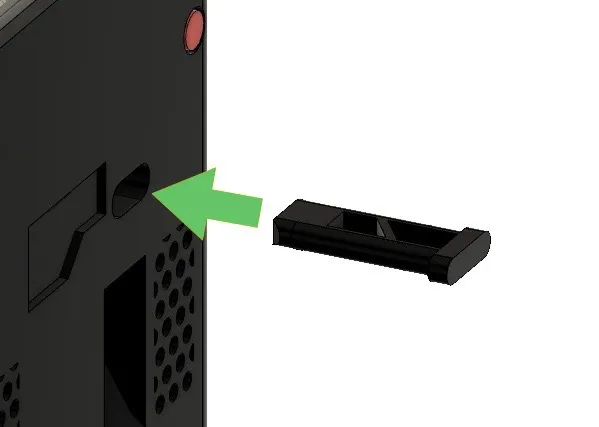
Glue the spool holder to the printer.
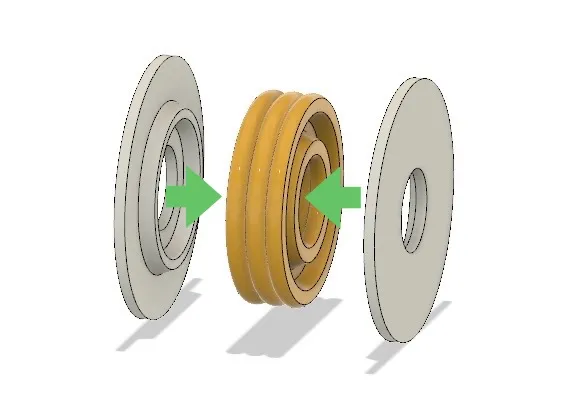
Glue the two spool sides to the mini filament role.
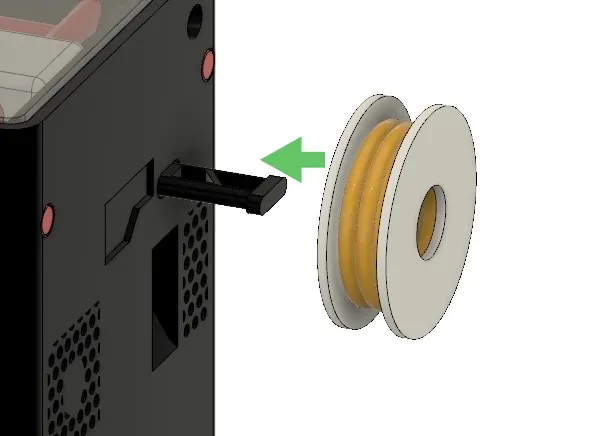
Glue the filament role to the printer over the spool holder.
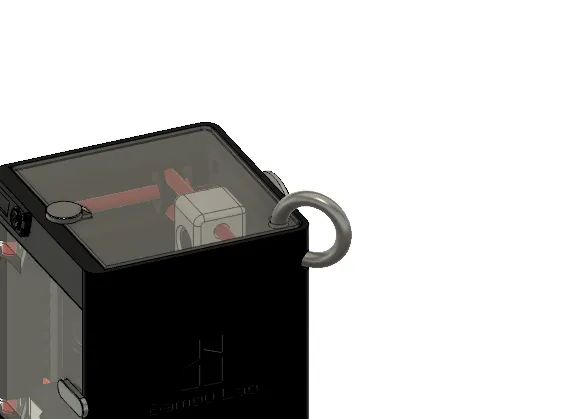
Attach keychain to the holes on the printer and top plate.
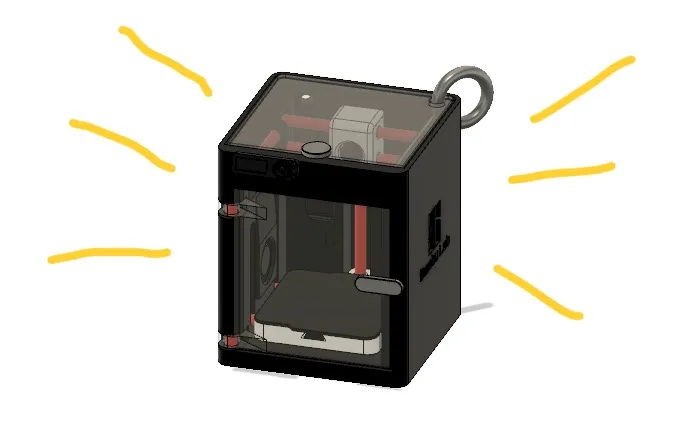
Complete!
License

You shall not share, sub-license, sell, rent, host, transfer, or distribute in any way the digital or 3D printed versions of this object, nor any other derivative work of this object in its digital or physical format (including - but not limited to - remixes of this object, and hosting on other digital platforms). The objects may not be used without permission in any way whatsoever in which you charge money, or collect fees.


Comment & Rating (23)