3D Printable Knife Sharpener – Minimal Hardware


Print Profile(1)

Description
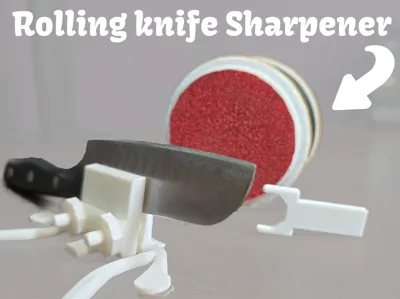
A fully 3D printable guided knife sharpener using a rolling sanding system to deliver consistent, angle-locked sharpening. Designed with no screws, bearings, magnets, or non-printable fasteners—only standard 3D printer filament required.
The clamping mechanism secures most straight-handled or flat-edged knives at a fixed 16° angle. The rolling sharpener holds sandpaper disks applied with double-sided tape or glue. Two rotating arms allow smooth movement across the blade for even sharpening.
No supports required. Print orientation and tolerances optimized for strength and usability.
Best for kitchen and utility knives with straight or slightly contoured handles. Not suitable for knives with highly curved handles or thick bolsters.
Assembly and usage demonstrated in an included YouTube Short for quick visual guidance.
Print time: ~8 hours
Filament: ~120g
All parts printable with a 0.4 mm nozzle
All required files and cutting templates included.
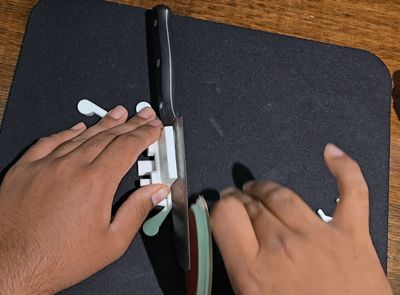
The way it works is very simple, the vice will hold the knife at an angle, and the rolling sharpener will sand away at the knife, with varying degrees of sandpaper grit (depends on grit sandpaper you put on it)
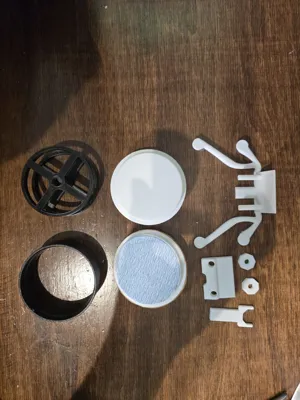
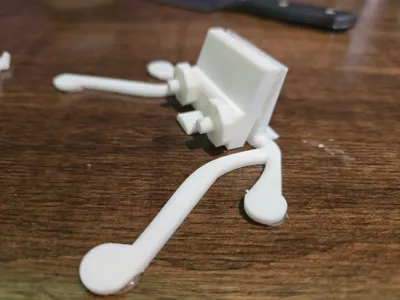
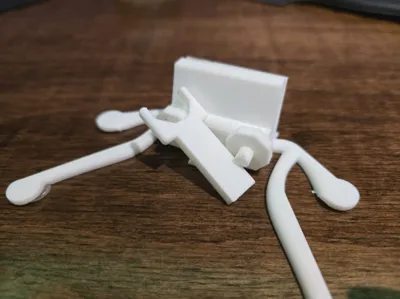
Labelled parts:

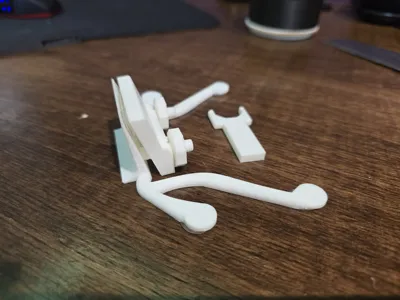
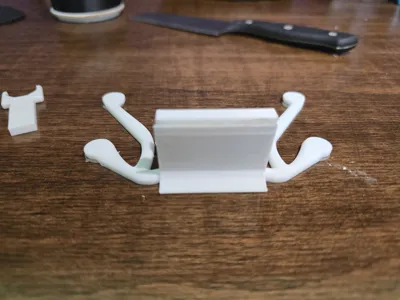
Assembling the vice:
Step 1: Get the base vice, insert the moveable vice aligning the holes and the bottom notch with the base.
Step 2: Screw in the nuts into the extruding threaded rods of the base vice. It might be difficult to screw in initially, this is just due to the limitations of 3d printed nuts and bolts. You will need to put forward pressure (in the direction of where you're screwing) to properly start screwing it in. It might be screwing in at an angle that is slanted, which is normal, you just need to push it in a perpendicular angle from the threaded rods.
Step 3: Use hot glue, or a rubber adhesive (if you have one) on the bottom of the base vice, where there are indented 10mm in diameter holes. You might also want to put hot glue or a rubber adhesive on the inner parts of the vice (where the vice will grip onto the knife), otherwise it might slip around more often while sharpening.
Assembling the rolling sharpener:
Step 1: Get the rotating body, and the sleeve, slide the sleeve over the rotating body, it might be difficult at first, but that is normal.
Step 2: screw in the Sanding disks to the rotating body on both sides, the threads of the disks might be compromised because of the support material. As shown in the below image, the top part of the threads (or the bottom) has excess material sticking out, you will want to either sand or shave away at this material with a knife.

Step 3: Insert glue or a rubber band into the grooves of the sanding disks, adding a rubber band might be very tedious, but it will look better, or you can go the easier route and use hot glue.

If you use hot glue it might look something like this:

It makes no difference if you use glue or not, its up to you.
Step 4: Take the stencil piece:

Use this to cut up some sandpaper that you can either glue or use double sided tape on the face of the sanding disks.
Done!
License
You shall not share, sub-license, sell, rent, host, transfer, or distribute in any way the digital or 3D printed versions of this object, nor any other derivative work of this object in its digital or physical format (including - but not limited to - remixes of this object, and hosting on other digital platforms). The objects may not be used without permission in any way whatsoever in which you charge money, or collect fees.
Comment & Rating (4)