Adjustable Push Block / Sliding Block


Print Profile(1)

Description
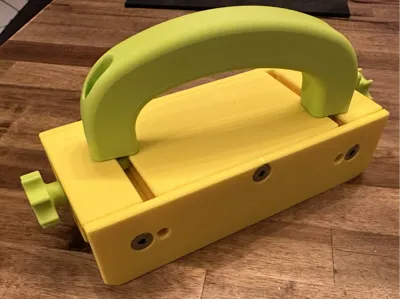
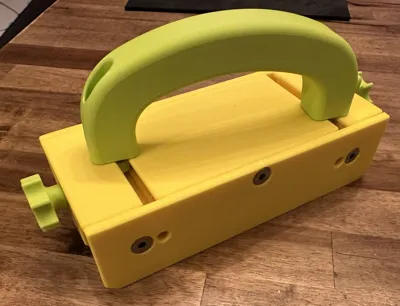
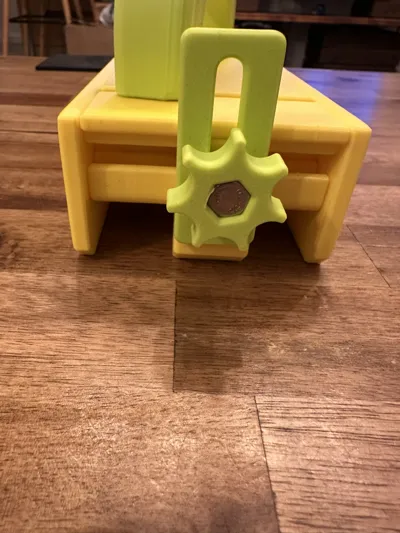
Adjustable Push Block / Sliding Block
For safe processing when sawing and milling, so that your fingers do not get too close to the danger zone.
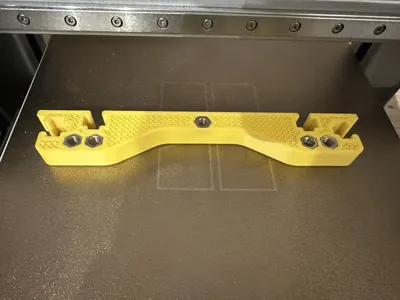
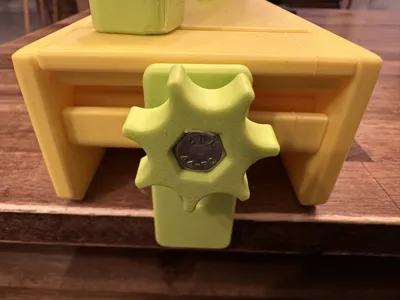
5 M6 nuts are inserted into the model at layer heights 78 and 340, so that a stable thread is available.
(Pre-set in the 3MF file: 1 stop after 1:41h, second stop after 6:46h)
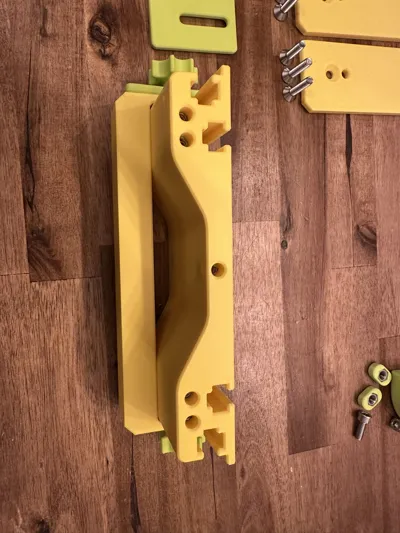
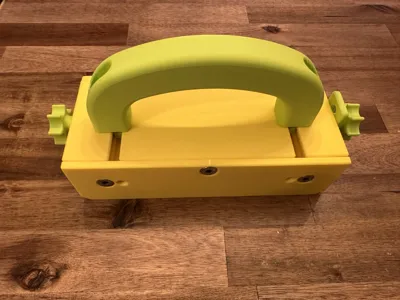
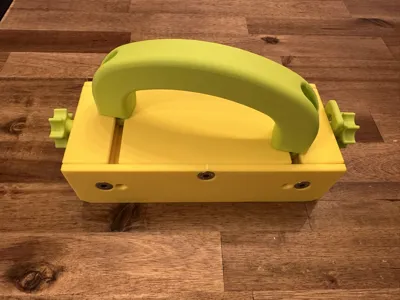
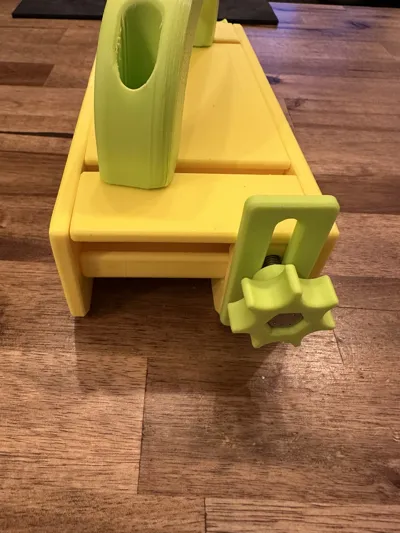
The handle can be moved variably (to any angle) in the T-slots.
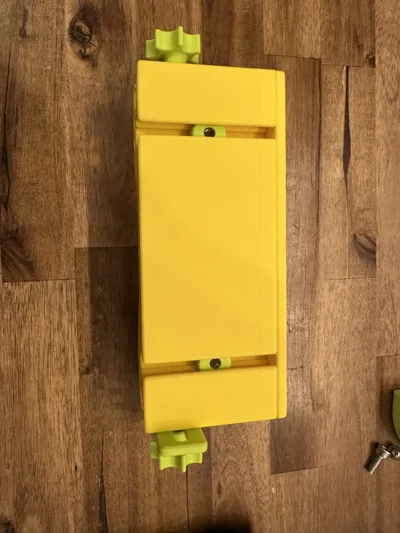
The center part can be moved variably (to the required position to get past the saw blade or cutter) in the T-slots.
The stop can be adjusted in height, according to the material thickness or raised so that it is not used.
Stops are available in 2 widths.
In addition, 2 additional nuts are provided on each side, so that an attachment part can be attached if necessary.
Additional parts required:
- 1x Hexagon head screw M6x30
- 1x Hexagon head screw M6x35
- 2x Cylinder head screw M6x16
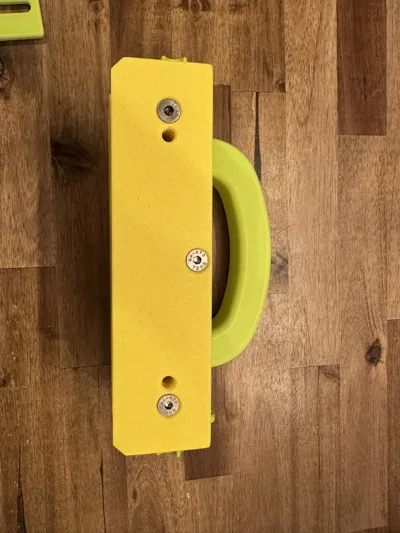
- 6x Countersunk screw M6x20
- 14x Nut M6
- Foam for the lower sliding area of the center & side parts
Assembly instructions:
- Insert nuts (10x) during printing
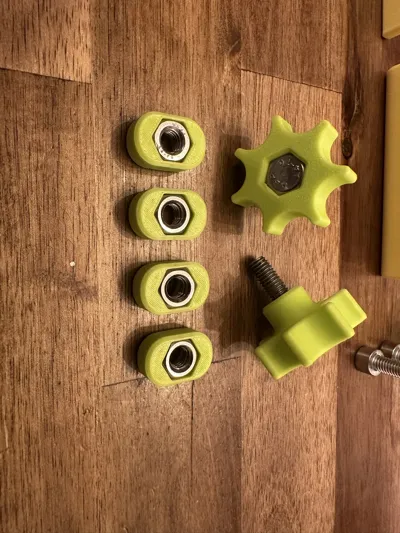
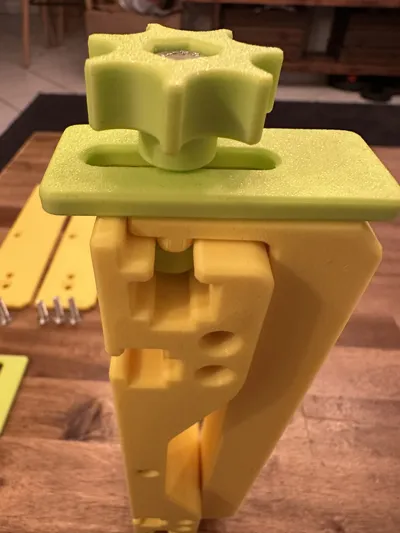
- Assemble star nuts (2x) with hexagon head screw M6x30 and M6x35 and T-nuts (4x) with nuts
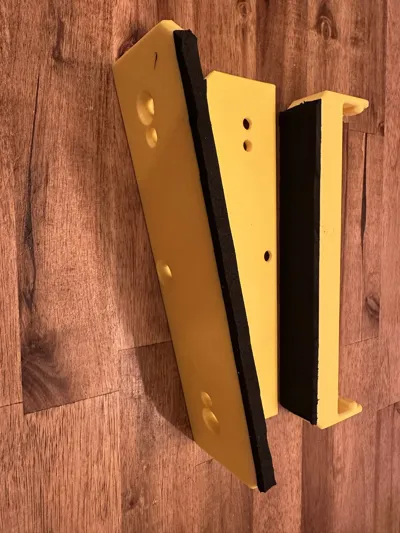
- Glue the side parts (2x) and the center part to the underside with foam
- Insert T-nuts (2x) into the T-slot of the main body on the right and left
- Slide in the center part and screw it into the T-nut on one side with a star nut (M6x30). Screw the star nut (M6x35) with stop into the T-nut on the opposite side.
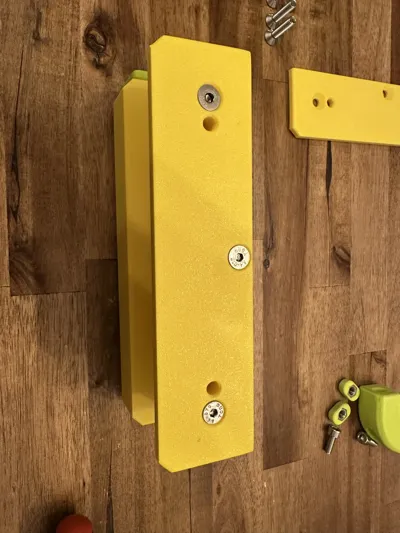
- Screw on the first side part with countersunk screws (3x)
- Insert the remaining two T-nuts into the upper T-slots
- Attach the handle and screw it into the T-nuts with a cylinder head screw (2x)
Screw in the second side part with countersunk screws (3x)
License
You shall not share, sub-license, sell, rent, host, transfer, or distribute in any way the digital or 3D printed versions of this object, nor any other derivative work of this object in its digital or physical format (including - but not limited to - remixes of this object, and hosting on other digital platforms). The objects may not be used without permission in any way whatsoever in which you charge money, or collect fees.
Comment & Rating (83)