
Tabletop overhead shooting rig
Print Profile(1)

Bill of Materials



Description
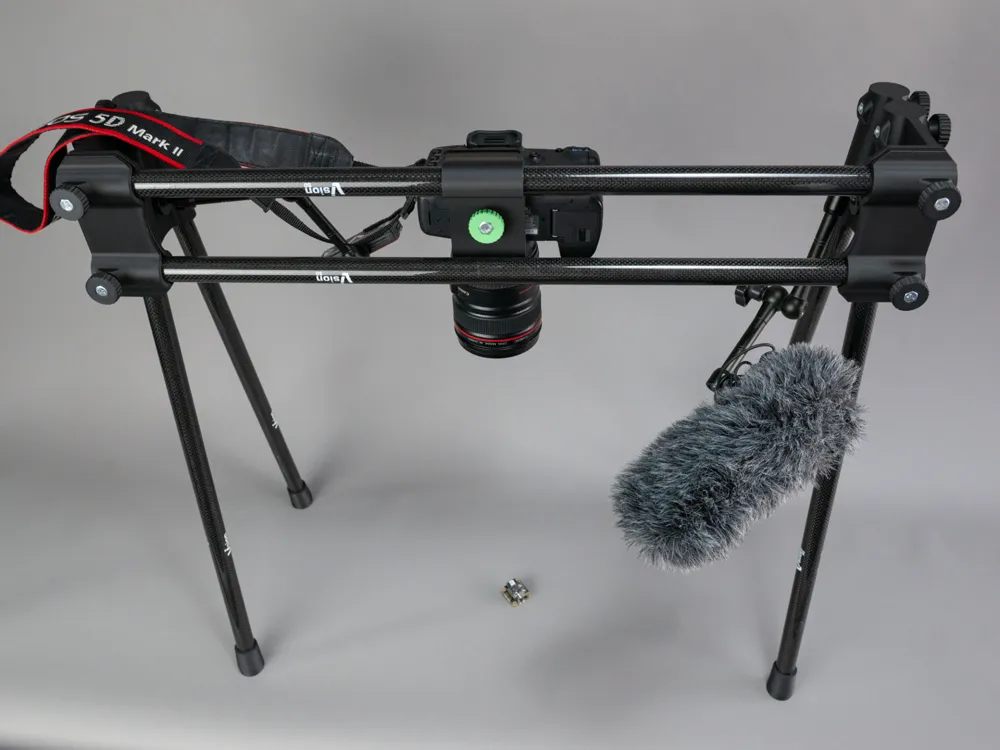
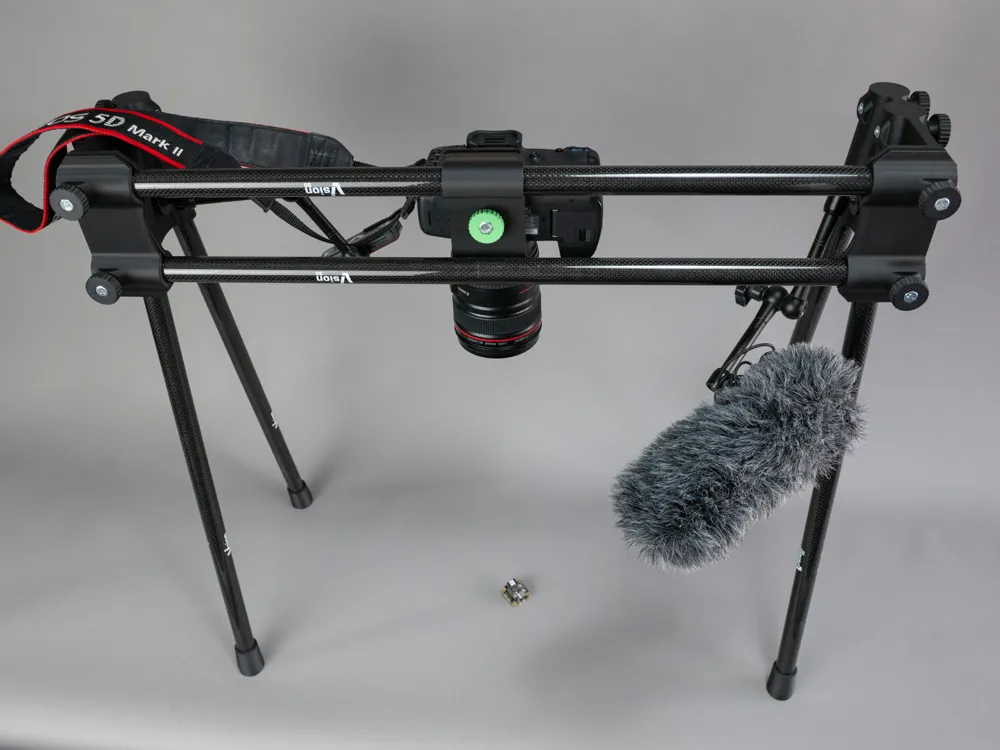
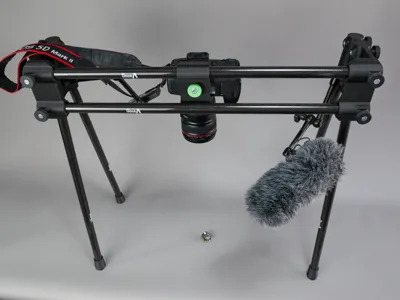
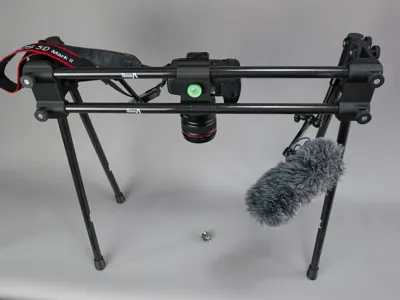
This is a camera rig for making top down shots, often with your hands in them, maybe showing how something are made or explaining something on paper or similar.
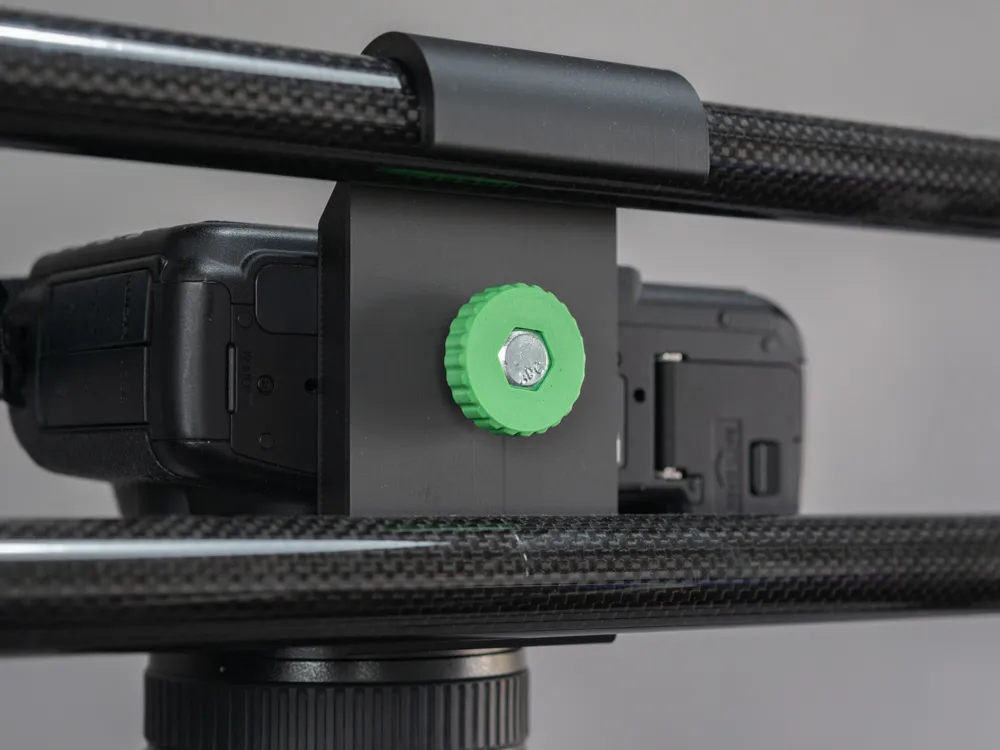
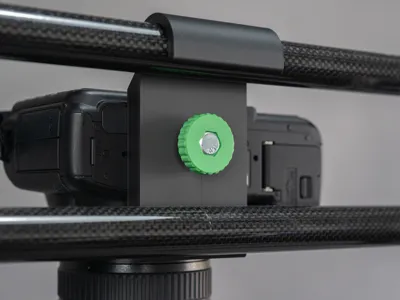
This rig is designed to have the camera sitting with the bottom facing the front, making the post processing of photos or video easier and due to the gravity based holder for the camera itself, it's easy to take the camera off for a quick b-roll shot or to check exposure and other settings.
The top down style of shot is useful in bringing in the viewer to have a view that is very close to how it would be if you was actually there, often closing in on the subject and this rig have enough space to work in most cases, but it's still small enough to fit on most tables.
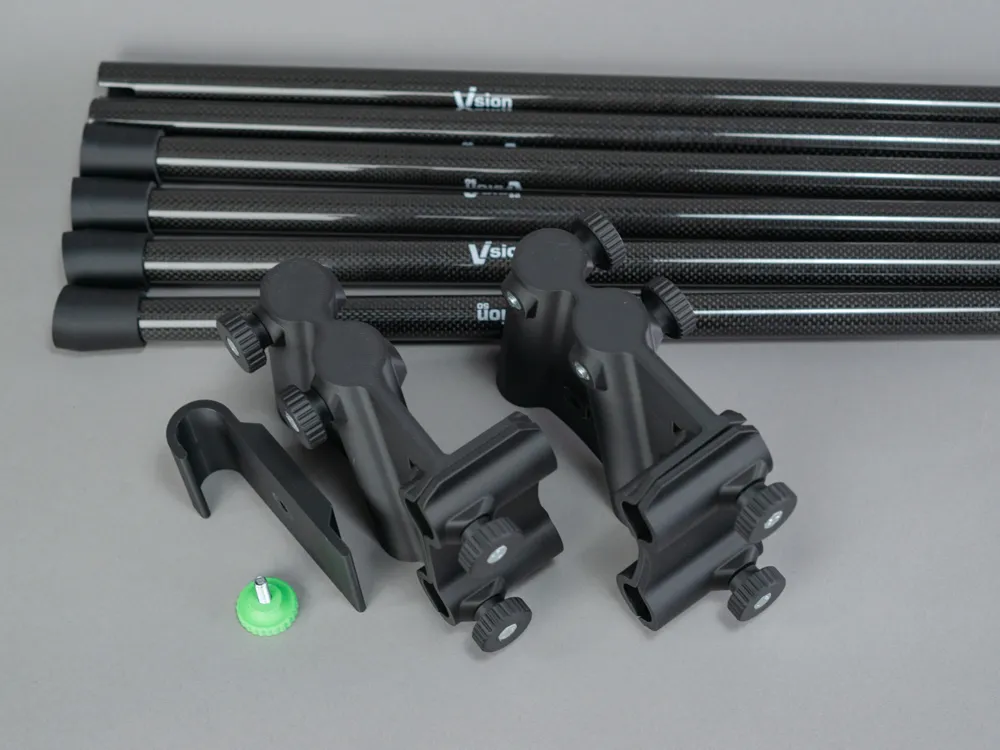
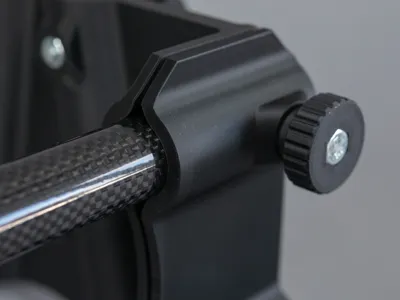
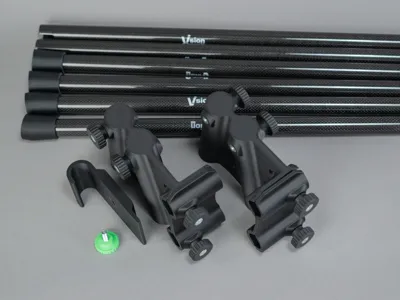
I have used carbon fiber tailbooms from model helicopters, but besides the light weight and rigidity, it's not critical and aluminium tubes could also be used, I just had these laying around.
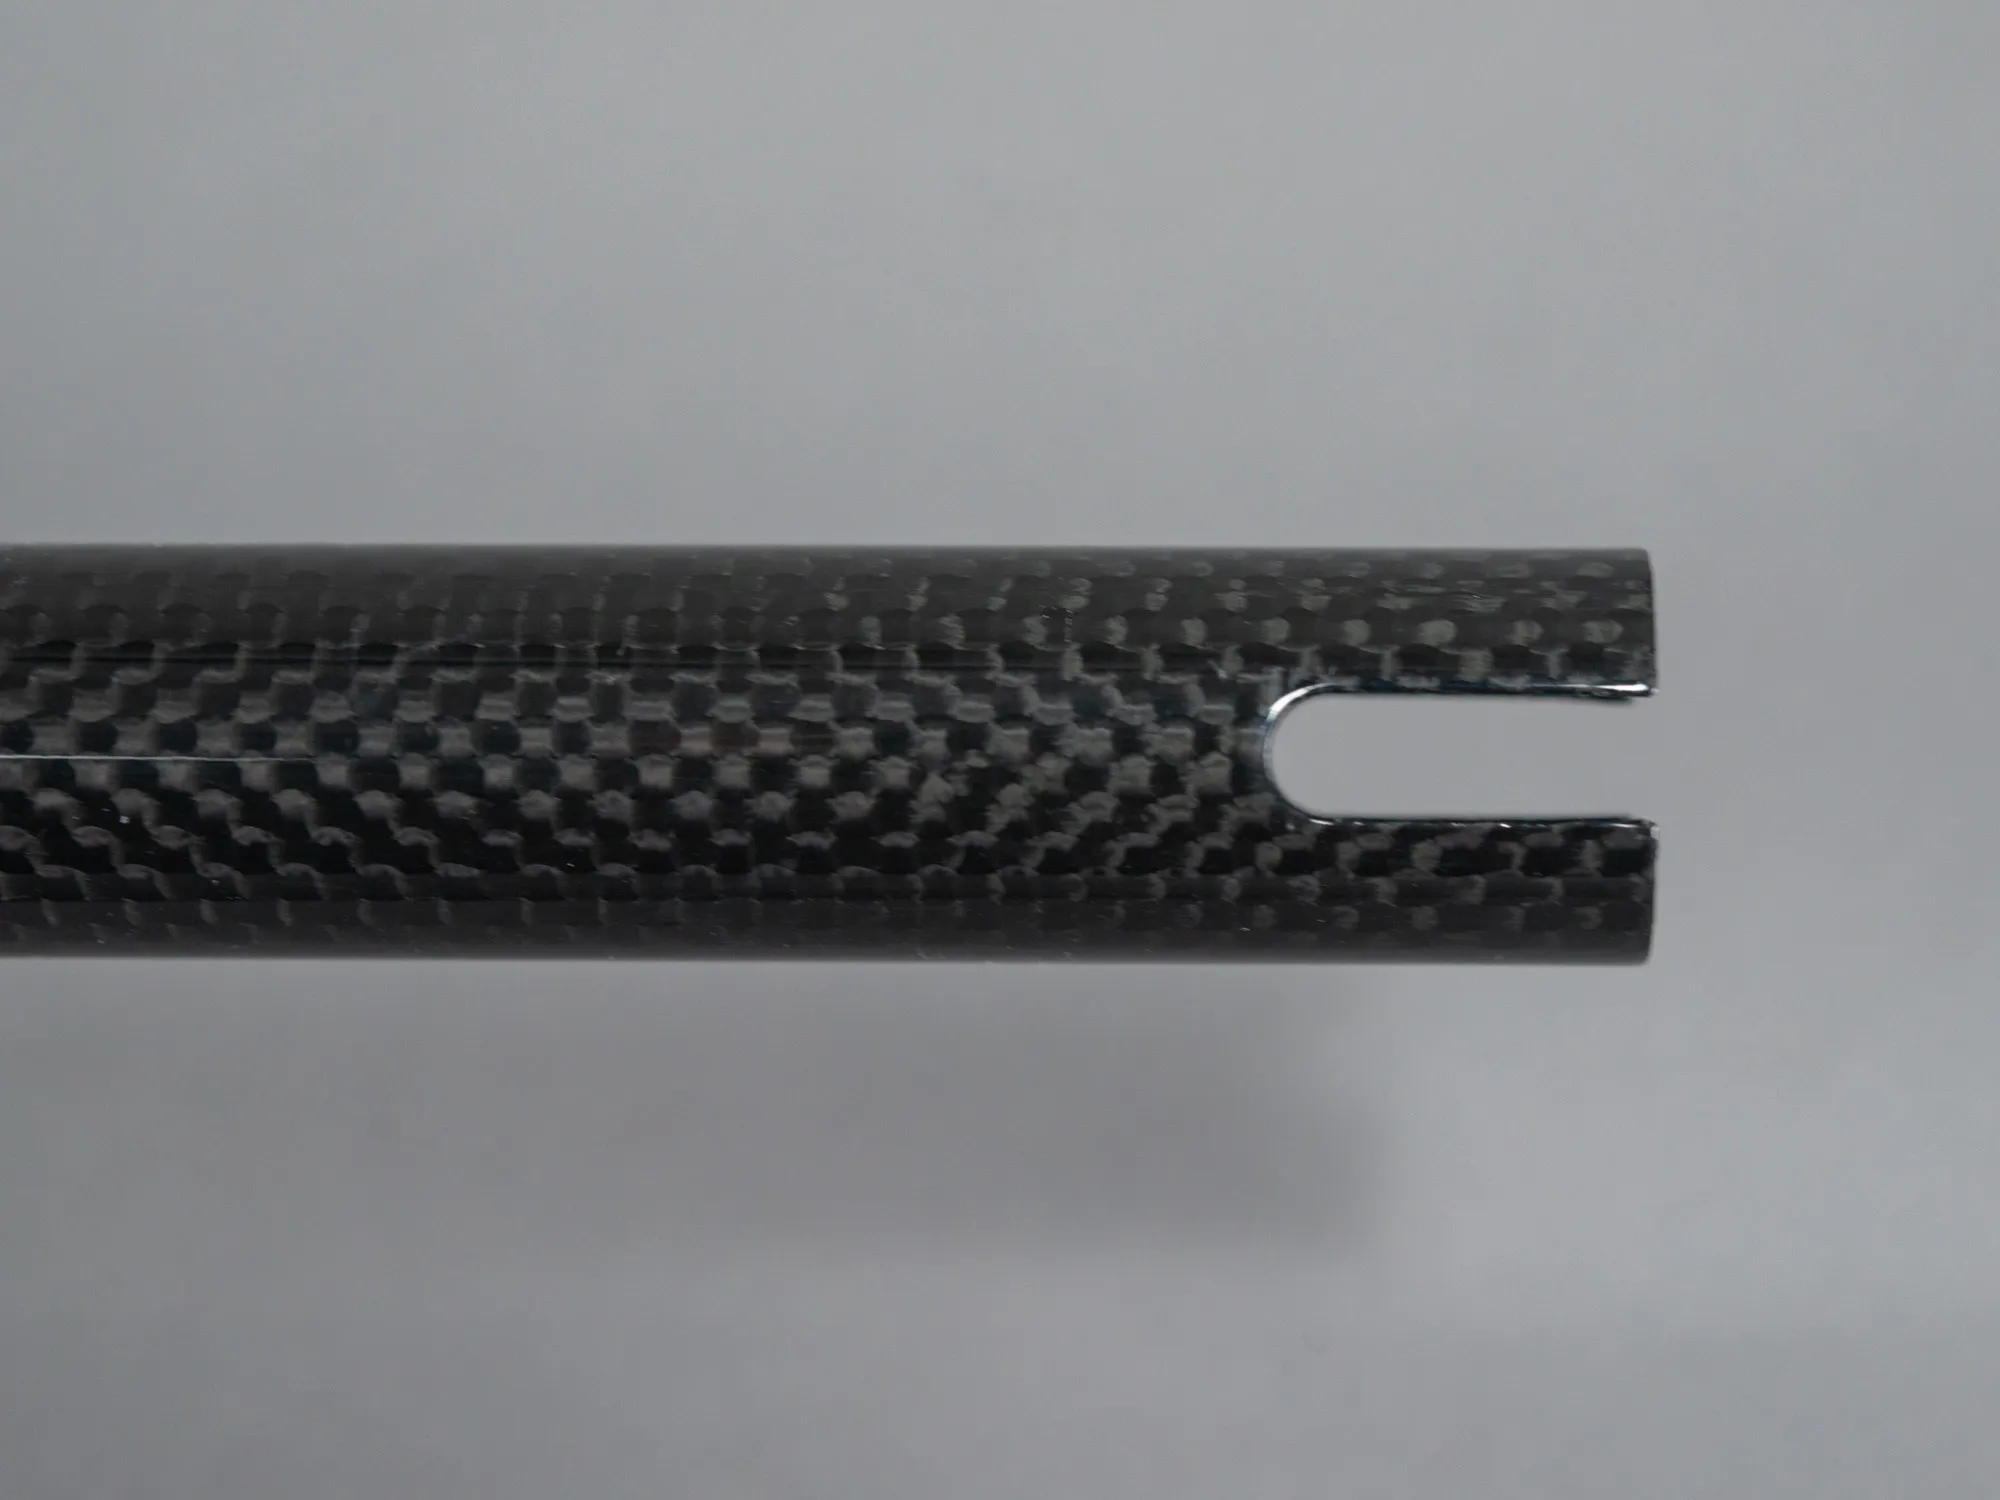
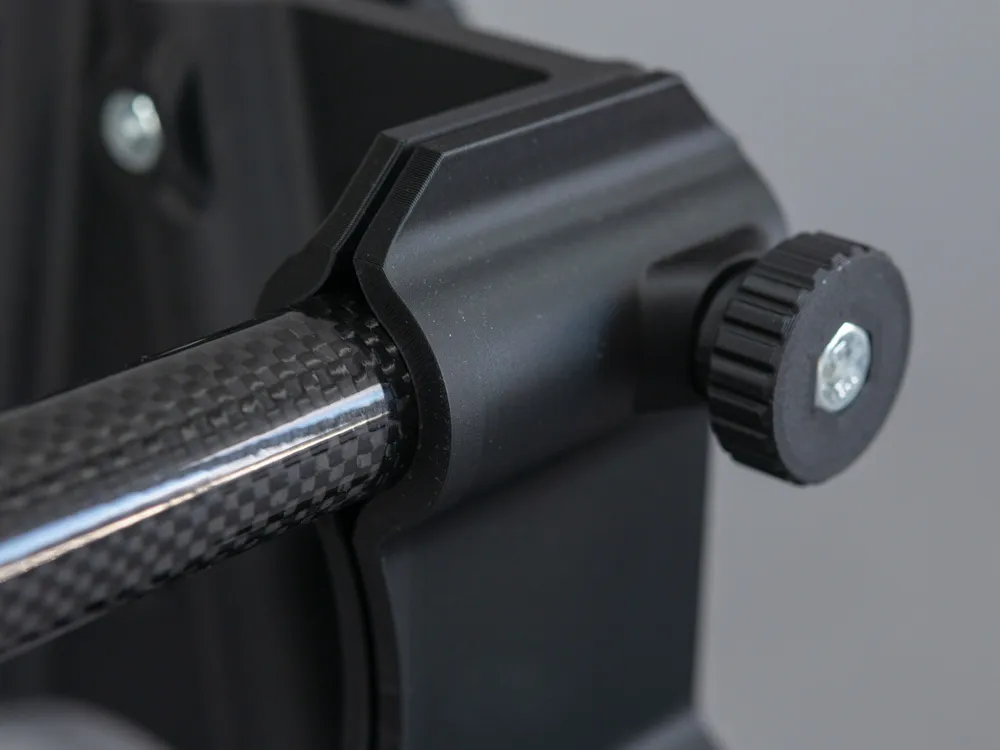
The outer diameter is 22mm and the inner diameter is actually not critical, but the holes and cutouts in the ends are used to secure the parts and help align them properly.
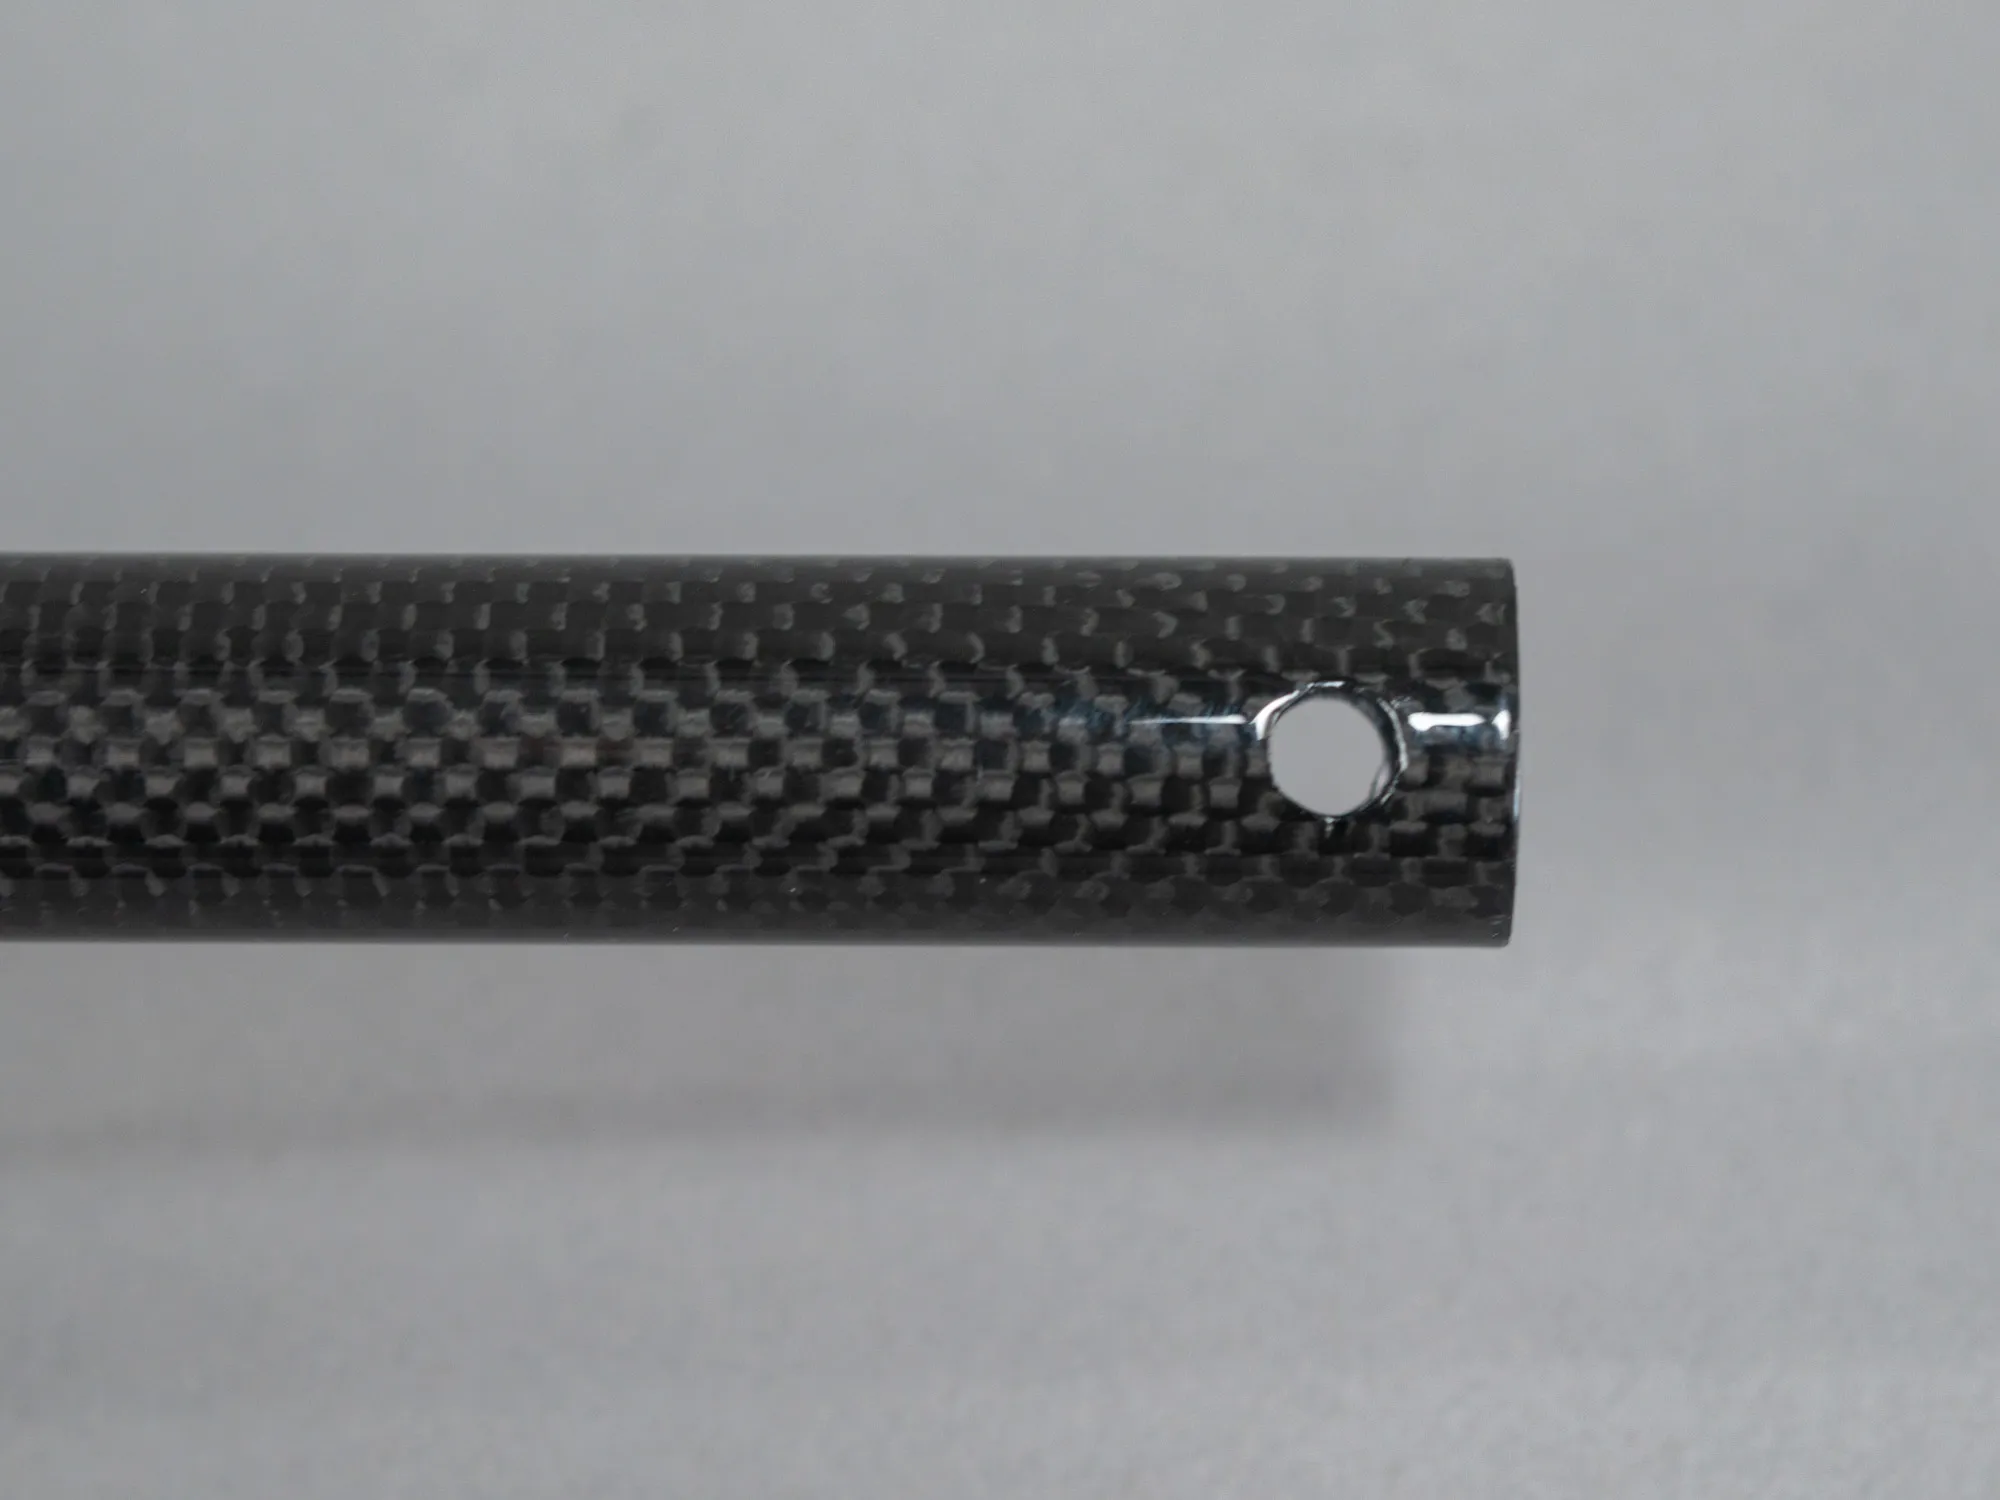
For the 4 legs, there need to be a hole in one end and a slot in the other, and for the two horizontal bars, it could either be the same, or the same in both ends, doesn't really matter, but in all cases, the holes and slots should be aligned.
The slot needs to be 20mm deep and about 6mm wide and the hole should similarly be about 6mm in diameter and with a center 10mm from the end.
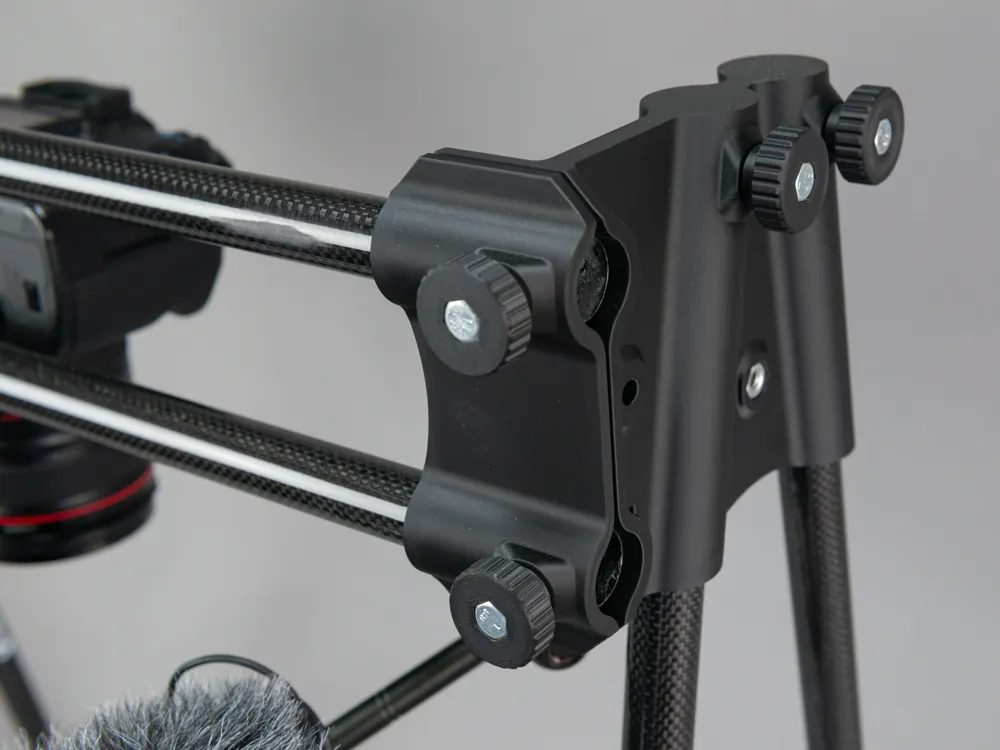
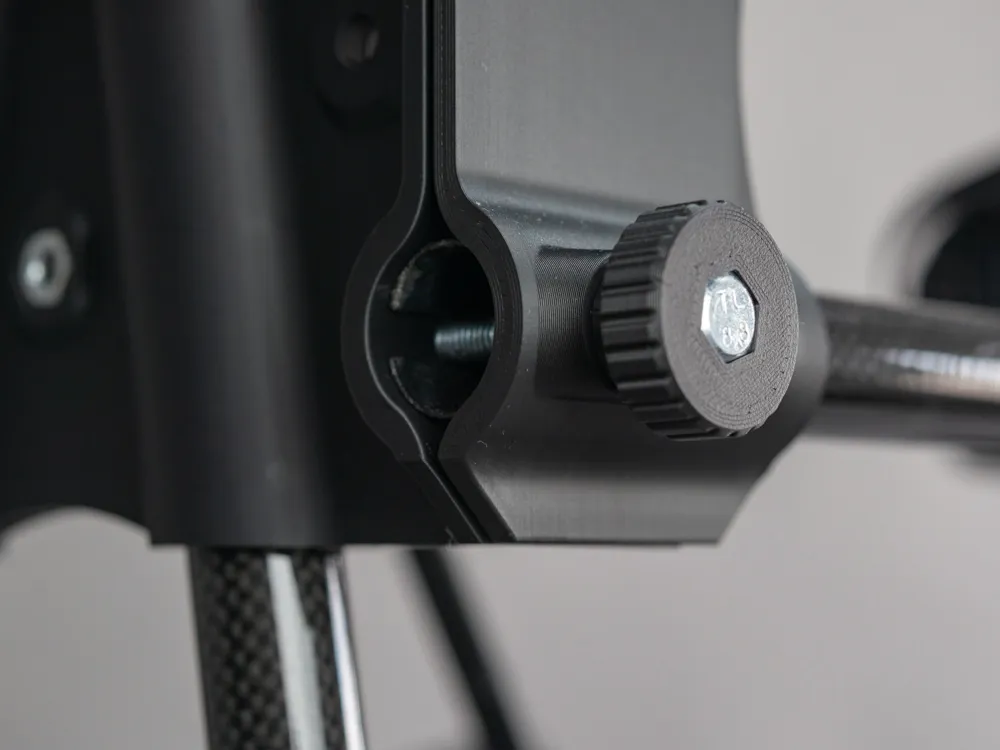
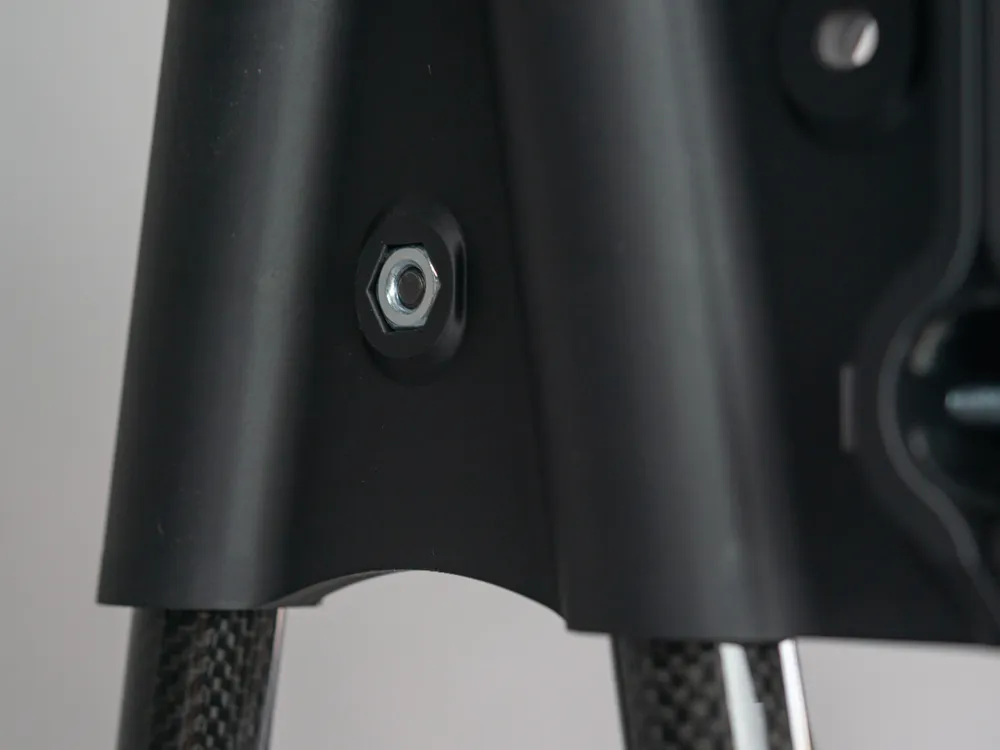
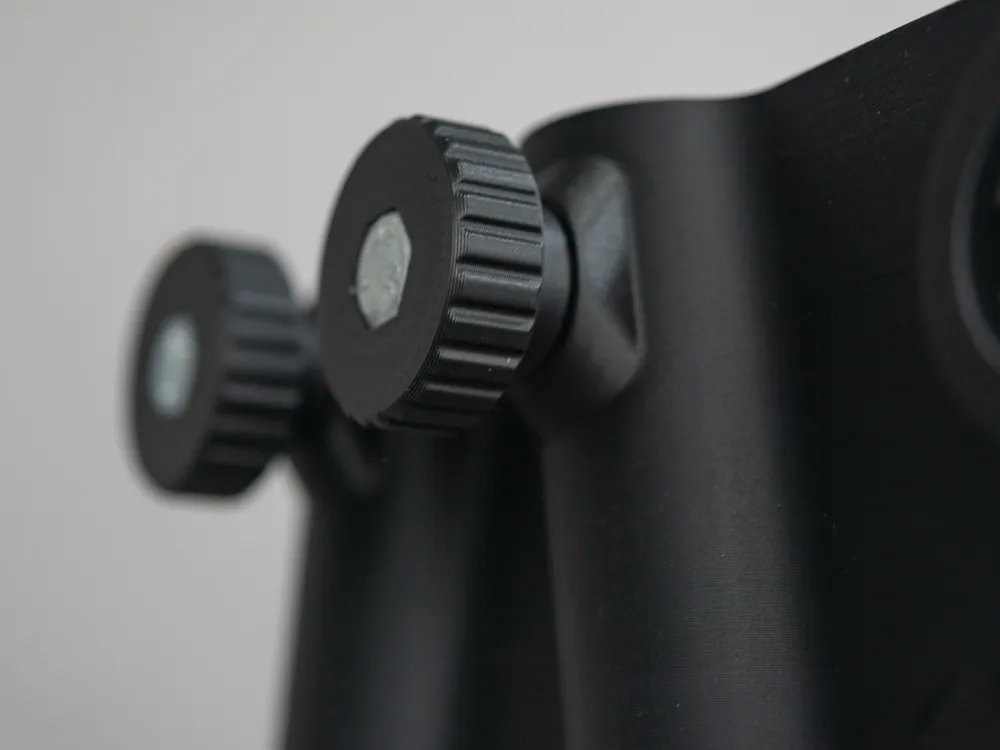
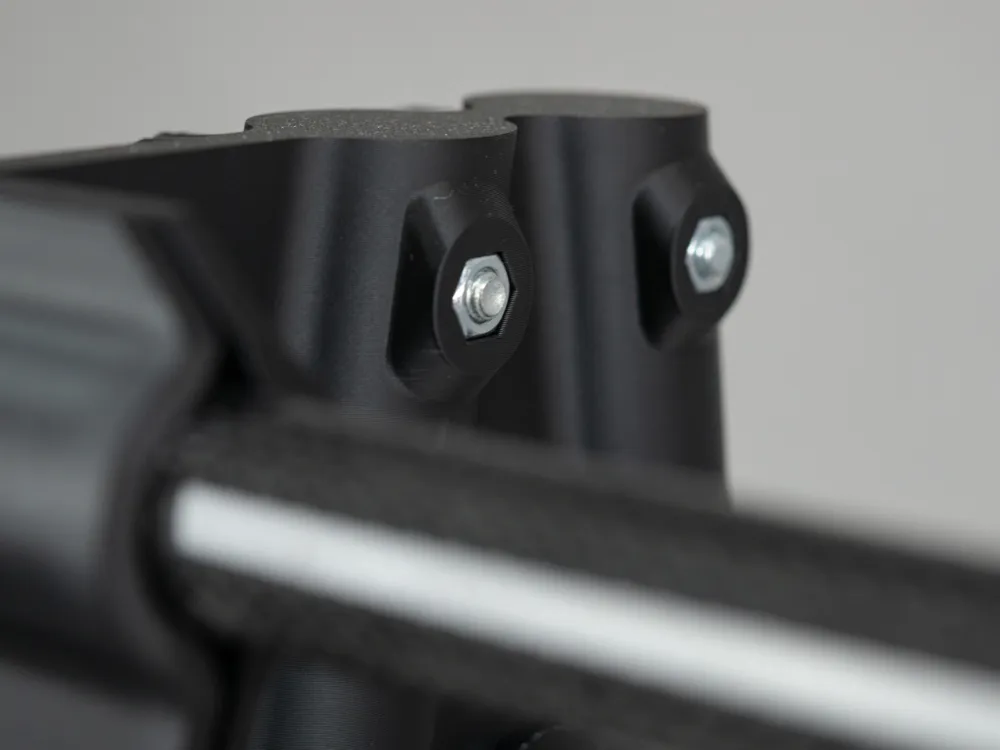
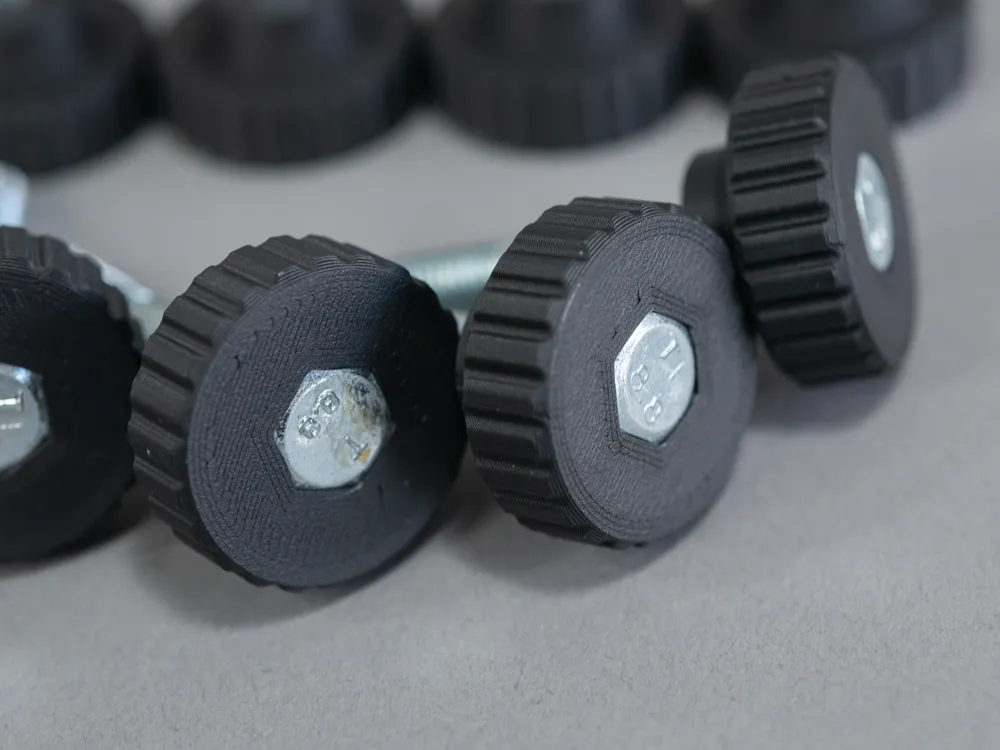
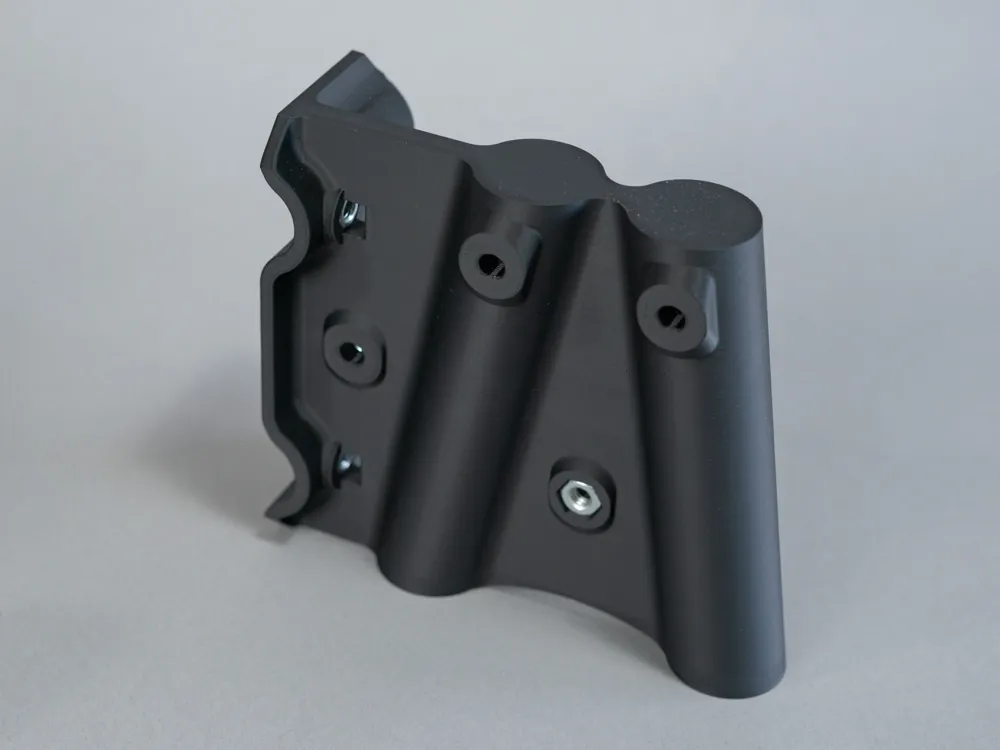
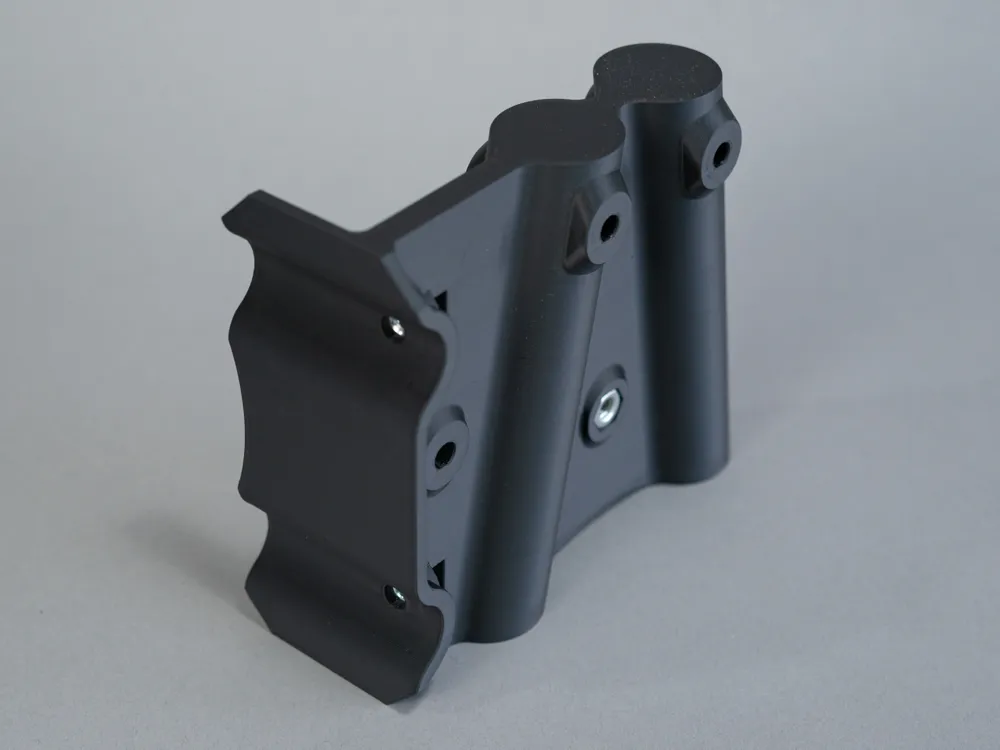
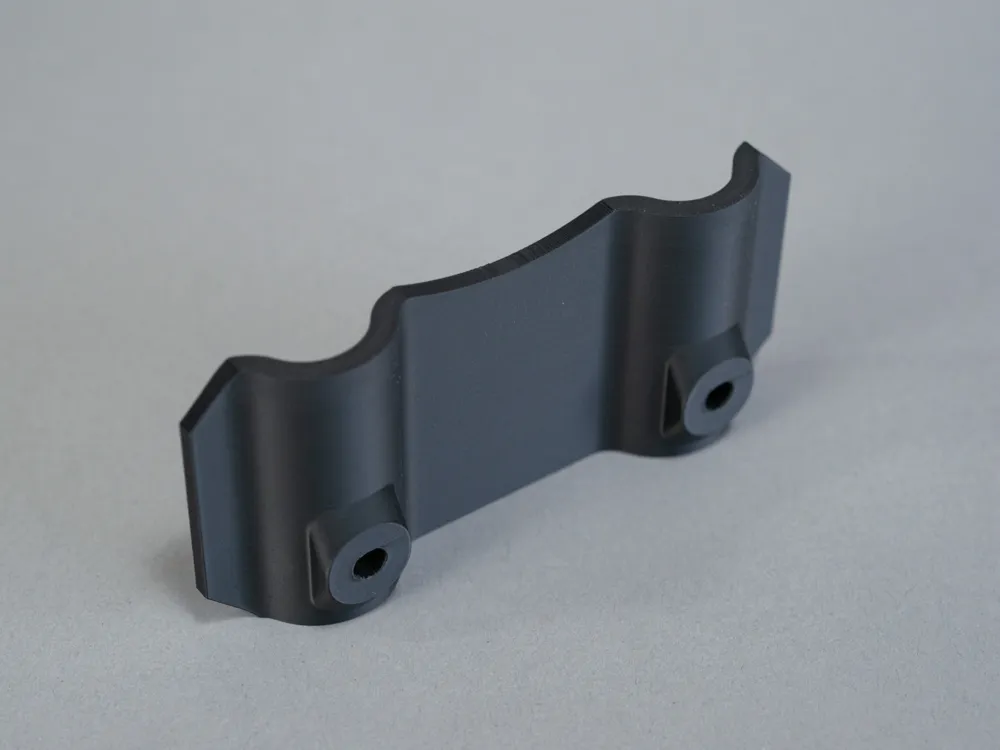
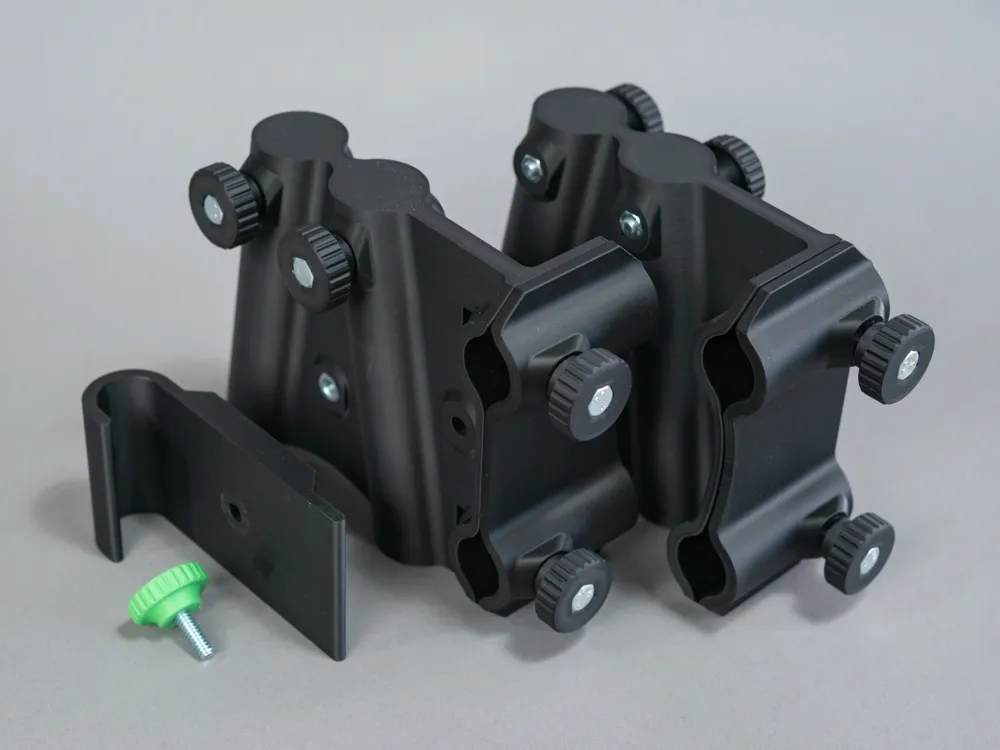
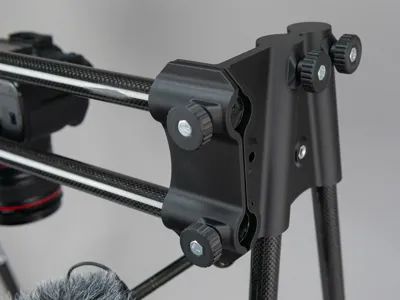
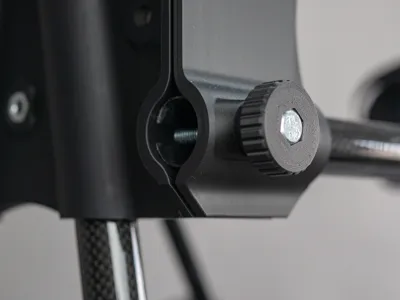
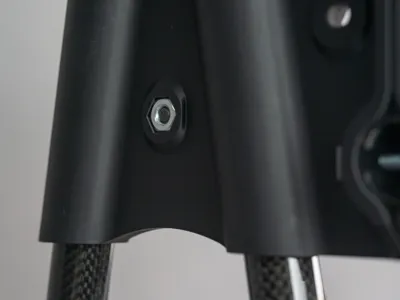
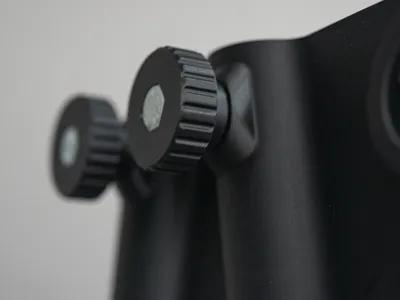
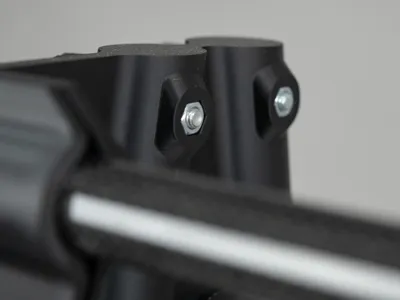
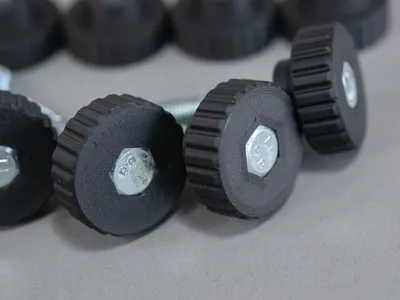
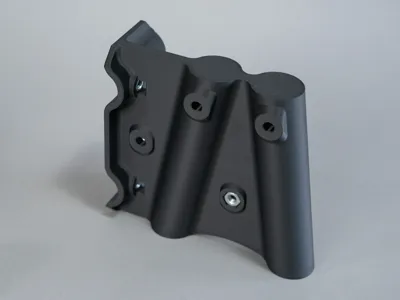
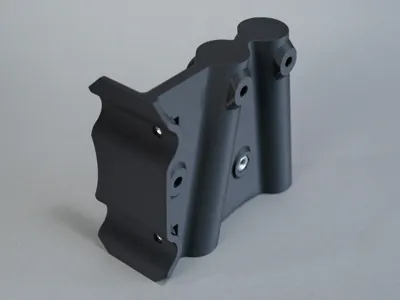
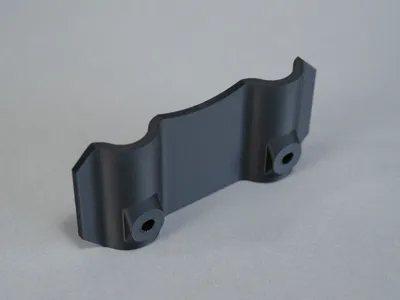
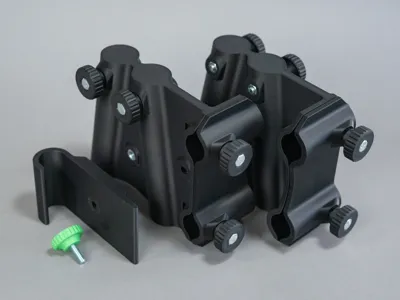
Both the legs and the horizontal tubes are secured using finger screws made out of M6 x 50mm hex head bolts, that are press fit into the 3D printed finger screws and screwed into M6 nuts, similarly pressed into the larger 3D printed parts.
A trick to get the nuts in place for the horizontal bars is to use on of the finger screws and thread it into the nut after sliding it into the opening, and then using the finger screw to pull it into place. The cutouts are just big enough and the nuts should slide in without too much force and stay in place.
Due to the finger screws, the whole thing can be assembled and taken apart without tools, and packs down for storrage.
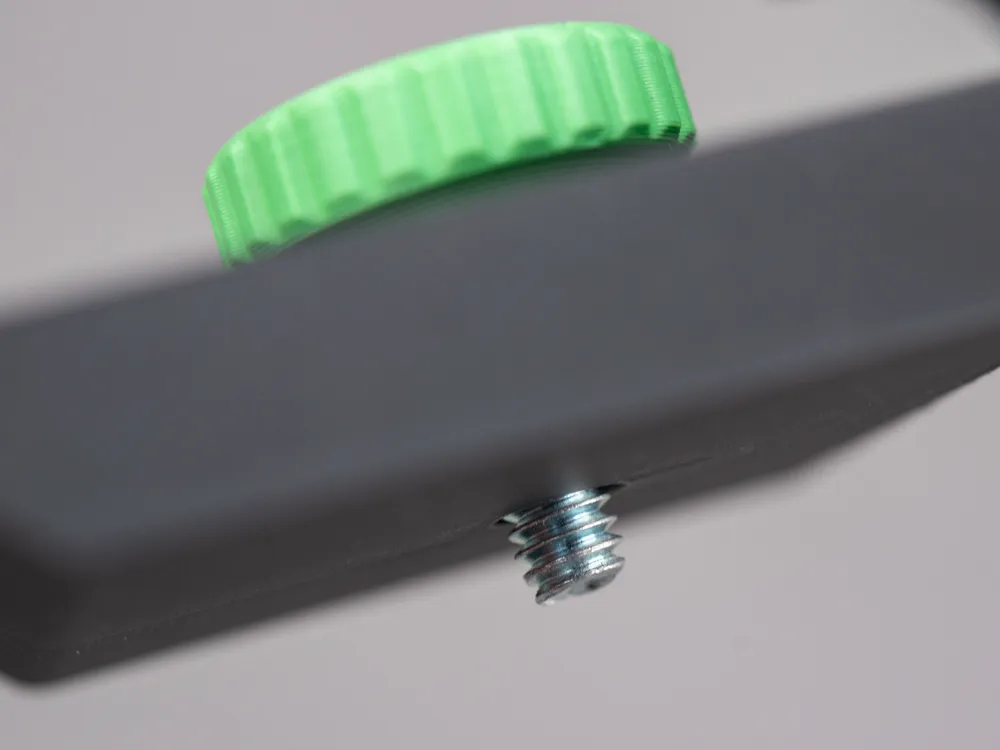
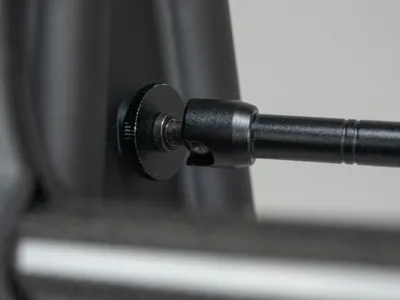
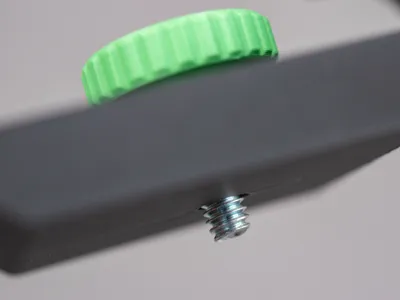
I decided to print the finger screw for the 1/4 inch bolt in a different color, to help not mix it up with the M6 ones. This bolt is 1" long to match with the mounting point of most cameras.
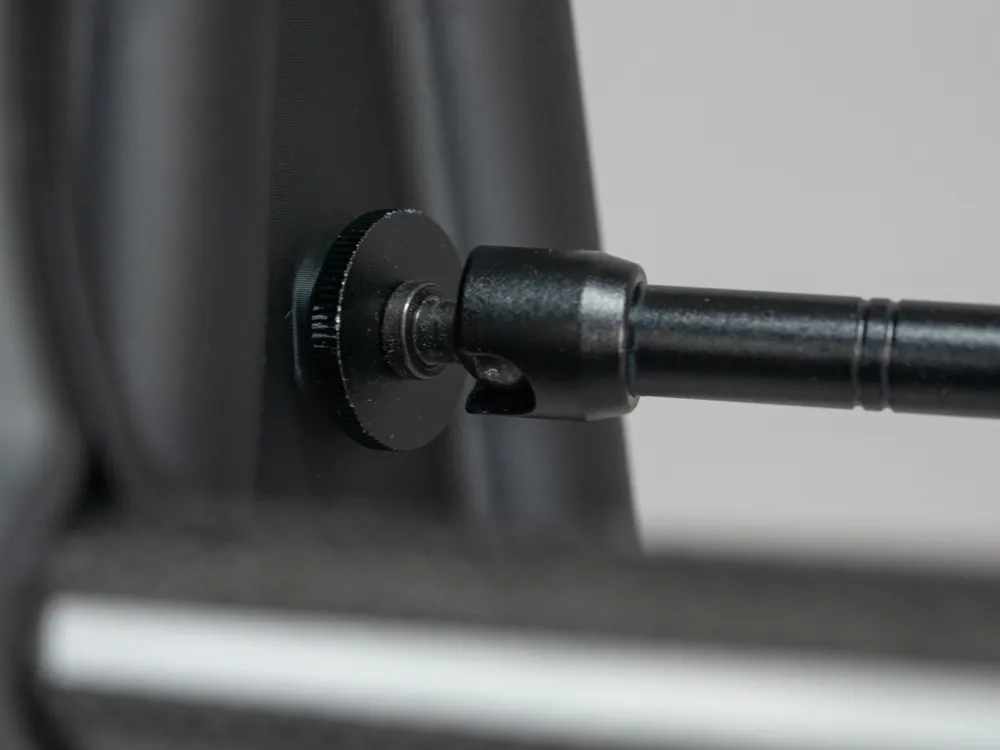
In addition to supporting a camera, there are two ¼ inch mounting points on each side, to help mount accessories like lights, microphones, monitors, etc. like shown on the main photo.
The customizer can be used to tweak the diameter of the tubes, as long as it's just smaller tweaks, it's not designed to use tubes that deviate too much and the design keeps the outer dimensions to still use the same size of fasteners. This is just meant to help if 22mm tubes are difficult to source, or you happen to have some 20mm tubes laying around.
The exact length og the tubes are also not critical, but the 4 legs should be the same length and the horizontal ones should probably not be longer than about 800 mm, as the torsion forces of a heavy camera might cause it to bend too much, but if you are using a smaller camera, even 1m long tubes would be OK.
License



Comment & Rating (15)