
Aliz Color Card Magnetic Dustproof Storage Box
Print Profile(3)


Description
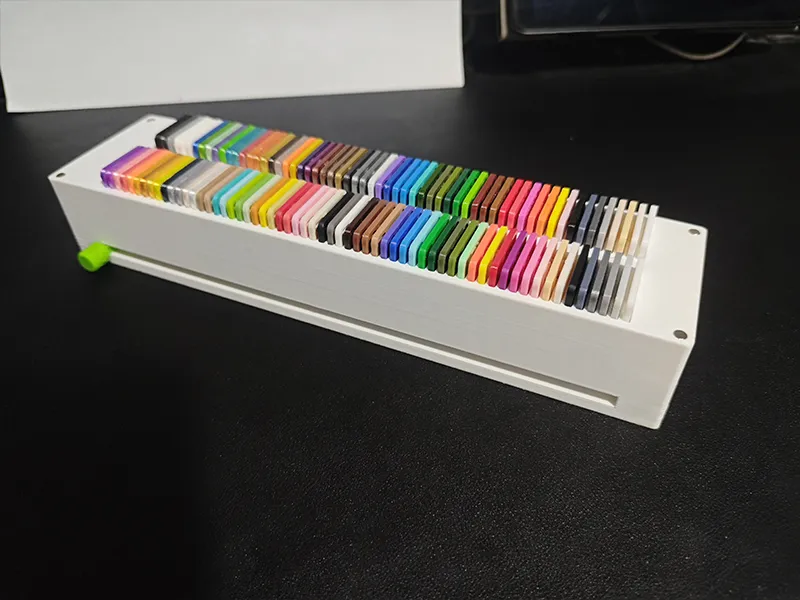
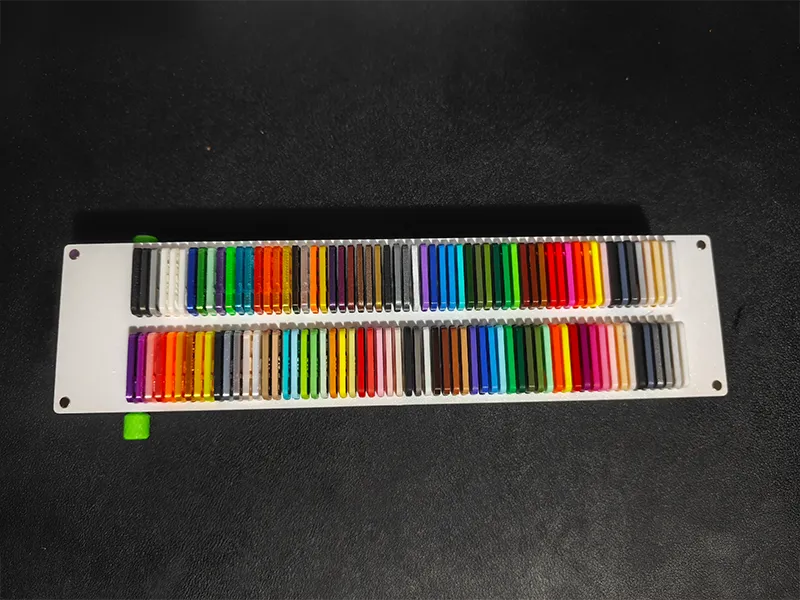
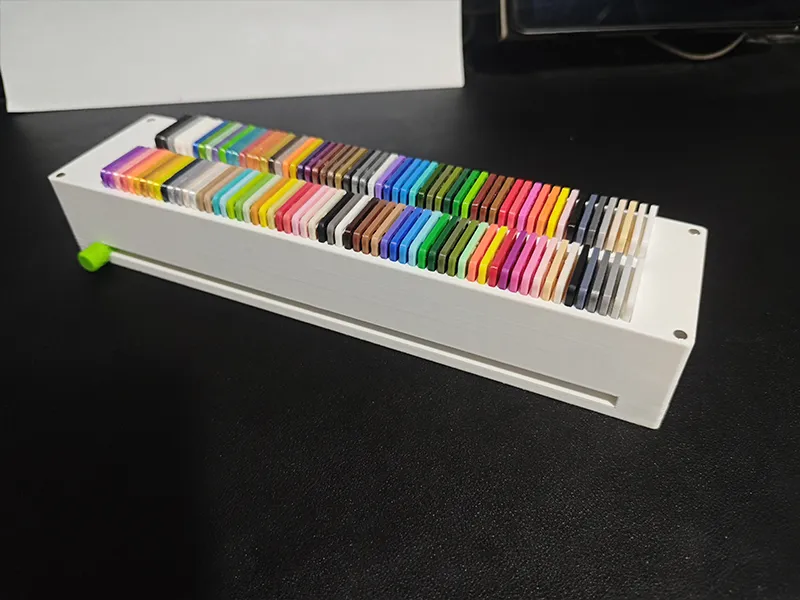
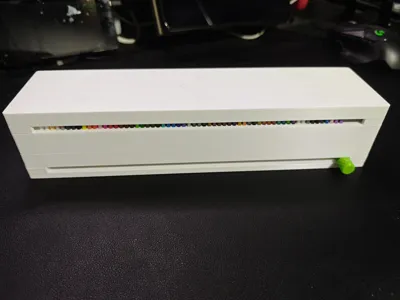
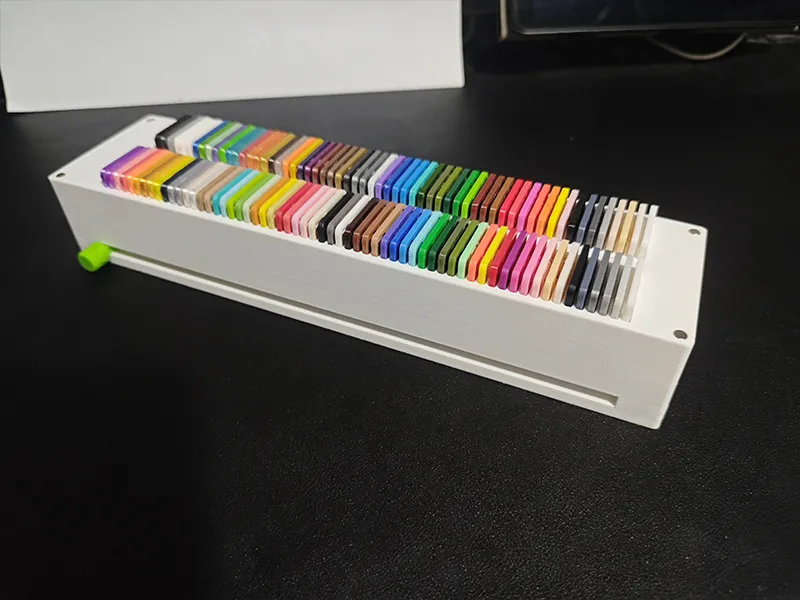
Having consistently used Aliz filaments, whose official color swatch collection boasts over 120 shades, I found existing online swatch cases inadequate. This design, inspired by other storage solutions, addresses this need.
Aliz swatch dimensions: 34.85*24.95*2.15 mm (Manually measured; minor discrepancies may exist)
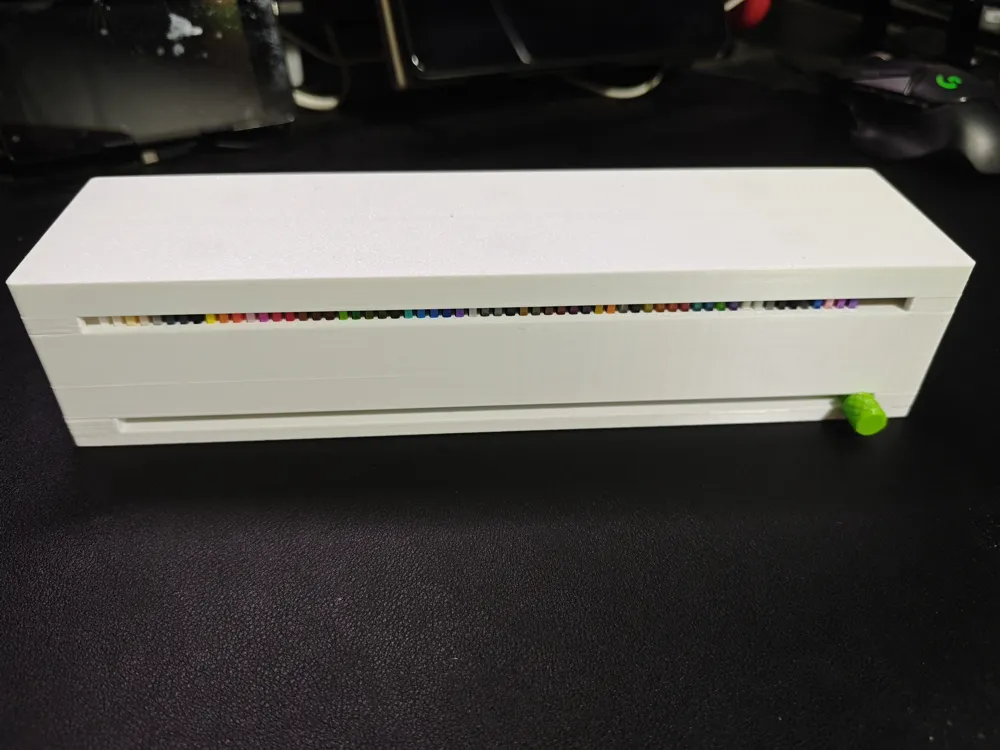
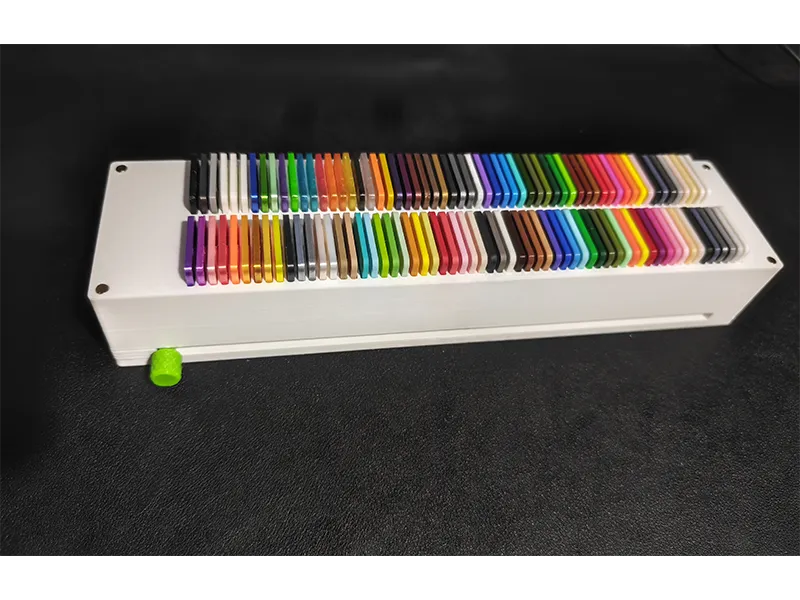
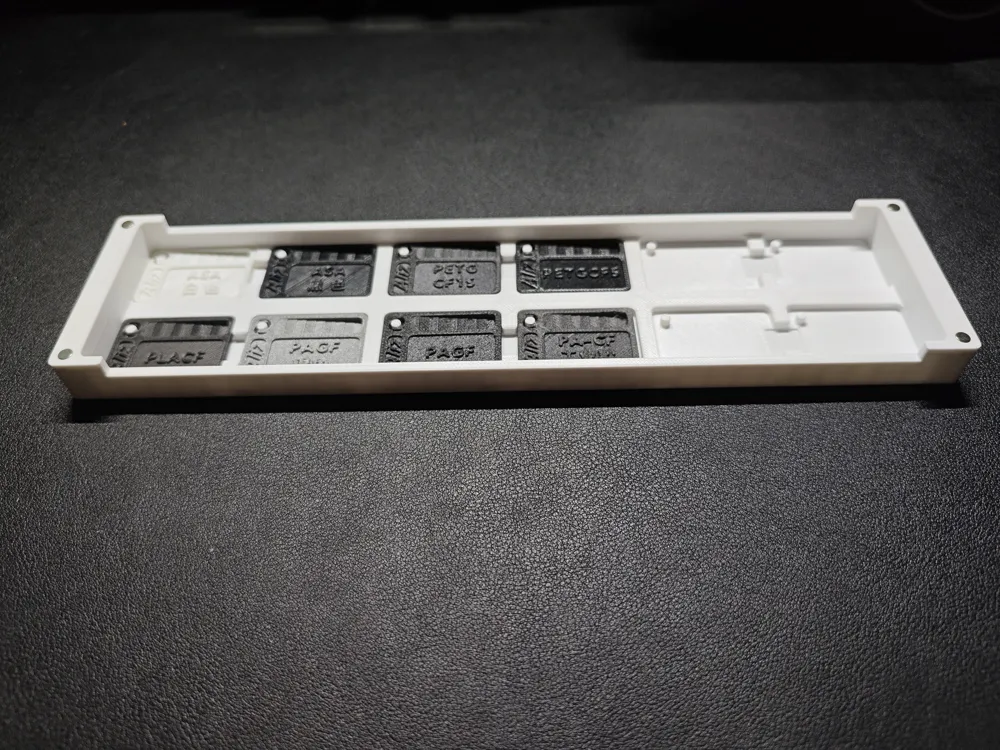
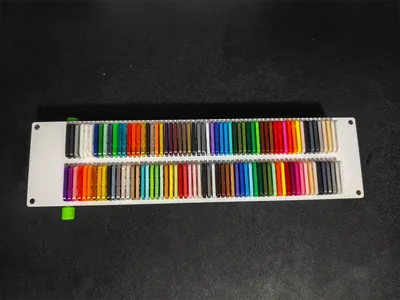
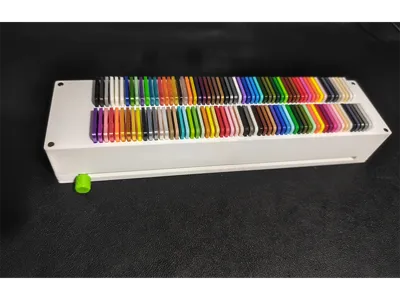
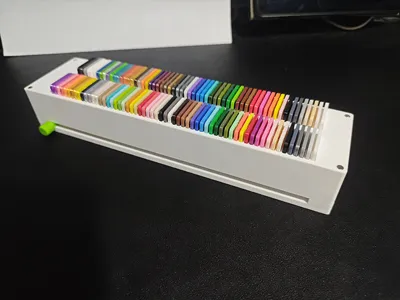
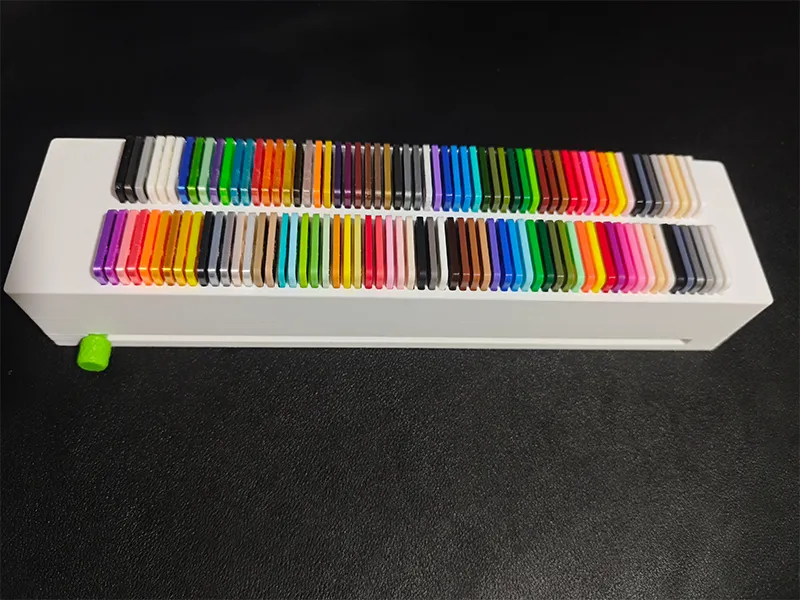
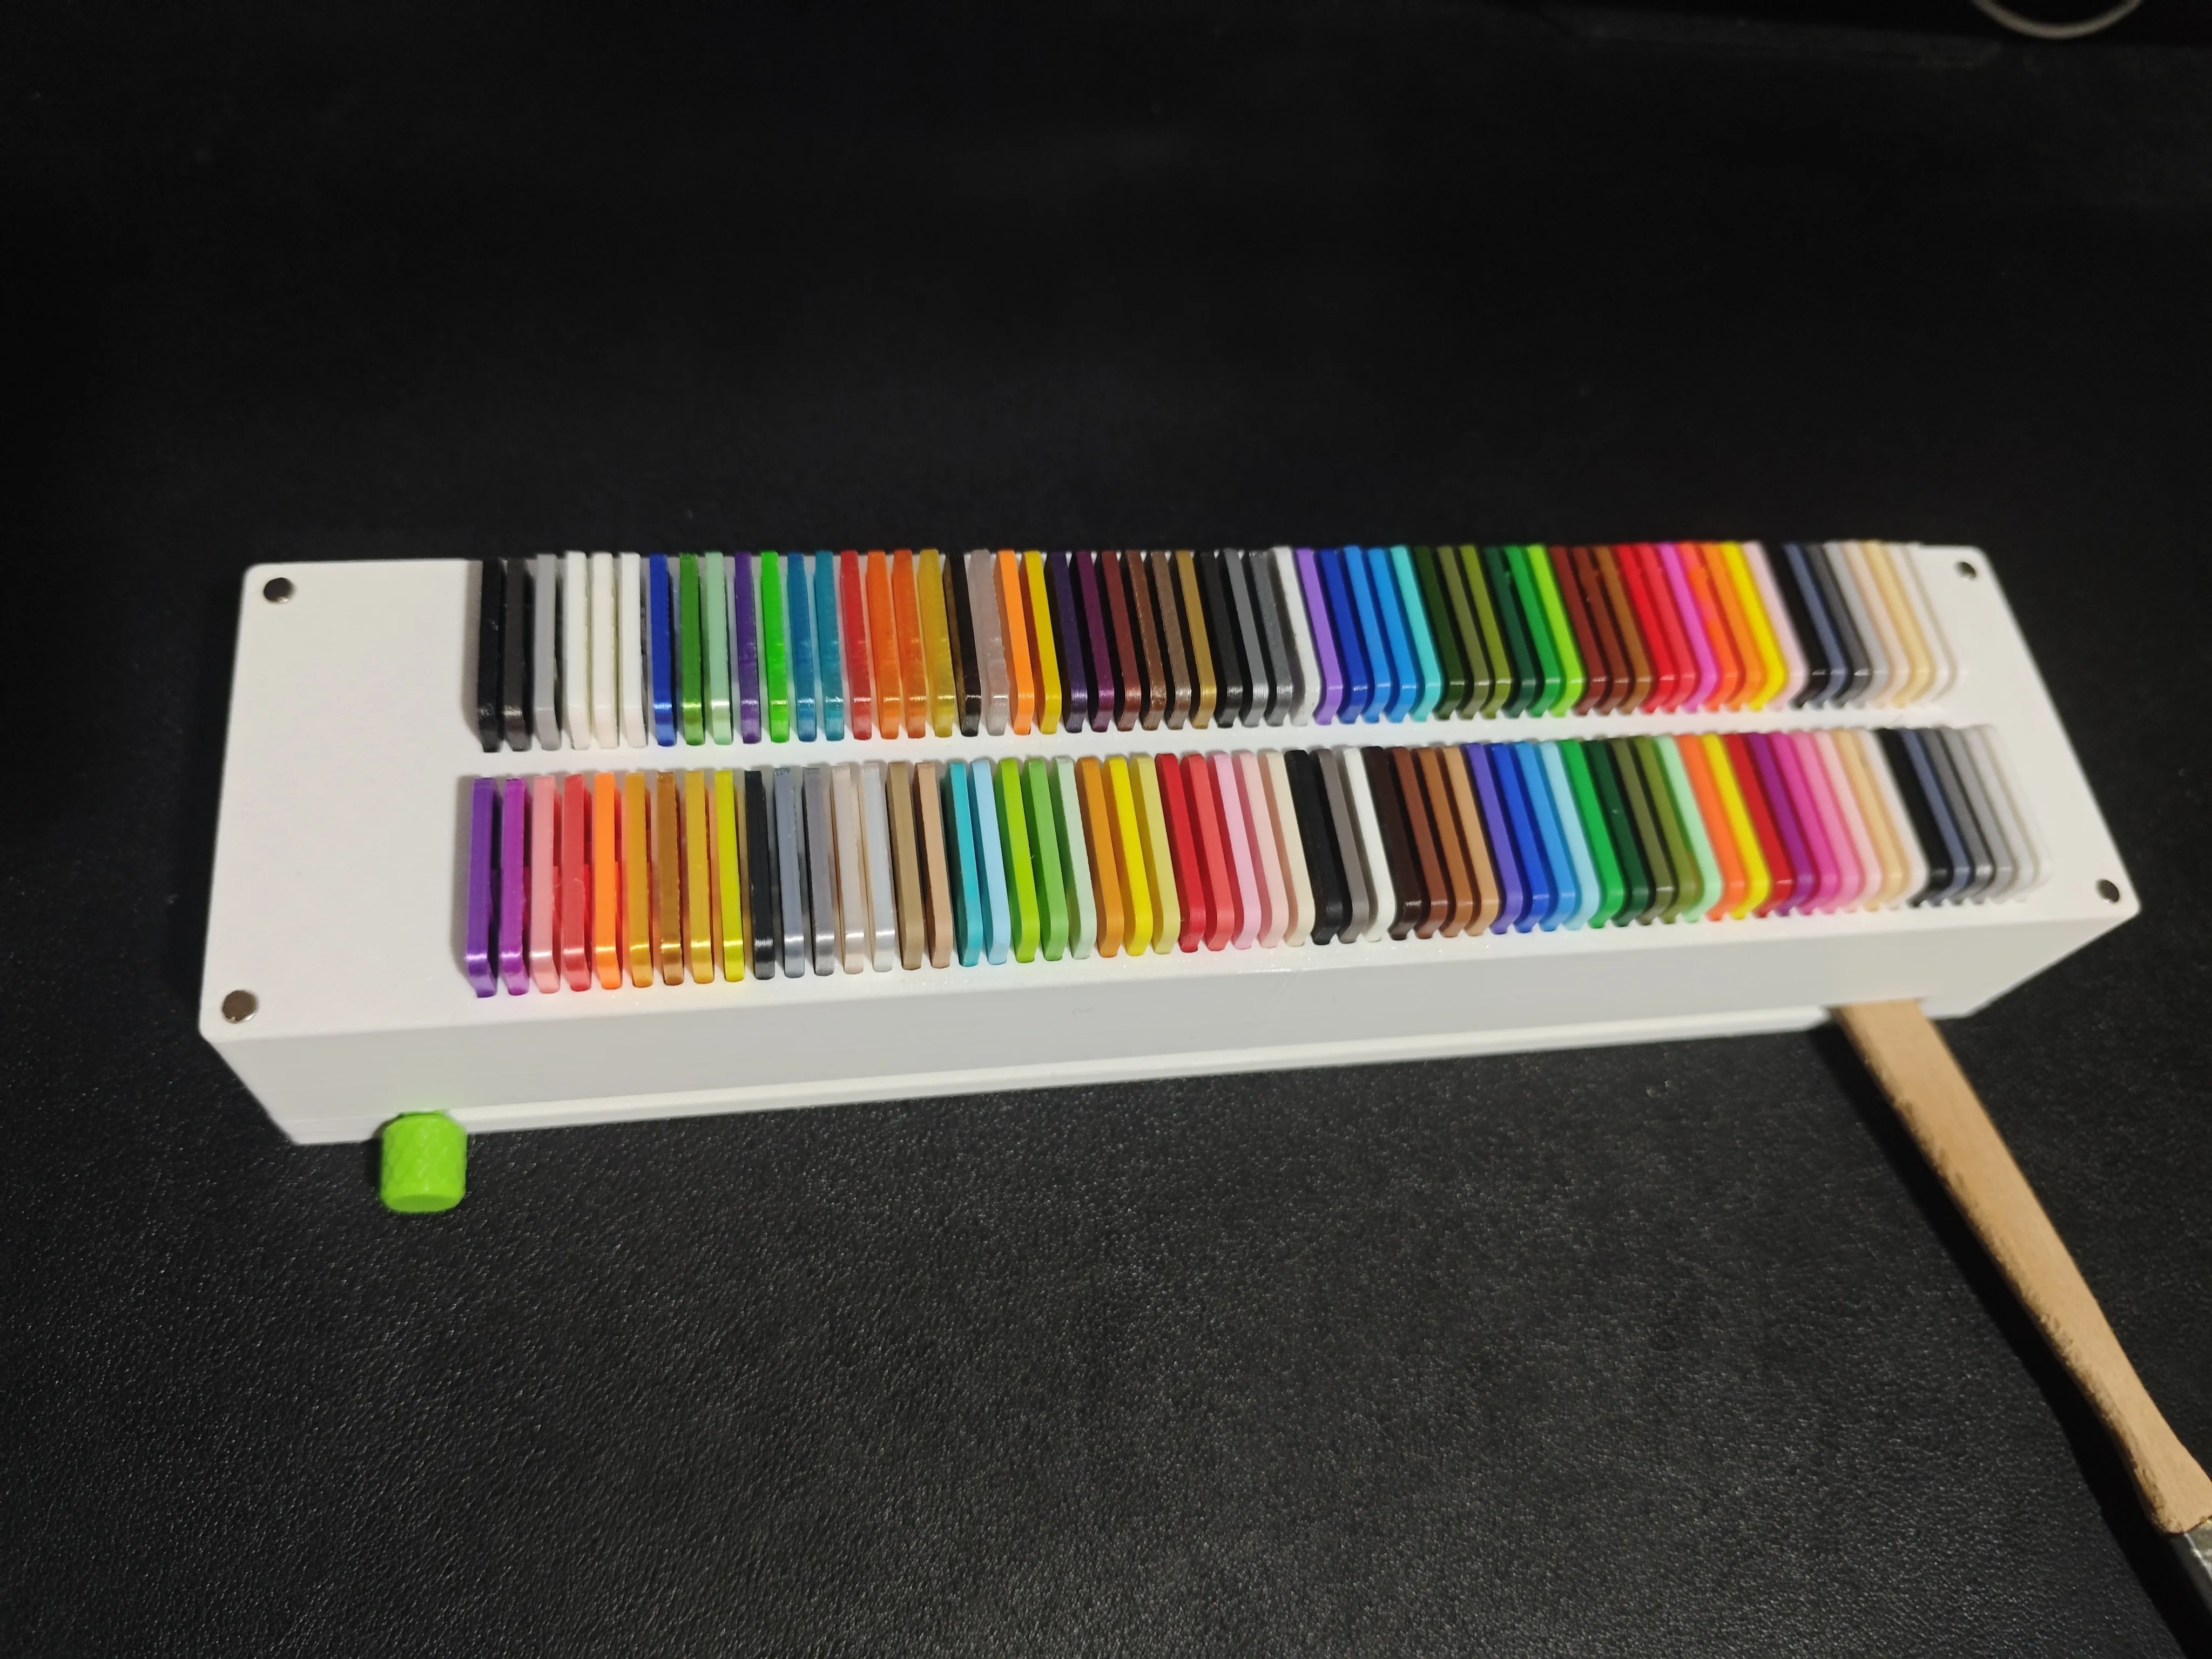
The main case accommodates 120 slots; an additional 12 are provided on the dust cover, yielding a total of 132 slots.
Due to dimensional constraints, this design is incompatible with the A1 mini.
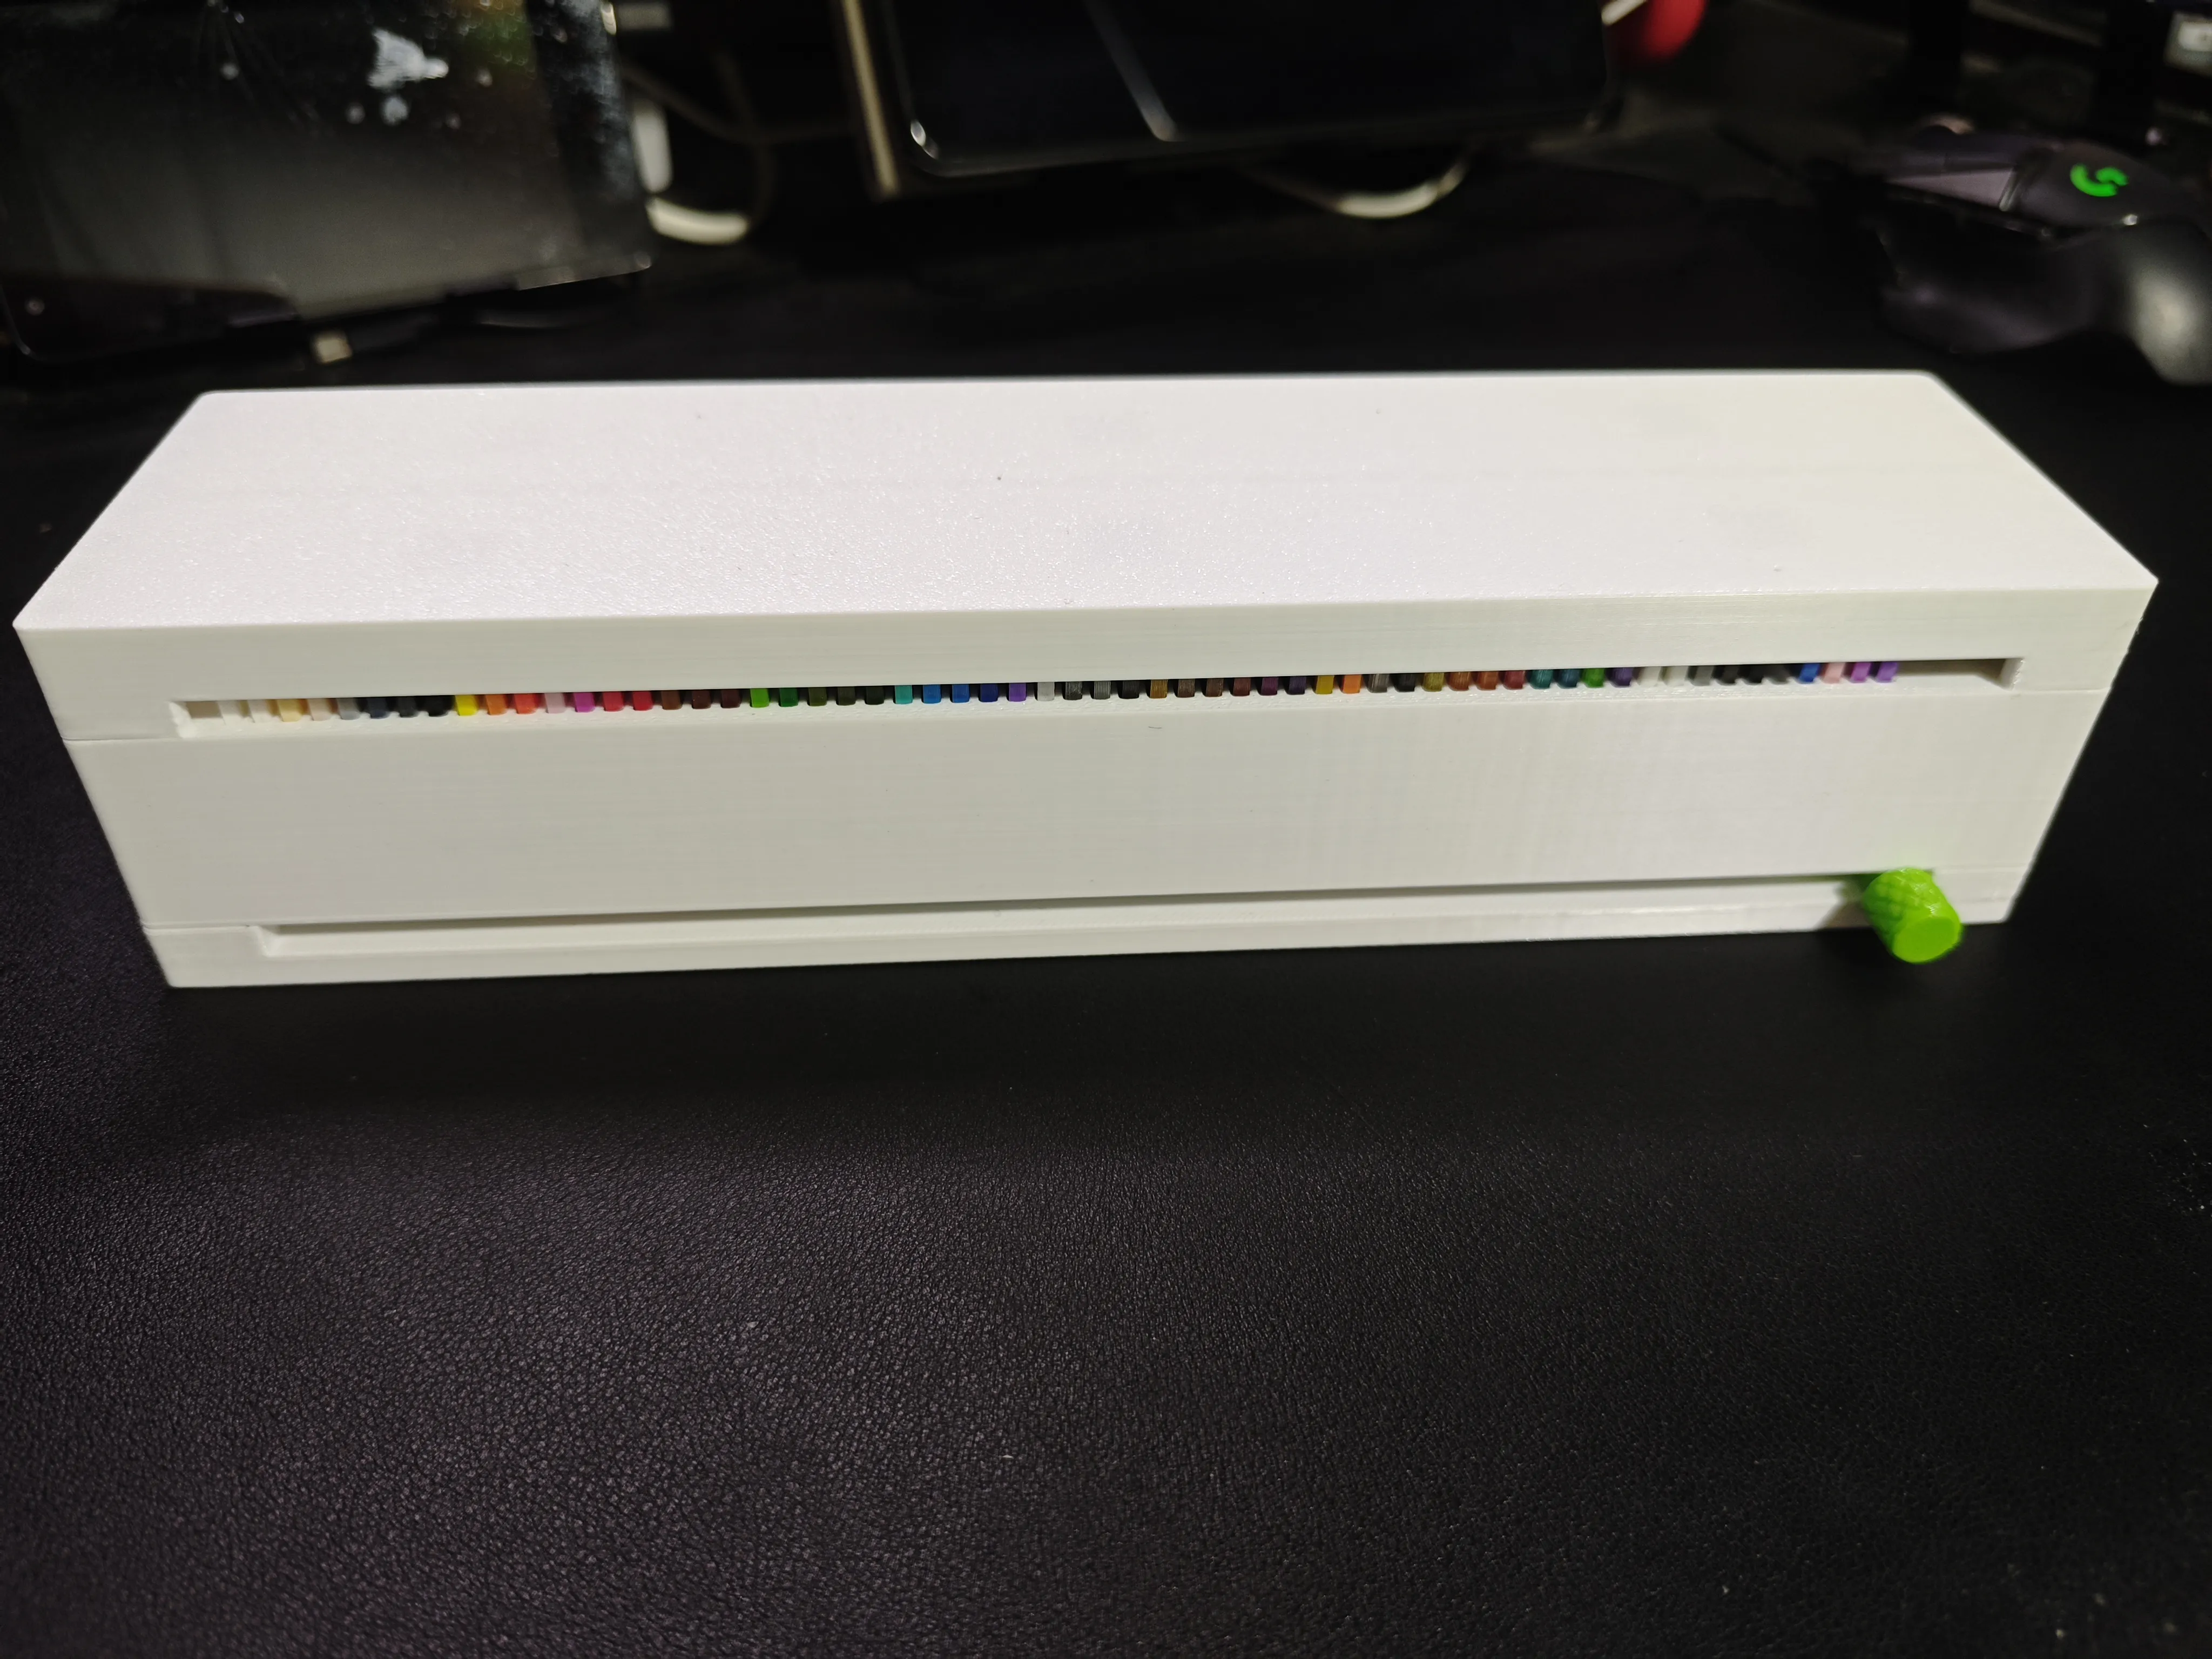
Two Versions Available:
Magnetic Dust Cover Version
Version without Dust Cover
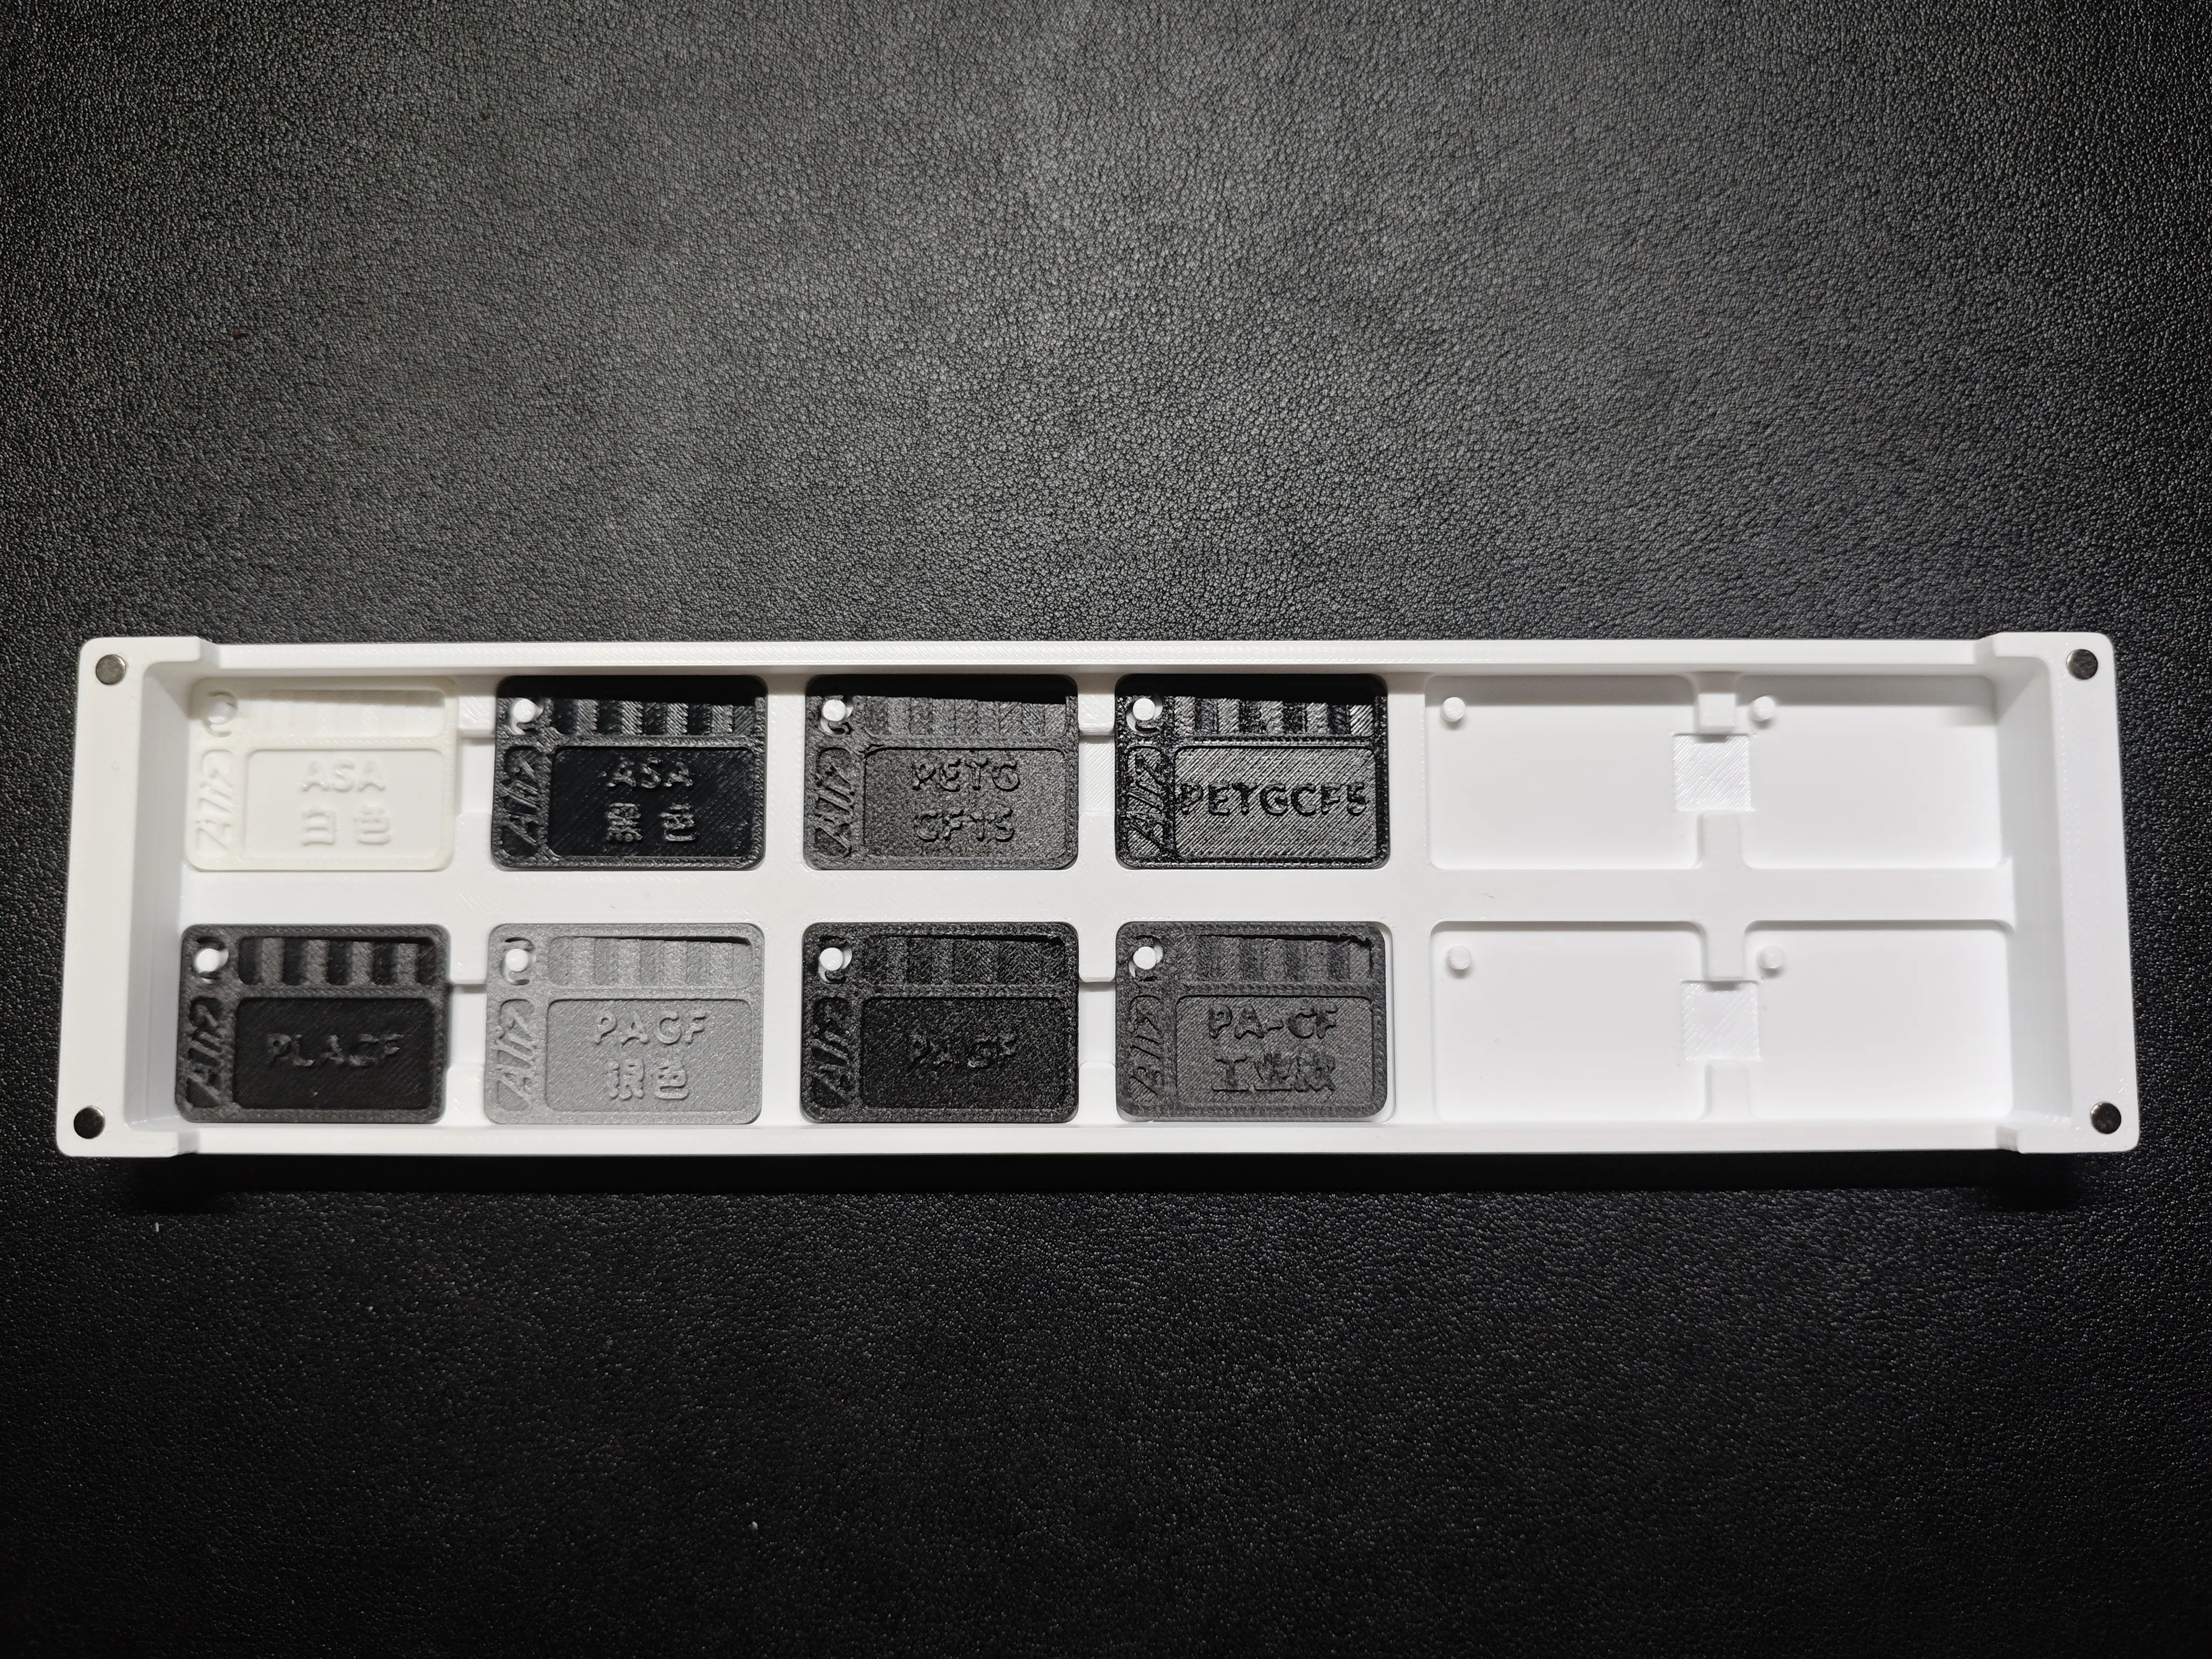
Important Notes Regarding the Magnetic Dust Cover Version:
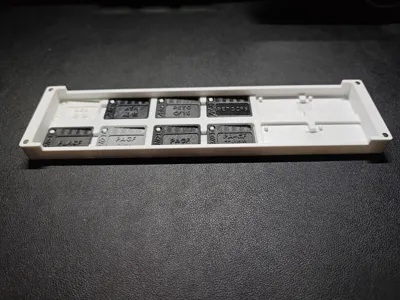
I utilized 4mm diameter, 1.55mm height cylindrical magnets (though the vendor specified 4mm*2mm, actual height measured 1.55mm)
The model's magnet recess depth is 1.8mm(Ensure magnets are flush with the surface during installation; avoid forceful insertion)
To print the dust cover version, verify your magnet dimensions to ensure proper installation.
During magnet installation, maintain consistent polarity to prevent magnetic interference when the dust cover is rotated.
The dust cover incorporates 12 additional slots for less frequently used swatches.
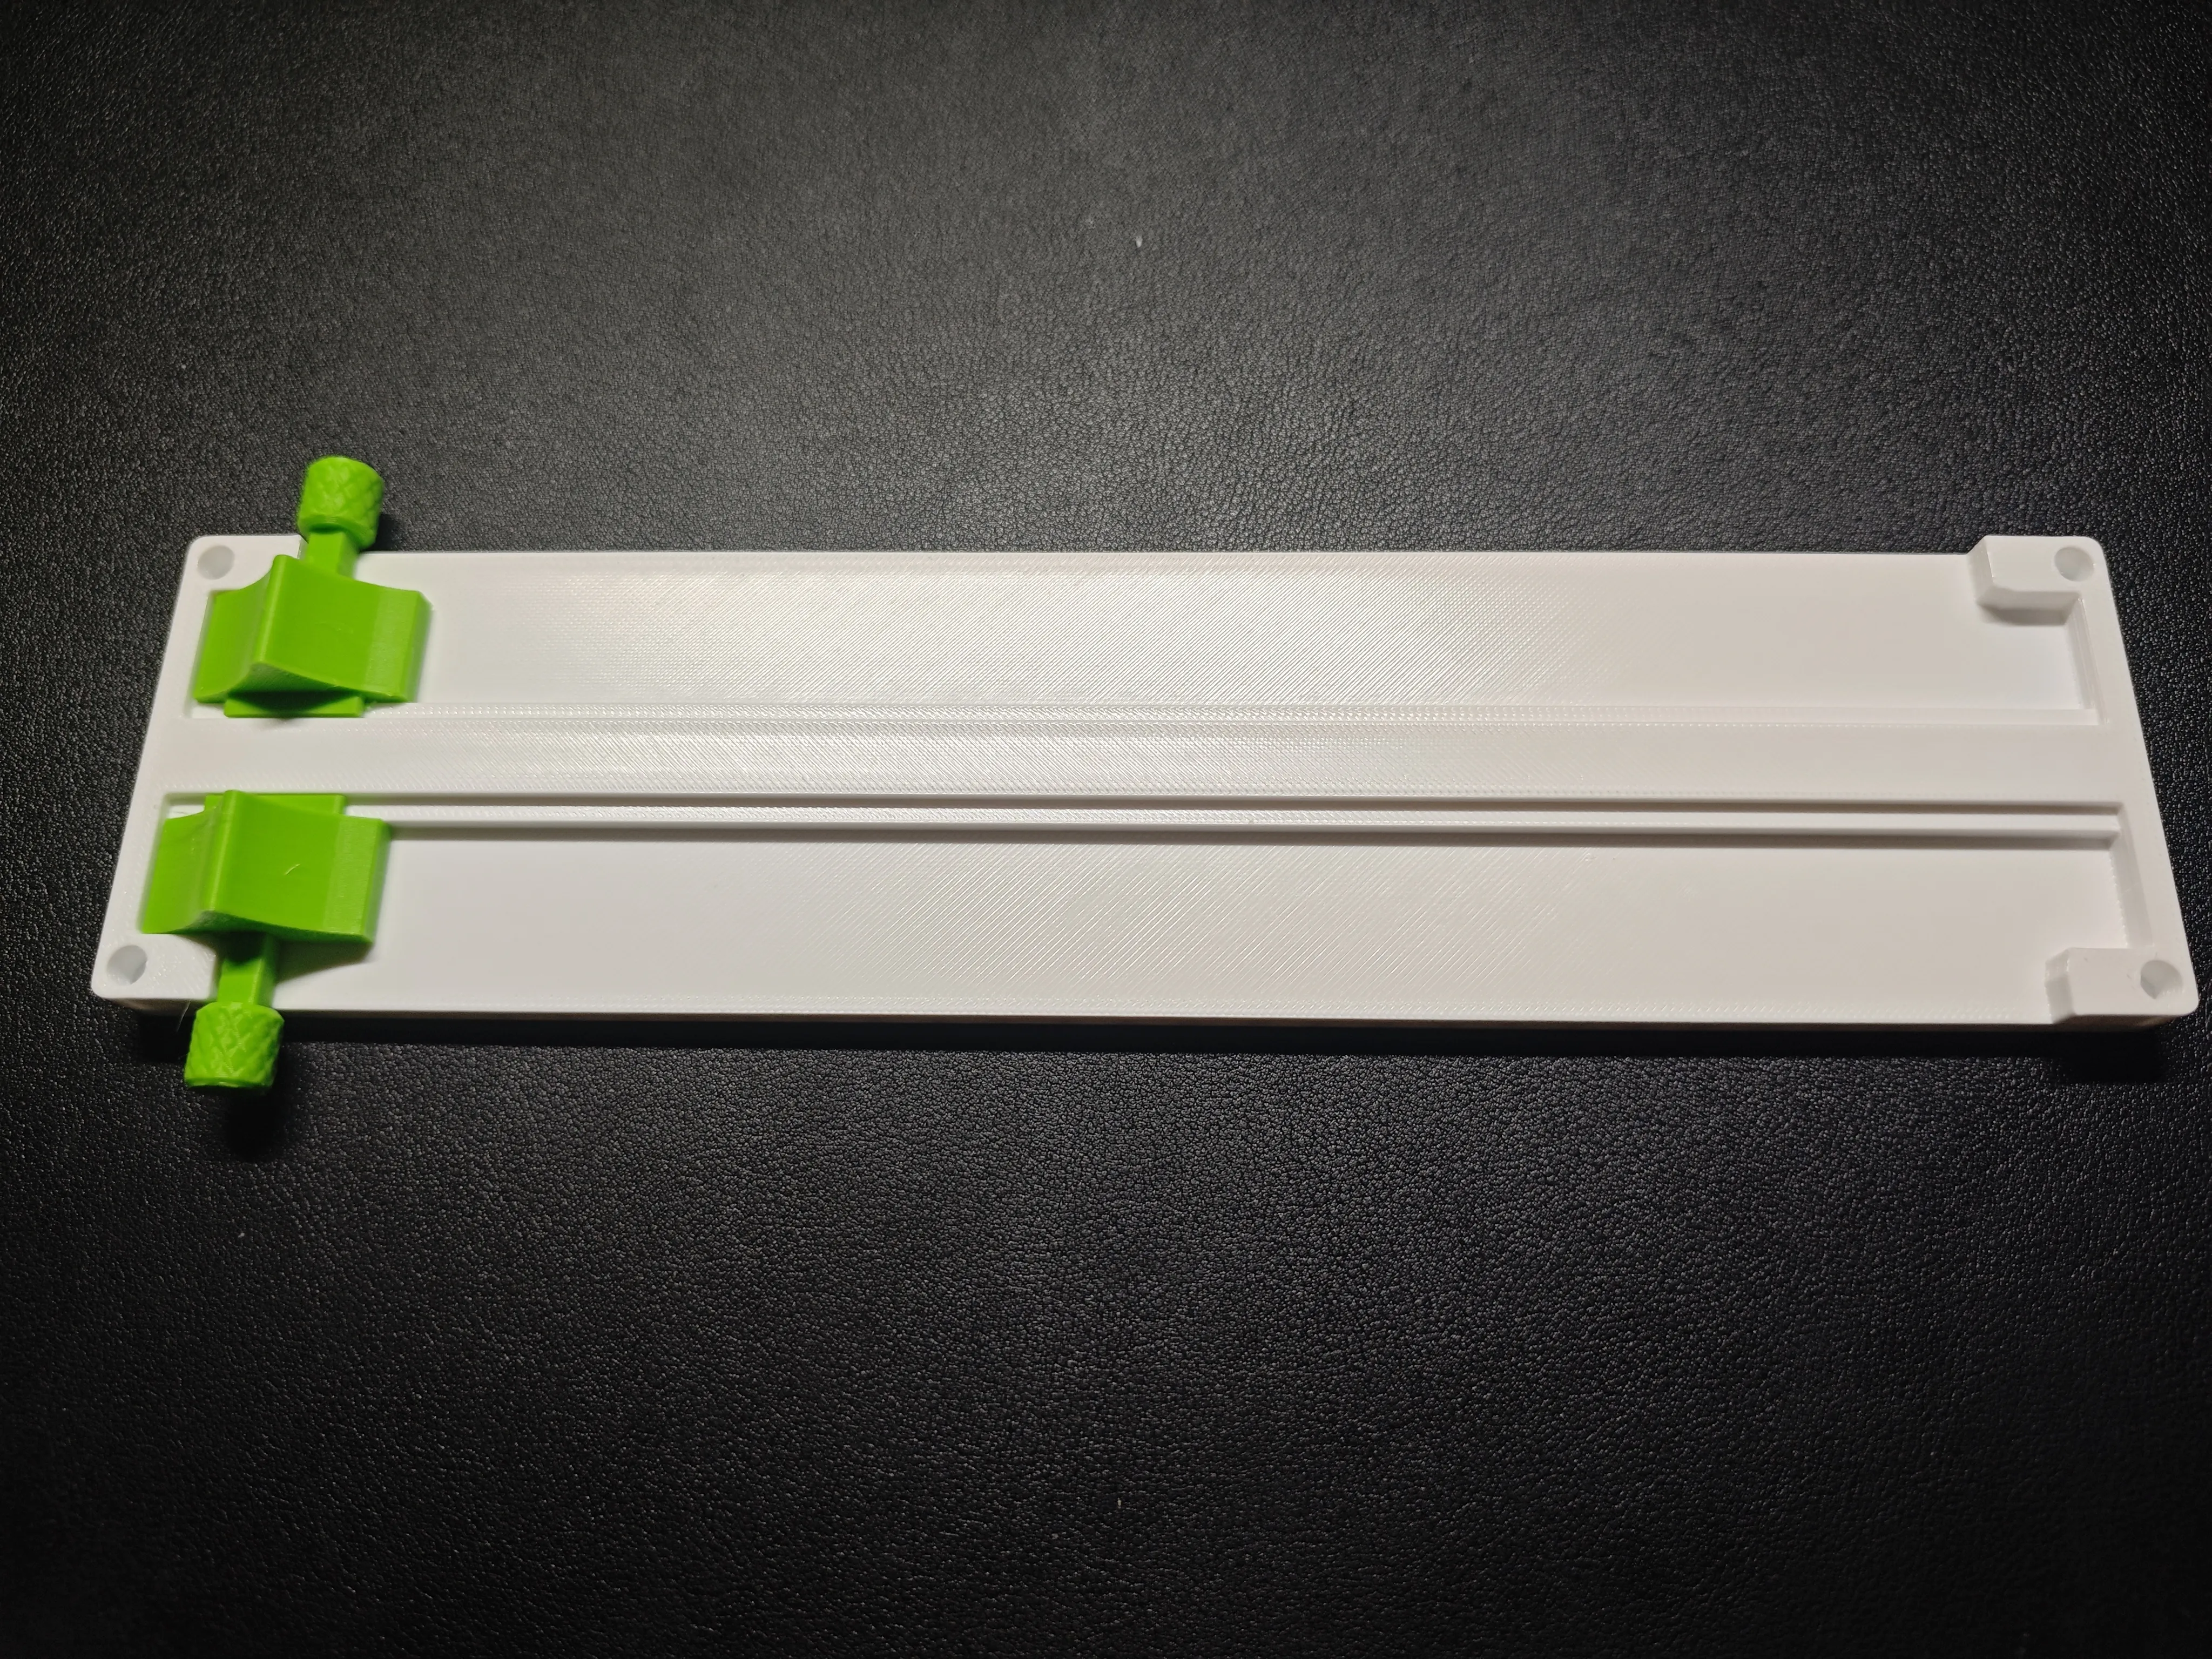
Installation Procedure:
First, remove any printing artifacts, especially burrs from the slider, lid, base mounting pins, and mounting holes.
Assemble the slider, thoroughly clean any burrs, and insert into the base. Repeatedly slide it back and forth for smoother operation.
Then, attach the lid.
Disassembly:
Disassembly is typically unnecessary after installation. However, if required, gently pry from the four corners using a flat object, as shown below:
Avoid excessive force; this can cause breakage.
2025.07.23
A test print using R3D PETG revealed slightly loose base fitment; filament shrinkage rates appear to vary significantly between brands.
Mounting holes should be larger rather than smaller, so no modifications will be made. For loose base fits, adhesive may be necessary.
2025.07.24
Observed that less frequently used engineering materials (typically stored in the dust cover) exhibit lower toughness and a relatively large cylindrical diameter.
Slightly reducing the cylindrical diameter will alleviate pressure on the swatch slots, reducing the risk of breakage.
License

You shall not share, sub-license, sell, rent, host, transfer, or distribute in any way the digital or 3D printed versions of this object, nor any other derivative work of this object in its digital or physical format (including - but not limited to - remixes of this object, and hosting on other digital platforms). The objects may not be used without permission in any way whatsoever in which you charge money, or collect fees.


Comment & Rating (0)