
Mini RC Aircraft "WeeFly"
Print Profile(3)


Bill of Materials



Description
SIMPLE. FLYING. FUN.
1 - Model Description
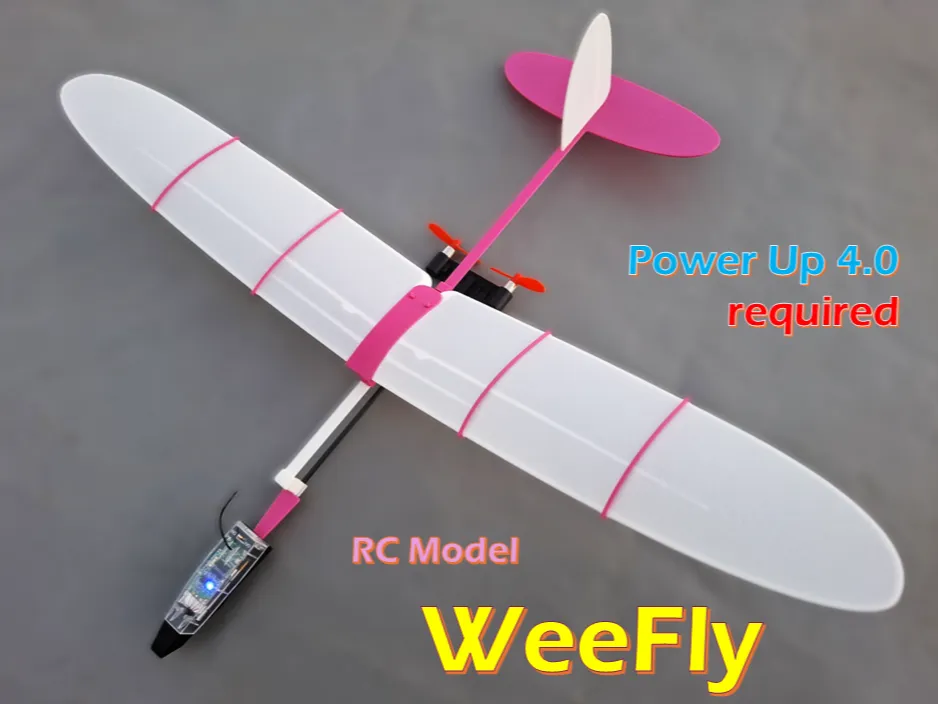
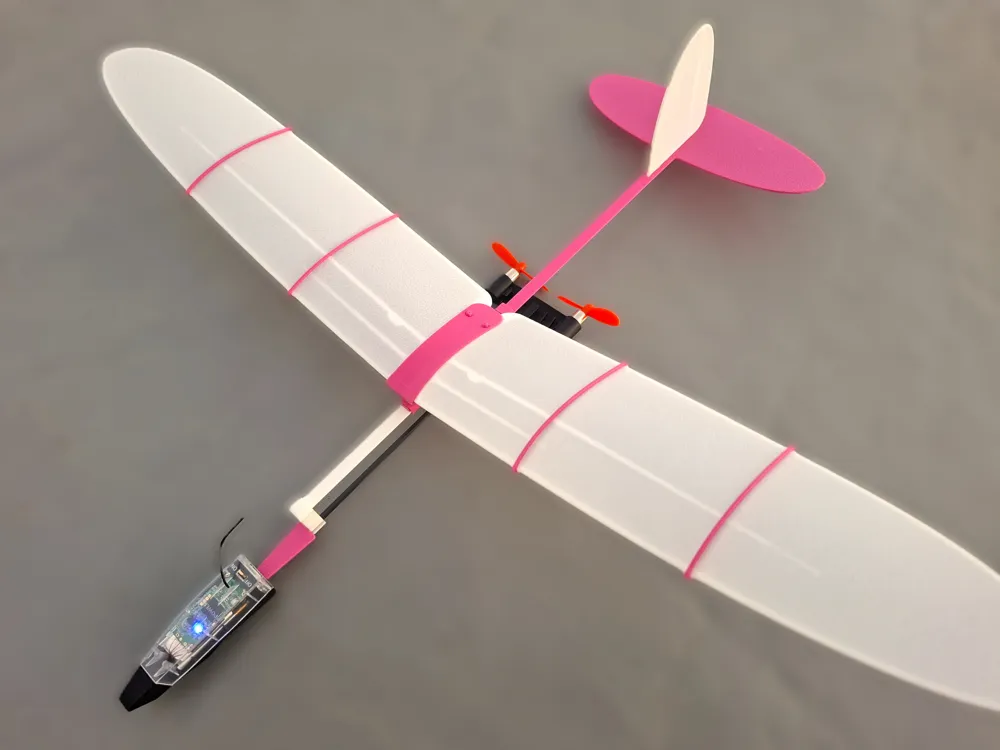
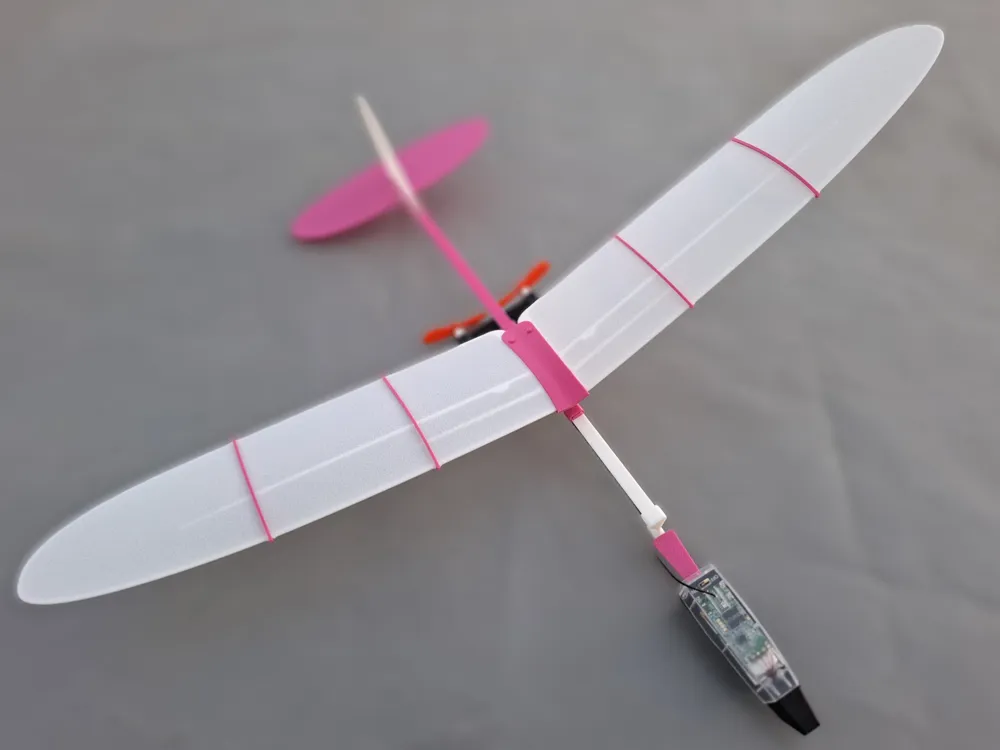
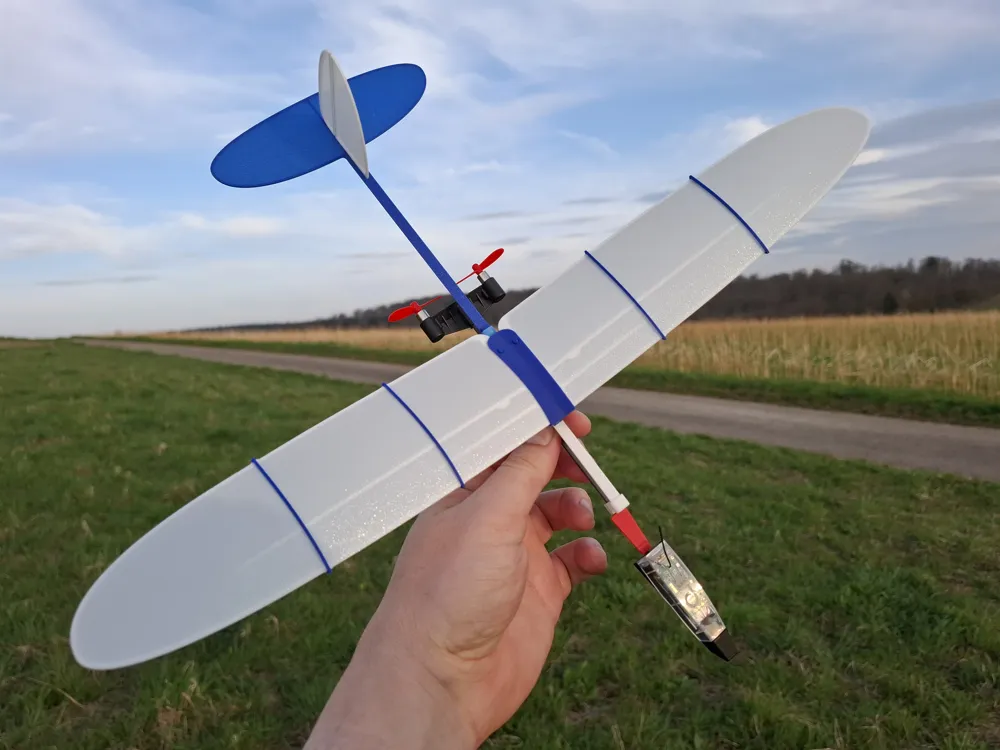
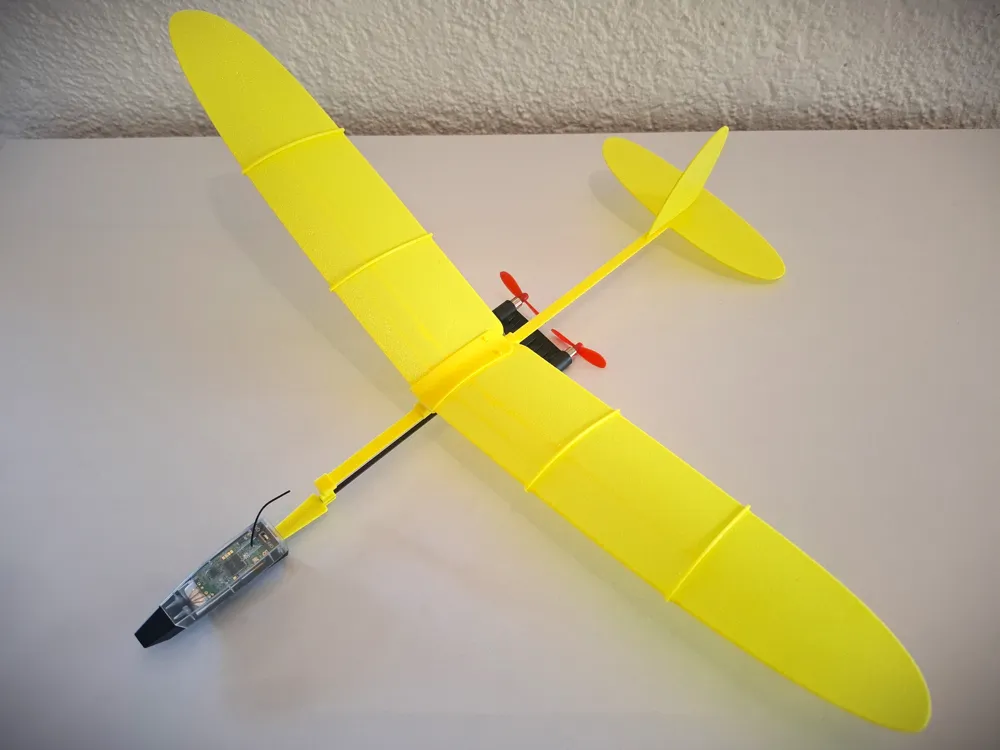
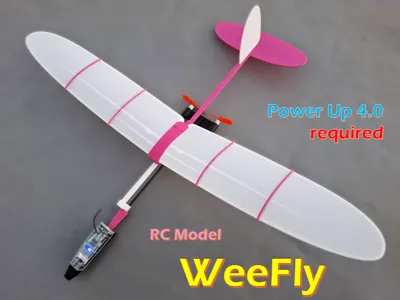
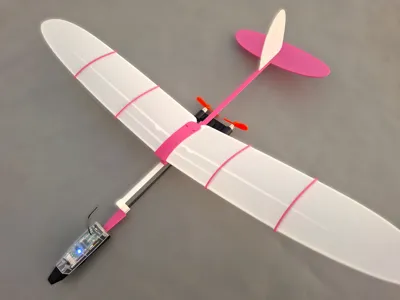
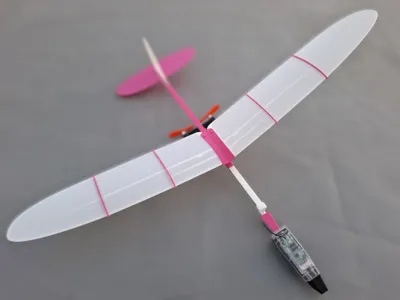
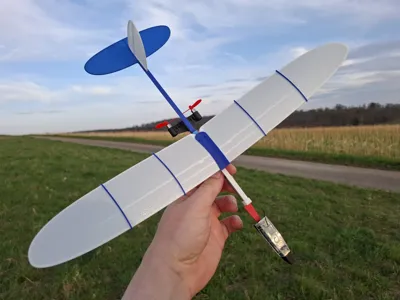
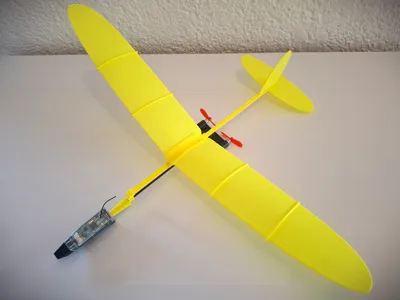
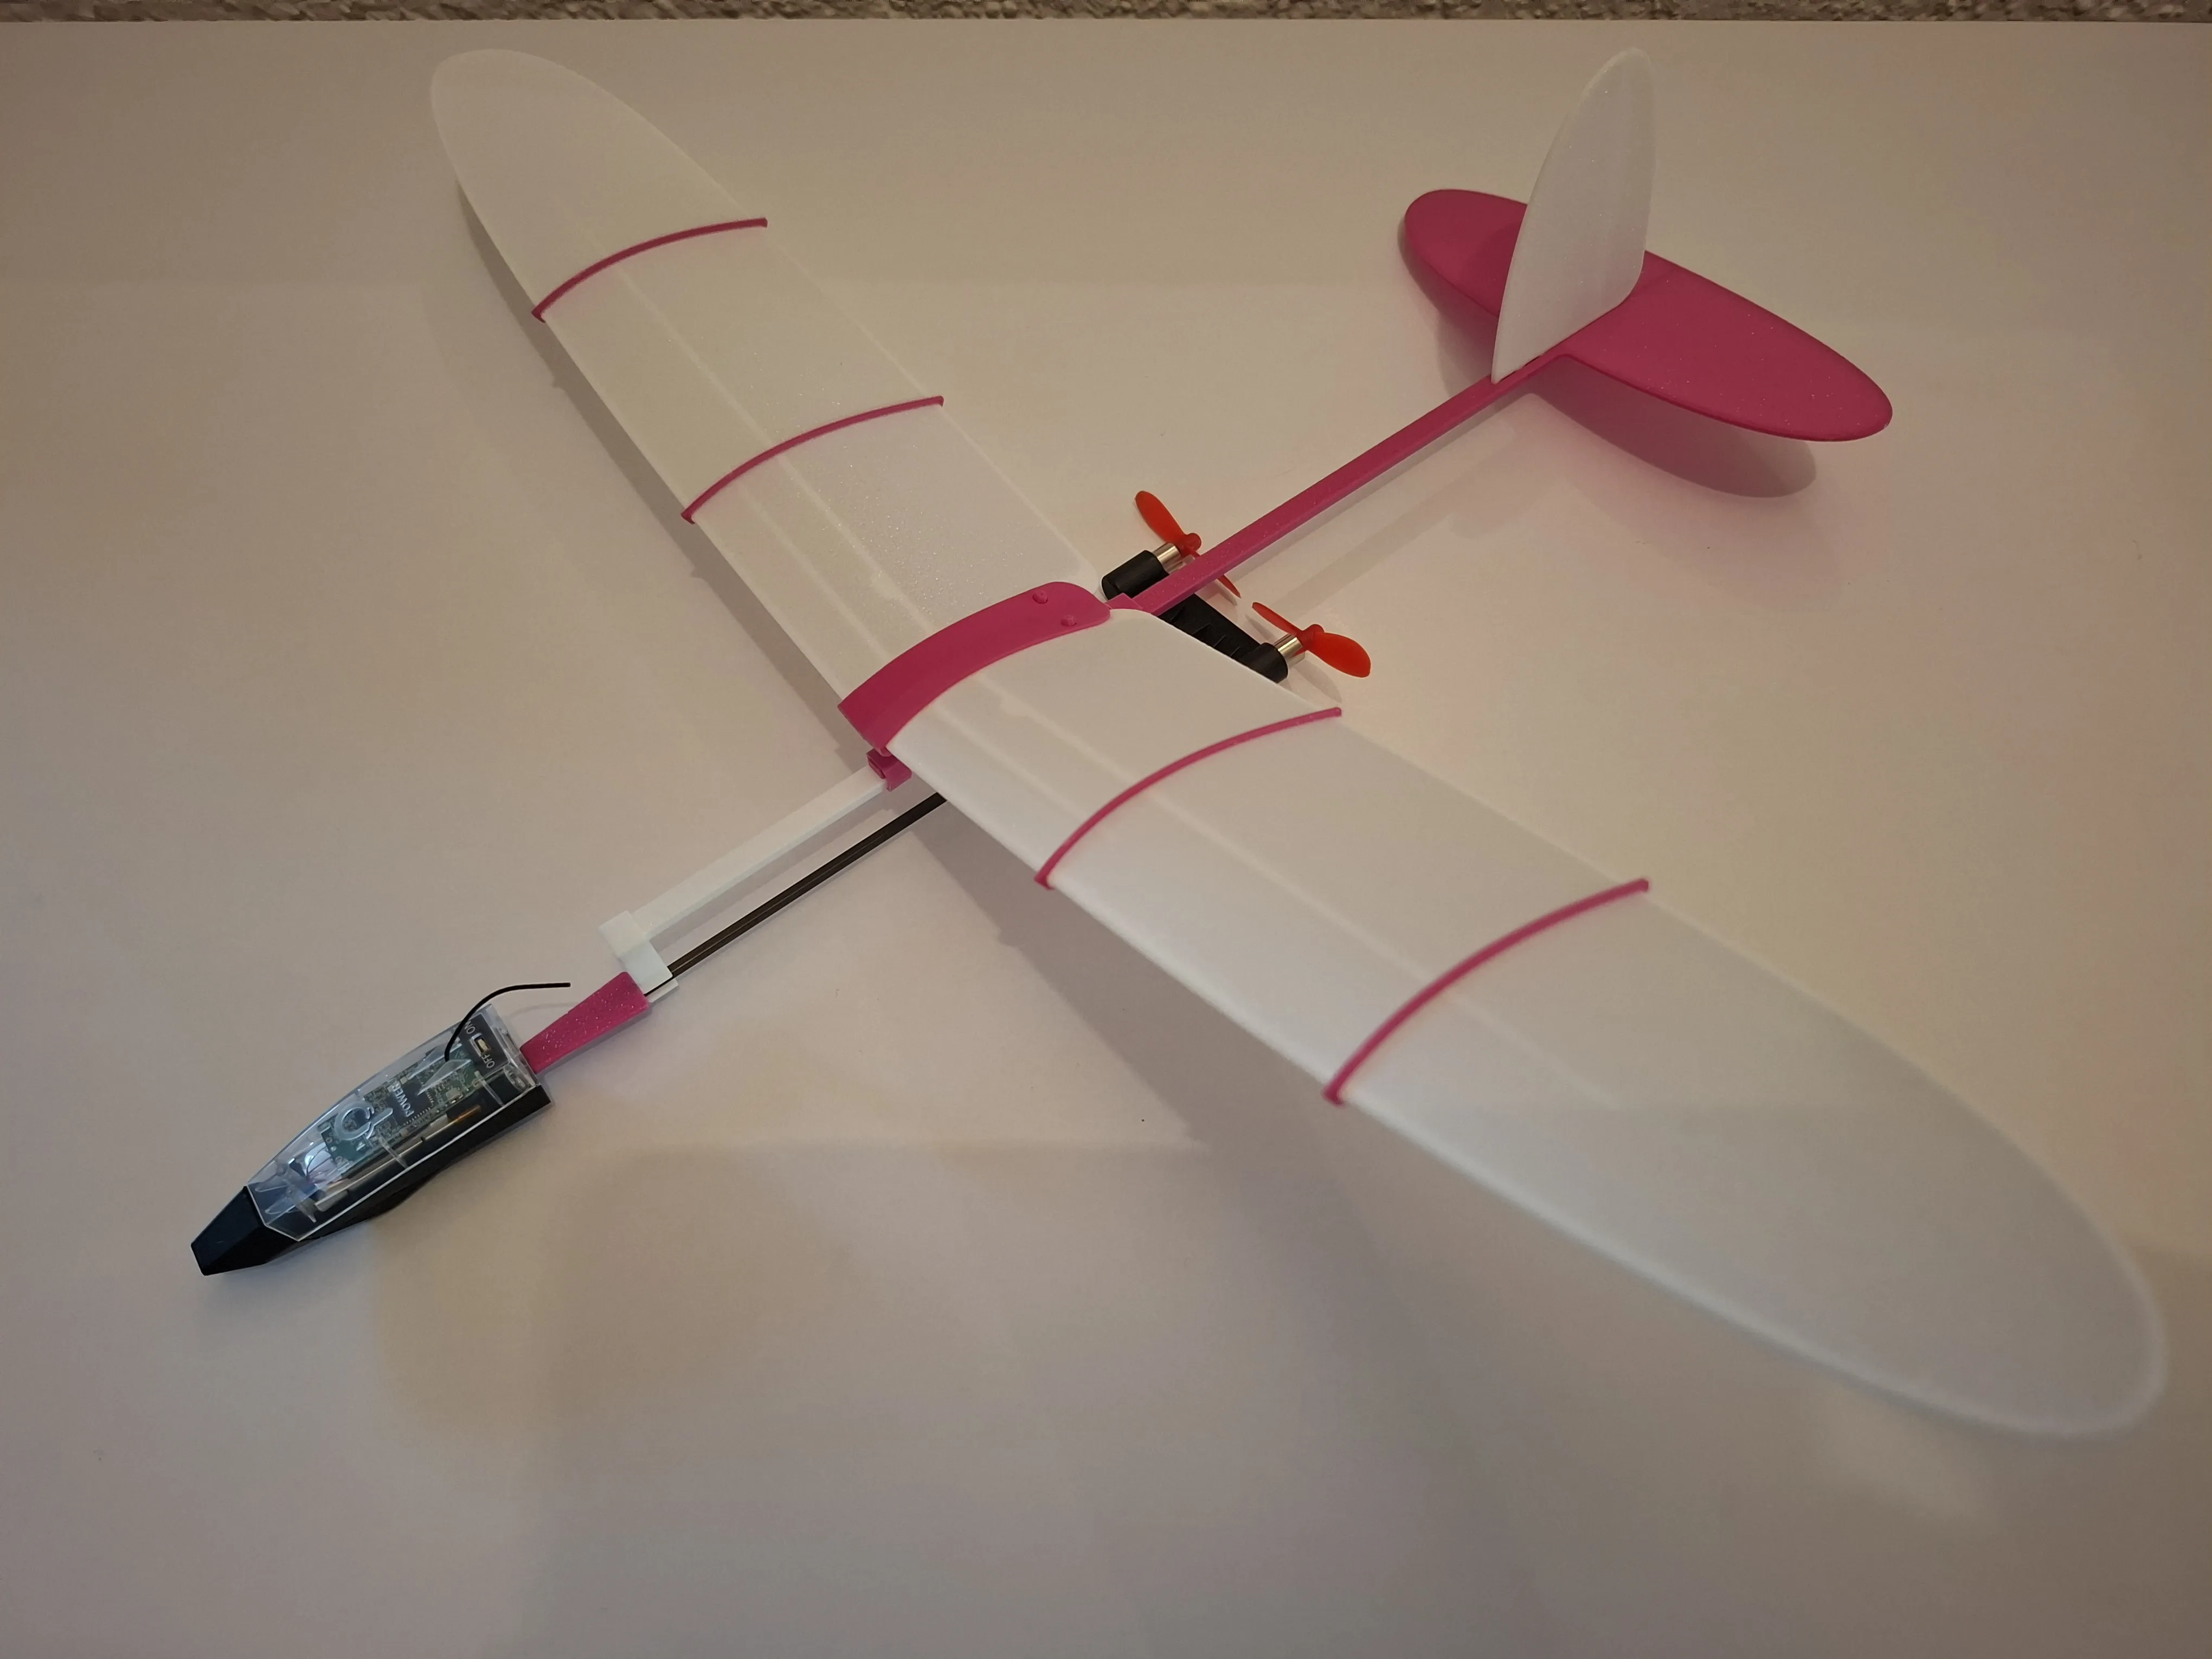
WeeFly is a small radio-controlled model designed for fun, casual flights — especially great for flying with kids — in small open spaces. It uses the PowerUp 4.0 module, which connects to your smartphone via a dedicated app. Your phone becomes the flight controller — a very cool experience! 😊
The model has a wingspan of 405 mm, a length of 355 mm, and weighs 20 grams without the module, or 35 grams with the PowerUp 4.0 installed.
One of the key features of WeeFly is its adjustable wing position, which allows you to fine-tune the center of gravity for different flight settings. This also makes it easier to replace or customize parts as desired.
For instructions on how to operate and configure the PowerUp module, I recommend checking out the official website and especially their YouTube channel, which features helpful tutorials.
https://www.poweruptoys.com/de-de
https://www.youtube.com/channel/UC8GL5jy-ydjzKuDWXbfbYMA
As just a regular user, I still highly recommend visiting their YouTube channel for useful flying tips.
The PowerUp 4.0 module can be ordered from their official website or found on Amazon.

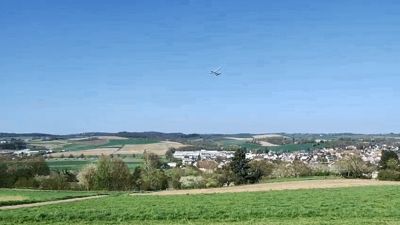
Although the model is very simple to assemble and fly, the flight experience is surprisingly dynamic and engaging.
2 - Model Print
The model was tested exclusively using Bambu Lab PLA Basic filament. During test flights, no issues with structural strength were observed.
After printing, let the build plate and parts cool for about 5–7 minutes before removing them.
Before assembly, remove any leftover support material, especially on the fuselage beam, to ensure proper fit and alignment.
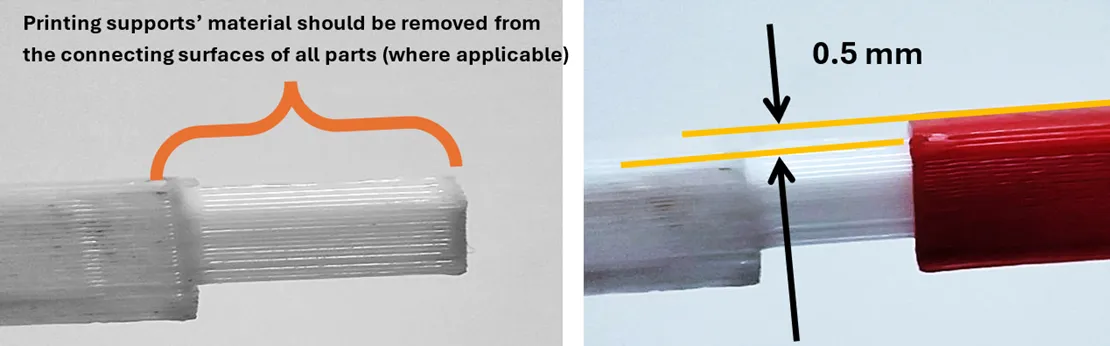
3 - Assembly
Model consists of 13 parts, as shown below. Power UP 4 module is not show.
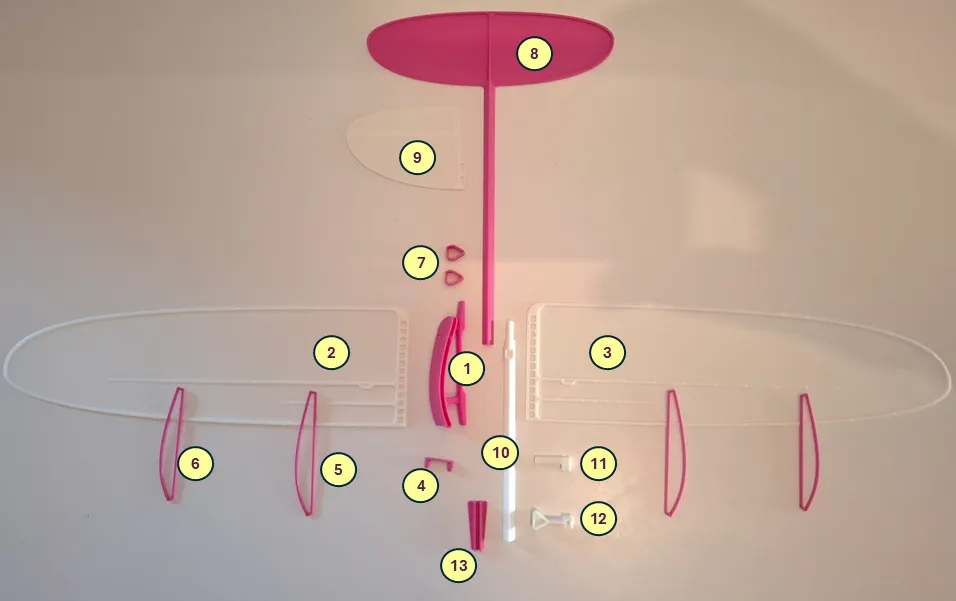
1 – Wing Bracket, 2 – Left Wing, 3 - Right Wing, 4 -Dual Pin, 5 - Big Rib, 6 - Small Rib, 7 - Clamp, 8 - Tail Beam with Stabilizer, 9 – Fin, 10 - Front Beam, 11 - Rear Bracket, 12 - Front Bracket, 13 – Spacer.
Where needed, use glue (cyanoacrylate is recommended) to ensure a secure bond between parts.
Make sure all components are properly aligned during assembly — pay special attention to the wing position, as it’s critical for stable flight.

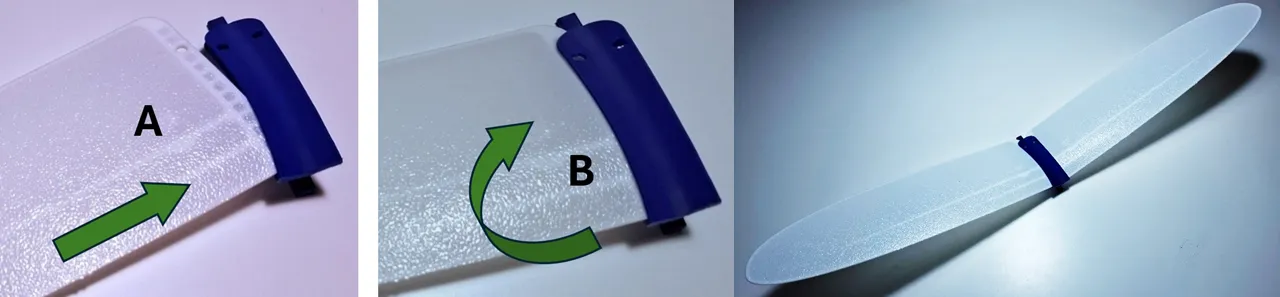
Wing installation should be carried out in two sub-steps:
Sub-step A: Insert the corner edge of Wing (2 or 3) into the corresponding slot of the Wing Bracket (1), as shown in the picture.
Sub-step B: By gently rotating and applying slight pressure, complete the wing installation.
Secure both wings in the Wing Bracket using the Dual Pin (4), as illustrated below.
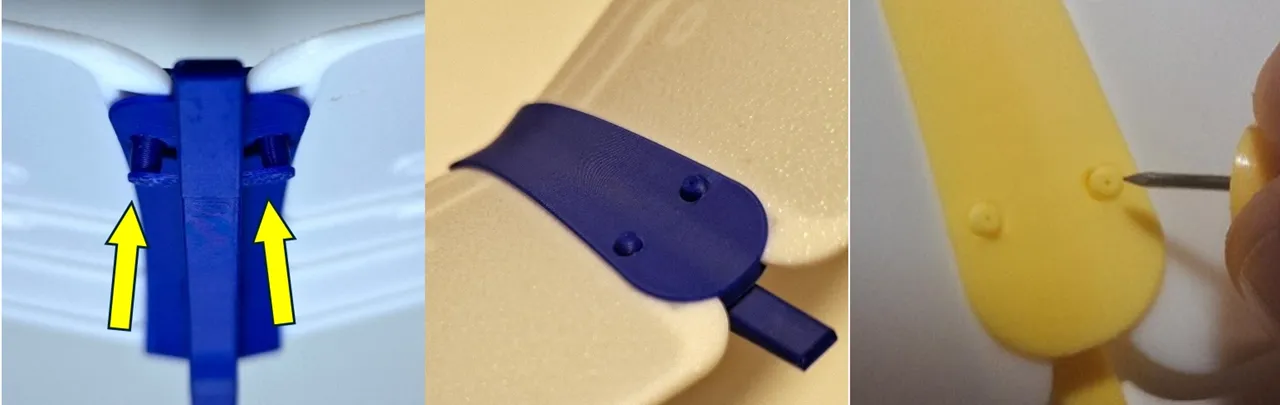
During the installation of Dual Pin, make sure the ends of the pin are properly centered. The part should be inserted smoothly, without applying excessive force.
If necessary, adjust the centering of the pin from the opposite (upper) side of the Wing Bracket using a metal pin or any other suitable tool (see picture below). After installation, the ends of the Dual Pin should protrude approximately 0.5 mm above the upper surface of the Wing Bracket (1), as shown in the image.
As the next step, install Big Rib (5) and Small Rib (6) on each Wing, as shown in the picture below. Start with Part 5, followed by Part 6.
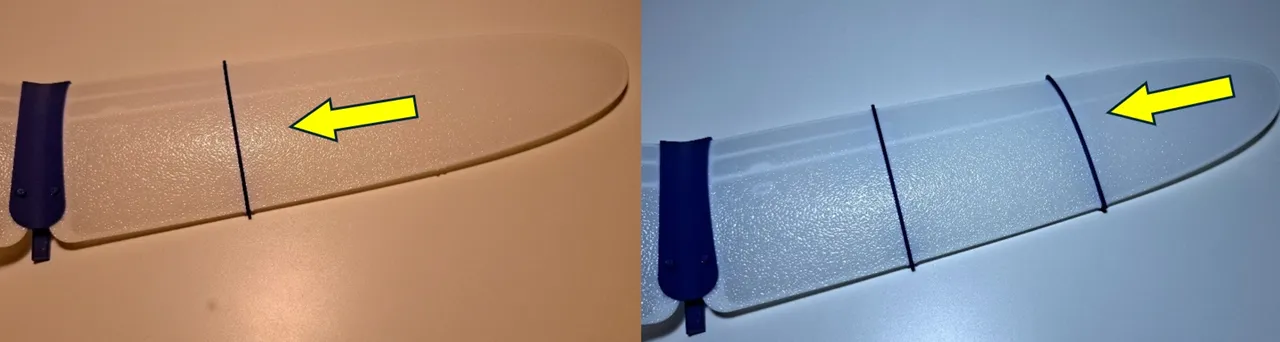
Pay close attention to the orientation of the rib profiles — the curved side of the ribs must face forward, matching the direction of curvature on the Wing Bracket (1).
Each rib has a predefined slot on the wing for proper positioning. Apply gentle pressure to snap the ribs into place — you should hear a soft “click” when they are correctly seated. The final appearance of the completed wing is shown in the picture below.
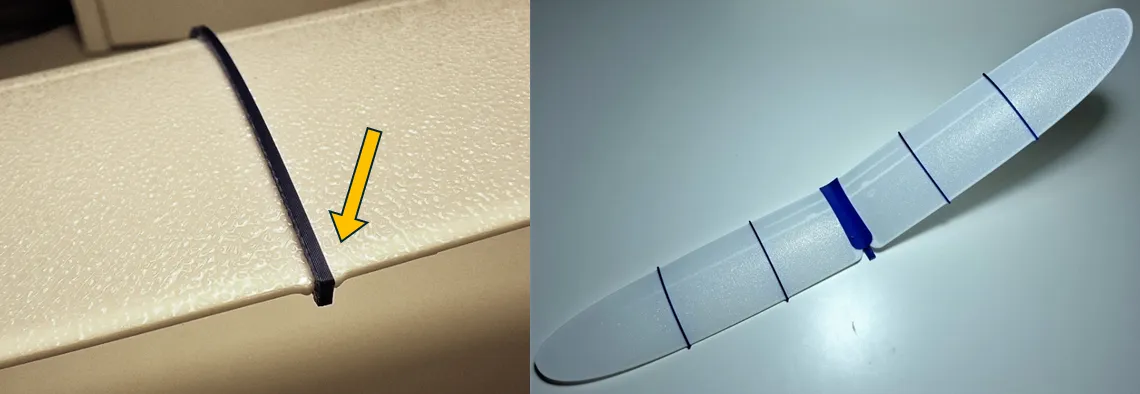
⚠️ Important: Rib installation should not cause any twisting of the wings or create ripples on the surface. If you notice deformation, stop and check the alignment of the ribs.
Complete installation of Fin (9) in a special slot on Tail Beam with Stabilizer (8), as shown in the figure below.
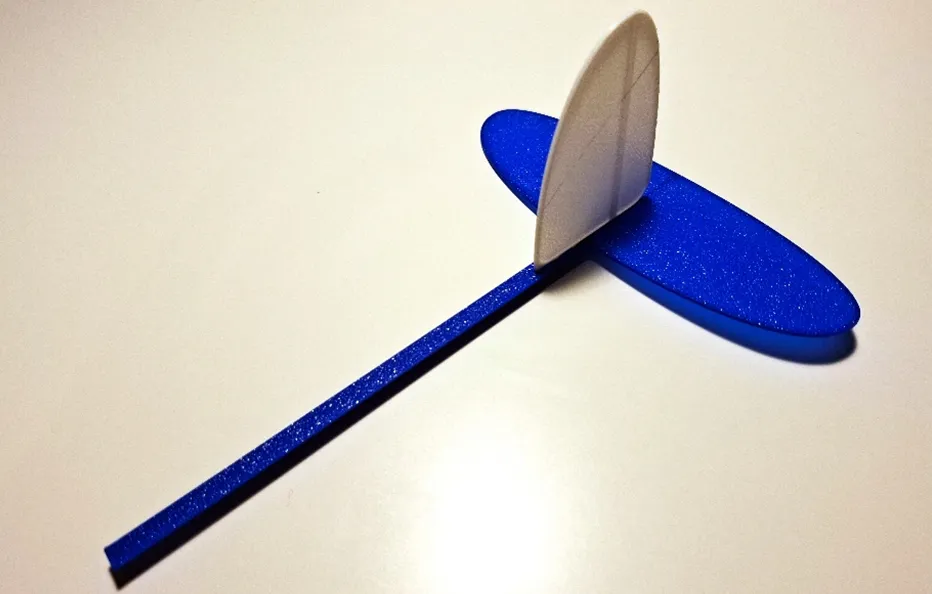
After the initial test assembly, the Fin (9) must be glued with Tail Beam part (8).
Install the Rear Bracket (11) into its designated position on the Front Beam (10), as shown in the picture. The bracket should snap into place with a slight amount of pressure to ensure a secure fit.
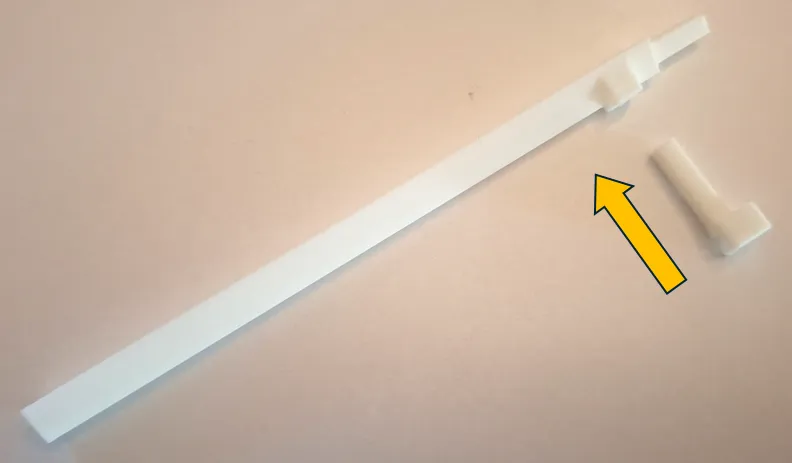
Once the front beam is assembled, connect it to the Tail Beam (8).
Before final assembly, insert one Clamp (7) (as shown in the picture), which will later hold the wings in place.
Apply glue to permanently secure the connection between Beam 10 and Beam 8.
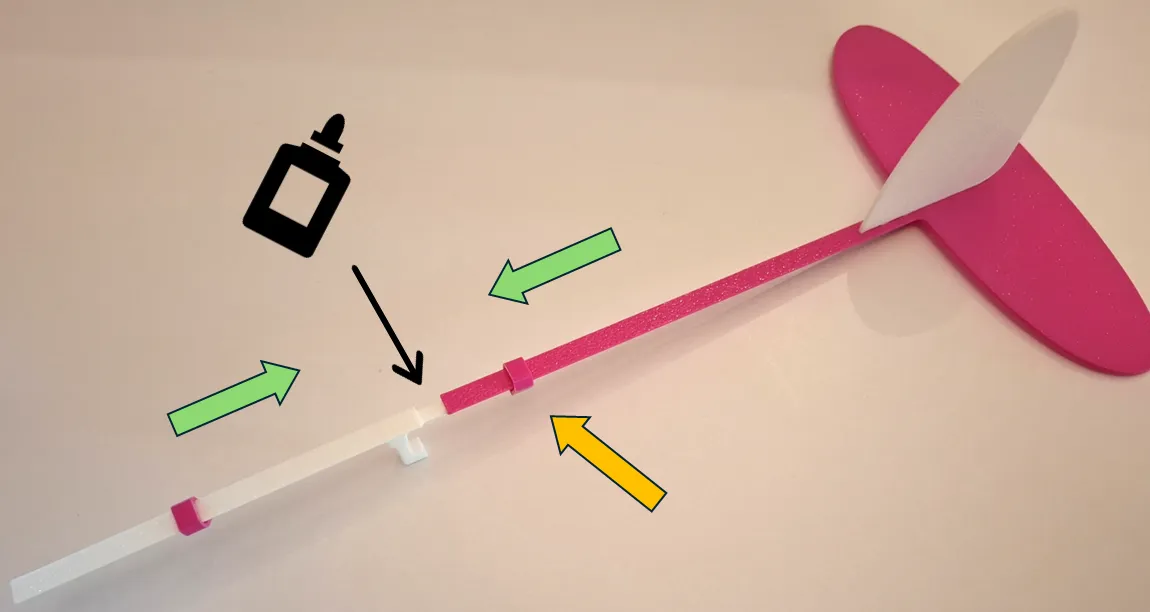
Install second Clamp (7) onto the assembled Front Beam.
After that, attach and glue the Front Bracket (12), as shown in the picture, to secure it in place.
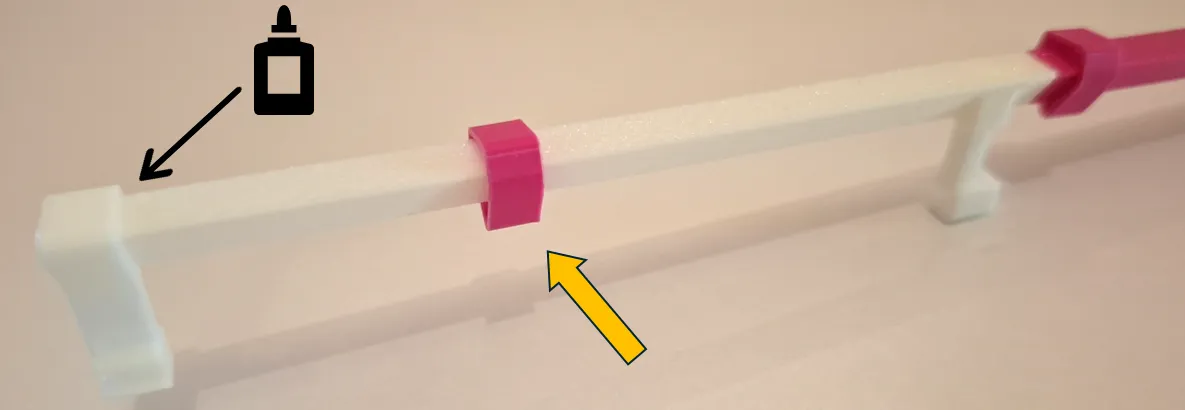
Place the wing assembly onto the fuselage and lightly secure it with the Сlamps (7), as shown in the picture.
Make sure the wing is positioned so that the junction between the front and rear beams is located directly under or slightly behind the dual wing pin, as illustrated.
⚠️ The final wing position will be adjusted during test flights. Do not apply glue!
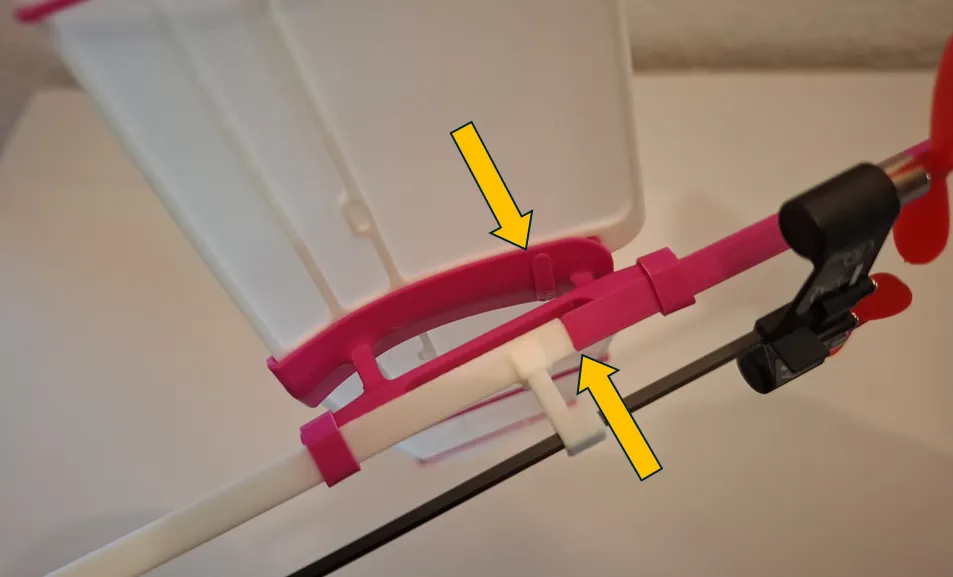
Install the PowerUp module as shown in the picture below.
Before installation, place the Spacer (13) onto the carbon rod of the module — this part helps maintain the correct position of the module relative to the fuselage.
The module is mounted into the dedicated slots on the front (12) and rear (11) brackets of the assembled fuselage. Apply slight pressure during installation to snap the module securely into place.
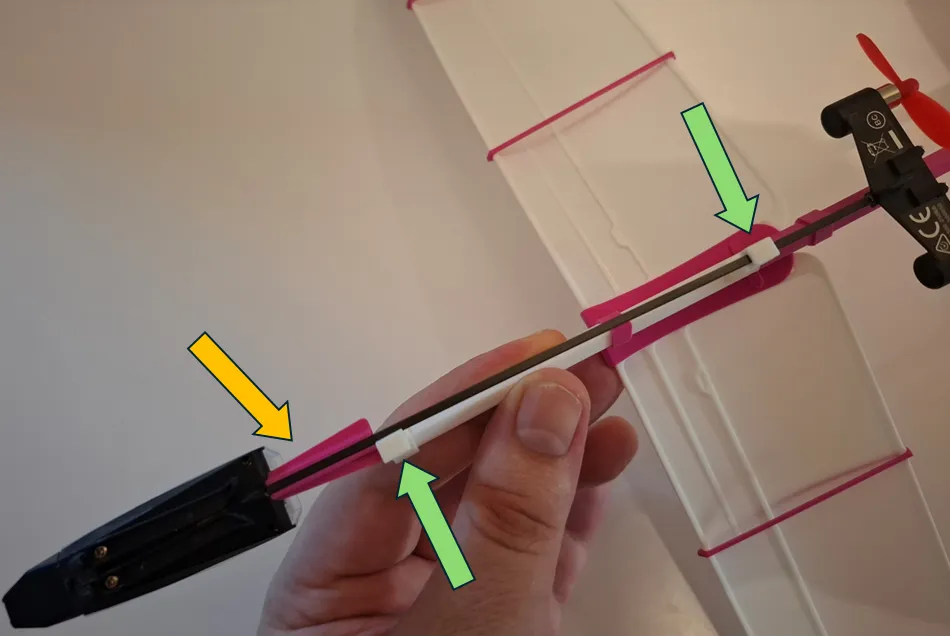
After installation, the module should not slide along the fuselage. Ensure that the longitudinal axis of the module (and its propellers) is aligned parallel to the fuselage beam.
Model assembly is complete.
Before the first flight, be sure to check the center of gravity and adjust the control settings in the PowerUp 4.0 app.
4 - PU Module Setup
Perform PowerUp module (PU) setup and binding to your smartphone or tablet by following the official instructions provided by the manufacturer.
After completing the setup, the following custom settings may be applied:
- Select “Custom Plane #” from the plane list.
Set the parameters as shown in the table below.
Steering angle
120
Pitch Kp
0.400
Pitch rate Kp
0.400
Roll Kp
0.800
Roll Rate Kp
0.190
Yaw Kp
0.500
Yaw Rate Kp
0.500
Angle of Attack
2
- Set “Normal Mode”.
5 - Pre-Flight
No specific actions are required — the CG is properly predefined by the model's design.
However, it's strongly recommended to check the model's gliding behavior before performing powered flight.
The model should glide straight and descend smoothly.
- If the model dives nose-down, shift the wing slightly forward.
- If the model pulls up or stalls, shift the wing slightly backward.
After adjusting the position, secure the wing with the clamps.
Depending on your PowerUp module settings, further fine-tuning of the wing position may be required.
Tips
- Familiarize yourself with how to control the model using the PowerUp app. Watch the official training videos beforehand.

- Practice controlling the thrust by holding the model in your hand (⚠️ be careful with the propellers), and operating your phone or tablet with the other hand. Basic flight control may take some practice at first.
- Check signal strength between the module and your device. Interference from other Bluetooth devices can cause signal delays or interruptions.
- Keep your LTE/mobile data connection ON to ensure the app functions properly and to upload your flight results 😊.
6 - Model Flight
- Fly the model in open areas within direct line of sight, during calm weather. Recommended wind speed is:
- up to 2.0 m/s
- up to 4 kts
- up to 7 km/h
- up to 6.5 ft/s
- Always launch the model directly against the wind.
- The model should be launched at 100% thrust, with a slight upward angle.
⚠️ Pay attention to the position of your phone/tablet during launch — tilting it downward may unintentionally trigger a nose-down command. - Allow the model to build up forward speed after launch before attempting any maneuvers.
- Keep in mind: the effective control range is approximately 70 meters in radius.
- Monitor the battery state of charge. Recharge it immediately after the flight, as recommended by the manufacturer. You can use a power bank with a charging cable for convenience.
- Adjust control settings in the PowerUp app, if needed.
- Fine-tune the center of gravity (CG), if desired, to improve flight performance.
7 - Maintenance
The model has demonstrated excellent reliability and durability under conditions of humidity and light dirt exposure.
If dirt gets on the model, simply rinse it with clean running water.
In rare cases, minor skin delamination may occur after launches, hard landings, or collisions.
These can be easily fixed using cyanoacrylate glue (CA glue).
Happy Flights and Smooth Landings!
Boost Me (for free)
If you like my models, hit that Boost button like it's a launch switch! 🚀
License

You shall not share, sub-license, sell, rent, host, transfer, or distribute in any way the digital or 3D printed versions of this object, nor any other derivative work of this object in its digital or physical format (including - but not limited to - remixes of this object, and hosting on other digital platforms). The objects may not be used without permission in any way whatsoever in which you charge money, or collect fees.


Comment & Rating (168)