
Print Profile(2)


Description
Boost Me (for free)
If you like this model, please boost it. It costs you nothing and it's one of the few ways I benefit from posting my models.
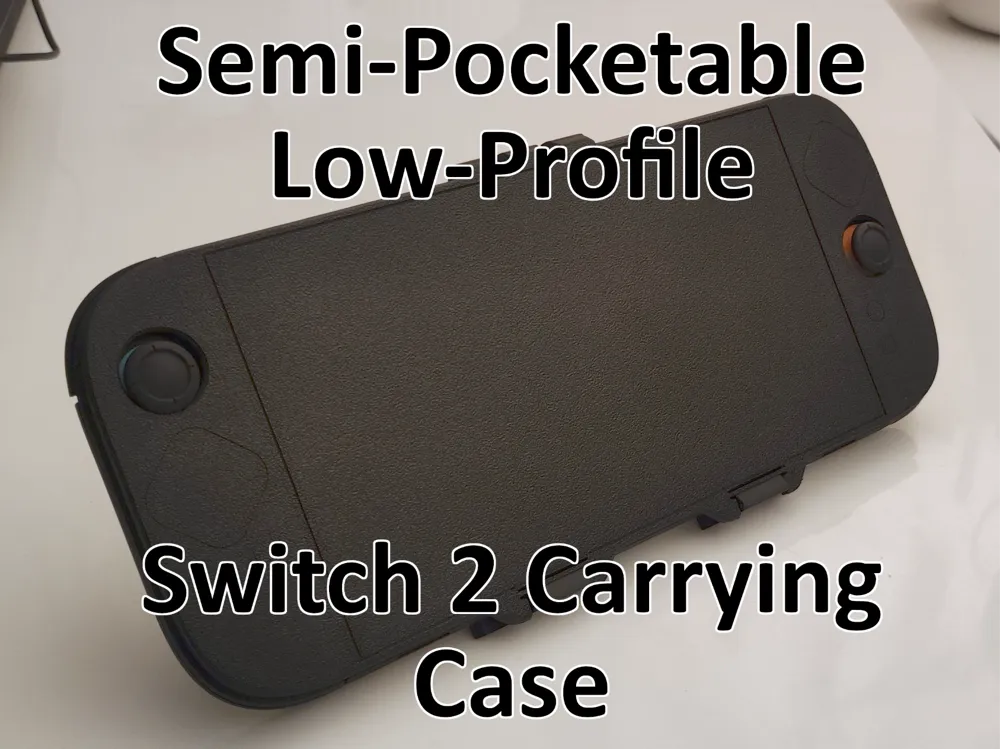
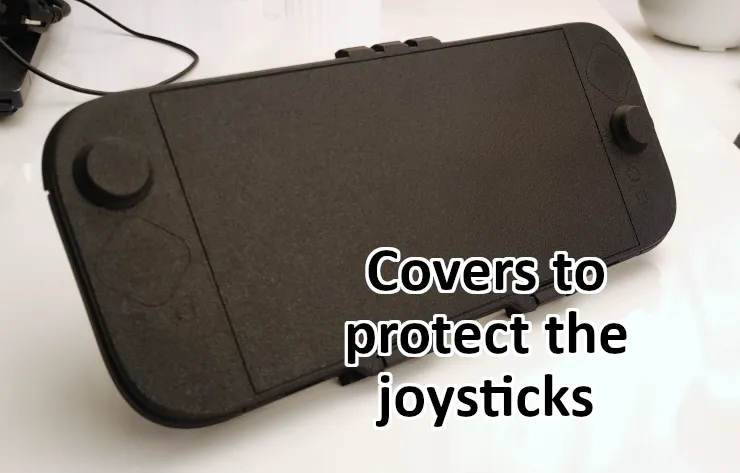
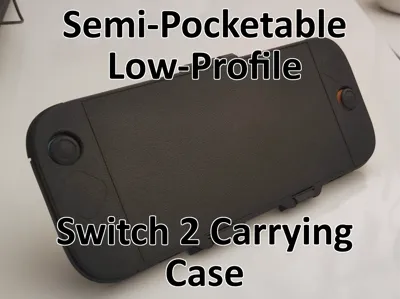
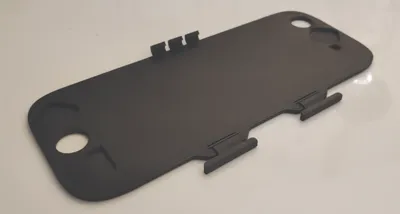
This model aims to provide protection to the most sensitive parts of the Switch 2, namely the screen, joysticks and buttons, while keeping the whole package relatively thin. Aimed at shorter trips where it won't have the chance to get crushed under heavy bags.
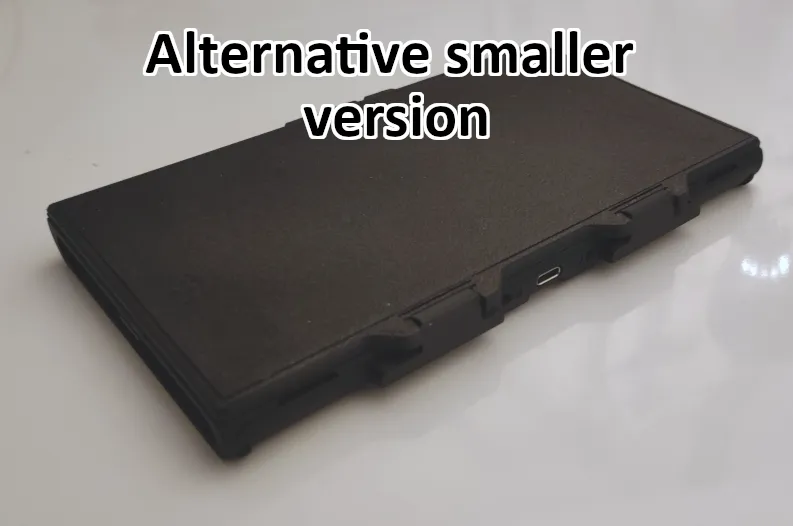
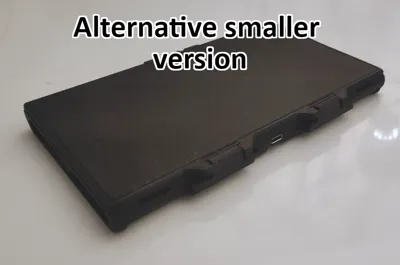
An alternative variant also available through the plate named “Screen Cover Only” is available if you don't mind removing the joycons before travelling anywhere. I recommend printing stick locks in this case.
Installation
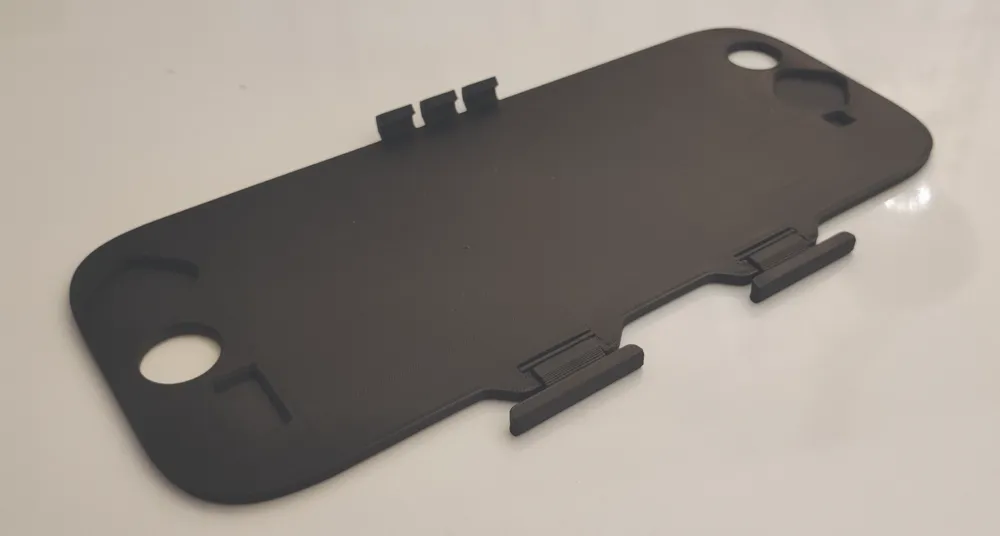
The case prints in place, to make sure the built-in hinges don't get bent, let the item cool down fully before trying to pry it off the printing plate.
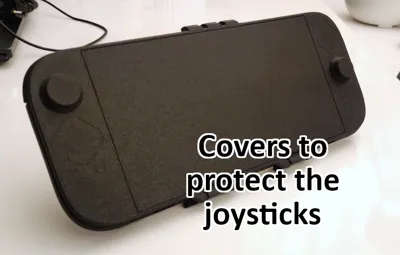
If you printed the default version, the plate should include 3 joystick covers.
If you printed the default version of this case before 2025.06.30, you might not have these. There's a plate called “Just the covers” for this purpose.
These are meant to slot into the holes where the joysticks go. To install them, simply press the side with the 6 rods sticking out into the holes from the side where the indentations are (same side that touched the bed of the printer).
If you don't mind it, it's okay if 1 or 2 rods break off, the rest should be able to hold the cover in firmly enough. The third cover is there in case one of the other two becomes unsalvageable and as a last resort, the file includes a plate called “A single cover” in case 2 covers do s
Optionally you can glue the covers in at this point.
Usage
Installation onto a Switch 2 should be done according to the following steps:
- Lower the bottom of the cover onto the screen vertically. If you printed the larger, default model, make sure to line up the joystick with their holes.
- Press down on the joystick covers to push the joysticks into their holes.
- Slide the claws at the top into the 3 vents on the top of the console.
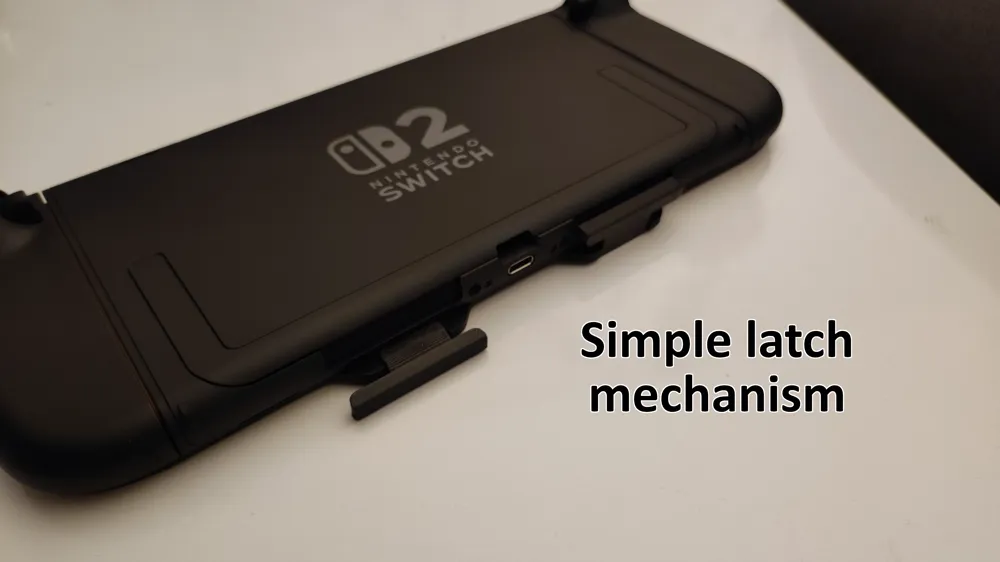
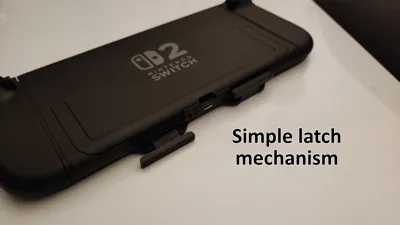
- Close the latches on the bottom vent.
This process might be hard at first, but it'll become much easier in no time once you get some experience with it.
License

You shall not share, sub-license, sell, rent, host, transfer, or distribute in any way the digital or 3D printed versions of this object, nor any other derivative work of this object in its digital or physical format (including - but not limited to - remixes of this object, and hosting on other digital platforms). The objects may not be used without permission in any way whatsoever in which you charge money, or collect fees.


Comment & Rating (48)