
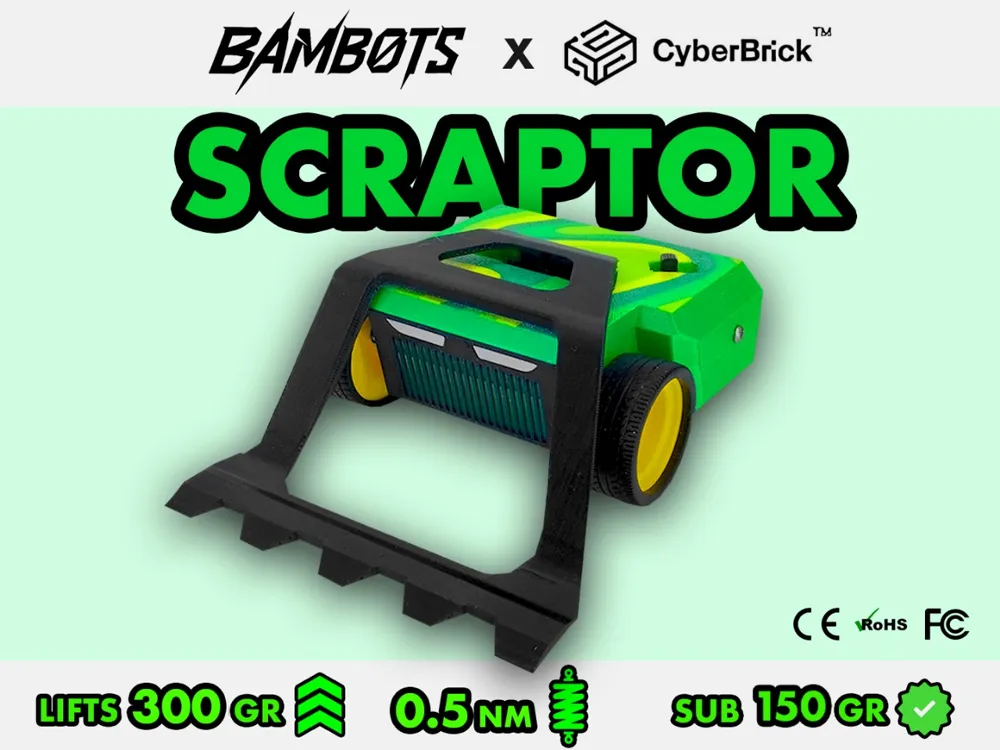
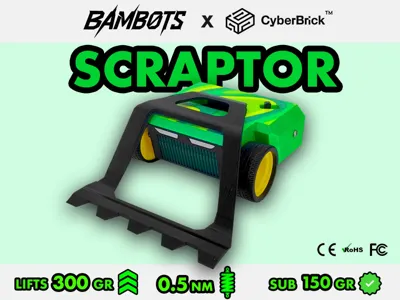
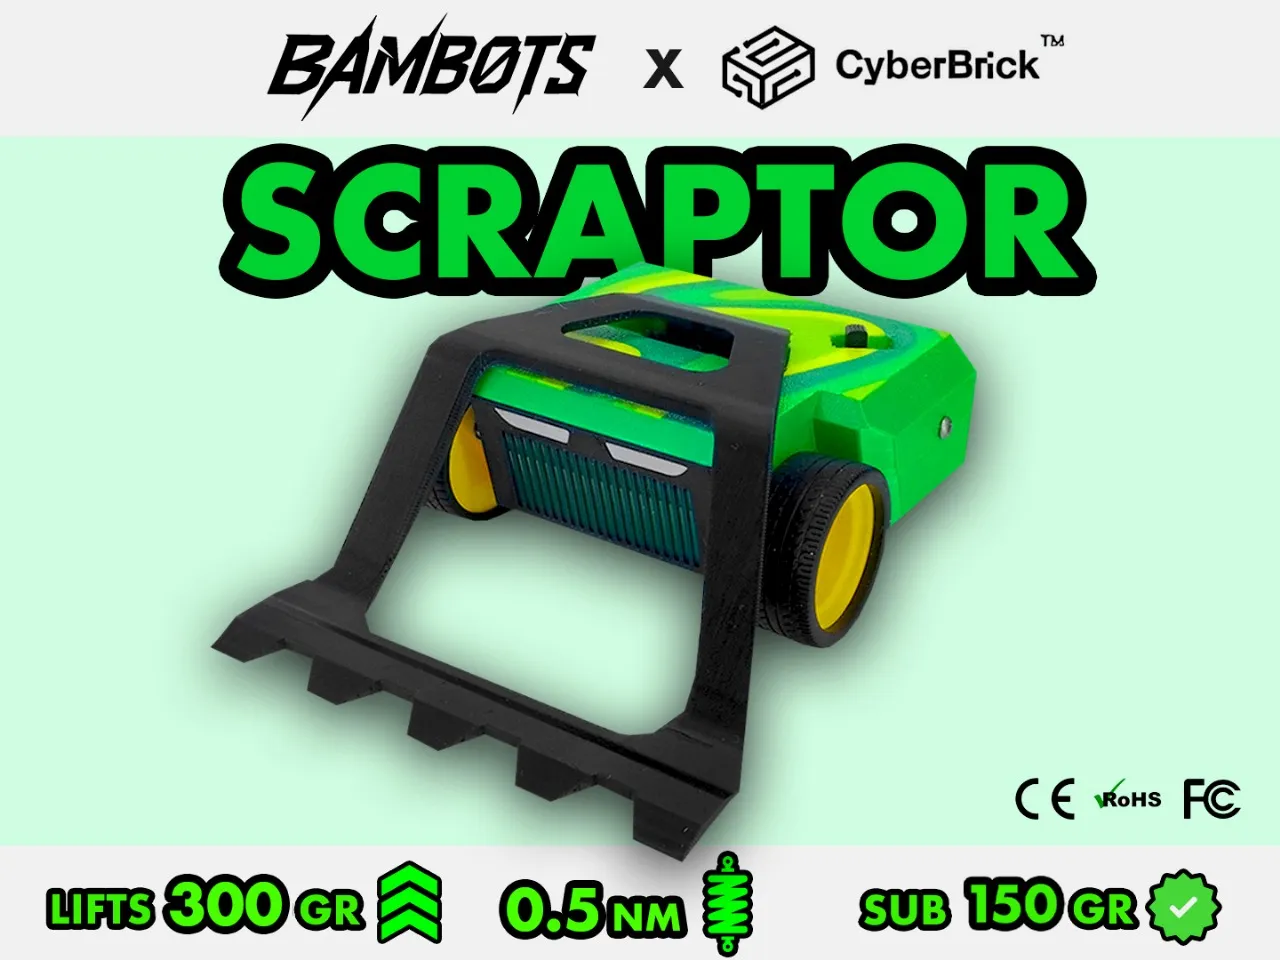
SCRAPTOR 150g Antweight Cyberbrick Combat Robot


Print Profile(1)

Bill of Materials







Description
Boost Me (for free)
FOR MORE AWSOME MODELS
🤖⚔️ EPIC ANTWEIGHT COMBAT ROBOT – READY FOR BATTLE! ⚔️🤖
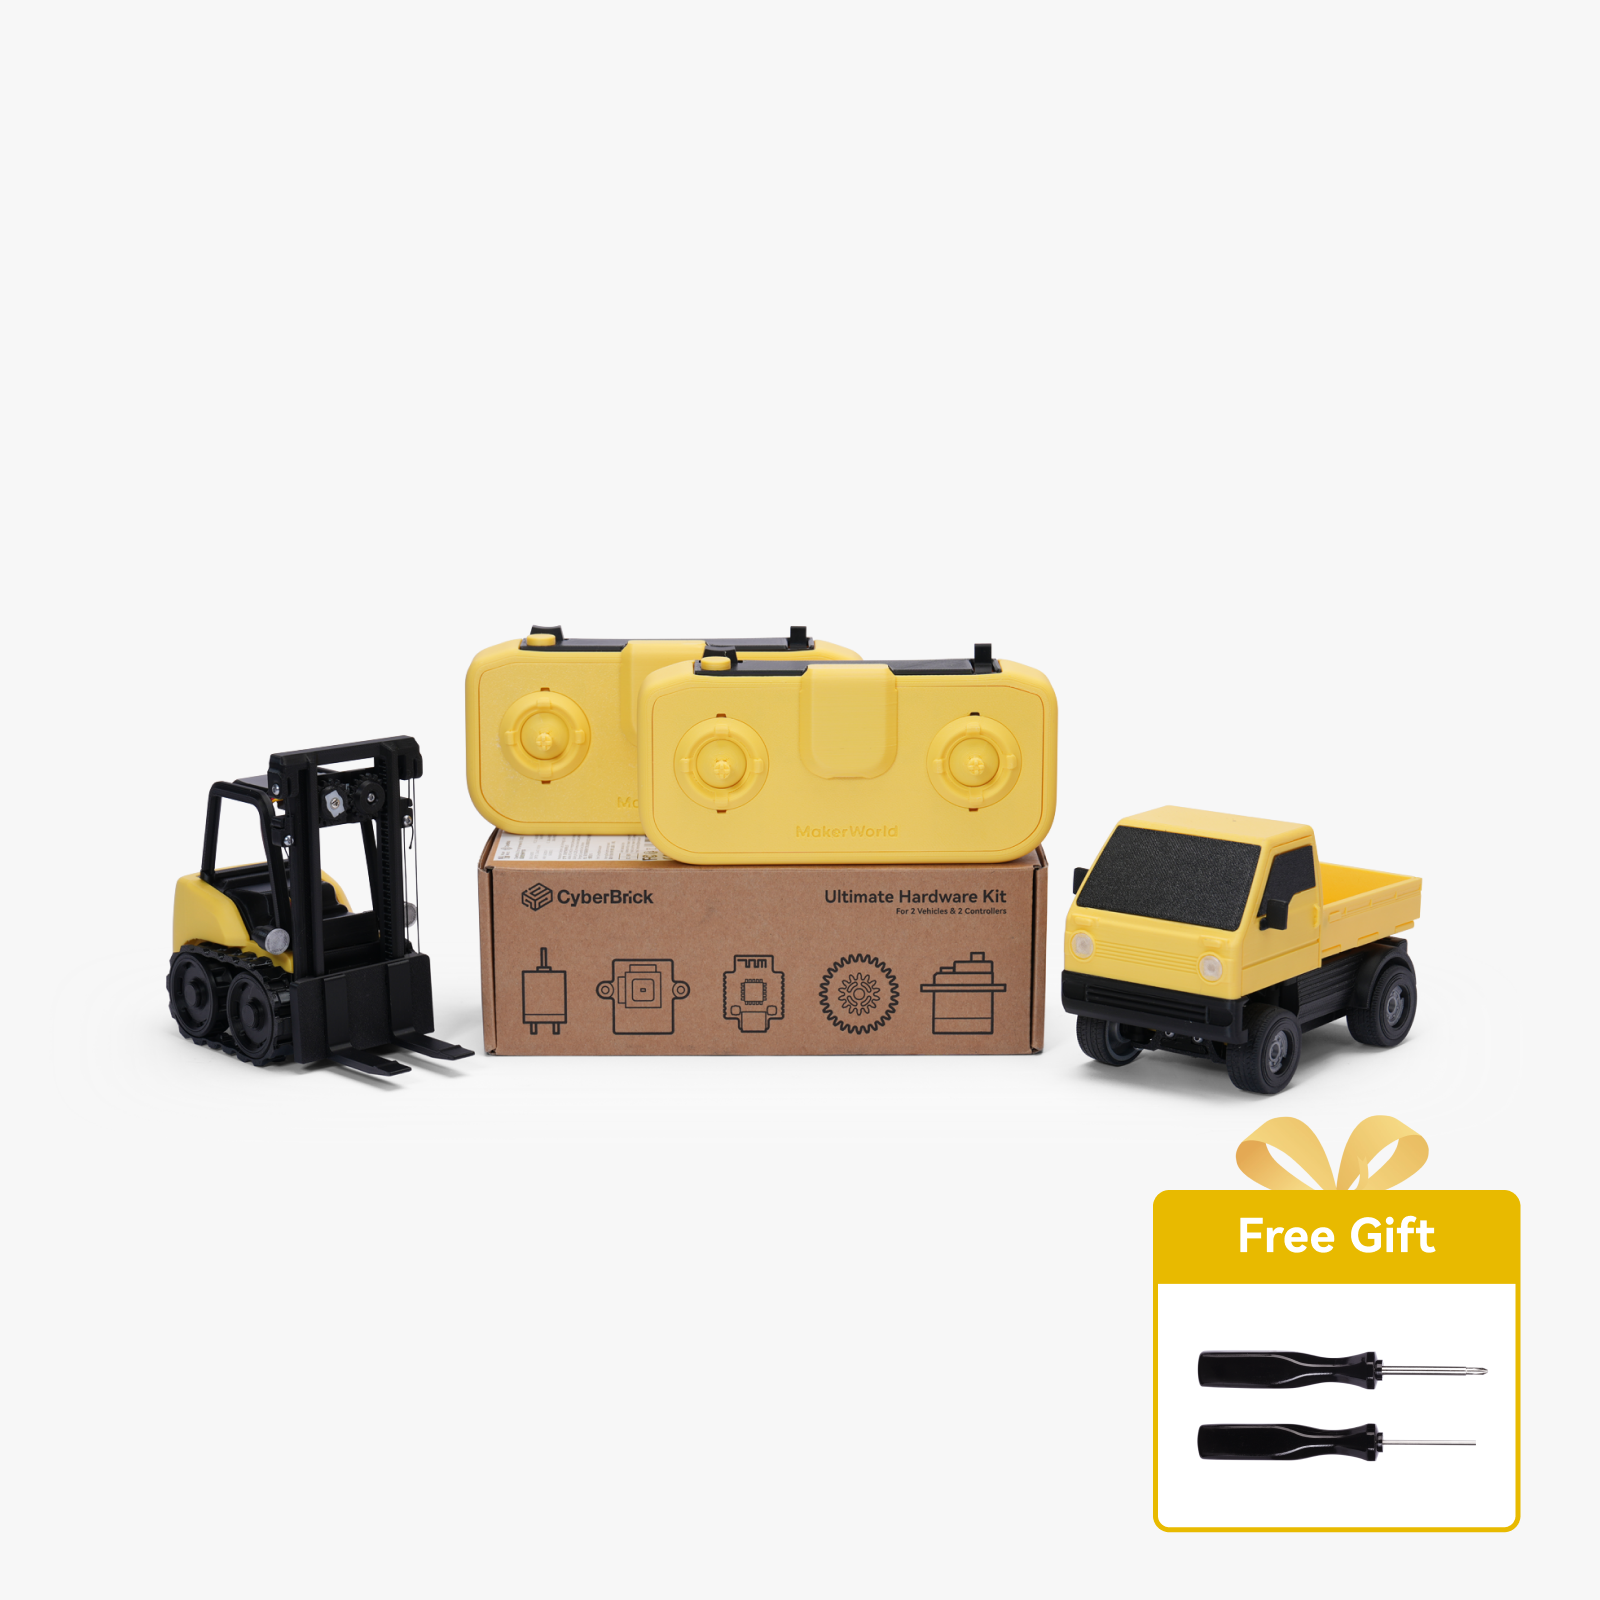
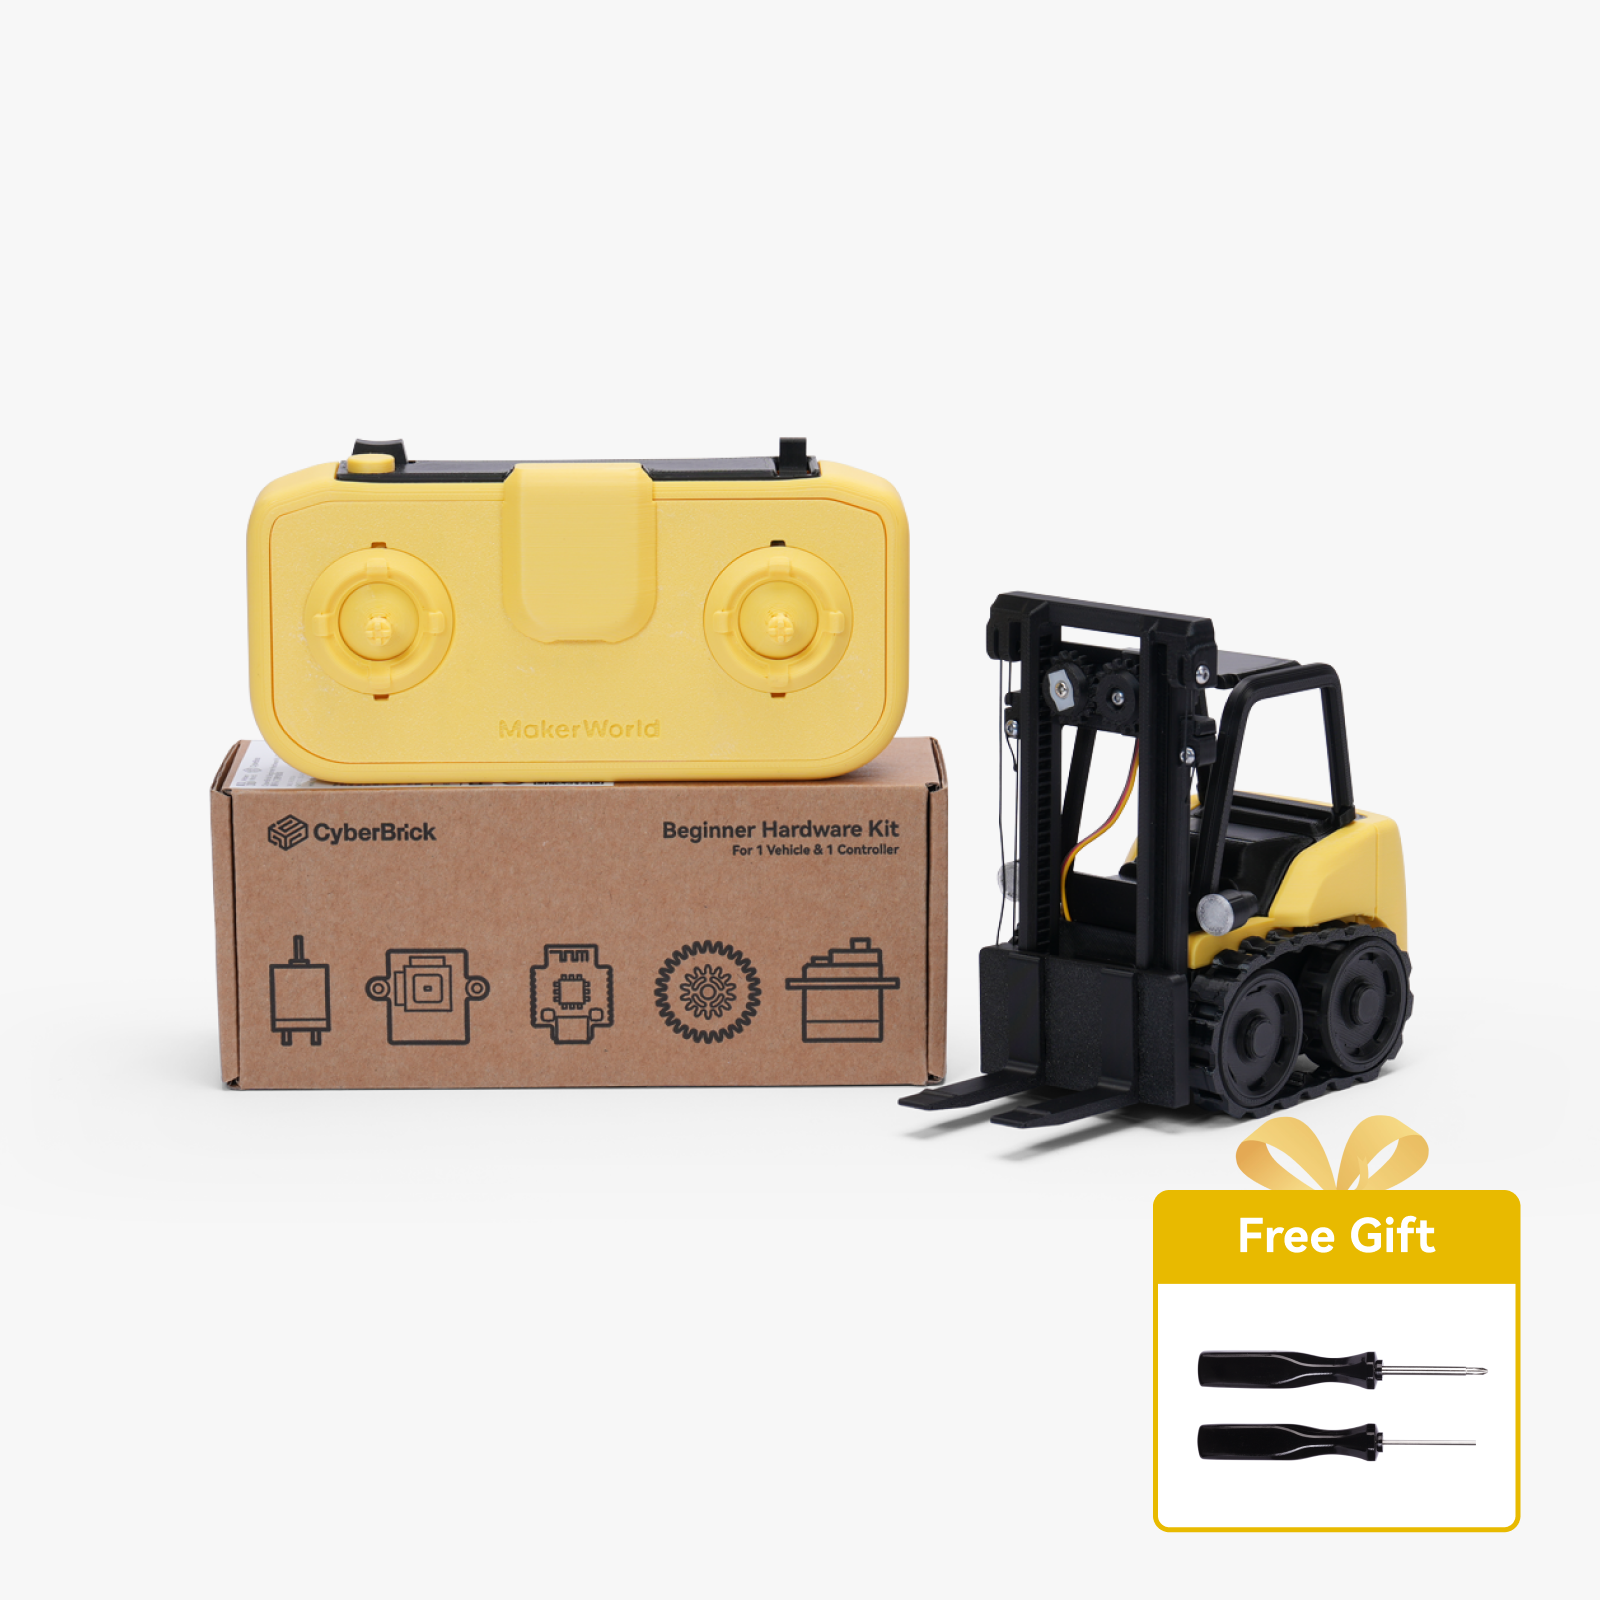
Conformal to 150g, 10cm³ regulations, running exclusively on the CyberBrick Ultimate Hardware Kit - ZK003 from BambuLab!
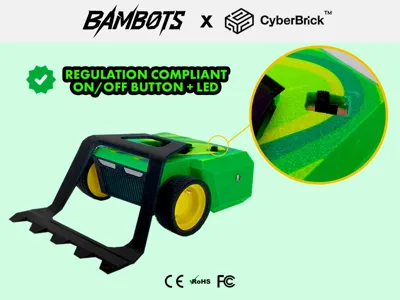
📜 ANTWEIGHT REGULATIONS COMPLIANCE:
✅ Max Weight: 150g
✅ Max Size: 10cm × 10cm × 10cm (10cm³)
✅ Regulated Electronics – No overpowered components!
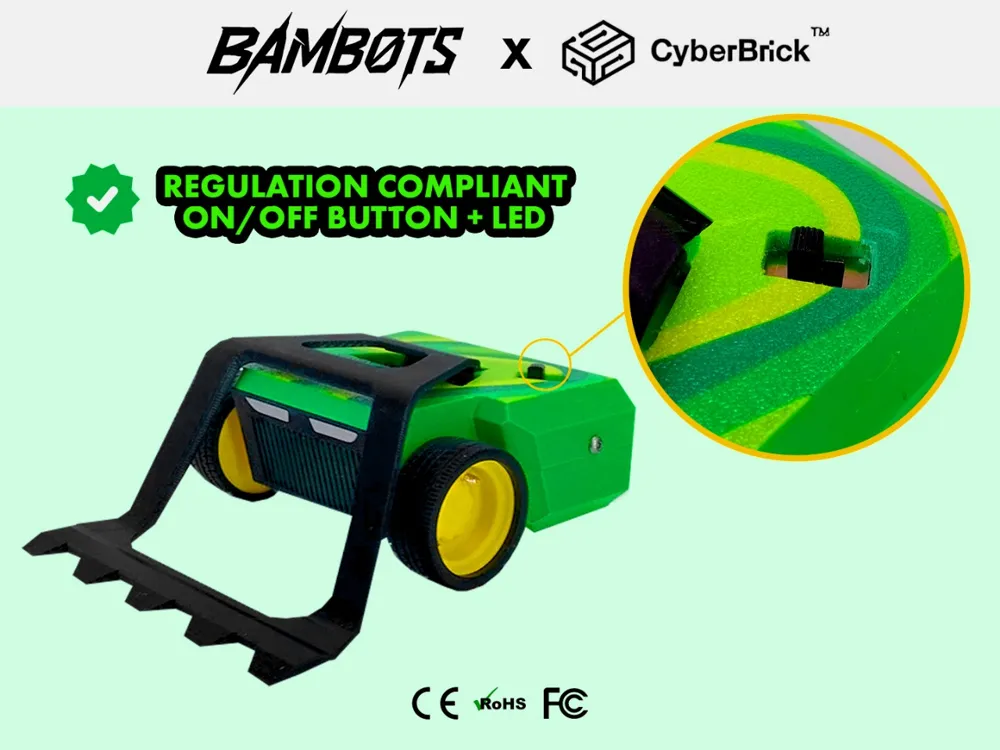
✅ Mandatory On/Off Switch – Safety first!
✅ No Liquids, Fire, or Entanglement Weapons – Fair play only!
Membership
JOIN THE BAMBOTS PROGRAM
🚜🚧SCRAPTER🚧🚜
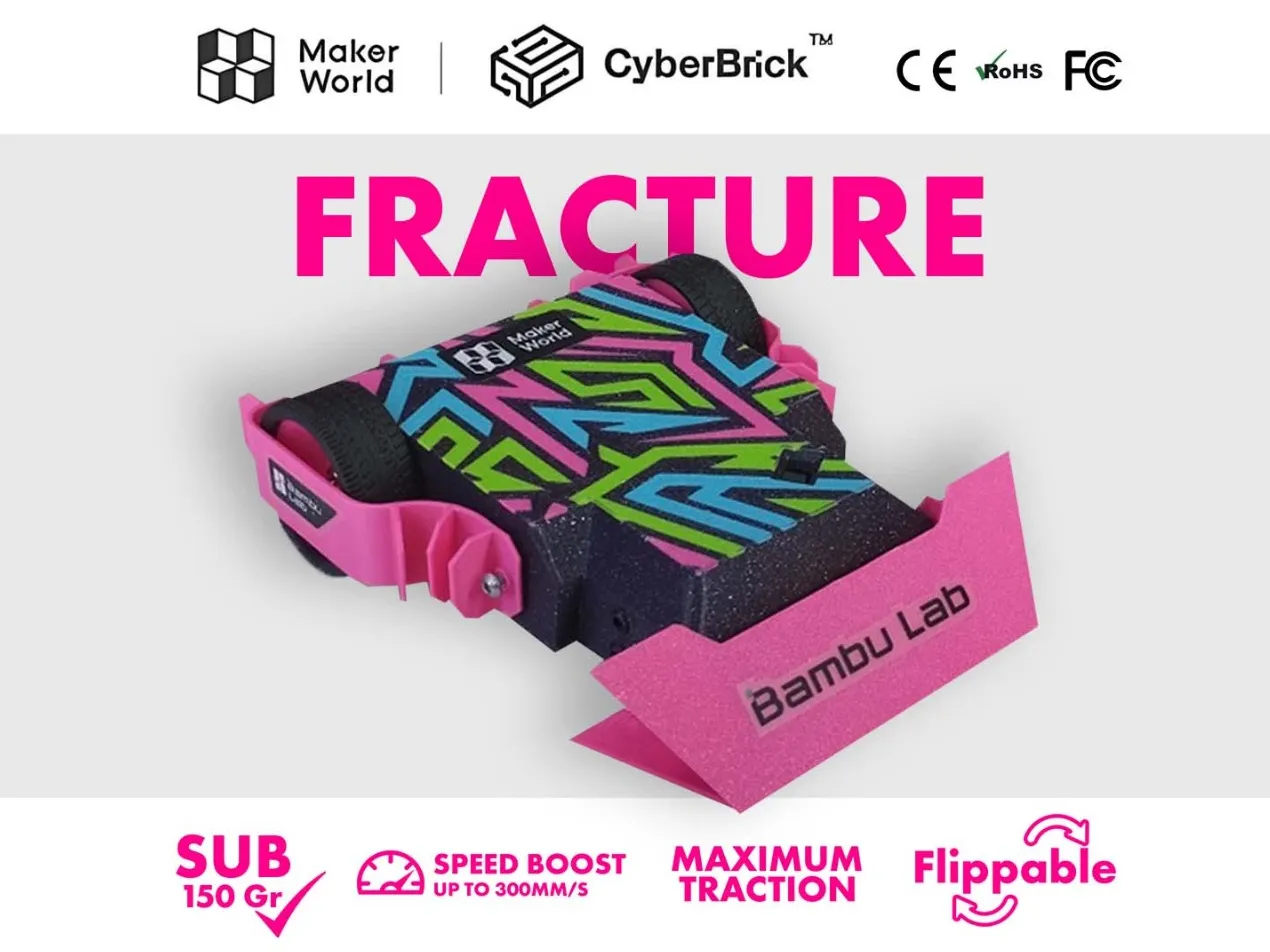
Push, flip, and dominate with this aggressive wedge bot!
🔥 KEY FEATURES:
✔ Lifting Bot – Ragdoll your opponents all around the arena!
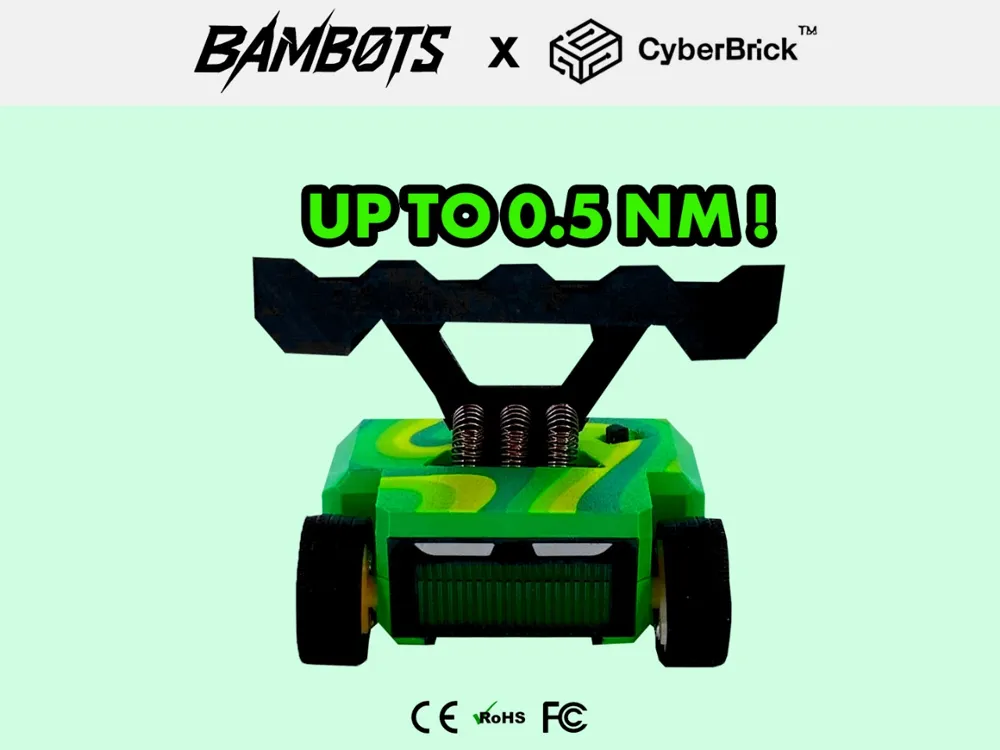
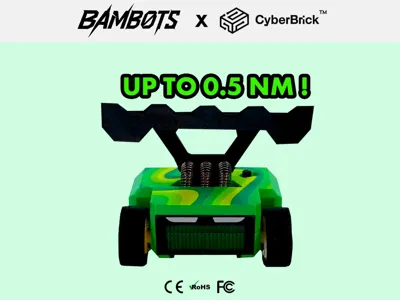
✔ Flipper – The lever doubles up as a Lifting and Flipping tool!
✔ Flippable – Use the Lever when upside-down to Flip back up!
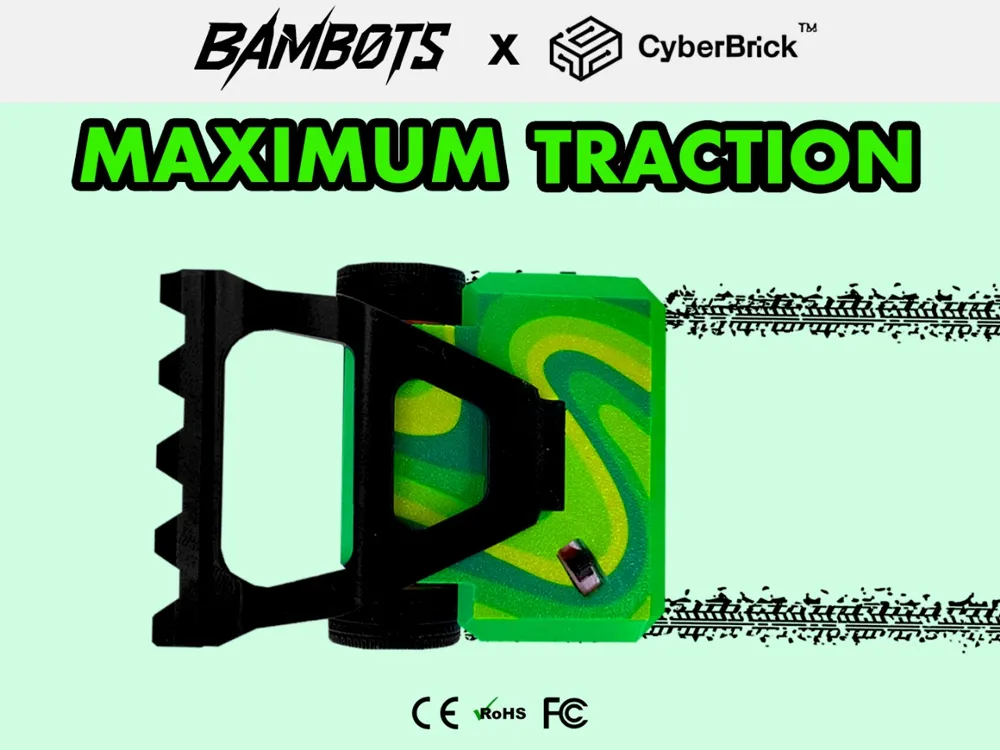
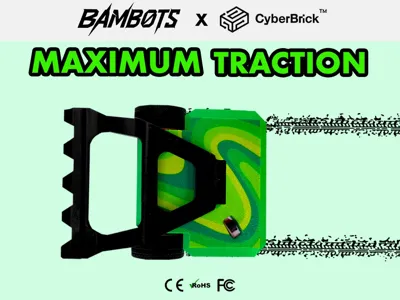
✔ High-Grip Tires – Maximum traction for unstoppable control!
(this build requires 3 360° sevos in total)
one extra sevo for the CyberBrick Ultimate Hardware Kit - ZK003
or two extra servos for the CyberBrick Beginner Hardware Kit - ZK004
🛠️ Effortless Assembly – Ready for Battle in Minutes!
This print-in-place model is designed for quick and hustle-free assembly. Simply follow these steps:
- 🚗 Print the Model
- Print the components using your preferred filament type—no supports or complex post-processing required.
- 🔌 Wire Management
- Connect all electronics packing all the cables tightly in the avaliable space.
- ⚡ Install Electronics
- Place the receiver in place (no screws needed).
- Place the battery in place (no screws needed).
- Fix the on/off switch in its designated position (with an M2.5 screw).
- ⚙️ Attach Components
- Mount the CAM wheel onto the servo motor (make sure the servo motor arms are trimmed to the CAM's circumference) .
- Screw the CAM servo in place.
- Screw the wheels to the servo arms.
- Place the wheel servos in place.
- put a piece of filament into the hinge after installing the lever in place.
- 🔩 Secure the Chassis
- Close the robot’s body and fasten it cover with 4* M2.5 screws.
- Glue the “3 spring base” or “4 spring base” to the robot and to the Lever.
- Place the 6 or 8 springs (2 cocentric springs in each hole).
To recharge the battery, unplug the cable connecting the switch and the reciever and make sure the switch is on to charge!
✅ Done! Your combat robot is now arena-ready.
Check other models here
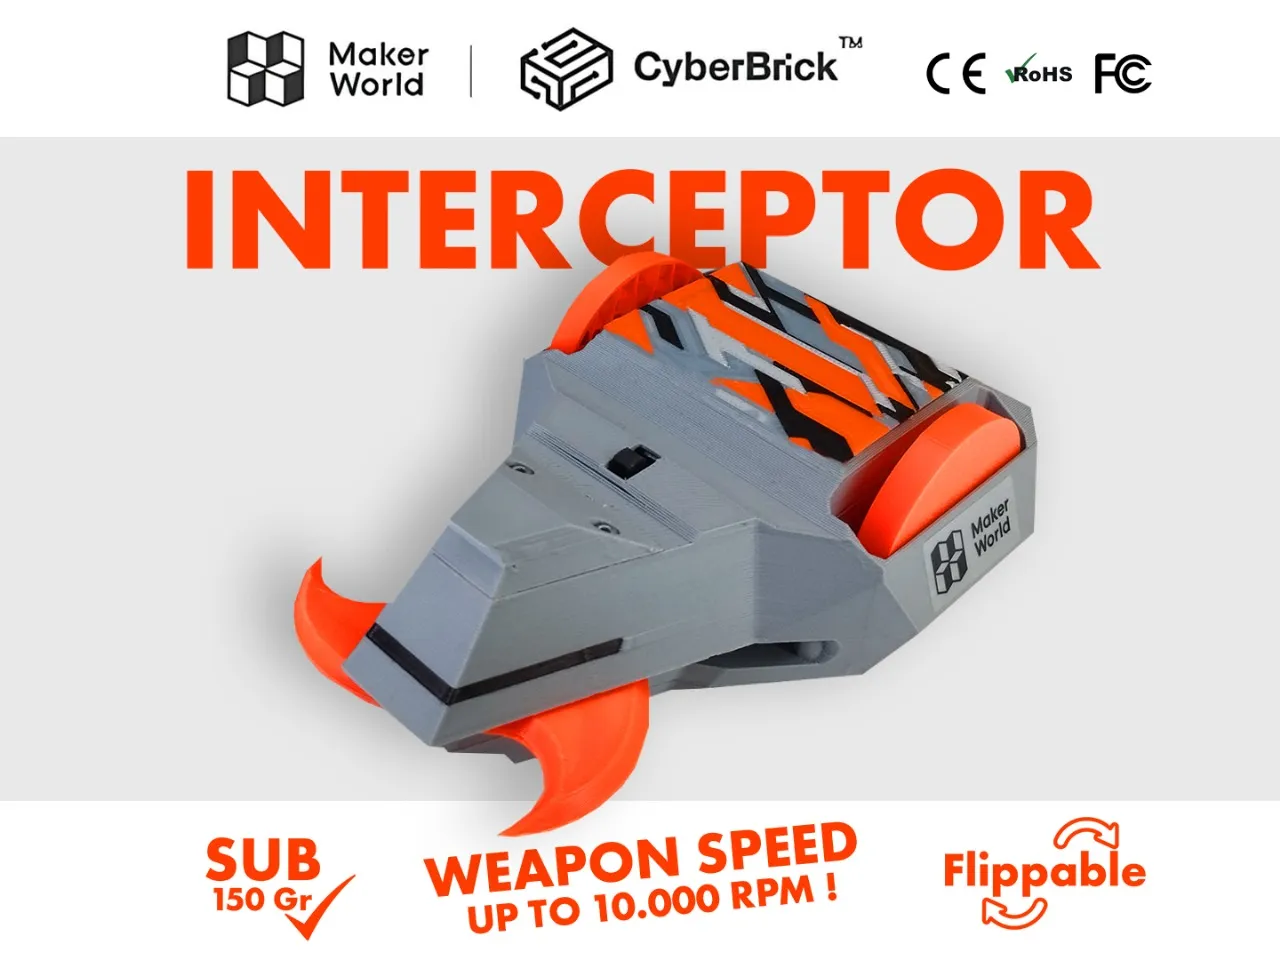
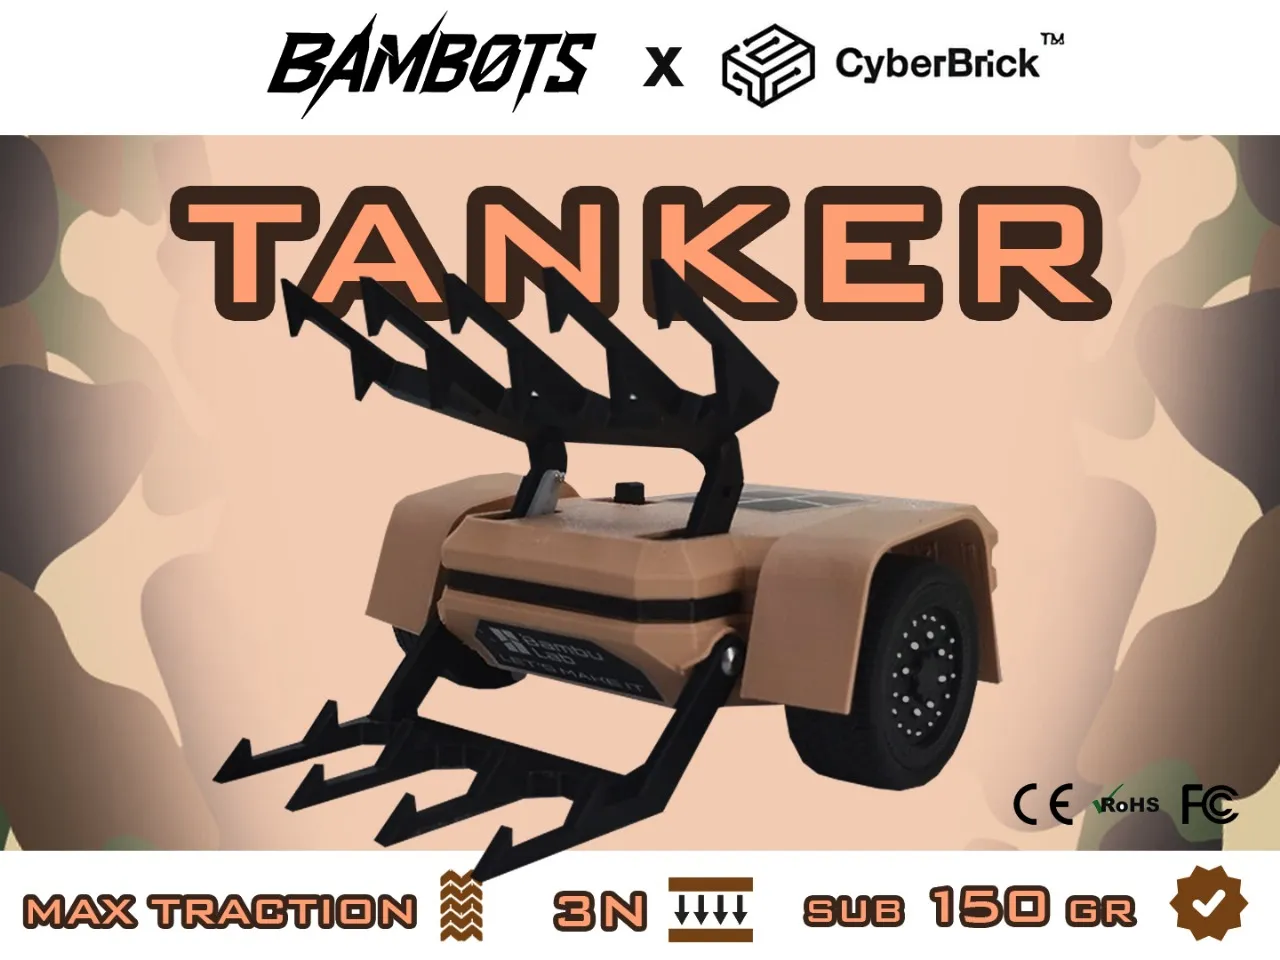
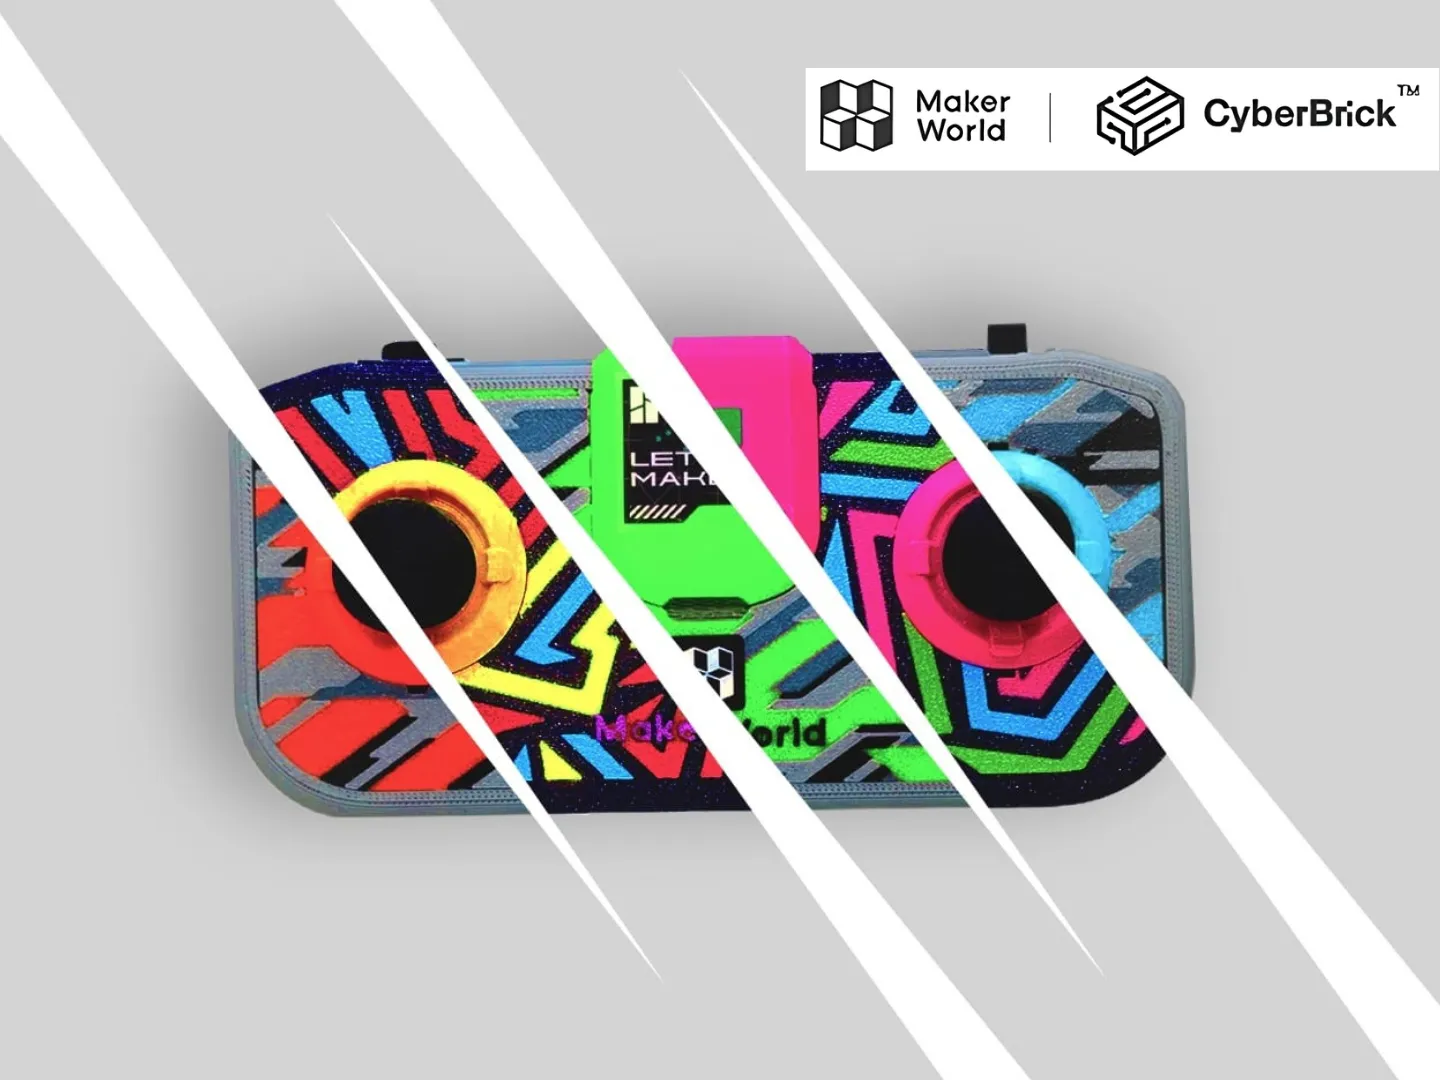
STAY TUNED FOR MORE…

License

You shall not share, sub-license, sell, rent, host, transfer, or distribute in any way the digital or 3D printed versions of this object, nor any other derivative work of this object in its digital or physical format (including - but not limited to - remixes of this object, and hosting on other digital platforms). The objects may not be used without permission in any way whatsoever in which you charge money, or collect fees.


Comment & Rating (53)