The Ultimate Wax Seal Maker - Promised!


Print Profile(2)


Description
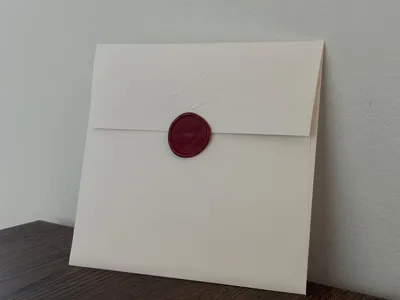
Everything you need to know to create a wax seal with your 3D Printer, promised!
After testing countless methods (and failing more times than I’d like to admit), I finally figured out the perfect way to make wax seals—just in time for our wedding invitations. Now I’m sharing everything I learned so you can skip the trial and error!
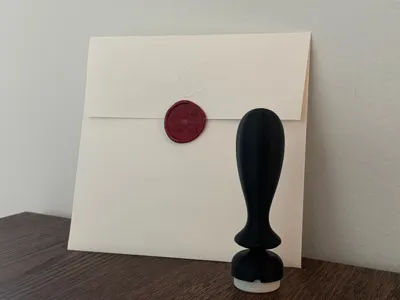
This guide includes everything you need to start creating beautiful wax seals using your 3D printer!
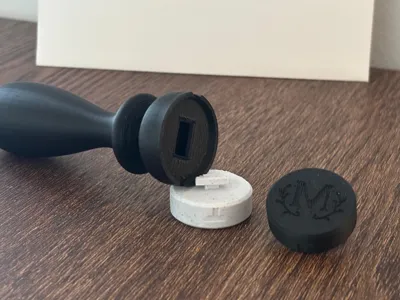
I’ve provided every letter of the alphabet and several seal designs in the print profile. Want something custom? Use the Customizer to create your own text-based seals. (Image-based designs aren’t supported yet, since uploading SCAD files with image functionality isn’t possible right now, or at least I don't know how to upload that.)
How to Use Your 3D Printed Seal:
Printing Tips:
- For best results, print the seal facing upward at a 45-degree angle (check the prepared print beds for reference).
Before Stamping:
- Spray your seal lightly with silicone spray to prevent wax or hot glue from sticking.
- Use a coolpad to chill the seal before use—this helps create clean impressions.
Stamping Instructions:
- Place a puddle of wax or hot glue onto baking paper or a silicone mat (the kind used for baking).
- Let it sit for about 20 seconds, or until it starts to harden slightly.
- Press your seal gently but firmly into the wax.
- Wait until the wax has completely cooled before removing the seal—this ensures a clean release.
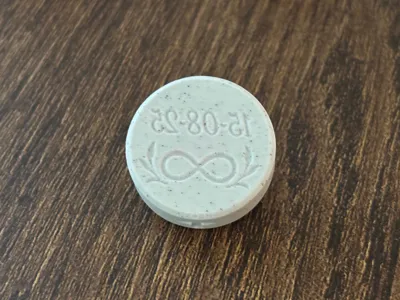
Enjoy your custom-made seal! 🕯️🖋️
Comment & Rating (17)