
VHS Tape Snap Case - Satisfying Mechanism!
Print Profile(1)

Description
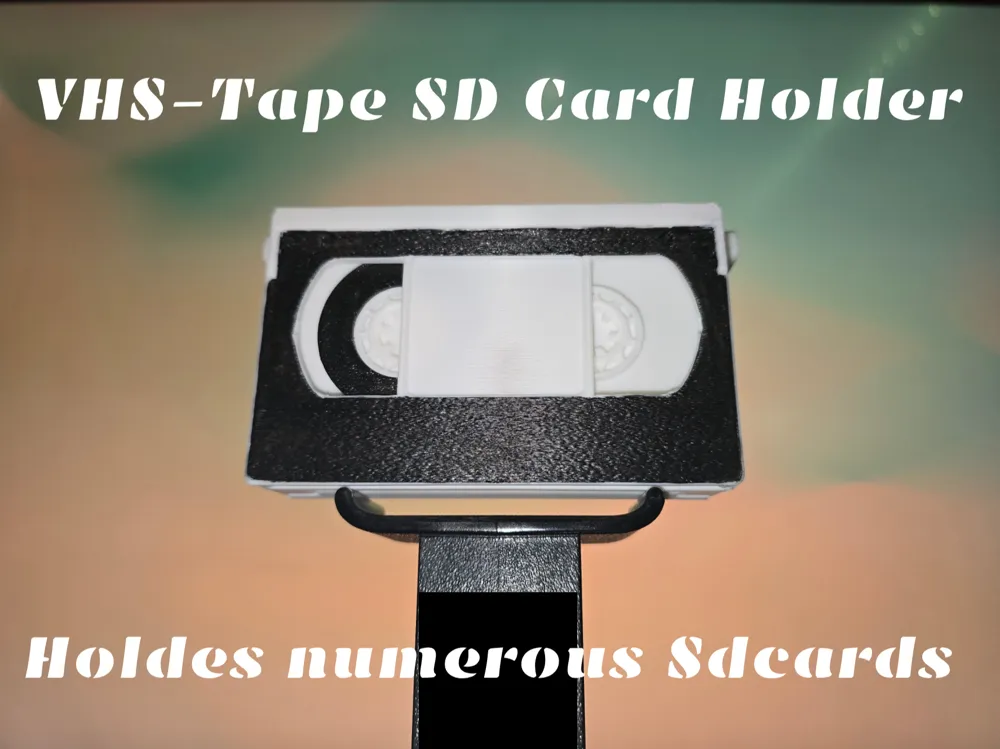
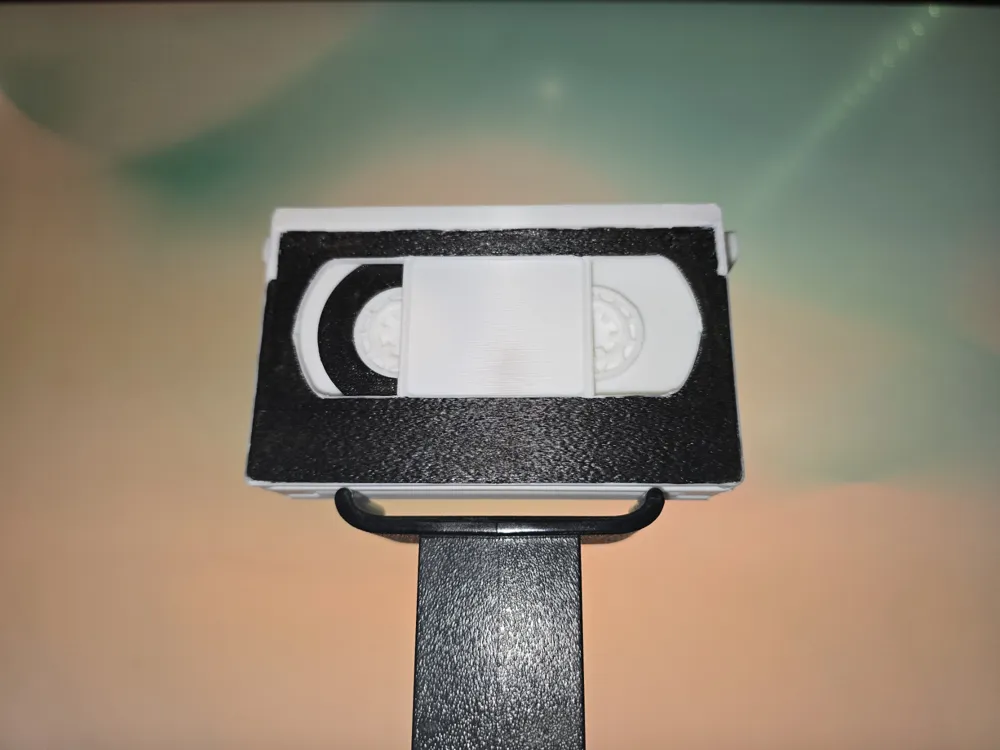
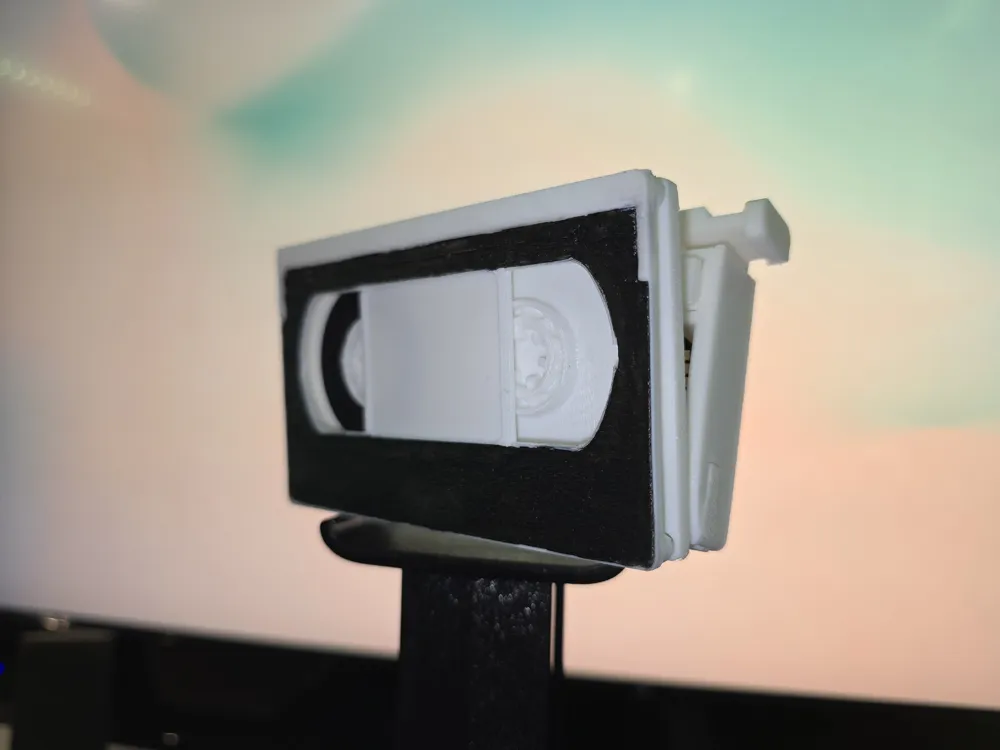
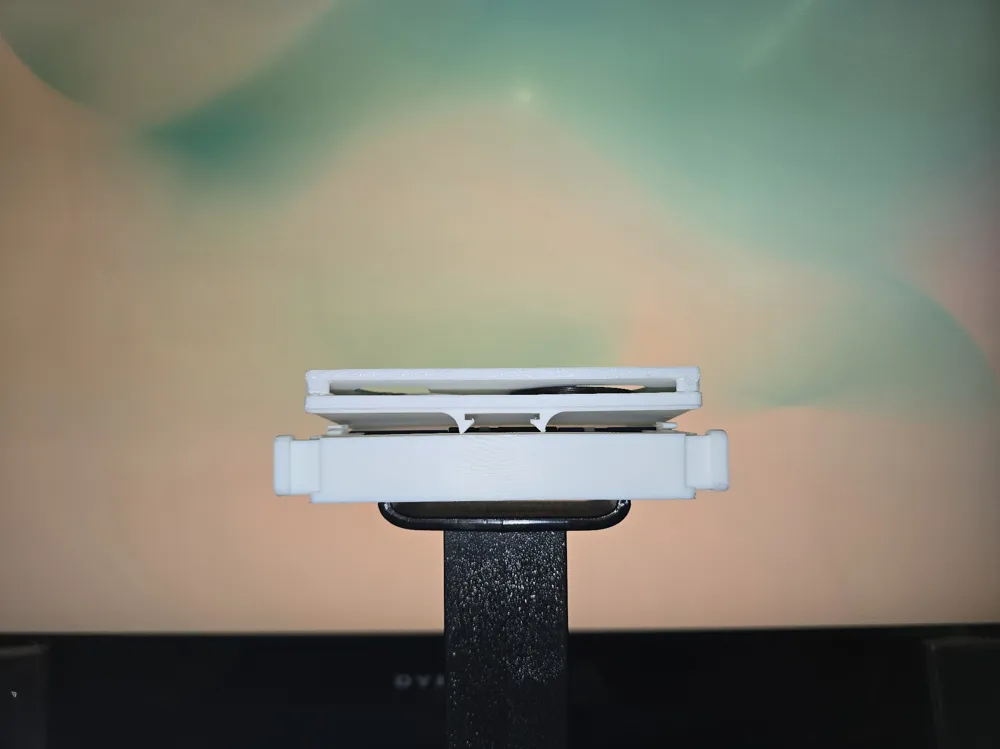
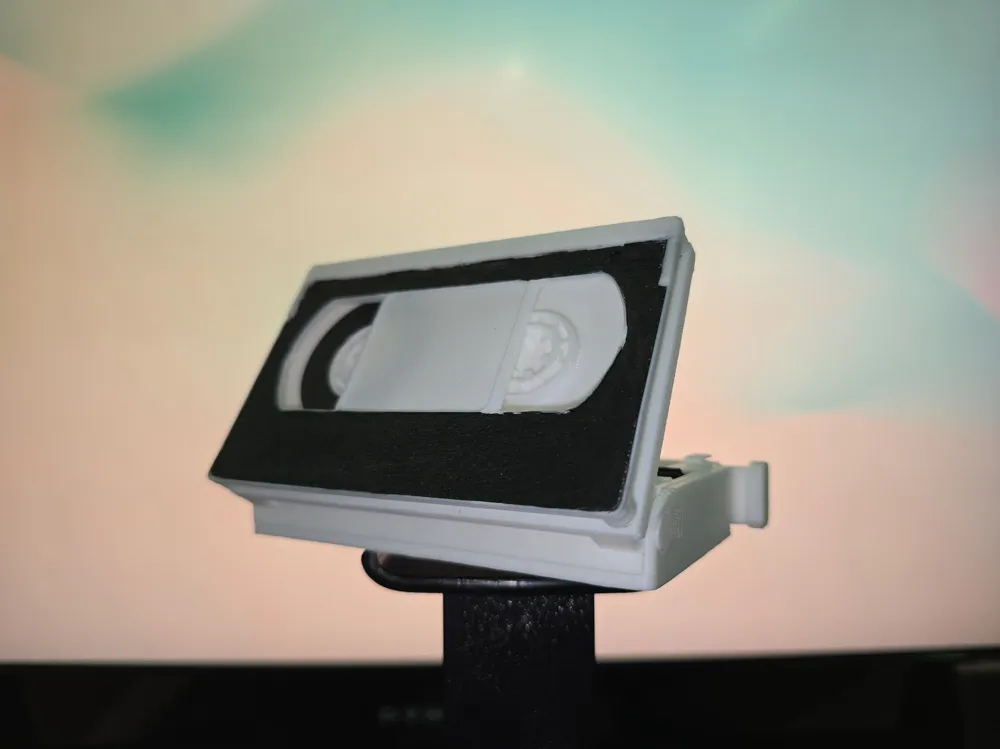
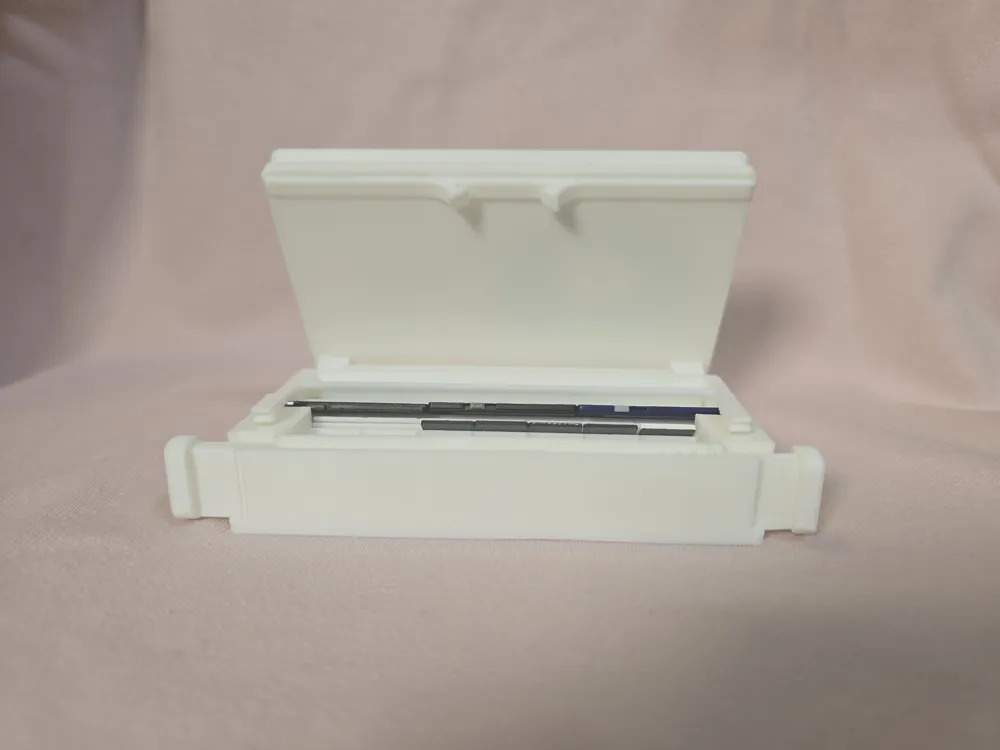
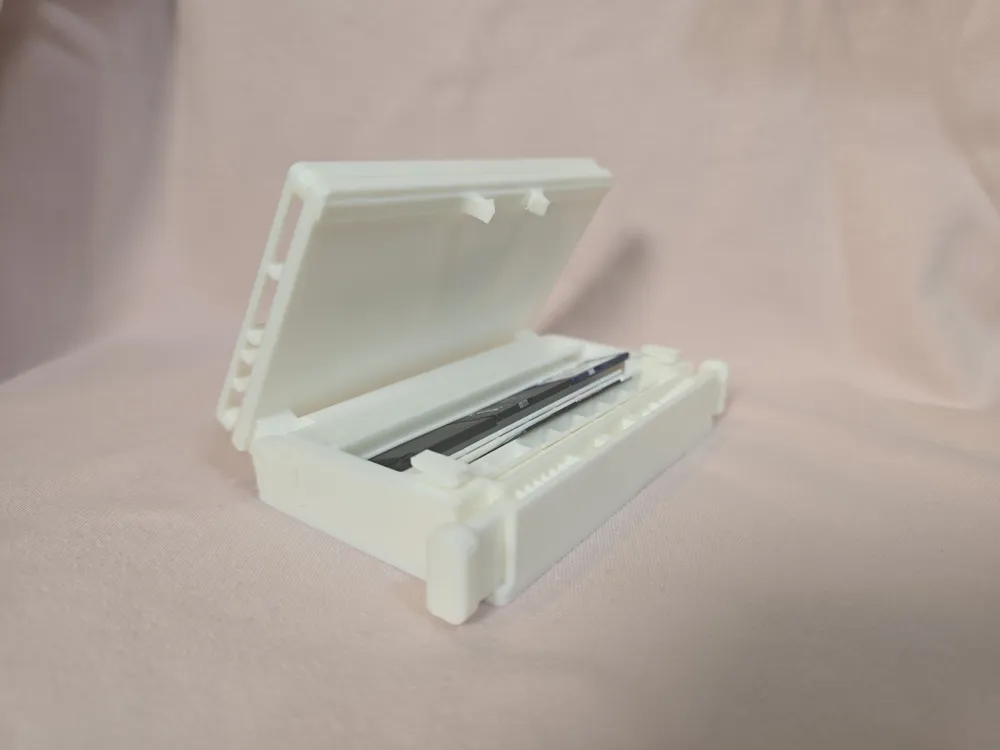
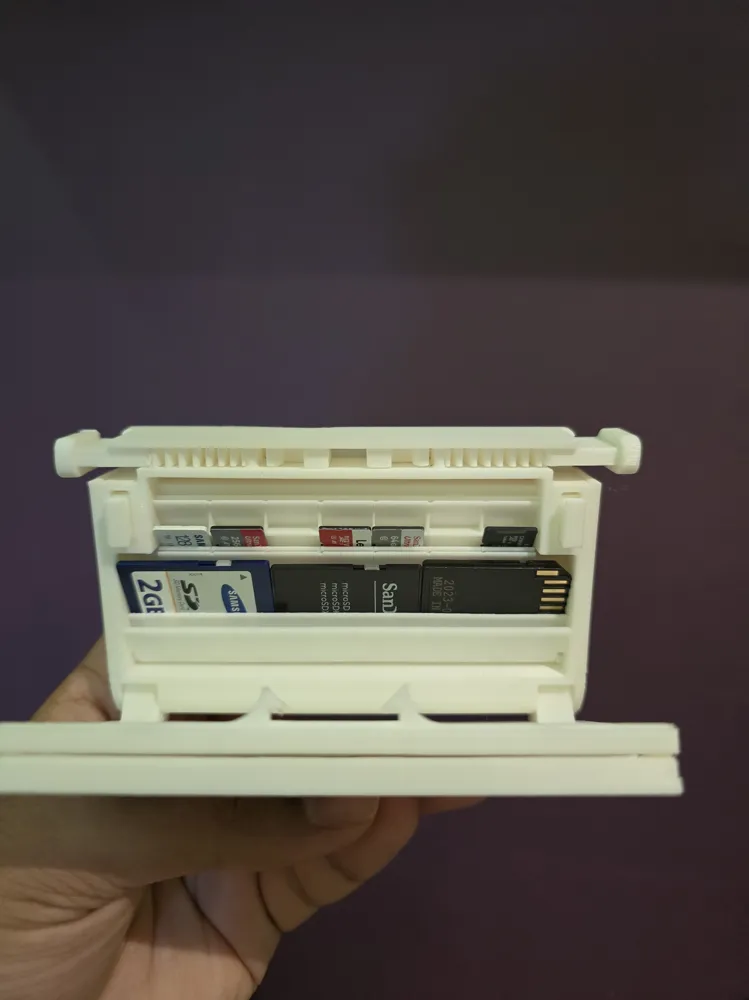
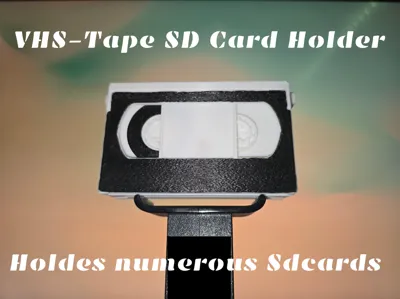
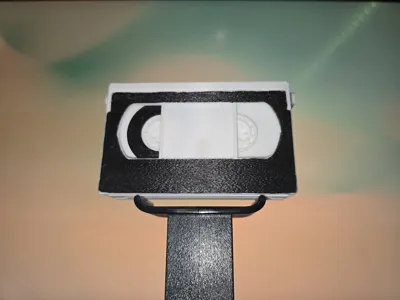
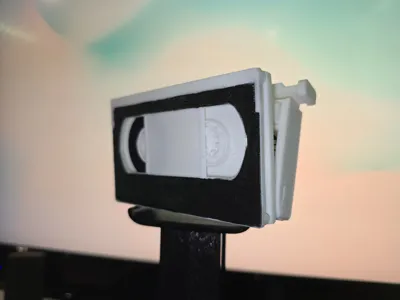
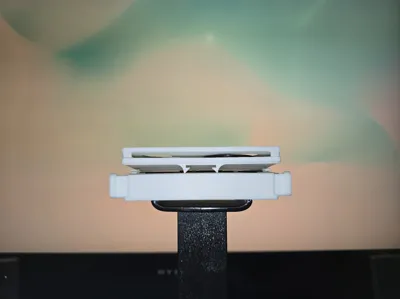
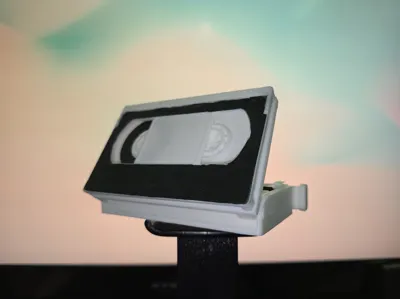
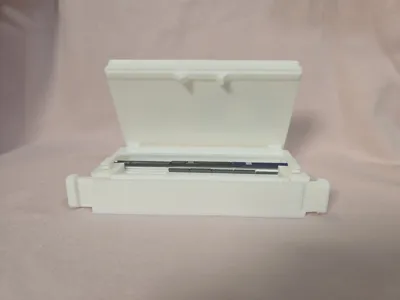
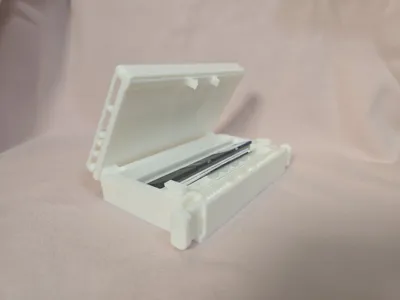
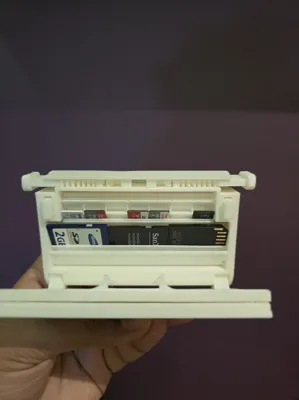
A retro-inspired SD card holder modeled after a classic VHS tape. Features a dual-spring latch system and internal springs that push the lid open when released, creating a satisfying snap action. Holds multiple SD cards securely, even when inverted. The design includes detailed layered components that visually replicate tape reels, hubs, and cassette faceplate geometry. Comes with modular print profiles for single or multicolor setups.
Labelled Parts:
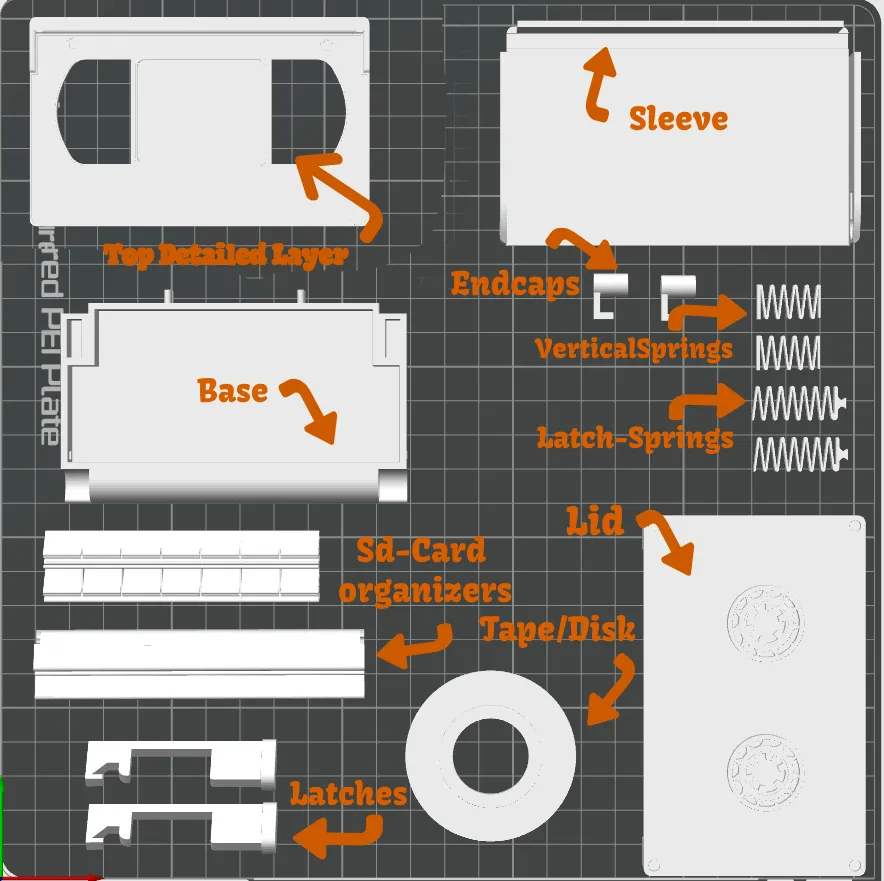
Assembly instructions:
Step 1: Take the sdcard organizers, and place them inside the base, IMPORTANTLY, ensure that the longer organizer is angled towards the latch, and ensure that it is also slide as far back as it can go, which is all the way, it should also sit flat. Ensure that the smaller one is angled so that when you insert the sdards, they're angled towards the latch.
Step 2: Take the latch springs, use some double sided tape, or some type of glue (not hot glue), and place it on the front side of the spring
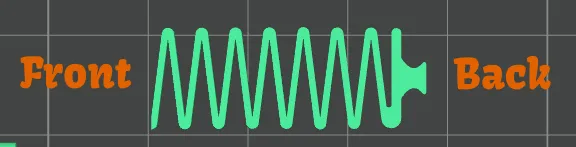
Step 3: Slide the Latch spring inside the latch, note, you will have to compress the spring slightly in order for it to fit, make sure that it is positioned in the way that it is shown in the below image. The adhesive that you choose should hold the spring securely, there shouldn't be any thing leaking out of the sides.
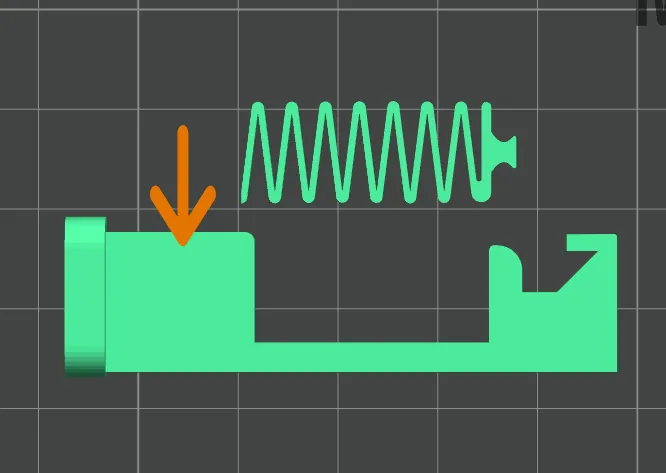
Step 4: Repeat with the other latching spring, and latch.
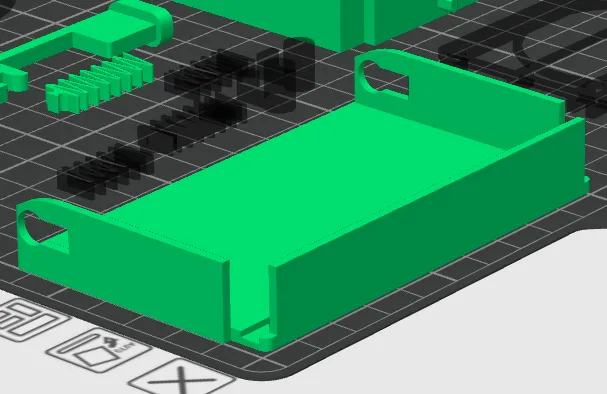
Step 5: Take the sleeve, you'll notice there there are three walls, two on the short side, one on the long side, the one on the long side also has an indent that goes throughout the entire length of that side. You will want to slide in the latches, with the springs in them, into that indent.
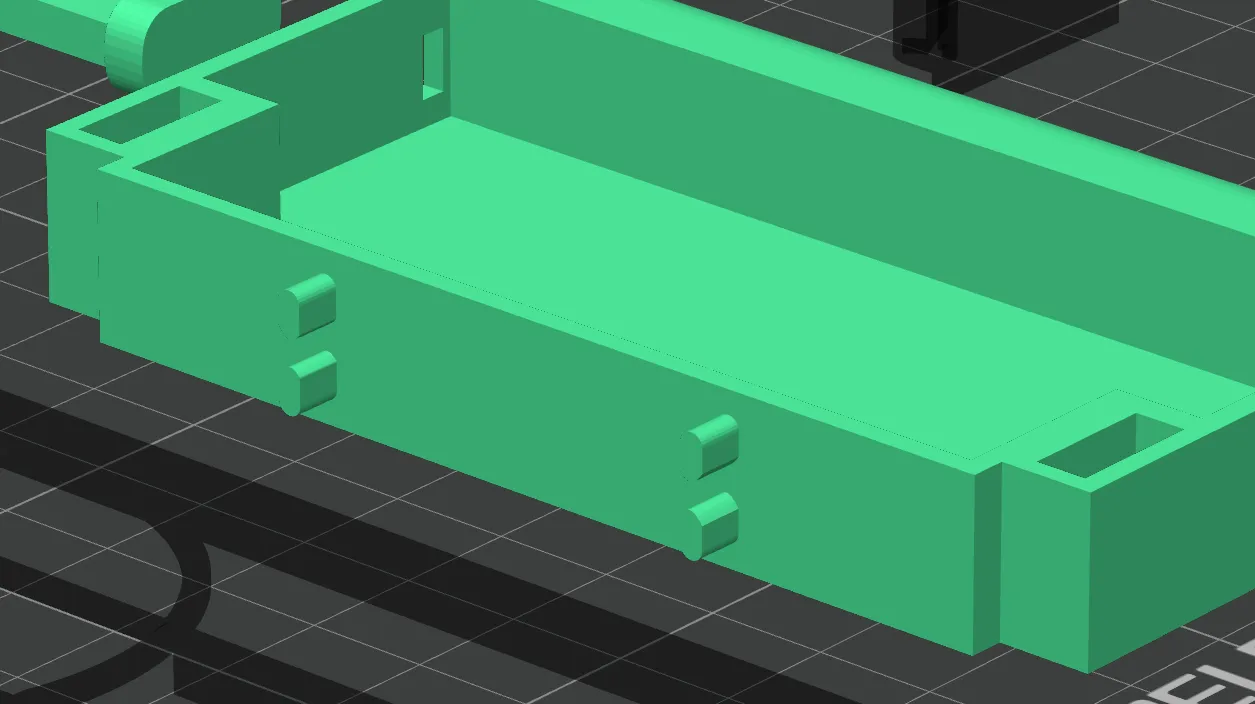
Step 6: If you look at the image below, you will notice on the back side of the latching spring, there is an extruded notch. Then if you look at the front of the base, you'll notice four more extrusions, two on each side. The back part of the spring is meant to slide in between those extrusions, one spring on each side.
Slide the base into the sleeve, align the latching springs with those extrusions. the base should slide all the way into the sleeve.
Step 7: Insert the lid, if you're not sure where to insert it, take a look at the back side of the base, you'll see there is a spot for the extruding holes that are on the lid to be placed in.

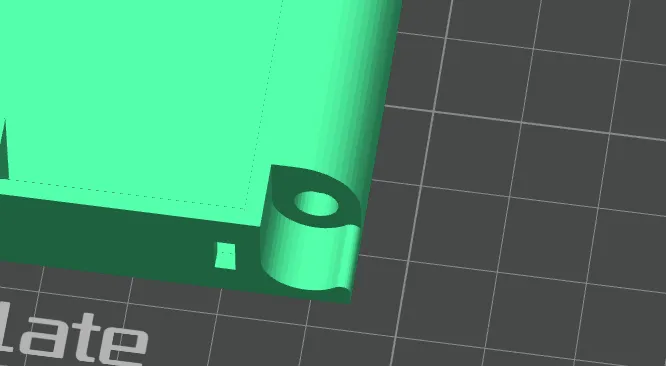
Step 8: At this point, you can take the endcaps and slide them into the holes on the sleeve. They should go all the way in. If the end caps do not align, that means that the sleeve wasn't printed correctly.
Step 9: take the tape/disk, and insert it into the left hub, you can also paint it black for a more realistic effect (if it already isn't black), Then you can insert the top detailed layer, aligning it with the holes present on each corner of the lid. You will need to use super glue for this.
Step 10: Insert your Sdards!!
License

You shall not share, sub-license, sell, rent, host, transfer, or distribute in any way the digital or 3D printed versions of this object, nor any other derivative work of this object in its digital or physical format (including - but not limited to - remixes of this object, and hosting on other digital platforms). The objects may not be used without permission in any way whatsoever in which you charge money, or collect fees.


Comment & Rating (0)