
TileJigs | Brick Minifigure Jig for EufyMake E1
Print Profile(3)


Description
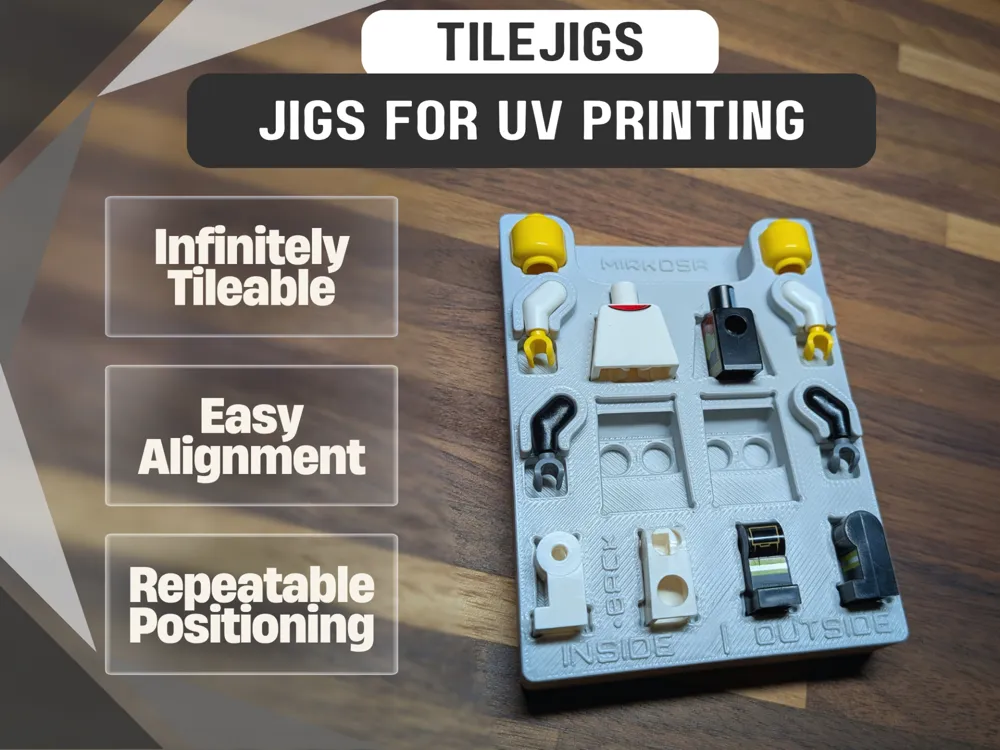
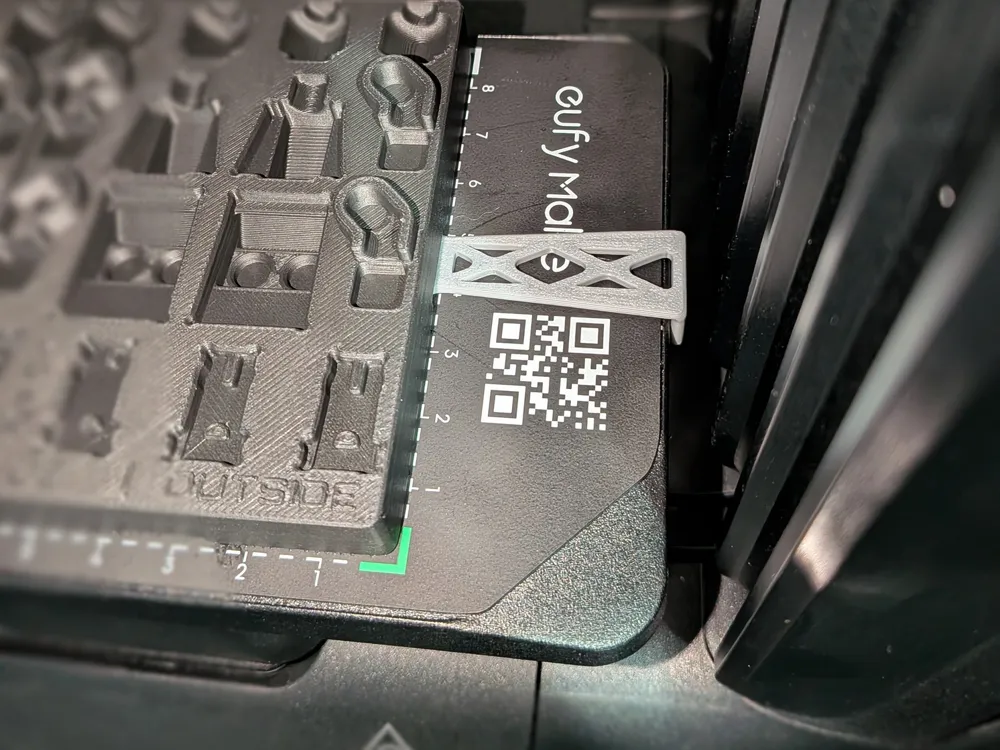
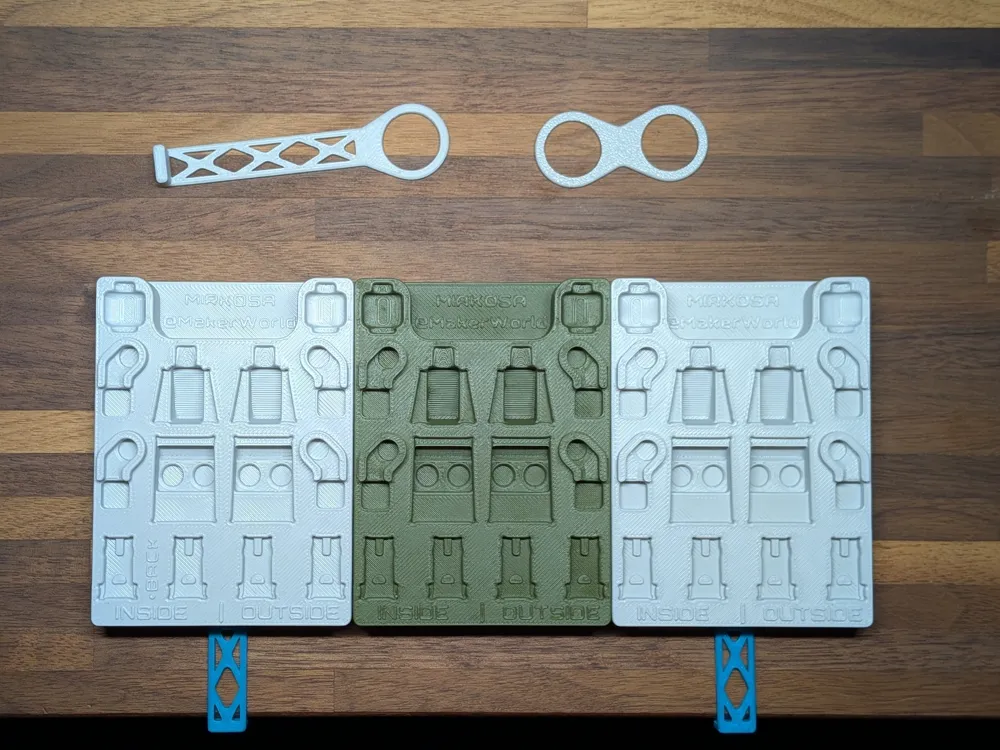
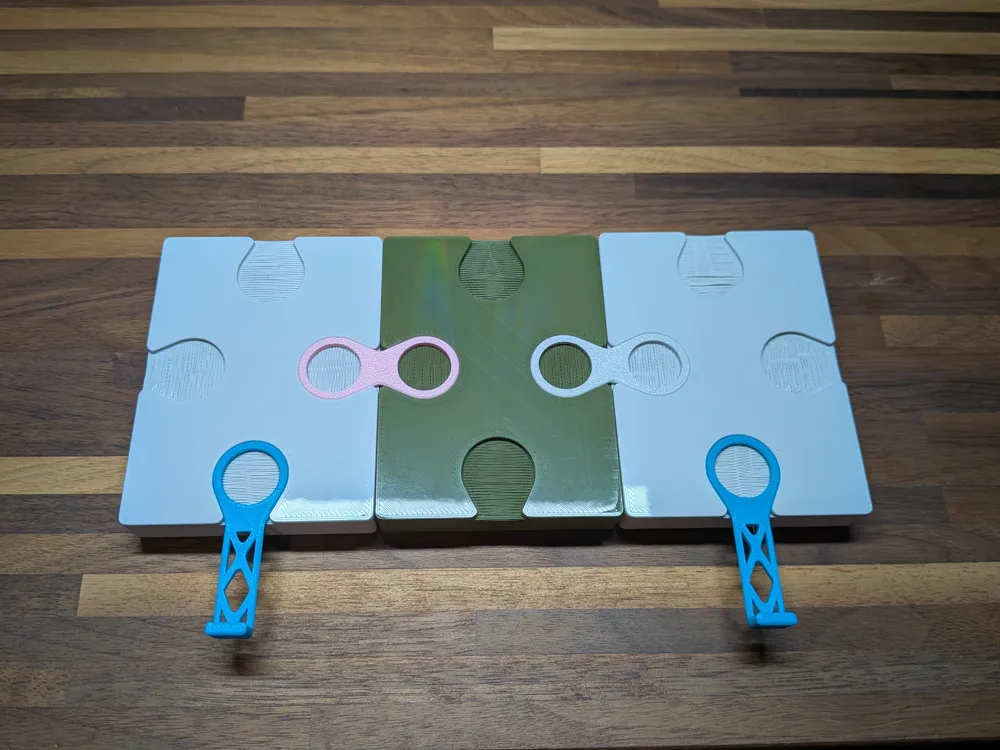
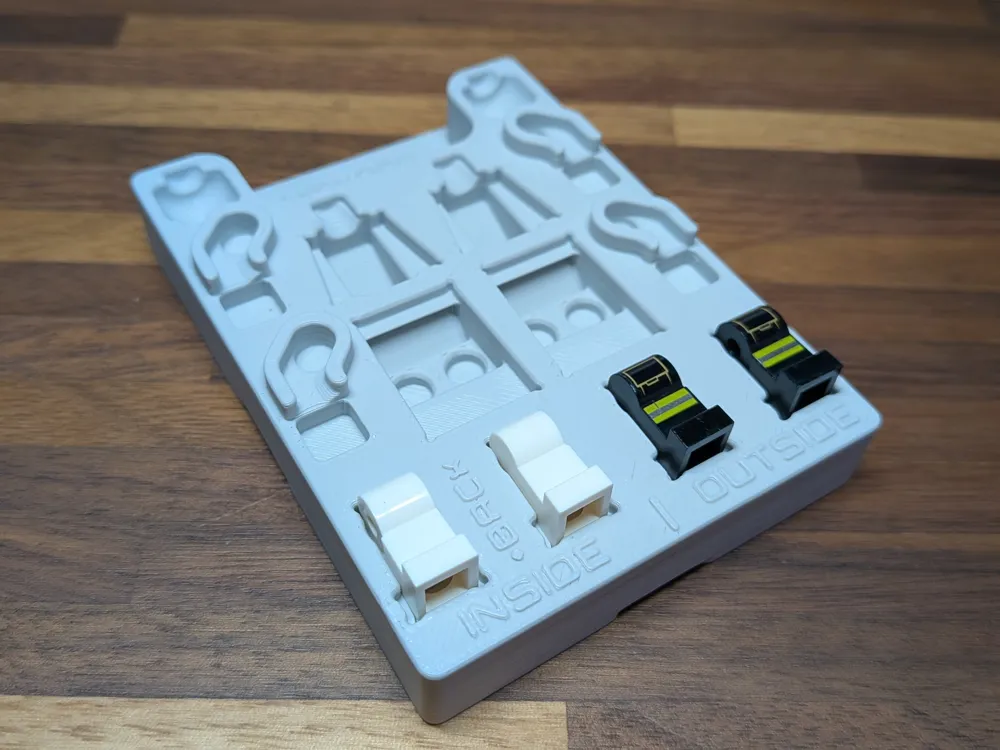
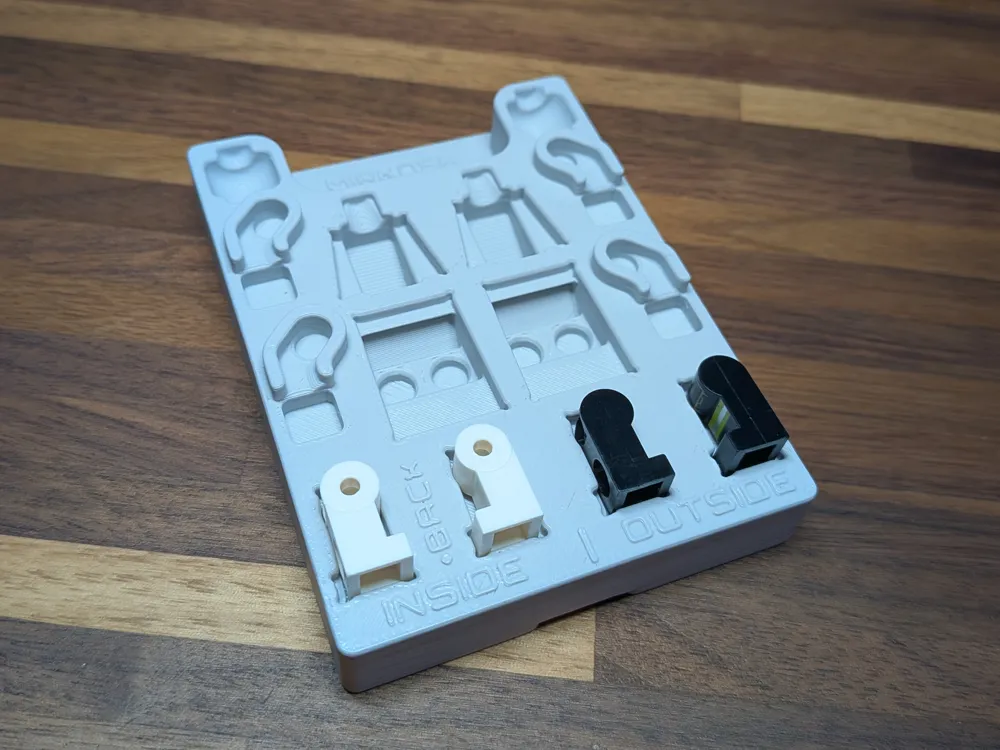
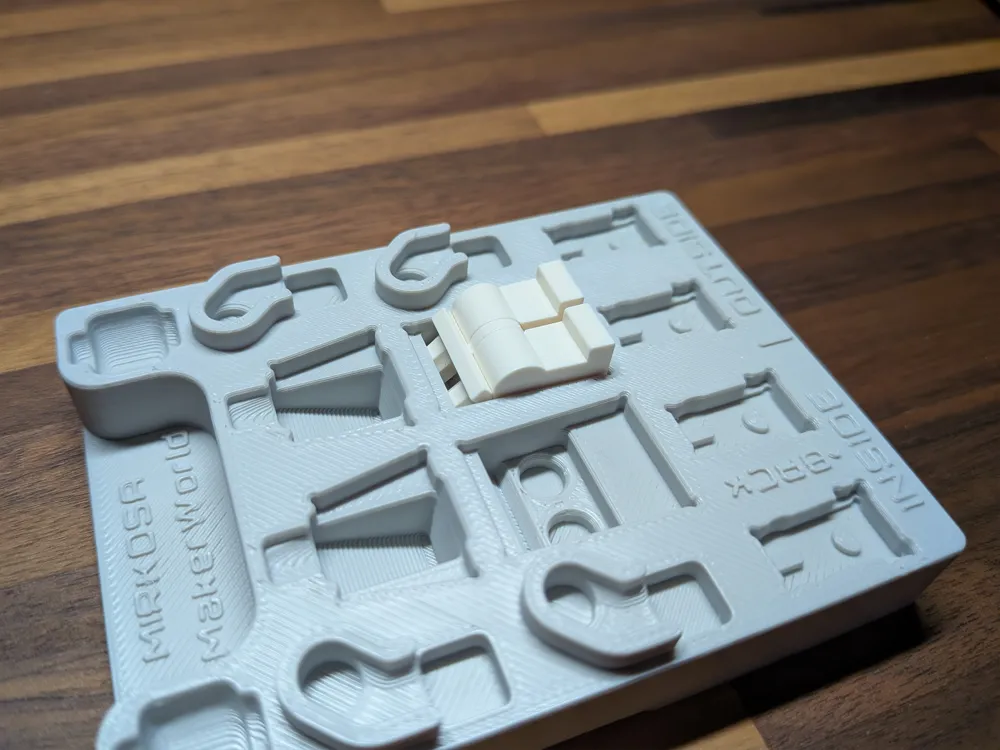
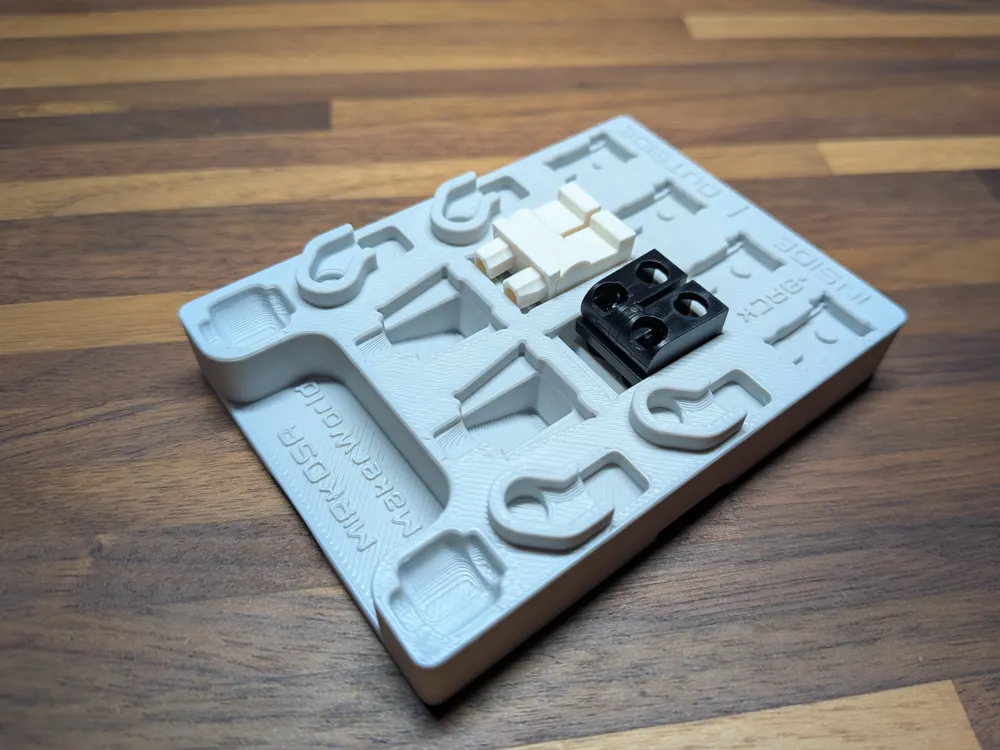
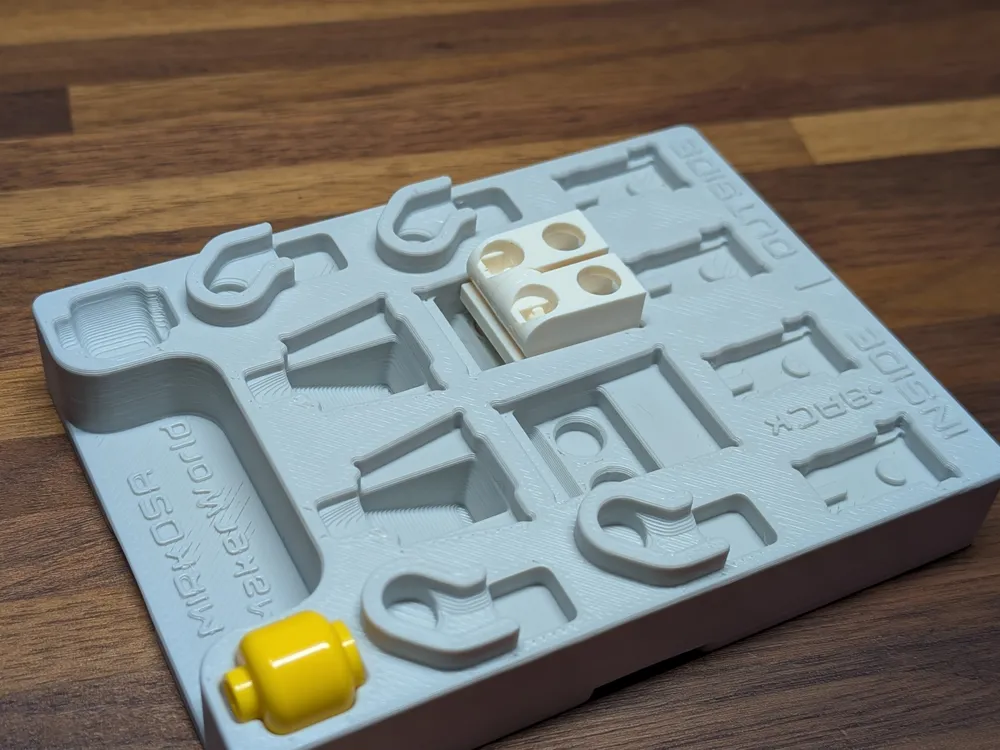
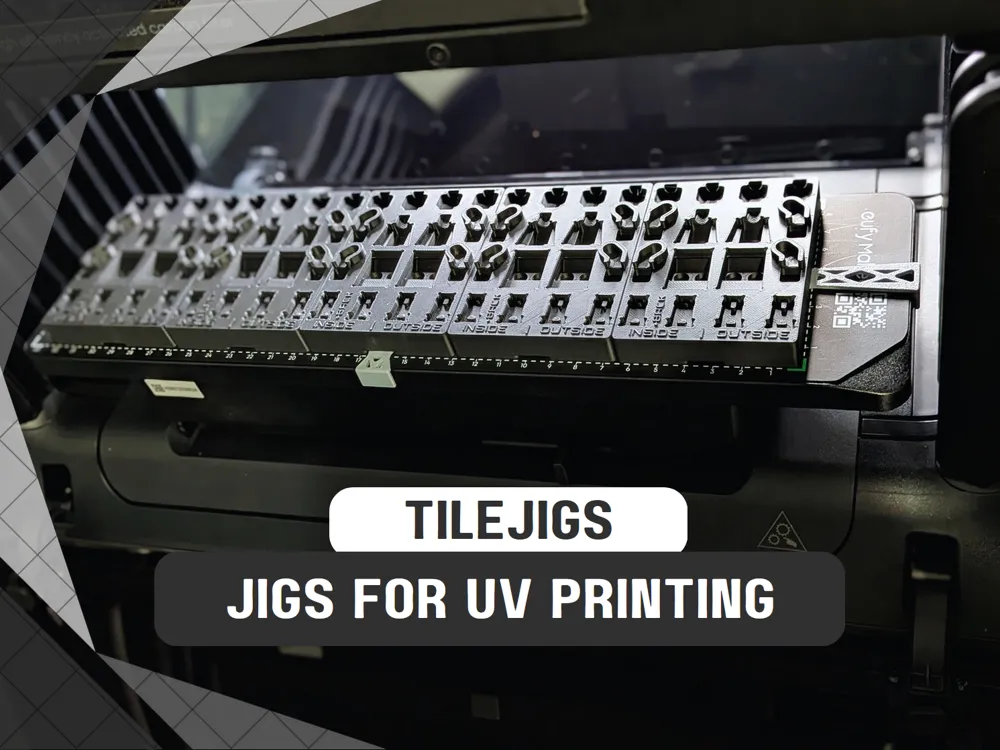
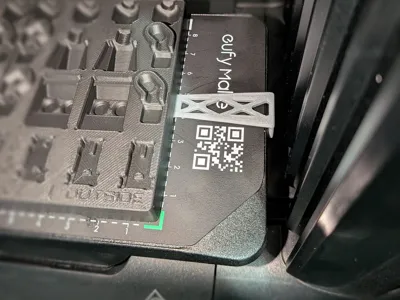
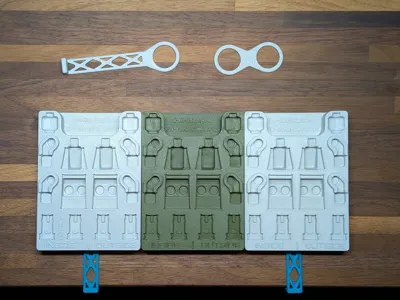
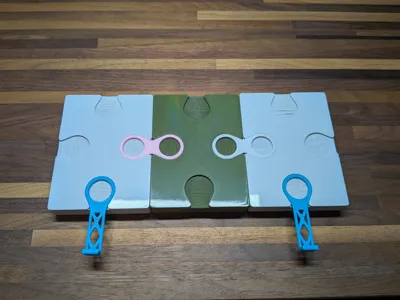
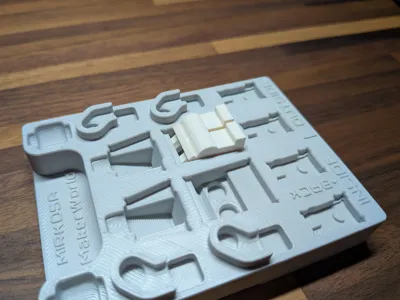
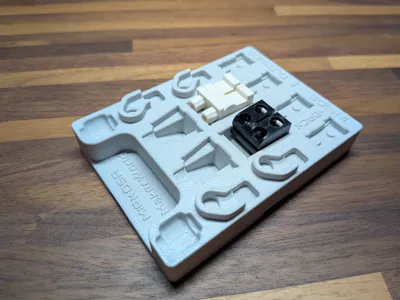
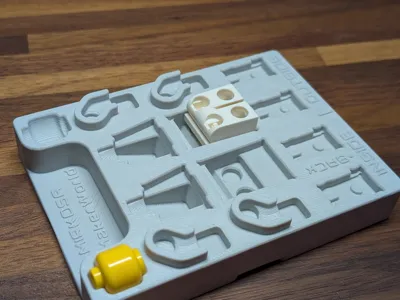
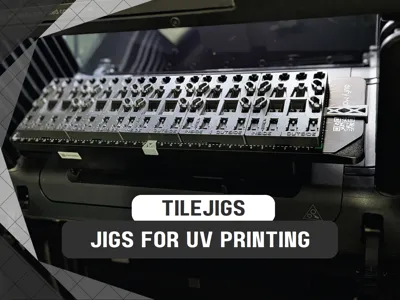
A jig for printing custom minifigures. You can connect them together infinitely to fill the entire bed or just a few. Use the positioning connector to easily align the tiles with the edge of the bed as well as positioning to the corner. Check the file downloads for extra variations as I don't have profiles for all of them.
______________________________________
Update 02/08/26:
I have created a template for easy drag-n-drop alignment for designs. I made it for Affinity as it is a powerful and (most importantly) FREE program very similar to photoshop/illustrator. I also included raw image files that can be used in any other software as well if you don't want to use Affinity.
I considered multiple ways of releasing it, however I've decided to list it on Etsy for sale. I put a lot of time into it and believe it's more than worth the small cost for anyone who wants to sell custom minifigs using my jigs. It's not at all necessary to get good results, but it is a great way to help support me and my work.
If you'd like to purchase it, you can do so here:
https://mirkosa.etsy.com/listing/4487127169
______________________________________
Update 11/10/25:
I have updated positioning connectors to have wider tabs for more stability and optimized the lengths to match the E1 print beds for zero-point alignment.
You can customize the connectors and positioners by going to this model page here:
https://makerworld.com/en/models/1600943-connectors-for-tilejigs-v2
Long Positioner = For the sides of both print beds.
Middle Positioner = For the front edge of the large print bed.
Shortest Positioner = For the front edge of the mini print bed.
______________________________________
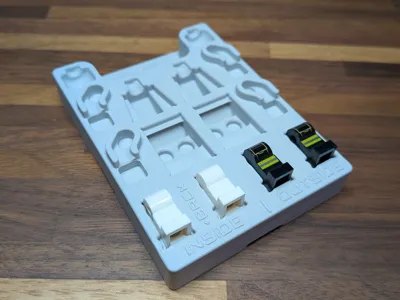
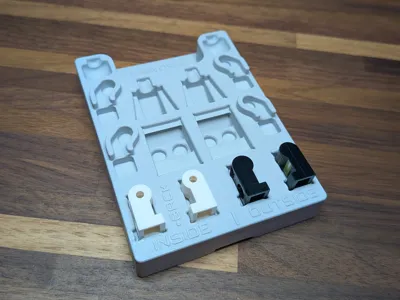
Each piece (except for the arms) can be placed on all sides and will remain level to the rest so that you get the best print quality possible.
Note: The individual leg slots are slightly different for the inside vs outside. You can use any slot to print on any side, but using the correct slots will ensure a more level piece. You can use all 4 slots for the front side of the legs.
______________________________________
Update 11/12/25:
Version 2 is now live. Updated the tile to allow for printing legs with the belt attached sideways while still being level with all other pieces.
______________________________________
Boost Me (for free)
Got a boost? I'll take it off your hands, free of charge!
License

You shall not share, sub-license, sell, rent, host, transfer, or distribute in any way the digital or 3D printed versions of this object, nor any other derivative work of this object in its digital or physical format (including - but not limited to - remixes of this object, and hosting on other digital platforms). The objects may not be used without permission in any way whatsoever in which you charge money, or collect fees.


Comment & Rating (98)