DN150 Air Conditioner Hose Connector


Print Profile(5)


Description
Update 15.06.2026:
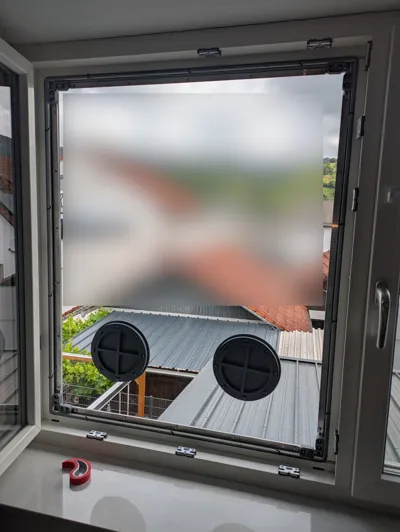
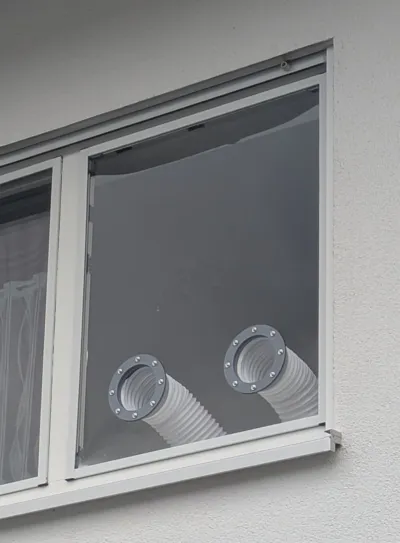
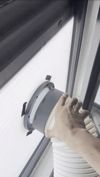
I have uploaded a new print profile. We disposed of the 12mm chipboard and replaced it with a 4mm Plexiglas pane.
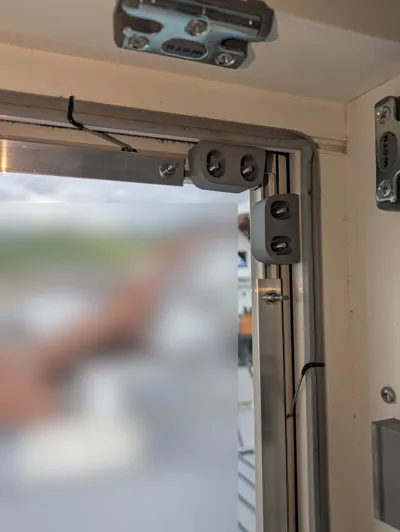
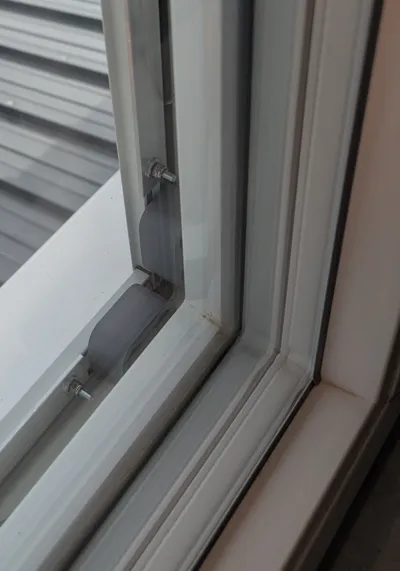
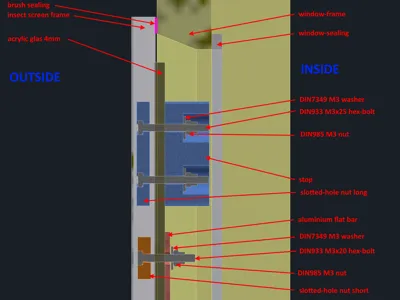
We installed the pane in an Empasa insect screen tension frame (in place of the mosquito net). With the Empasa tension frame, M3 hex screws with printed slotted nuts fit into the clamping profiles of the mosquito net. The insect screen tension frame itself is held on the window frame by metal springs and secured against lateral slipping by printed stops. With this solution, we can use the roller shutter with the frame installed, and to connect the air conditioning unit, we now only need to open the window. I have provided locking stops in the connections in the pane.
Required:
- Insect screen tension frame e.g. from Empasa
- possibly additional metal springs
- Screws DIN933 M3x20
- Screws DIN933 M3x25
- Hex nuts DIN985 M3
- Washers DIN7349 M3
- Screws M5x30
- Washers DIN7349 M5
- Hex nuts DIN985 M5
- Aluminum strips 11.5mm x 2mm
- Plexiglas pane 4mm
I cannot provide exact dimensions suitable for everyone here, as windows and conditions can vary for each person. Below, however, is a brief explanation of what I did and what my dimensions were:
- Clear opening of the window frame: Width 850mm / Height 1035mm
- Dimensions of the Plexiglas pane: Width 840mm / Height 1025mm
- Length of the aluminum strips top/bottom: 720mm > 5 holes 5mm at 175mm spacing
- Length of the aluminum strips side: 895mm > 6 holes 5mm at 175mm spacing
Assembly procedure:
- Assemble the tension frame according to the instructions to fit the window, but omit the mosquito net. The fastening screws must be inserted in the appropriate number during assembly before screwing the frame together.
- At the top and bottom, I inserted: 1 long T-nut with M3x25 screws at each edge, and 5 short T-nuts with M3x20 screws in between.
- On the sides, I inserted: 1 long T-nut with M3x25 screws at each edge, and 6 short T-nuts with M3x20 screws in between.
- I inserted 3 metal springs at the top and bottom, and 4 metal springs on each side.
- I ordered a 4mm Plexiglas pane online, which is 10mm smaller than the clear opening of the window frame. I had 2 openings with a 15cm diameter cut into the Plexiglas pane.
- At the edge, I drilled 5mm holes to match the M3x20 screw spacing (very carefully! for me, the edge distance was 5mm, actually too small for Plexiglas).
- I fixed the Plexiglas pane to the tension frame with aluminum strips, washers, and hex nuts.
- In each corner, I mounted 2 stops with the long T-nuts, M3x25 screws, washers, and hex nuts.
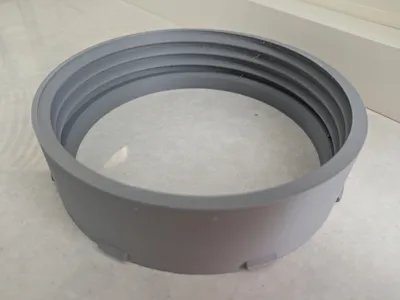
- Using the printed outer flange, I marked the holes for the M5 screws and then drilled 7mm holes.
- I lifted the fully assembled frame into the window, hooked in the metal springs, and finally pressed the stops against the window frame and tightened the nuts.
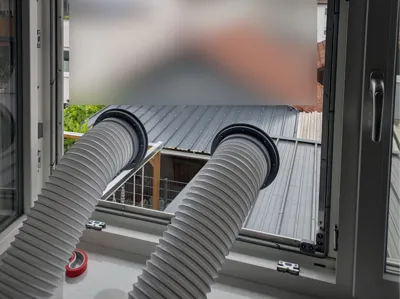
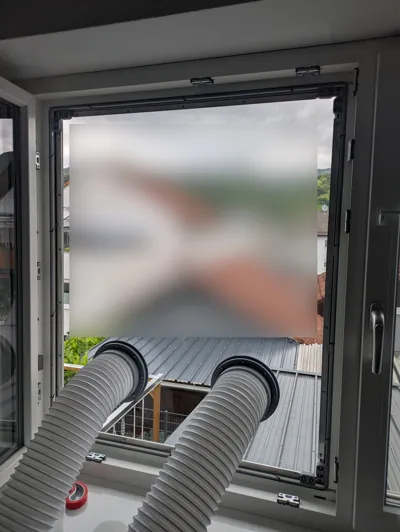
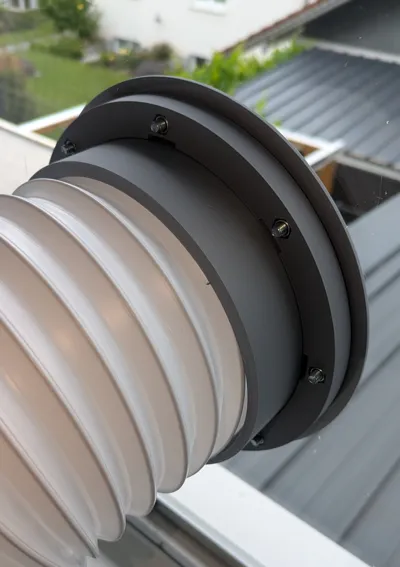
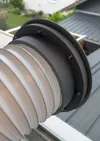
Original solution:
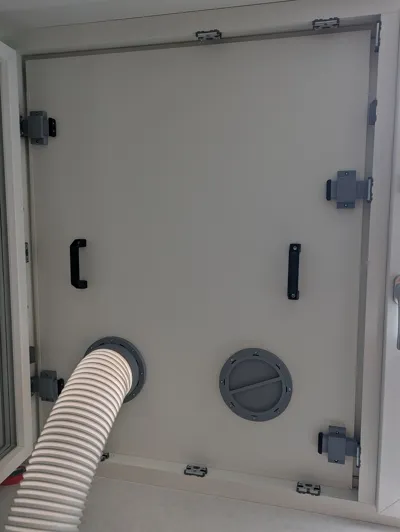
Since this week, we have an air conditioning unit. It came with a 150mm hose and a fabric installation kit for the window. Instead of the included kit, we clamped a 12mm white coated chipboard into the window.
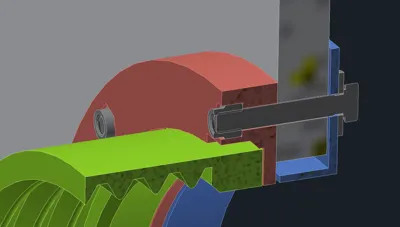
On MakerWorld I found an actually suitable connector but the thread was left-handed (the hose is right-handed). Yes, I could have mirrored the model, but the thread was also polygonal and sharp-edged and would have damaged the hose.
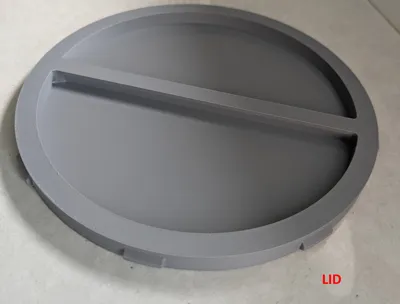
Without further ado, I measured the hose and modeled a completely new connector with an analog locking mechanism. I doubled the number of holding points. Everything can be printed without support structures. I printed it in PLA Matte, and the exhaust air temperature didn't feel too high for PLA. If I'm wrong, I can still print in ASA.
M5 nuts and M5x30 screws are required. The hole in the wooden panel must be made slightly larger so that the outer flange can be pushed through the hole. The panel thickness should be 12mm
Documentation (1)
License
You may create derivative works based on this object, provided that all such derivative works are published exclusively on the MakerWorld platform and include proper attribution to the original creator. You may not share, upload, host, distribute, or publish this object—or any derivative work of this object—on any other digital platform, marketplace, or distribution channel. Commercial use of this object and any derivative works is strictly prohibited. This includes, but is not limited to, selling, renting, sublicensing, or using the object in any context in which you receive monetary compensation or other financial benefits.
Comment & Rating (46)