F1 DragRacing(Finger-powered Engine Drive)


Print Profile(2)


Description

Congratulations on finally discovering FunOrNothing :)
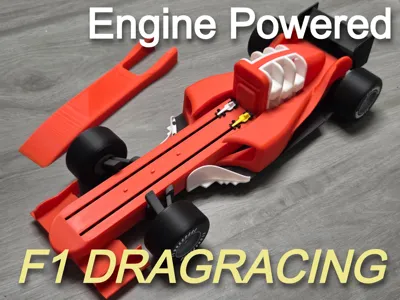
🏎️ F1 DRAGRACING Arcade Game (Finger-powered Engine Drive)
Some time ago, I created a finger-powered engine simulator fidget—a fun little mechanical toy where you press pistons to rotate a crankshaft.

Ever since then, I’ve been thinking: “What if I turned this into a game?”
For this arcade game contest, I finally brought that idea to life as a physical, fully 3D-printed drag racing game machine.
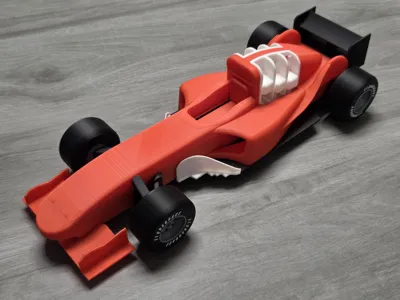
The entire body is shaped like an F1 car, detailed enough that at first glance, it might just look like a miniature model car.
The proportions are based on the legendary Ferrari F2004, with some adjustments to make it print-friendly and mechanically functional as a game.
🎮 How the game works
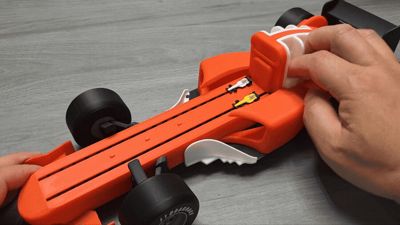
There are two finger-powered engines mounted on each side.
When both players rapidly press the pistons, they power a mechanism that turns a helical gear under the hood.
That gear drives two tiny model cars on a hidden drag strip, and the first to reach the finish line wins!

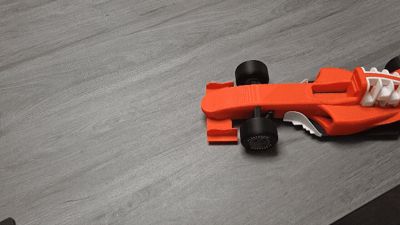
One fun detail: the engines are also connected to the rear wheels, so as you operate the pistons, the wheels actually spin.
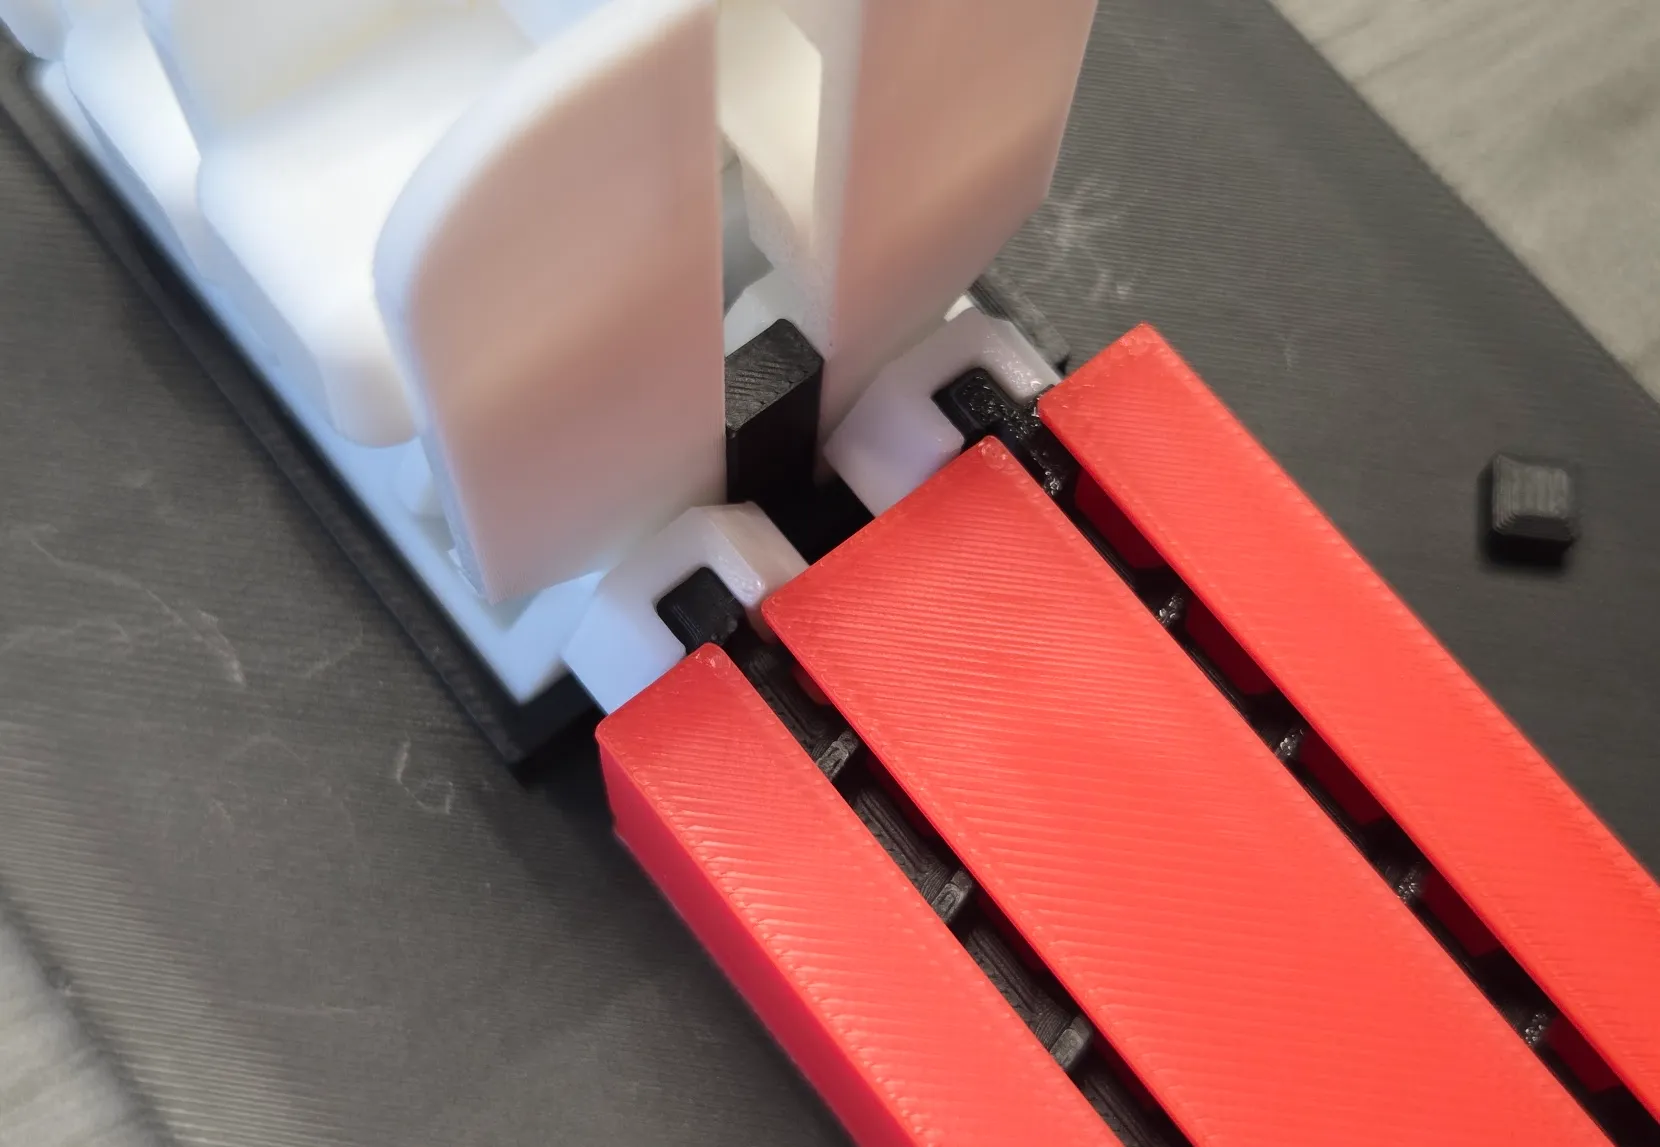
To allow smooth operation during the game, the main body is designed with a dual-layer bottom structure.
When the game is being played, a removable lower support frame slightly lifts the rear wheels off the ground, preventing them from touching the surface. This ensures that the engines can be powered purely by finger action without any rolling resistance.
However, if you remove the lower support, the wheels touch the ground—
and now, by simply pushing the whole F1 car forward, the rear wheel rotation powers the pistons in reverse.

This alternate mode lets you enjoy the model like a traditional toy car, while still watching the engine mechanism work in action.
This model isn't just a game—
it's an educational mechanical toy that shows how motion is generated, transferred, and transformed.
You power the engine with your fingers, generate real rotational motion, and use that motion to race.
It’s fun, it's interactive, and it’s a great tool for exploring mechanical principles through hands-on play.
Creating a rotational motion by pressing pistons in sequence with your fingers may not be as easy as it seems (yes, we forget how much power it takes to operate an engine), and it can be especially difficult for children. But don't worry, you can enjoy the same game by rotating the rear wheels instead of pressing pistons. This method is much easier to operate than pressing the cylinders of an engine, as it transmits the rotational power almost directly.
About Printing
All parts can be printed without AMS, except for the white lettering on the tire. The lettering on the tire is also aligned in layers, so it can be printed with manual filament replacement.
Boost Me (for free)
Your boost helps me spend more time creating better designs.
And don’t forget to check my other models — you might discover something useful! 😊
INSTRUCTION : Assemble in the order of the photos below.
Precise tolerances allow for complete assembly without the need for adhesives.
For smoother operation, it is recommended to apply lubricant to the moving parts.
Attach the bargeboard to the body.

insert two shafts before insert engine.

assemble two gears
The cross section of the shaft is a circular shape with one side slightly cut off. The parts (wheels, gears, engines) that are assembled with the shaft also have holes of the same shape and must be inserted while aligning them in the correct direction.

insert two more shaft(for rear wheel)

assemble rest two gears

insert engines and join shafts with engines (assemble connector rods for engines first- 3 for each)
** before insert engines to the body, make it sure all fuctions in the engine are smooth.

insert a stop block (a simple cube shape)

test engine fuction

insert spiral gears.
To ensure smooth operation, clean the brim area with a knife before assembling the spiral gear.
The rotation direction of the spiral gear is set to the direction that is generally easy to press for right-handed people. If the rotation direction is inconvenient for left-handed people or others, print the part by mirroring it.

When installing the spiral gear case to the main body, insert the tab of the main body into the groove in the case and slide it. At this time, insert it so that the groove on the gear shaft and the tab of the spiral gear are aligned.

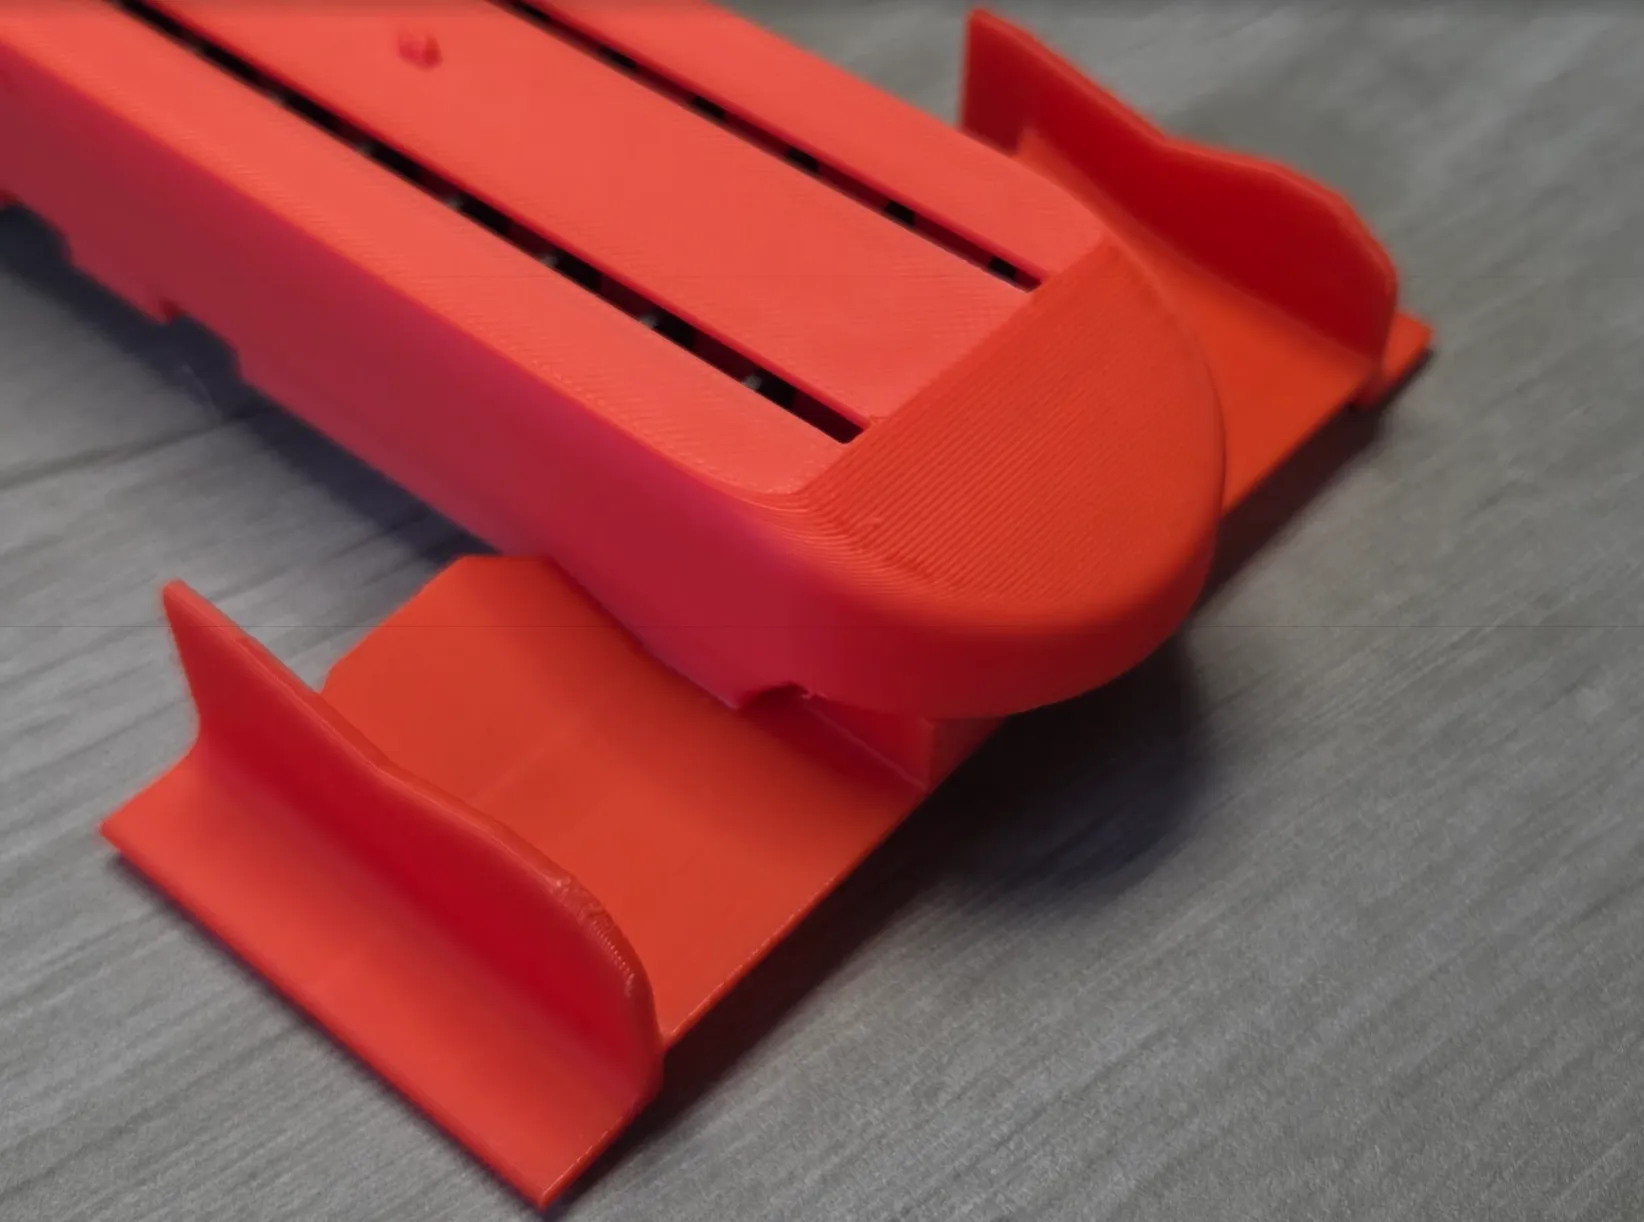
The rear spoiler is mounted between the body cover and the floor plate.


Before assembling the front wheel support, first insert the two shafts that connect to the wheel into the holes in the support from the inside to the outside.


The lower support allows the wheels to be slightly raised off the ground. If you remove this part, you can roll it on the ground like a regular car toy, moving the engine pistons.

The wheels and tires are printed separately for the visual beauty of the model. In particular, the wheels have the same design as the F2004 F1 machine. It would also be good to print the tires using TPU.

You can assemble the wheel without difficulty by gently placing it in position and then lightly hammering it into the floor as shown in the photo.


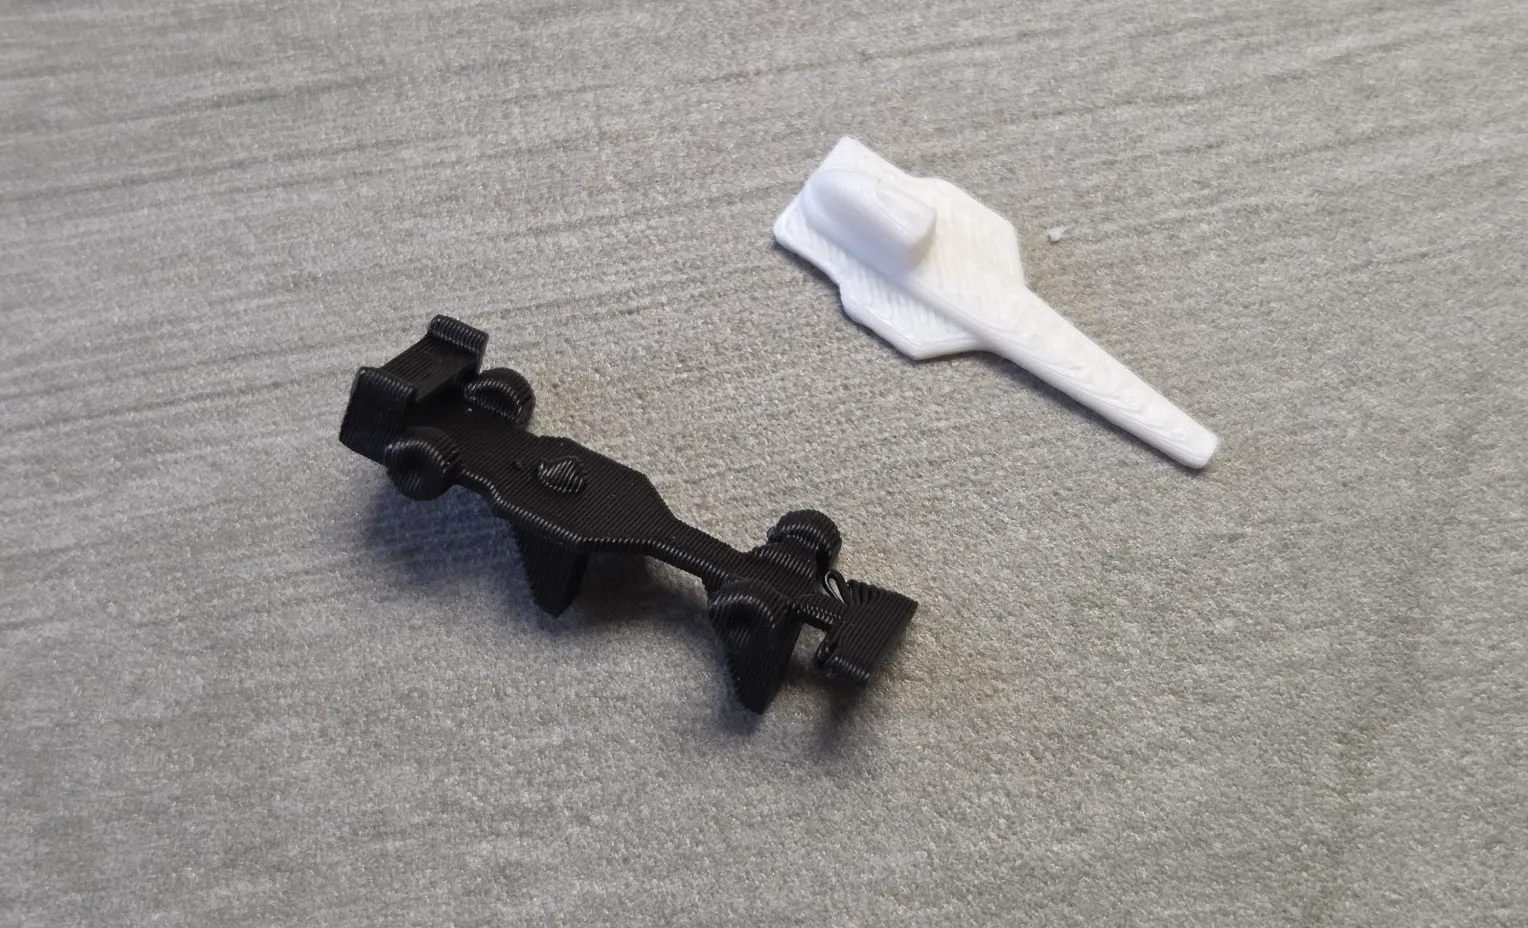
The miniature racing cars used in the game are of a size that makes snap-fit difficult, so the lower and upper parts are assembled using adhesive.
Boost Me (for free)
My designs are not for me, but for you.
If it made you smile or sparked an idea, a little boost would be awesome. 😊
And hey — feel free to check out my other creations too!

_______________________
2025/13/07 Model Update
Some modifications have been made to the modeling of the minicars to prevent them from bouncing off the rails during gameplay.

2025/10/07 UPDATE
A profile for A1-mini is added.
I don’t prefer to design large models, but the size of the engine that can be driven with a finger was inevitably large, and this made it difficult to print the original design with the A1-MINI. However, I added a profile for the A1-MINI so that some parts can be separated, printed, and then assembled. To do this, the bottom plate and the body cover were each separated into two pieces, and this part was also assembled as much as possible without adhesive, but the use of adhesive is recommended for sturdiness.


Hope you Enjoy this model.
As always, I welcome your feedback.
Click to Check out FunOrNothing's interesting designs.
Boost Me (for free)
Your boost helps me spend more time creating better designs. And don’t forget to check my other models — you might discover something useful and fun! 😊
You can sell printed products of my models by joining FON Membership, please sign up for the membership below. Please do not become a thief.
Membership
The best way to support my work is to join the FON membership. You can be my Supporter, Seller, or Partner. If you join the membership, you can communicate more closely with me through Discord.
You can be a friend who encourages me by buying me a cup of coffee.

License
You shall not share, sub-license, sell, rent, host, transfer, or distribute in any way the digital or 3D printed versions of this object, nor any other derivative work of this object in its digital or physical format (including - but not limited to - remixes of this object, and hosting on other digital platforms). The objects may not be used without permission in any way whatsoever in which you charge money, or collect fees.
Comment & Rating (11)