
QR Bike Fork Mount System
Print Profile(0)
Bill of Materials
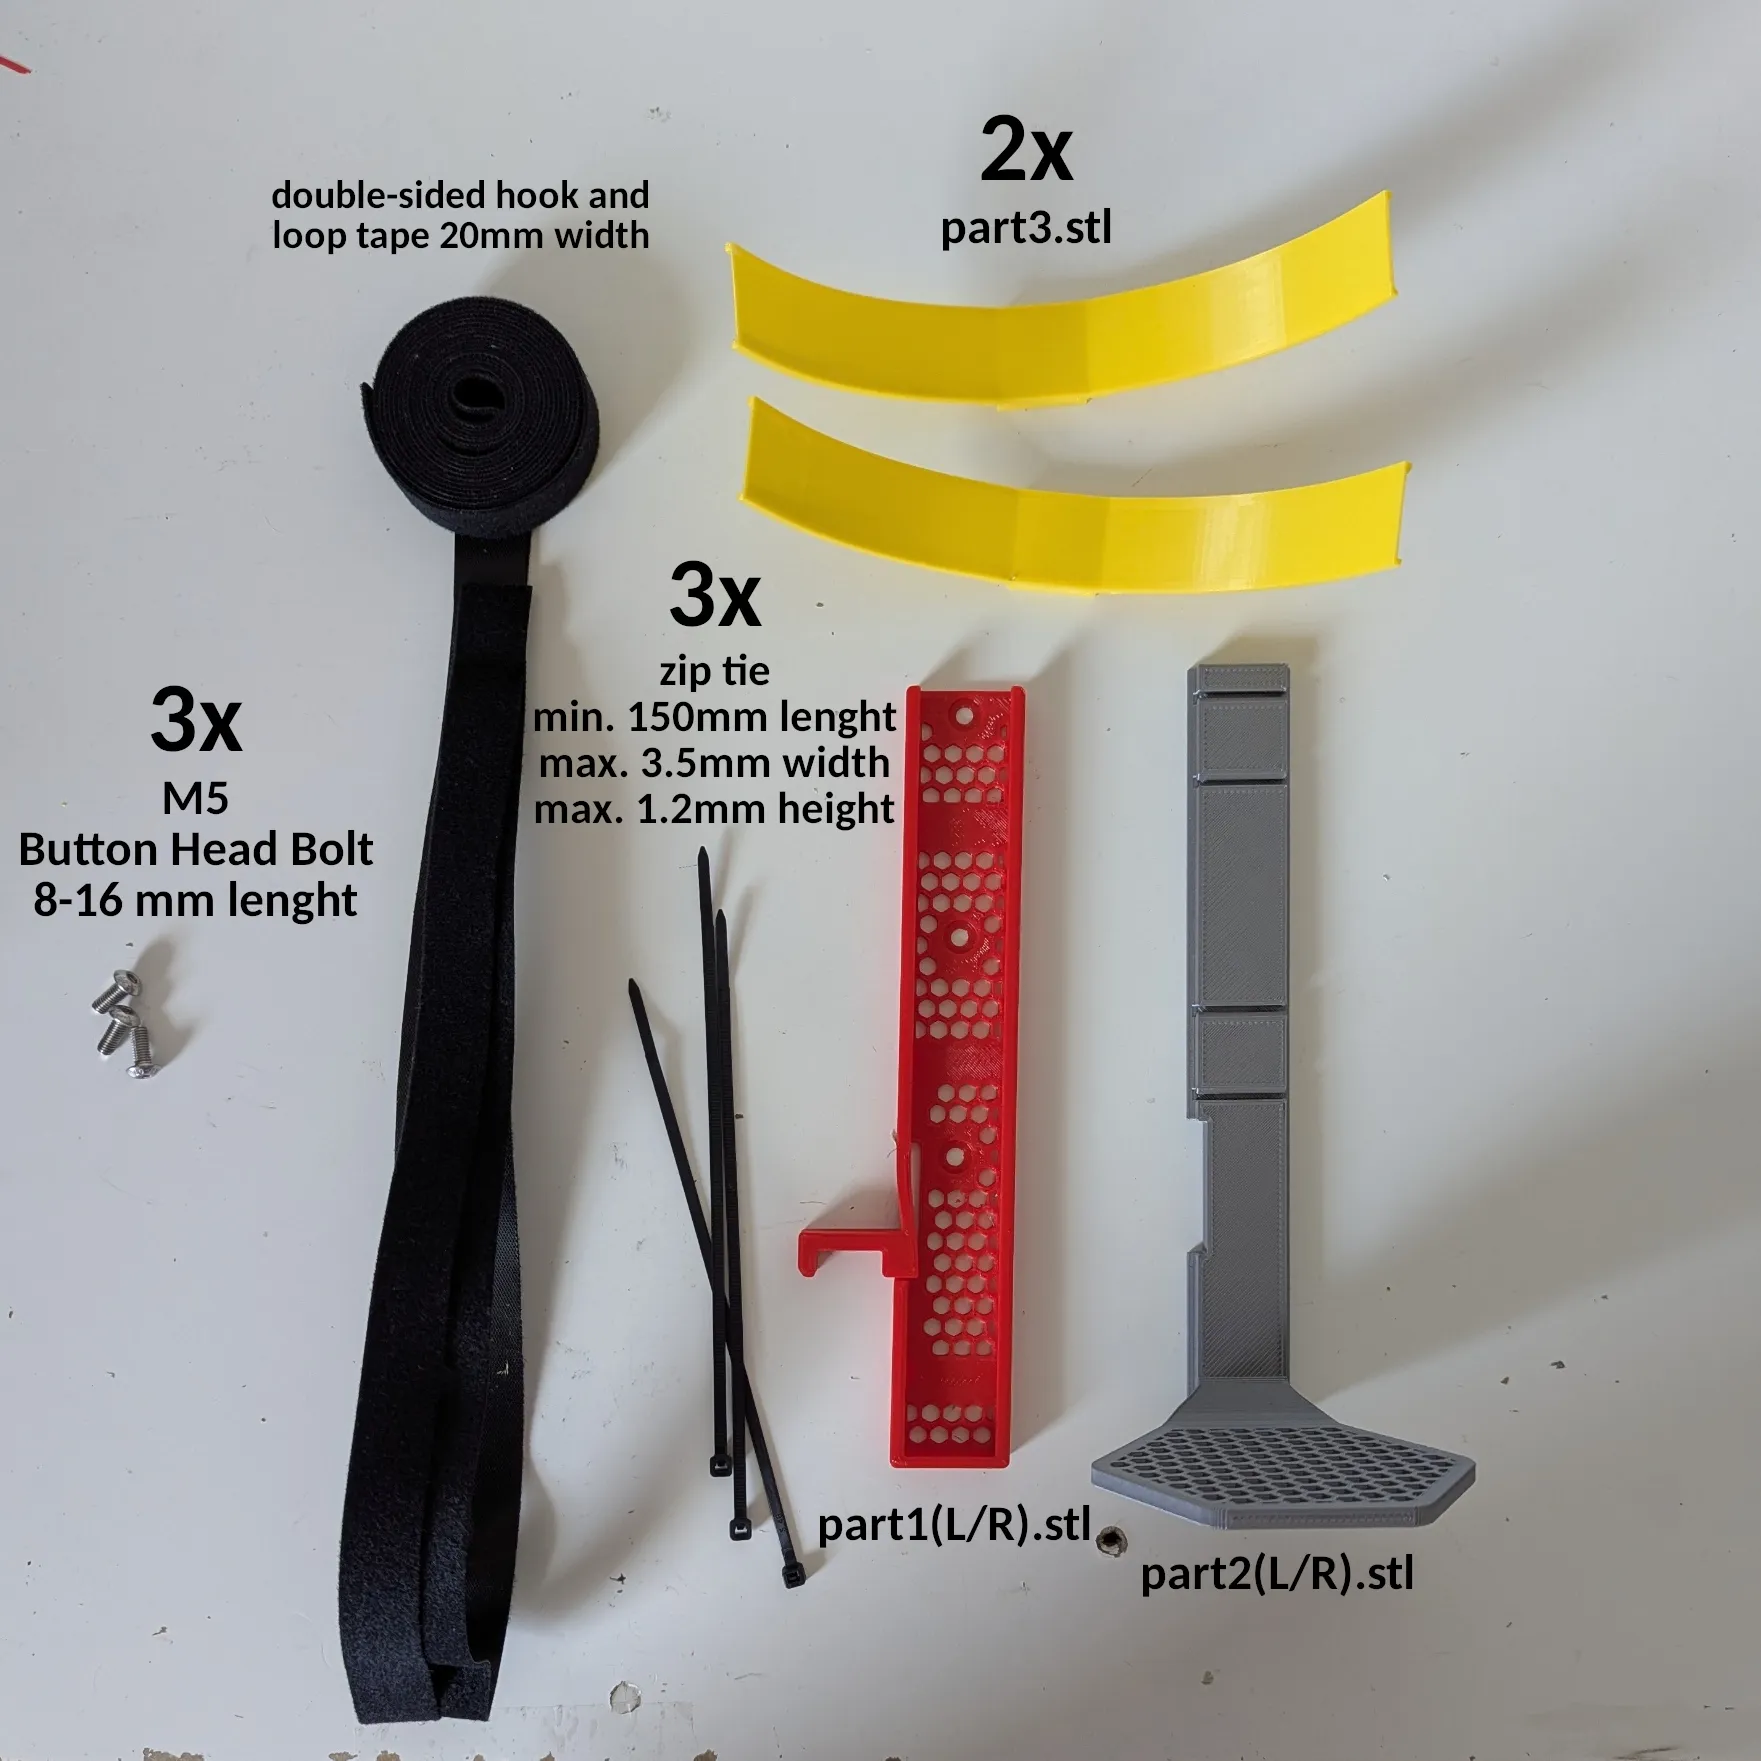
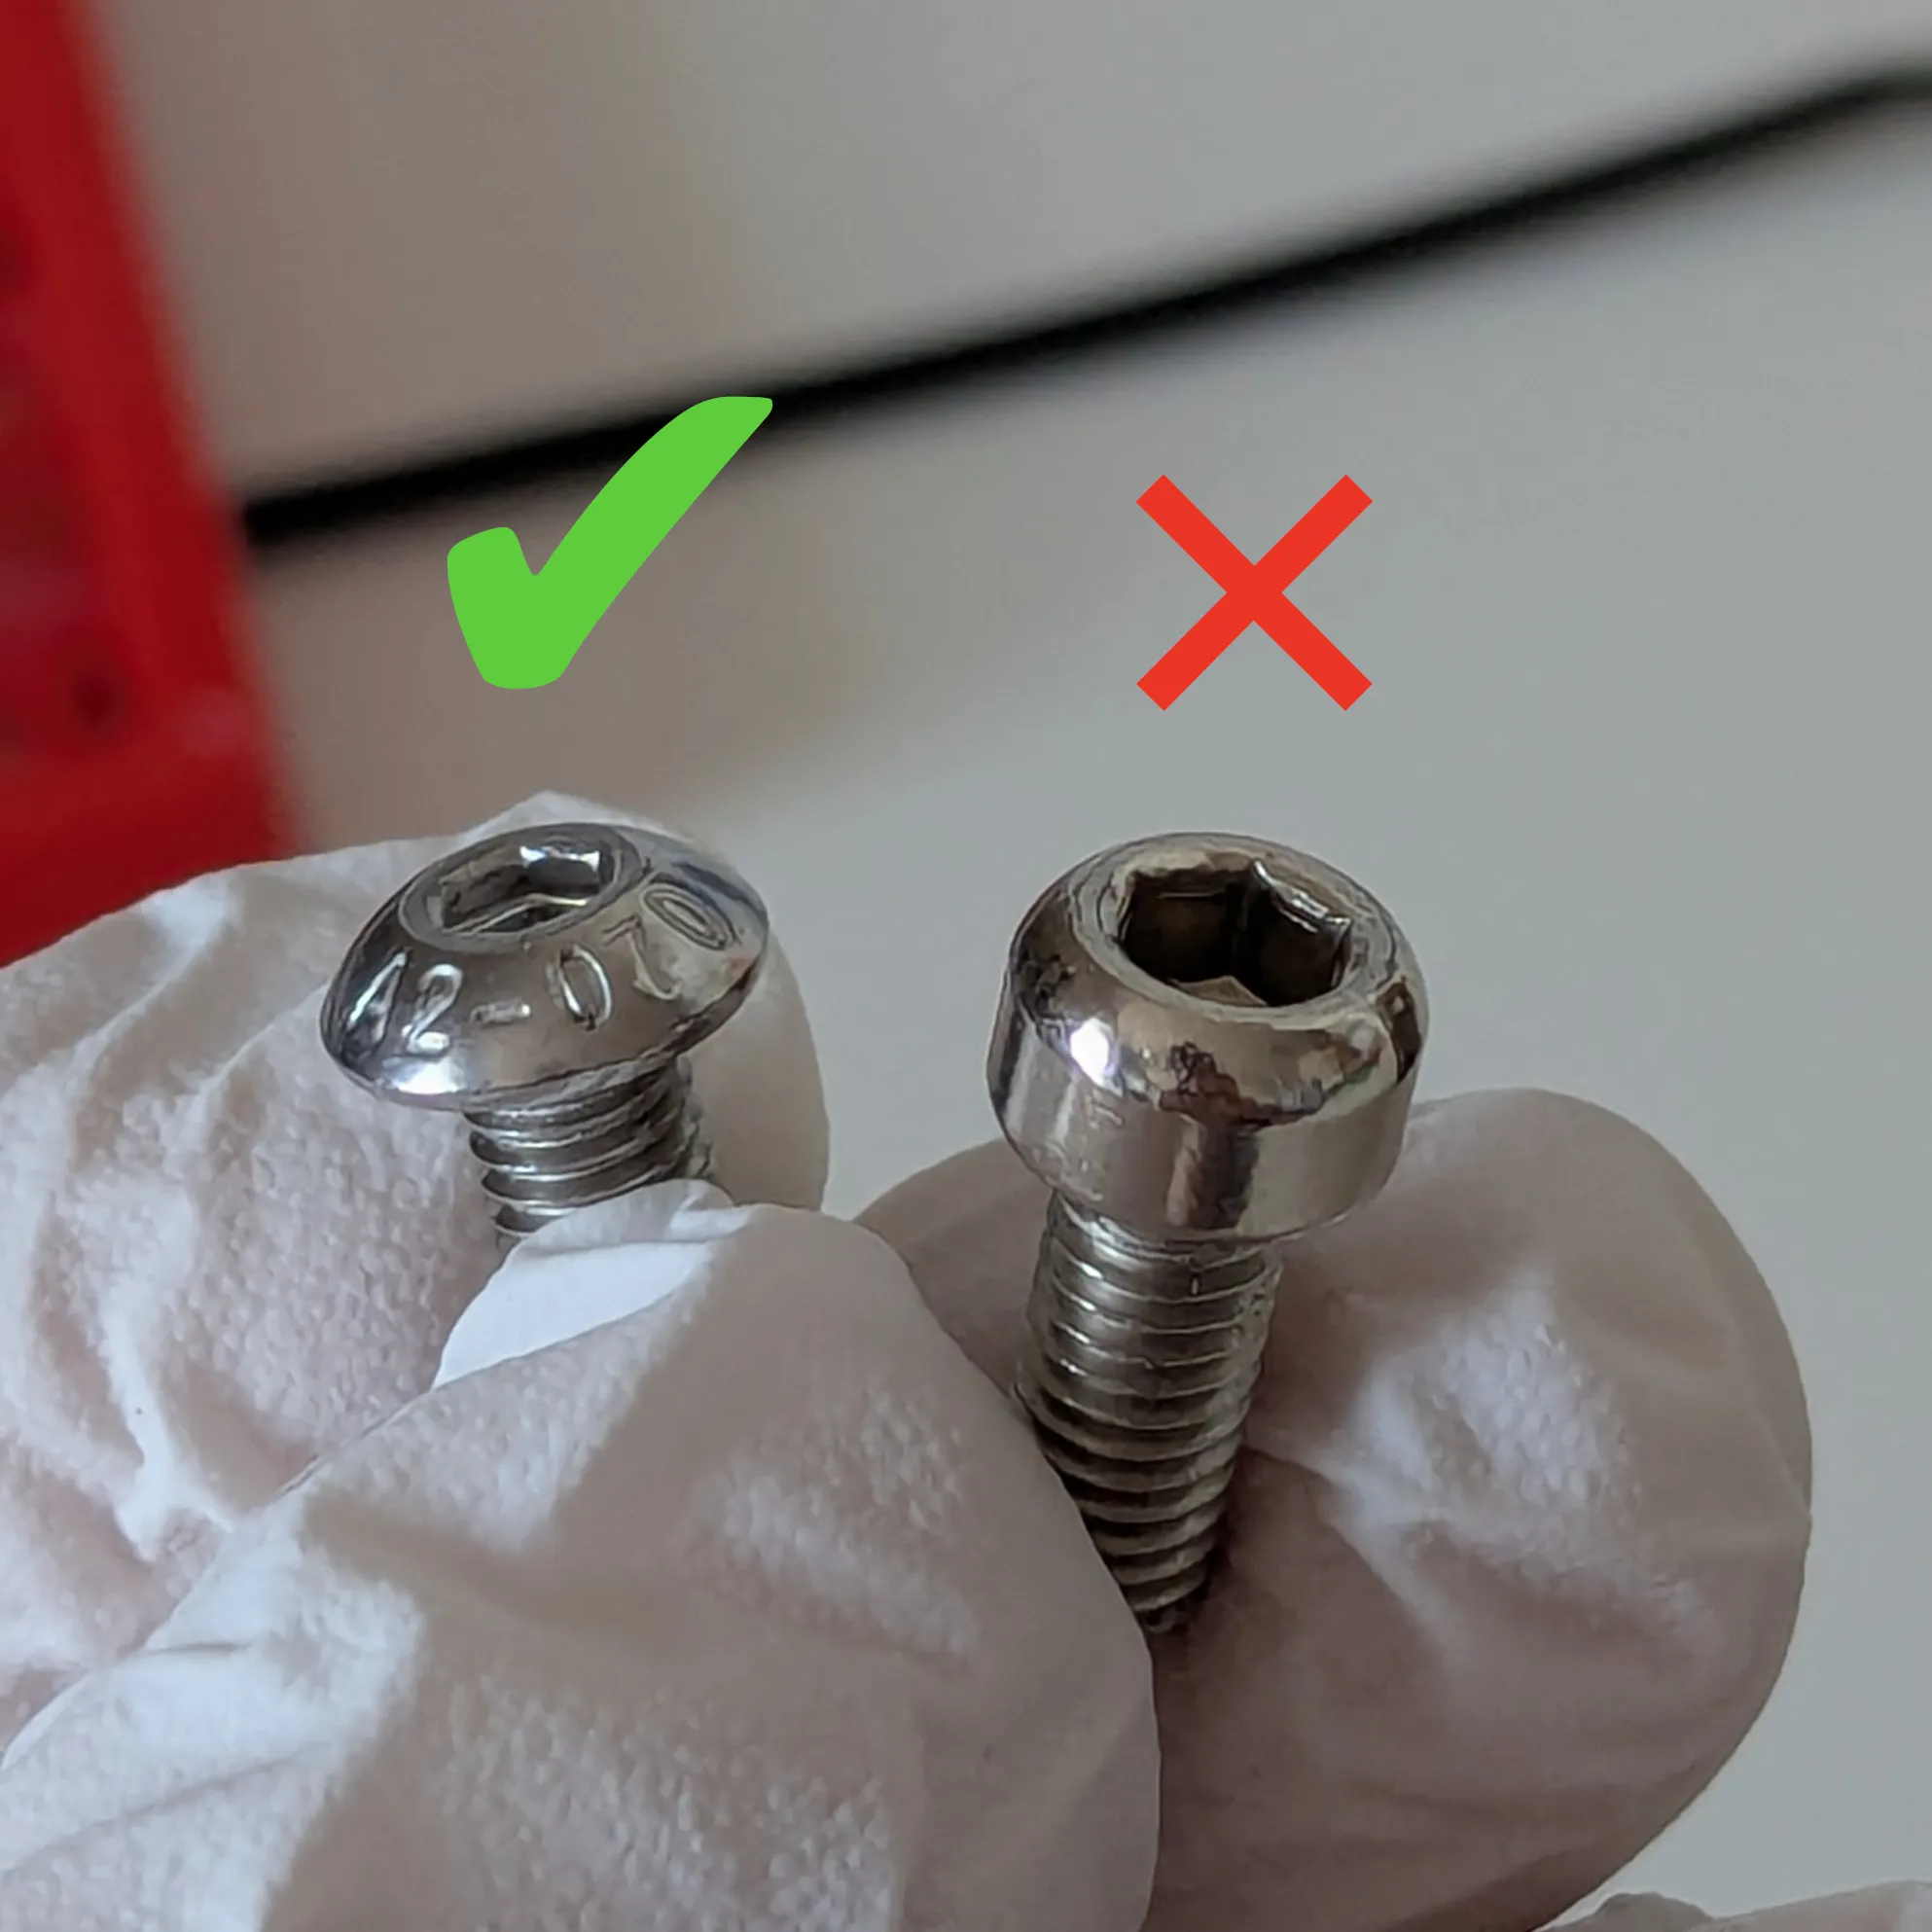
- M5x10mm Button Head Bolt x 6:
- 3x150mm zip tie x 6:
- 20mm width strap x 5: qty in meters
Description
Hi!
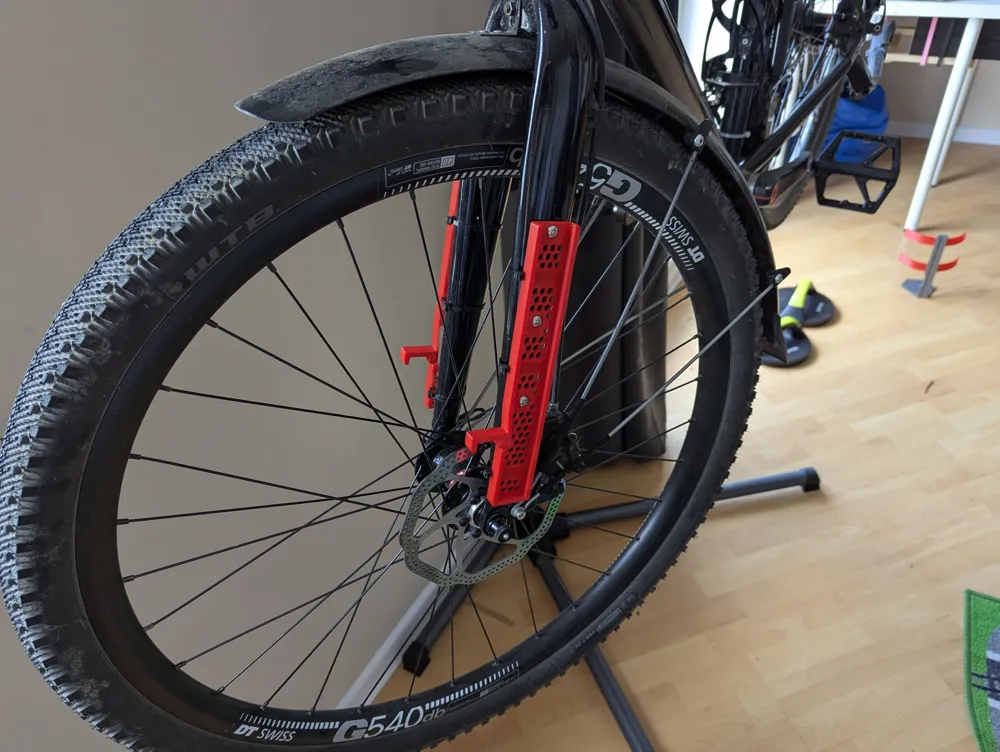
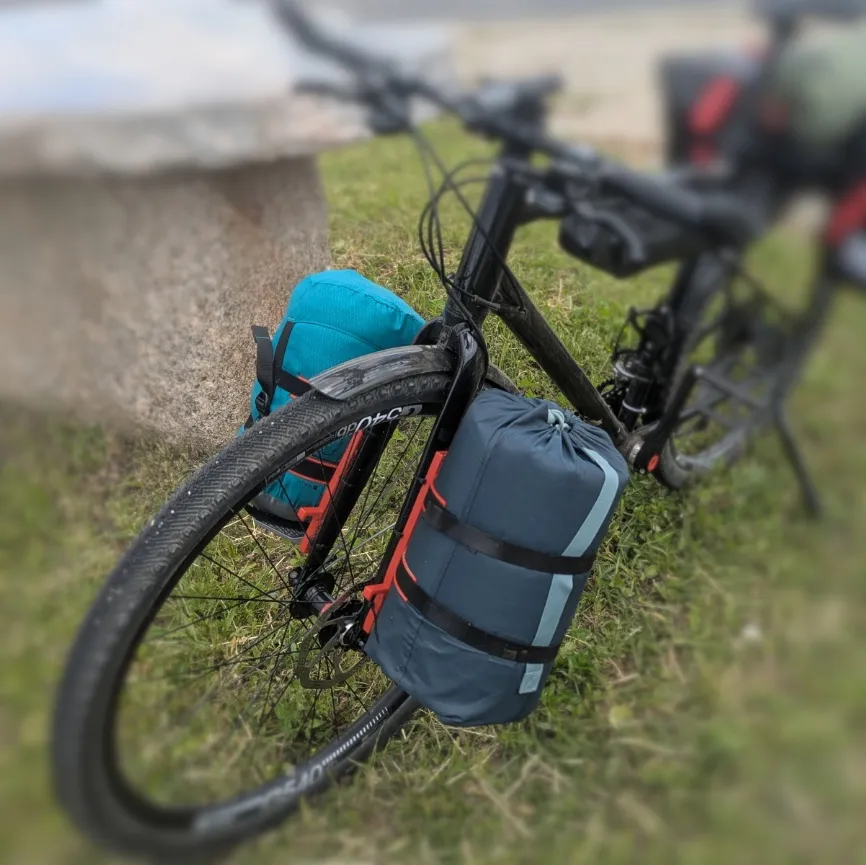
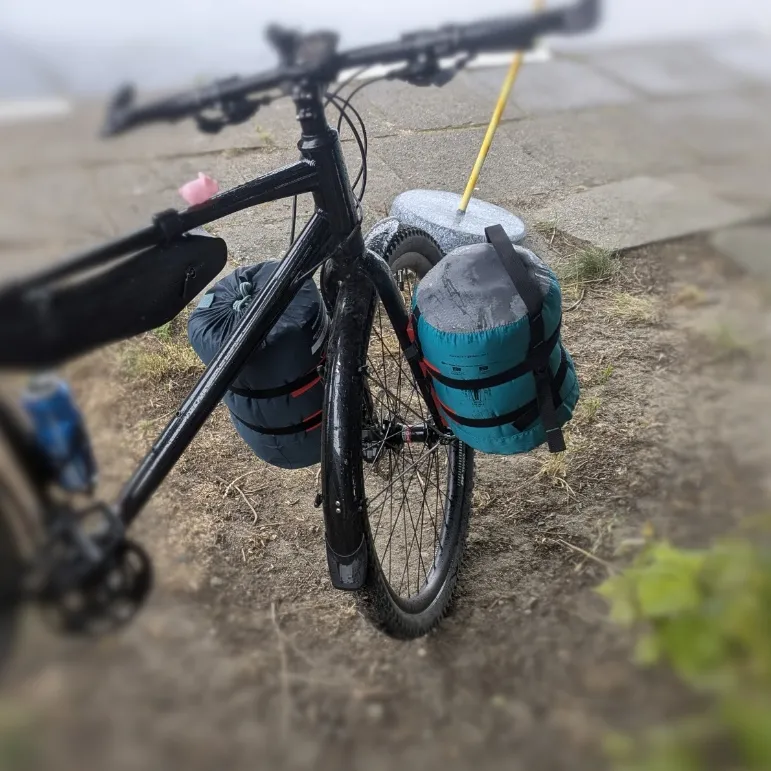
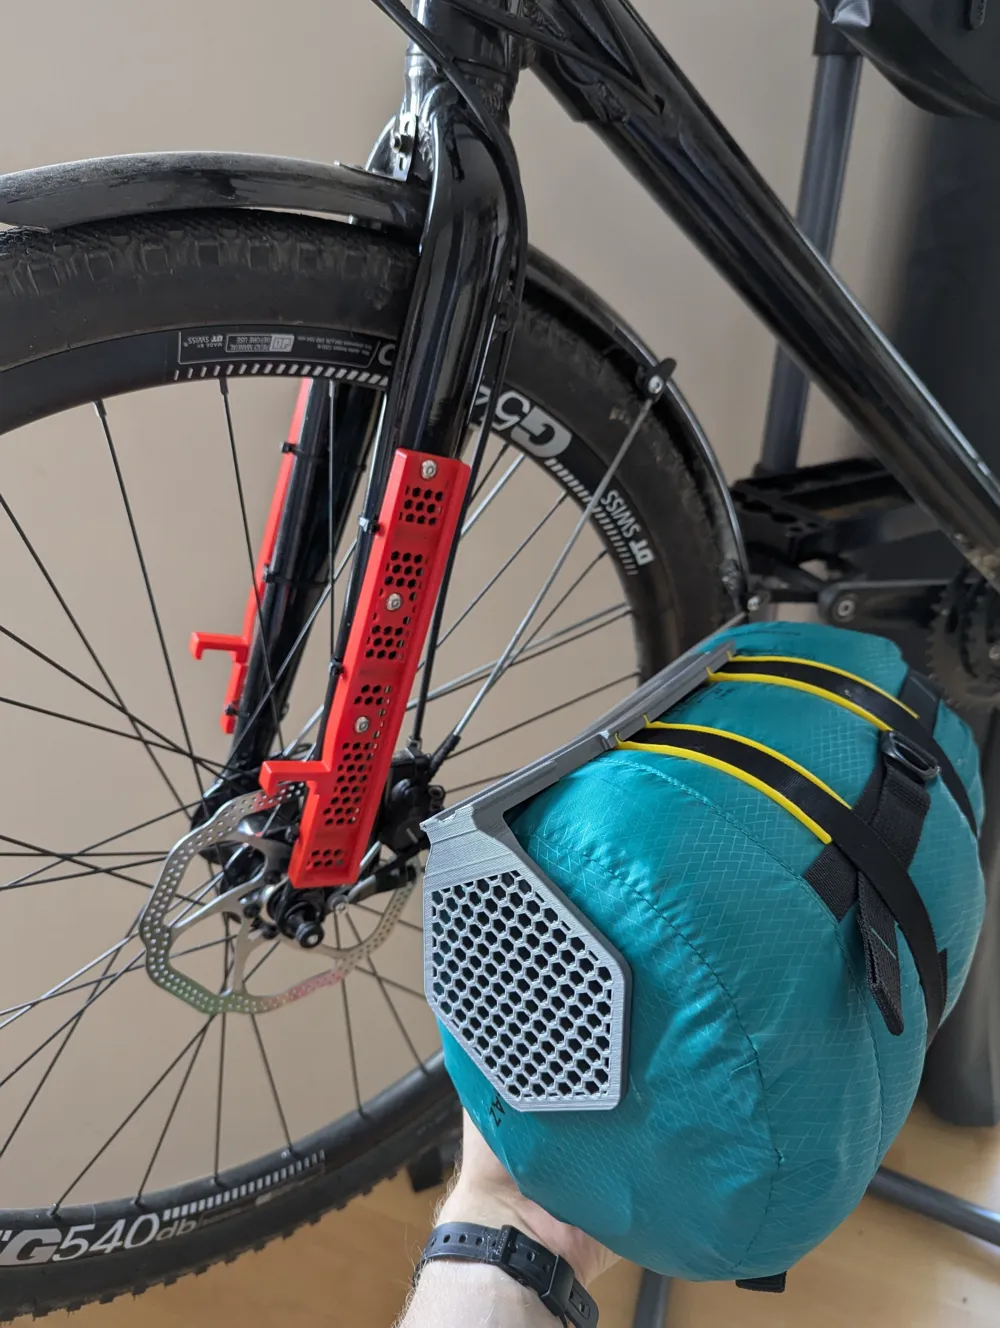
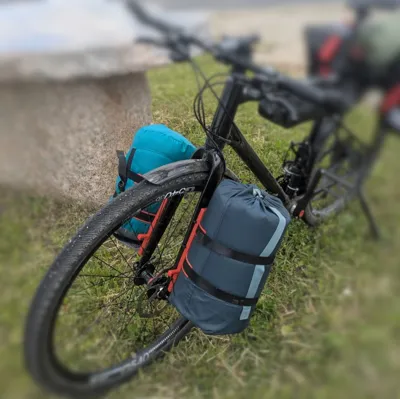
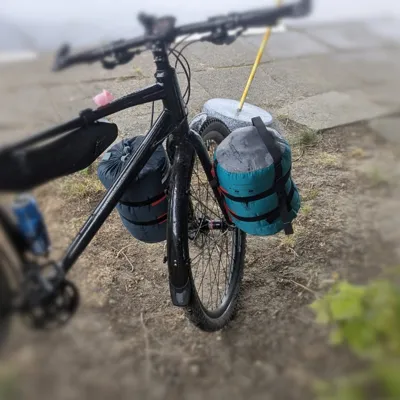
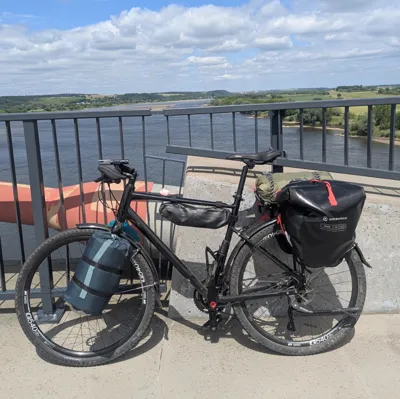
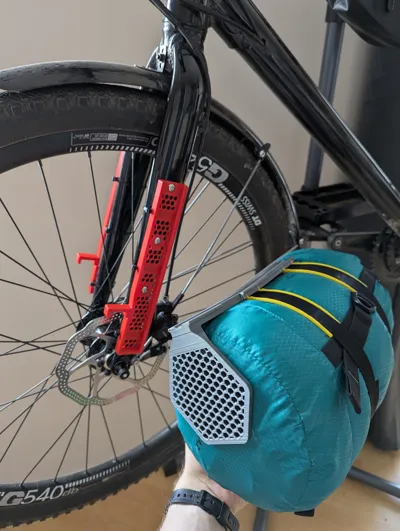
I'd like to share my project designed to simplify train travel for cyclists. This system enables quick detachment of luggage (similar to panniers) on trains. Some trains mandate this, while others simply lack space for protruding items. The rail-mounted component (permanently attached) is, in my subjective opinion, aesthetically unobtrusive, eliminating the need for removal during non-train bicycle use.
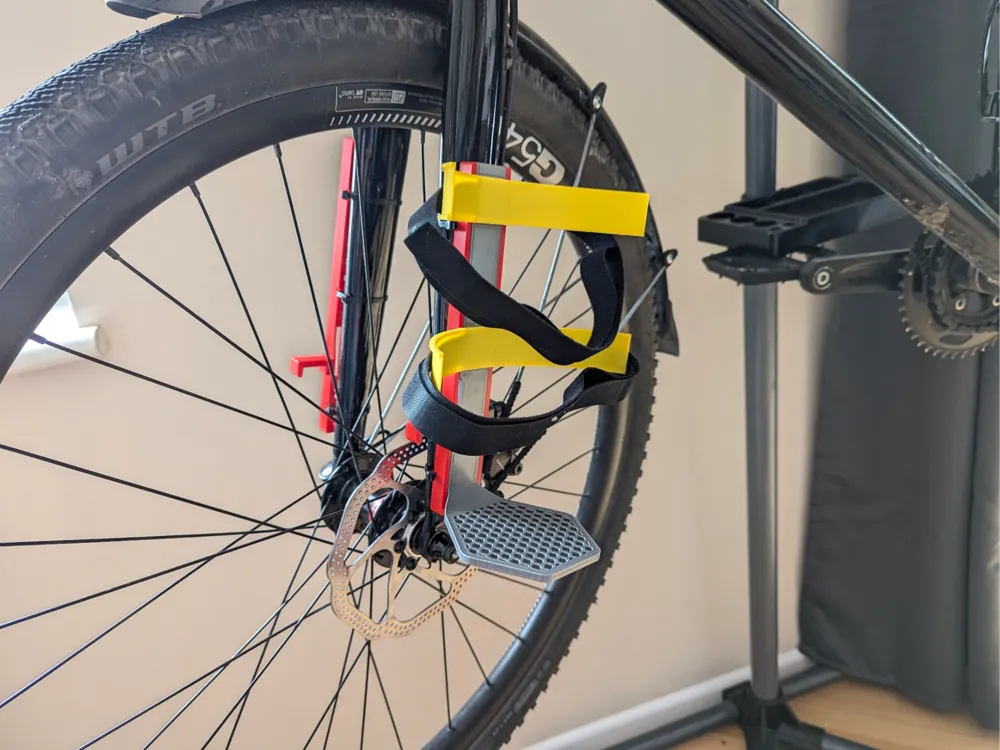
Components (for one side):
Field Testing:
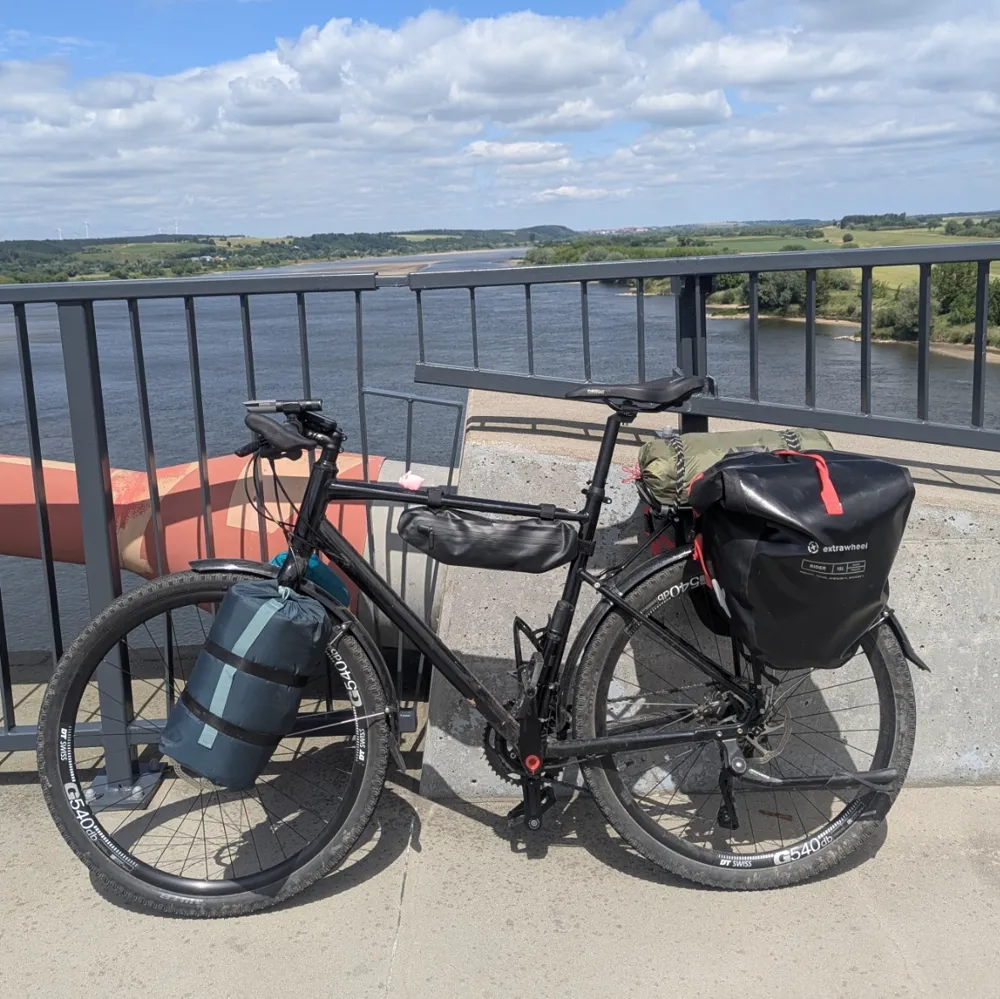
Successfully tested on EuroVelo 9 route: Gdańsk-Grudziądz (~130km), followed by Grudziądz-Tczew (85km) and Tczew-Gdańsk by train. Terrain was primarily asphalt, though reaching overnight accommodation required ~5km of forest trail. The mounting survived intact.
Note: With luggage attached, aggressive handlebar movements may produce a clicking noise. Avoid forcing this motion to prevent plastic fatigue. Such maneuvers are unlikely during normal cycling.
3D Printing Guidelines:
- Optimized for 0.6mm nozzle / 0.32mm layer height. Higher resolutions are feasible.
- Part 3 requires supports, especially the central section (critical interface with Part 2).
- Minimum infill: 20%.
- Printed on Ender 3
This will be the last model I release for the Ender 3. Should demand exist, I’ll develop a Bambu Lab A1 print profile.
Left-Side Assembly (mirror for right):
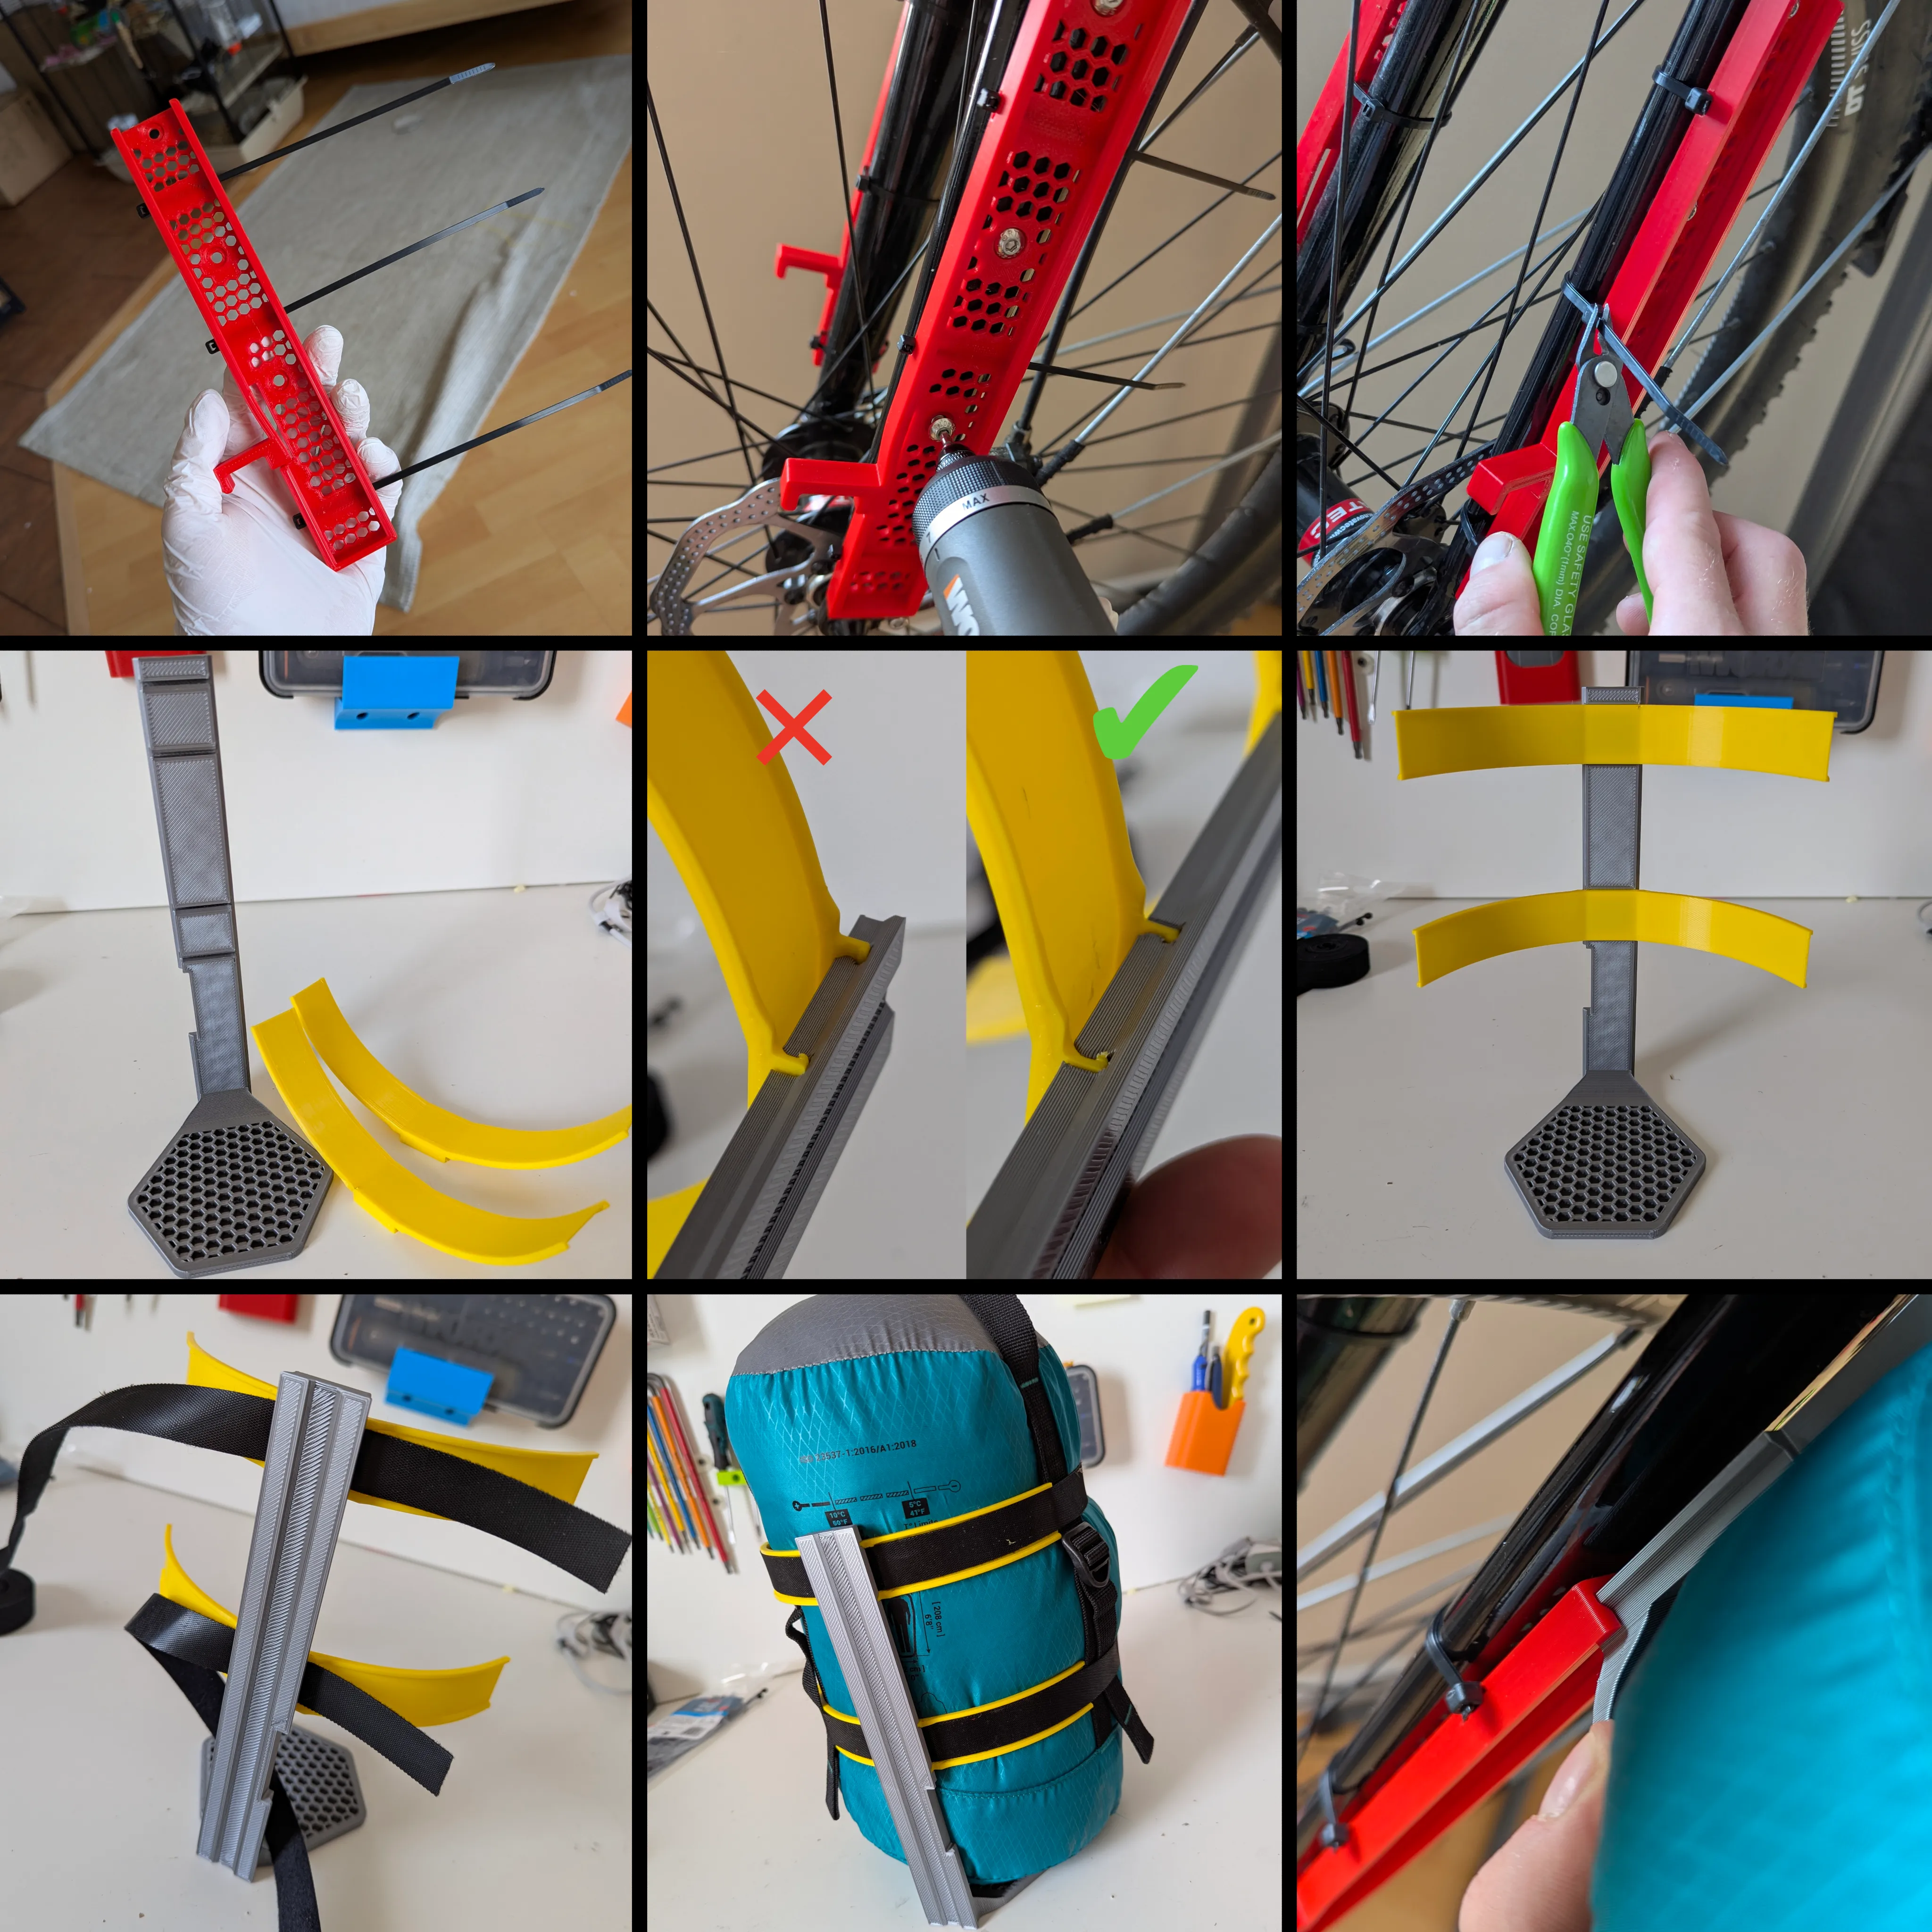
- Thread zip ties (tie wraps) through designated slots. Caution: Ties >1.2mm thick may not fit.
- Secure Part 1 to the bicycle fork using three M5 screws.
- Fasten zip ties and trim excess.
IMPORTANT: Do not overtighten the lower zip tie! - Insert 2× Part 3 into Part 2’s slots. Initial insertion may require force.
IMPORTANT: Part 3 must sit flush (see Fig. 5) to engage the rail! If fit is loose, apply plastic adhesive. - Thread 2× hook-and-loop straps through slots. Example: 70cm straps used for shown sleeping bag.
- Attach your cargo.
- Slide the assembly into the rail.
Removal Procedure:
Pull Part 1’s latch gently while pushing the assembly upward from its base (a light tap may help). Once the latch clears the rail (≈1mm upward movement), release and extract the unit.
Alternative: Simply unfasten your strap/hook-and-loop without rail extraction.
Please share your feedback!
License

You shall not share, sub-license, sell, rent, host, transfer, or distribute in any way the digital or 3D printed versions of this object, nor any other derivative work of this object in its digital or physical format (including - but not limited to - remixes of this object, and hosting on other digital platforms). The objects may not be used without permission in any way whatsoever in which you charge money, or collect fees.


Comment & Rating (0)