Overpowered Dummy 13


Print Profile(1)

Description
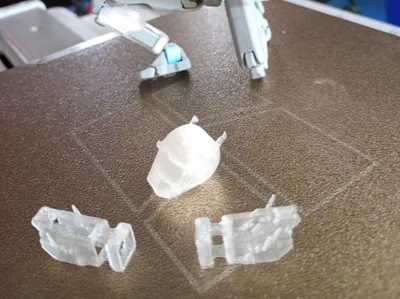
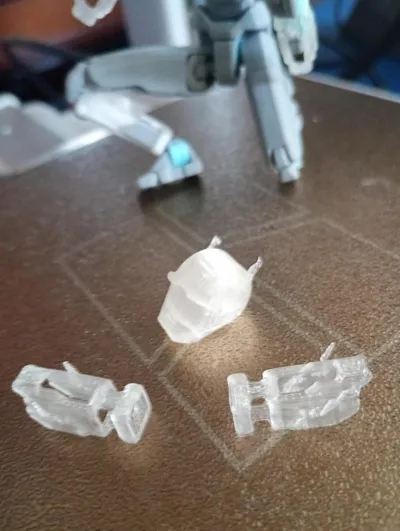
I added some lightnigns in the arms, ears in the head and some fire in the eye.
In this model you can find the parts of the Dummy in separate plates and then the parts that I remixed in another because of different print settings.
TL;DR
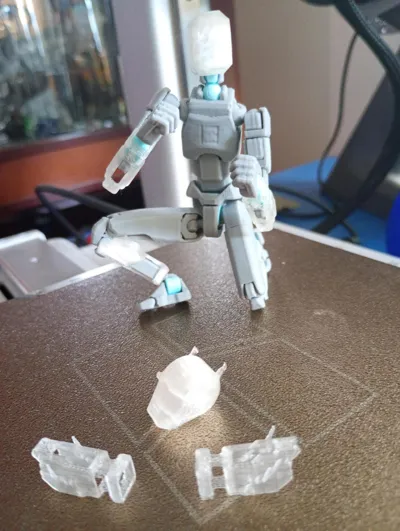
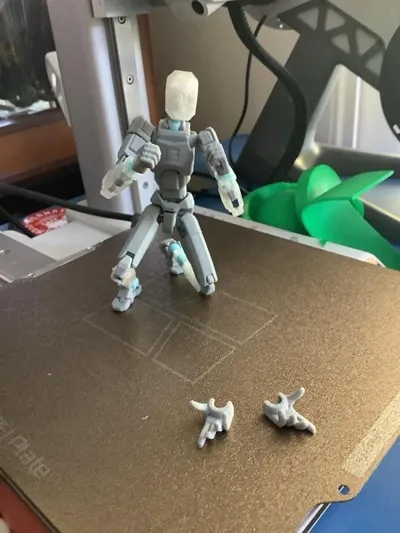
- This is Dummy 13, a printable action figure.
- It was a work in progress for a while and now this is the finished product.
- It's still a tricky print, but I believe in you.
- Yes, you can sell it. Follow the CC-BY rules.
PRINTING
Files
Dummy 13 is made up of an inner frame with an outer layer of armor. In the sample images, the frame parts are the ones printed in black or gray.
You can use whatever colors you like, of course, but I strongly recommend that you do not use PLA for the frame parts. (I explain why in the “filament” section later on).
The name of each file will indicate what layer it belongs to, followed by the body part, and the quantity if applicable.
Pre-plated 3MF
These files contain all of the individual parts of Dummy 13, pre-arranged into two plates (one for the frame and one for the armor). You can tweak the arrangement however you like.
If you use PrusaSlicer, you can select “open as project” when loading each file, and you will also have the recommended settings already applied.
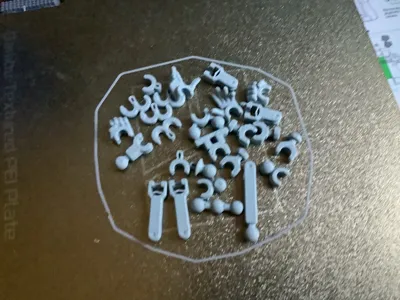
When you print a lot of individual small parts, bed adhesion is super important! Make sure your print surface is clean, and consider applying glue for better adhesion.
Filament
For the armor parts, you can use the filament of your choice. PLA, PETG, and ASA have all been tested with good results.
For the frame parts, you will get the best results with ABS/ASA, and PETG is also usable.
Print Settings
Recommended settings (100% scale, 0.4mm nozzle)
| Material | Frame parts | ABS, ASA, or PETG |
| Armor parts | Any | |
| Layer height | First layer | 0.2 mm |
| Other layers | 0.15 mm | |
| Number of perimeters | 2 | |
| Infill | 20%, rectilinear | |
| First layer speed | 25% of default | |
| Elephant foot compensation | 0.15 mm | |
| Supports | None | |
| Brim | As needed (depends on bed adhesion) | |
| Perimeter generator | Arachne | |
| Additional settings | ☑ Print external perimeters first OR ☑ Only one perimeter on first layer | |
These settings are not too different from the default medium-resolution profile on most slicers. Infill is set to rectilinear because grid infill has self-crossings that can knock parts loose. The first layer speed is reduced to promote bed adhesion, and upping the elephant foot compensation improves part fitment.
Using Arachne ensures that certain thin walls print correctly. Printing external perimeters first is optional but can help with dimensional accuracy, and sticking to one perimeter on the first layer will help with printing the parts on runners.
LICENSE
tl;dr for sellers:
- Yes, you can sell prints of this model.
- You do not have to buy a license or join my club.
- YOU MUST GIVE PROPER ATTRIBUTION.
Dummy 13 v1.0 is made available under a Creative Commons Attribution 4.0 license.
Under the CC BY 4.0 license, you are free to share and adapt this work, including for commercial purposes (such as selling prints), provided that you give proper attribution.
Following Creative Commons guidelines, proper attribution includes Title, Author, Source, and License.
- Title: The correct name of the design (Dummy 13)
- Author: Gabriel Rosiak (and/or) soozafone (and/or) Lucky 13 Toys
Example:
| Dummy 13 Version 1.0 © 2024 by Gabriel Rosiak is licensed under CC BY 4.0 |

Comment & Rating (6)