
Connectors and Hangers for Canadian Gamer Frames
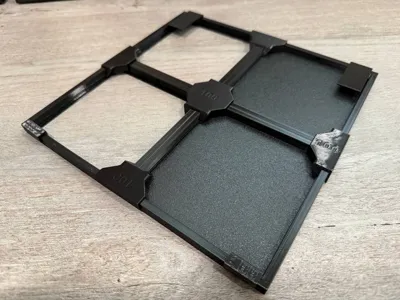
Print Profile(7)


Bill of Materials

- Small Command Strips Picture Hanging Strips x 1: https://www.amazon.com/dp/B073XS3CHW
Description
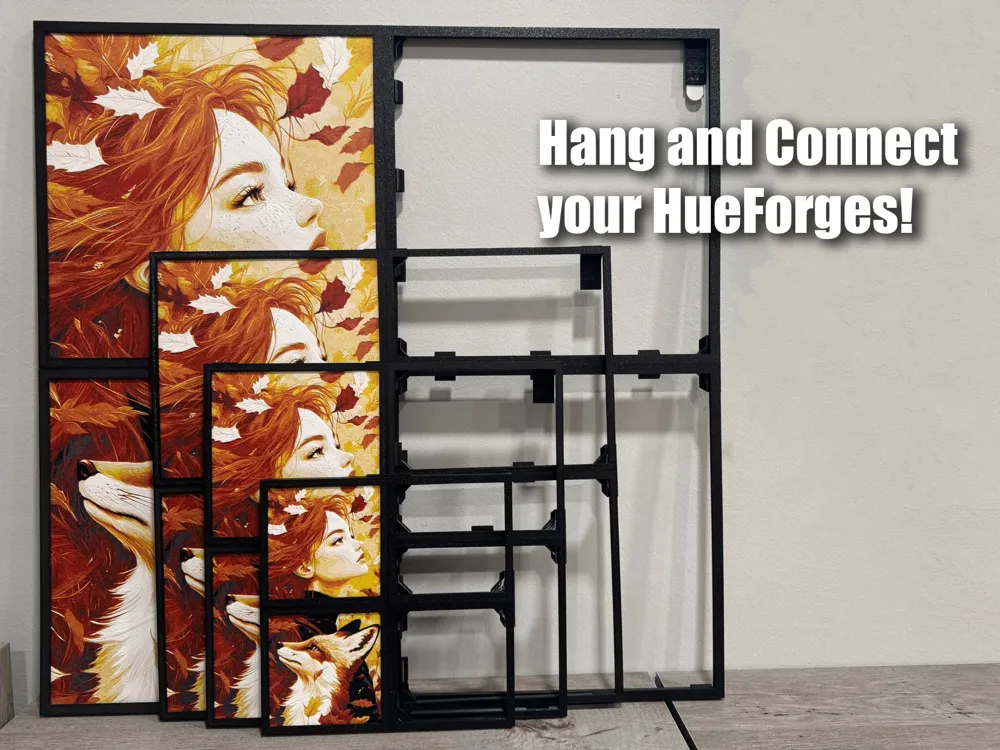
Have you printed a few HueForges and would like to hang them easily? Or have you printed a multi-panel HueForge and want to align all the parts perfectly and also hang that easily?
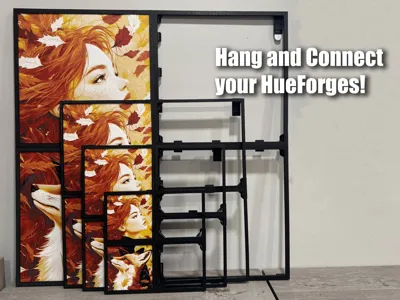
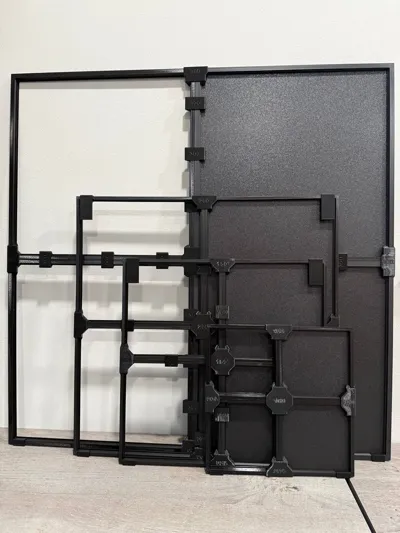
Here are hangers and connectors to hold HueForge frames by Canadian Gamer!
- 100/150/200mm Frames: https://makerworld.com/en/models/709013-slim-square-friction-fit-frame#profileId-639290
- 300mm Frames: https://makerworld.com/en/models/1397316-h2d-hueforge-frames-large-sizes#profileId-1448534
Features:
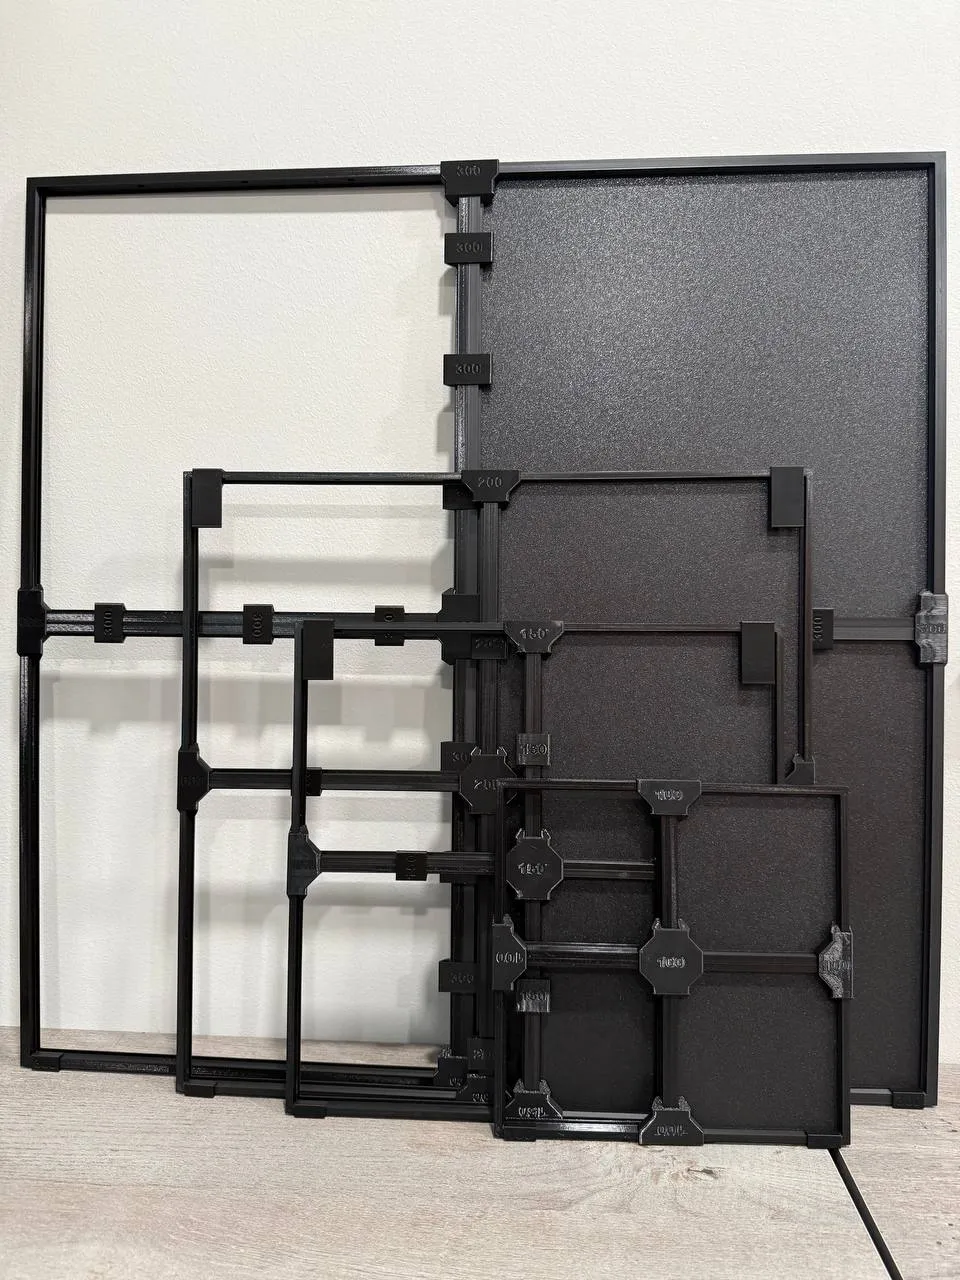
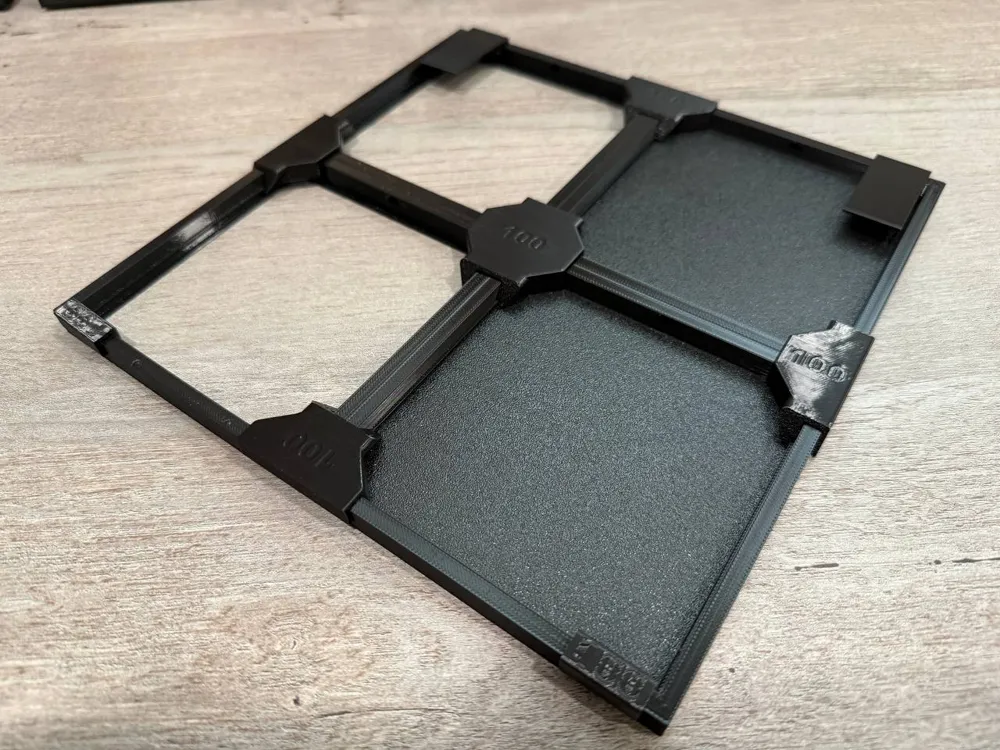
- Available for all sizes, 300mm, 200mm, 150mm, 100mm - Every piece is labeled for easy identification
- Fits all HueForge thicknesses supported by the frames, up to 3.0mm
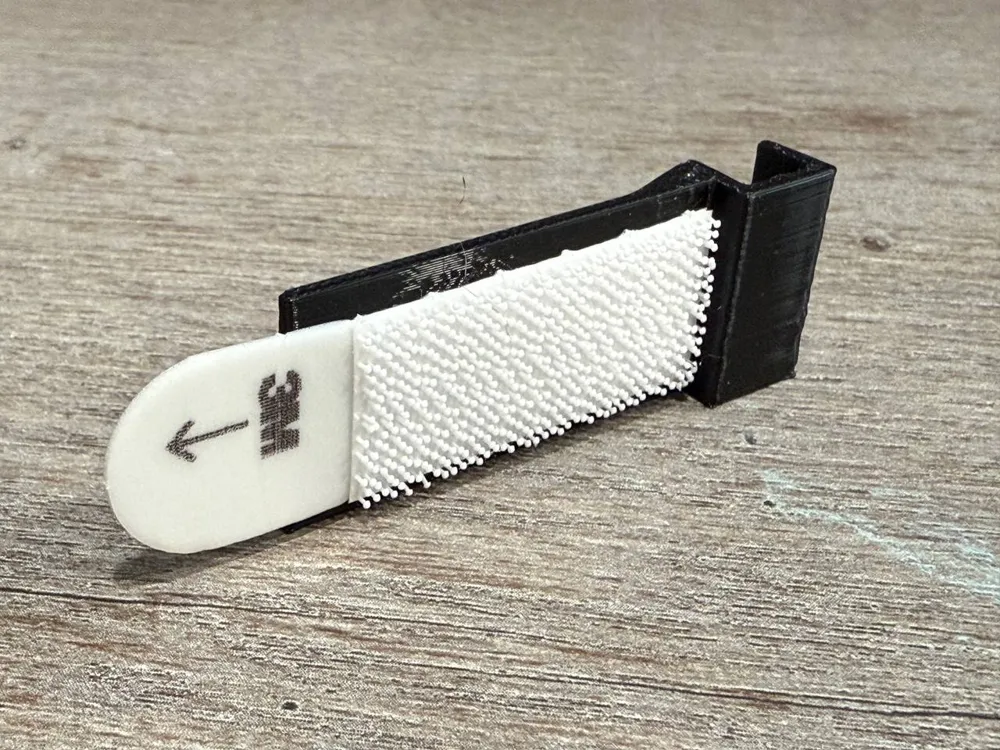
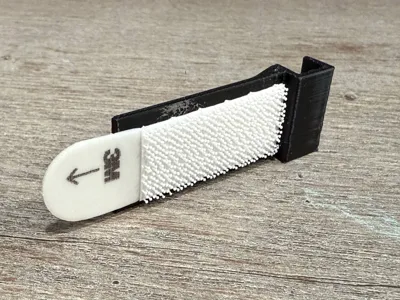
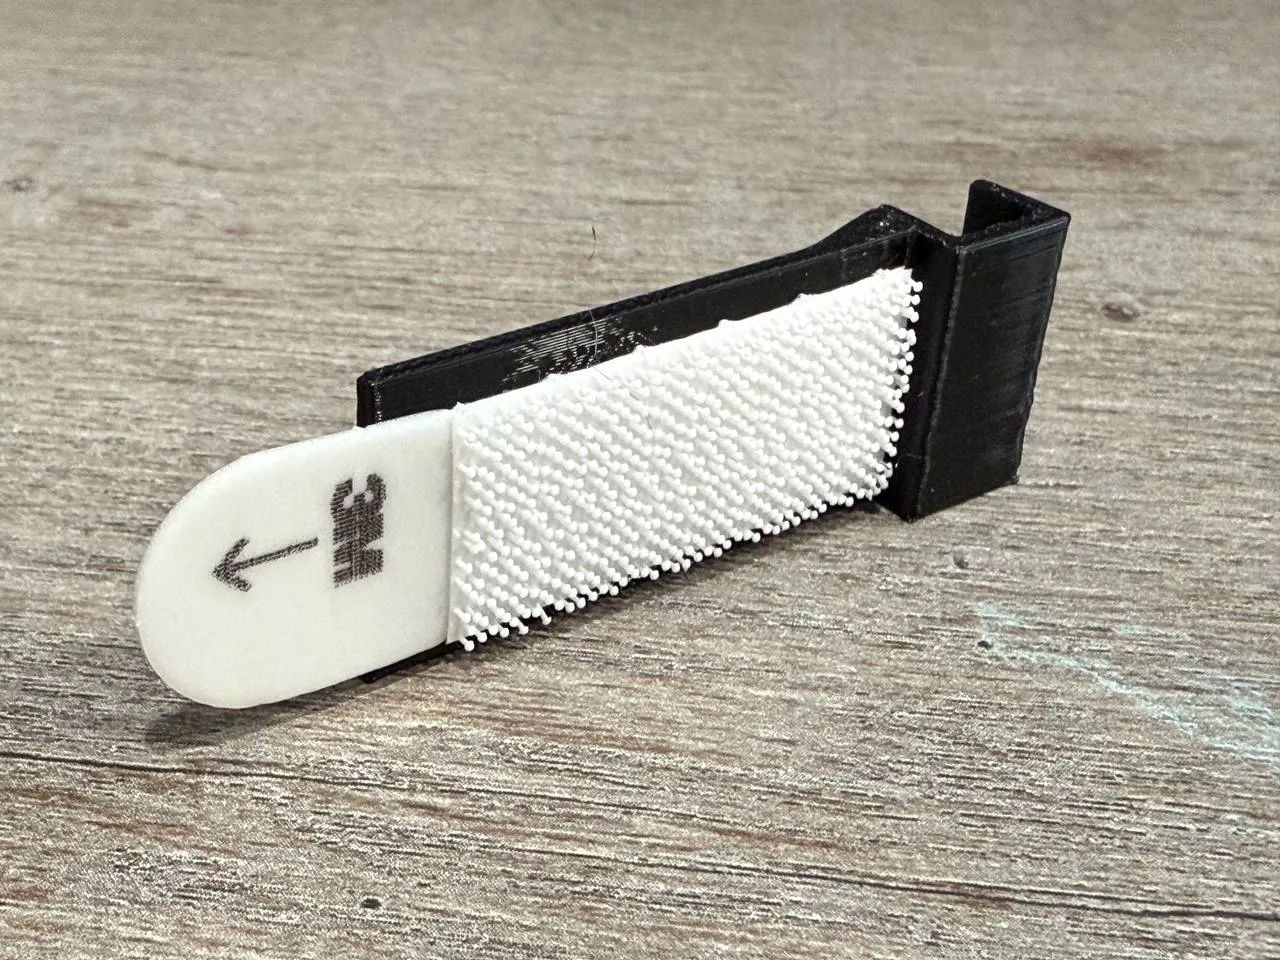
- Fitted for Small 3m Command Strips Picture Hangers for easy swapping
- Preset part collections in all sizes for:
- Just hangers
- 1x2 Tall
- 2x1 Wide
- 2x2 4-Panel
- 3x3 9-Panel
- More hanger types
Perfectly fitted for Small Command Strips Picture Hanging Strips: https://www.amazon.com/dp/B073XS3CHW
I recommend printing the clips in the same material that you use to print your frames, the digital files are colored for easy identification. Or feel free to print them in whatever color you want. They might even add a little pizzaz to the frames if you would like them to!
Boost Me (for free)
If you find these helpful, I would greatly appreciate a boost!
Install HueForges into frames before applying connectors and hangers!
For connectors, easily remove the bed adhesion feet by pulling down:

Then align the connector with the frame, and push down to snap onto the frame:

Add long-side connectors where necessary to keep the frames tightly attached to one another. As a bonus, they also hold the HueForge tightly up against the front of the frame:
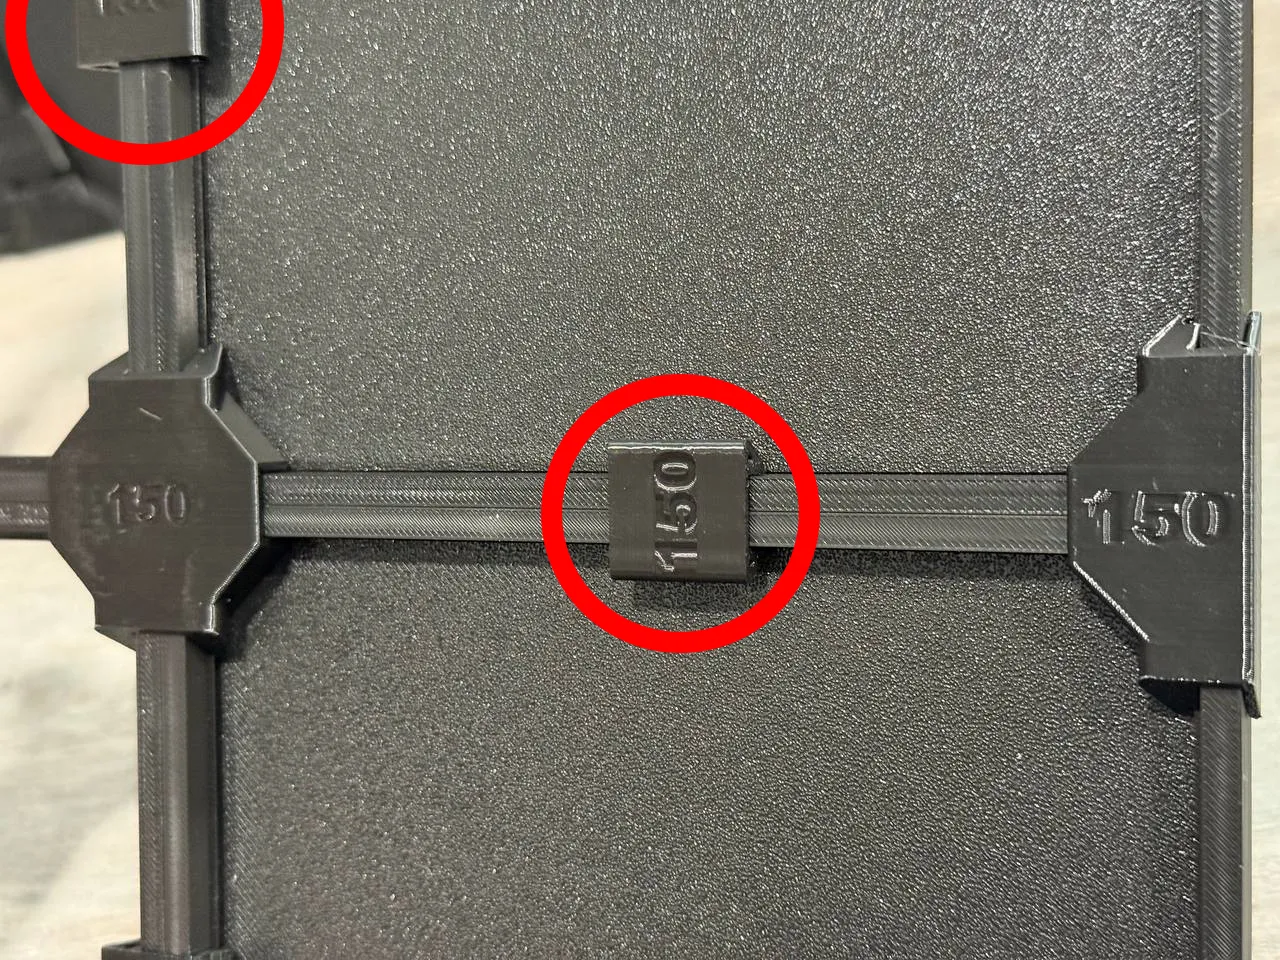
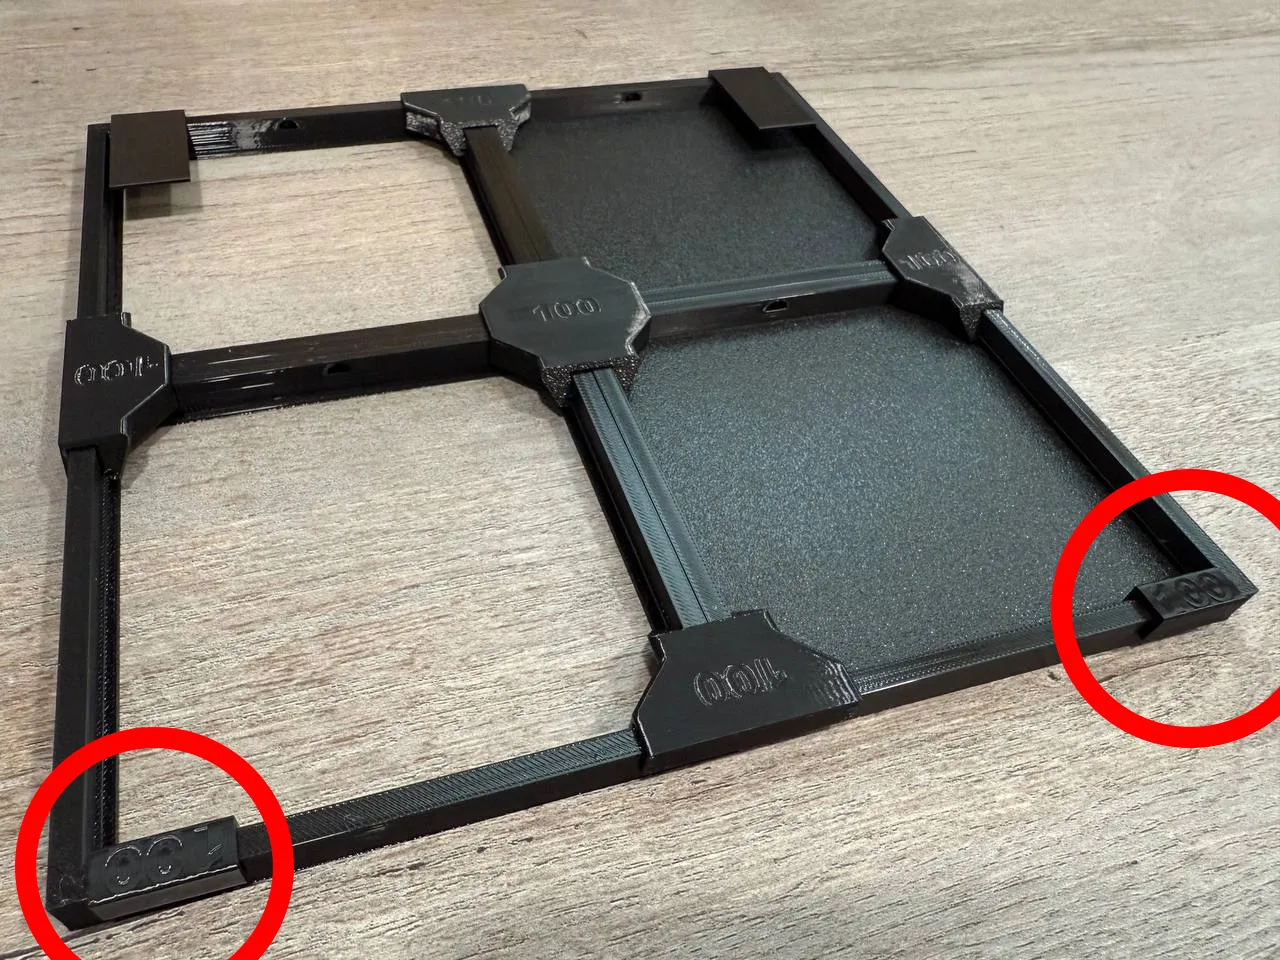
Add single spacers to the bottom corners to keep the frames even against the wall while hanging:
Apply Command Strip to Hanger:
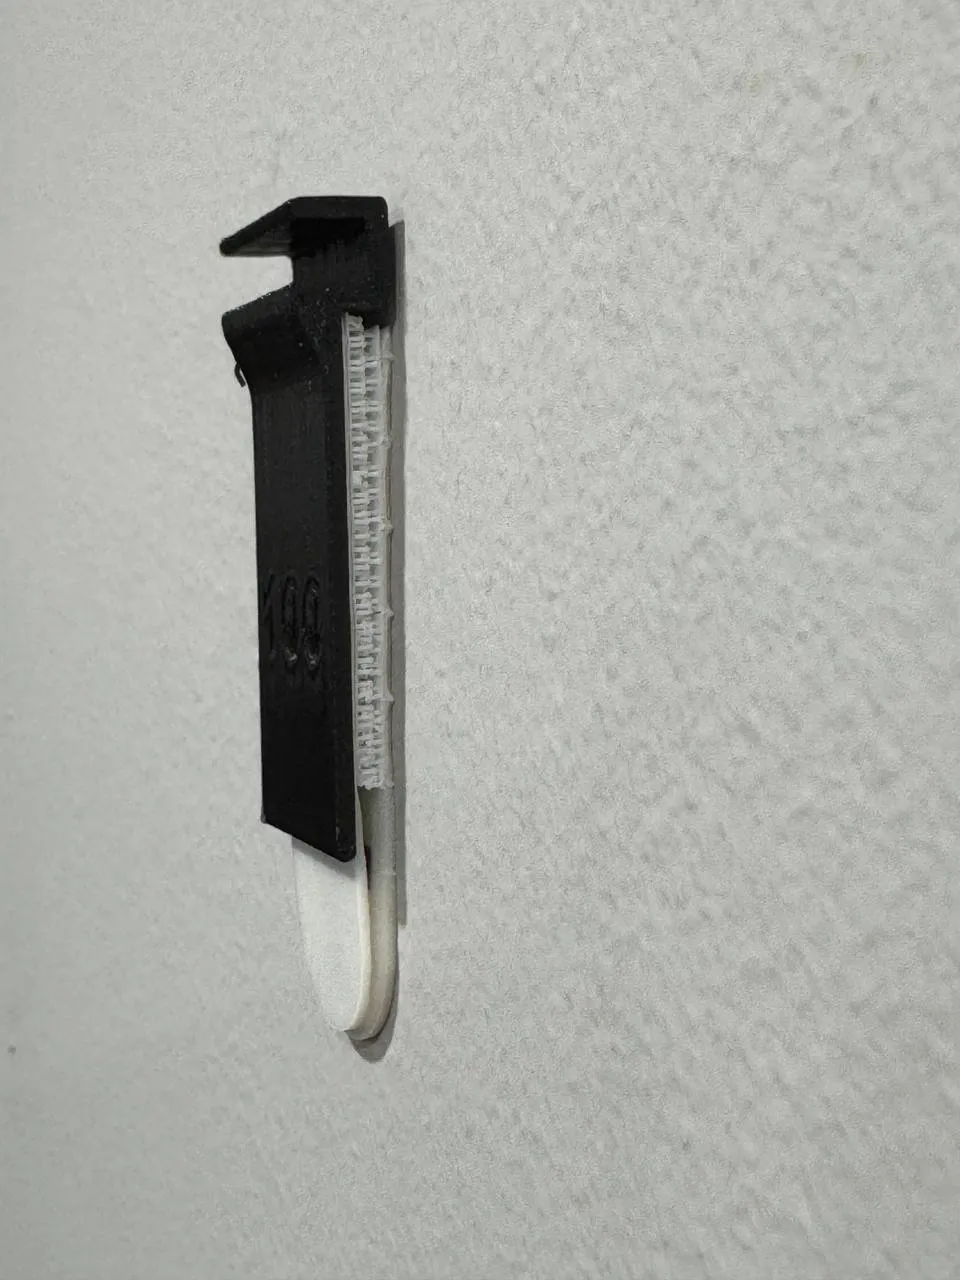
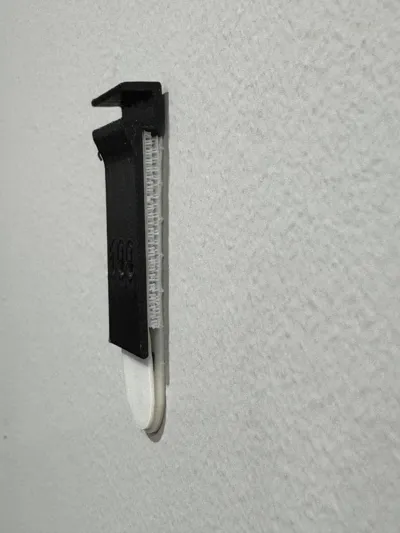
Attach hanger to wall:
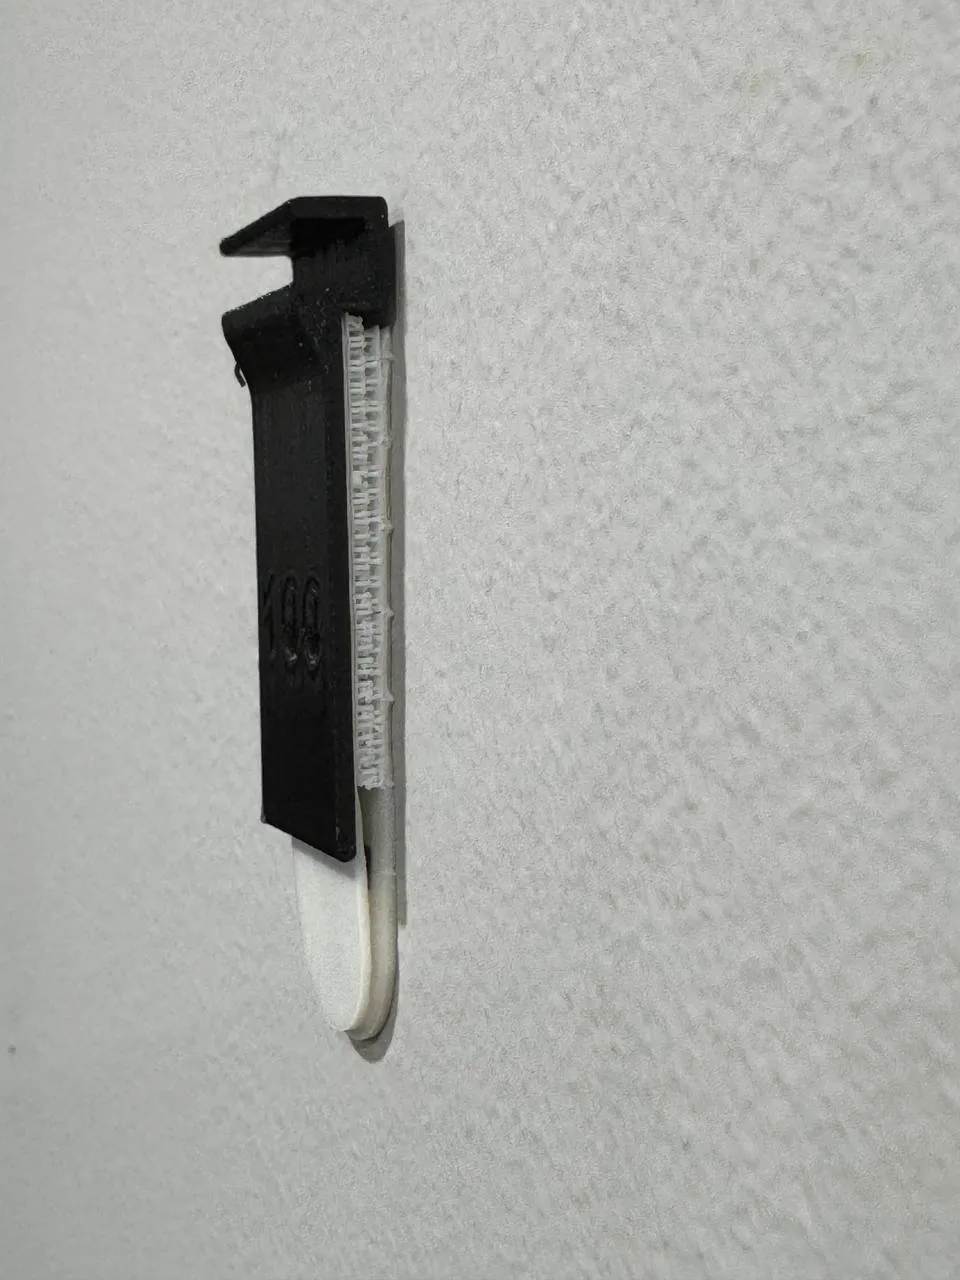
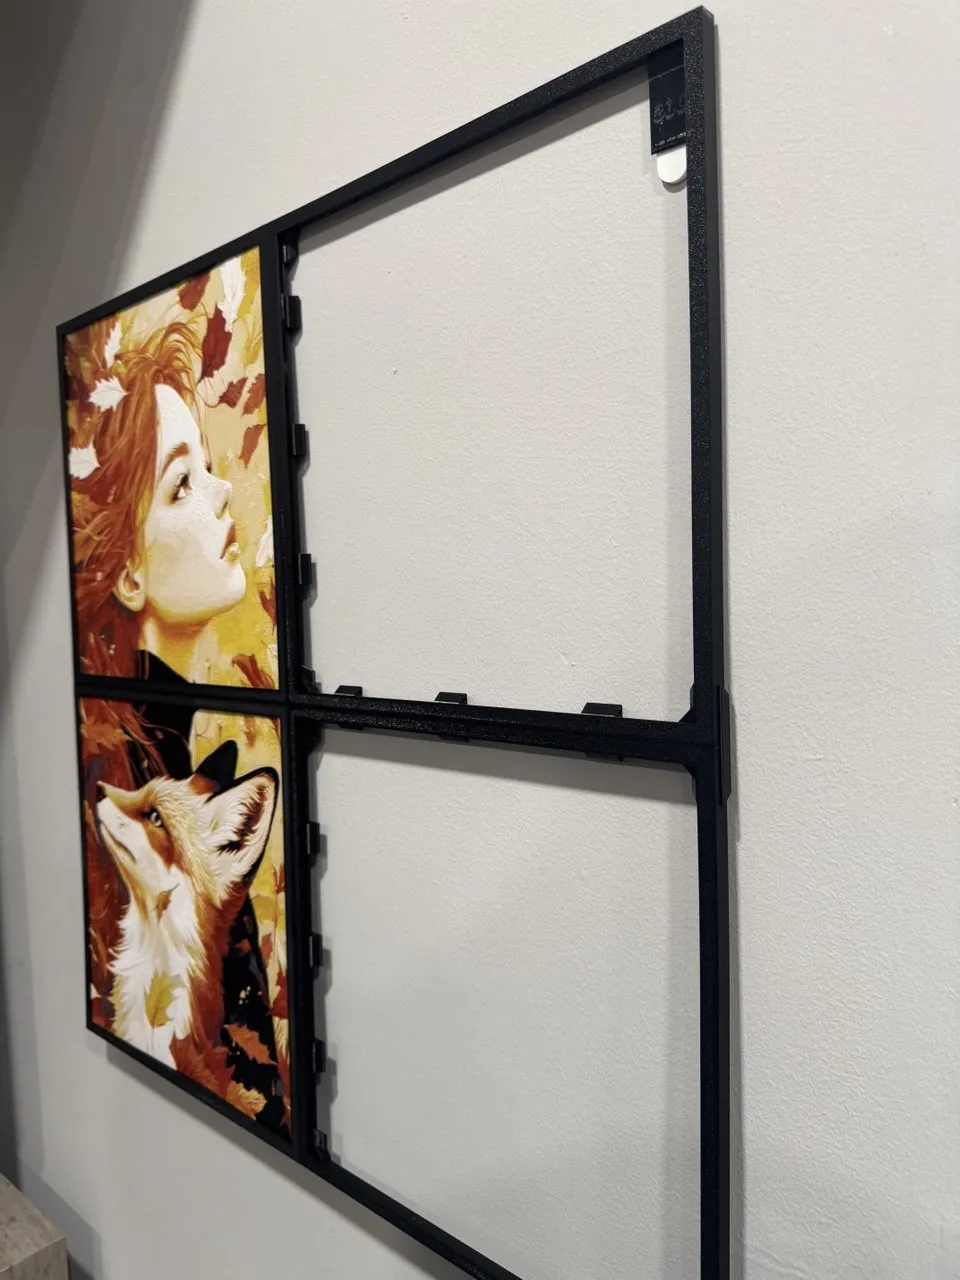
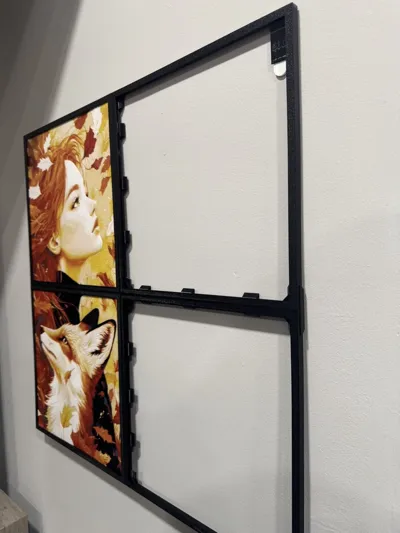
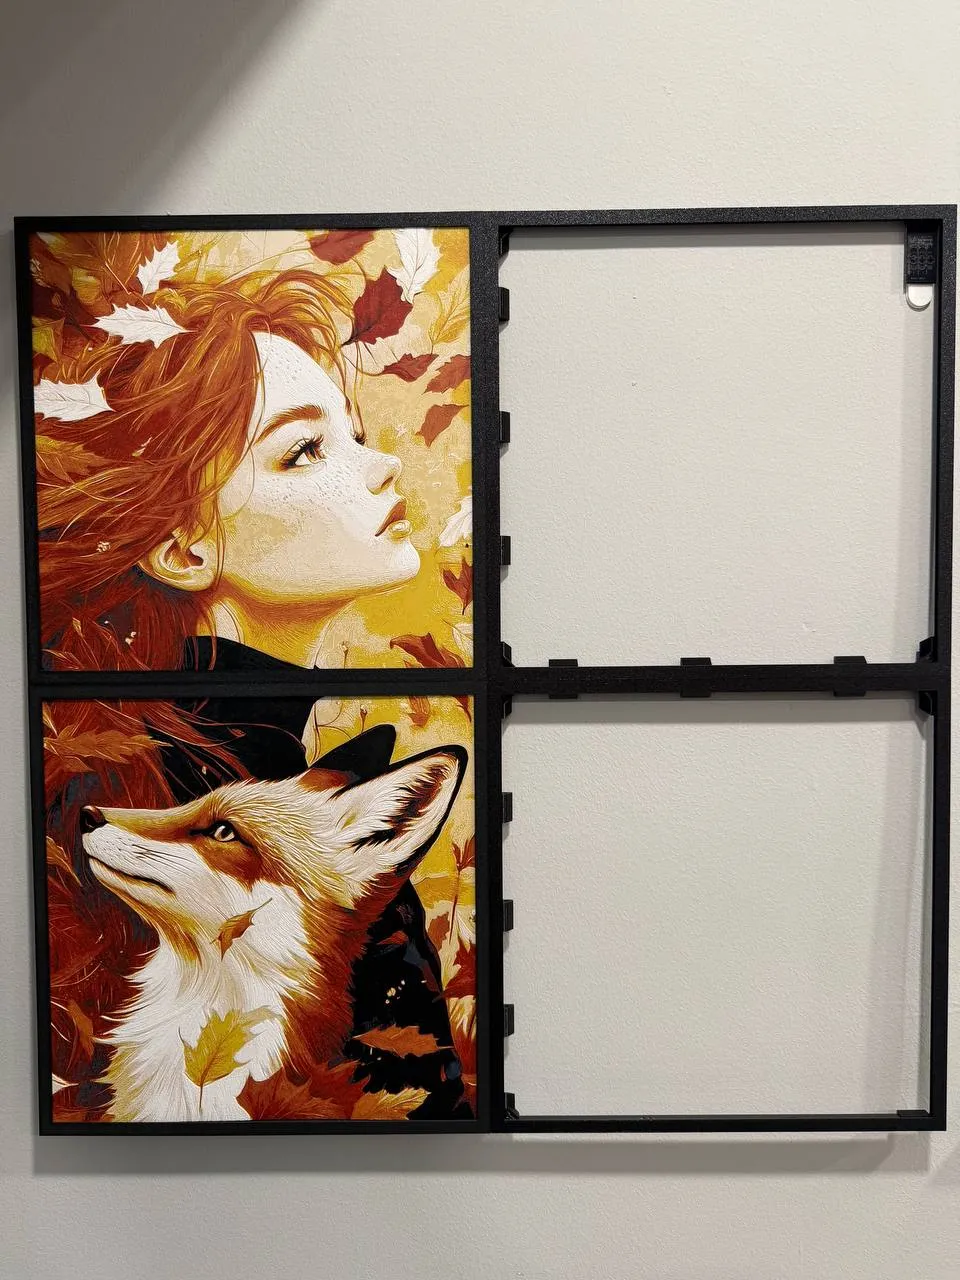
Push assembled HueForges in Frames into the wall hanger, near the edges of the frame to reduce the frame bending from the weight of the HueForges:
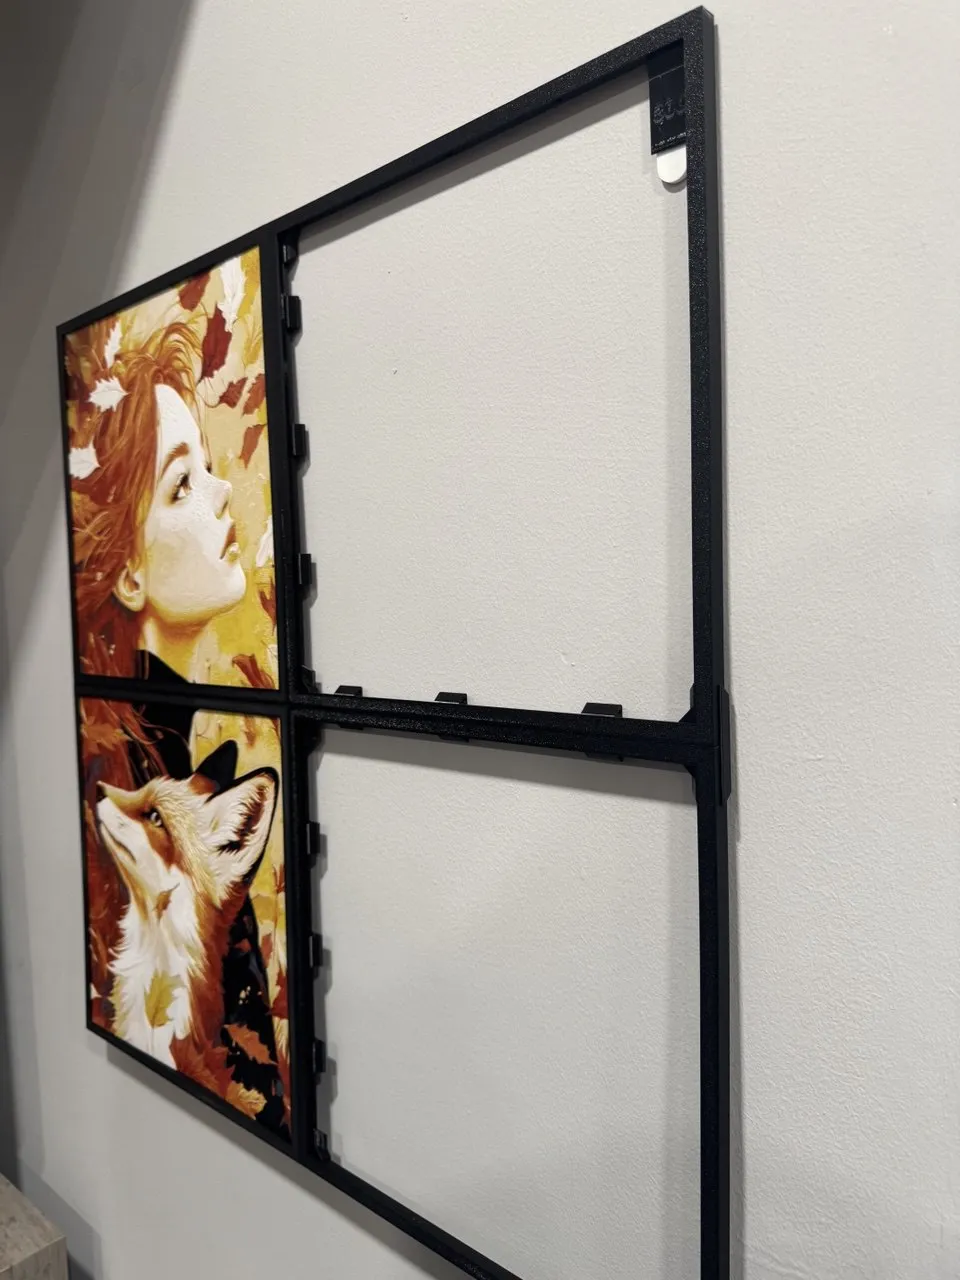
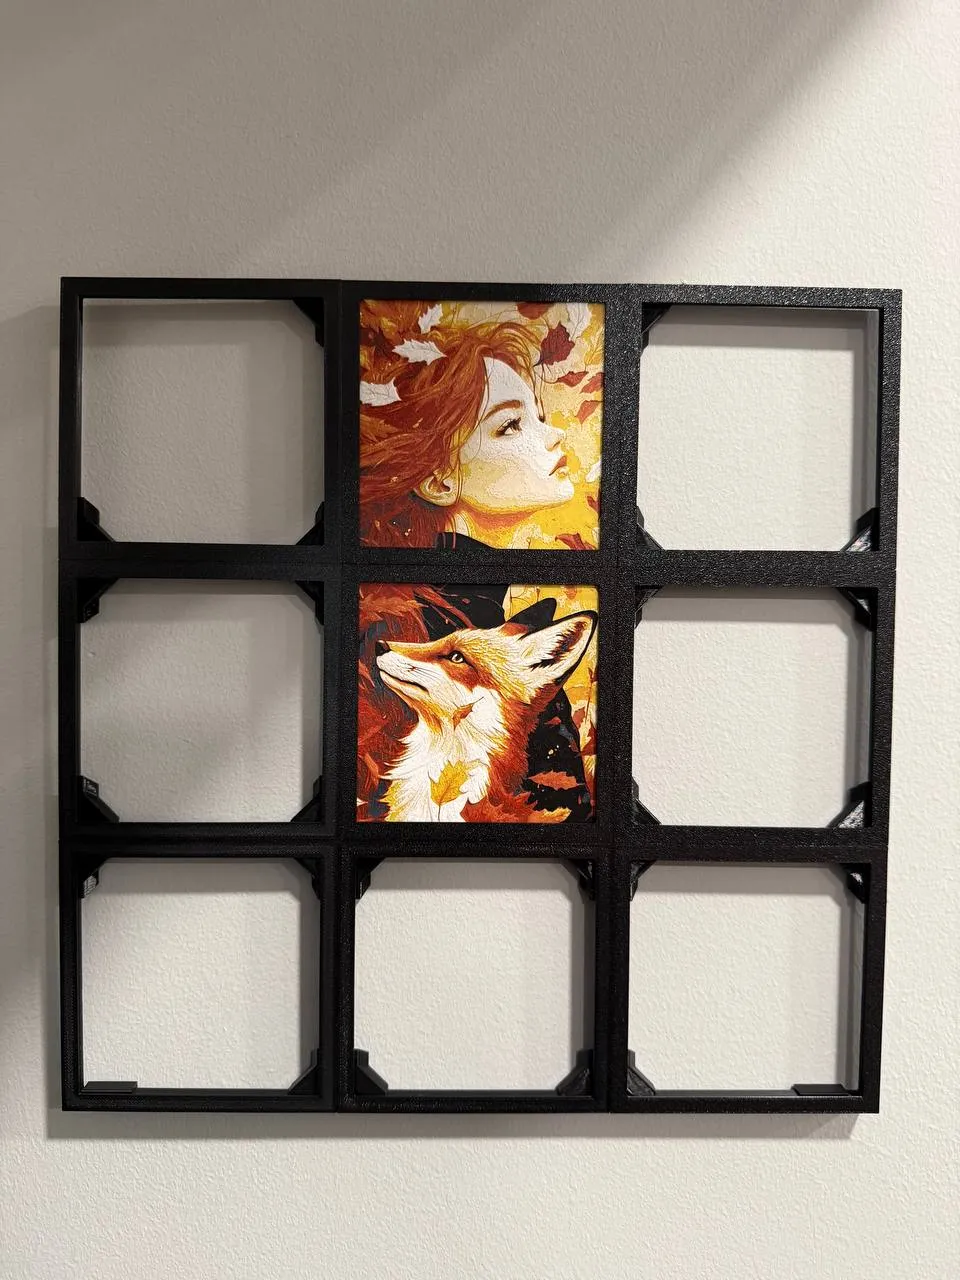
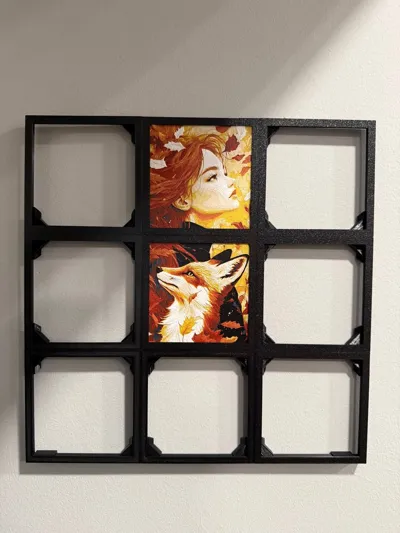
Tada! Finished hanging HueForges! (empty frames for demonstration purposes):
License

You shall not share, sub-license, sell, rent, host, transfer, or distribute in any way the digital or 3D printed versions of this object, nor any other derivative work of this object in its digital or physical format (including - but not limited to - remixes of this object, and hosting on other digital platforms). The objects may not be used without permission in any way whatsoever in which you charge money, or collect fees.


Comment & Rating (77)