
KEA LESTRA Lamp Diffuser / Light Softener
Print Profile(2)


Description

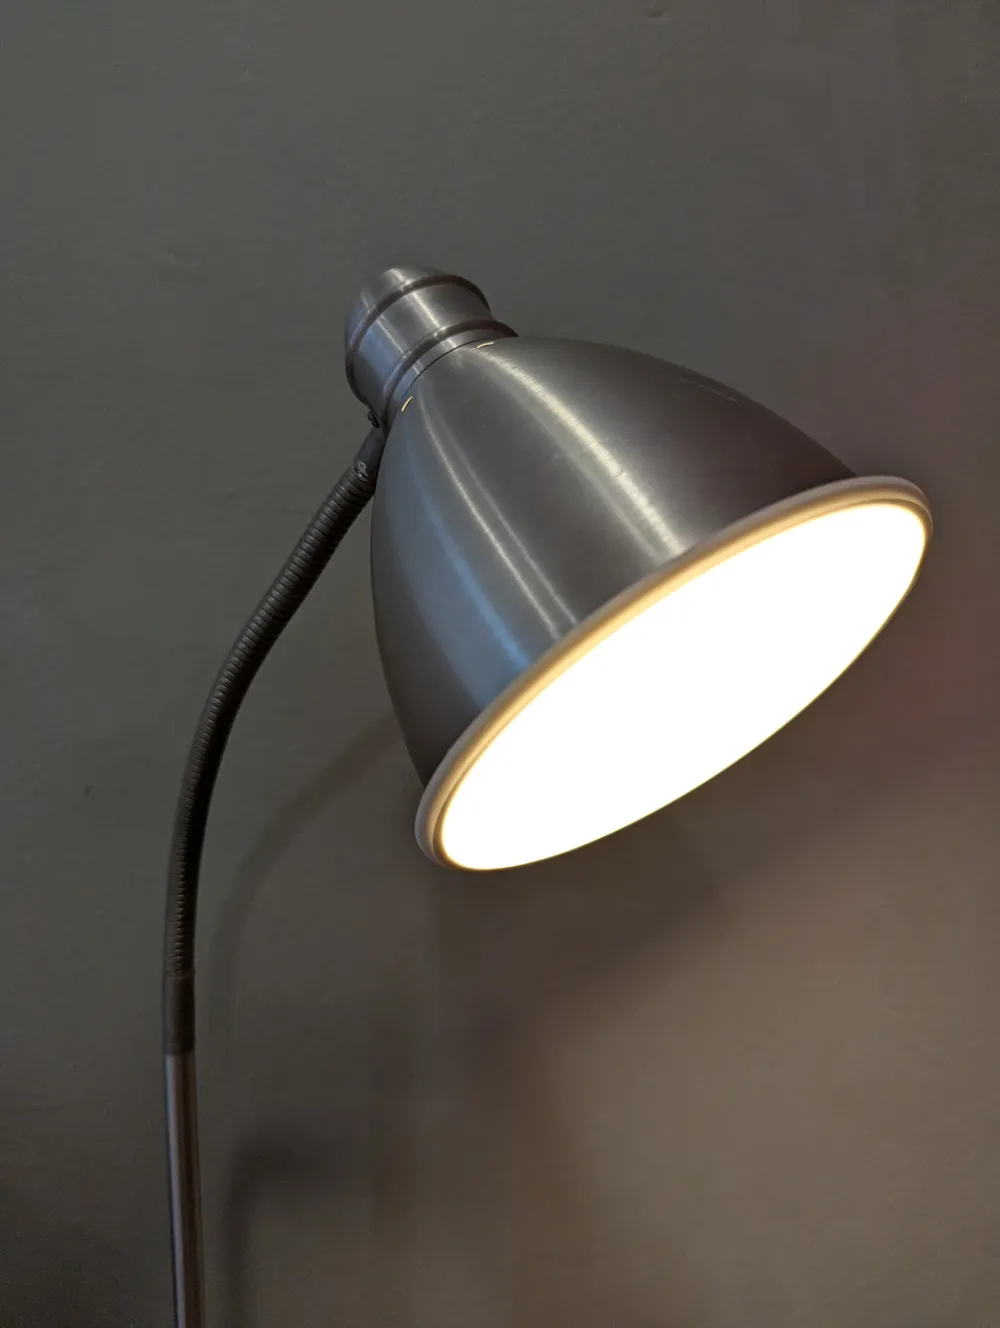
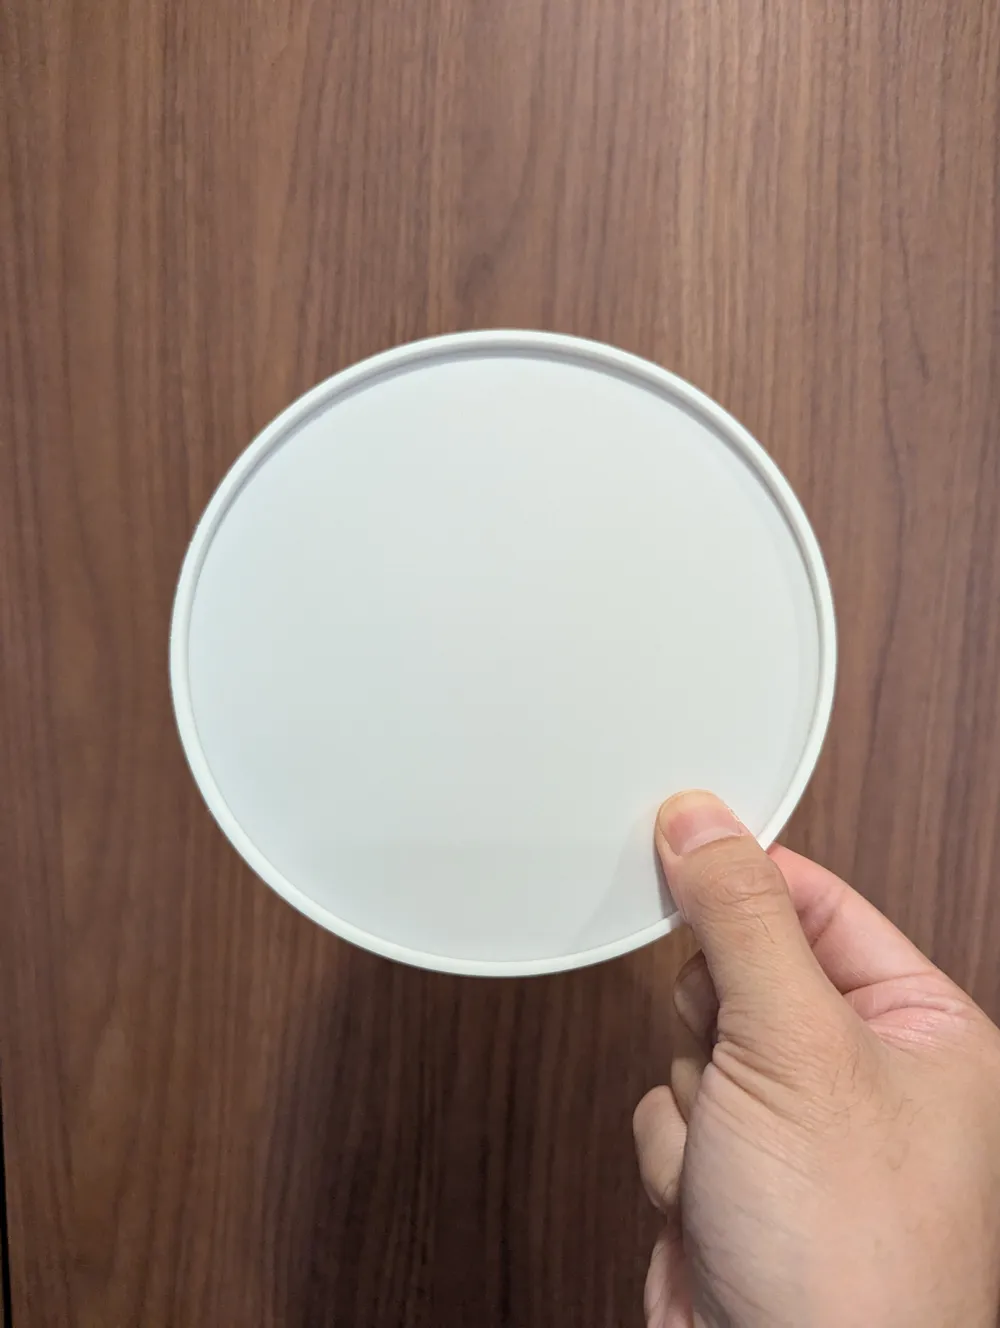
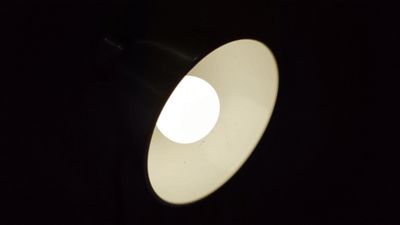
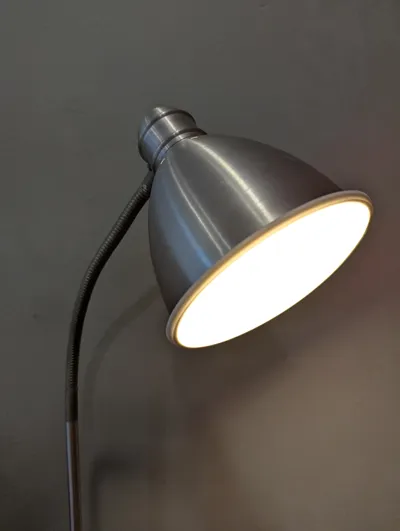
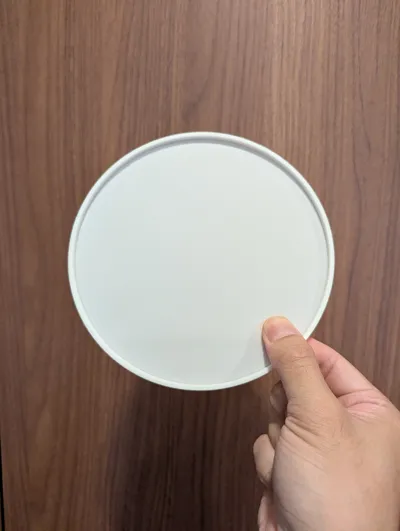
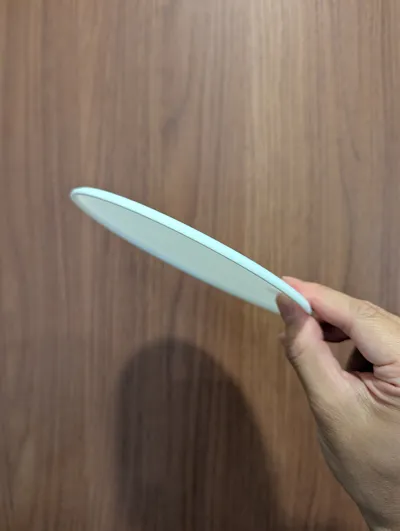
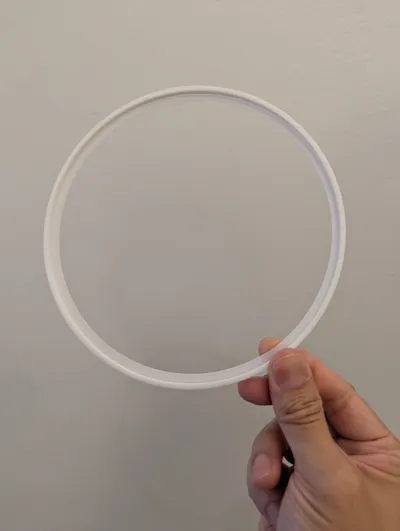
Enhance your IKEA LESTRA lamp with this custom-designed lamp diffuser – created to perfectly soften and spread light without compromising brightness. Whether you're after a more ambient atmosphere or just want to reduce harsh glare, this 3D printed diffuser is a simple and elegant upgrade.
🔧 Features
- Perfect Press-Fit Design
No screws or glue required! Just snap it into place and you're done. Tailored for the IKEA LESTRA lamp for a snug, secure fit. - Optimized Light Diffusion
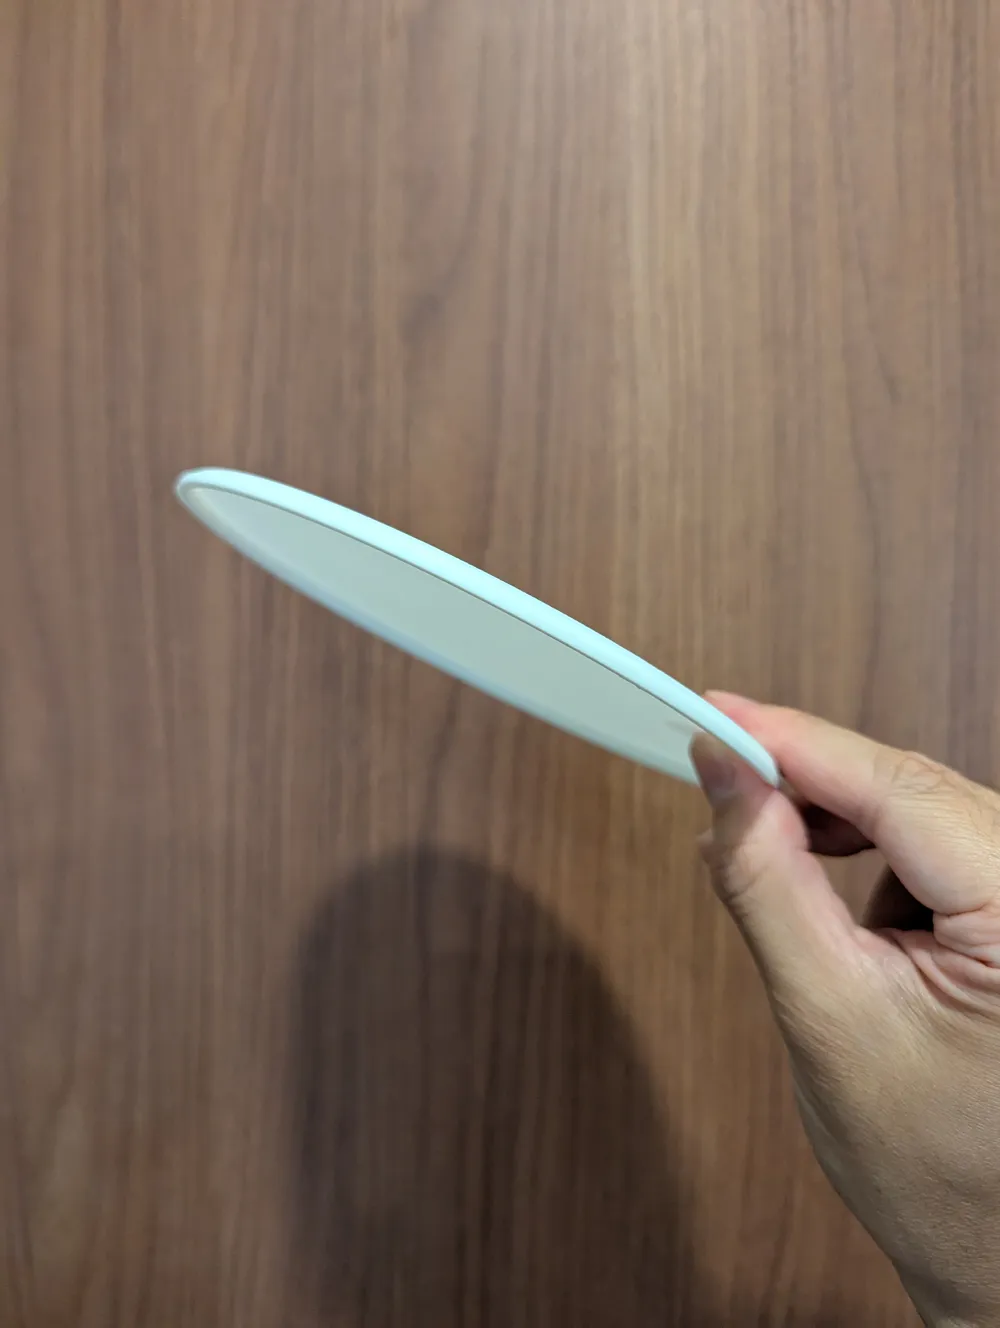
With a 0.4mm thickness, this diffuser strikes a balance between translucency and light softening. It provides smooth, even illumination while still allowing enough brightness to shine through. - Test Fit Profile Included
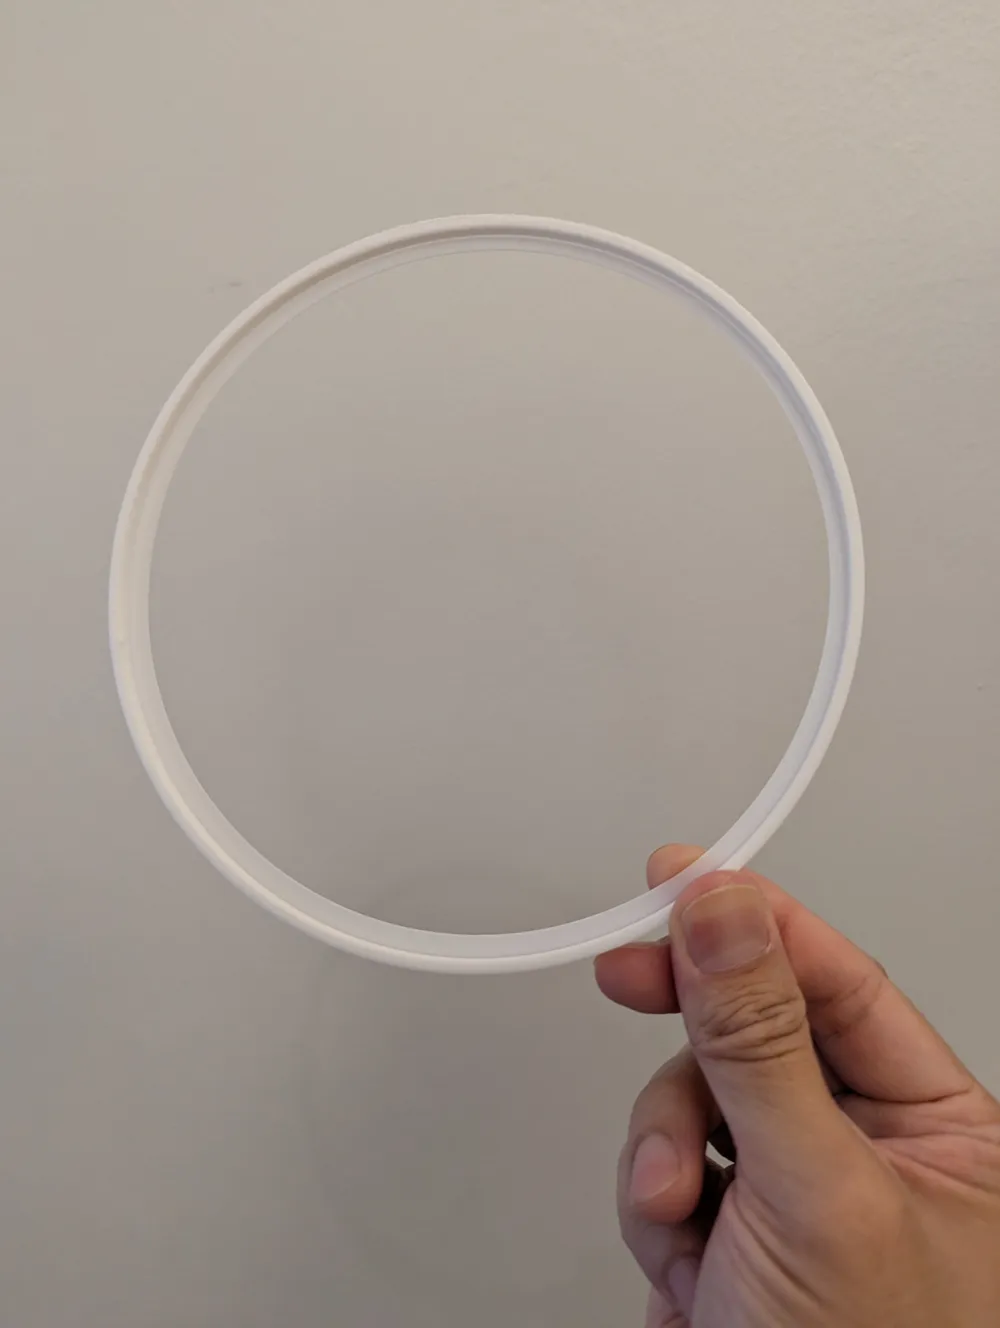
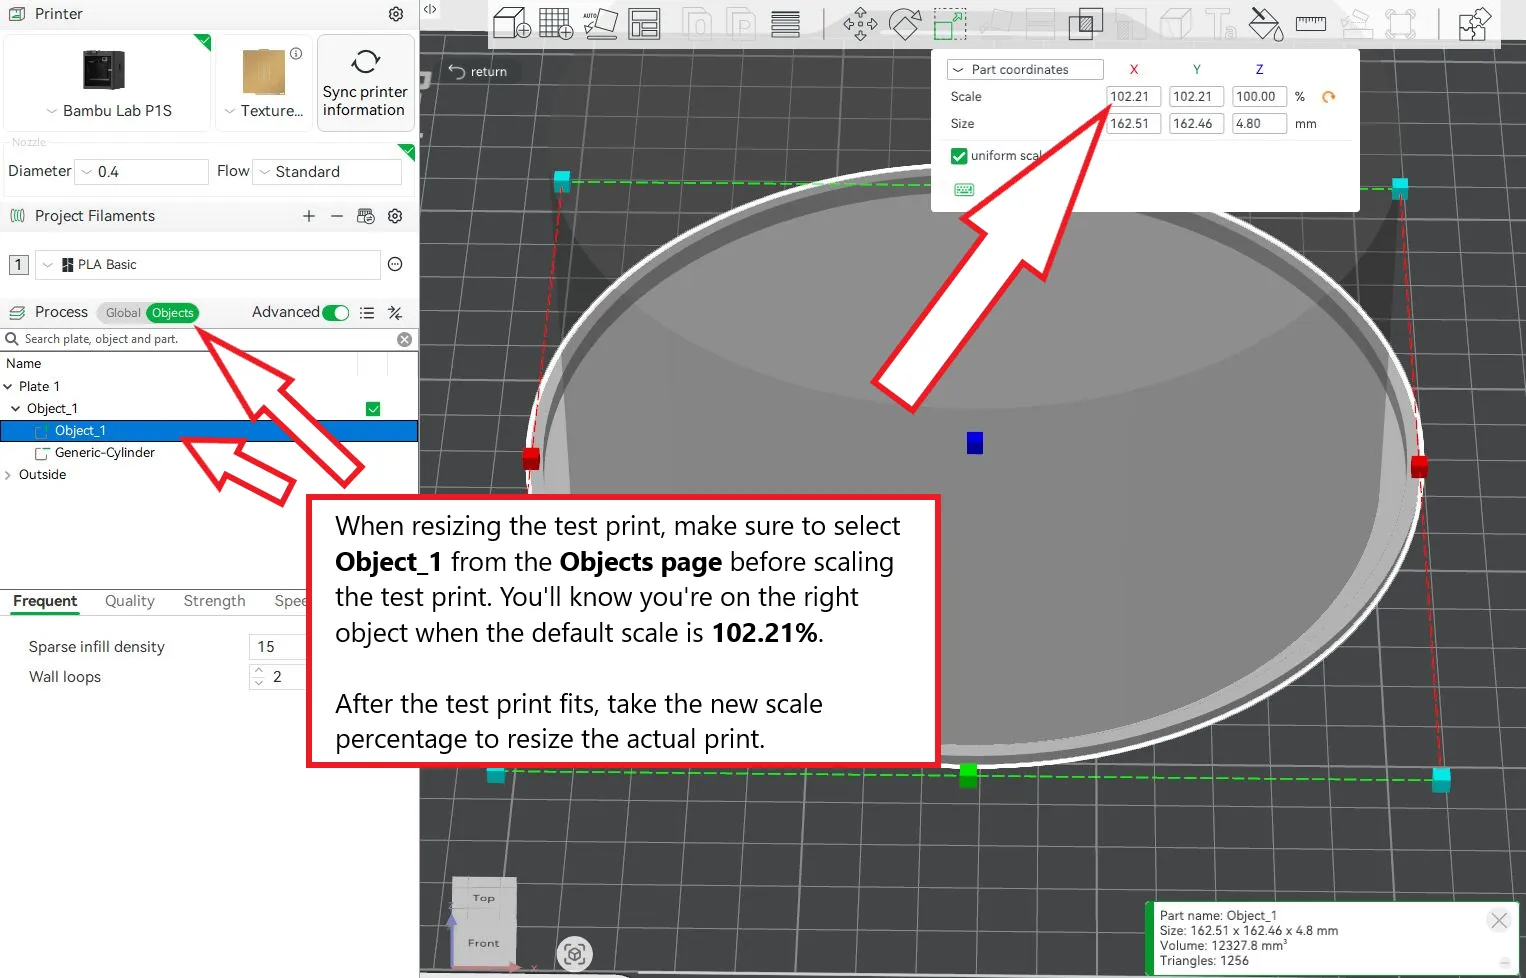
Tolerances can vary slightly from one lamp to another. To help you get the perfect fit, a test print profile is included – print it first to check sizing before committing to the full print. If needed, simply scale up or down slightly in Bambu Studio to match your lamp. See instructions below on how to scale the file to fit your lamp.
🖨️ Print Recommendations
- Layer Height: 0.2mm
- Material: PLA or other standard filaments
- No Supports Needed
- Infill: 15%
🧩 Included Print Profiles
- Full-size diffuser profile
- Test fit profile
💡 Instructions
This model was designed specifically for the IKEA LESTRA lamp. While tolerances are generally accurate, some printers or lamp batches may vary – please print a test print first before making the final print!
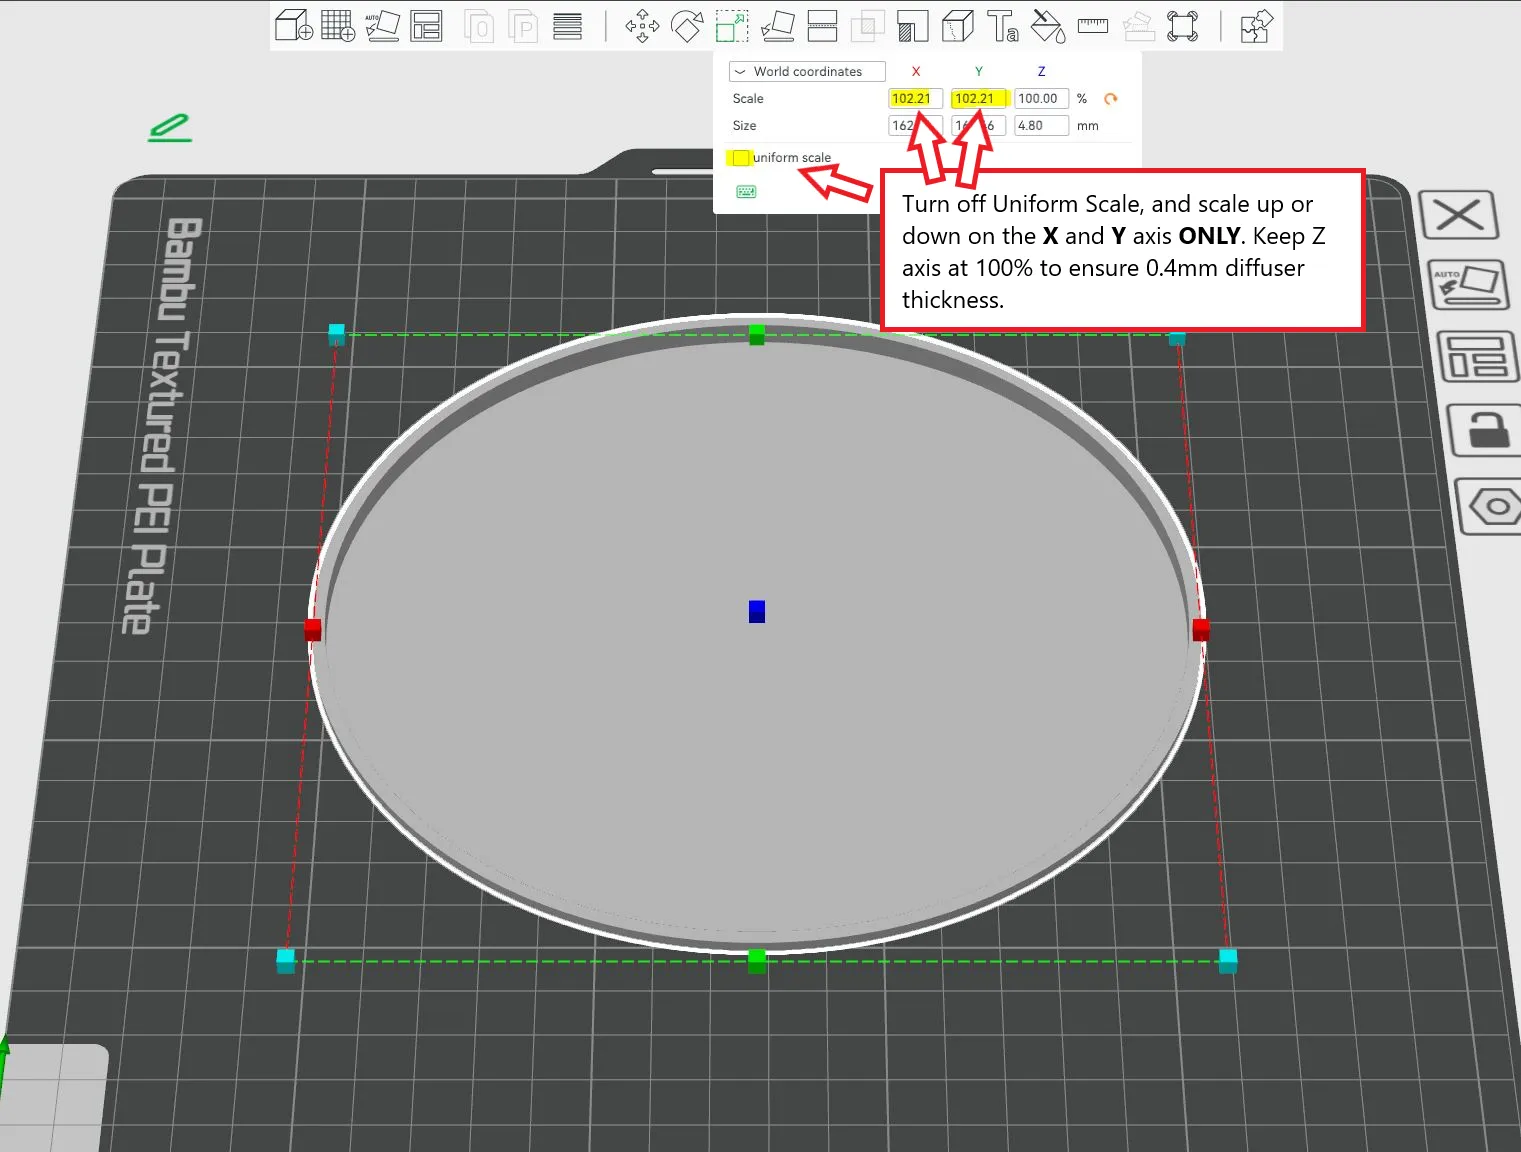
If the test print doesn't fit properly, click on the model and use the scale function to make it larger or smaller:
- Turn off Uniform Scaling
- Only change the X and Y axis scale. Leave Z axis at 100% for the correct thickness.
- Once the test print fits, take the scale percentage used to achieve the right fit and apply it to the full-size model.
License

You shall not share, sub-license, sell, rent, host, transfer, or distribute in any way the digital or 3D printed versions of this object, nor any other derivative work of this object in its digital or physical format (including - but not limited to - remixes of this object, and hosting on other digital platforms). The objects may not be used without permission in any way whatsoever in which you charge money, or collect fees.


Comment & Rating (1)