
Print Profile(2)


Bill of Materials

Description
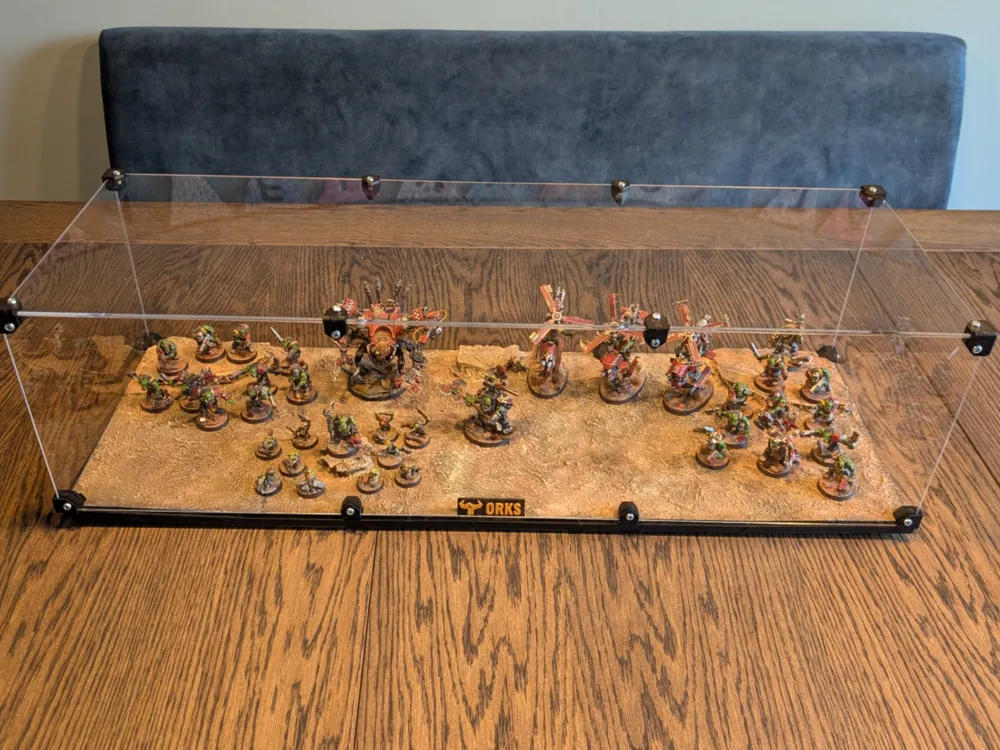
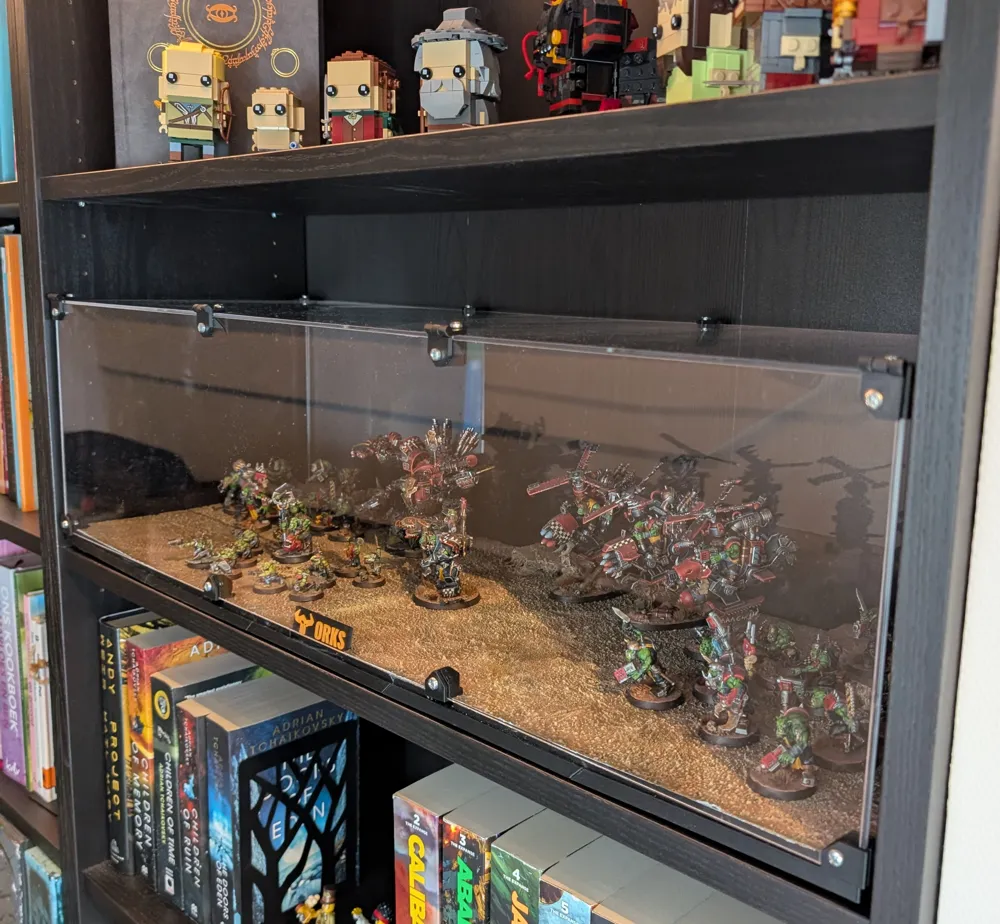
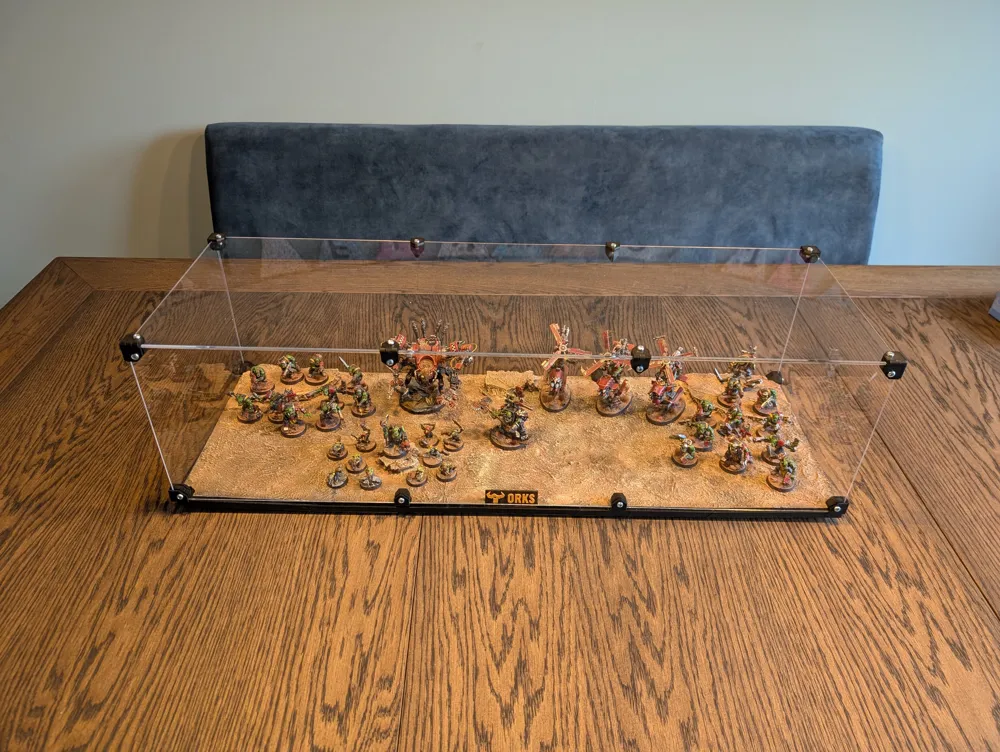
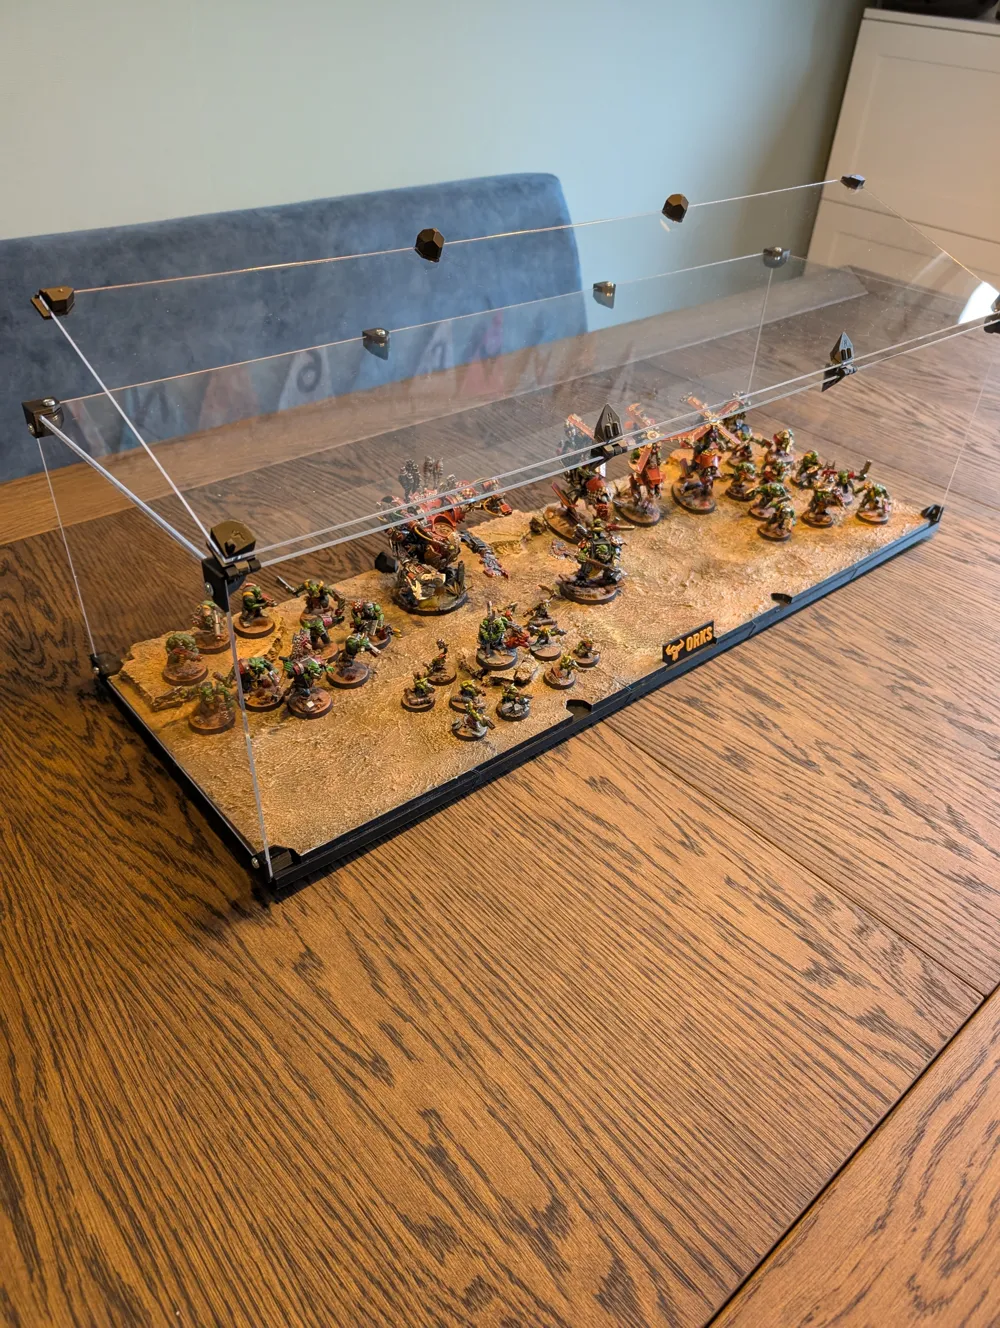
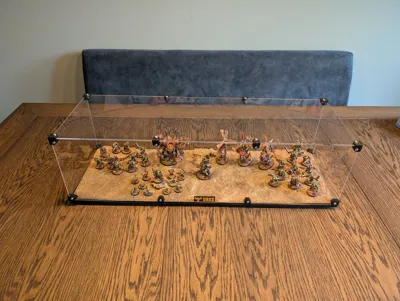
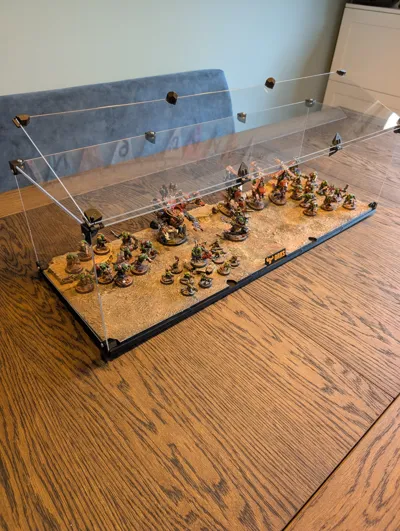
Create a nice and robust display case specifically designed for hobbyists and collectors. This versatile showcase provides the perfect stage for wargames, historical miniatures, fantasy dioramas, model cars, and more. Its sleek design complements any setting while it's dimensions allow it to fit IKEA Billy shelves perfectly, it's also excellent for standalone display anywhere in your home or workshop.
Boost Me (for free)
Enjoying this model? Consider boosting me to help create more models in these categories!
Key Features:
- Fits seamlessly onto IKEA Billy shelves or can be used independently.
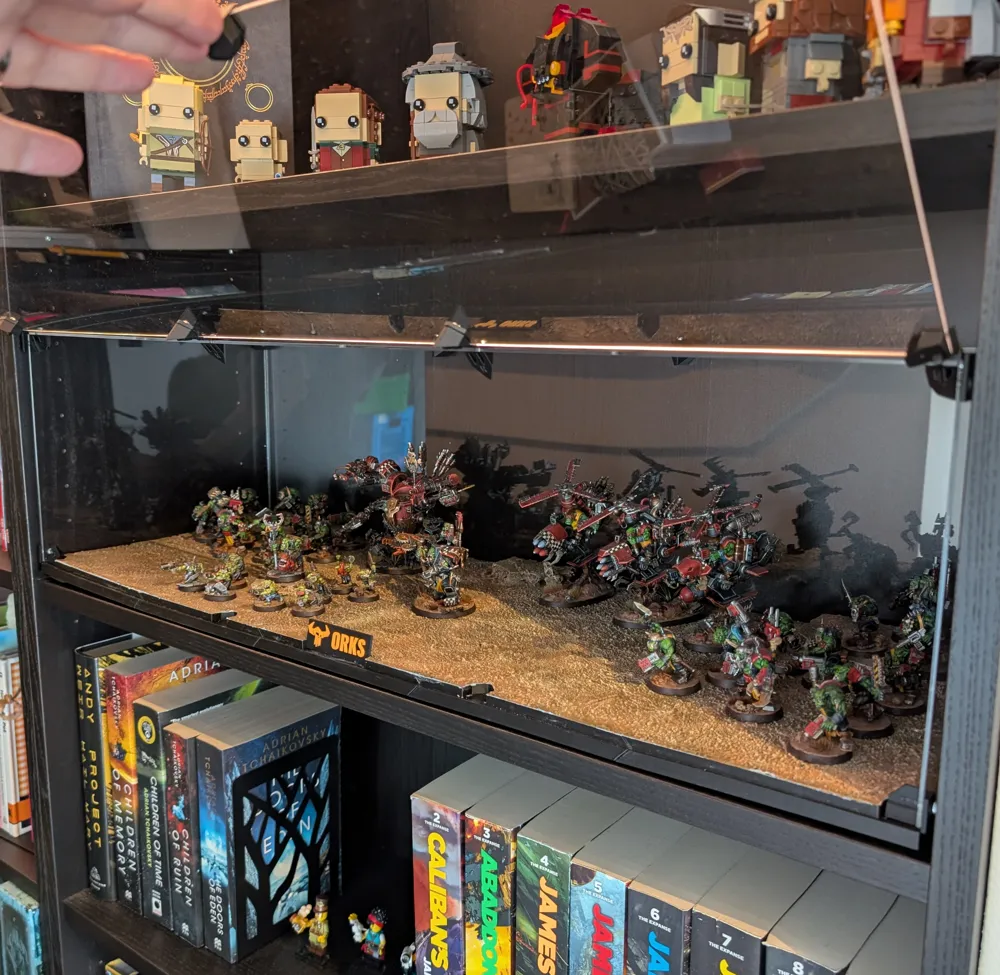
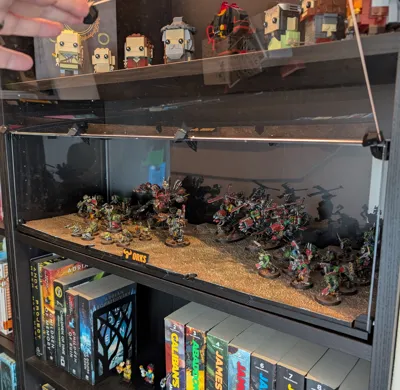
- Convenient hinged front panel for easy access and arranging of miniatures.
- Durable construction using clear plexiglass panels and optional embedded magnets
- Professional, clean finish that showcases miniatures without distracting frames
Important Notice:
This project is not recommended for beginners. It involves handling glue, screws, magnets, and requires moderate arts & crafts skills.
Printing & Assembly Instructions
Plexiglass Display Cover:
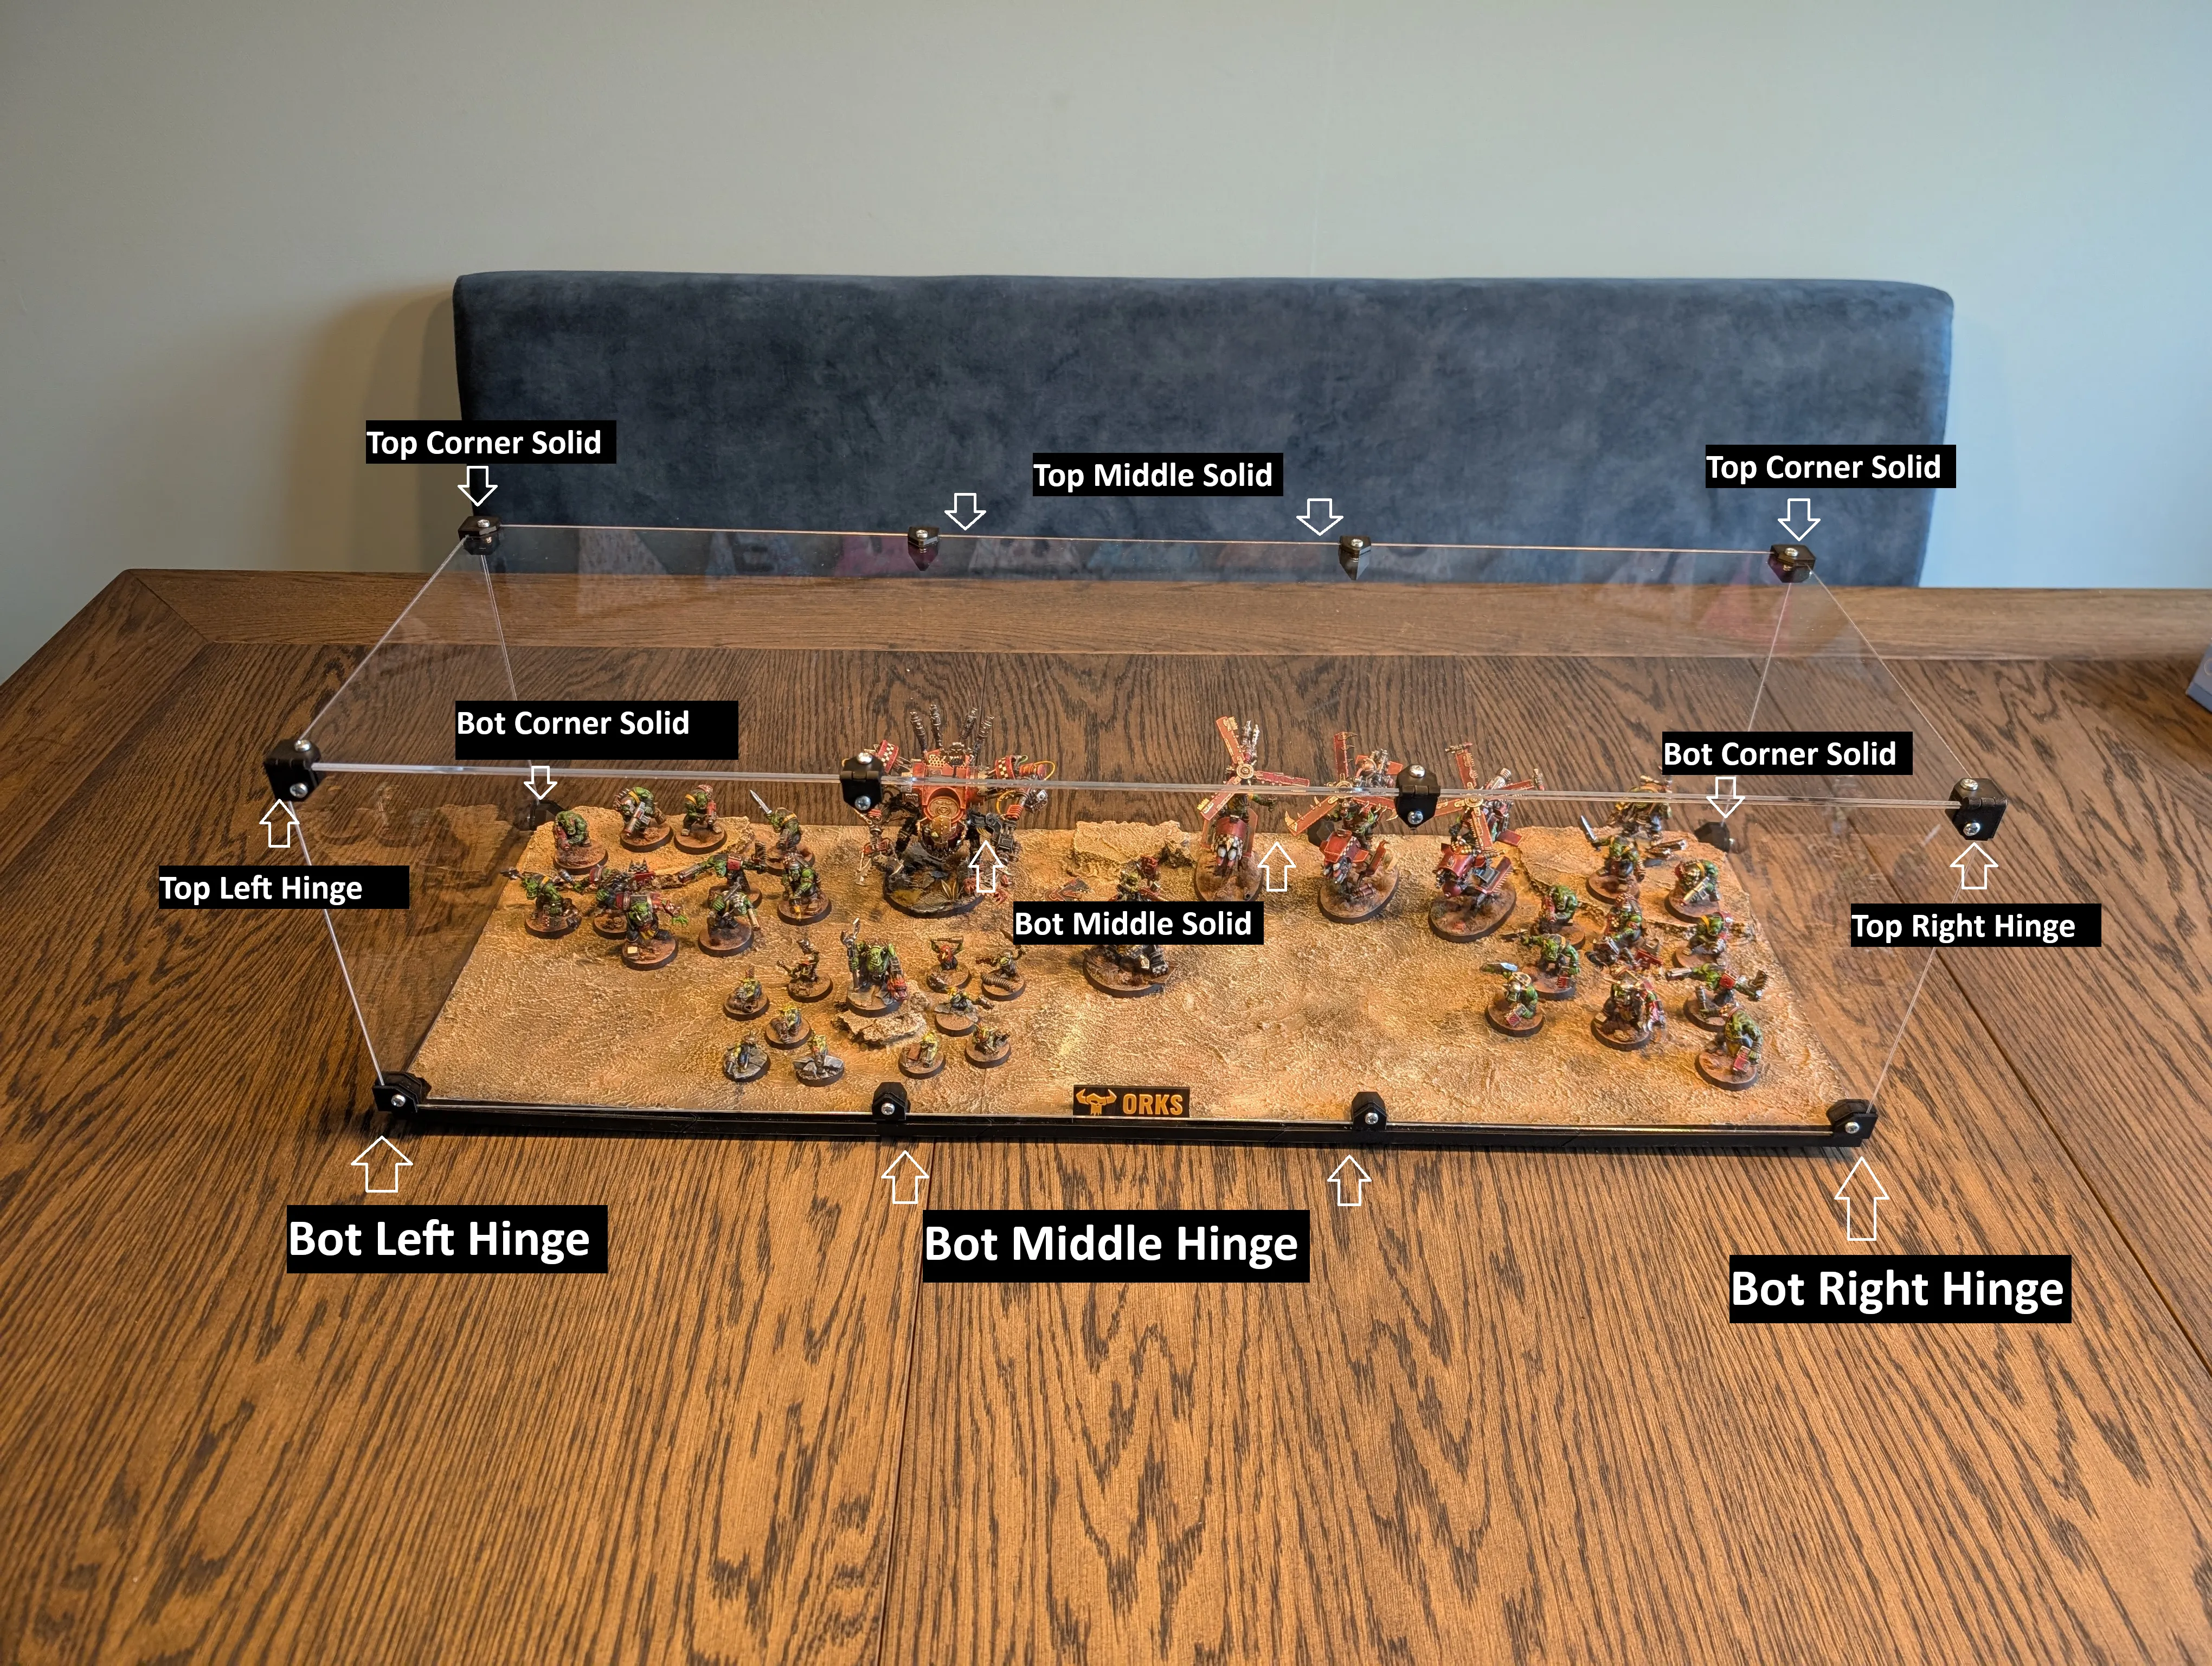
- Step 1: 3D print all top and bottom corner brackets.
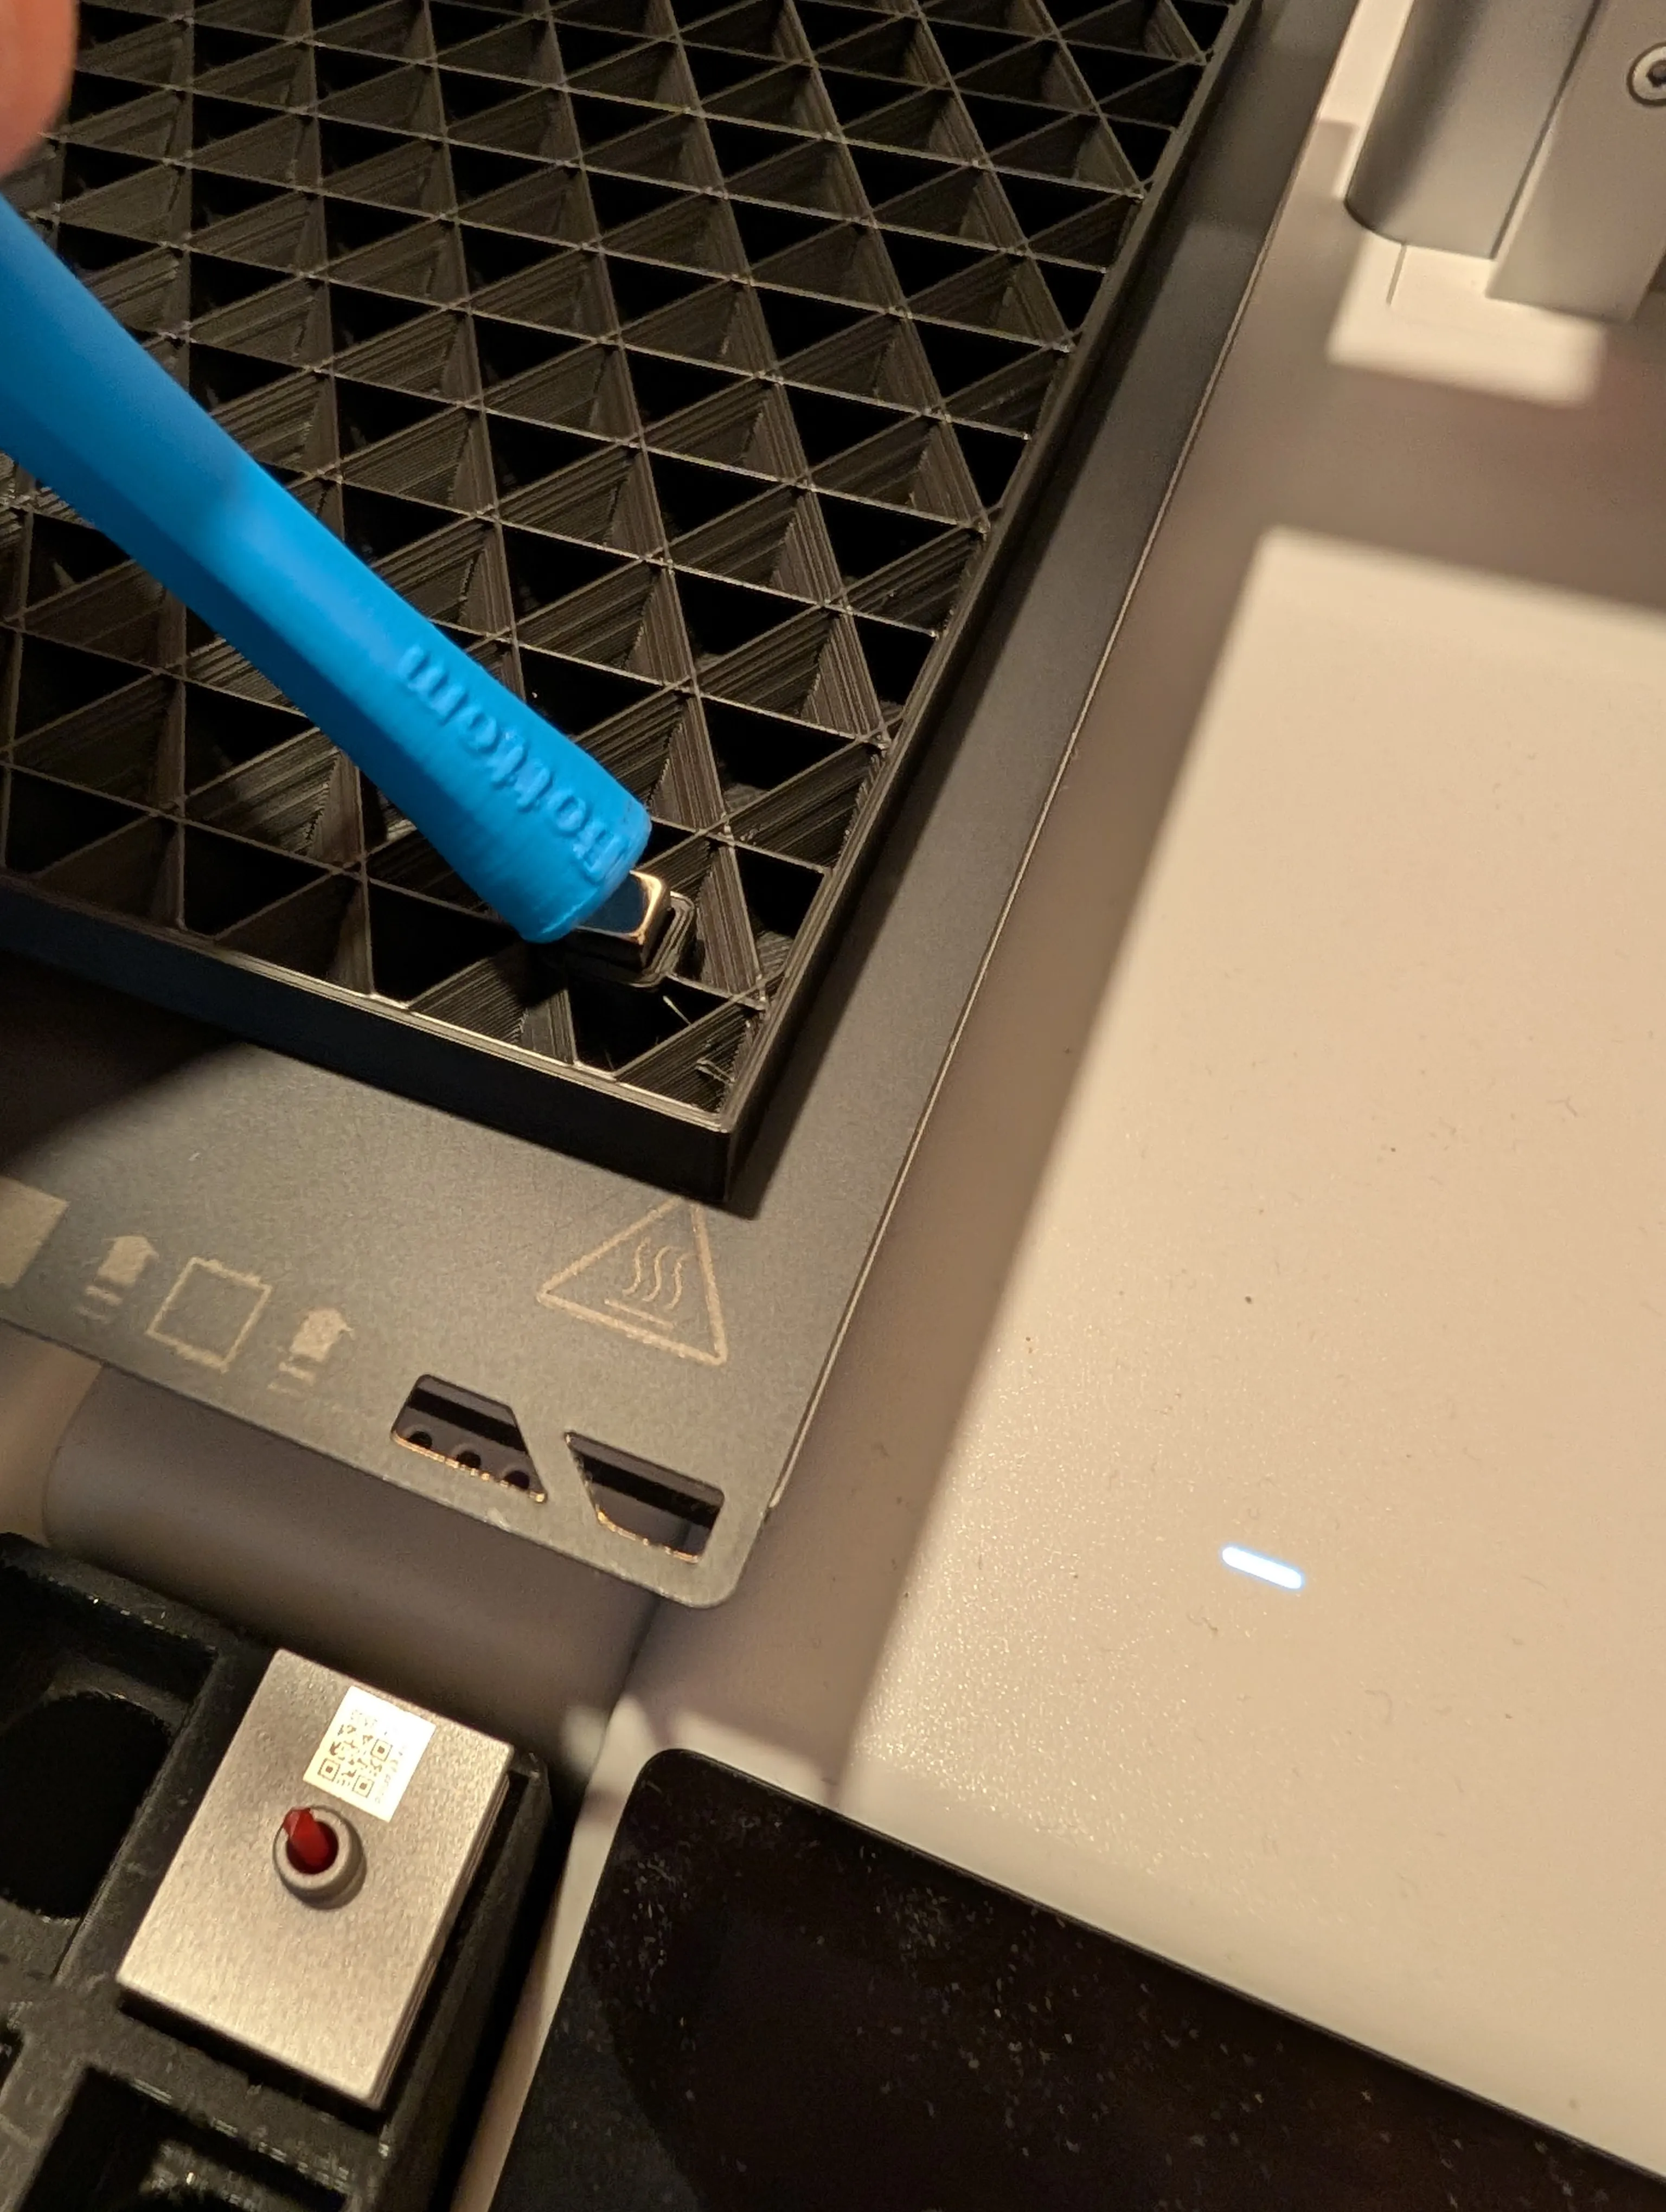
Step 2: For embedded magnets, pause the bottom corner prints at layer 49 as preconfigured, carefully insert a 5x5mm cube magnet, and resume printing. Make sure to align all polarities to be identical.
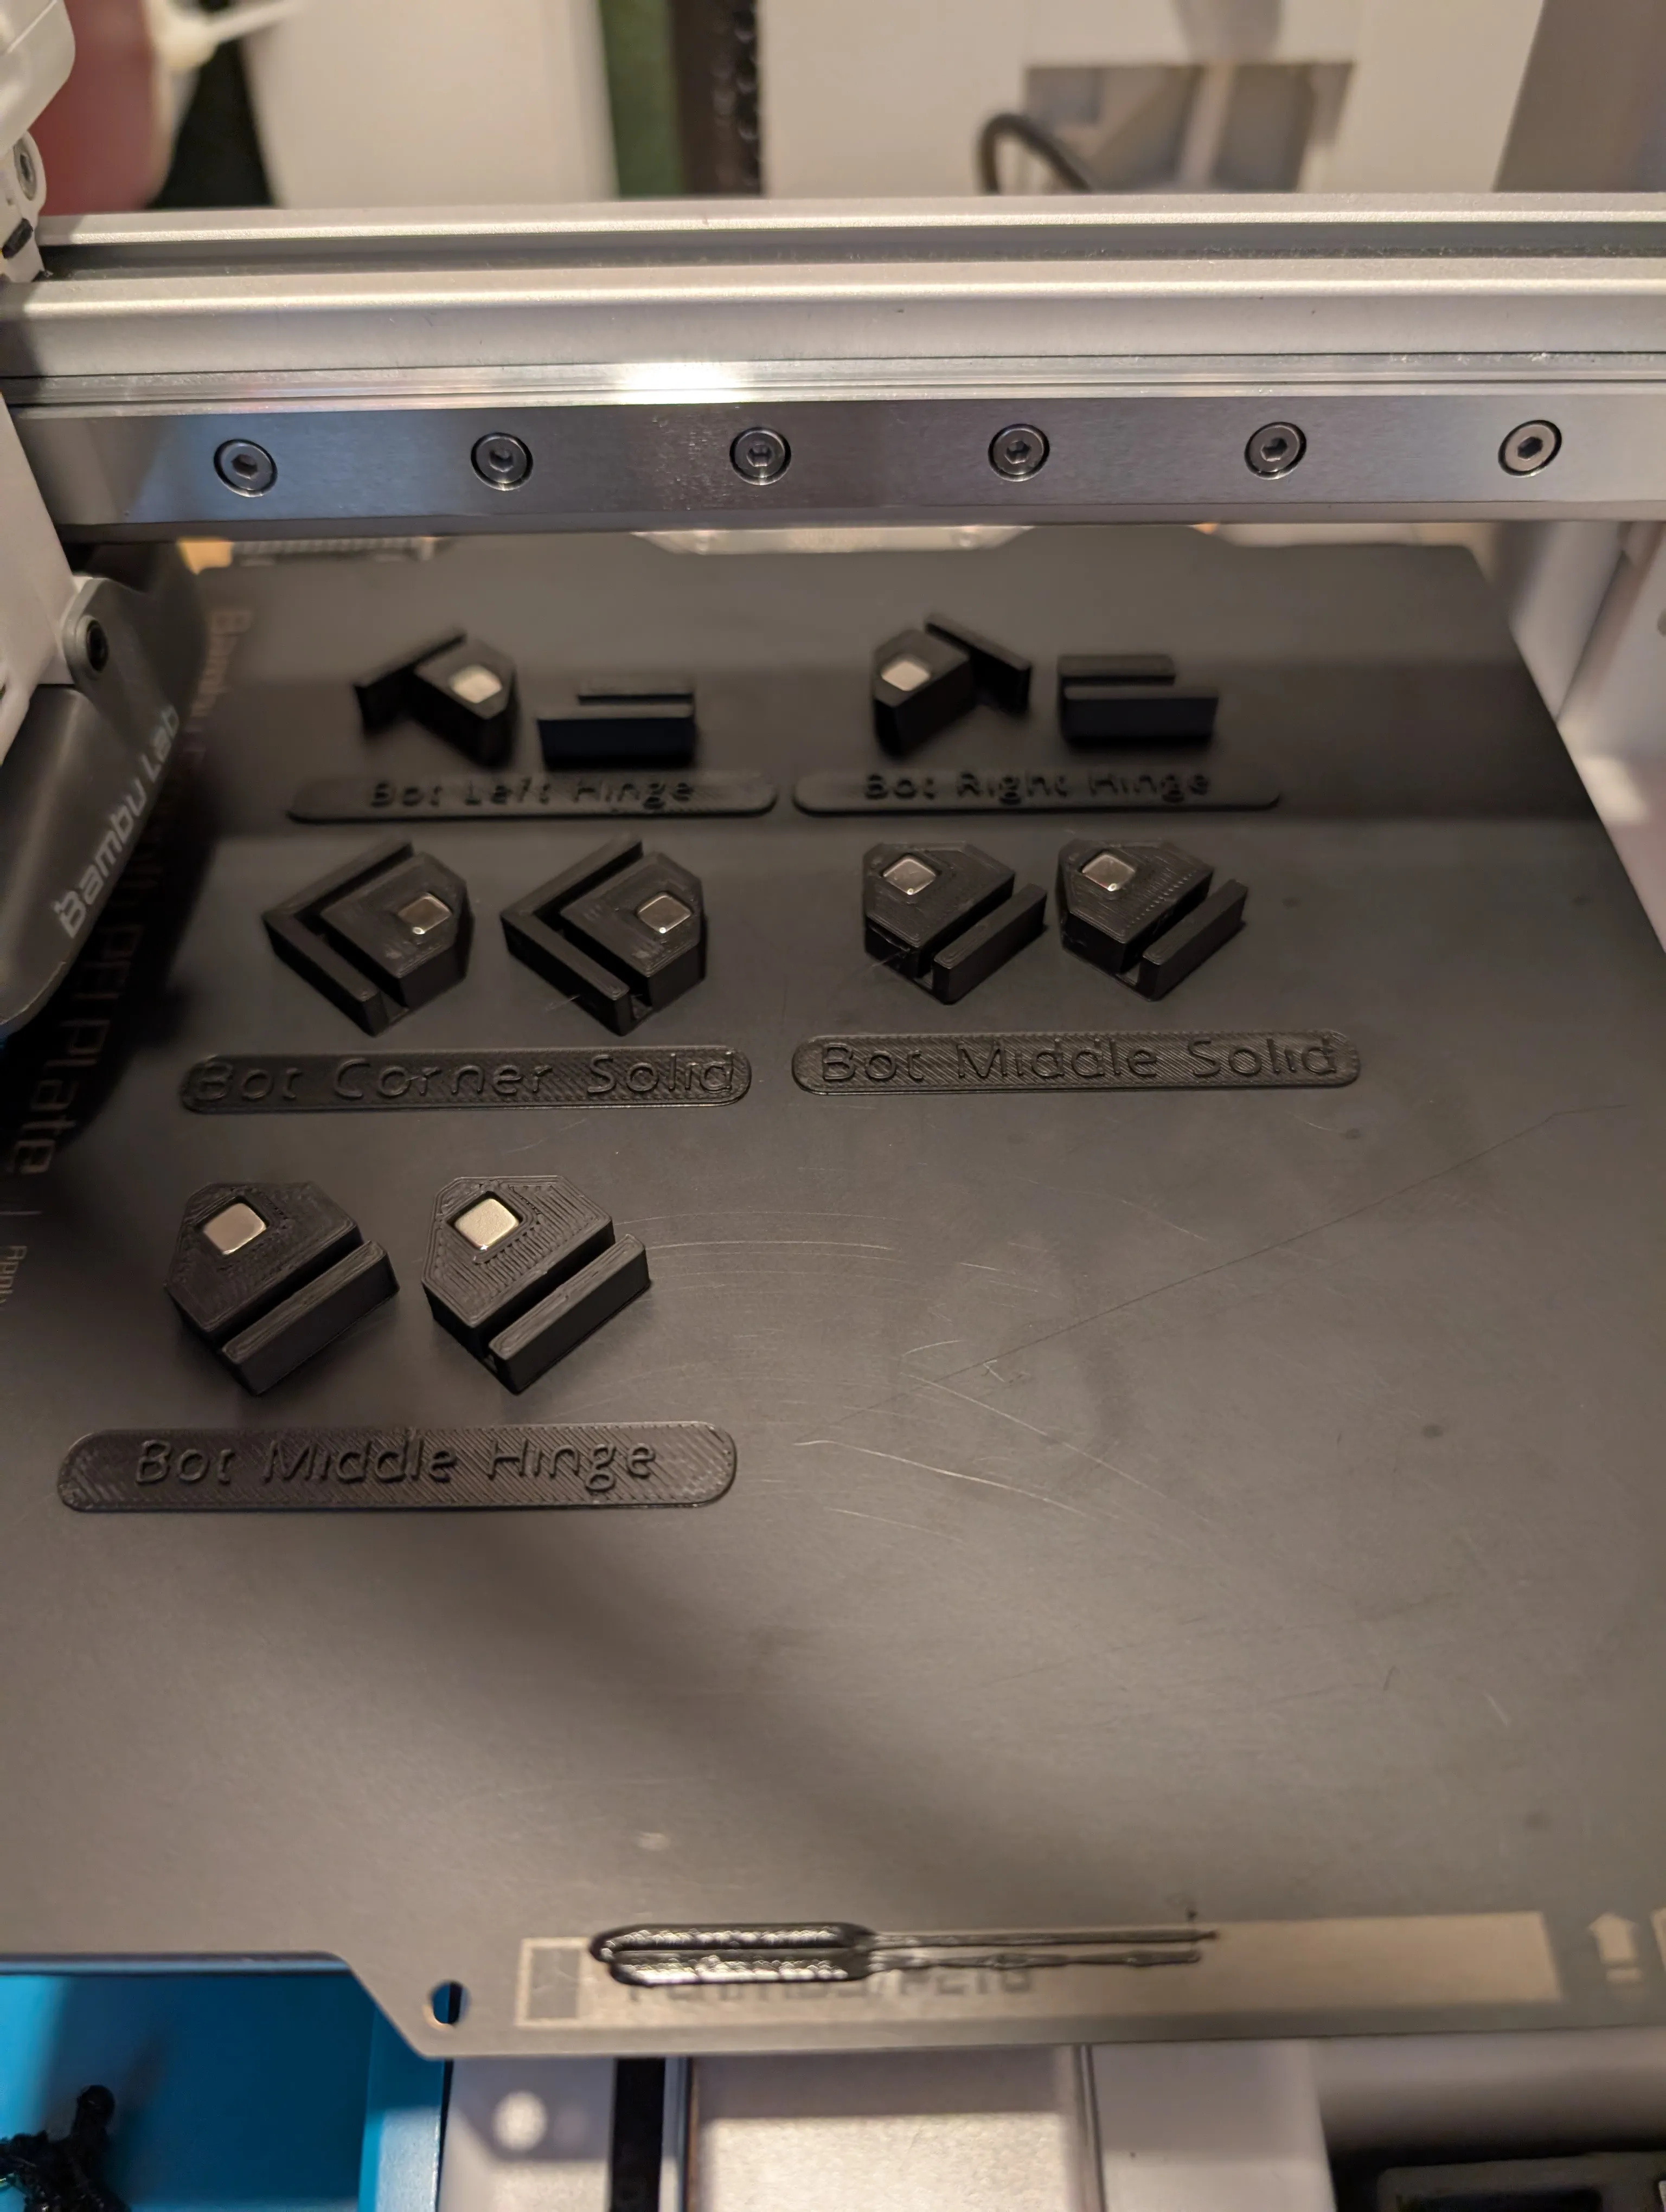
- Step 3: When embedding magnets, a hardened steel nozzle is necessary to prevent magnetic interference with the nozzle
Step 4: Securely attach each corner bracket to the plexiglass panels using 3x12mm screws.
Materials & Dimensions:
Plexiglass:
- Thickness: 2mm clear acrylic sheets
- Front/Back panels: 2x 74.6cm x 20cm
- Side panels: 2x 25.2cm x 20cm
- Top panel: 1x 74.6cm x 25.2cm
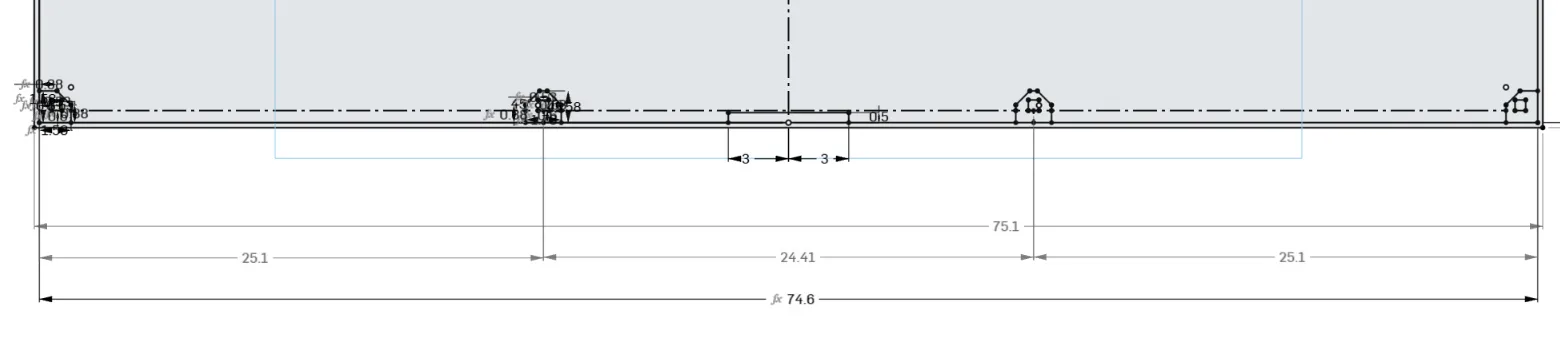
Drill 4mm holes:
- Corner holes: centered exactly 0.8cm from edges
- Additional long-side holes: 25.1cm from each end, again precisely 0.8cm from edges
Hardware:
- 3x12mm screws
- 8x 5x5mm cube magnets
Assembly Tips:
- Keep protective film on plexiglass sheets throughout assembly to avoid scratching.
- Working with a second person can greatly ease assembly when handling multiple plexiglass sheets simultaneously.
- All corner pieces are clearly labeled on the print bed. Matching pairs such as the Left Hinges have corresponding embossed letters (e.g., "L").
Display Base
Printing:
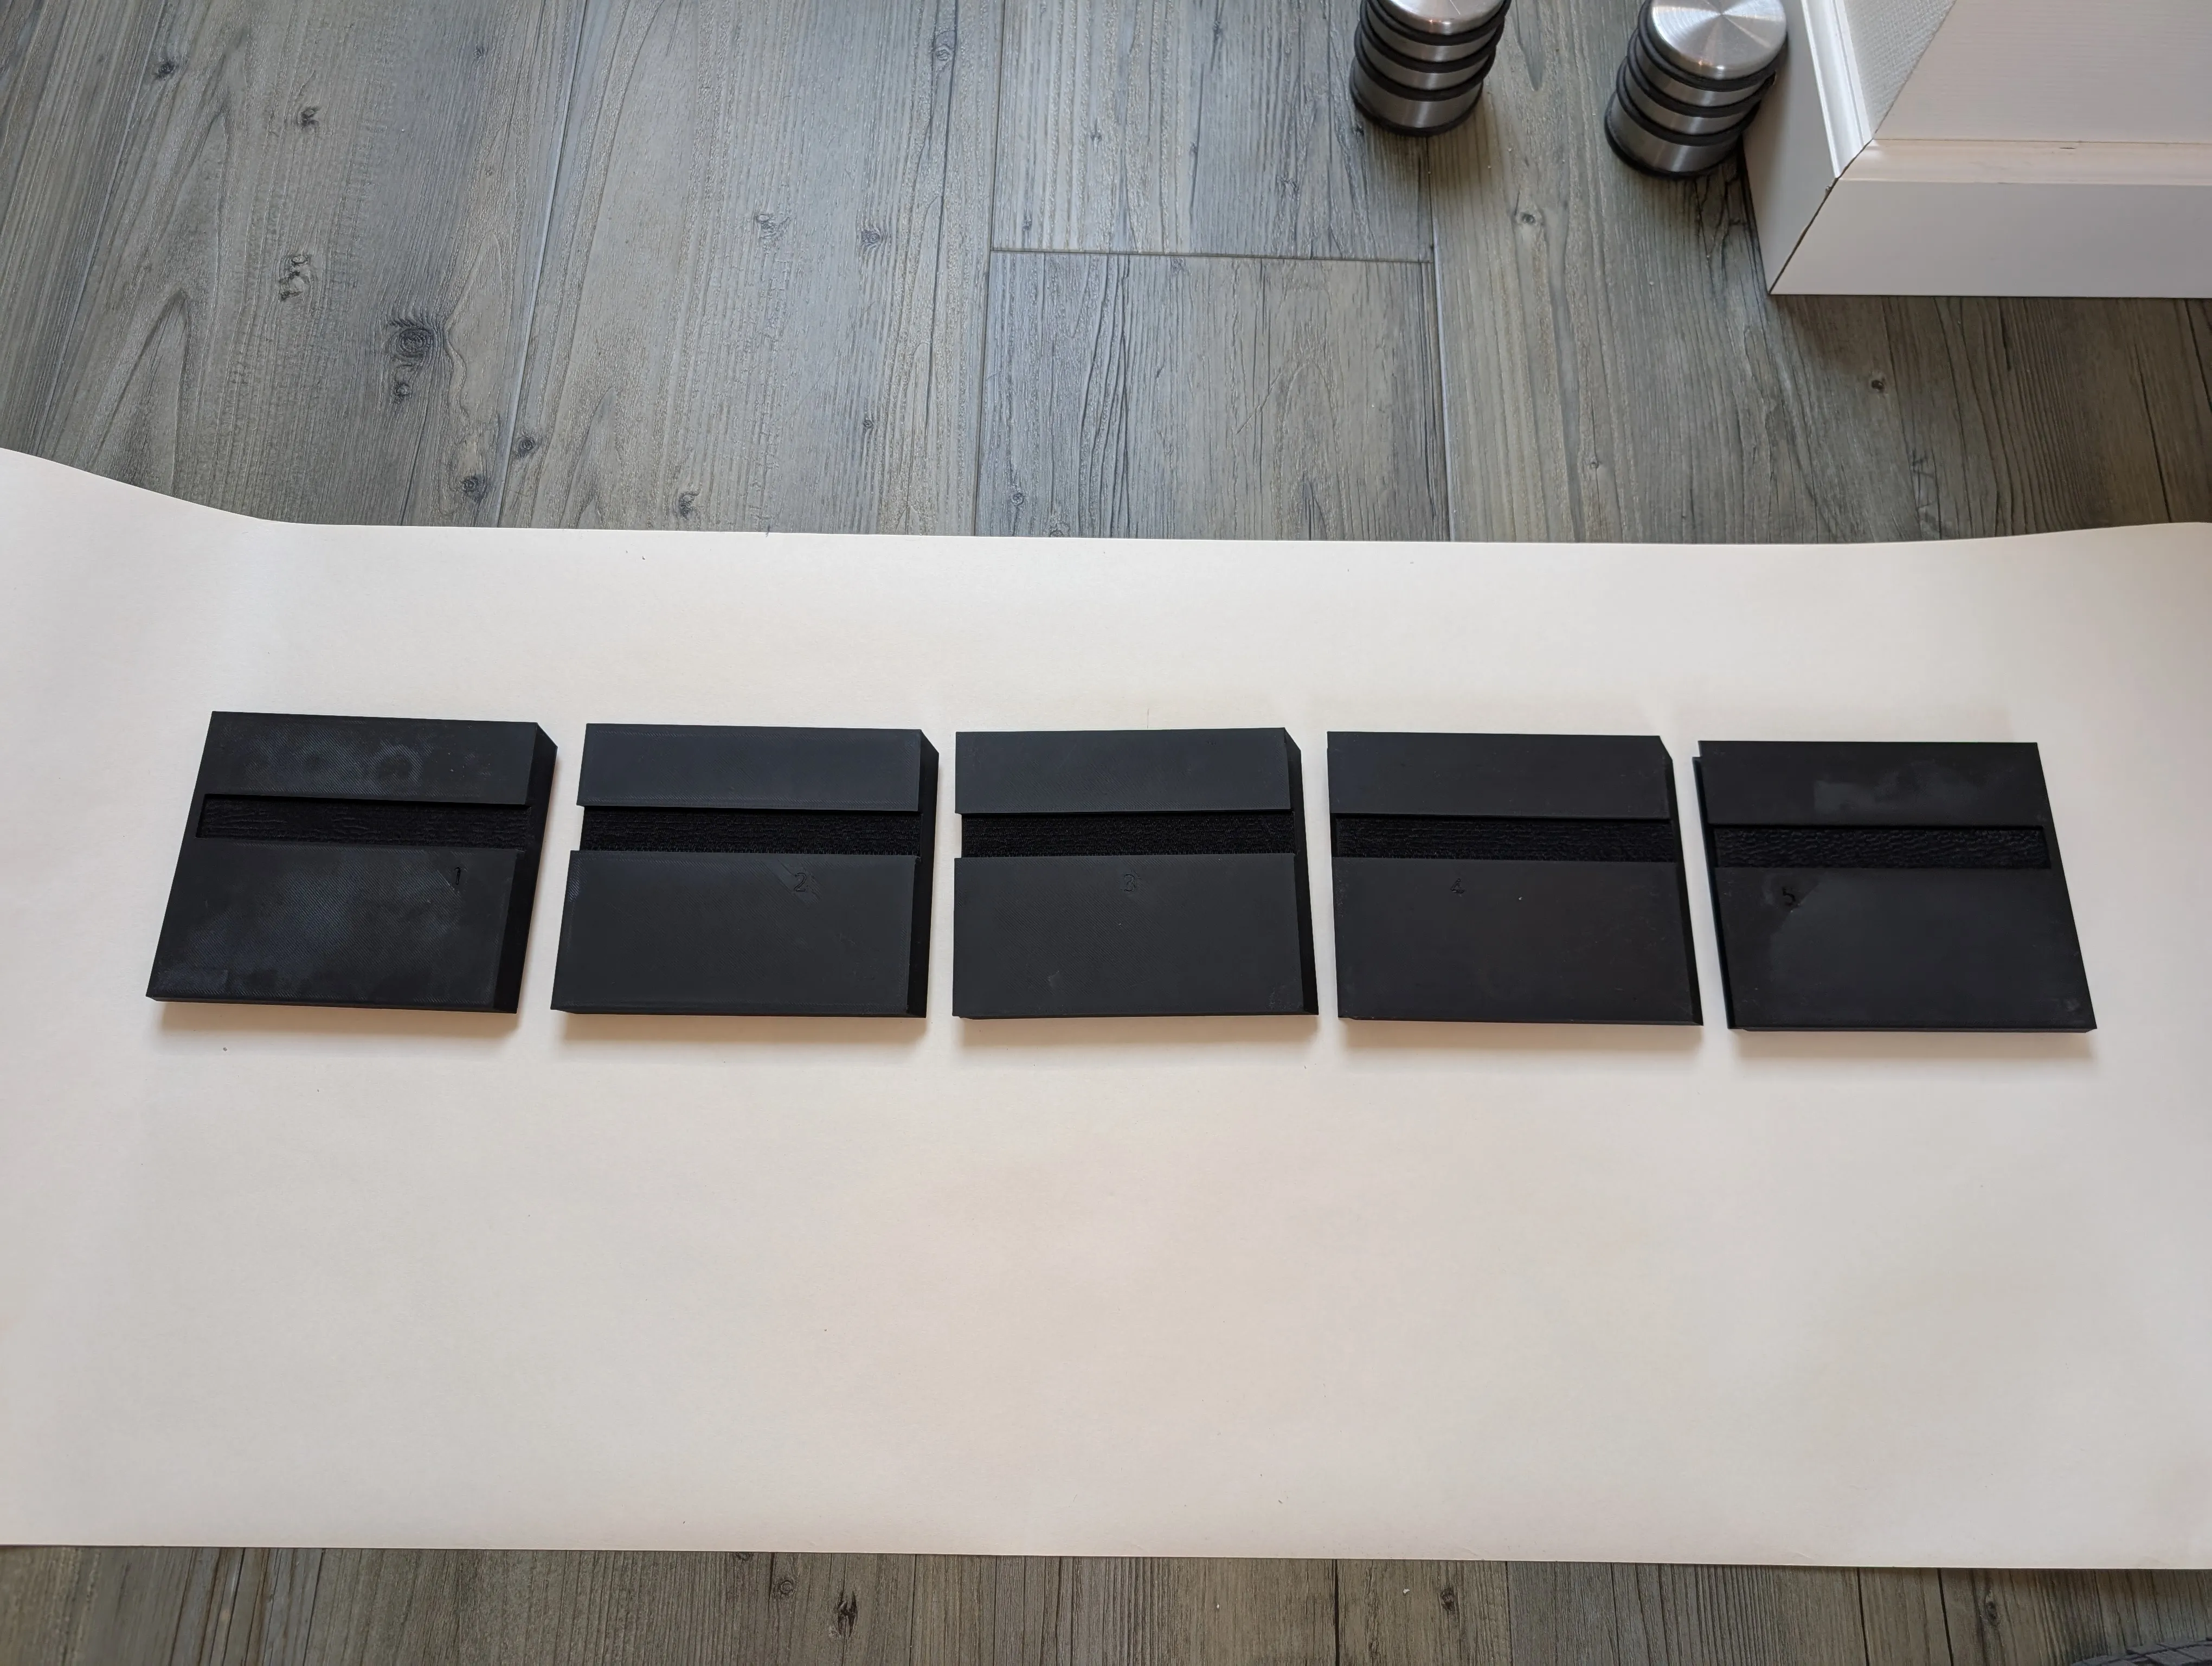
- Print the 10 large base pieces labeled 1 through 10, designed specifically to fit the A1 mini print bed.
- Insert magnets at the print pause at the start of layer 43, ensuring their polarity matches the embedded magnets in your display corners for proper snap-fit functionality.
Assembly:
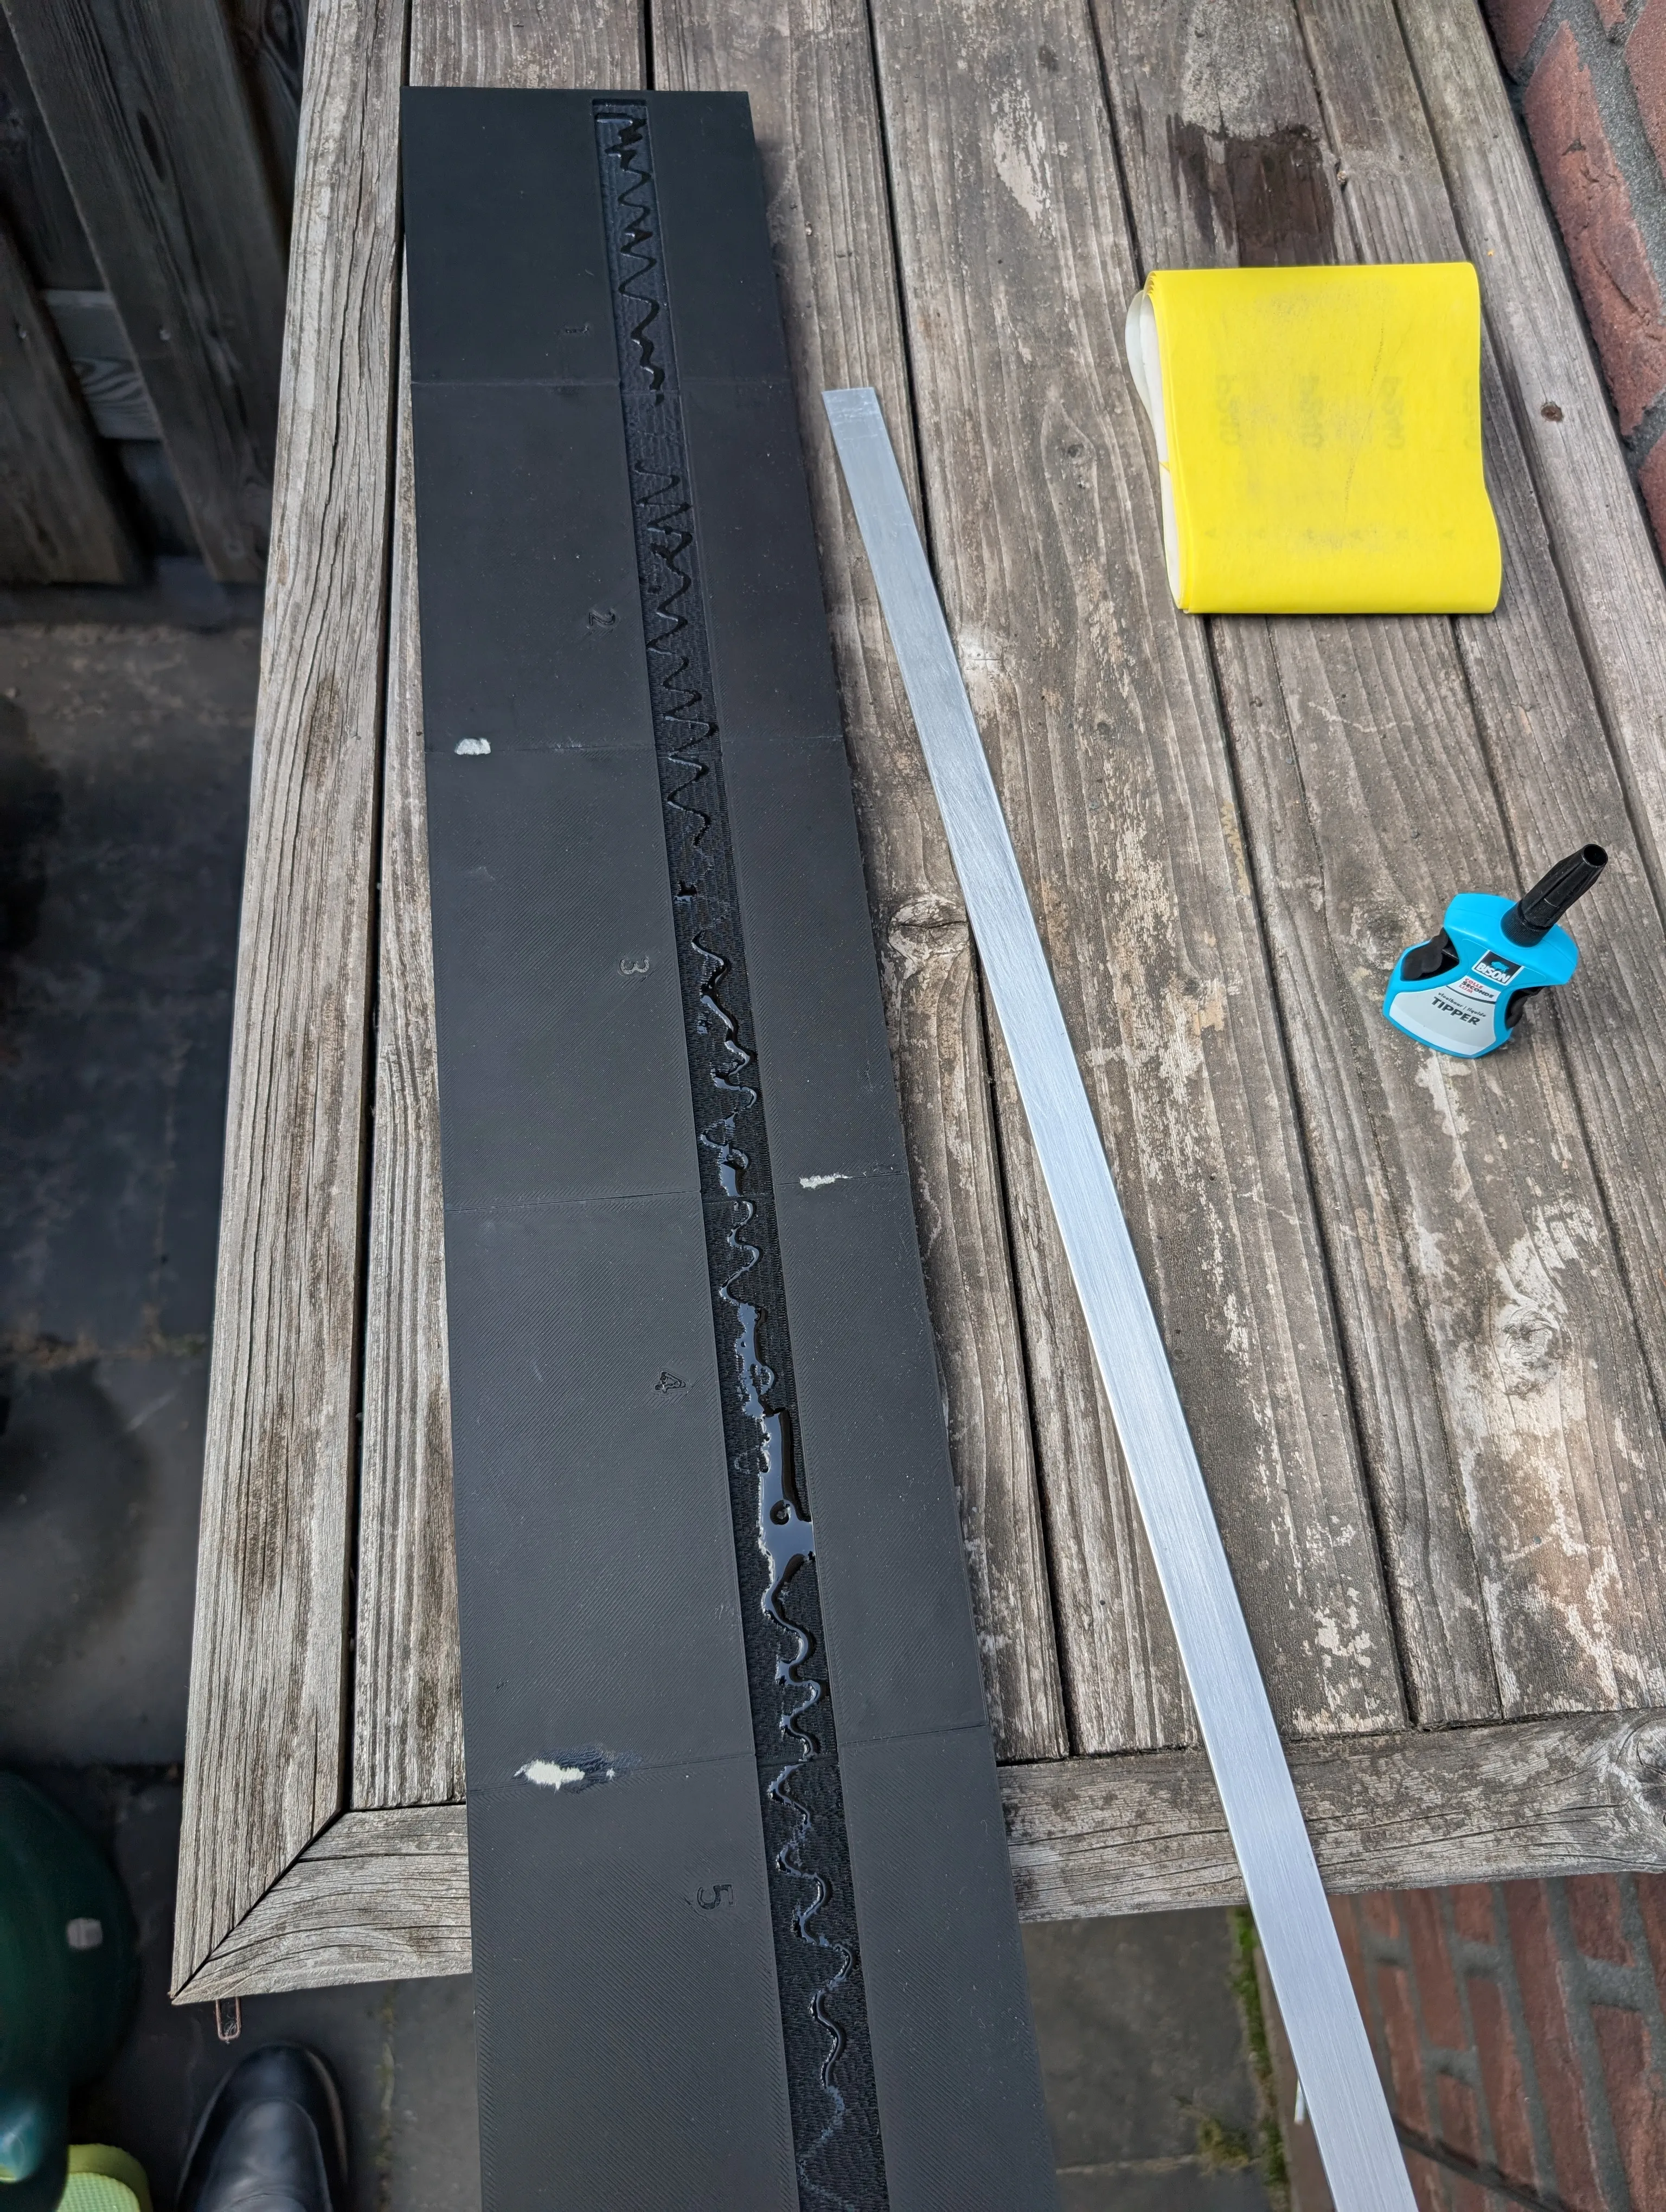
First, glue together pieces numbered 1-5 and separately glue together pieces numbered 6-10 into two straight rows. Carefully align edges by using a straight edge or wall.
- Super glue (CA glue) is recommended. Always use gloves and a respirator due to fumes and skin safety.
Optionally, reinforce the base by inserting two aluminum strips (74cm x 2cm x 0.2cm) into the pre-designed slots for added structural integrity if frequent movement or heavier models are anticipated.
Next, securely glue these two long rows together along the central axis. Allow ample drying time to ensure stability.
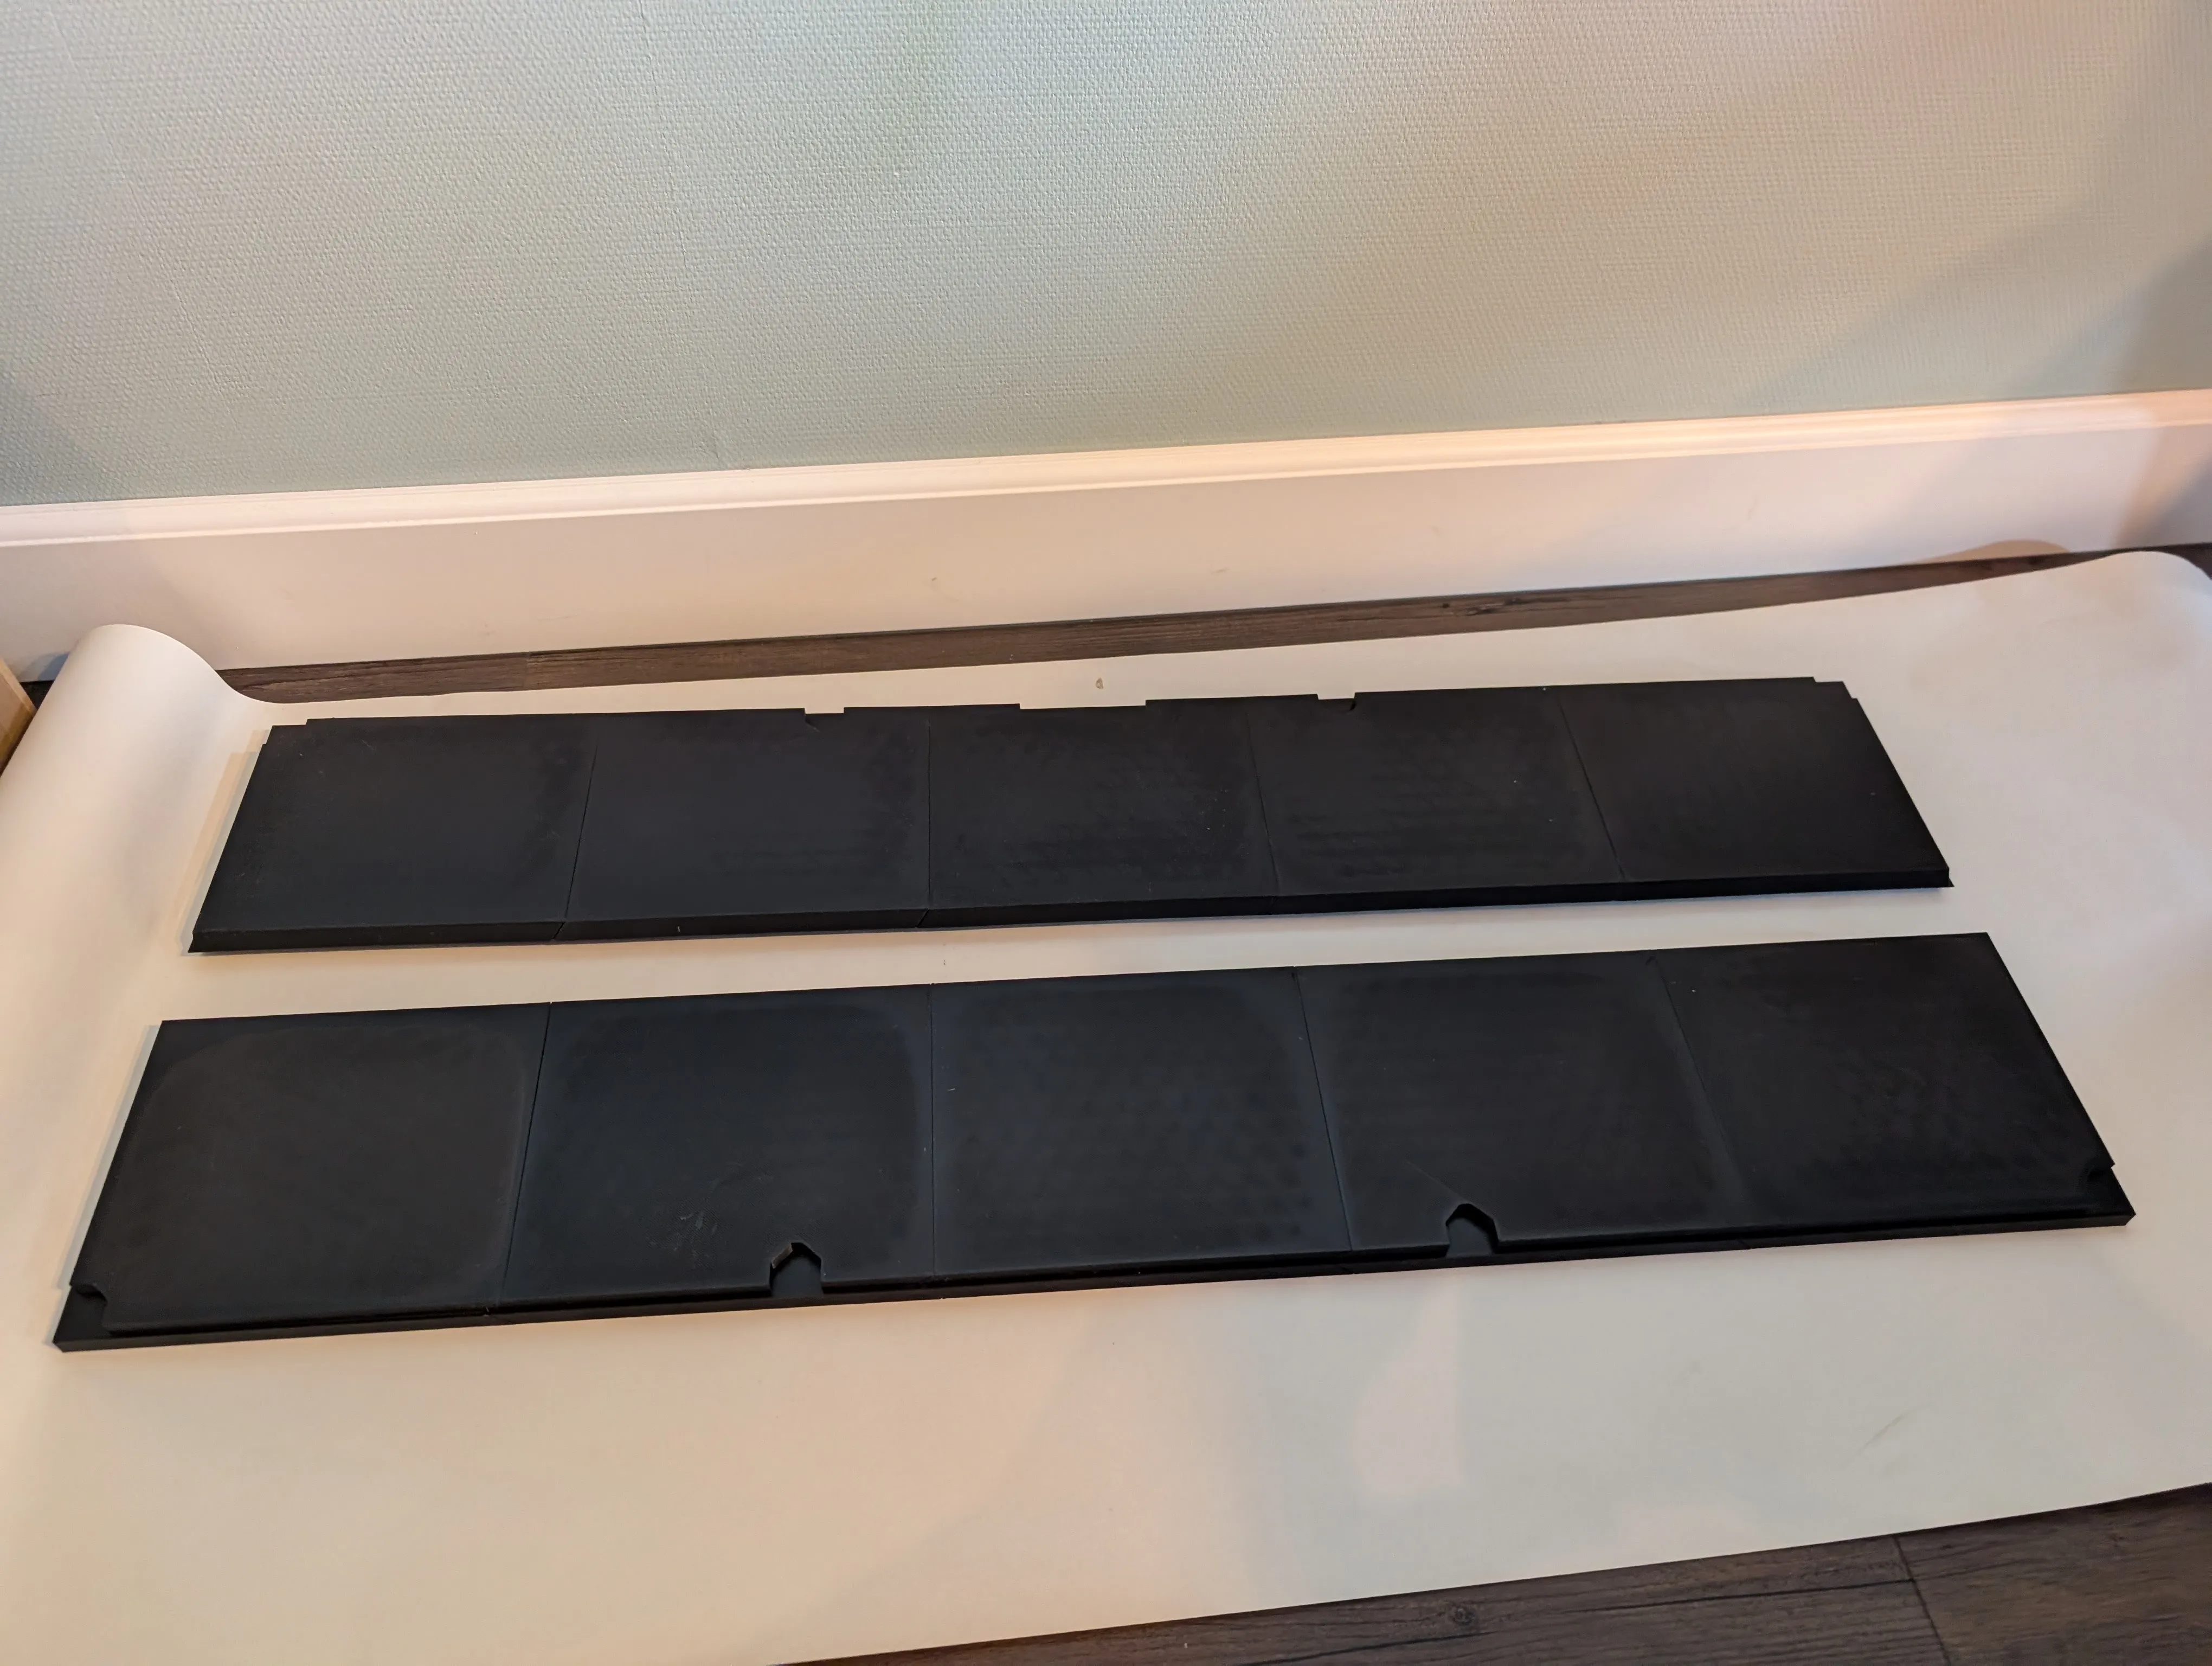
- For an even stronger bond, optionally apply a thin dusting of baking soda over the super glue. First-time users should experiment on scrap pieces.
Optional Desert Base Texture:
Before doing any work, please use masking tape on the edges of the print to keep a clean look.
Step 1: Glue down flat cork pieces to represent rocks.
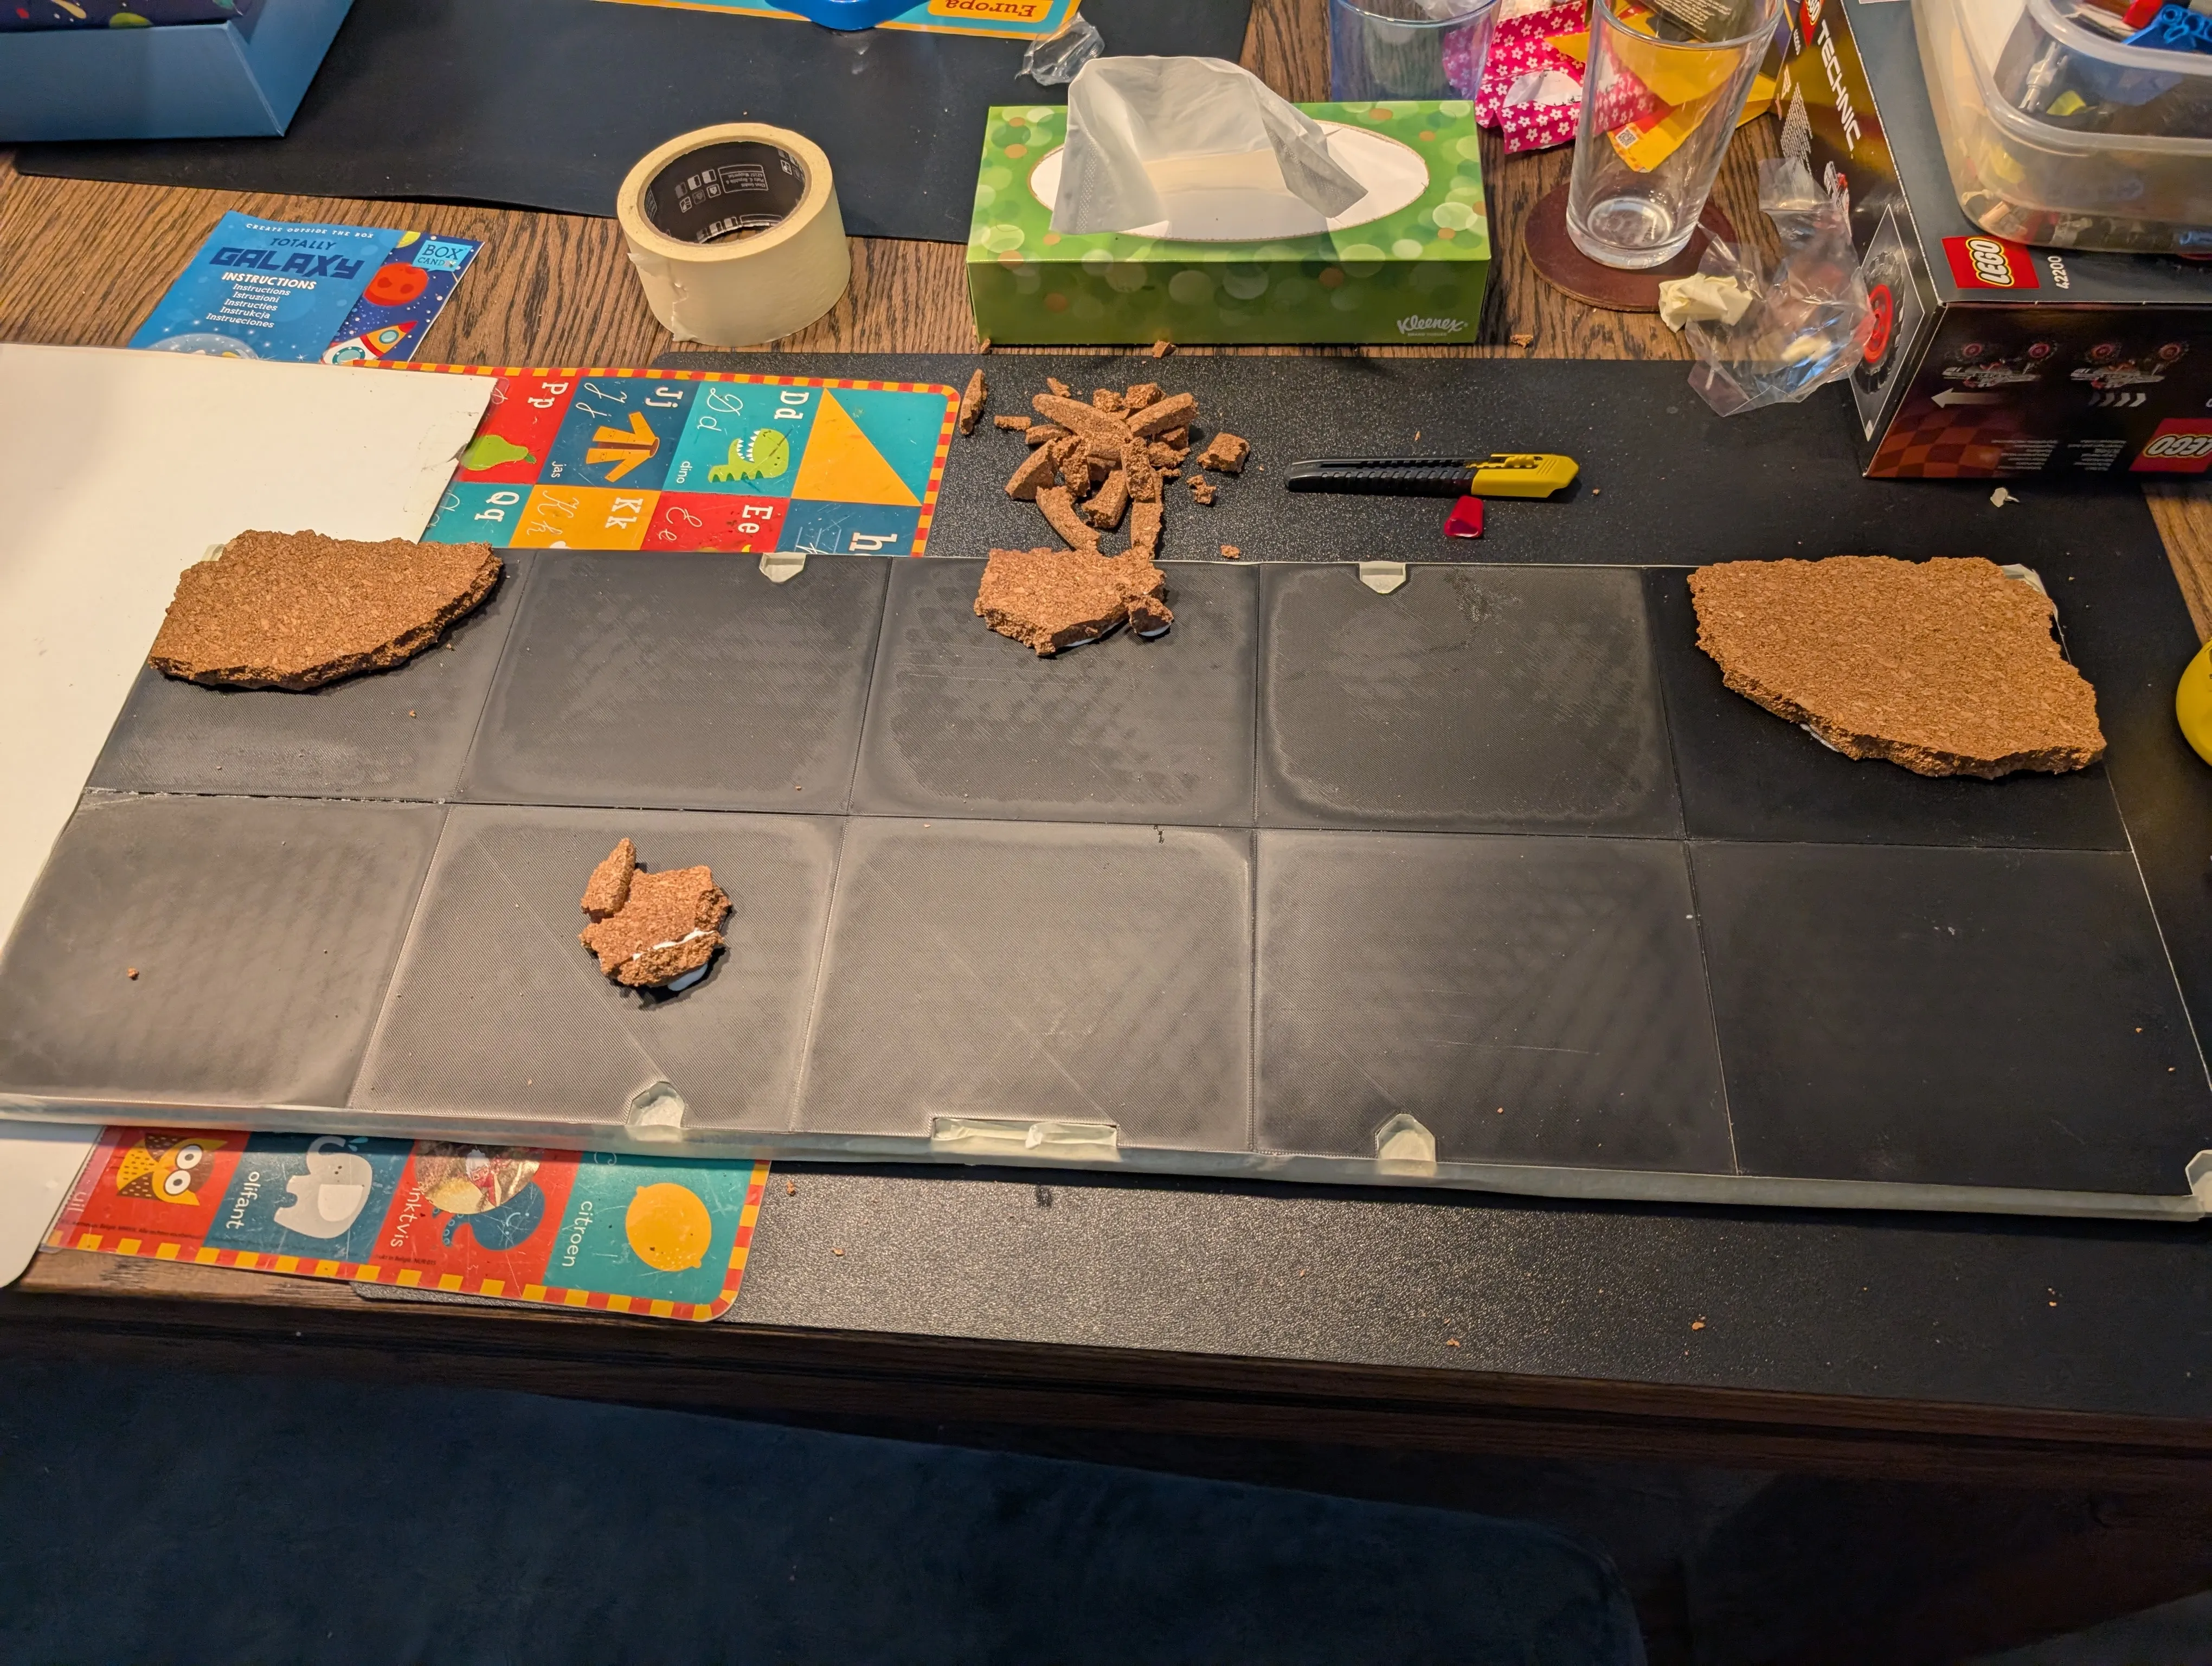
Step 2: Create a texture paste by mixing PVA glue, black acrylic paint, and wall spackle filler.
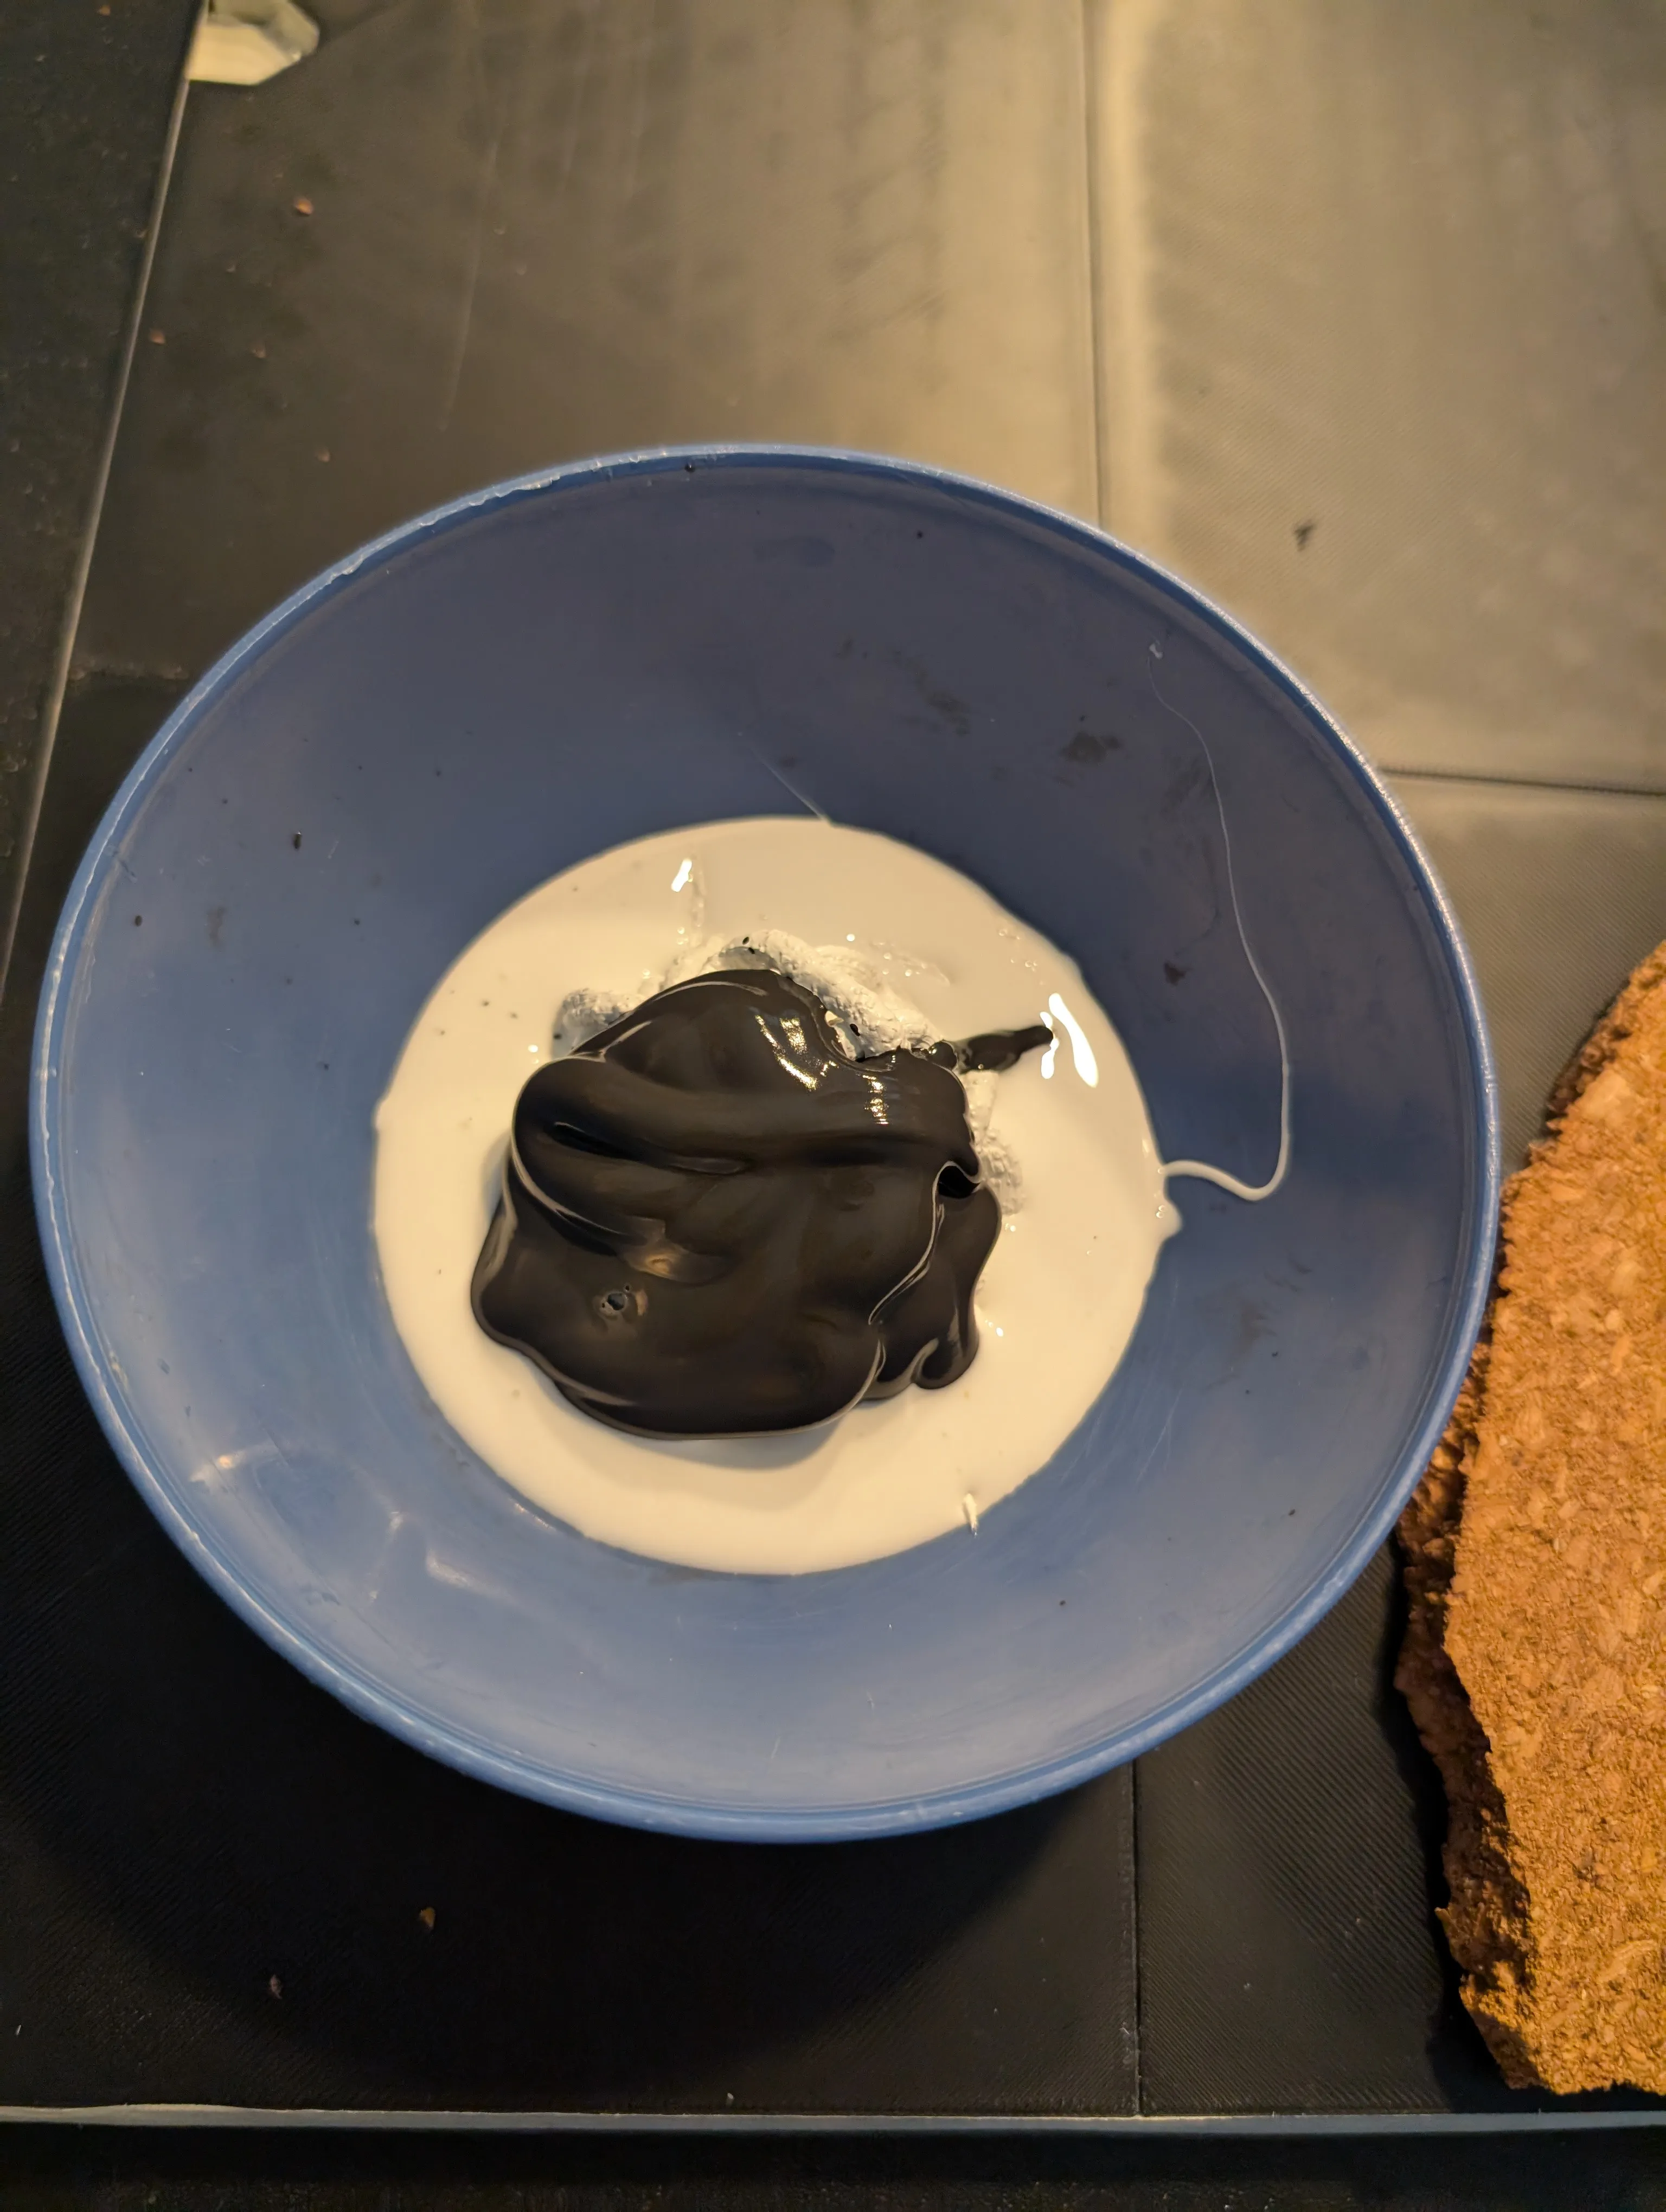
Step 3: Apply this paste generously around the cork "rocks" to create realistic ground texture.
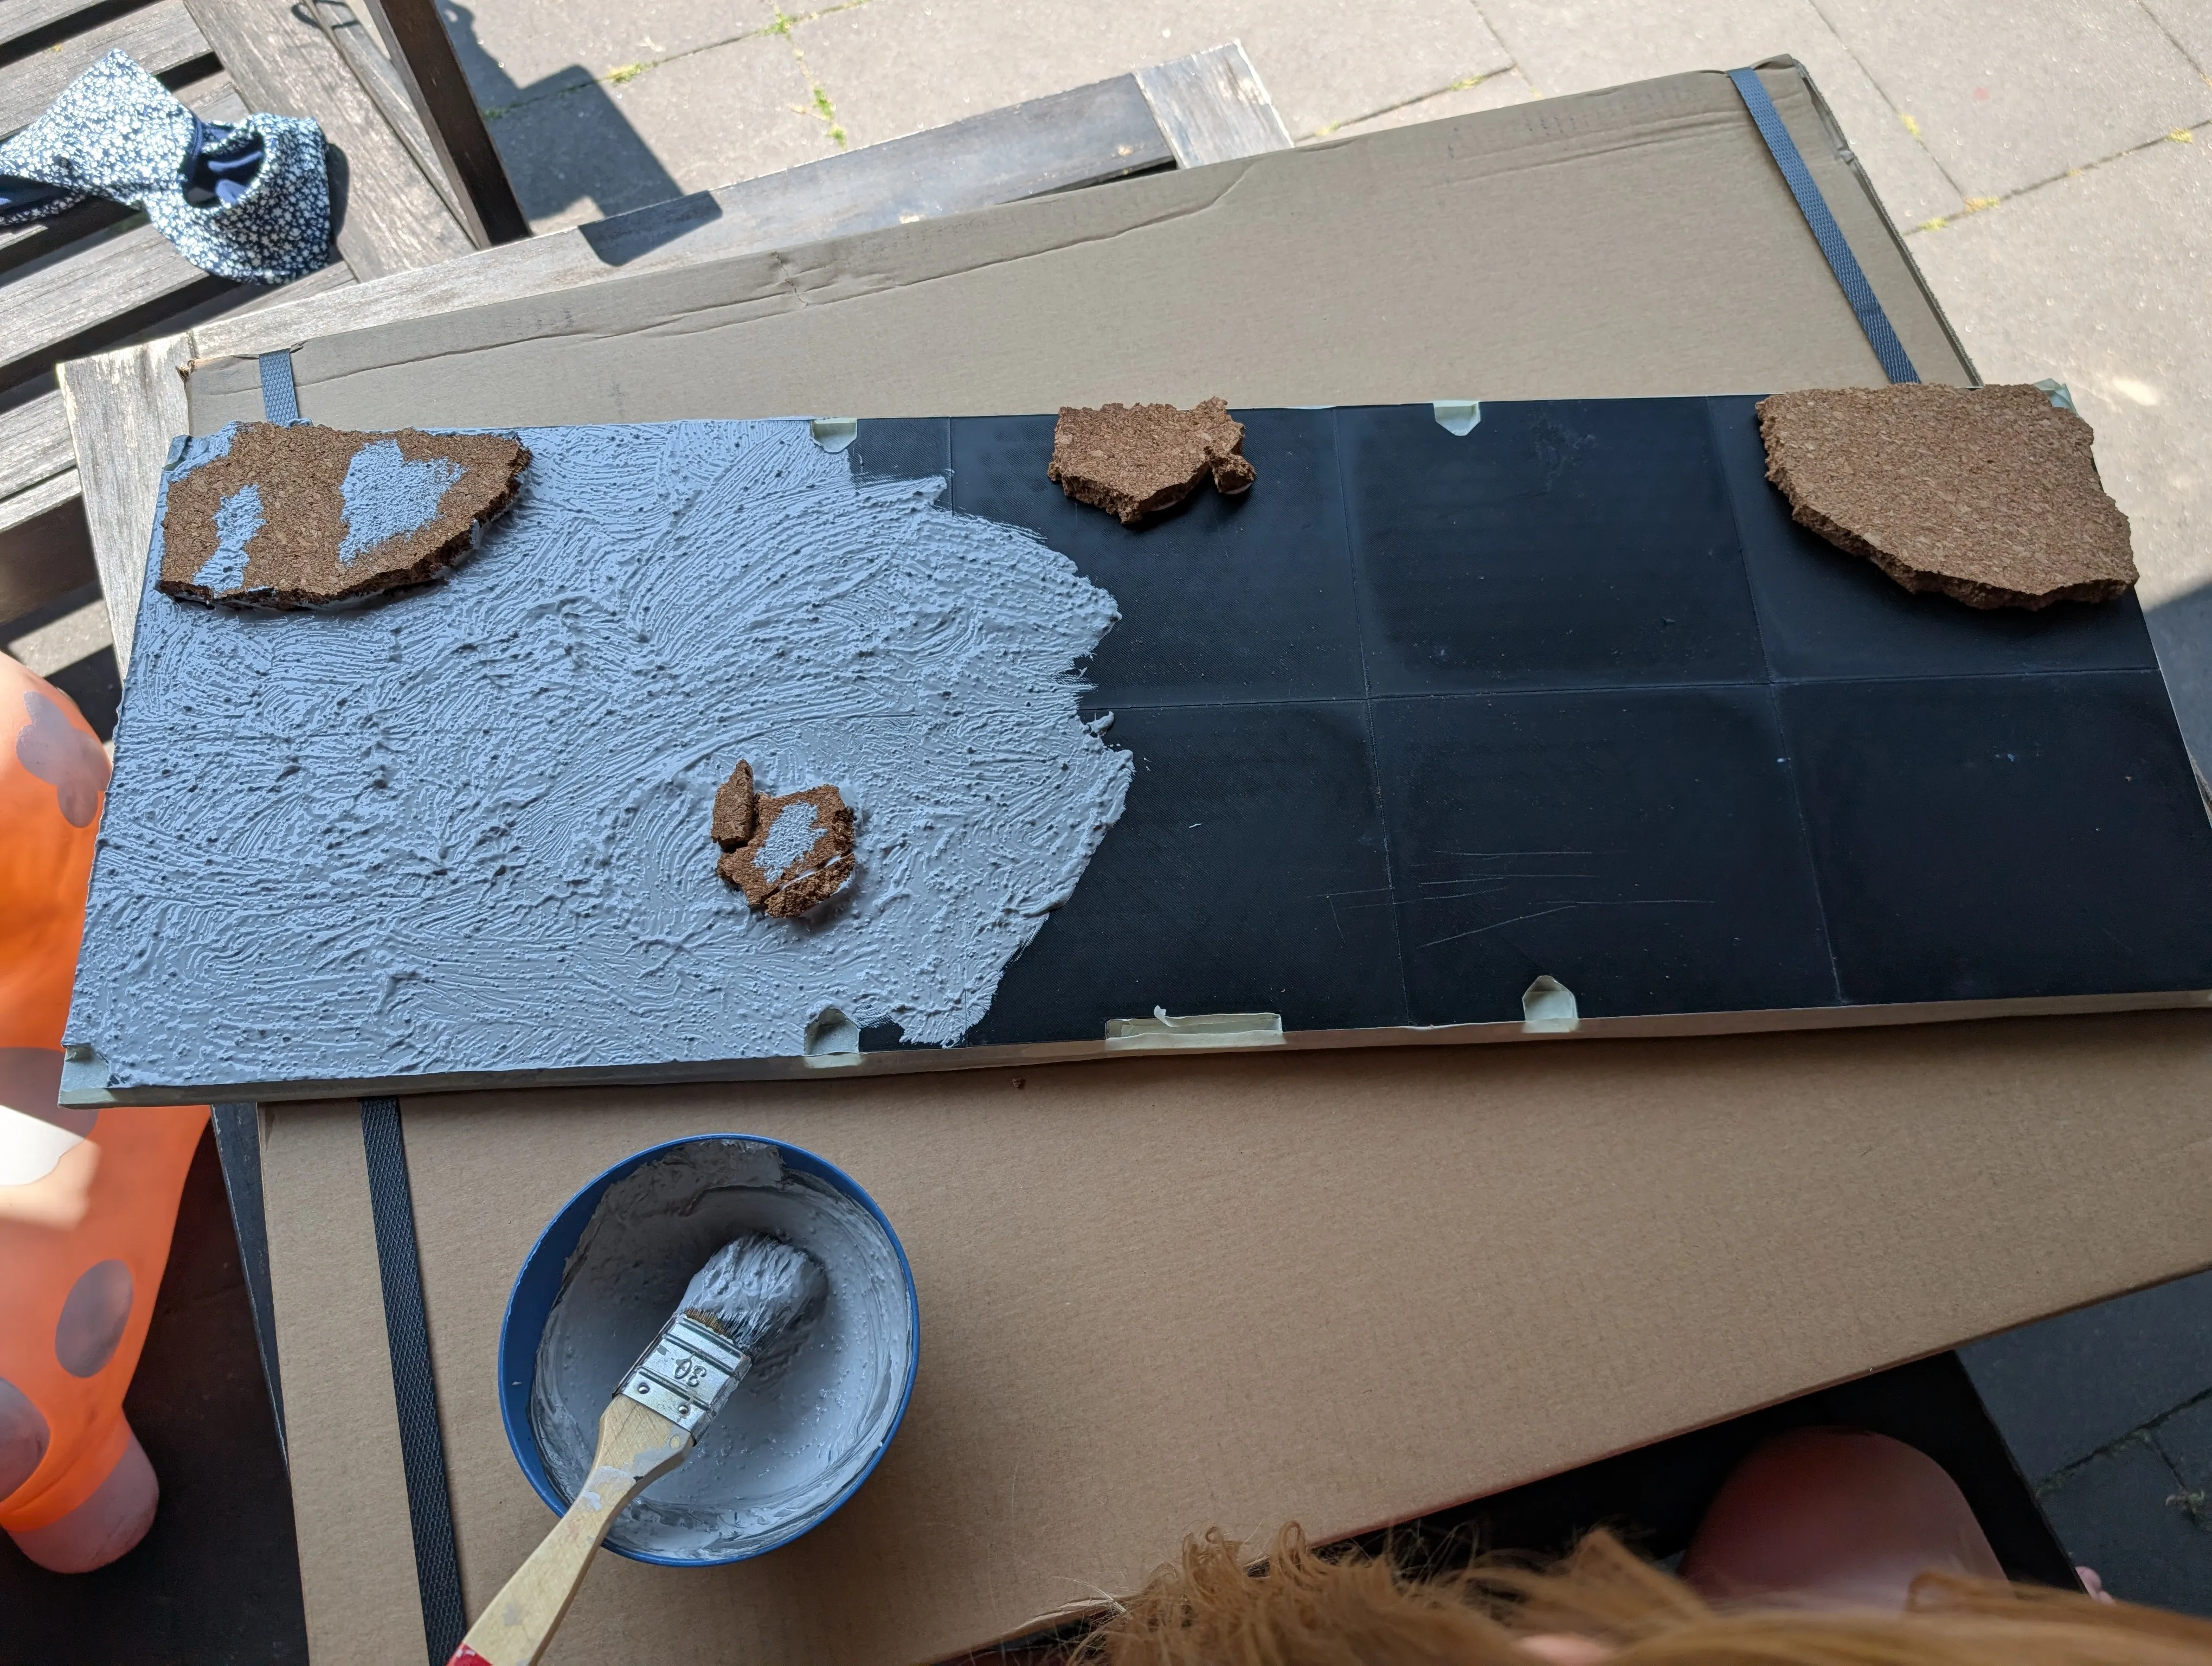
Step 4: Add patches of Agrellan Badlands texture paste to introduce varied textures.
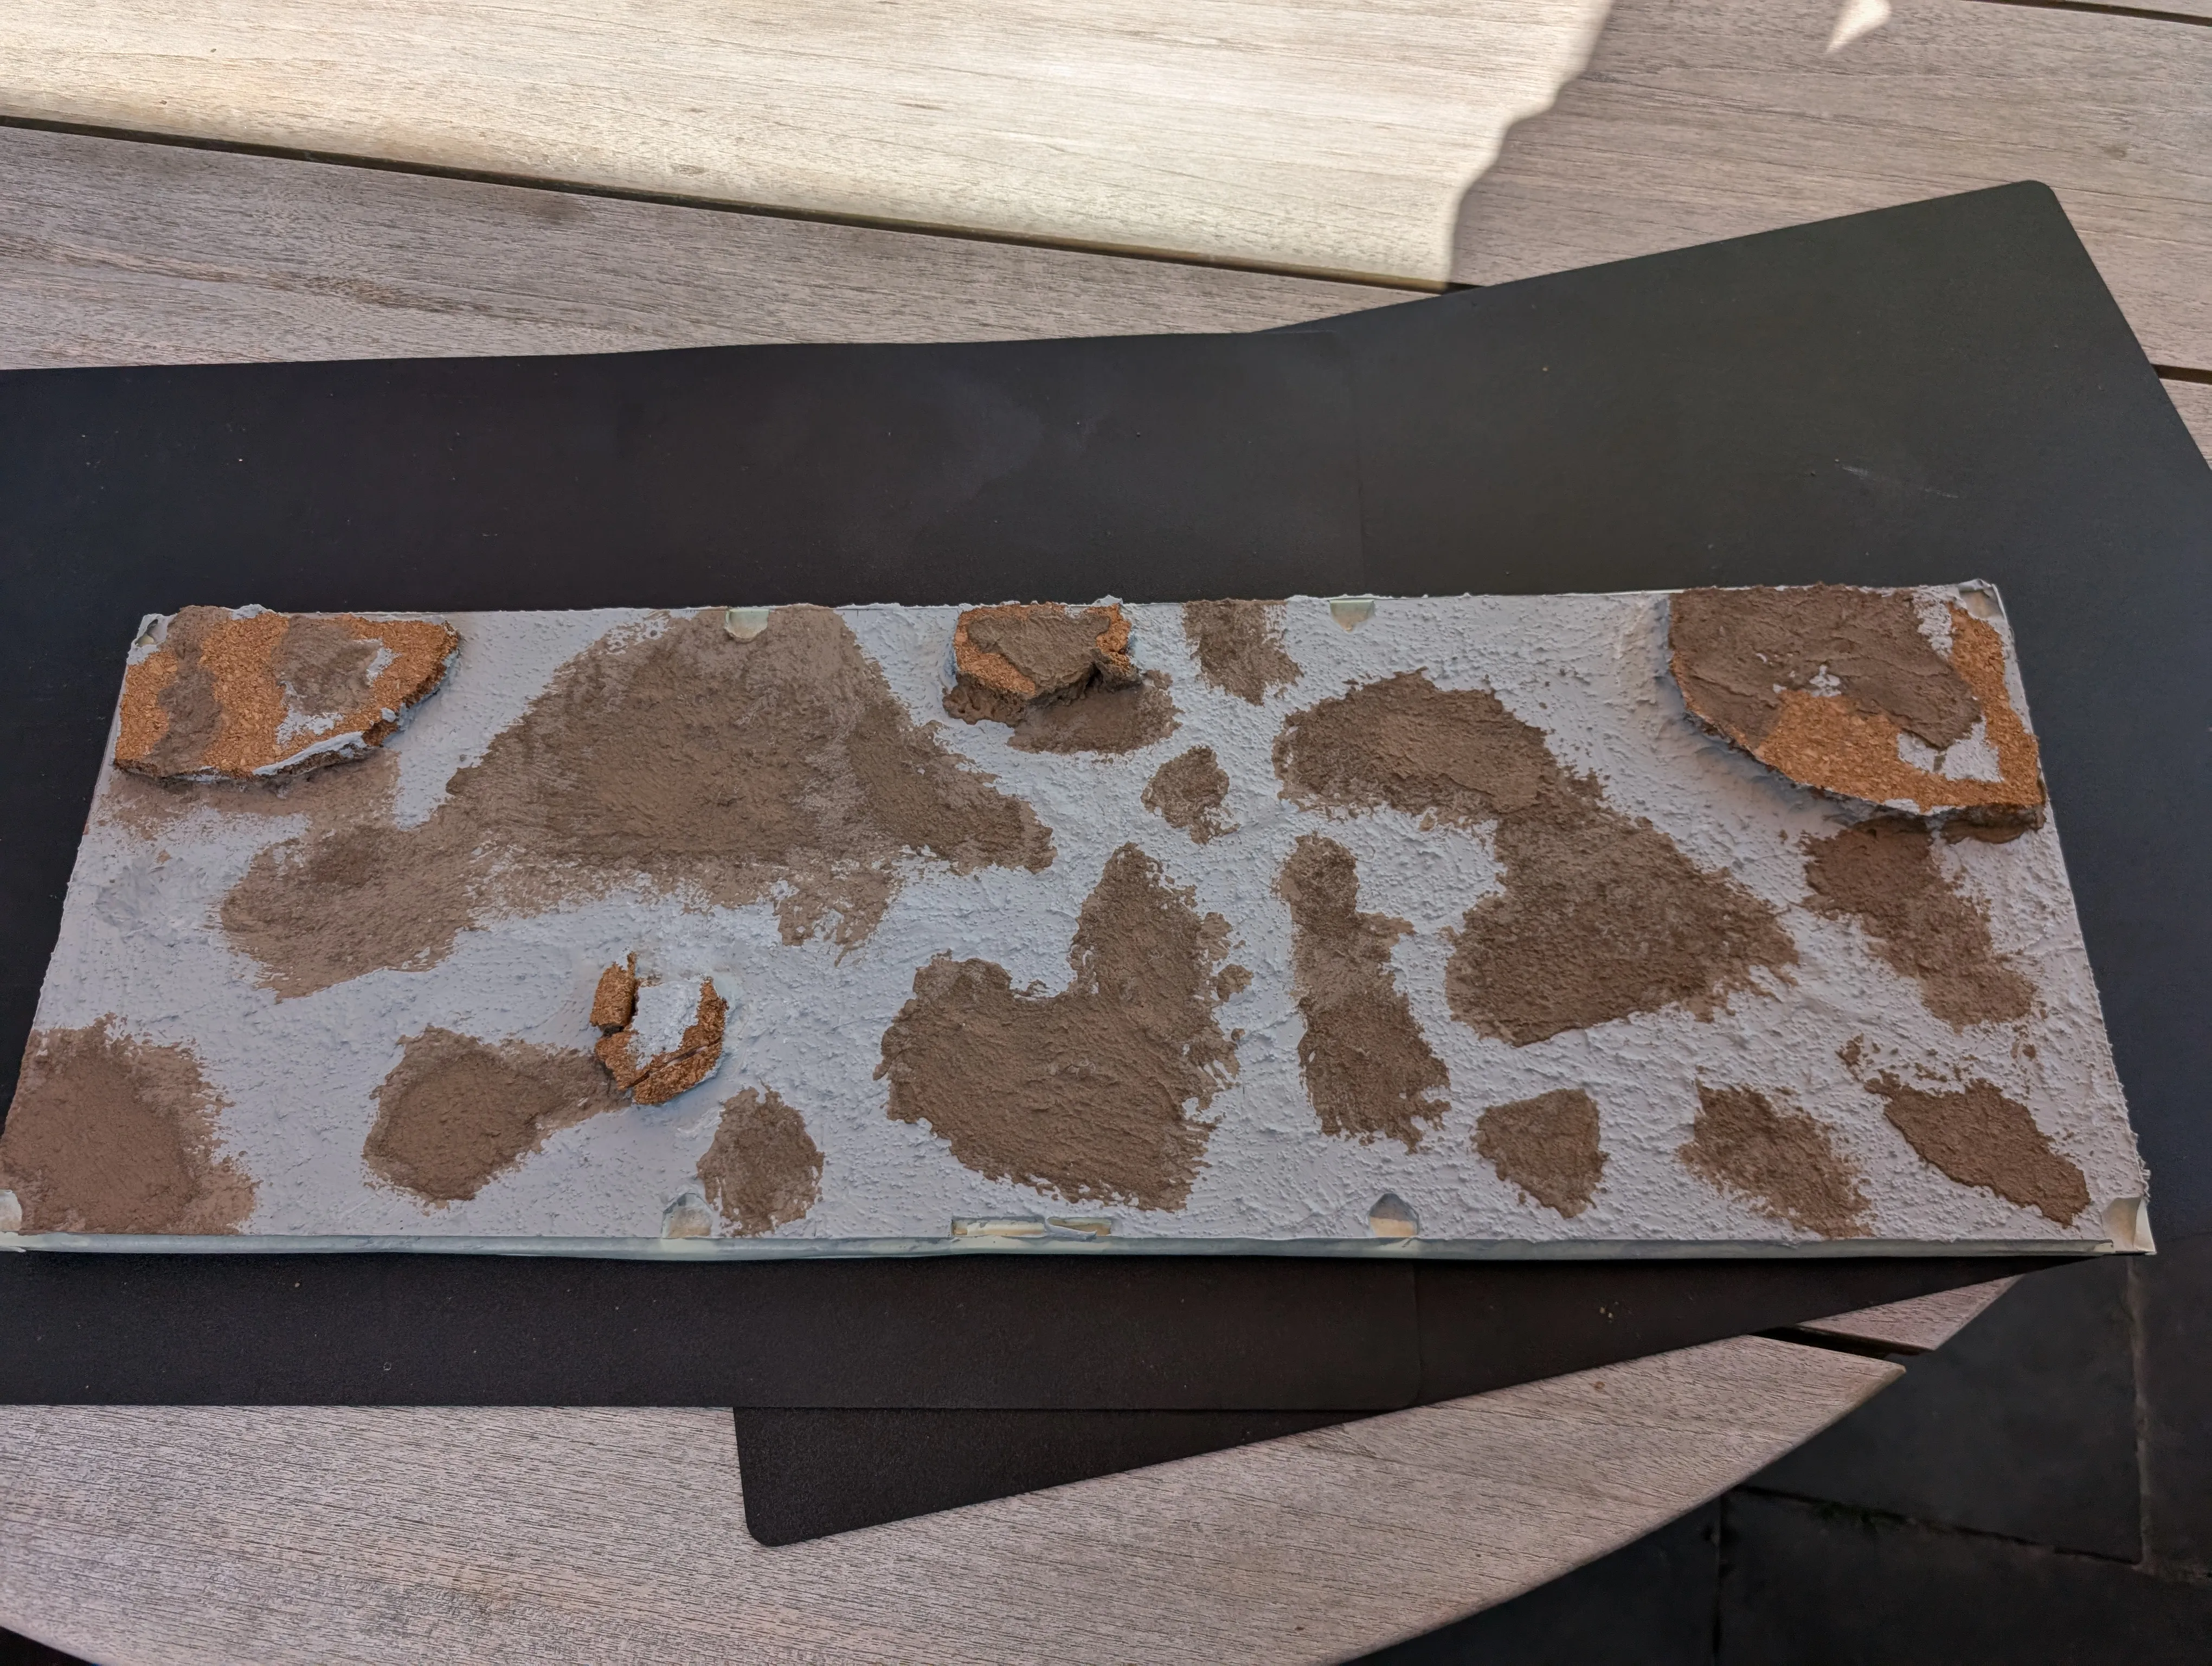
Step 5: After drying, spray-paint the entire base black.
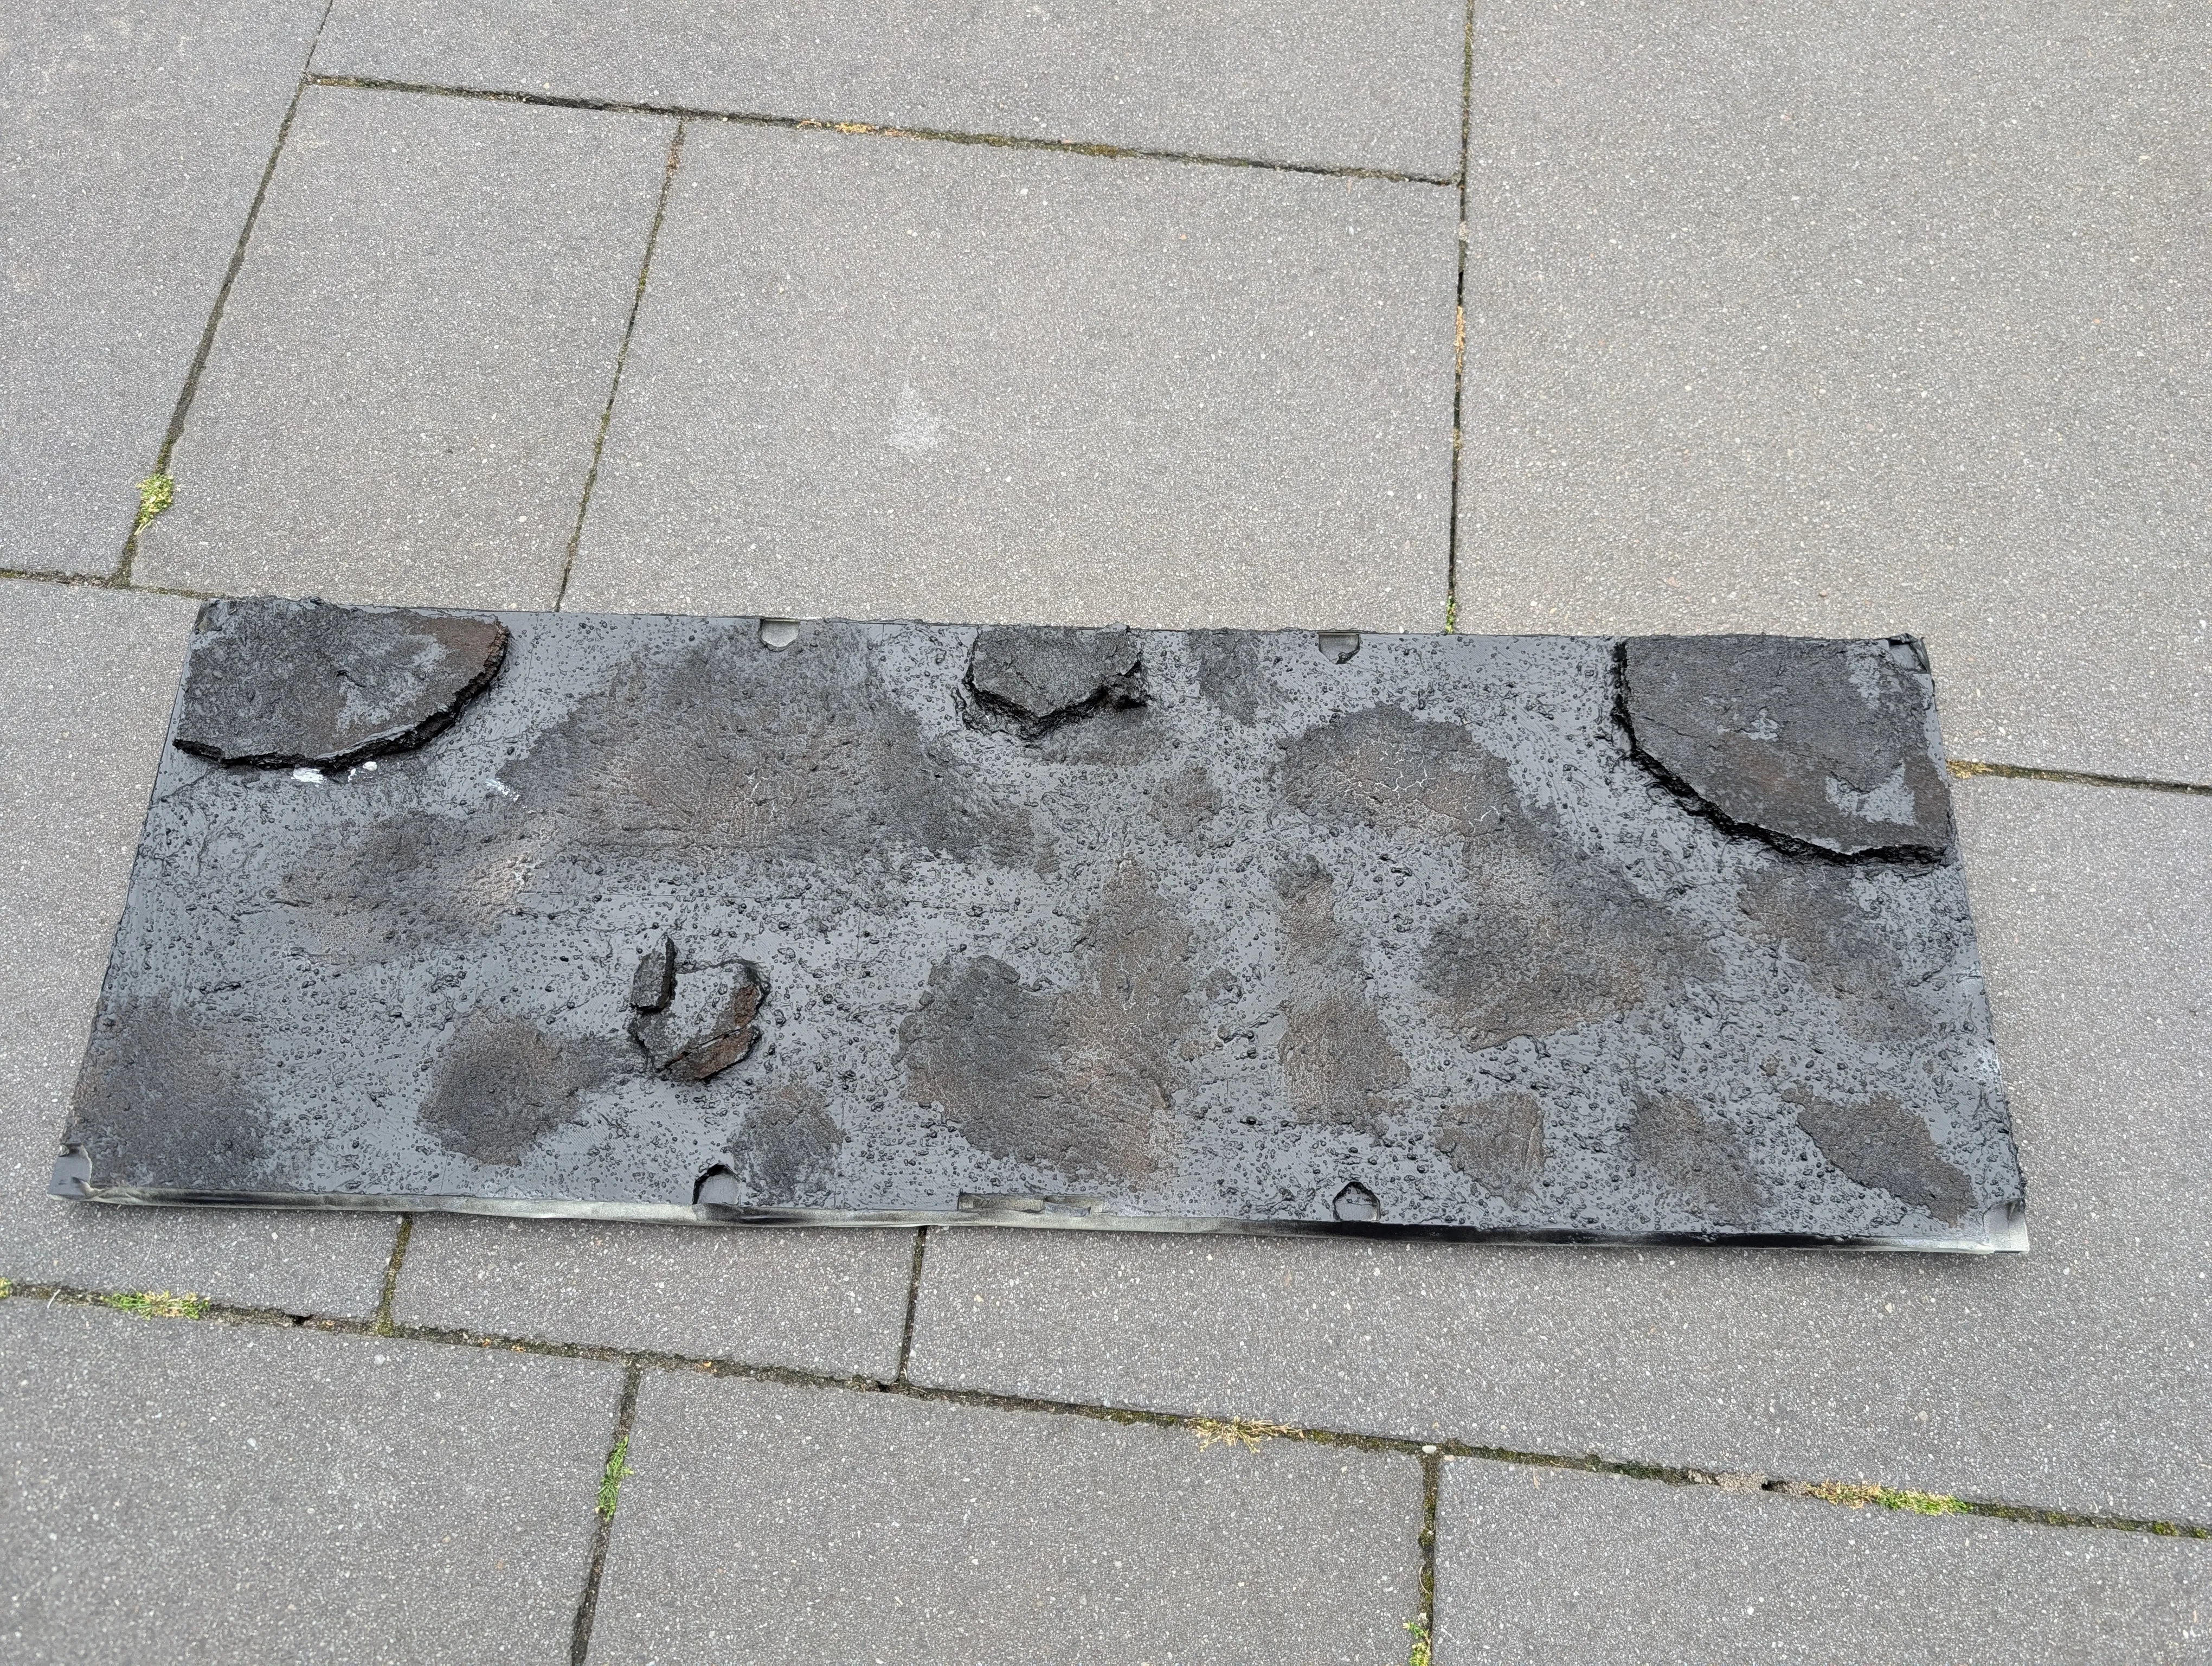
Step 6: Drybrush base heavily with Cadian Fleshtone paint.
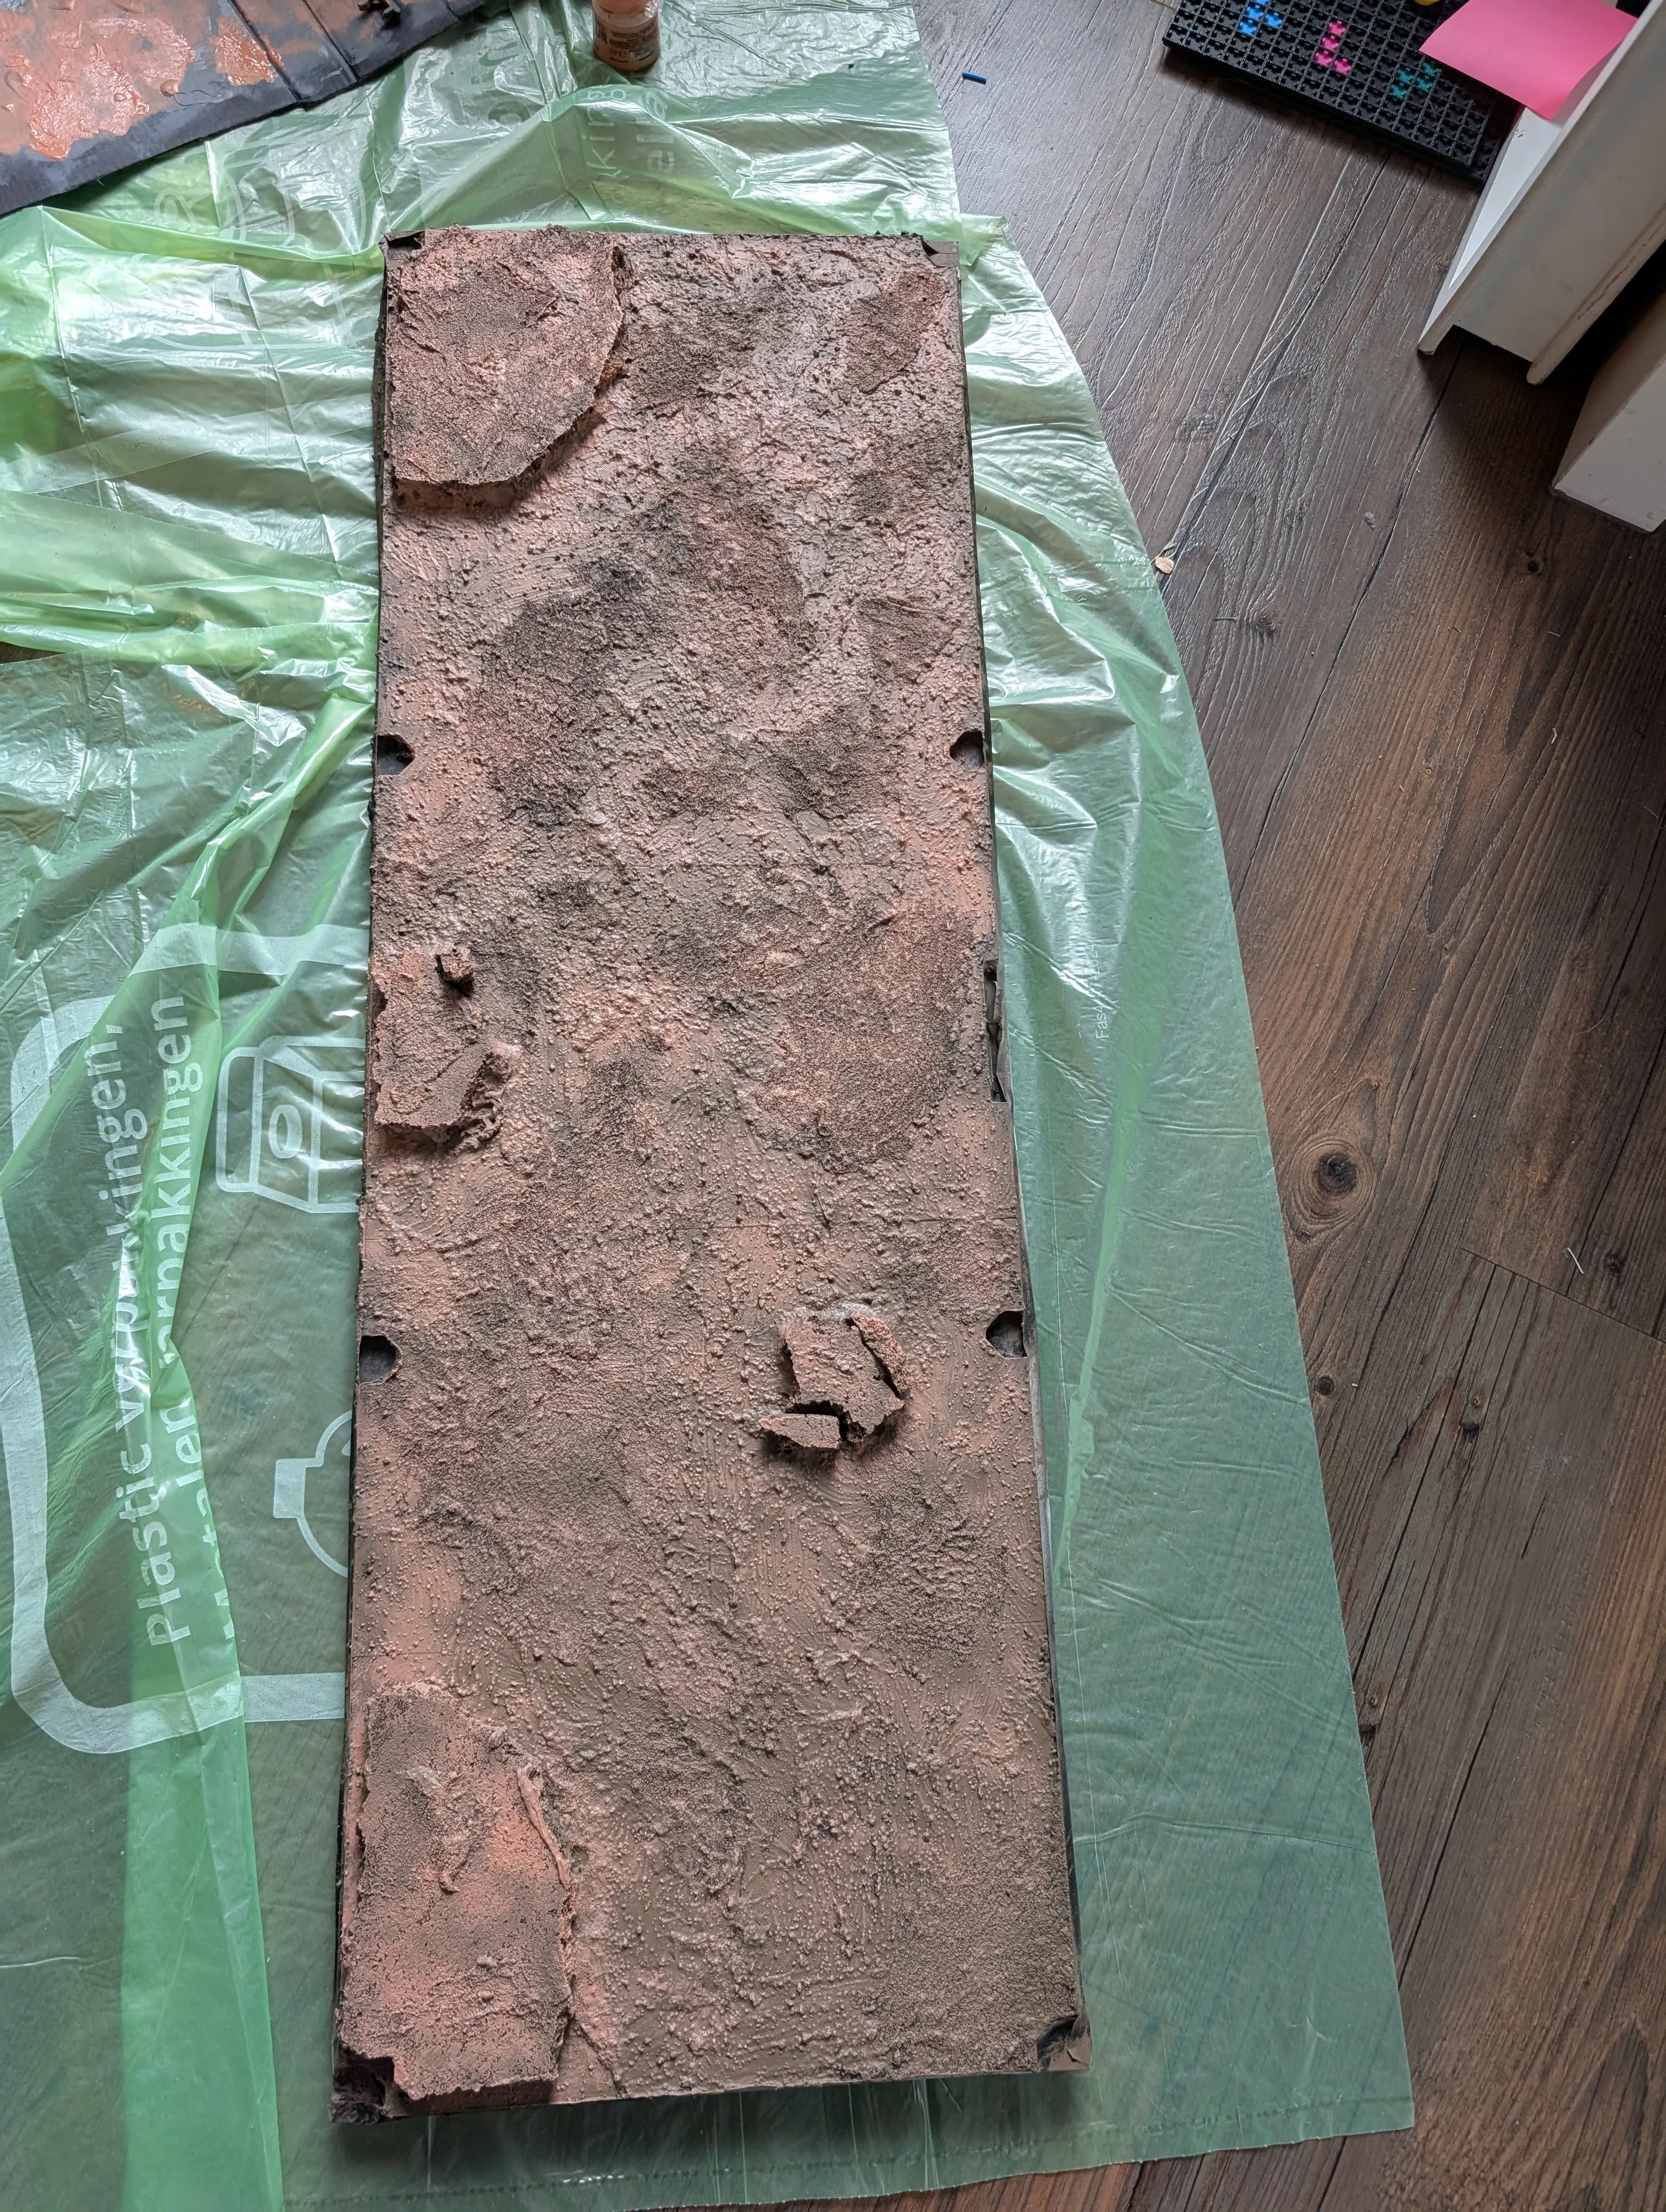
- Step 7: Finish by lightly drybrushing the highest areas with Tyrant Skull paint.
Important Warning:
- During drying and curing, place a heavy, flat object on the base and avoid direct sunlight exposure to prevent warping.
Additional Materials List:
- Plexiglass panels (as specified above)
- 3x12mm screws
- 5x5mm cube magnets (total of 8)
- Aluminum reinforcement strips (optional)
- Super glue (CA glue)
- Protective gloves and respirator (recommended)
- Cork pieces
- PVA glue, black acrylic paint, wall spackle filler, Agrellan Badlands texture paste
- Spray paint (black), Citadel paints (Cadian Fleshtone, Tyrant Skull)
License

You shall not share, sub-license, sell, rent, host, transfer, or distribute in any way the digital or 3D printed versions of this object, nor any other derivative work of this object in its digital or physical format (including - but not limited to - remixes of this object, and hosting on other digital platforms). The objects may not be used without permission in any way whatsoever in which you charge money, or collect fees.


Comment & Rating (10)