
Print Profile(3)


Bill of Materials
- Pool Noodle 6cm diameter x 1: To cut 3x 15cm for noodle arms
- 1kg weight x 1: Any flat weight to the bottom of the basket
Description
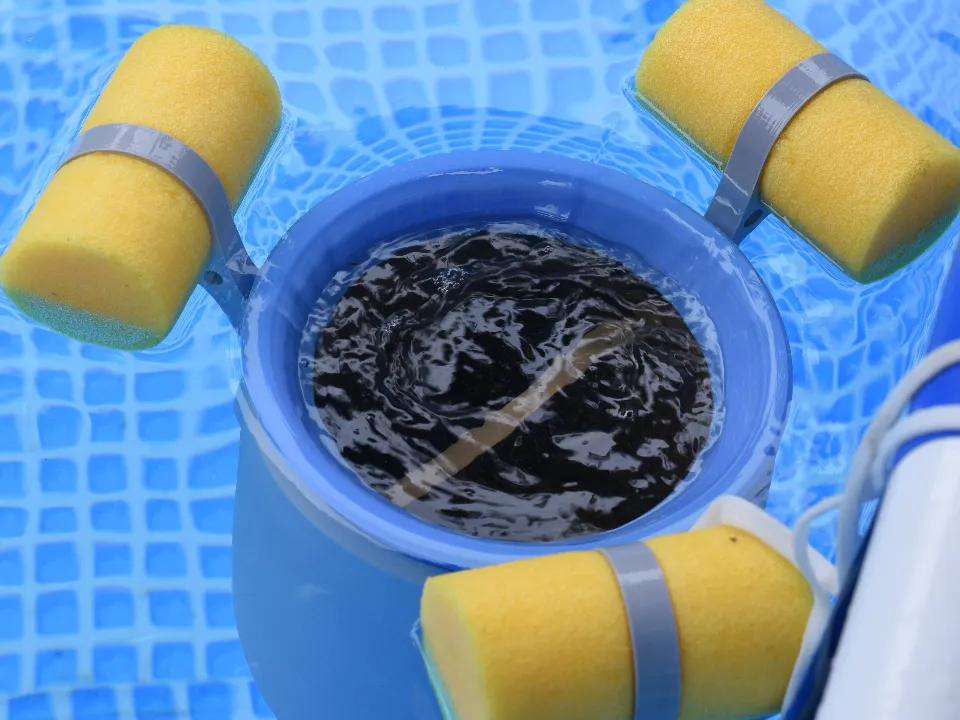
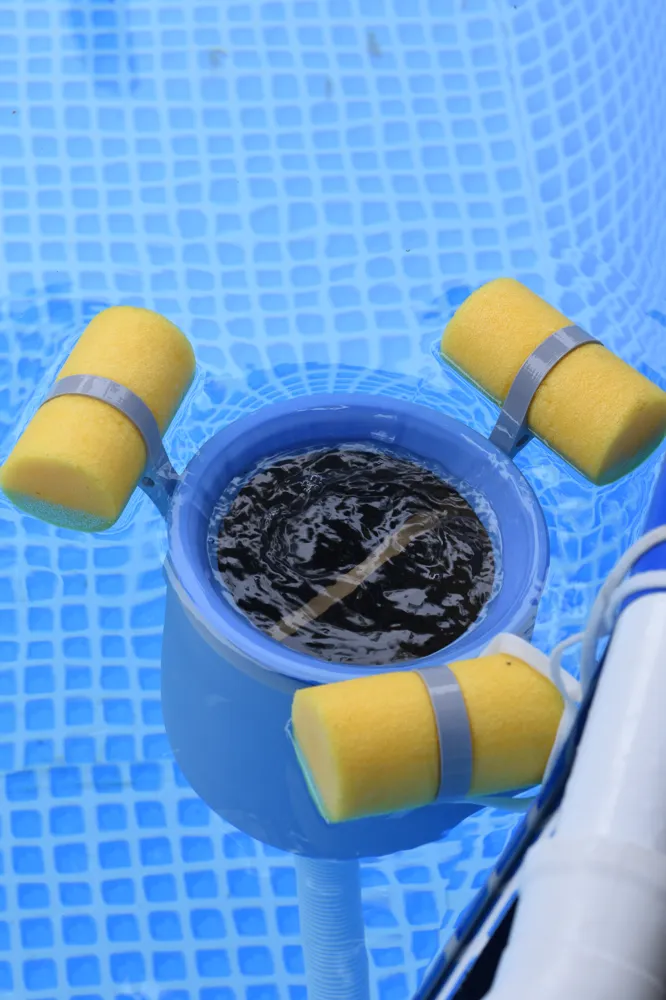
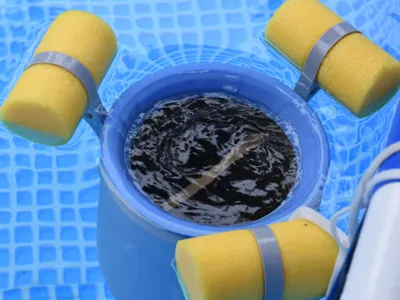
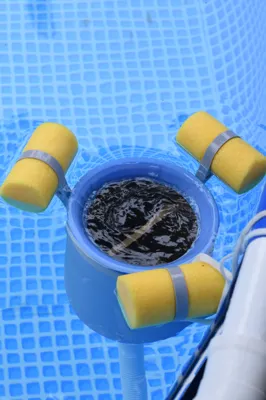
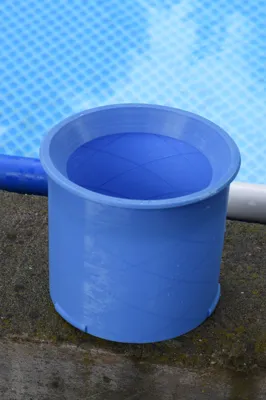
This is a 3D-printable floating pool skimmer designed to operate without any fixed mounting. It continuously adjusts to the water level, ensuring optimal skimming performance regardless of fluctuations. For proper function you'll need 1kg weight and standard “pool noodle”
Design & Features
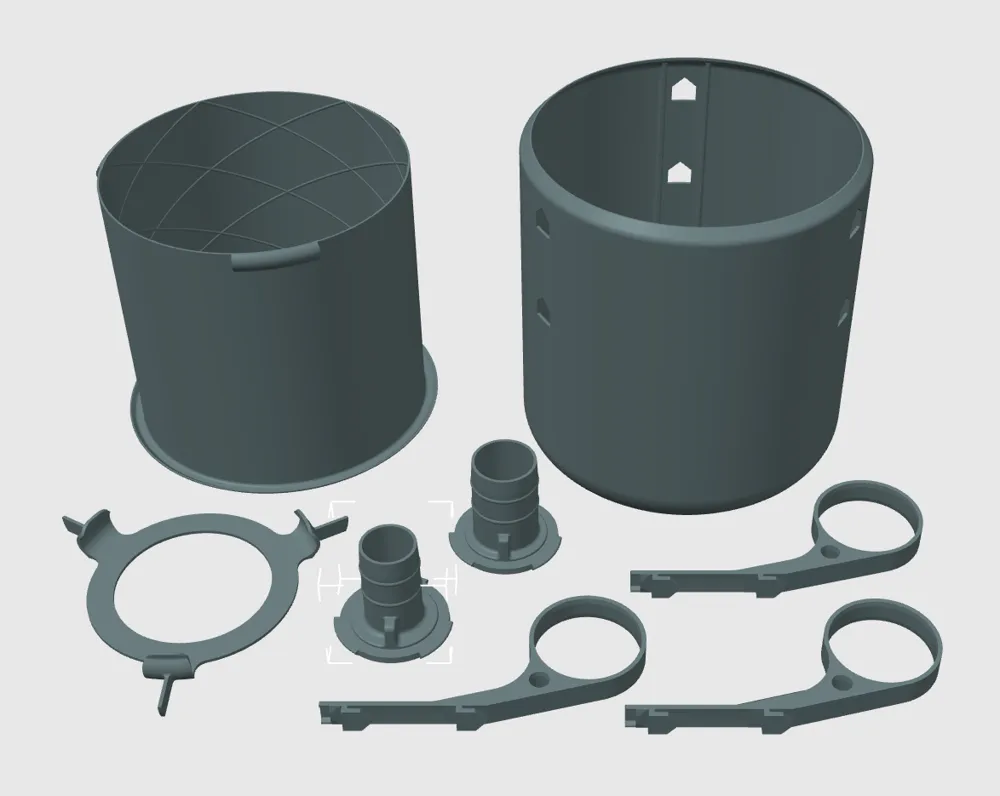
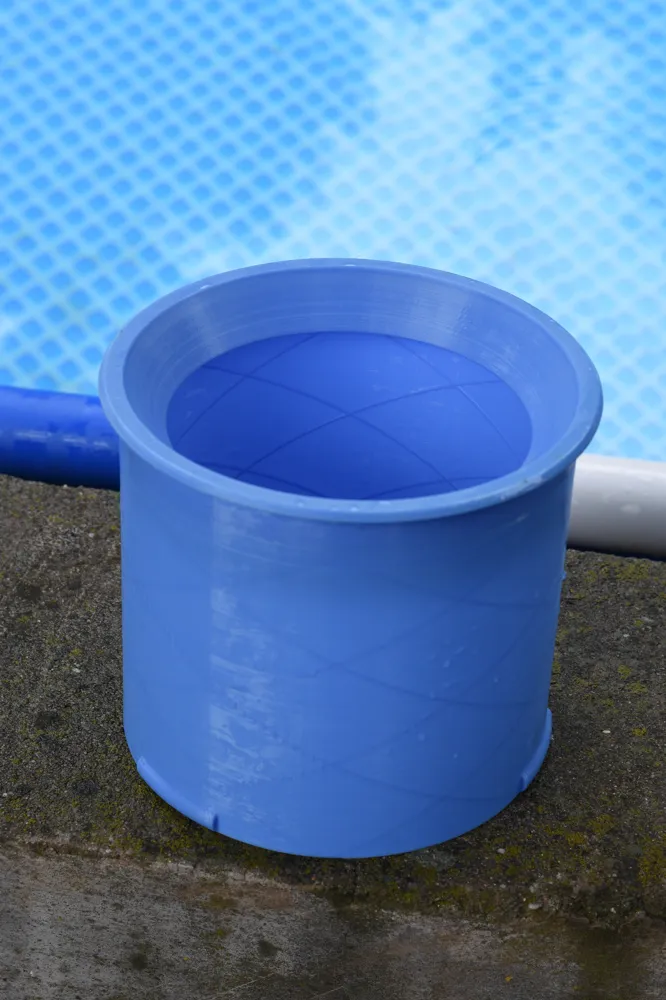
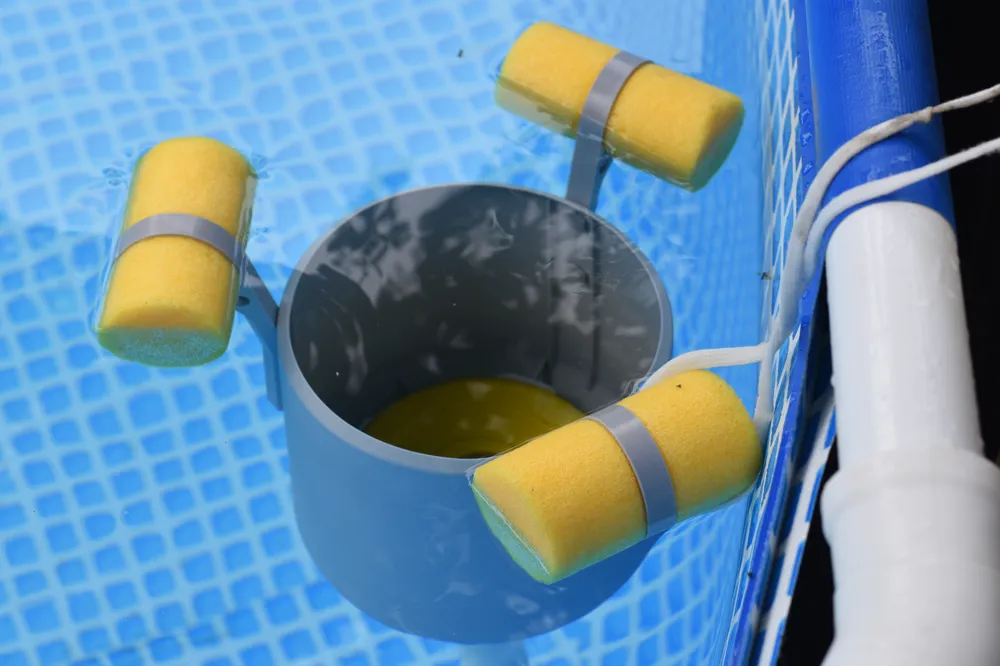
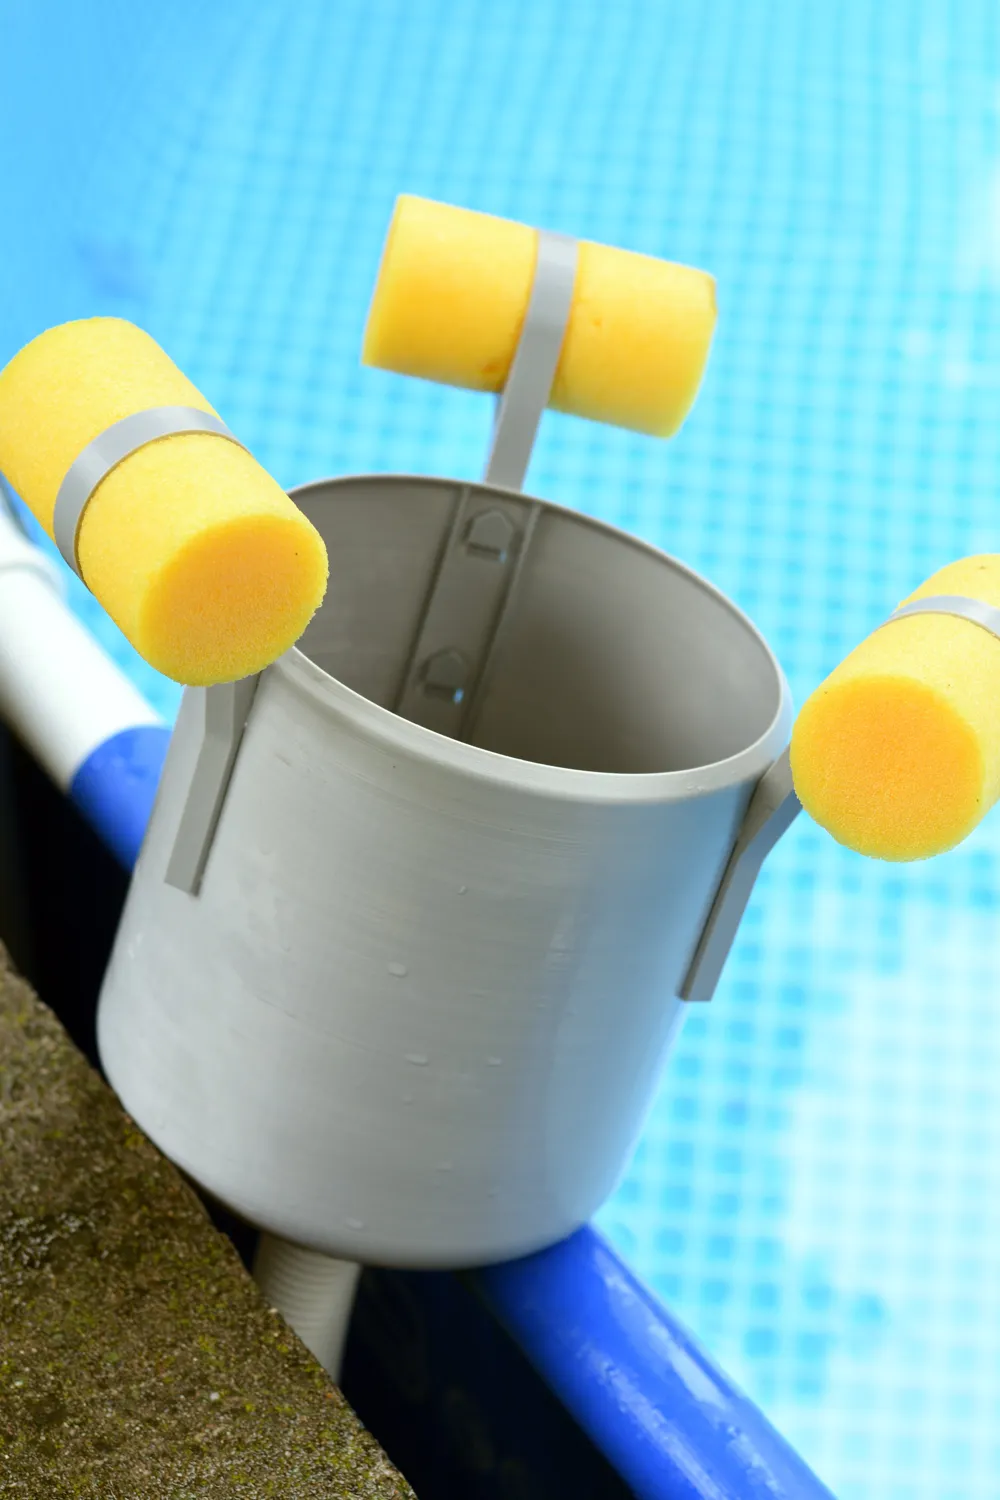
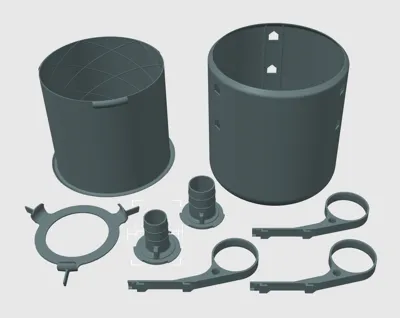
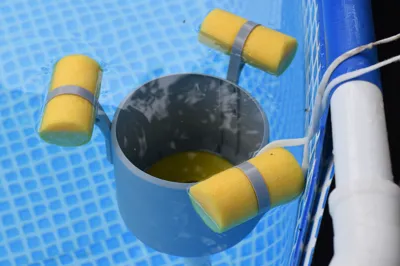
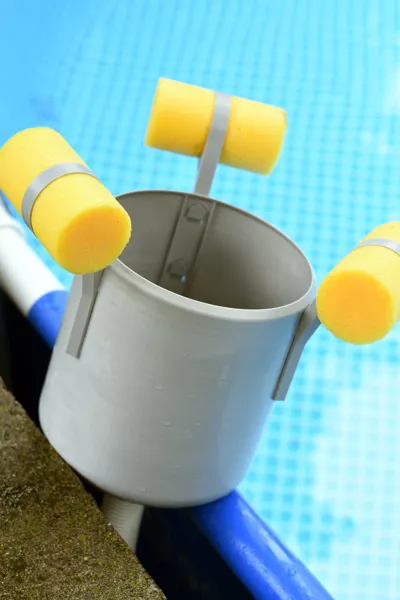
Main body: Floating cylindrical bucket with attachment arms for standard pool noodles, ensuring stable buoyancy.
Floating insert: A secondary inner chamber that independently floats at the water surface and houses the removable debris basket.
Interchangeable outlet: The bottom includes a bayonet-style twist-lock fitting, compatible with either 32 mm or 38 mm hoses (both versions included).
Weight holder: An insert at the bottom accepts a standard 1 kg weight (147mm diameter, 17mm height dumbbell disc or bag with stainless steel nuts) for stability. If you have another weight, you have to design own insert for it.
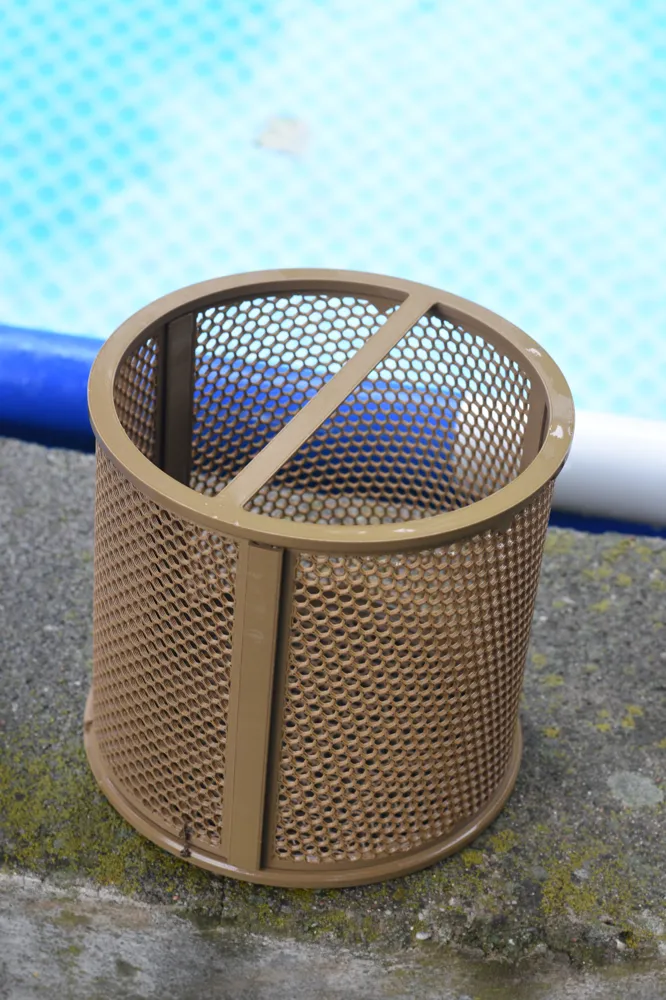
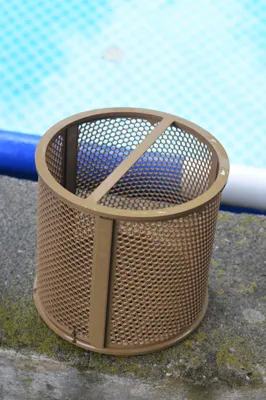
Debris Basket Assembly
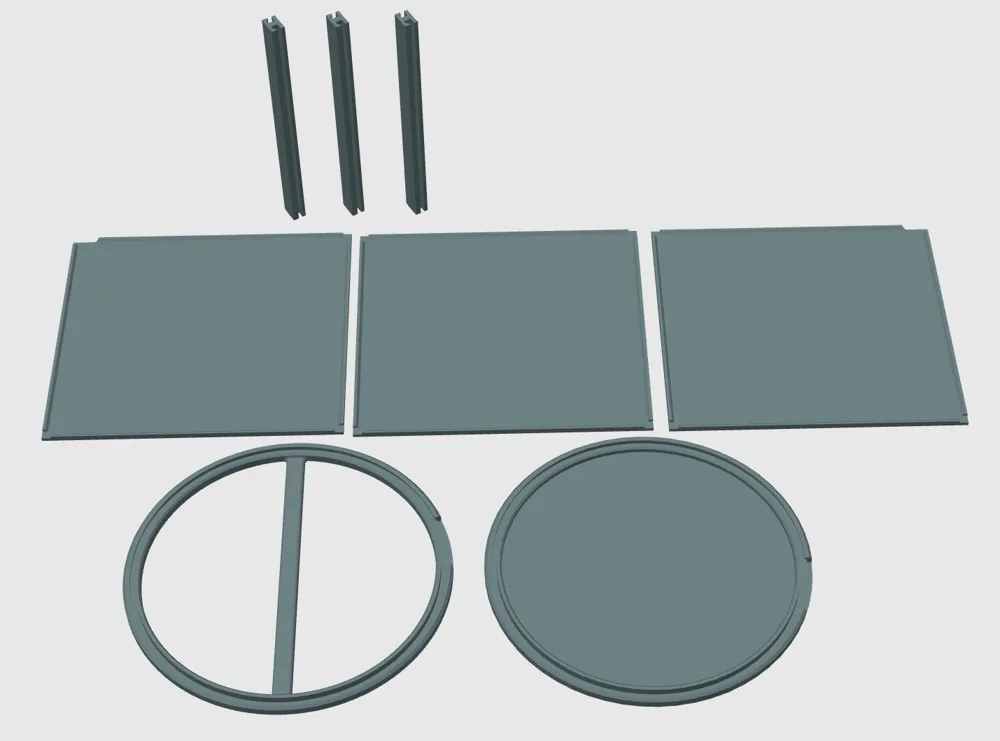
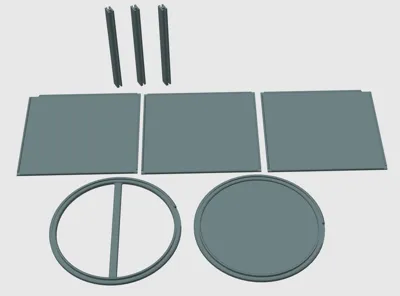
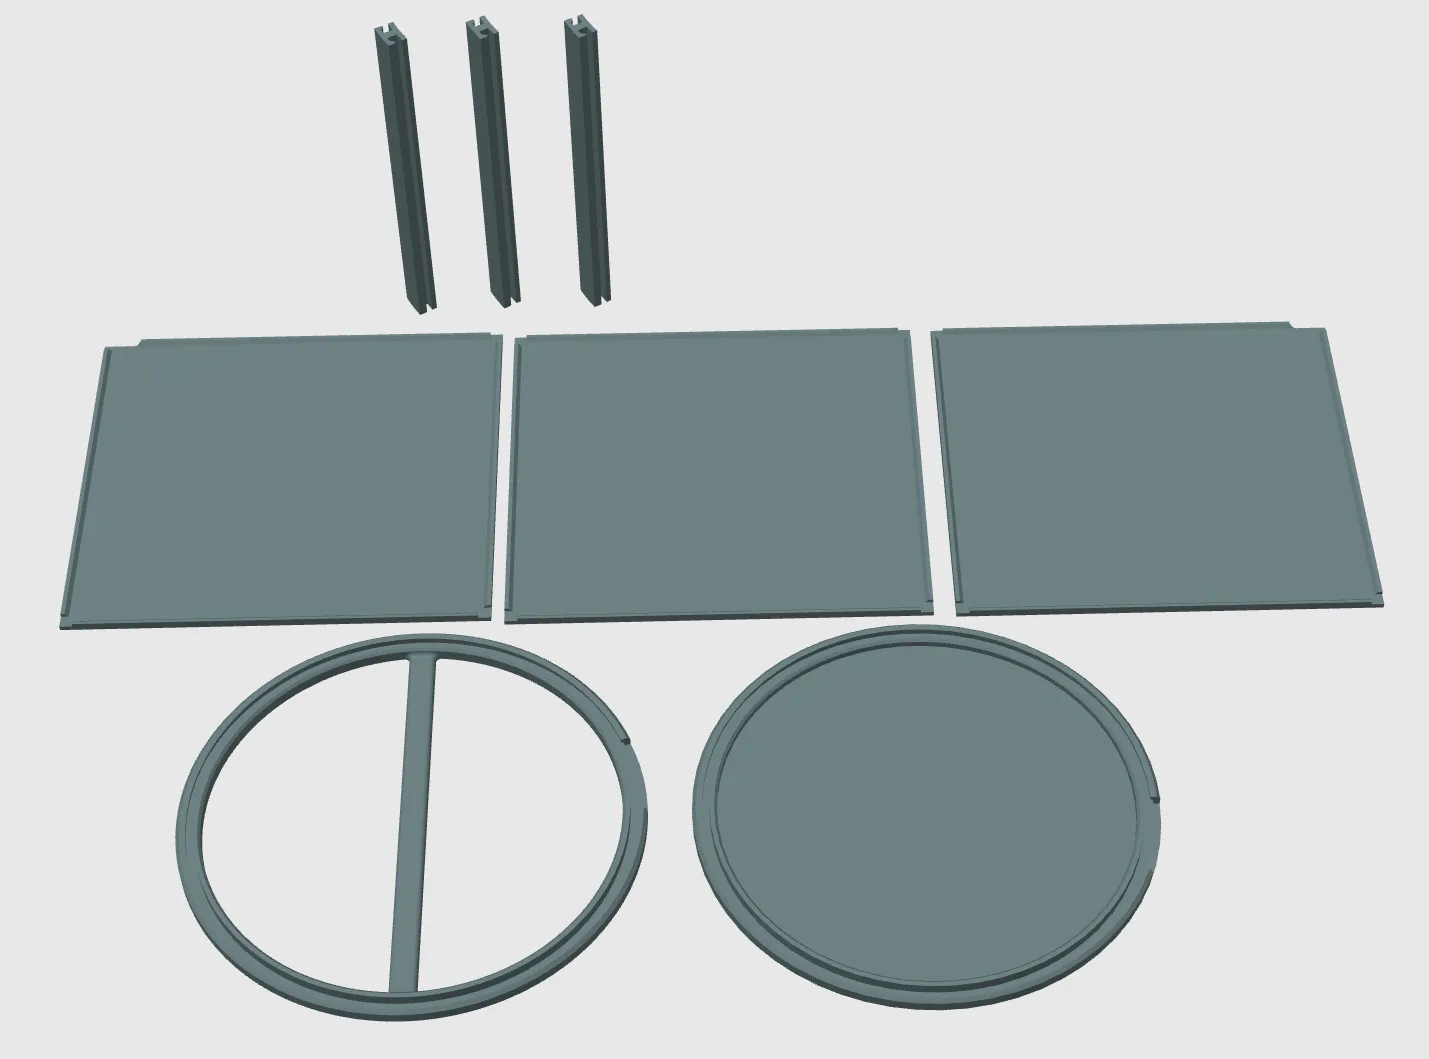
The basket is printed flat and assembled from:
- 3 mesh walls (labeled 1, 2, 3)
- 3 wall connectors
- 1 perforated base
- 1 top rim with a cutout for sliding
Each wall slides into the grooved base, joined with the side connectors. The top rim is then slided onto the assembled walls, locking the whole assembly. Visual guide in basket_assembly.zip.
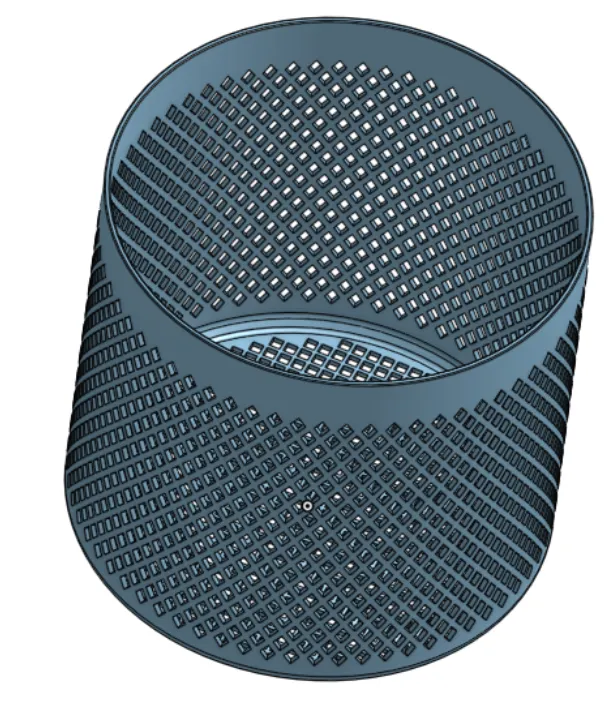
20.6.2026: Added single part basket model: (if you have difficulties printing the multipart version, try this one)
Skimmer assembly
Print parts:
- 1x basket
- 1x floating insert
- 32 or 38mm outlet
- 3x pool noodle float arms
- whole debris basket assembly
- weight holder (in case you have the same weight as mine is)
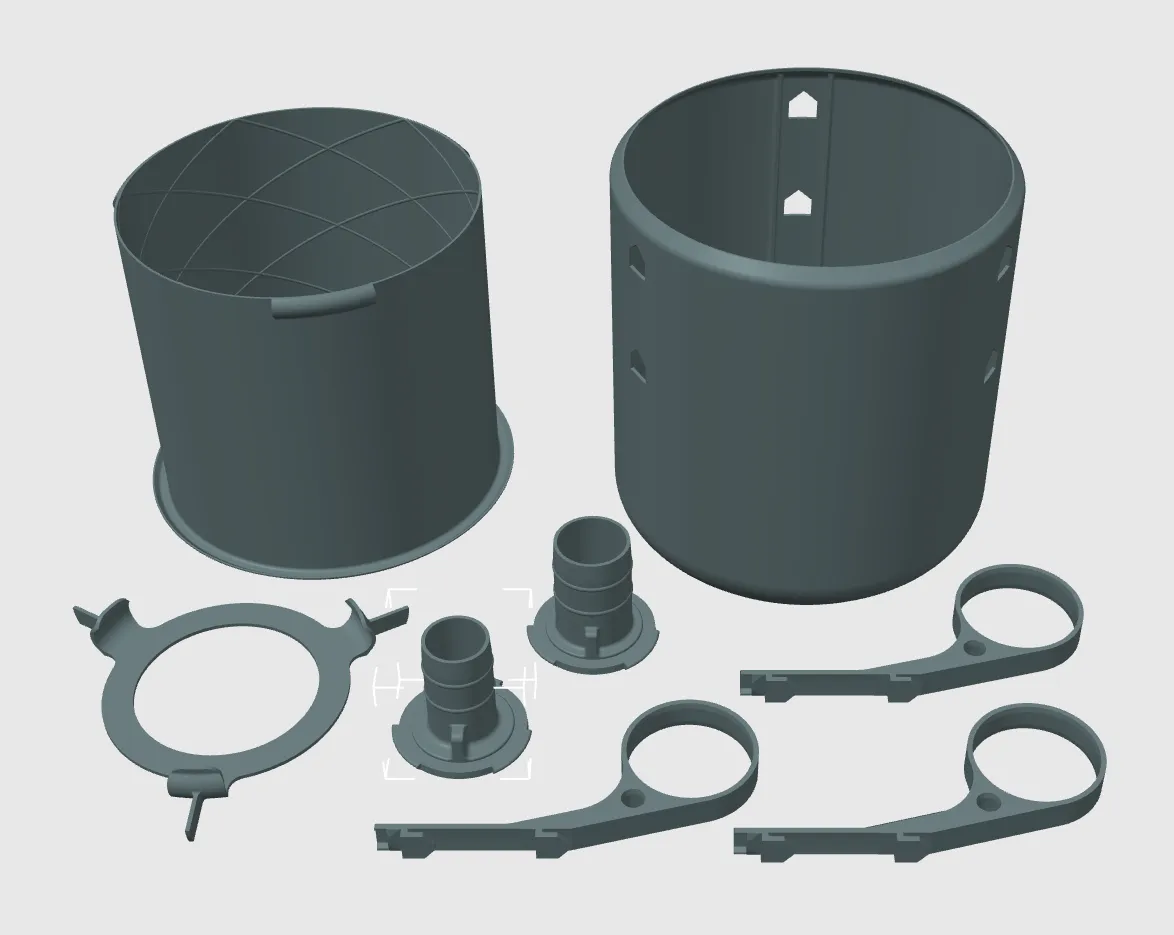
Snap the three float arms into the designated slots on the main skimmer bucket. Cut three 15 cm pieces of pool noodle (6cm diameter) and insert each through the loop on one of the skimmer's float arms. Attach the 32 mm or 38 mm hose adapter to the bottom bayonet fitting and connect your hose. Place a weight inside the bucket and lower the entire unit into the pool. The bucket should float with its rim approximately 10 cm below the water surface. Insert the debris basket into the bucket, followed by the floating insert. The top edge of the floating insert should align with the water level. Connect the hose to your pool's outlet and test the skimmer's operation. You can secure the skimmer to the pool wall with a piece of string if desired.
If you don’t have a similar weight to the one shown, you may need to design a different holder, or simply place stainless steel nuts in a mesh bag at the bottom of the bucket – approximately 1 kg total weight is recommended.
If you plan to swim, it is recommended to remove the debris basket and floating insert to prevent collected debris from floating back into the pool. After swimming, simply place them back into the skimmer.
Print settings
Main Skimmer Components:
- Material: ASA or PETG (outdoor use)
- Layer height: 0.2 mm
- Perimeters: 3
- Infill: 15% (0% for floating insert)
- Supports: not needed
- Orientation: as provided in STL files
Debris Basket Parts:
- ASA or PETG
- 0.2mm
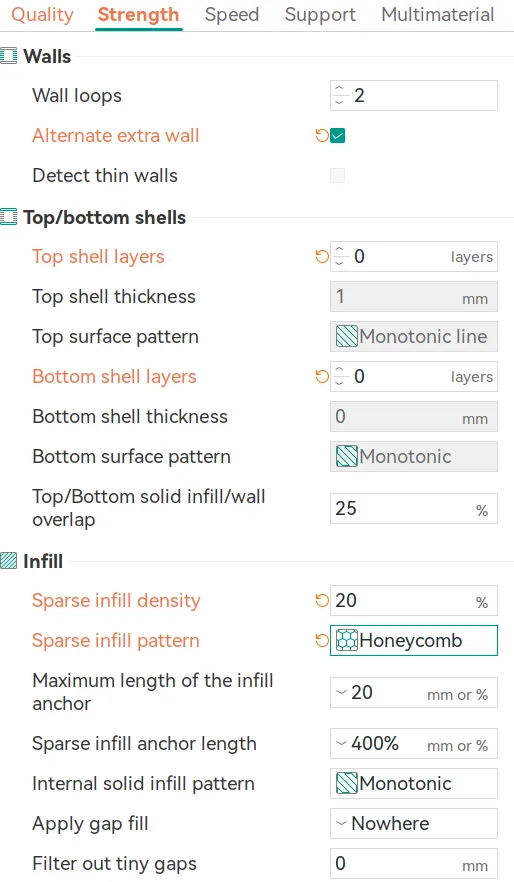
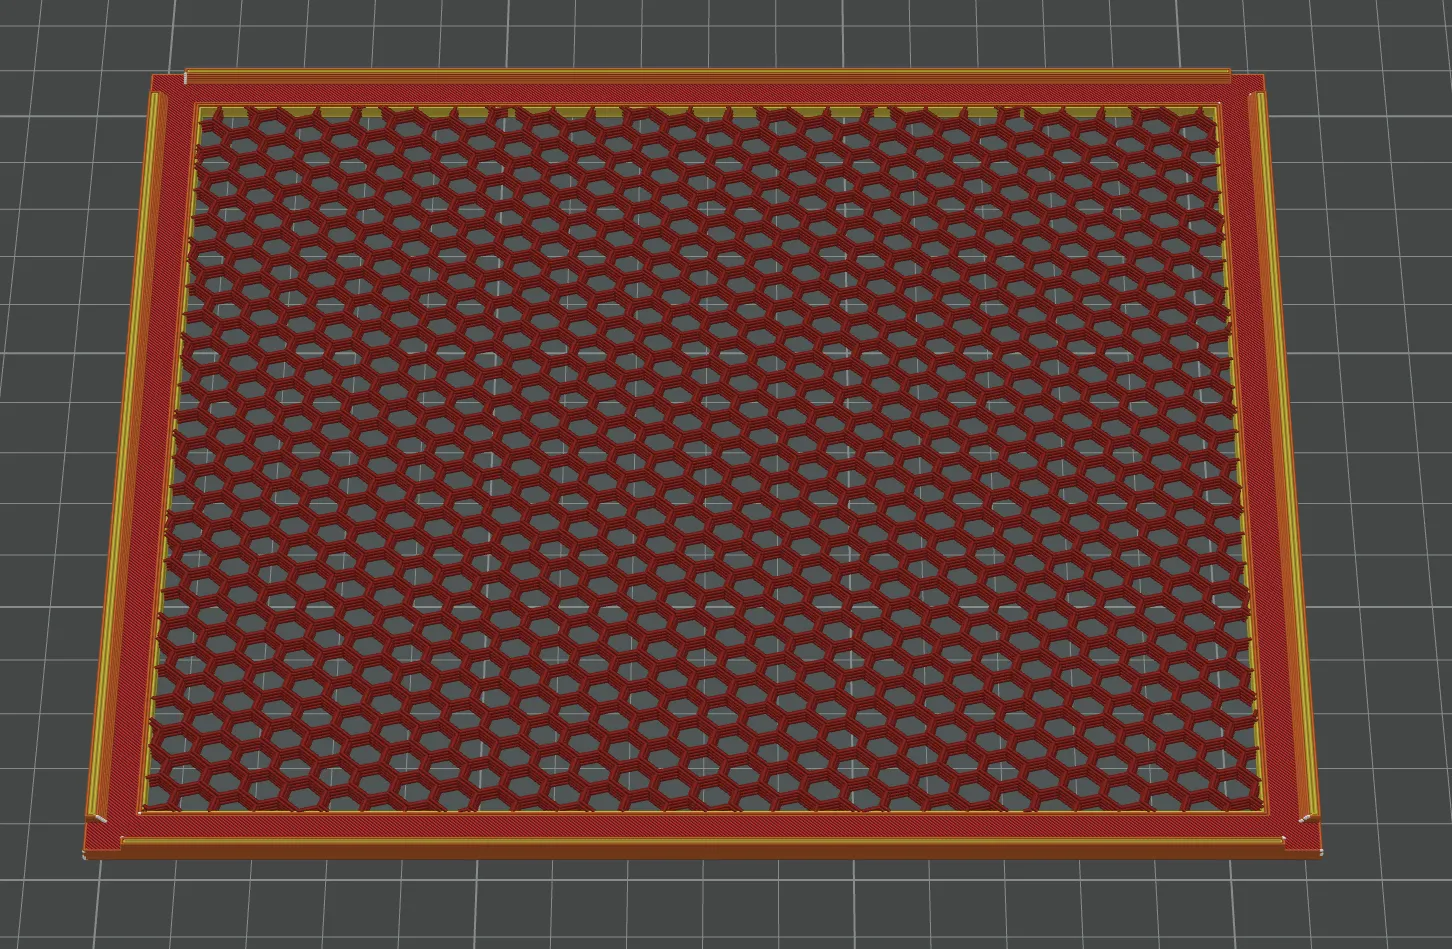
- Use 0 top & 0 bottom layers on inner basket areas to expose infill this forms a mesh.
- Tick the “Alternate extra wall” option (OrcaSlicer only)
- Provided .3mf files contain two-part meshes (edge + center) to allow different settings.
- Infill: 20% honeycomb, sparse infill width 0.6 mm
- Top/Bottom surface pattern: Concentric (for easier fitting)
- Print one of each wall (1, 2, 3)
- Wall connectors needs to be printed standing (for strength) - use appropriate brim setting.
Notes
- No mounting to pool walls is required / just use some string to if desired.
- The floating insert always stays aligned with the water surface - ideal for collecting surface debris.
- Basket is easily removable for cleaning.
Skimmer in action
Documentation (1)
License



Comment & Rating (81)