


Print Profile(2)


Description
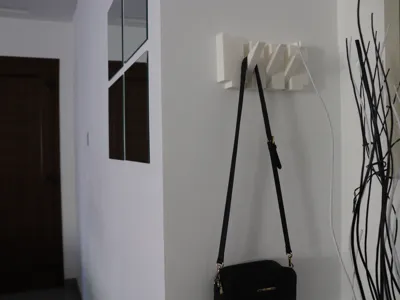
The Piano Coat Hooks Rack is a wall-mounted organizer that combines functionality with a striking, musical aesthetic. Drawing inspiration from piano keys, each rack features alternating vertical and horizontal elements that echo the look of black and white keys, bringing a distinctive artistic flair to any space.
This rack is designed to be both practical and decorative, making it ideal for entryways, bedrooms, offices, or creative studios. It provides multiple hooks for coats, hats, bags, and accessories, while also serving as a conversation piece and enhancing your interior decor.
Key Features:
- Piano-inspired design: Alternating vertical and horizontal hooks mimic piano keys for a unique look.
- Wide range of colors and finishes: Choose from wood tones, marble textures, and vibrant colors to match your style.
- Durable construction: Made for everyday use and built to last.
- Wall-mounted: Saves space and keeps your belongings organized.
- Versatile storage: Perfect for coats, hats, bags, and more.
- Decorative impact: Adds a creative, artistic element to any room.
Boost Me (for free)
A standout feature of this rack is its modular, puzzle-like assembly. Each piece can be printed individually in different materials and colors, allowing you to mix and match for a truly custom and personal design. The modular construction means each segment—whether a hook or a base—can be easily swapped or replaced if needed, making repairs and updates simple and cost-effective. This flexibility not only boosts creative possibilities but also extends the rack’s lifespan.

Each “key” tilts down at a 45-degree angle for easy hanging and locks securely in place with magnets when pushed back, combining convenience with a playful, interactive element.
Thanks to its modular, puzzle-like construction, assembling the Piano Coat Hooks Rack is effortless—no additional hardware is required for putting the parts together. Simply connect the individual pieces as they fit seamlessly into each other, with the only hardware needed being for attaching the assembled rack to the wall. This user-friendly design makes customization, assembly, and part replacement quick and straightforward, allowing you to focus on creating your unique look without extra tools or fasteners.

Assembly Instructions
Assembled Product Dimentions
Three Hooks Design (260 x 135 x 35 mm)
Two Hooks Design (200 x 135 x 35 mm)
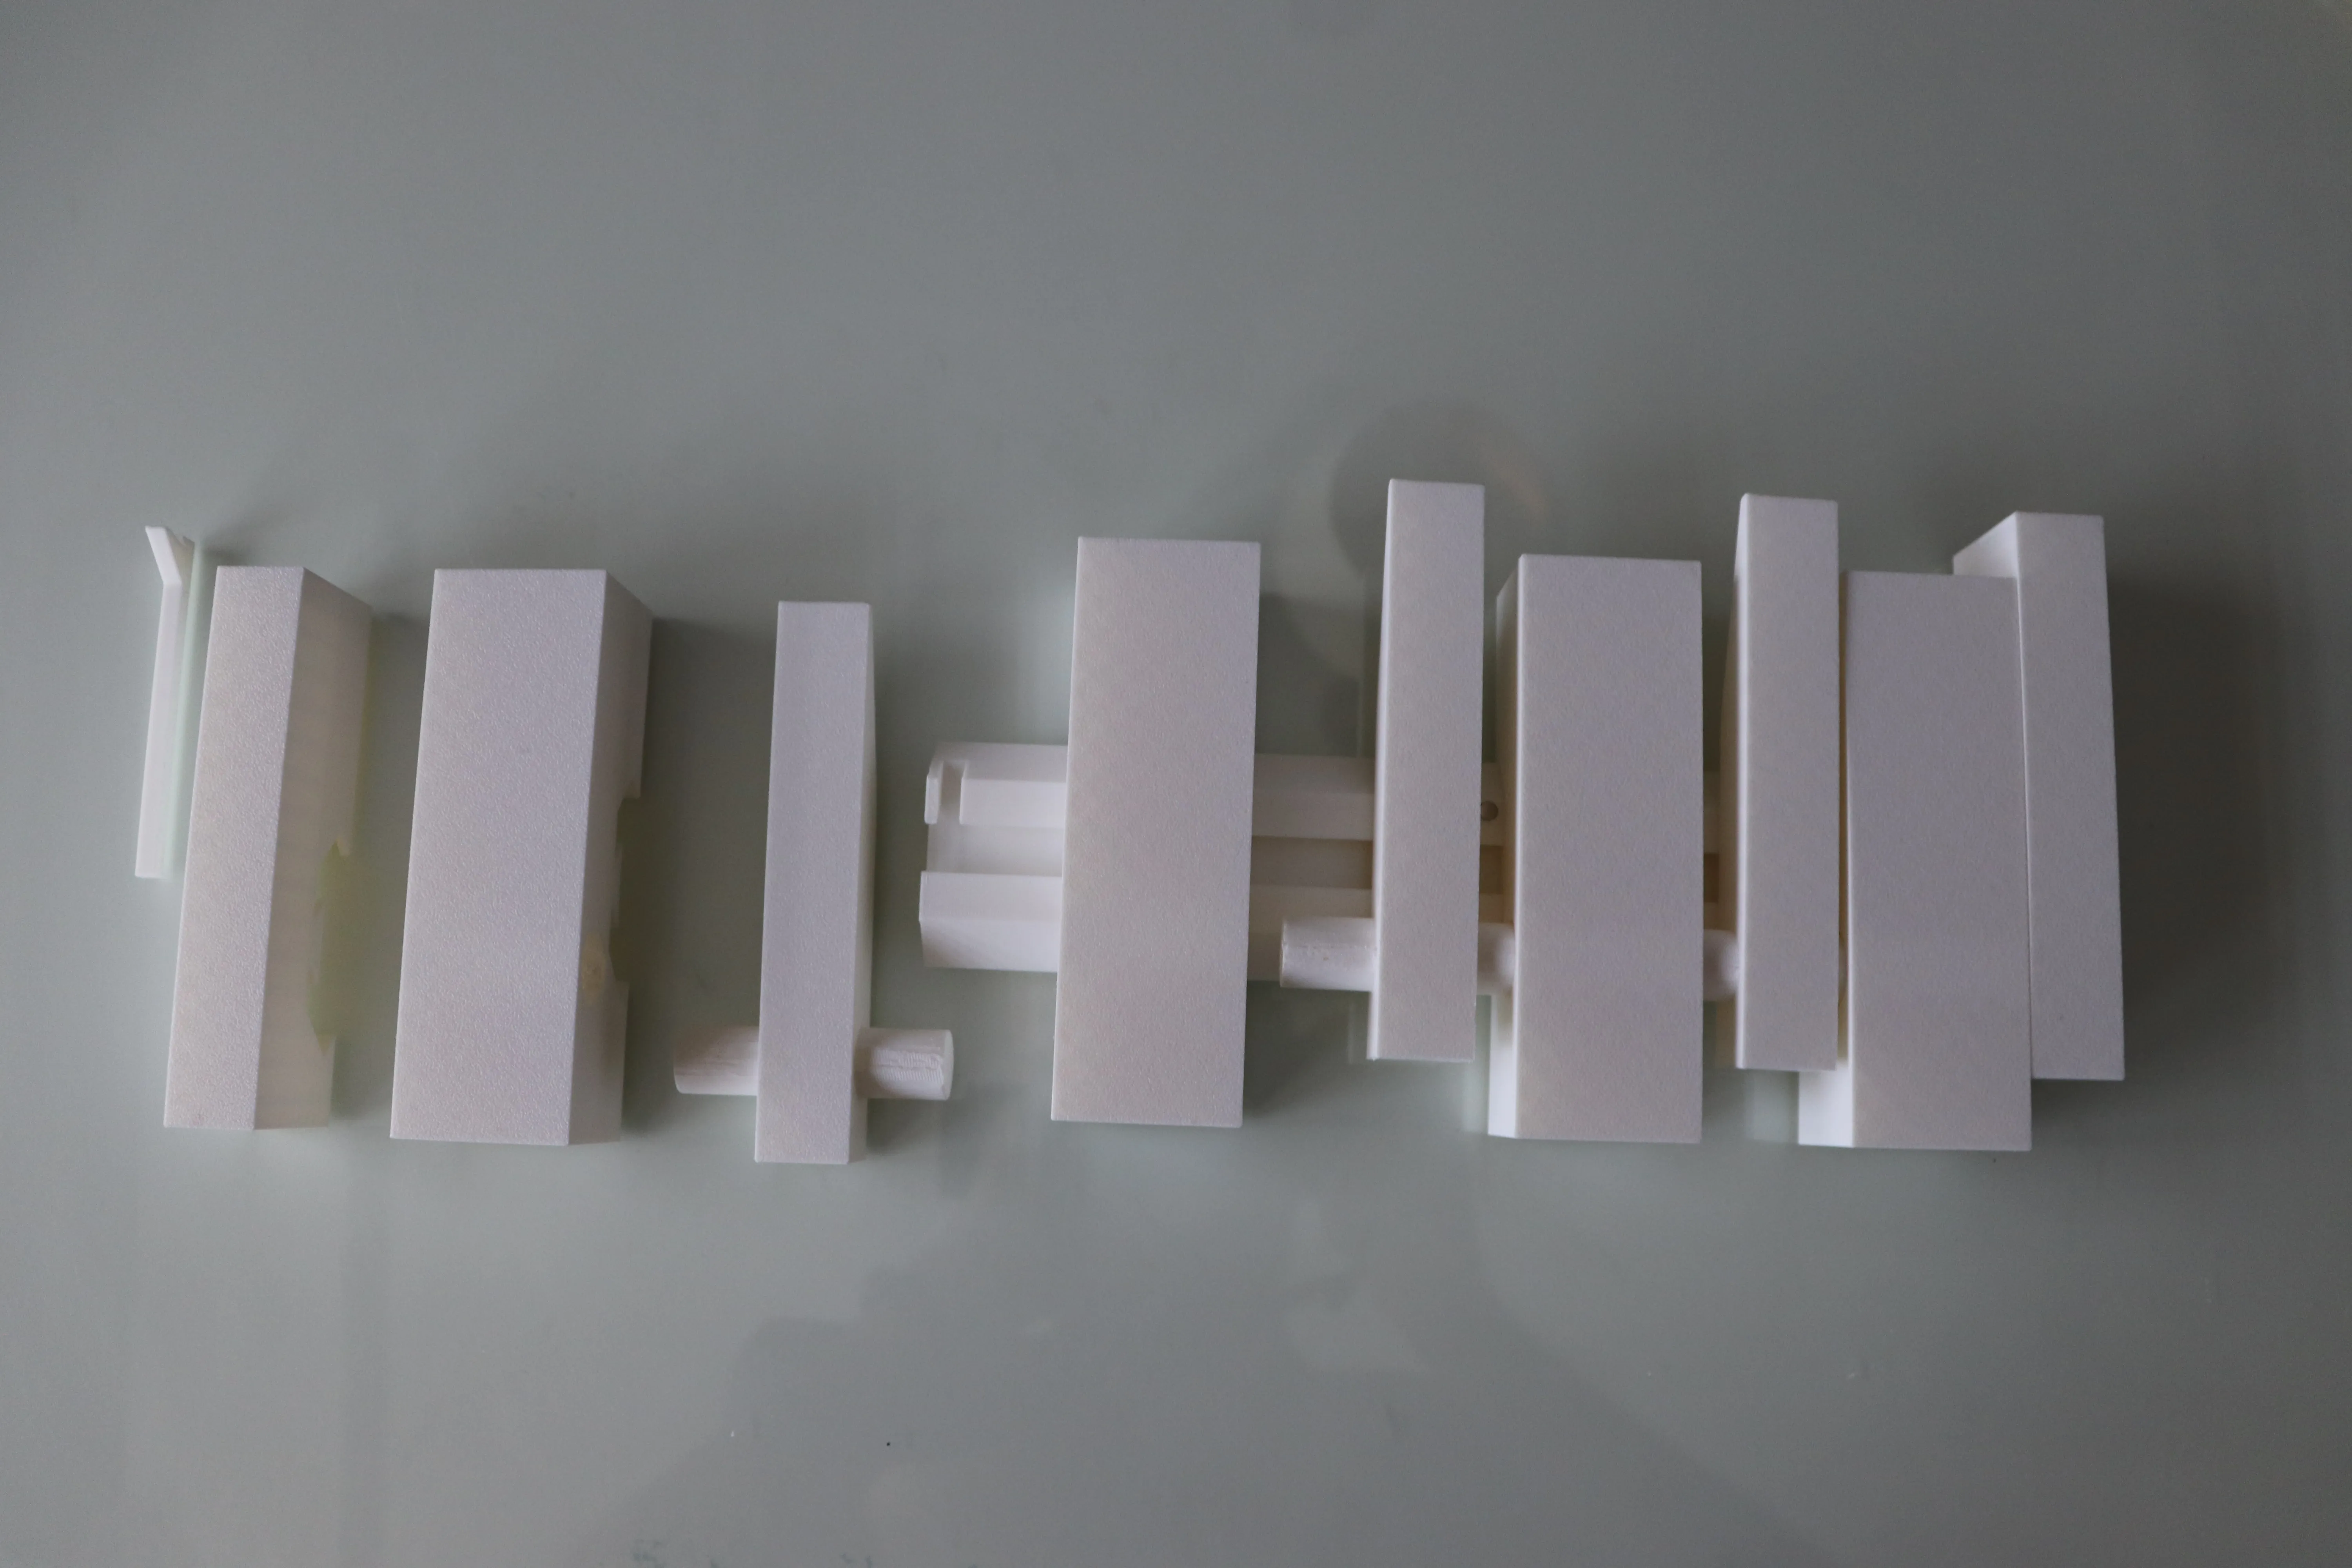
Parts Overview
- Wall Base: Main mounting piece, now with magnet holes.
- Key Blocks: Angled pieces resembling piano keys, each with a magnet hole.
- Connectors: Printed parts that lock Key Blocks and End Caps in place.
- End Caps: Left and right pieces to finish the assembly.
- Magnets (Optional): Small neodymium magnets for improved connection and tactile feedback.
Step-by-Step Assembly
1. Mount the Wall Base
- Use a level to position the Wall Base horizontally on the wall.
- Mark the wall through the holes in the Base.
- Drill holes at the marked locations.
- Secure the Wall Base to the wall using screws.
2. Insert Magnets into Wall Base and Key Blocks (Optional)
- Select Magnets: Use neodymium magnets sized to fit the pre-drilled holes (commonly 3–4 mm diameter, 2 mm thick).
- Apply Glue: Place a small amount of CA glue or epoxy in each hole for secure bonding.
- Insert Magnets:
- Ensure correct polarity—test the attraction between base and key block magnets before gluing.
- Press each magnet into its hole until flush with the surface. Use a piece of scrap wood or a dowel to avoid damaging the magnet.
- Clean Excess Glue: Wipe away any glue squeeze-out immediately.
3. Attach the Right End Cap
- Slide the Right End Cap into the end of the Wall Base.
- Insert a Connector from the top down to lock the End Cap in place.
4. Install Key Blocks and Connectors
- Starting from the right, slide a Connector into the next slot on the Base.
- Place a Key Block into the Connector, ensuring it is secured by the Connector and not directly to the Base.
- Repeat this process, alternating Connector and Key Block, moving leftward along the Base.
5. Attach the Left End Cap
- Once all Key Blocks and Connectors are in place, slide the Left End Cap onto the remaining end of the Base.
- Insert a final Connector from the top down to secure the Left End Cap.
Tips for Best Results
- Polarity: Double-check magnet polarity before final gluing to ensure proper attraction when closing the hook4.
- Fit: Magnets should be flush or just below the surface for a seamless finish.
- Strength: Neodymium magnets provide a strong, satisfying click when closing the hook, improving both connection and tactile feedback.
- Cleanliness: Remove any excess glue immediately for a neat finish.
Summary Table: Magnet Installation
| Step | Action | Notes/Best Practices |
|---|---|---|
| Select Magnets | Use neodymium, size to match holes | 3–4 mm diameter, 2 mm thick |
| Apply Glue | CA glue or epoxy in hole | Small amount, avoid excess |
| Insert Magnets | Press flush, check polarity | Use scrap wood/dowel, test fit first |
| Clean Up | Wipe away excess glue | Do immediately after insertion |
By adding magnets to the Wall Base and Key Blocks, you’ll achieve a more secure and satisfying connection when closing the hook, enhancing both functionality and feel.

License
You shall not share, sub-license, sell, rent, host, transfer, or distribute in any way the digital or 3D printed versions of this object, nor any other derivative work of this object in its digital or physical format (including - but not limited to - remixes of this object, and hosting on other digital platforms). The objects may not be used without permission in any way whatsoever in which you charge money, or collect fees.
Comment & Rating (2)