Mini GameBoy Keychain – Swappable Photo Cartridge


Print Profile(2)


Bill of Materials

Description
Membership
Commercial Membership / Tip Me
Boost Me (for free)
Did you like this Model ? Boost me now.
🛑 Commercial Use Notice:
If you wish to sell prints of this model (or any of my other designs), please make sure to purchase the commercial license by clicking on the license option above. Unauthorized commercial use is strictly prohibited, and action may be taken against anyone found selling my work without a proper license.
Support creators—don’t steal designs. 💙
Thank you!
-----------------------------------------------------------------------------------------------
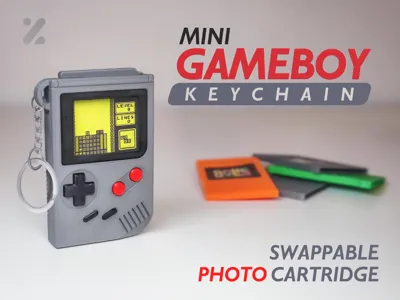
Mini GameBoy Keychain – Swappable Photo Cartridge
Take a piece of retro gaming everywhere you go with this miniature GameBoy keychain—a perfect blend of nostalgia and clever design.
A tiny retro collectible for your pocket, desk, or as a thoughtful gift for gaming fans.
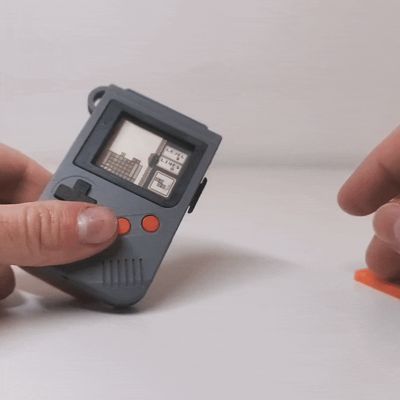
- Working slide mechanism to pull out and swap cartridges.
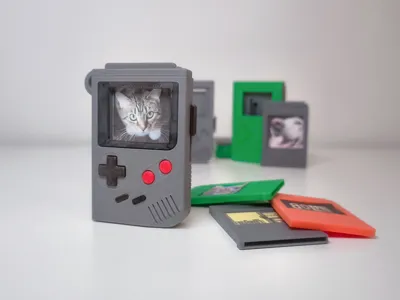
- Cartridges double as tiny frames for photos or your favorite game art.
- Includes pressable buttons for that satisfying tactile feel.
- Compact and light—ideal for your keys, backpack, or display shelf.
Tips for Customization
- You can paint or print the buttons and cartridge in a different color to match your favorite GameBoy style.
- Print multiple cartridges with different photos to swap out anytime.
⚠️Before You Print – Important!⚠️
- Please read carefully and take your time—this is a precision miniature model with very small parts.
- Clean your build plate thoroughly. Wash it. Wipe it down. Make sure adhesion is flawless.
- Preferably use a smooth build plate to achieve the best surface finish.
- Check the Ironing box to the front cover if you want an extra smooth finish.
- Picture Dimensions: 24x30mm)


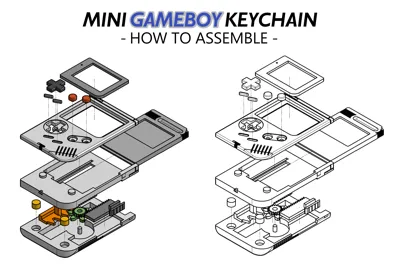
Assembly Steps
Step 1: Assemble the Gear Mechanism
- Take the back cover and place the gear in its slot.
- Insert the inside rack (used as a lever). Make sure it fits with the gear and pull the rack all the way down.
- Place the gear/slider for the cartridge—this one must be all the way up, but keep the inside rack fully down.


Step 2: Glue the Back Components
- Locate the two holes at the bottom of the back cover. Apply 2 very small drops of super glue—do NOT overdo it.
- Insert the two small parts that fit there. They’re not size-critical, so don’t worry if they seem loose—they’ll be secured later.
- Apply 2 more small drops of glue on the top of these pieces. Check reference images (if provided) for exact glue points.
Obs: You want your model to be sturdy, but use tiny drops—excess glue may flow into moving parts.


Step 3: Assemble the Middle Part
- Place the middle piece of the model. Align the rack/slider and inside rack—both have small protrusions (saliencies) that fit perfectly.
- Carefully press the parts together while aligning everything.
- Hold firmly for a few seconds until the glue sets.


Step 4: Attach the Front Cover
- Apply small drops of glue at key points (see image for guidance).
- Close the front cover—this part may require a bit of force to lock into place.
- Important: DO NOT use too much glue here, or it may seep into the mechanism.


Step 5: Attach Buttons and Screen
- For the buttons, apply a tiny dab of glue to each (it’s easier to dip the button in glue rather than dropping glue directly).
- Place each button into its respective hole.
- Glue the screen interface using a few small drops of glue.


Step 6: Add Your Photos
- Glue your favorite photos of games, animals, or loved ones onto the cartridges. Swap them out whenever you like for a fresh new look.

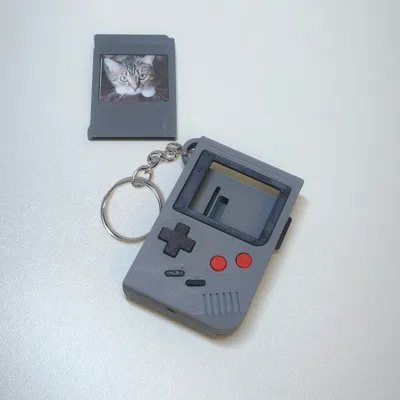
Important Note – Inserting Cartridges!!
To insert a cartridge, slide one side in first, then gently press the other side into place. The more you do this, the easier it will get as the plastic flexes slightly. This design keeps the cartridge secure so it won’t fall out.
!!!!!! This is a fan-made creation inspired by GameBoy. Not affiliated with or endorsed by Nintendo. !!!!!!
Check out my other Miniatures:


Boost Me (for free)
Did you like this Model ? Boost me now.
Membership
Commercial Membership / Tip Me
☕ Enjoy my work? Consider offering me a coffee:
https://buymeacoffee.com/zenitstudio
💼 Join my Patreon:
https://patreon.com/ZenitStudio
📸 Follow my work and new designs on Instagram:
https://www.instagram.com/zenit_studio_oficial/
License
You shall not share, sub-license, sell, rent, host, transfer, or distribute in any way the digital or 3D printed versions of this object, nor any other derivative work of this object in its digital or physical format (including - but not limited to - remixes of this object, and hosting on other digital platforms). The objects may not be used without permission in any way whatsoever in which you charge money, or collect fees.
Comment & Rating (86)