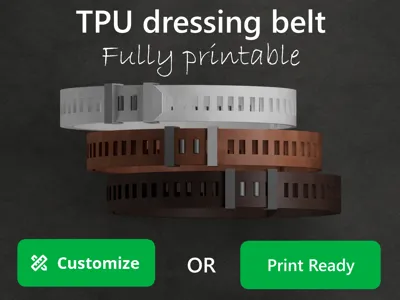
TPU flex dressing belt (Parametric, 100%printable)


Print Profile(2)


Description
Boost Me (for free)
If you want to support this and future design consider donating 100grams of filaments in the form of a boost token.
Thanks for taking a look at this model
TPU flex dressing belt (Parametric, 100%printable)
Description:
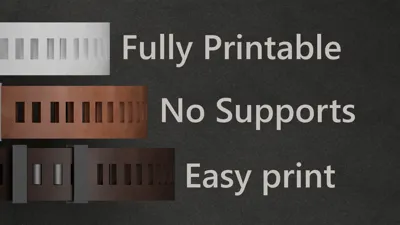
This model is a highly customizable script I created to create dressings belts at the same time it has a print profile ready to print for easy access and use.
Printing time: 6-10hours depending the length (slow mode)
Used filament: 90-150g
Price: $3-$6(Based on Bambu TPU)
New add-ons available now here!!!


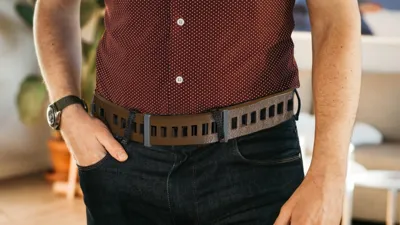
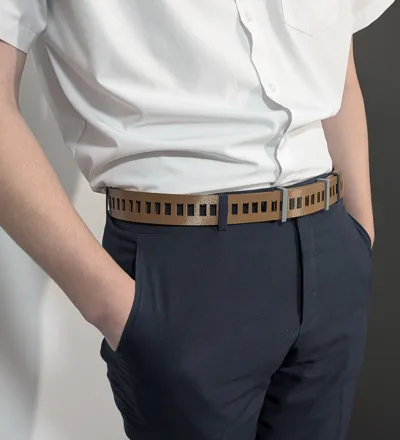
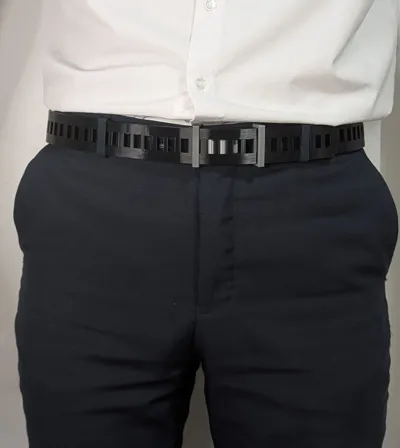
Naming of the parts:
To begin, the way I name the different parts in this model are as show in this next image.
-image-
(Belt=Long piece of TPU that has holes, Buckle= Two little pieces in PLA that go together, Straps=TPU hollow rectangles)
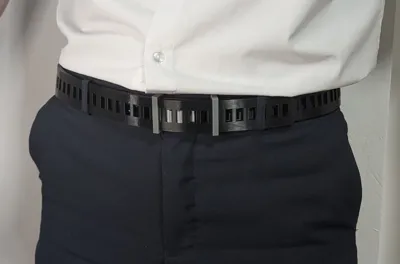
Instructions how to put together:

Set up:
1,2) Place the first strap in from the square part of the belt in the hole number 7 .
3) Place buckle piece from the front of the belt, in holes 5 and 6, with the end that has square pocket going though the holes of the belt.
4,5) Place the cap for the buckle from the back connecting the two pieces together. If desired apply glue, I have gotten good results without glue.
6) Place the second strap in the first hole.
Locking and unlocking
7,8,9) Grab the beveled end of the belt and pass it though the two strap loops when you reach the desired pressure, clip the buckle to the closest holes in the belt and push back the column in between the buckle.
10,11,12) For unlocking, split the belt unlocking the buckle and then pull the belt pointed end trough the two loops.

Printing instructions
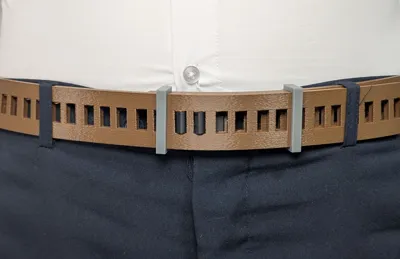
The print profile has all the average lengths of dressing belts on the different plates ready to print. On the print profile the belts have fussy skin to replicate a leather look by default its set to point distance 0.8 and fuzzy skin thickness 0.2 here is a picture were I compare the fuzzy skin.

OpenSCad instructions
In the openSCAD model there are endless variables that you can edit freely and the whole model will change respectively. Every variable is labeled for easy understanding. All the variables have been tested to be on the most optical value. The two most important variables are these:
Belt Length Cm: located in main settings and toolbar changes the length of the belt. To set the correct length for your waist you should add 10cm to your waist measurement.
Starting inner radius mm: located in belt geometry changes the inner radius meaning that you should lower this number if you have a smaller printer and you should increase this value if you have a bigger printer to make it so the belt it is not so curved.
Boost Me (for free)
Yes, this took a lot of effort thanks for your support

Thanks for looking at this model please make sure to check my other models out.
Marin products
License
You shall not share, sub-license, sell, rent, host, transfer, or distribute in any way the digital or 3D printed versions of this object, nor any other derivative work of this object in its digital or physical format (including - but not limited to - remixes of this object, and hosting on other digital platforms). The objects may not be used without permission in any way whatsoever in which you charge money, or collect fees.
Comment & Rating (11)