
3D Printable Jet Engine Kit (Propfan)- NoGlue
Print Profile(4)


Bill of Materials








Description
UPDATE 01.07.2026: I finished the motorized model, the kit can be found here Openrotor_motorkit.
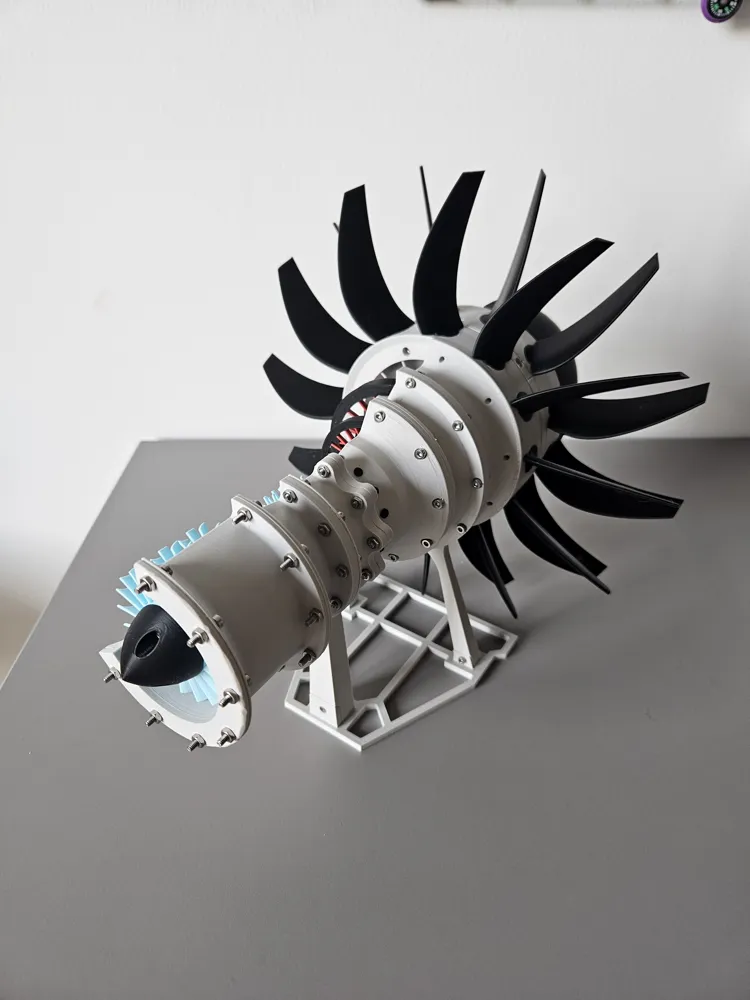
It's finally ready!
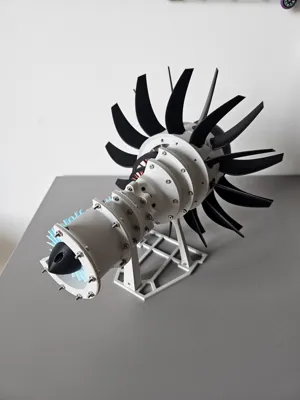
No glue required and easy printable.
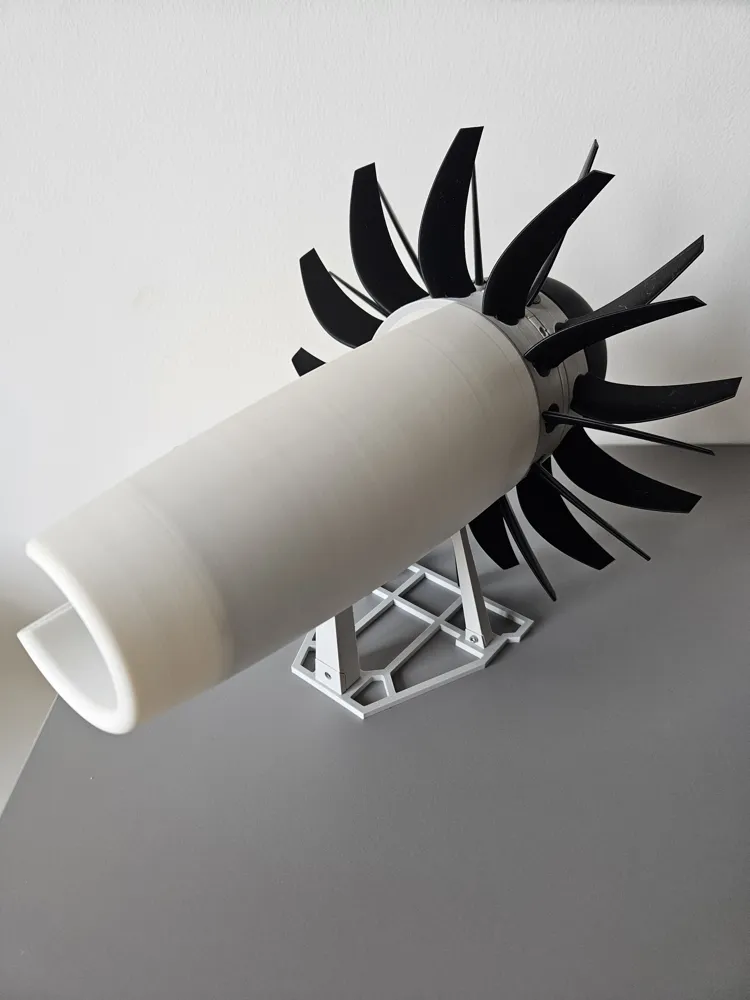
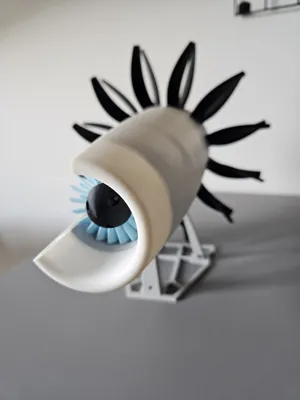
This eye-catching design is a must-have addition to your engine collection.
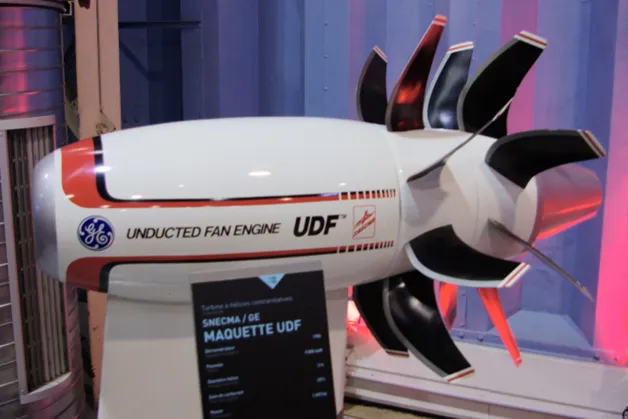
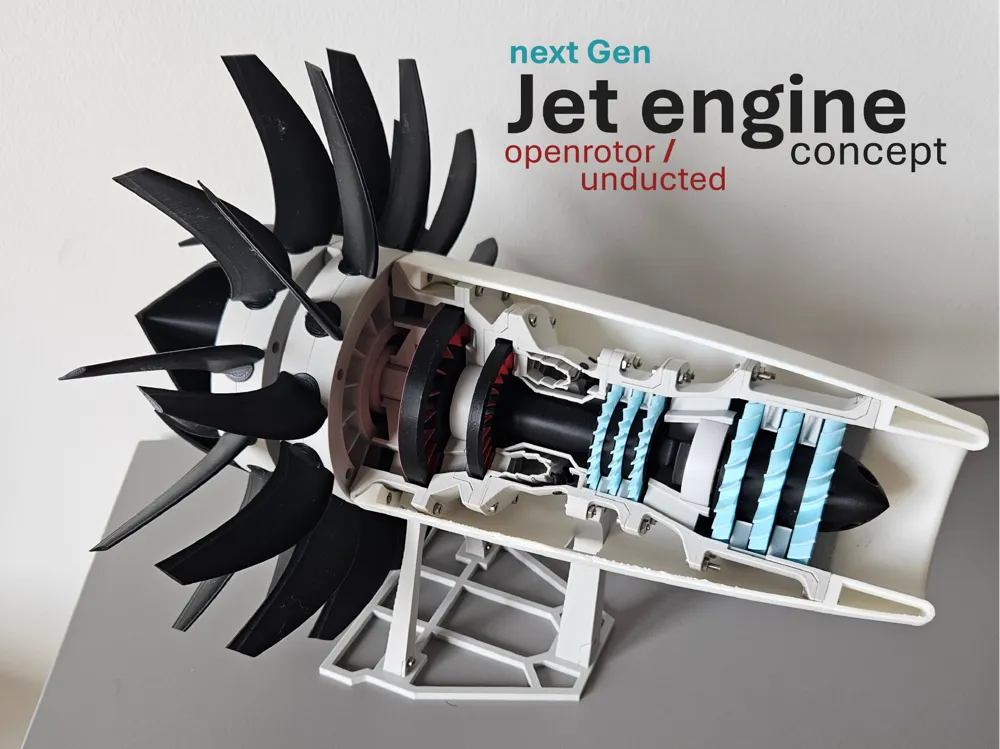
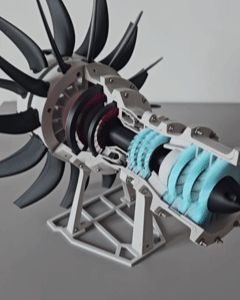
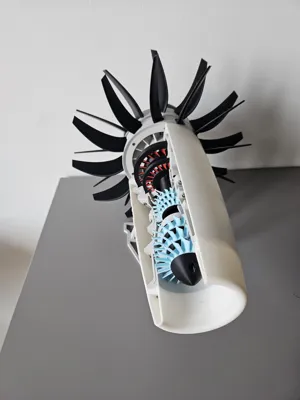
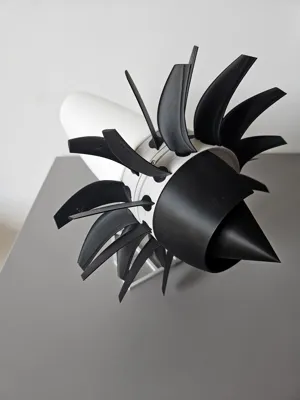
What we have here is a “lost” jet engine design the Propfan, that was intended as a fuel-saving alternative invented in the 1970s during the oil crisis. This eninge has the efficiency of a rotor engine with the power and speed of a jet engine, but is emitting much more noise than both of them. However, as the oil price soon became cheaper, the design did not receive enough funding to make it past in-flight testing, and other alternatives were pursued: high bypass ratio engine designs.
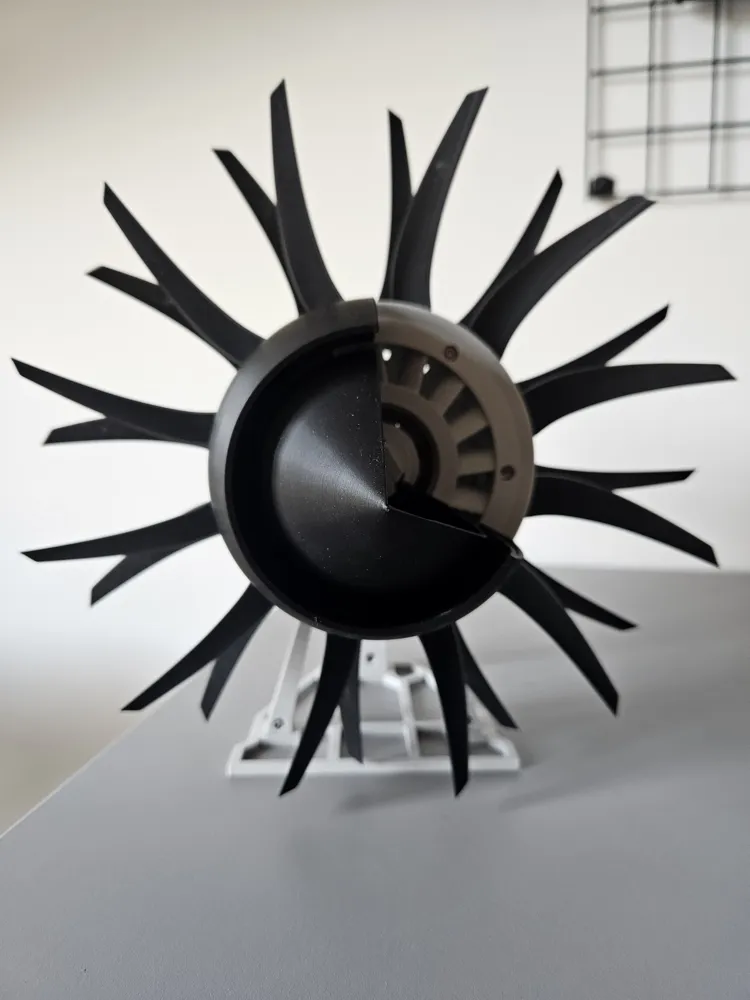
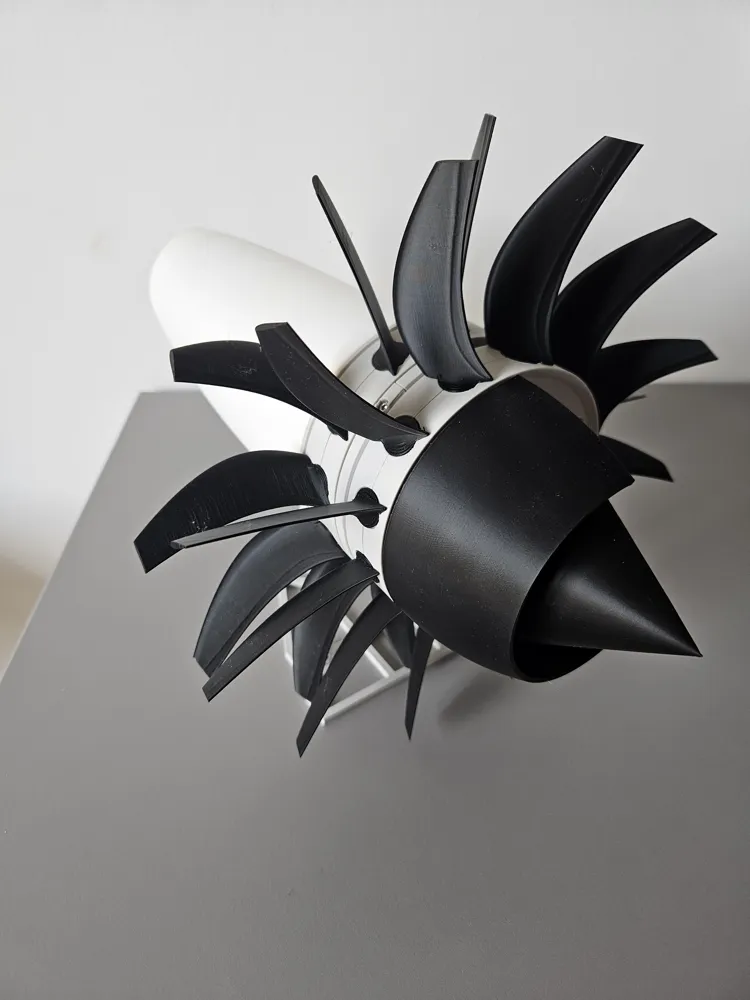
It was only at the beginning of the 21st century, with the Clean Sky 2 project, that a new prototype was presented to the public, featuring blades at the front and a second stationary set of pivoting blades to direct the airflow.
Technical model explanation


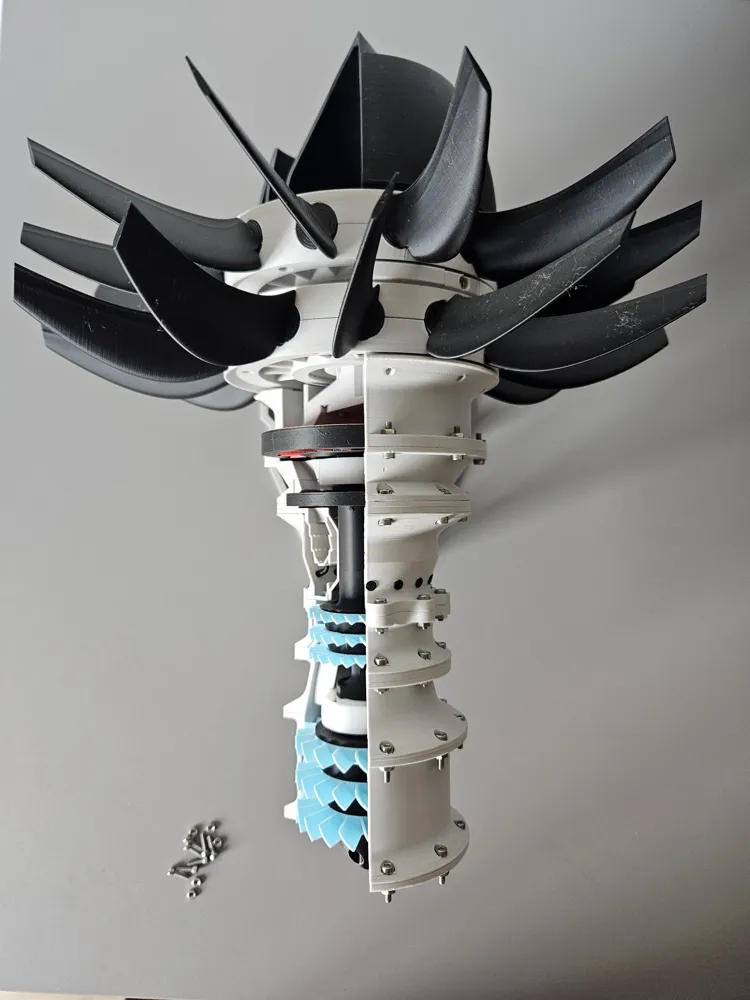
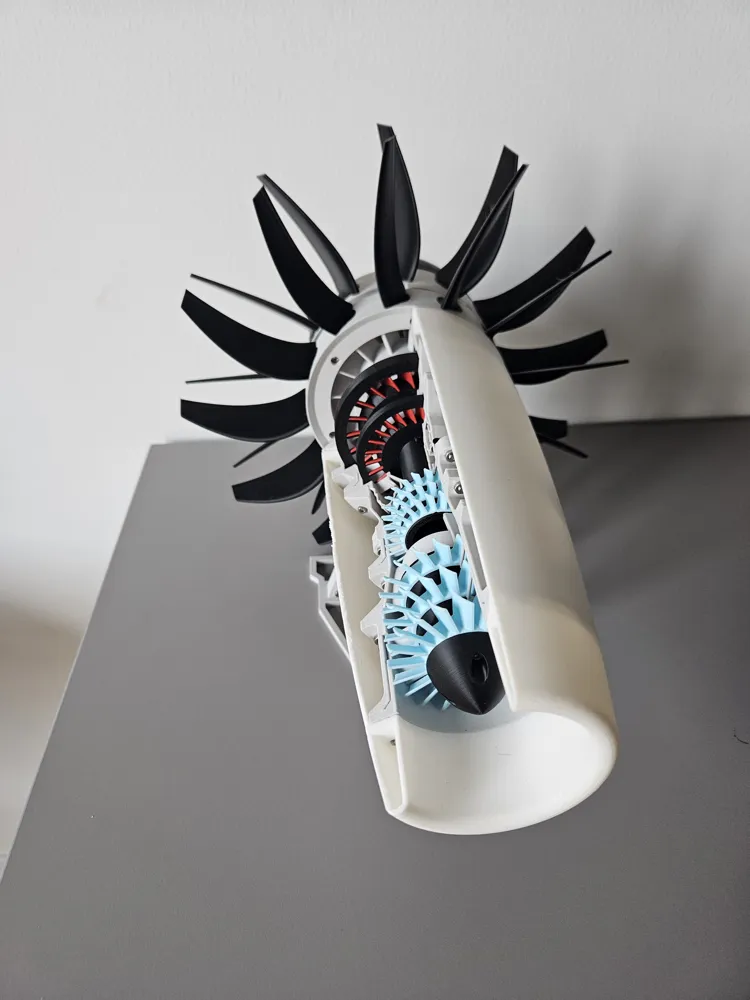
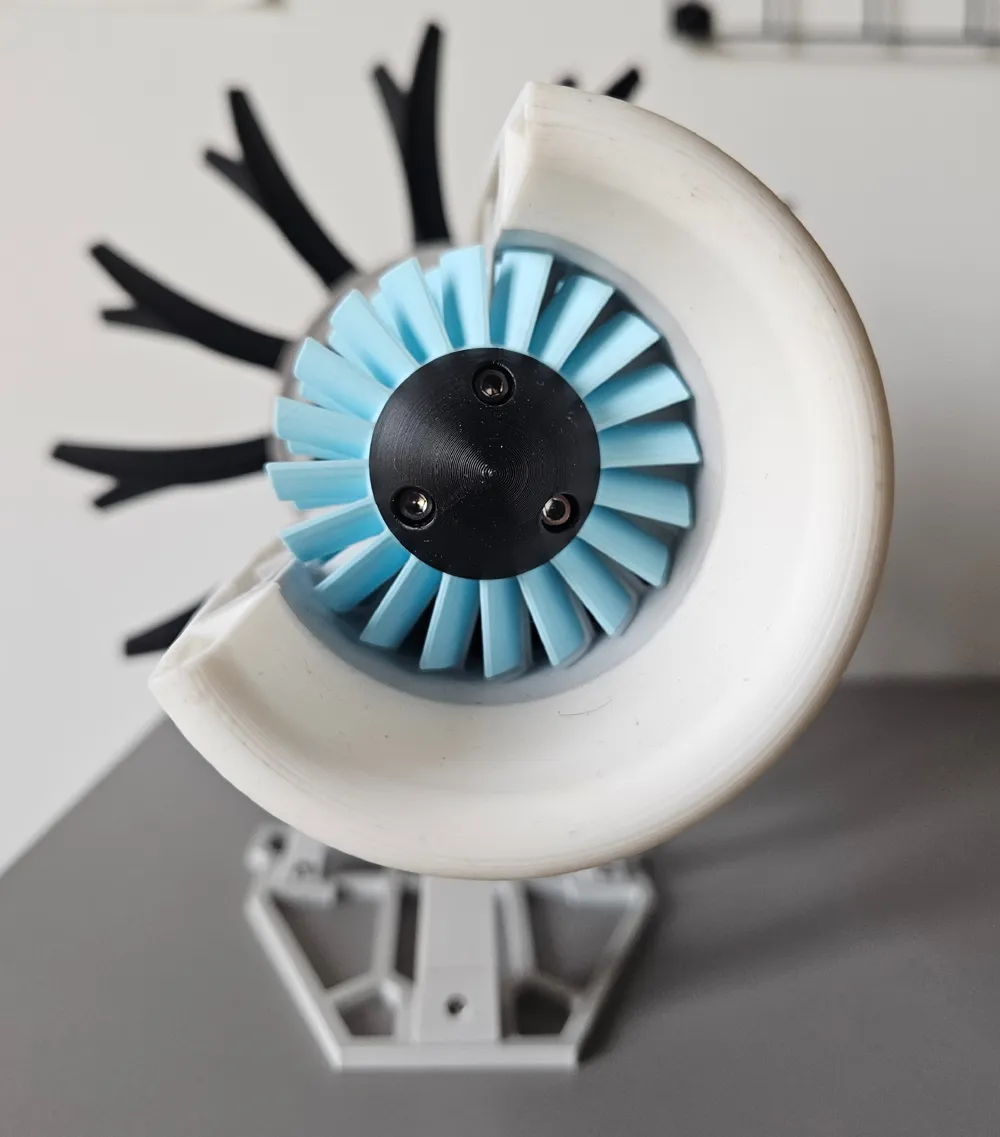
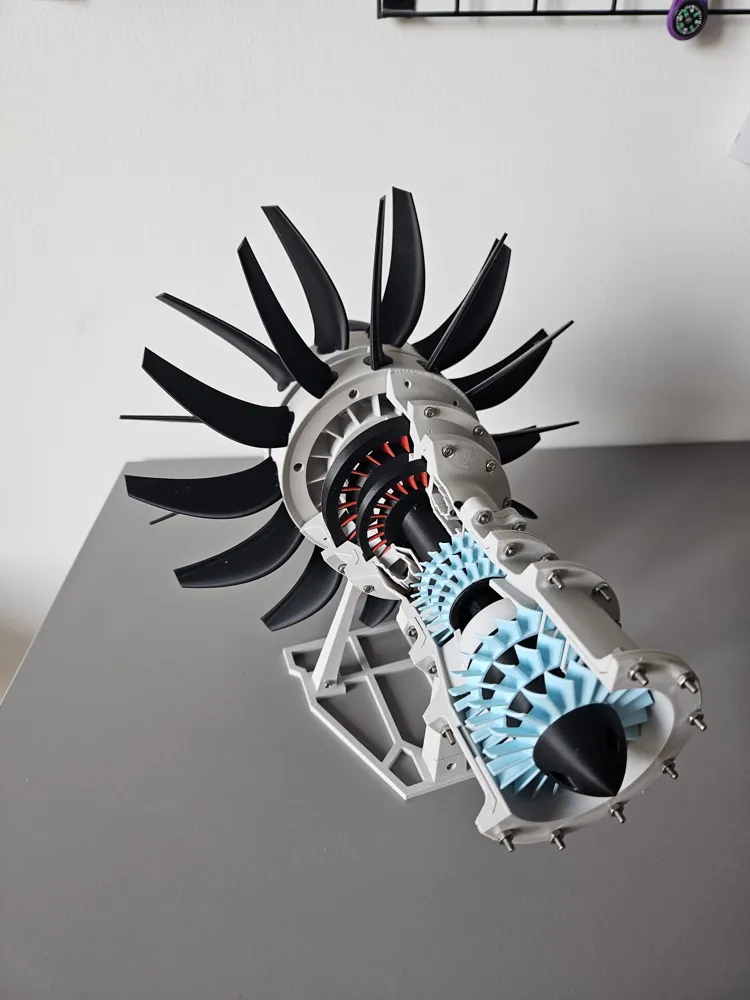
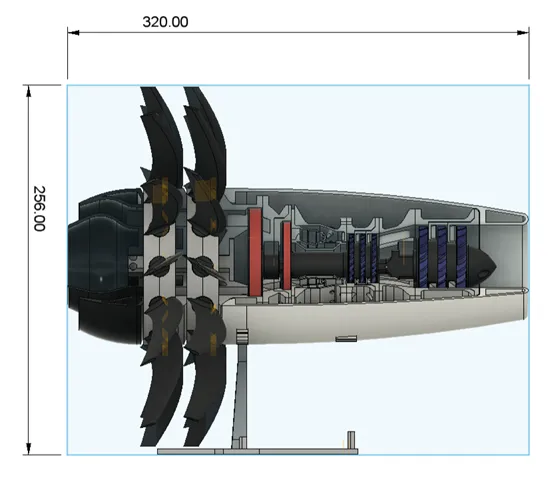
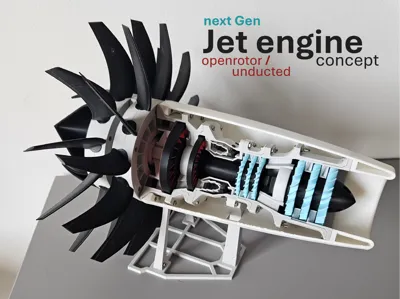
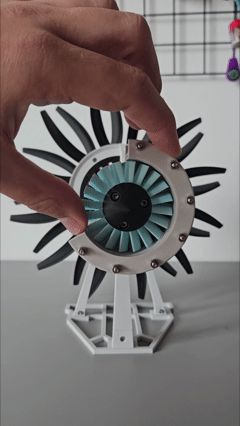
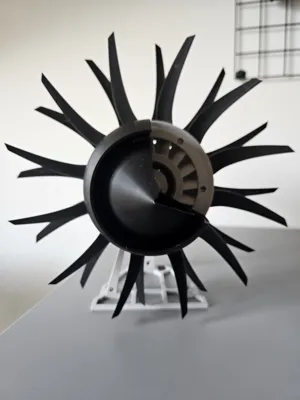
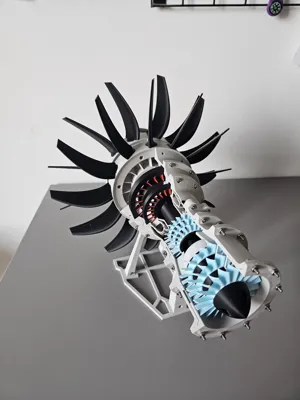
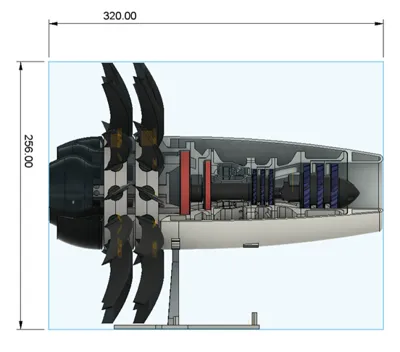
There are different ways to power the outside fans, which are responsible for the forward thrust. One option is to connect them to the jet engine core via a shaft and gearbox. Another option is to use the exhaust air to power the multi-row turbine blades directly. Due to the size of the model and to make it easier to print, the model uses only one turbine blade stage. The fan blades are counter-rotating.
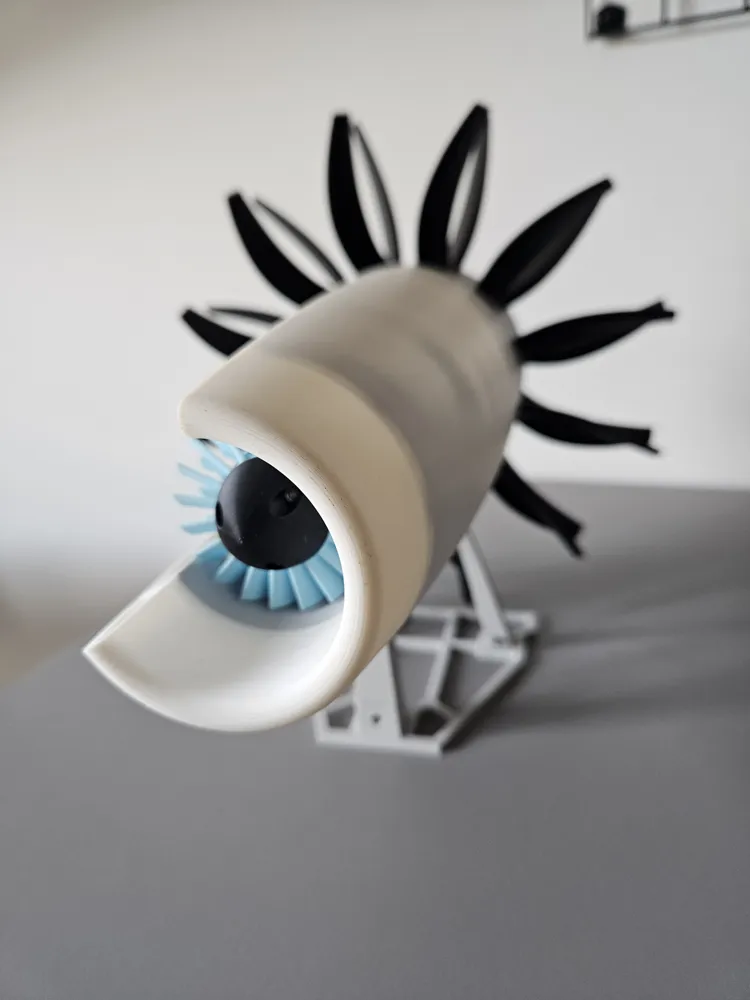
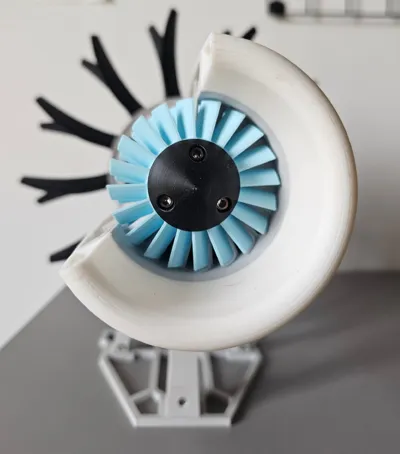
The core engine, which provides the power, is a two-stage jet engine. The low-pressure and high-pressure stages each have three rows of compressor blades and are powered by one row of turbine blades; in reality, there would be many more rows of compressors and turbines.
Printing tips
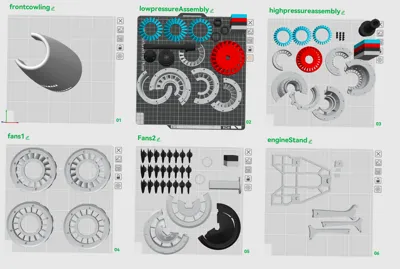
- Make sure your filaments are calibrated correctly. Dry your filament, and if you notice any artefacts, reduce your print speed.
- The provided print profiles are adjusted to my tests. I tested them with PLA and my P1S.
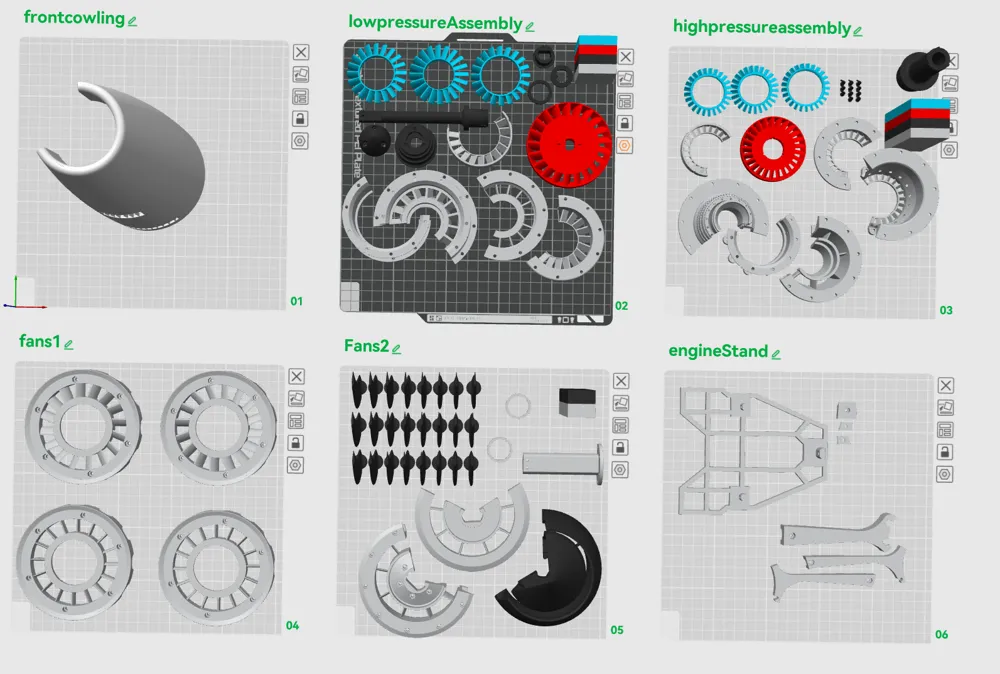
- In the first print profile, the parts are organised by function group.
- In the second, they are organised so that you can simply print plate by plate. (Brain off, hit print)
- You are on the save side if you use a layer height lower than 0.16 mm. I tested it with 0.16 and got great results. For the big engine cowling you can use variable layerheigt to save time. Keep in mind that the cutting of the print time comes at the price of more visuable layerlines.
- Engine cowling: you turn up the layer height, so it is faster, I printed it with 0,2 mm the importen thing is to not print the corners to fast and keep the layer starting end points (seams) away from the edges otherwise on gets ugly.
- If you use your own printsettings be aware of the seams as i moved them on each part into the center because i couldn't fix my edges otherwise.
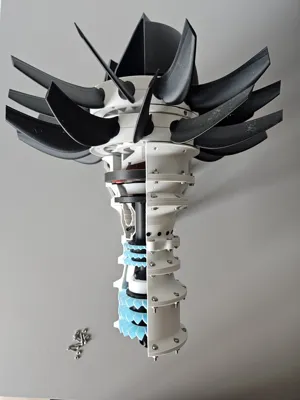
- A also added an assemble guide PDF. There is a specific order for some parts so all of them fit. If you want a challenge do it withou it. After Step 7 there are more ways to the final assembled jet engine.
- A1mini: the only thing your are not able to print is the big cowling.
Required parts
- 80x cylinder head screws M2,5x10 metric
- 80x Mutter M2,5
- 2x 6204 open ball bearing
- 2x 6003 open ball bearing
If you got other types of screws like M2, M3 I can add that, but it will take quite some time. the reason I chose M2,5 is that you can use the allen key of the maintenance set of your P1s and the 006 jet engine kit from bambulab uses these as well.
Creator notes:
It ended up being more of a sketch than an actual model, since my focus was on making it easy to print and ensuring that it didn't require glue to hold it together. The whole piece can be assembled and disassembled as often as you like. I really enjoy puzzling it together, even after the eighth time!
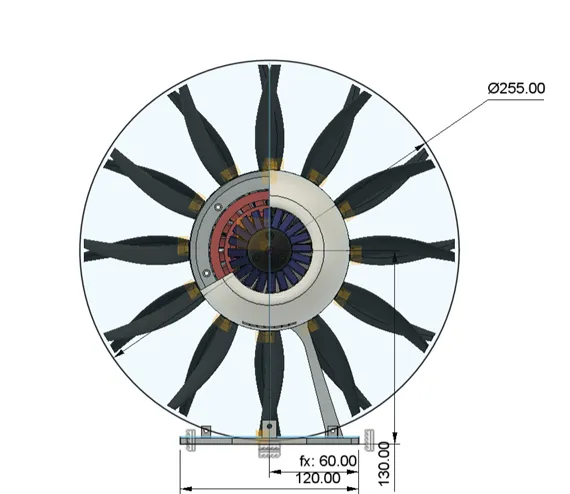
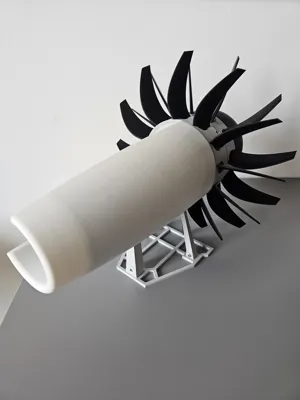
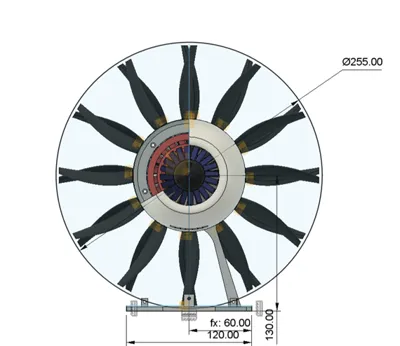
I added pictures with the outside measurements in mm. 320 (12,6") in length, and 256mm (10.1") in heigt and depth
I hope you do too.
Enjoy.
Documentation (2)
License



Comment & Rating (22)