
Sweet Lands Deluxe Organizer KOR / Sweet Land Deluxe Organizer
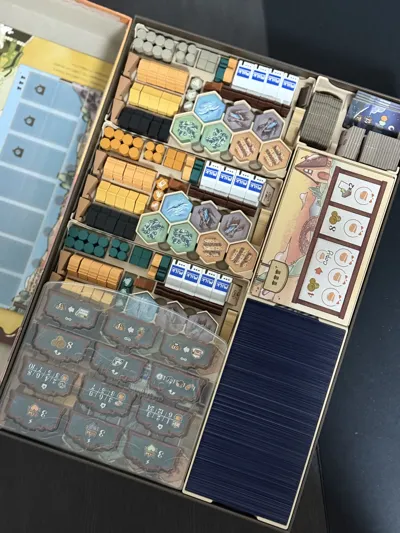
Print Profile(6)


Description
Boost Me (for free)
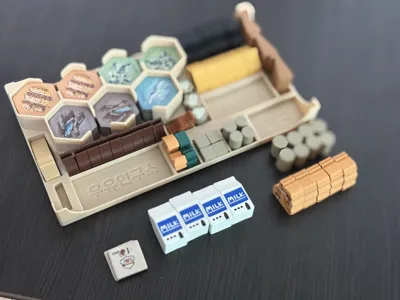
This is an organizer for Sweet Land Deluxe Korean Edition (includes upgrade pack in one box)
— Guide for users with printers other than Bambu Lab printers
This is the quantity needed for printing. Please refer to this if you download STL files directly and print them with a third-party printer
This is based on objects, not plates. If you download the compressed file, for printing convenience, parts filled by duplicating at the plate level are additionally duplicated as separate files, increasing the number of components. Therefore, please check the file names and print only the required quantity according to the criteria below
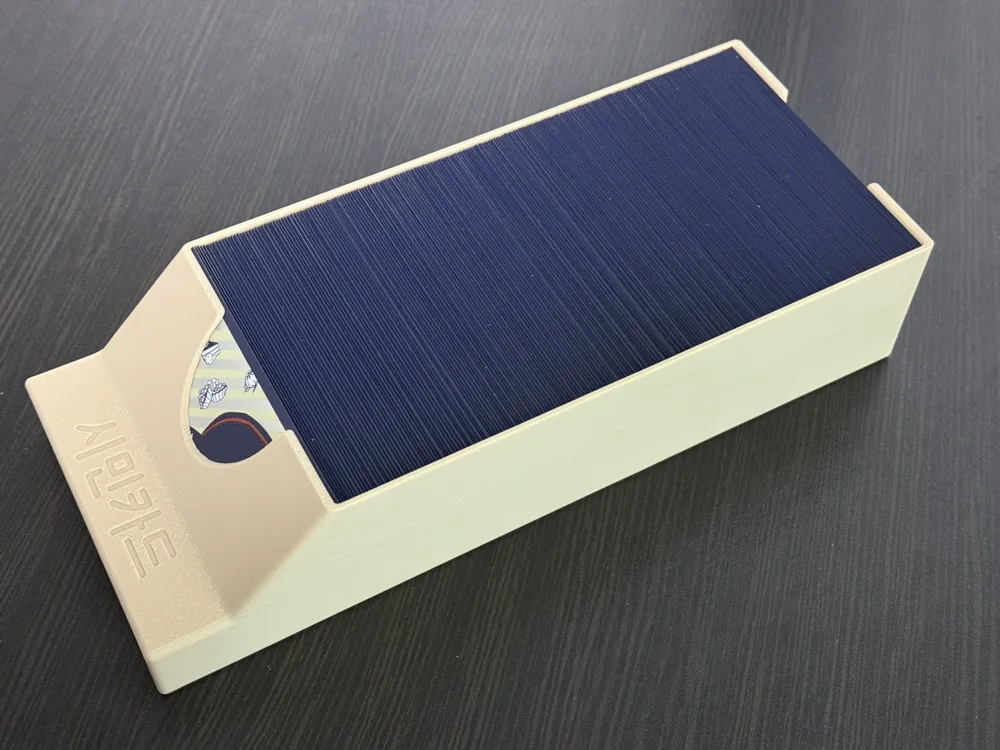
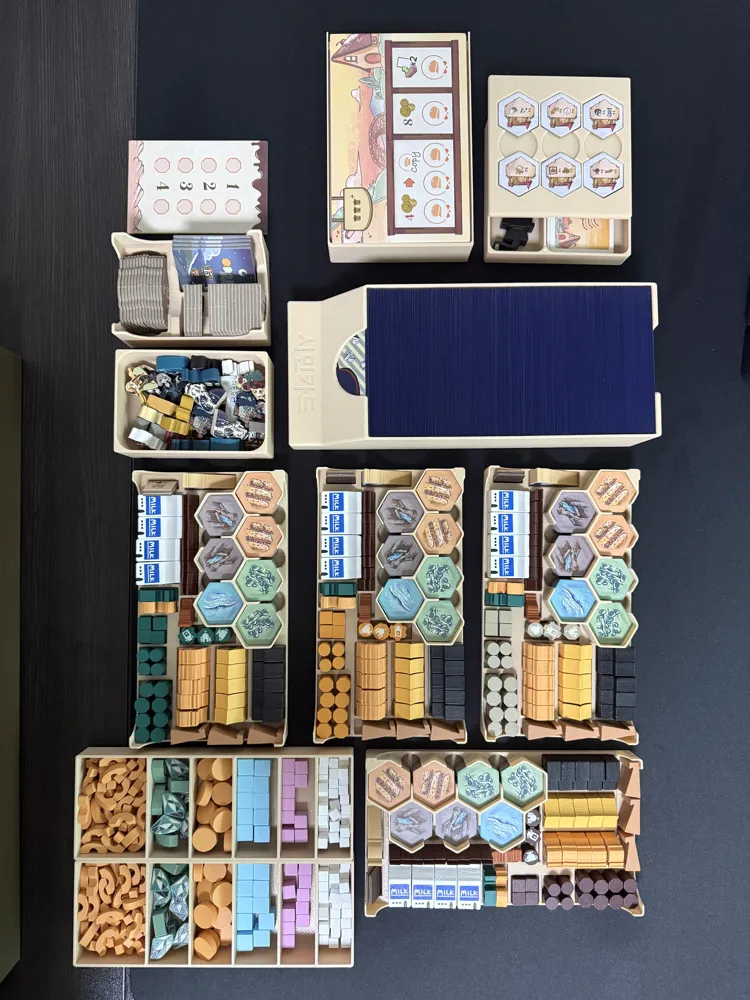
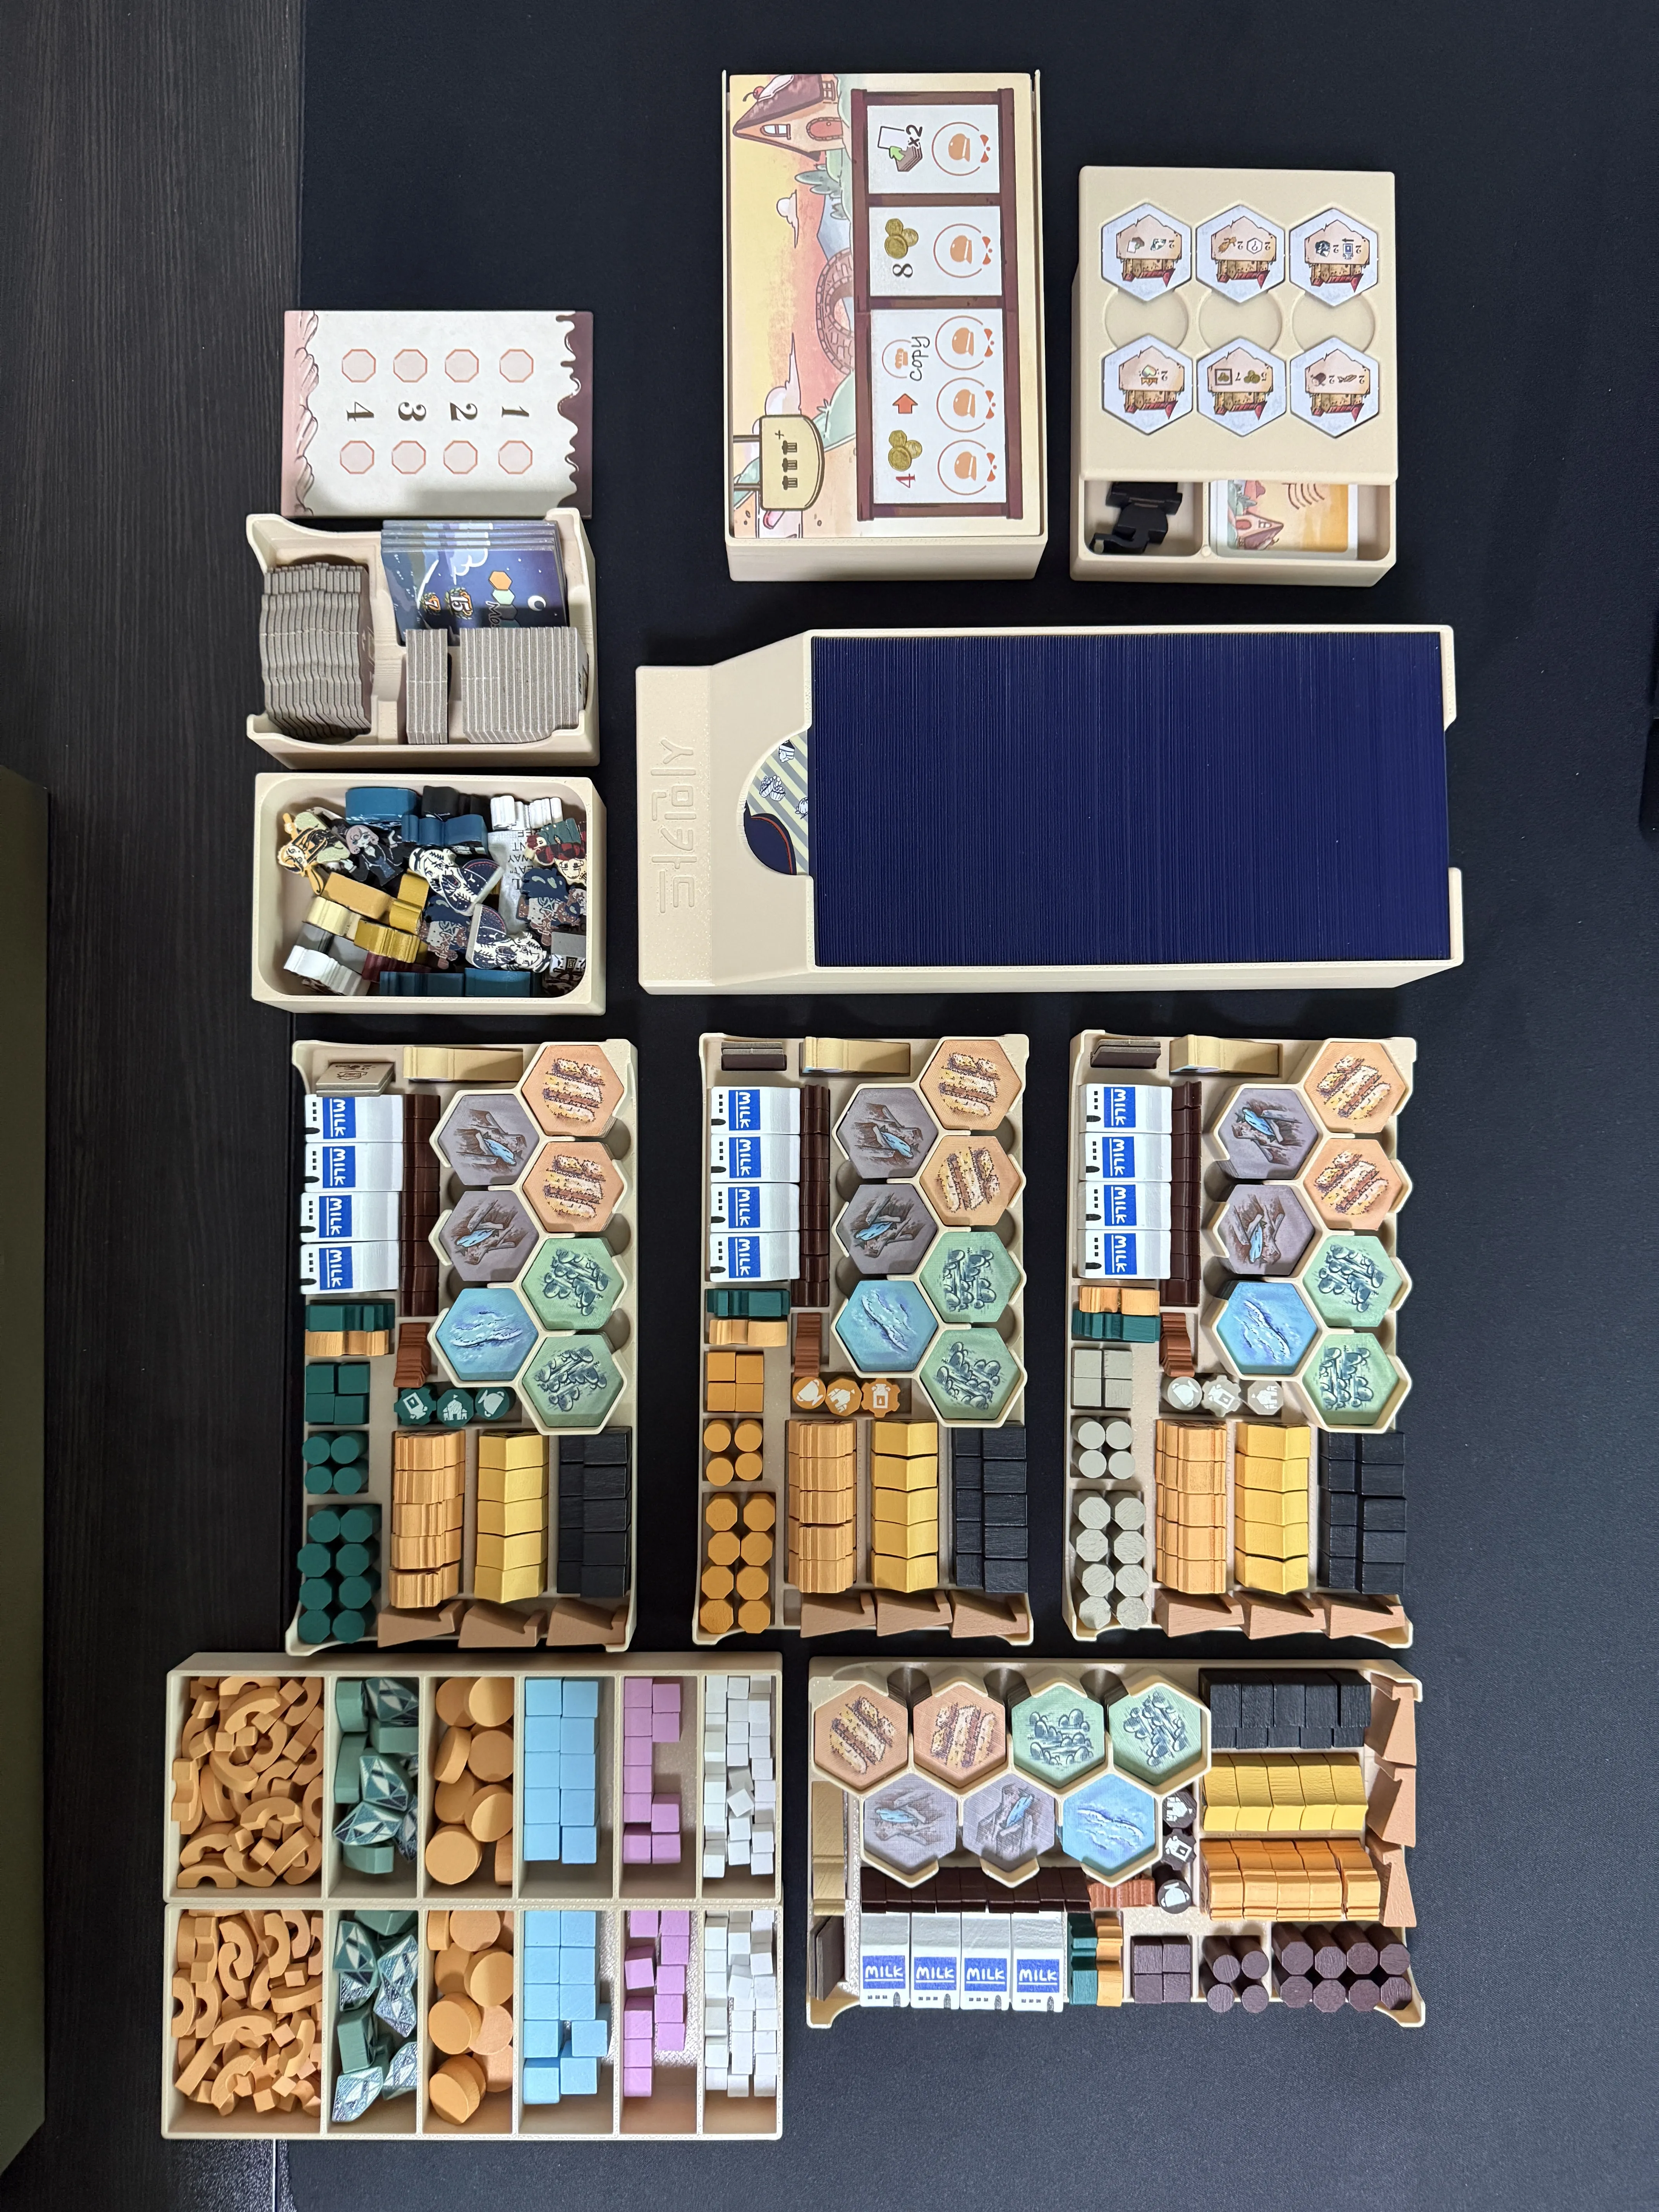
obj_1_Citizen Card Tray x 1ea
obj_2_Player Tray A x 4ea
obj_3_Character Meeple Tray x 1ea
-----------obj_4_ Ignore
obj_5_Tiles A x 1ea
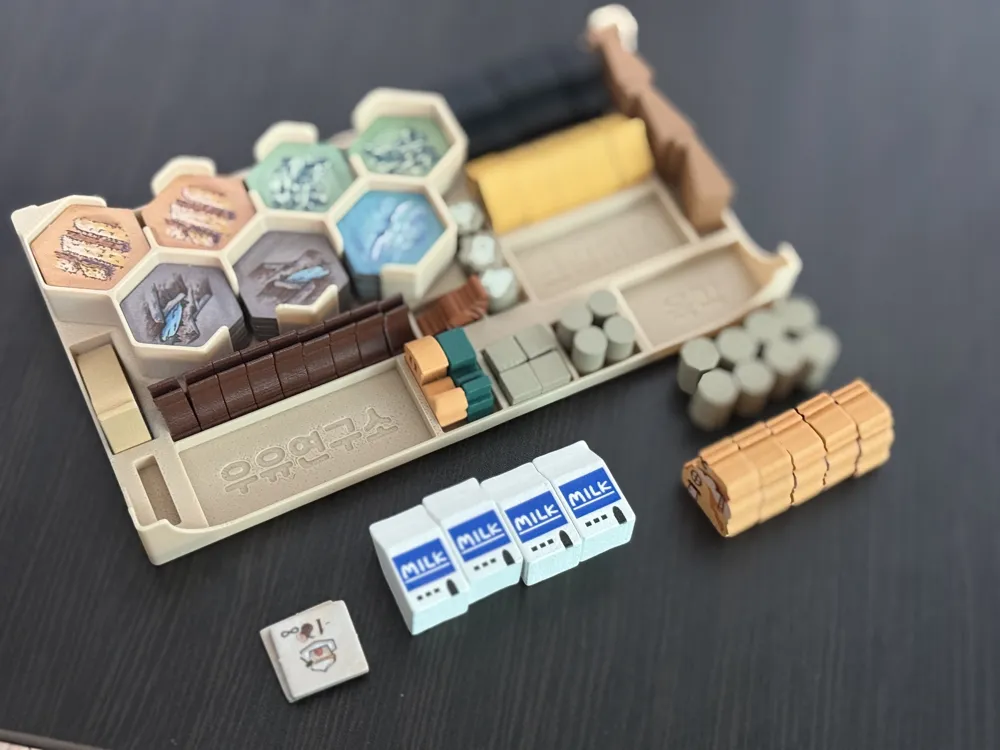
obj_6_Resource Token Tray A x 2ea
-----------obj_7_ Ignore
obj_8_Small Panel & Tiles B x 1ea
obj_9_Main Body_Solo Cards and Start Marker x 1ea
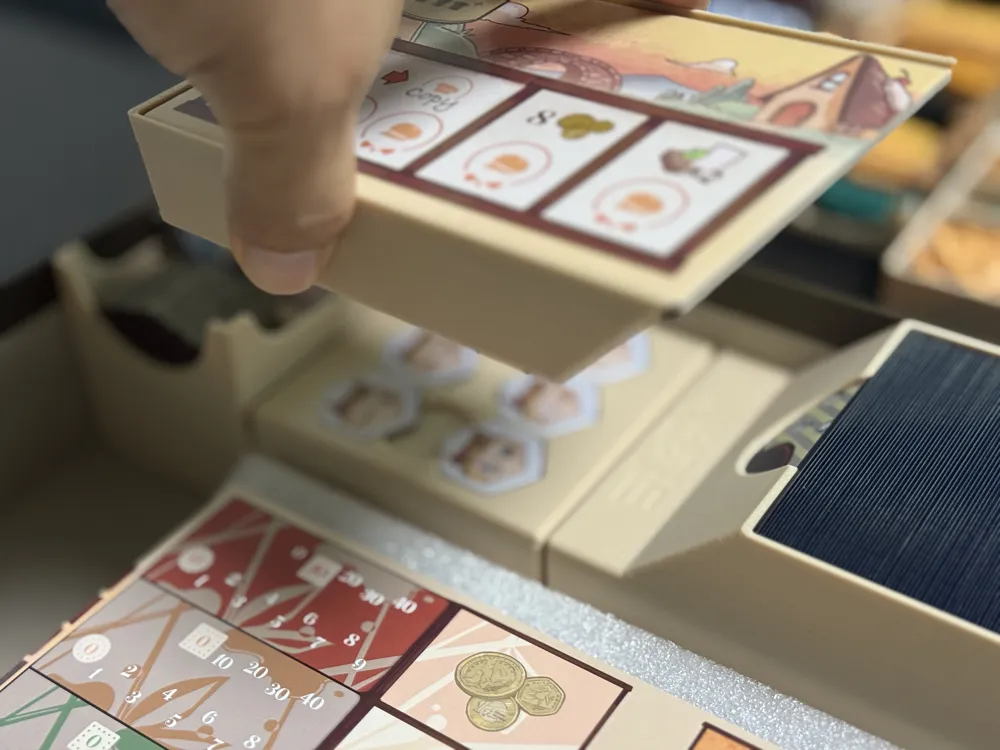
obj_10_Lid_Special Terrain Tiles x 1ea
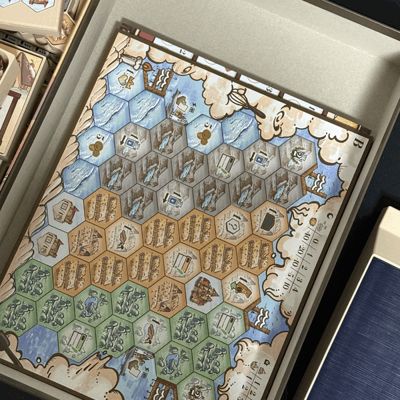
- I designed it without accounting for the rulebook thickness, so the lid floats exactly by that thickness. I've come too far to revise it, so I'm giving up on modifications ㅜㅜ
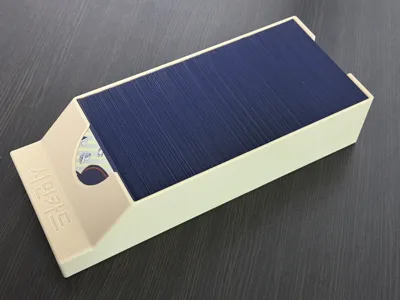
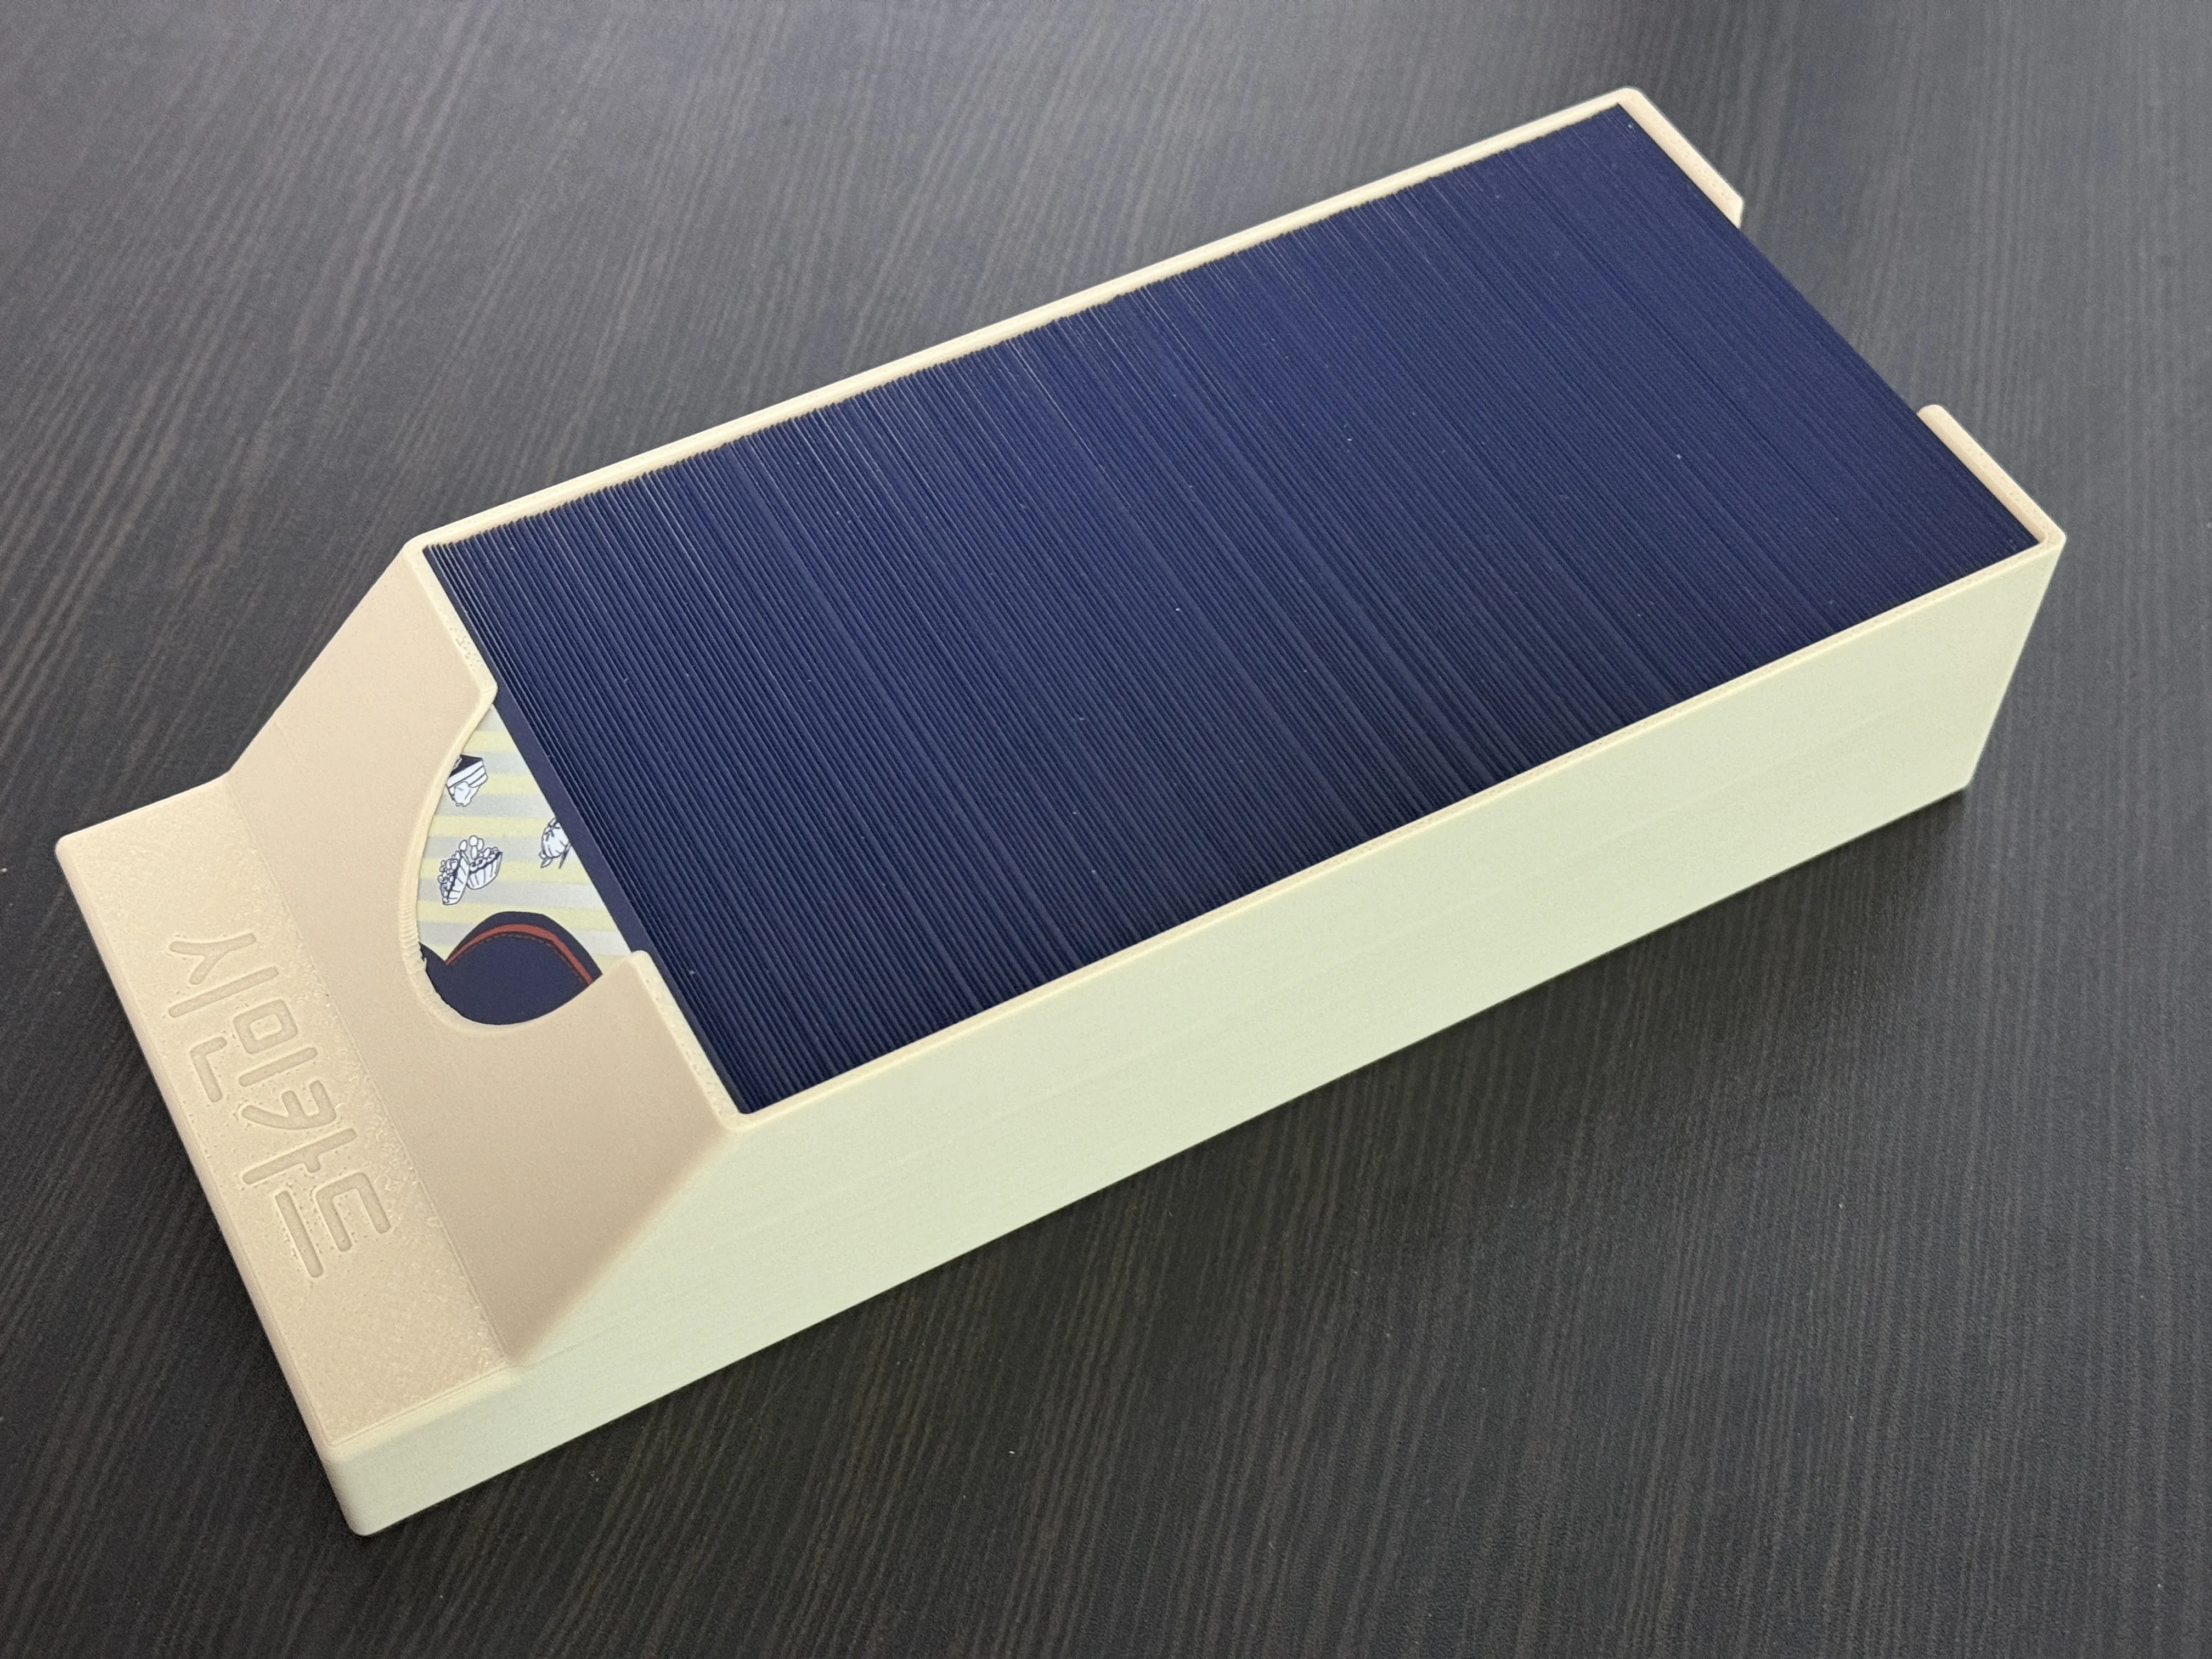
- The citizen cards can use sleeves from the upgrade pack and are all stored in one tray, so they can be taken out and used as is
- There are individual player trays that separate necessary tiles and components for each player
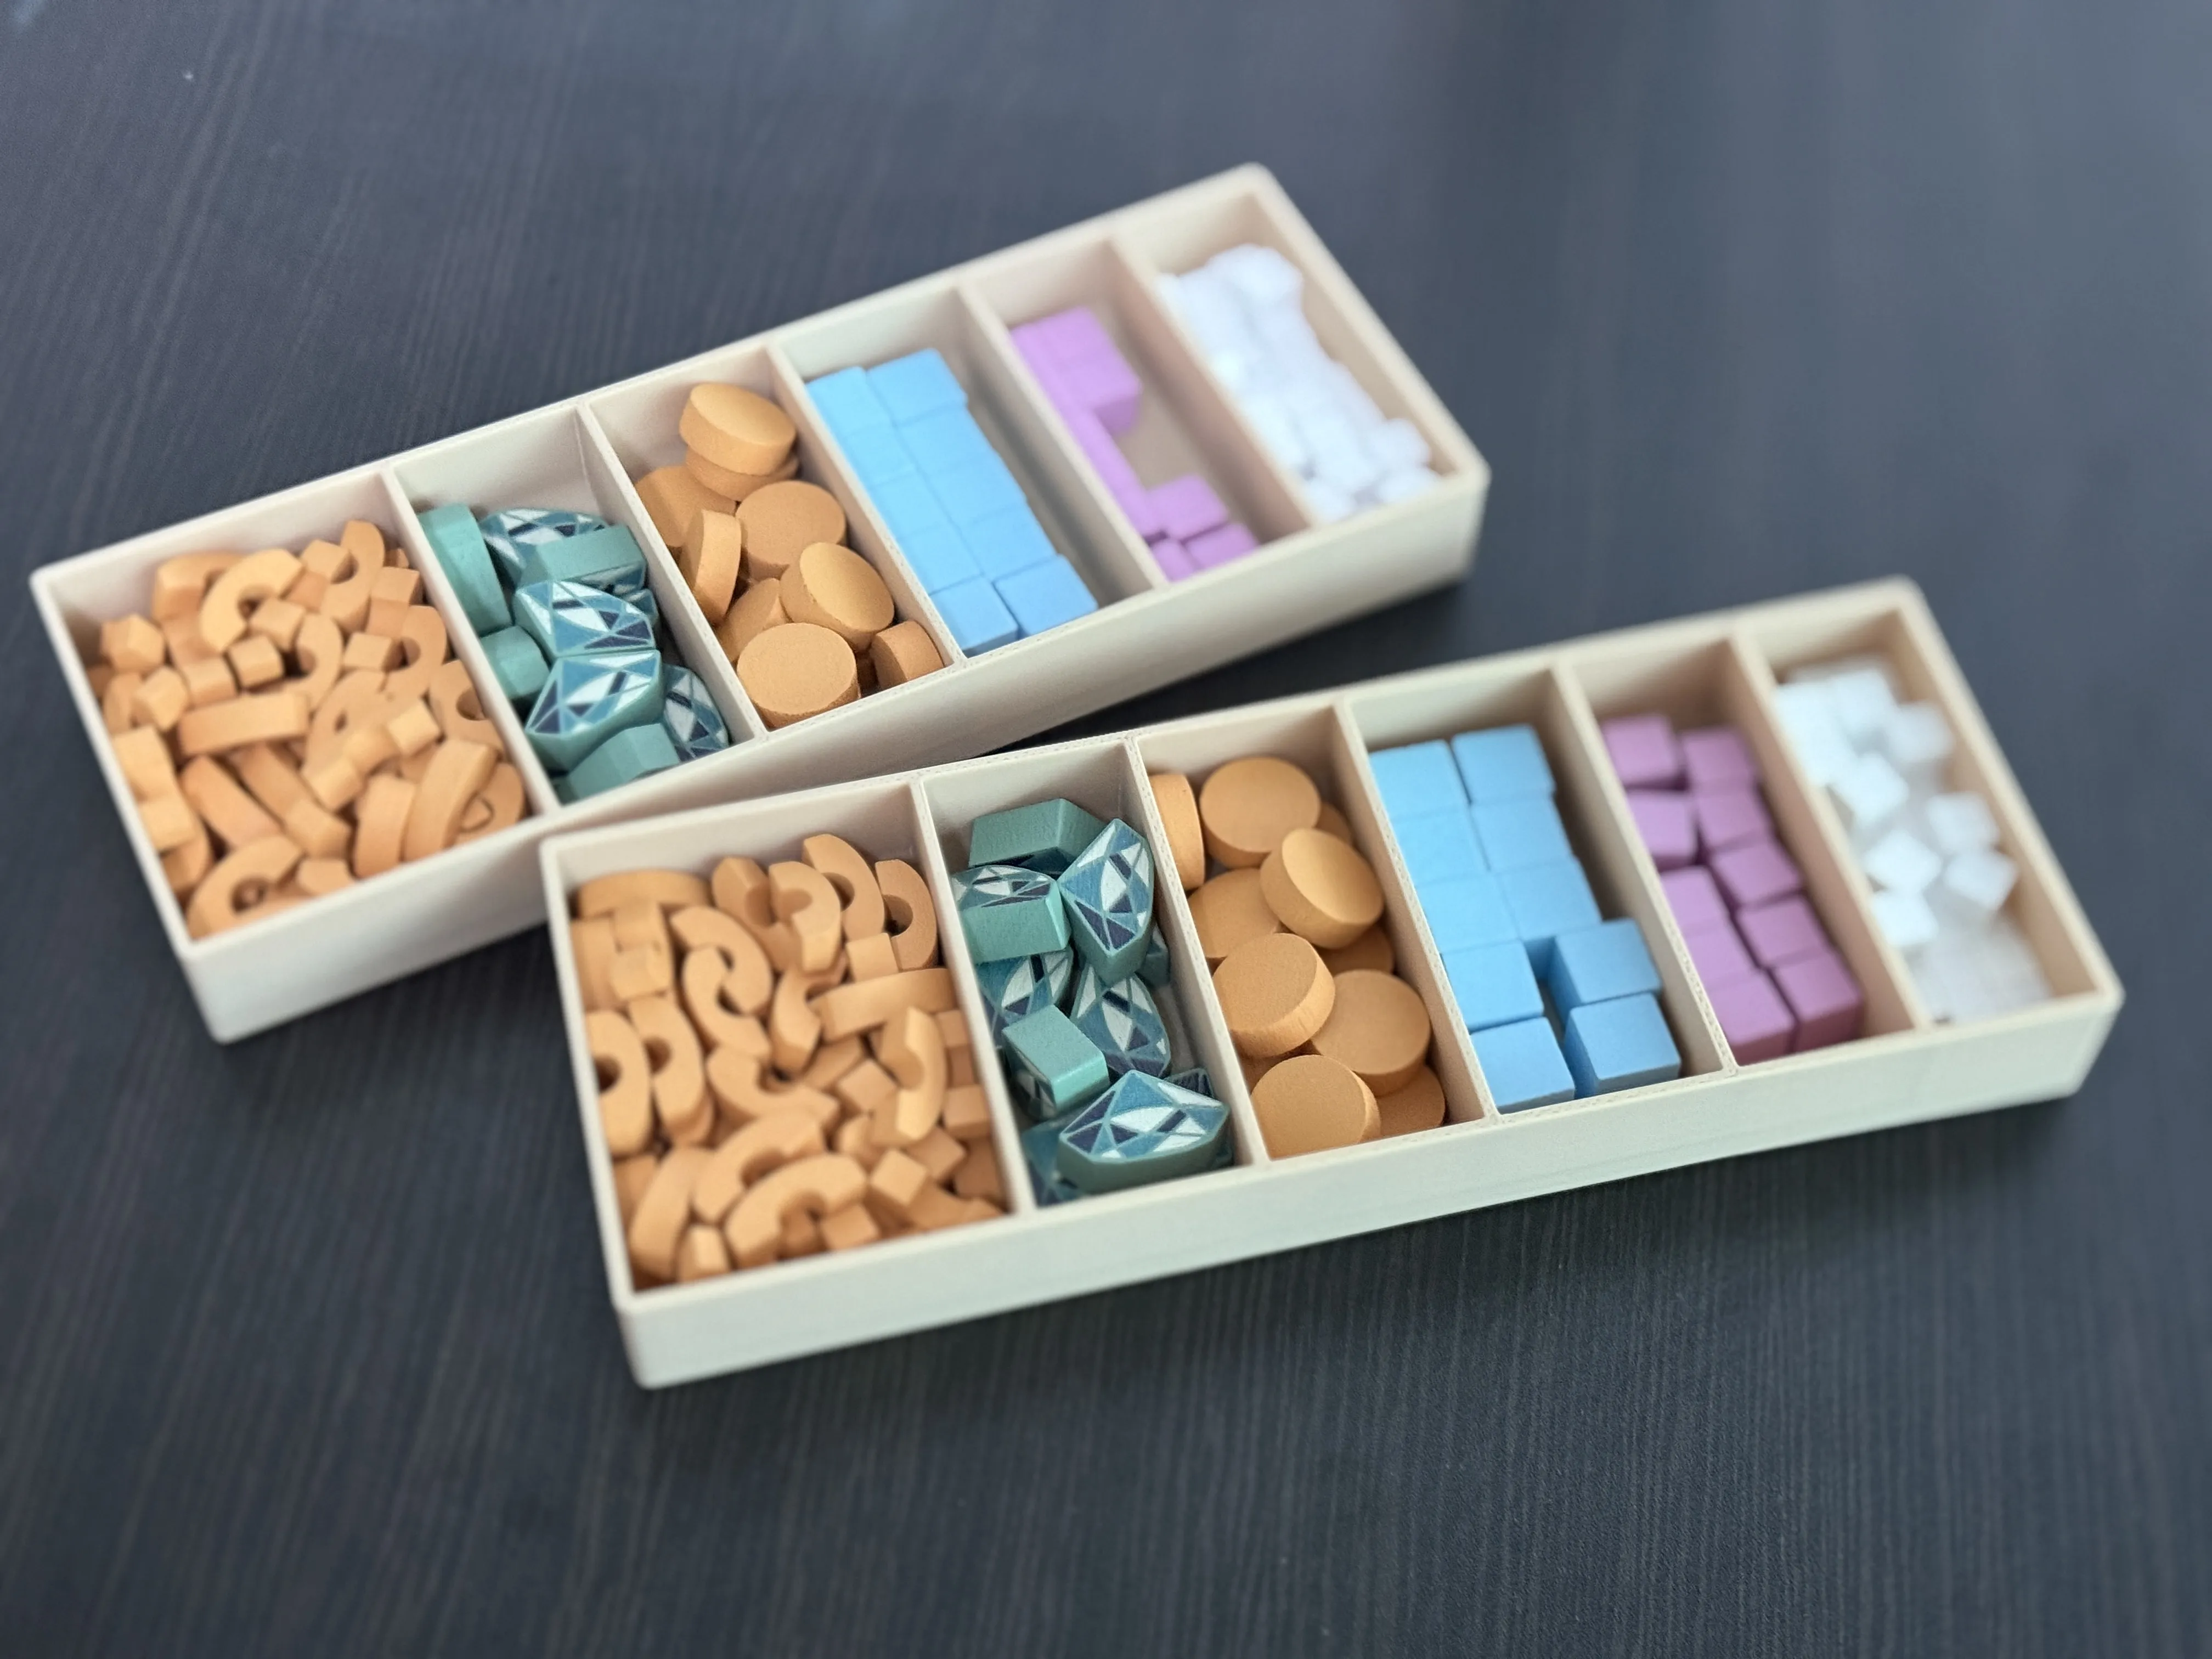
- The resource tray is divided into two. Place them across the table for convenient use
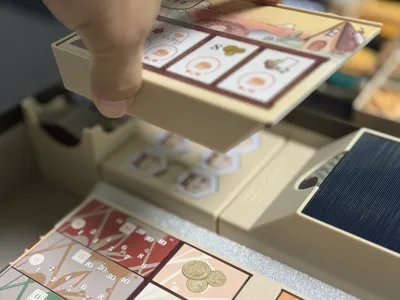
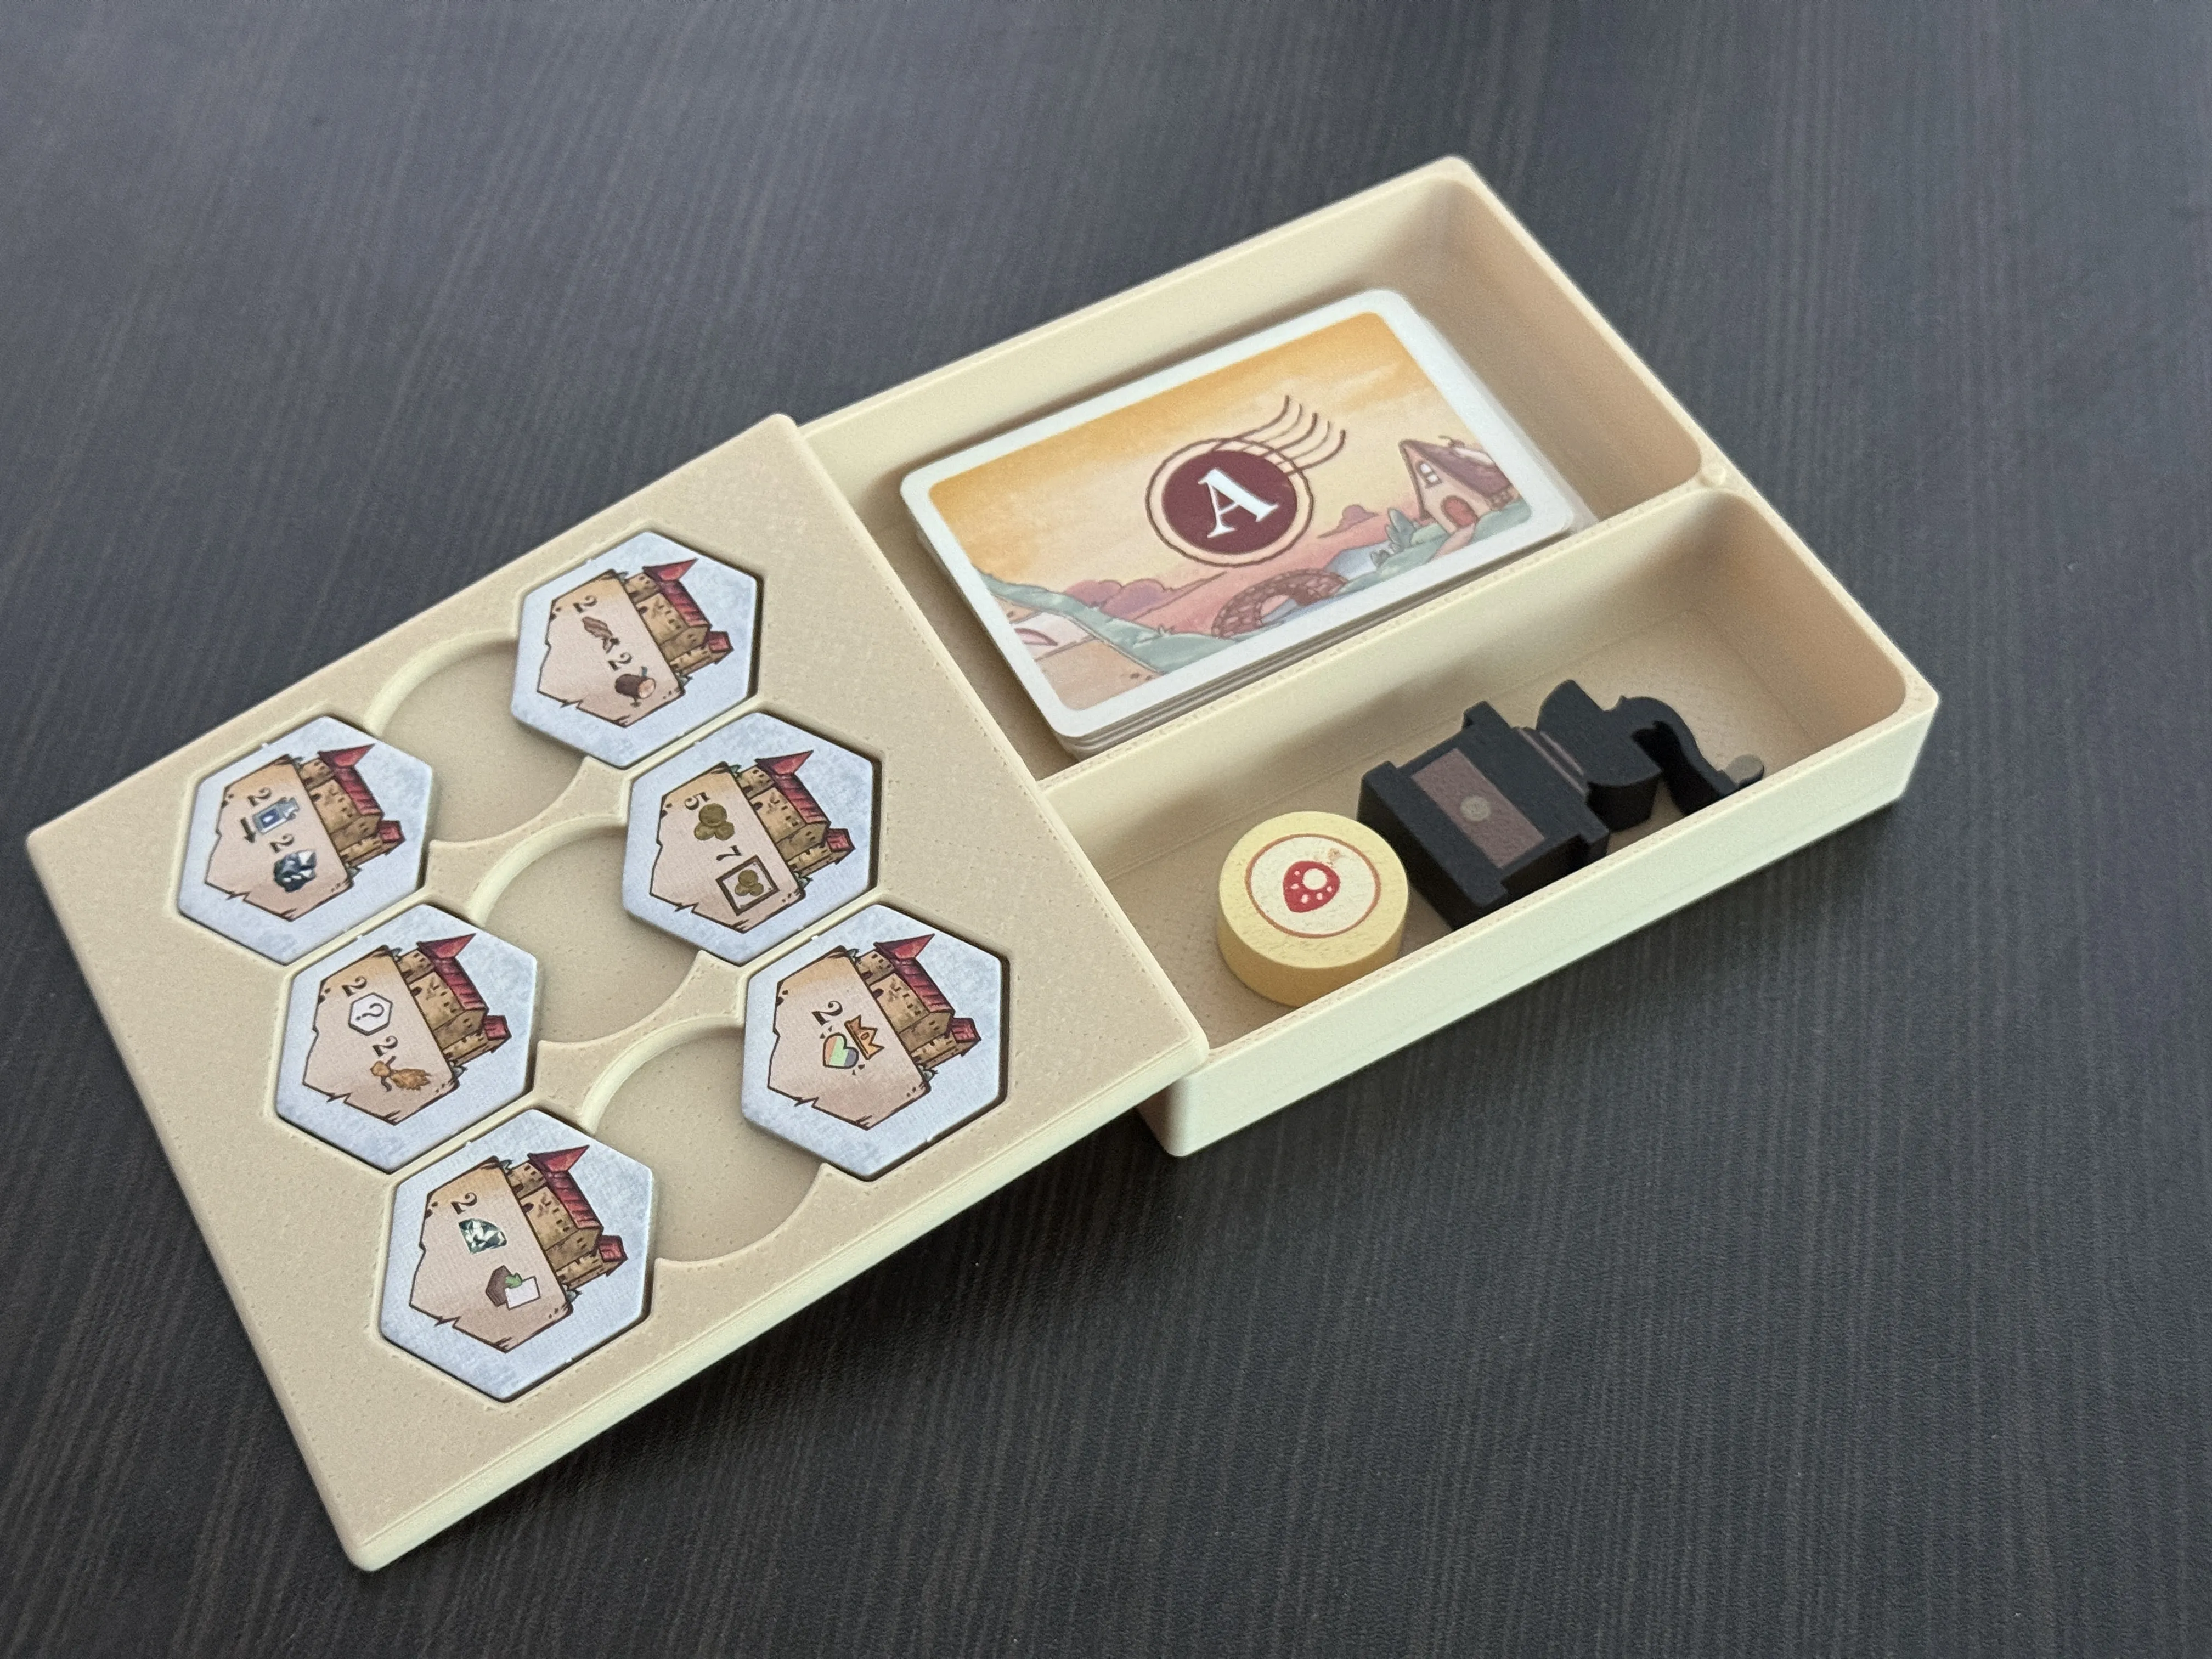
- Cards for solo play are stored beneath the special terrain tiles. Just remove the first player marker and round marker, then close the lid
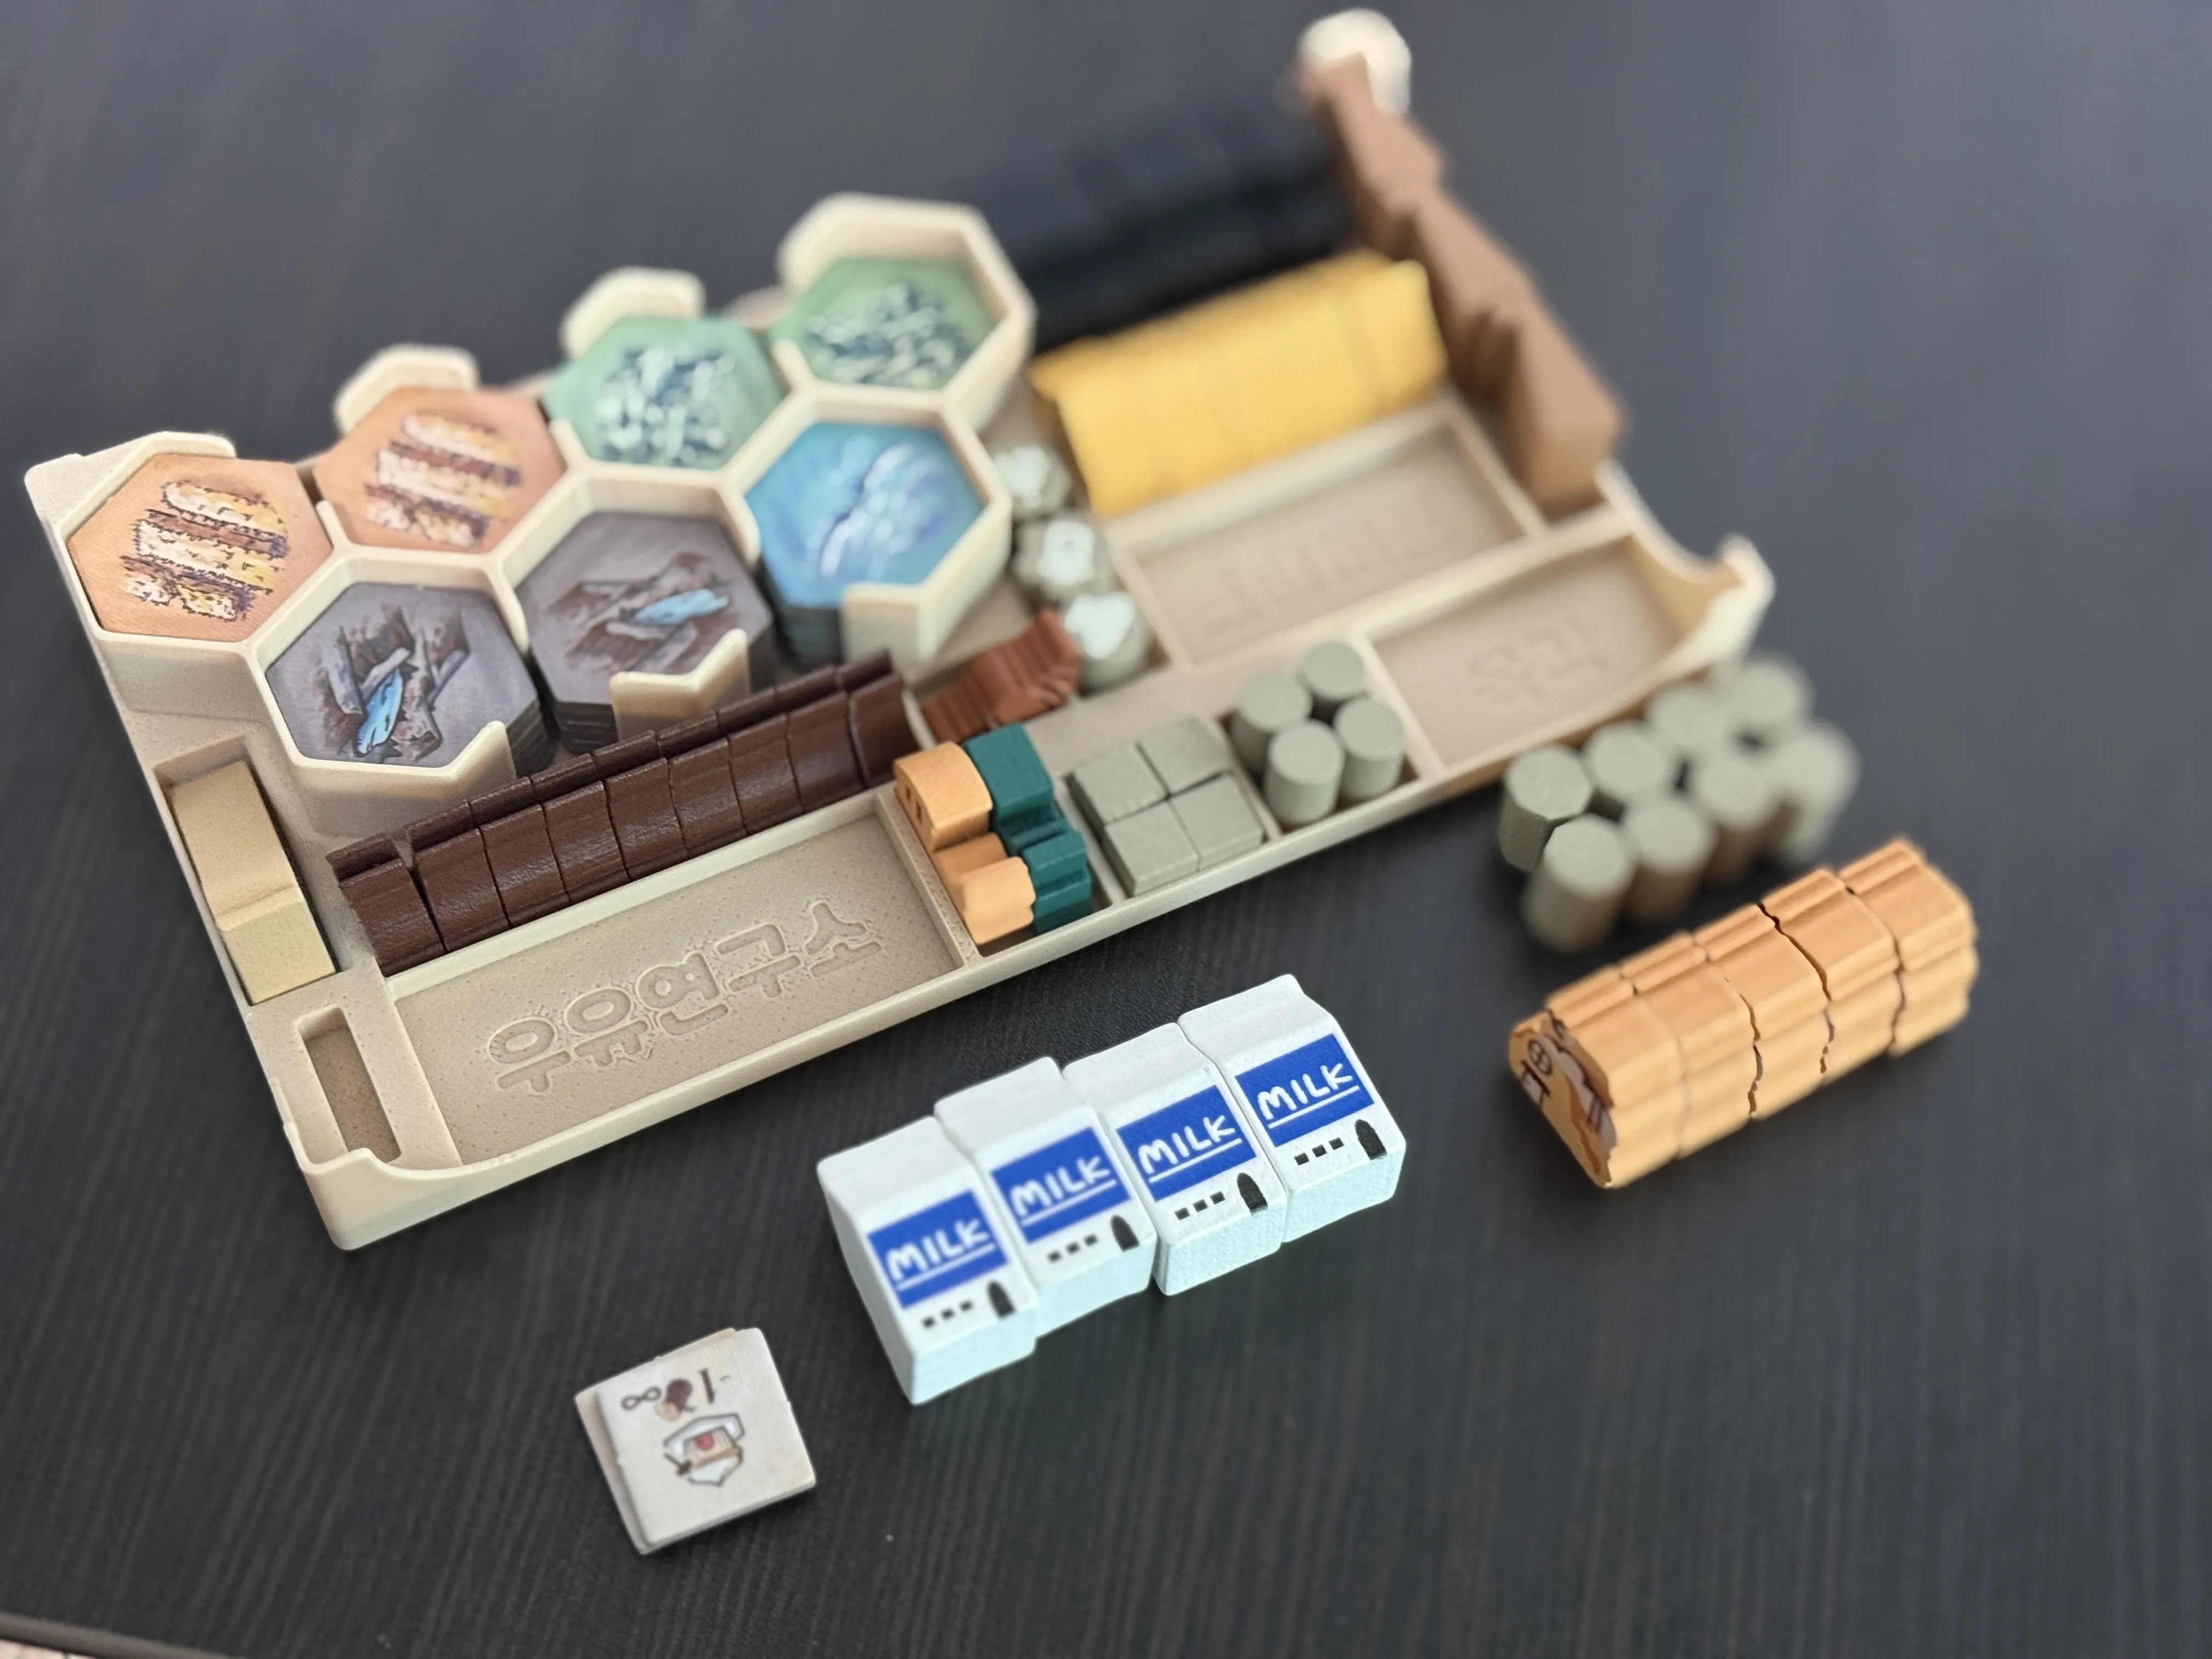
- This tray is designed so that the upper part protrudes more than the lower part for efficient use of space. It might be slightly sharp. Please be careful
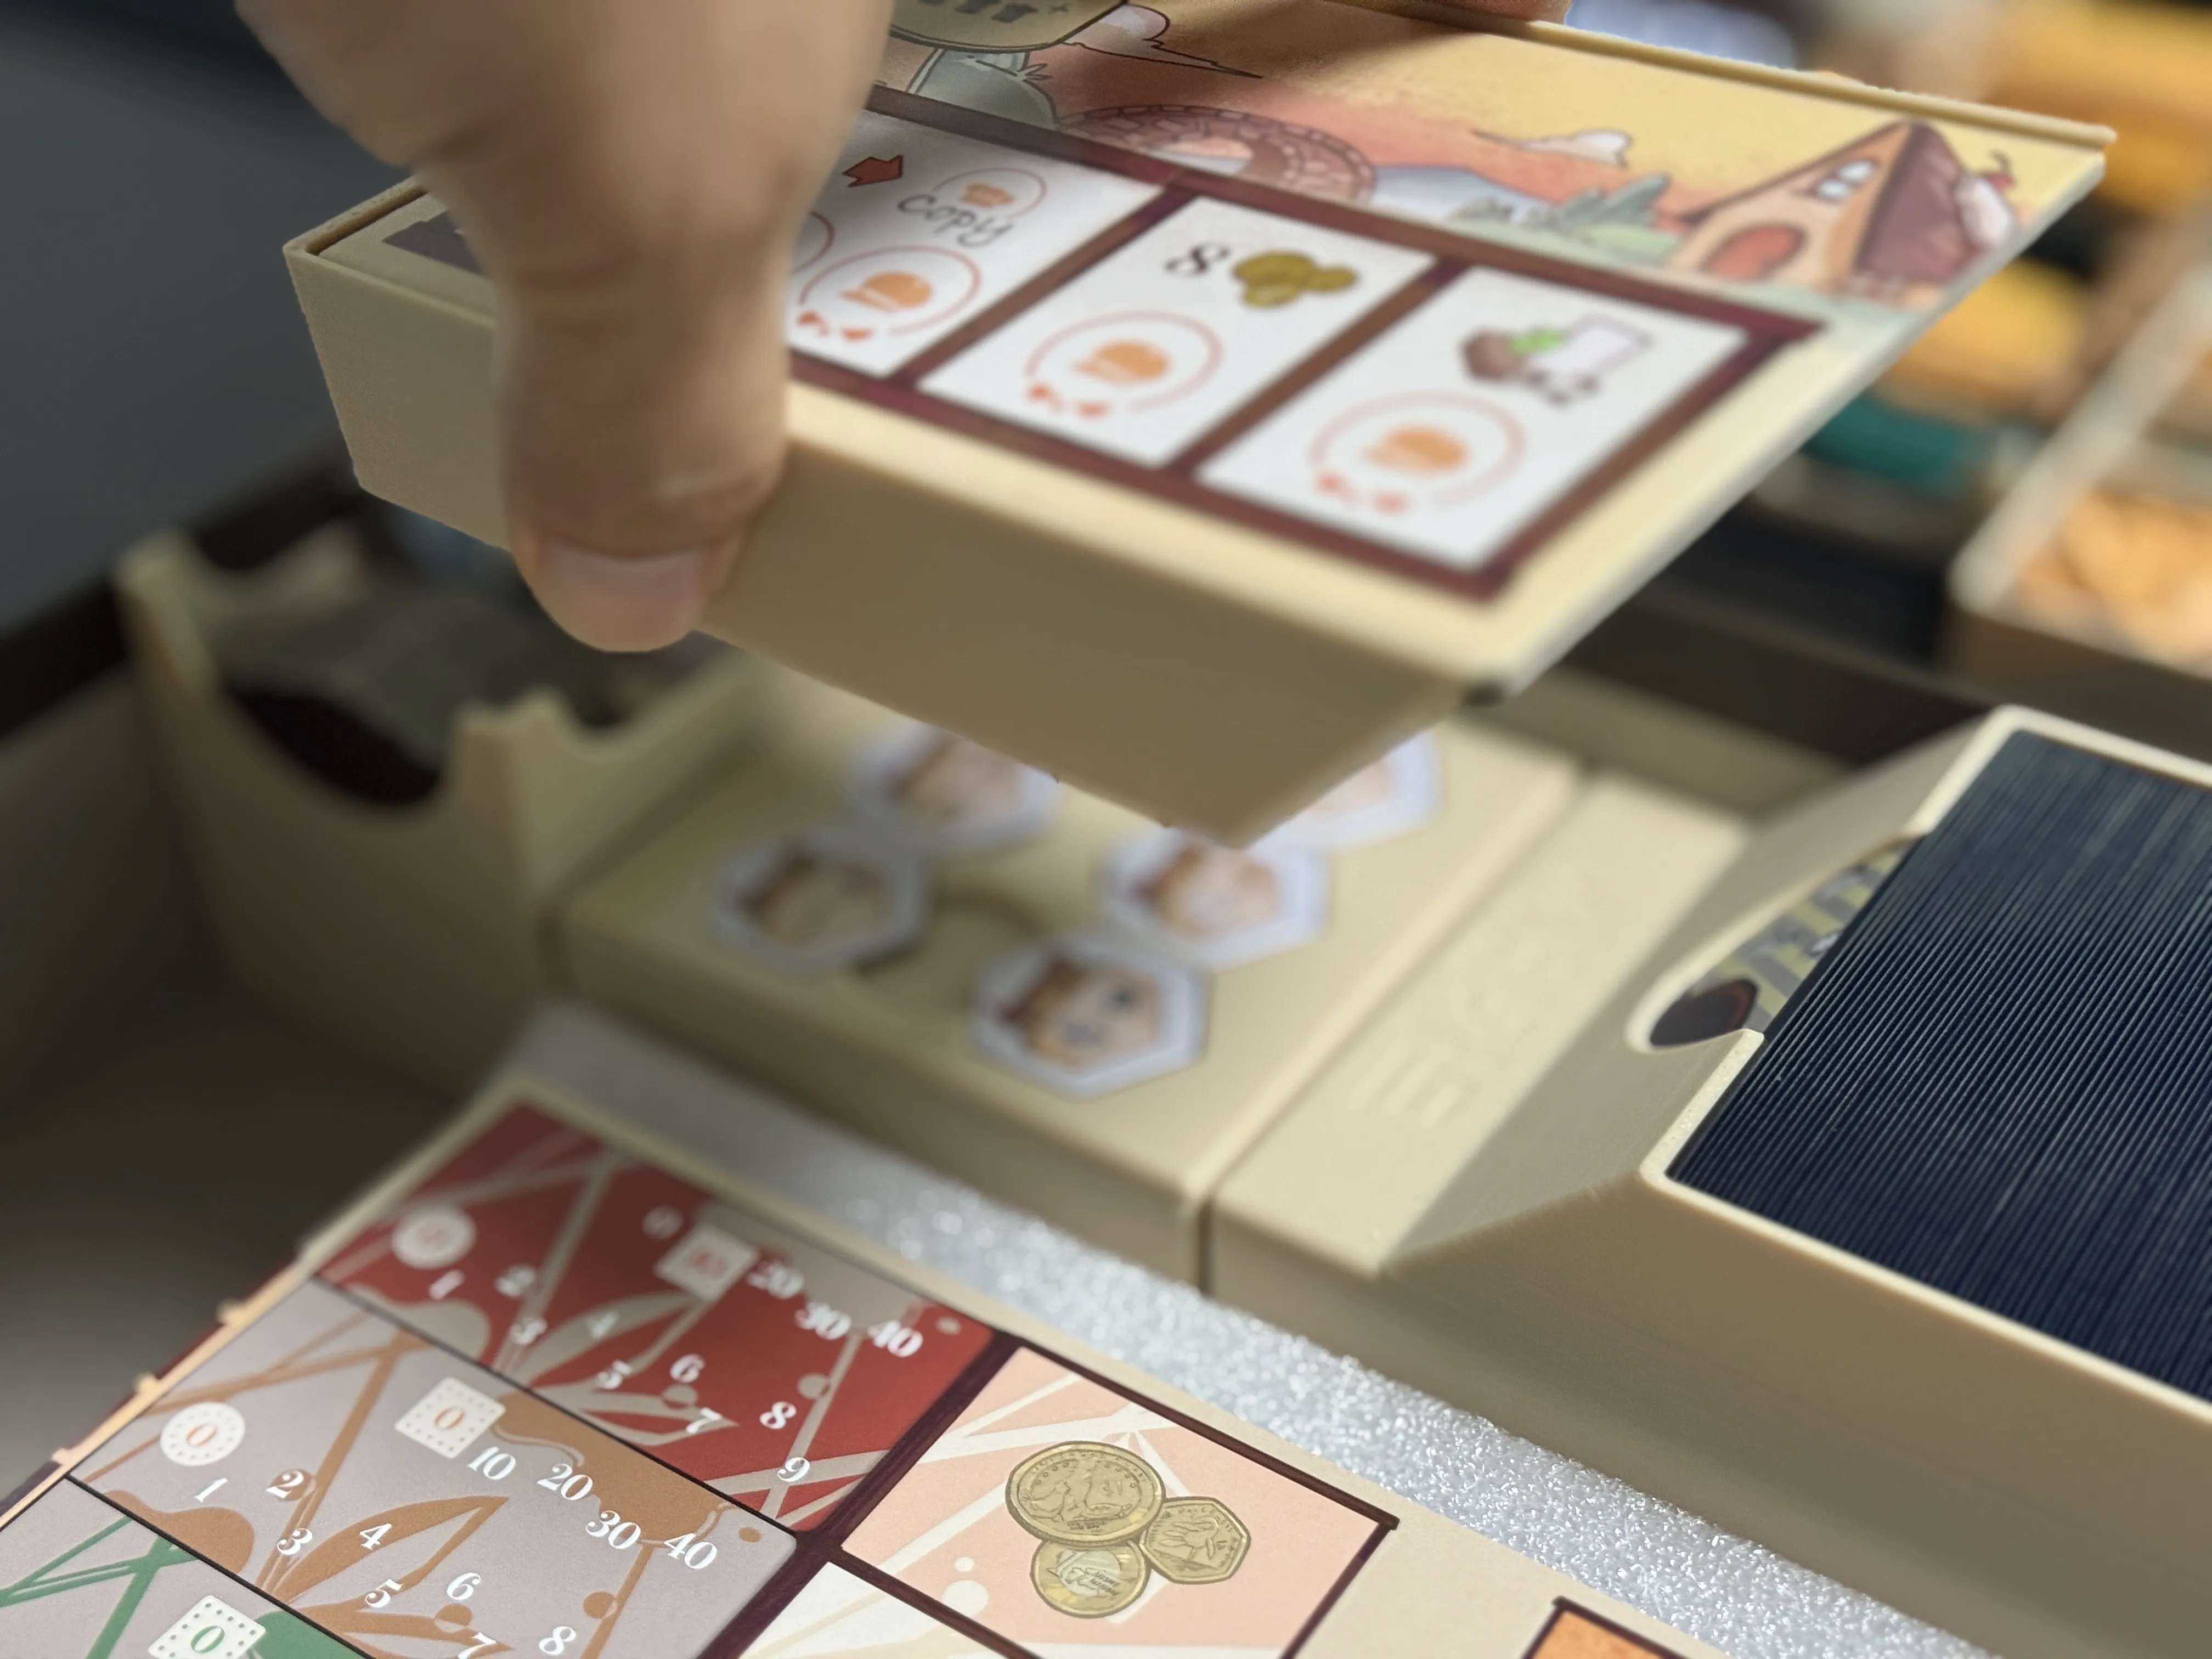
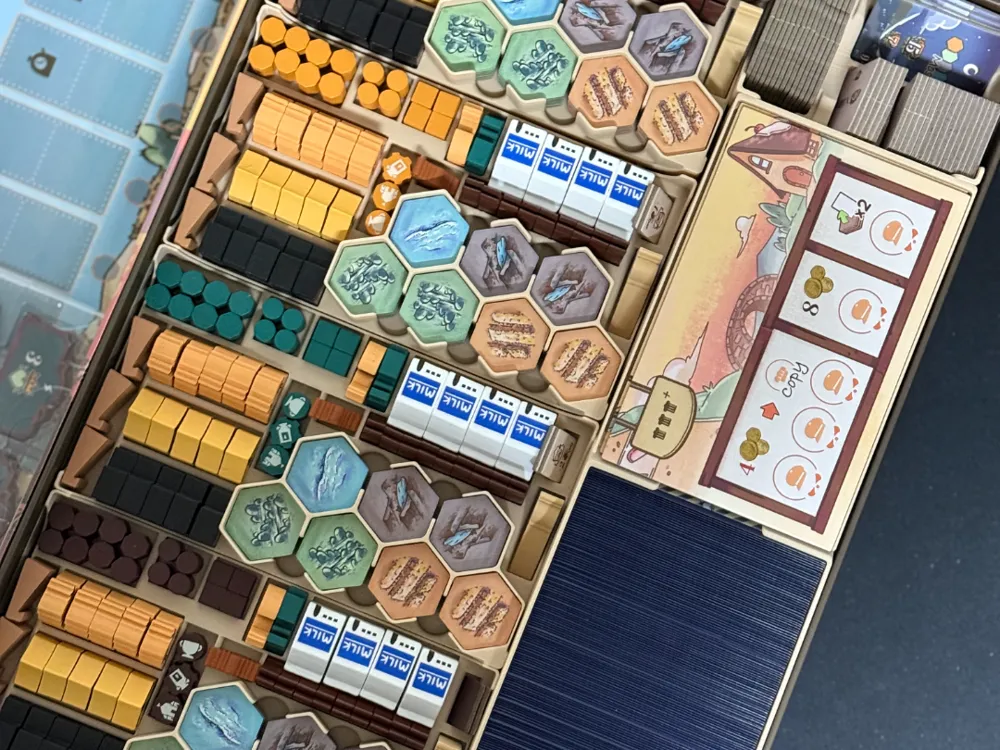
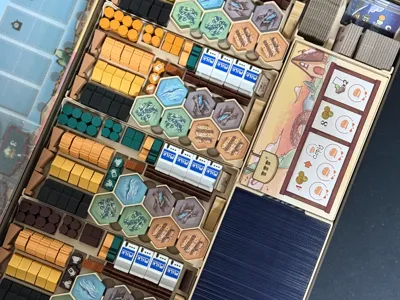
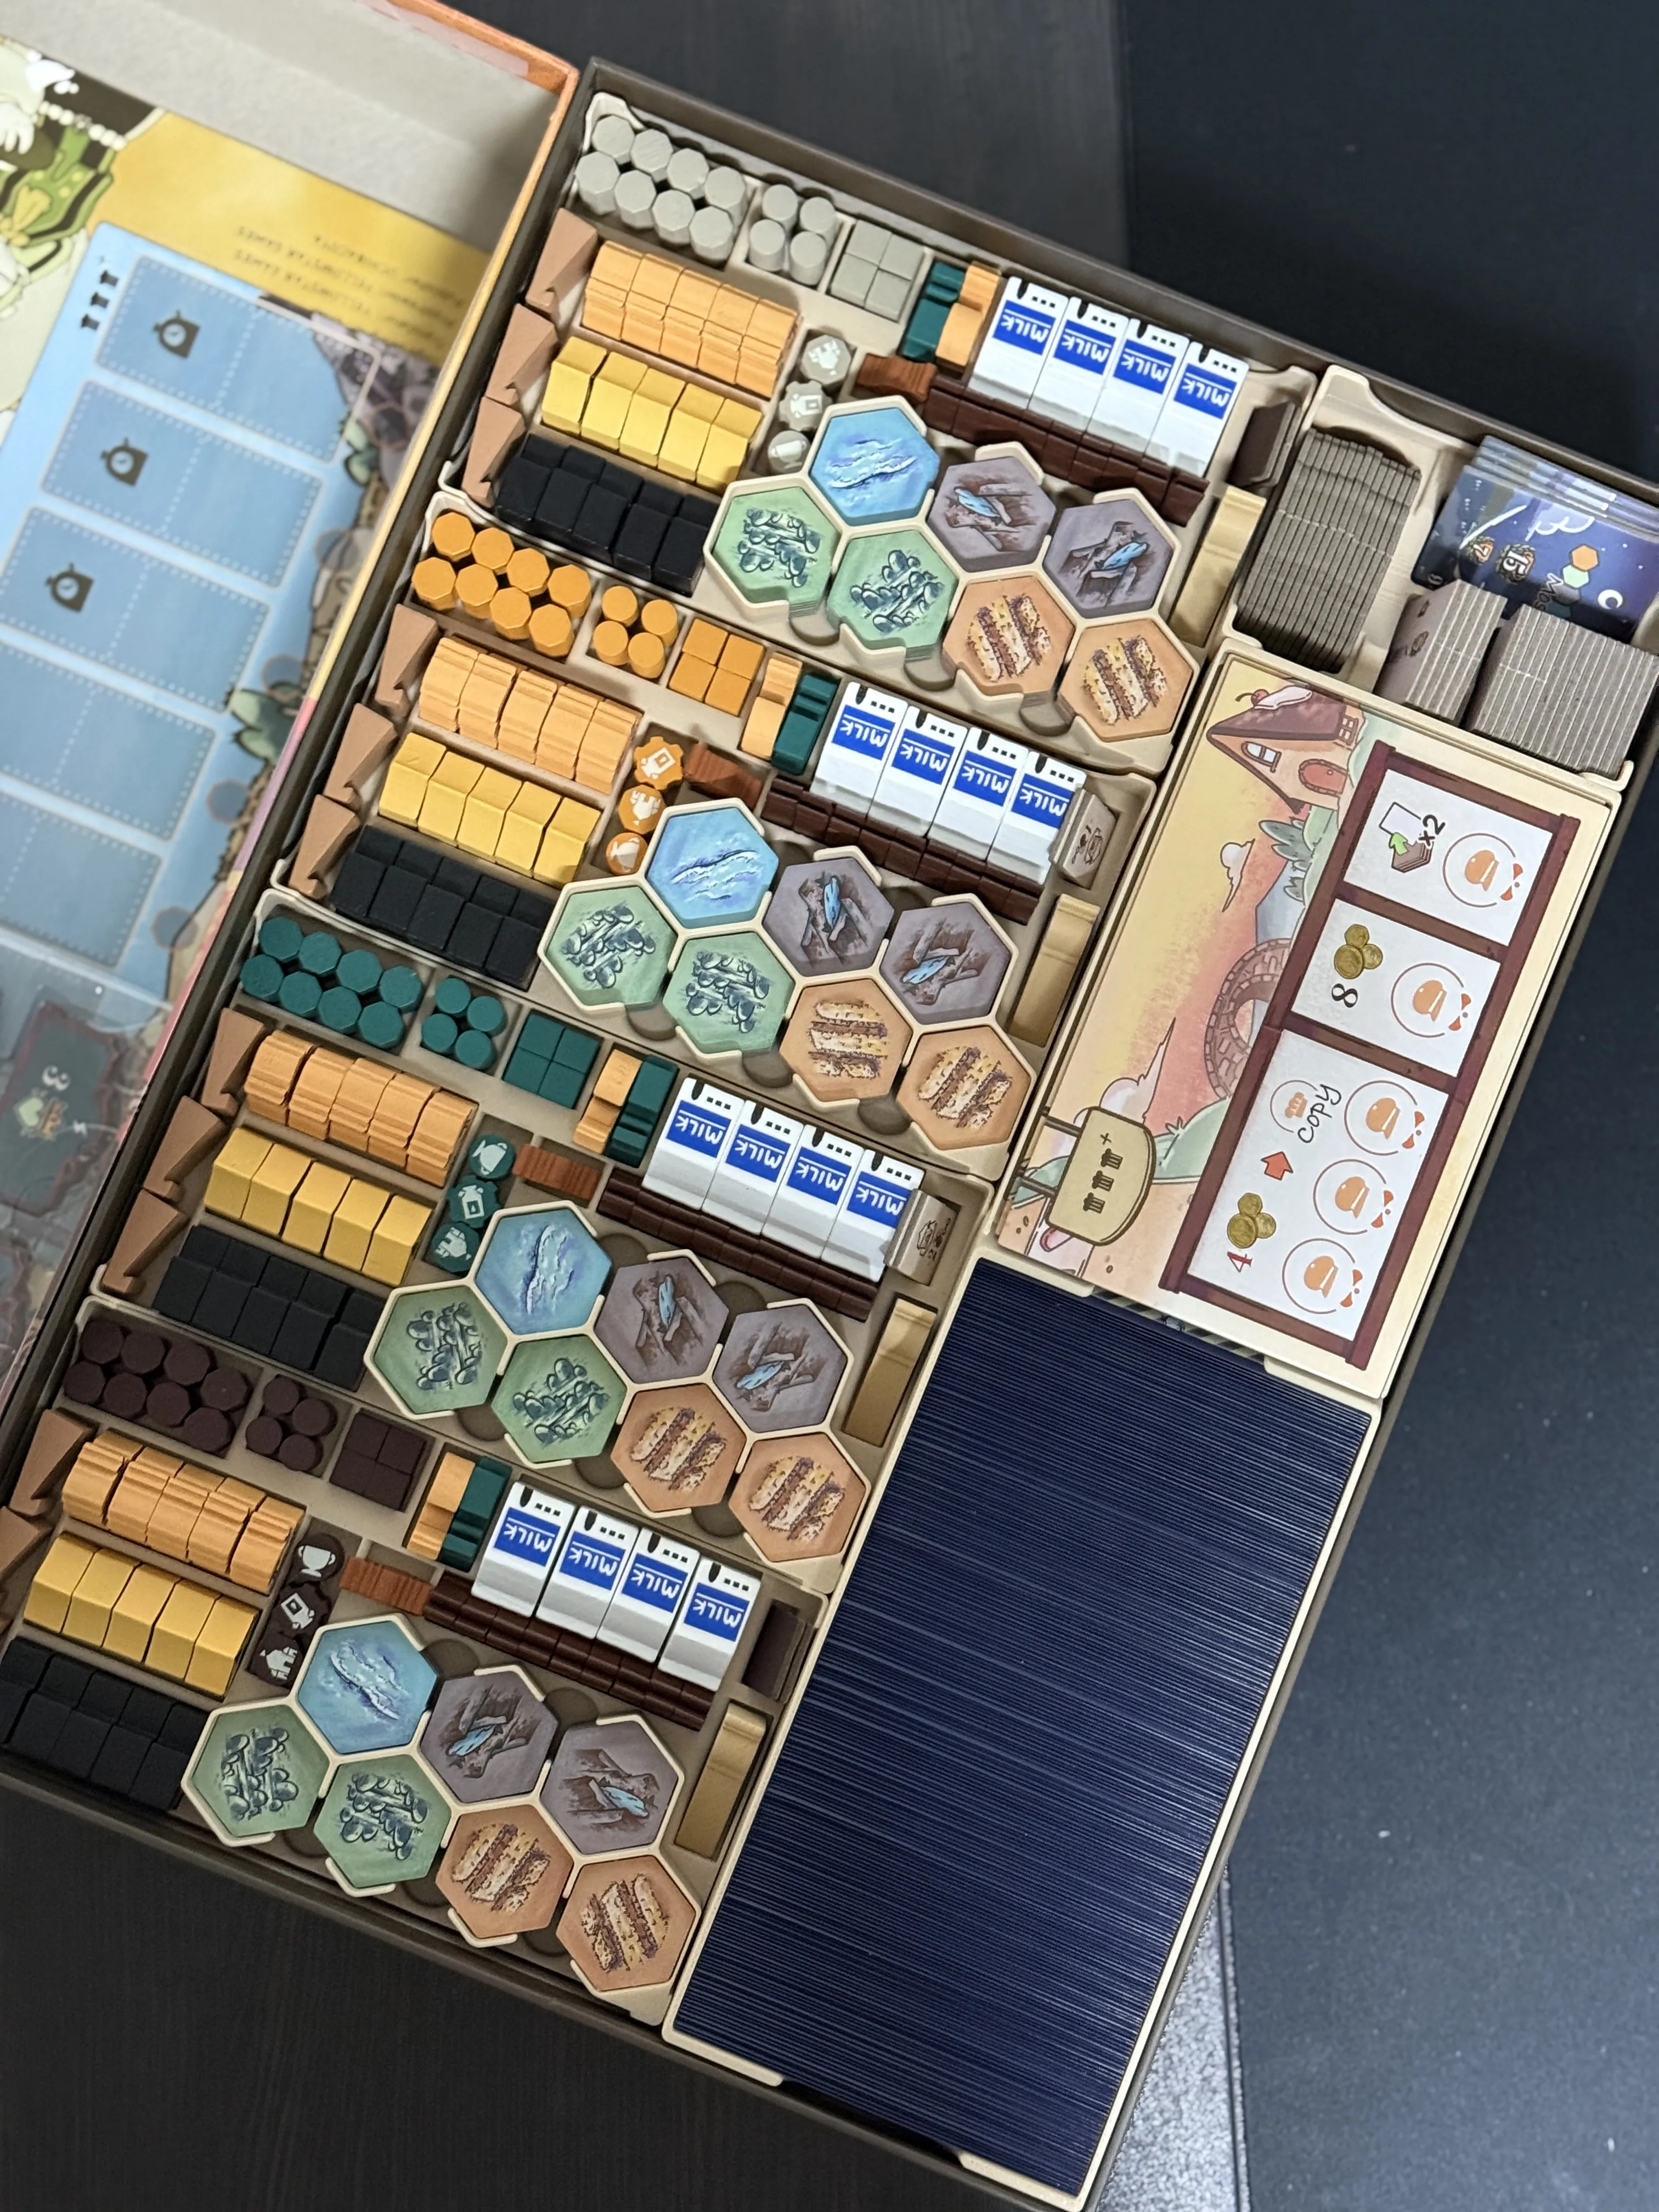
- The inside of the tray is organized like this
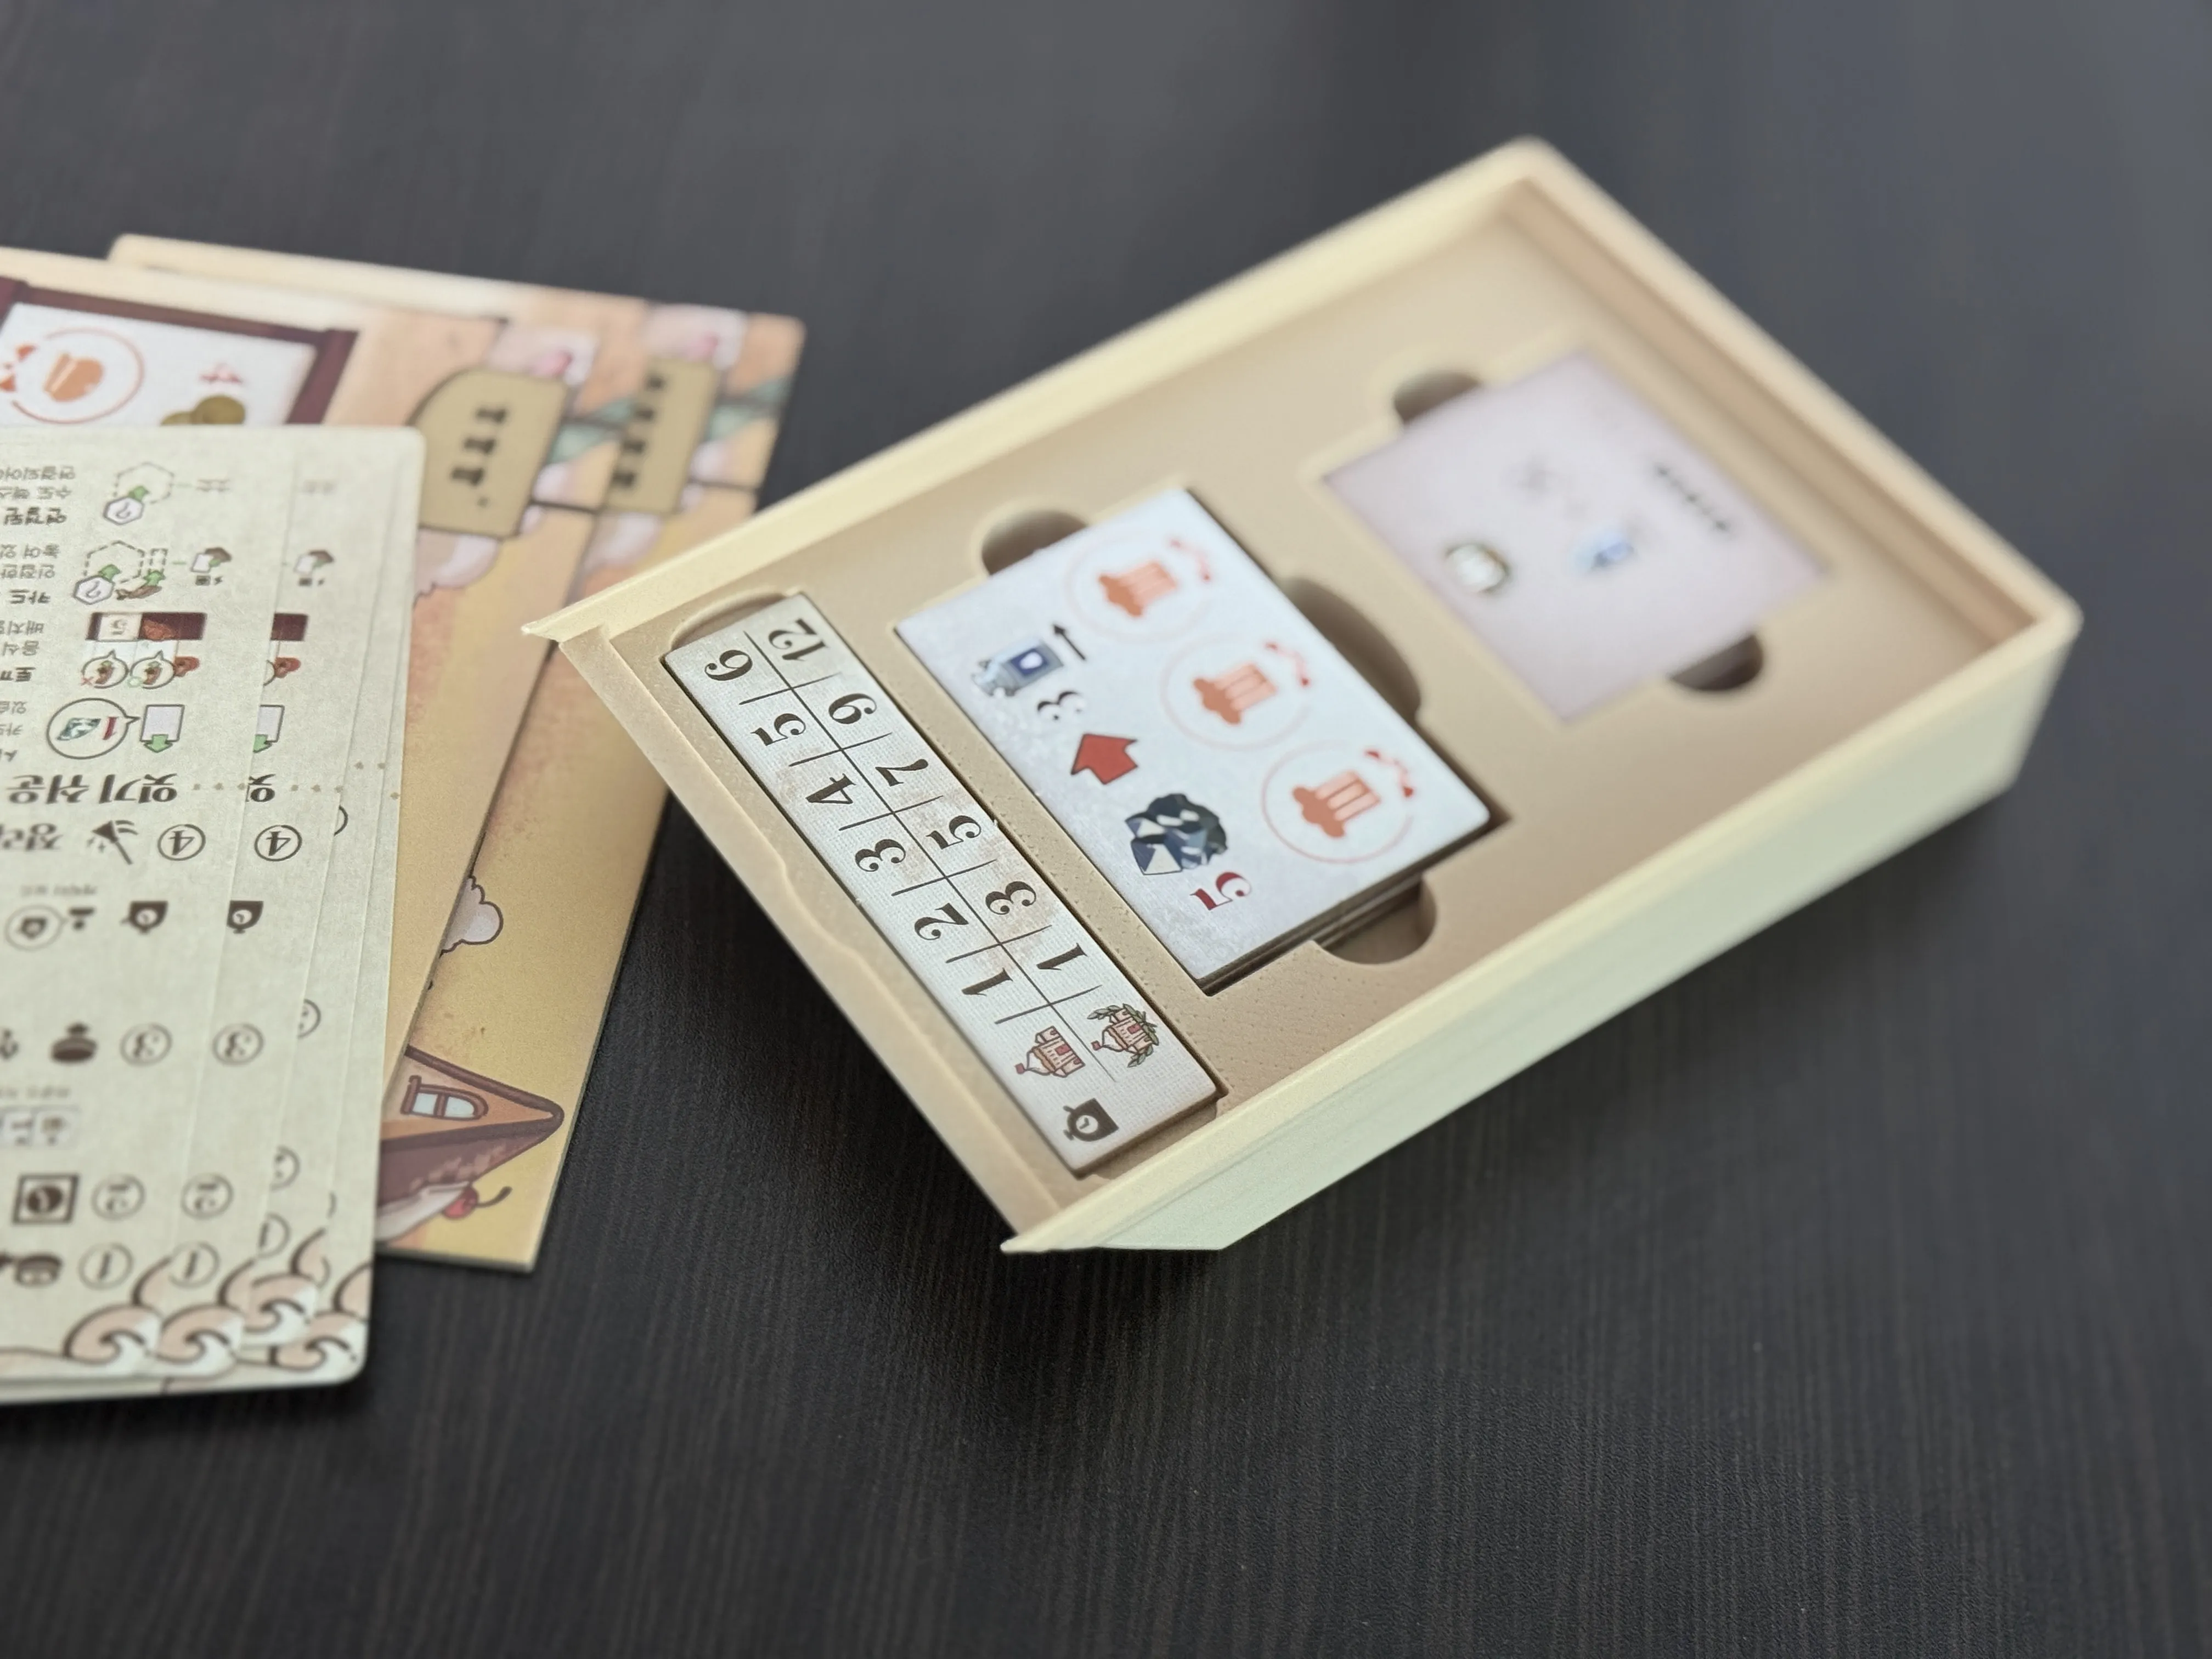
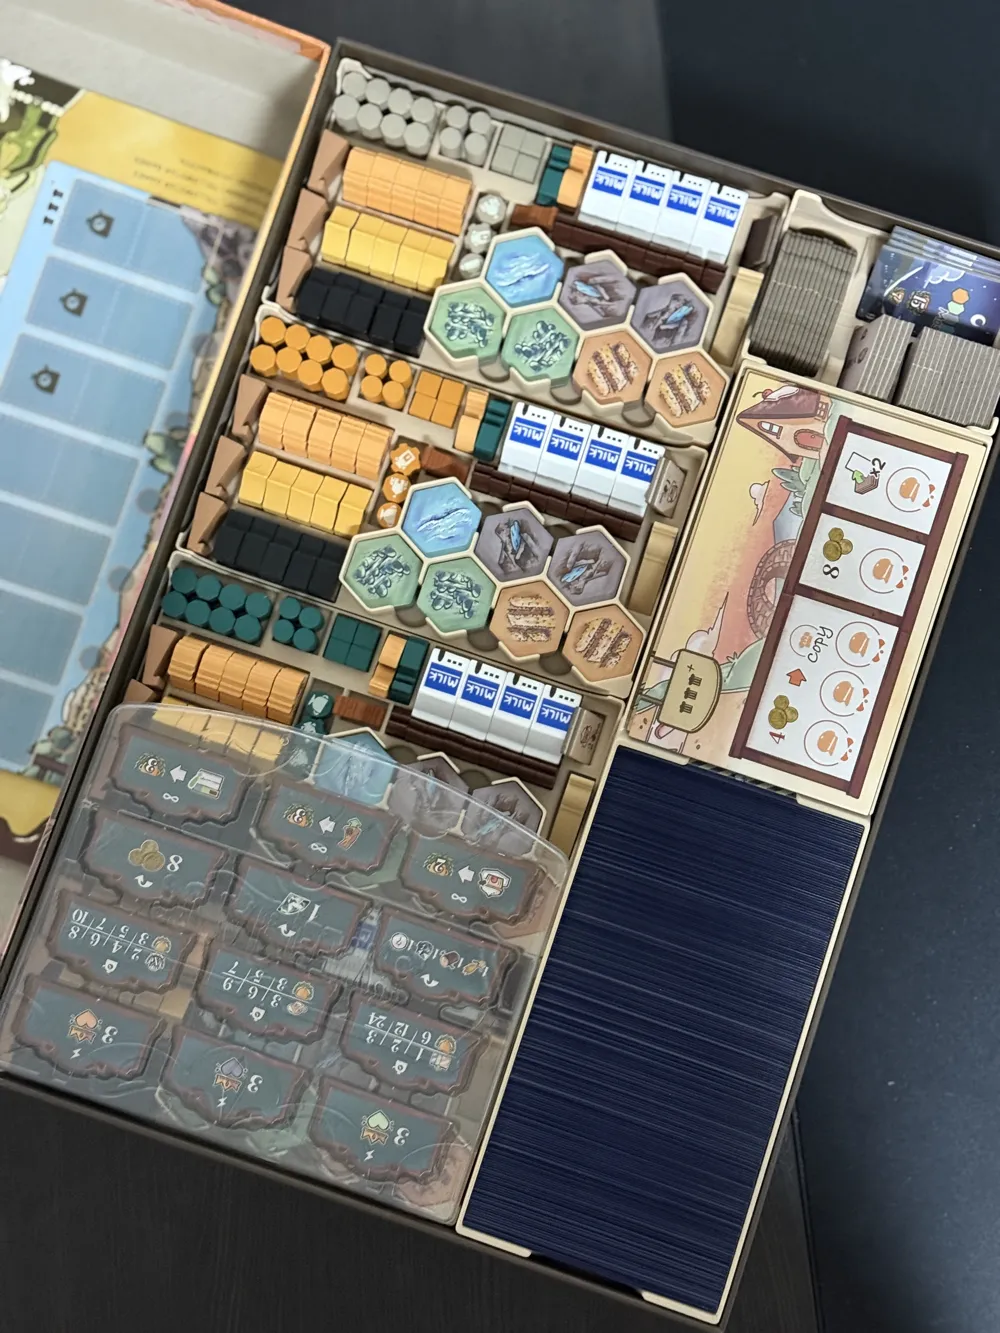
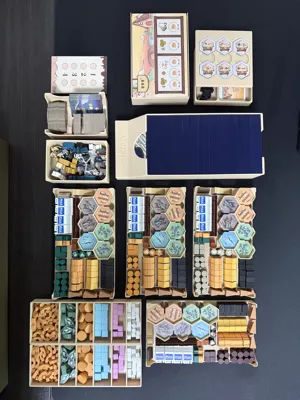
Organizer Arrangement Example

- Gather all the large boards and lay them on the bottom, pushing them as close to the corners as possible
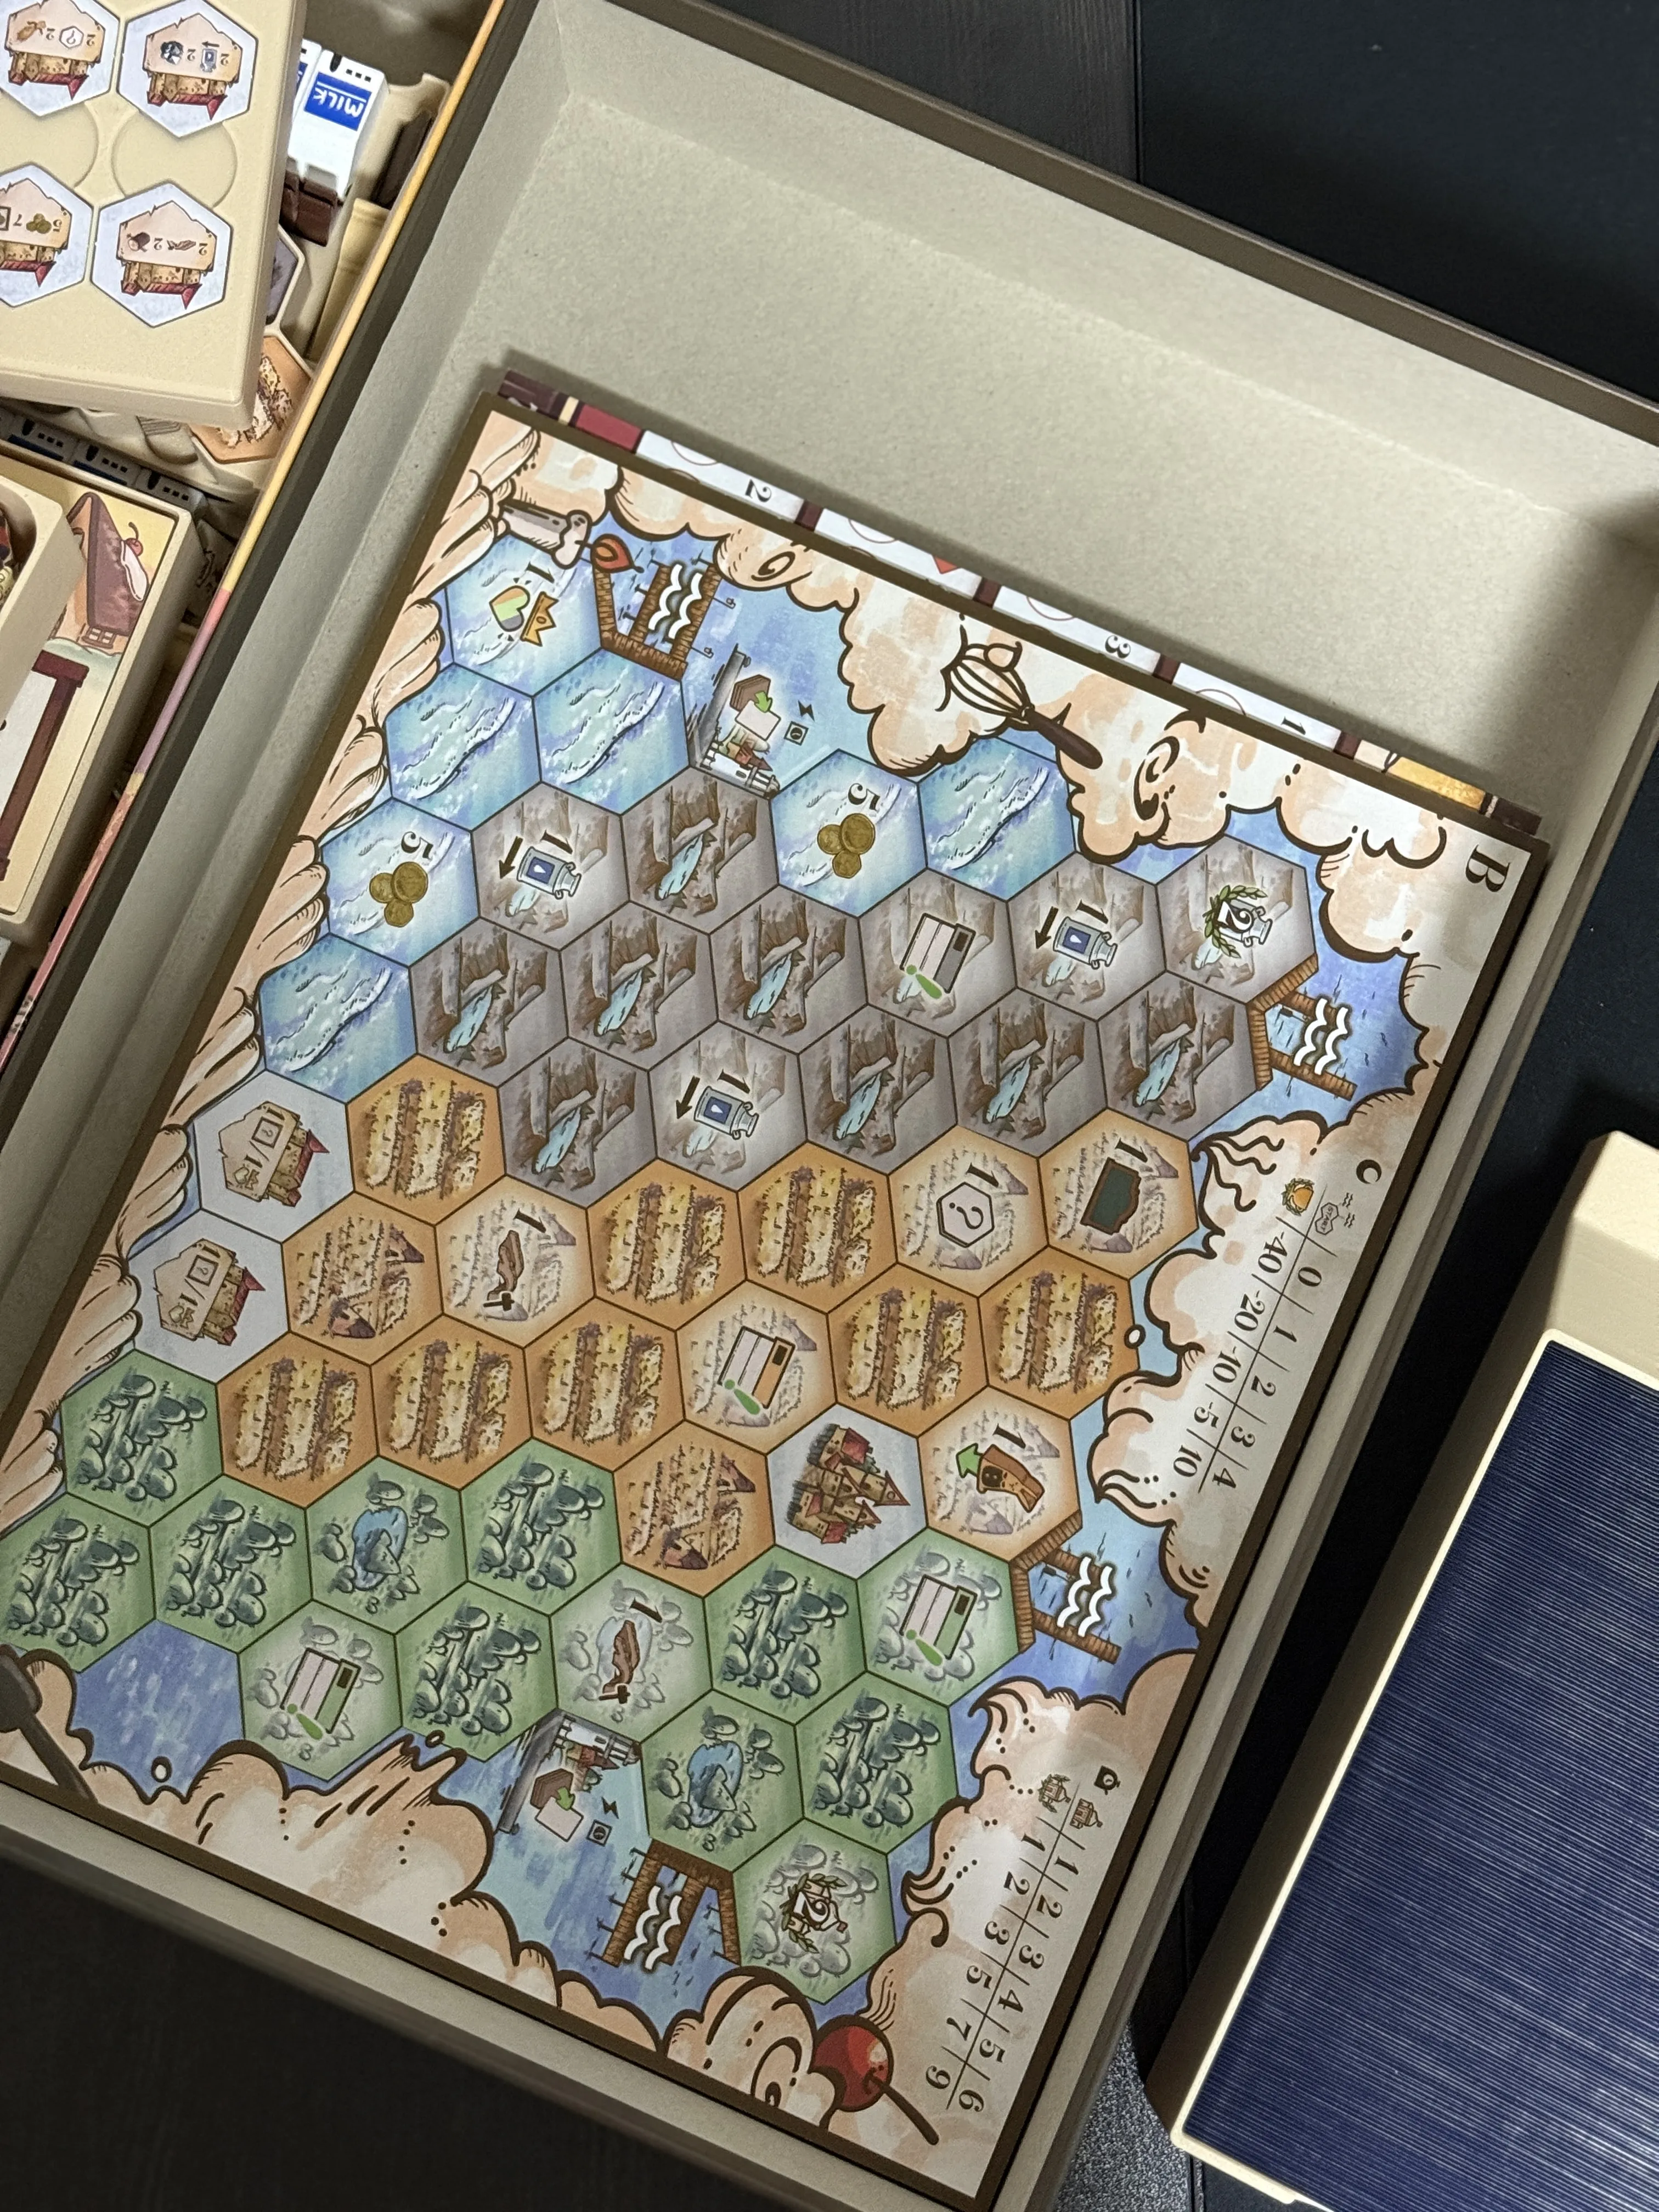
- Divide the large, long boards into two and place them on both sides. The styrofoam in the middle is the thinnest reinforcing material that was filling the corner, but it's not essential
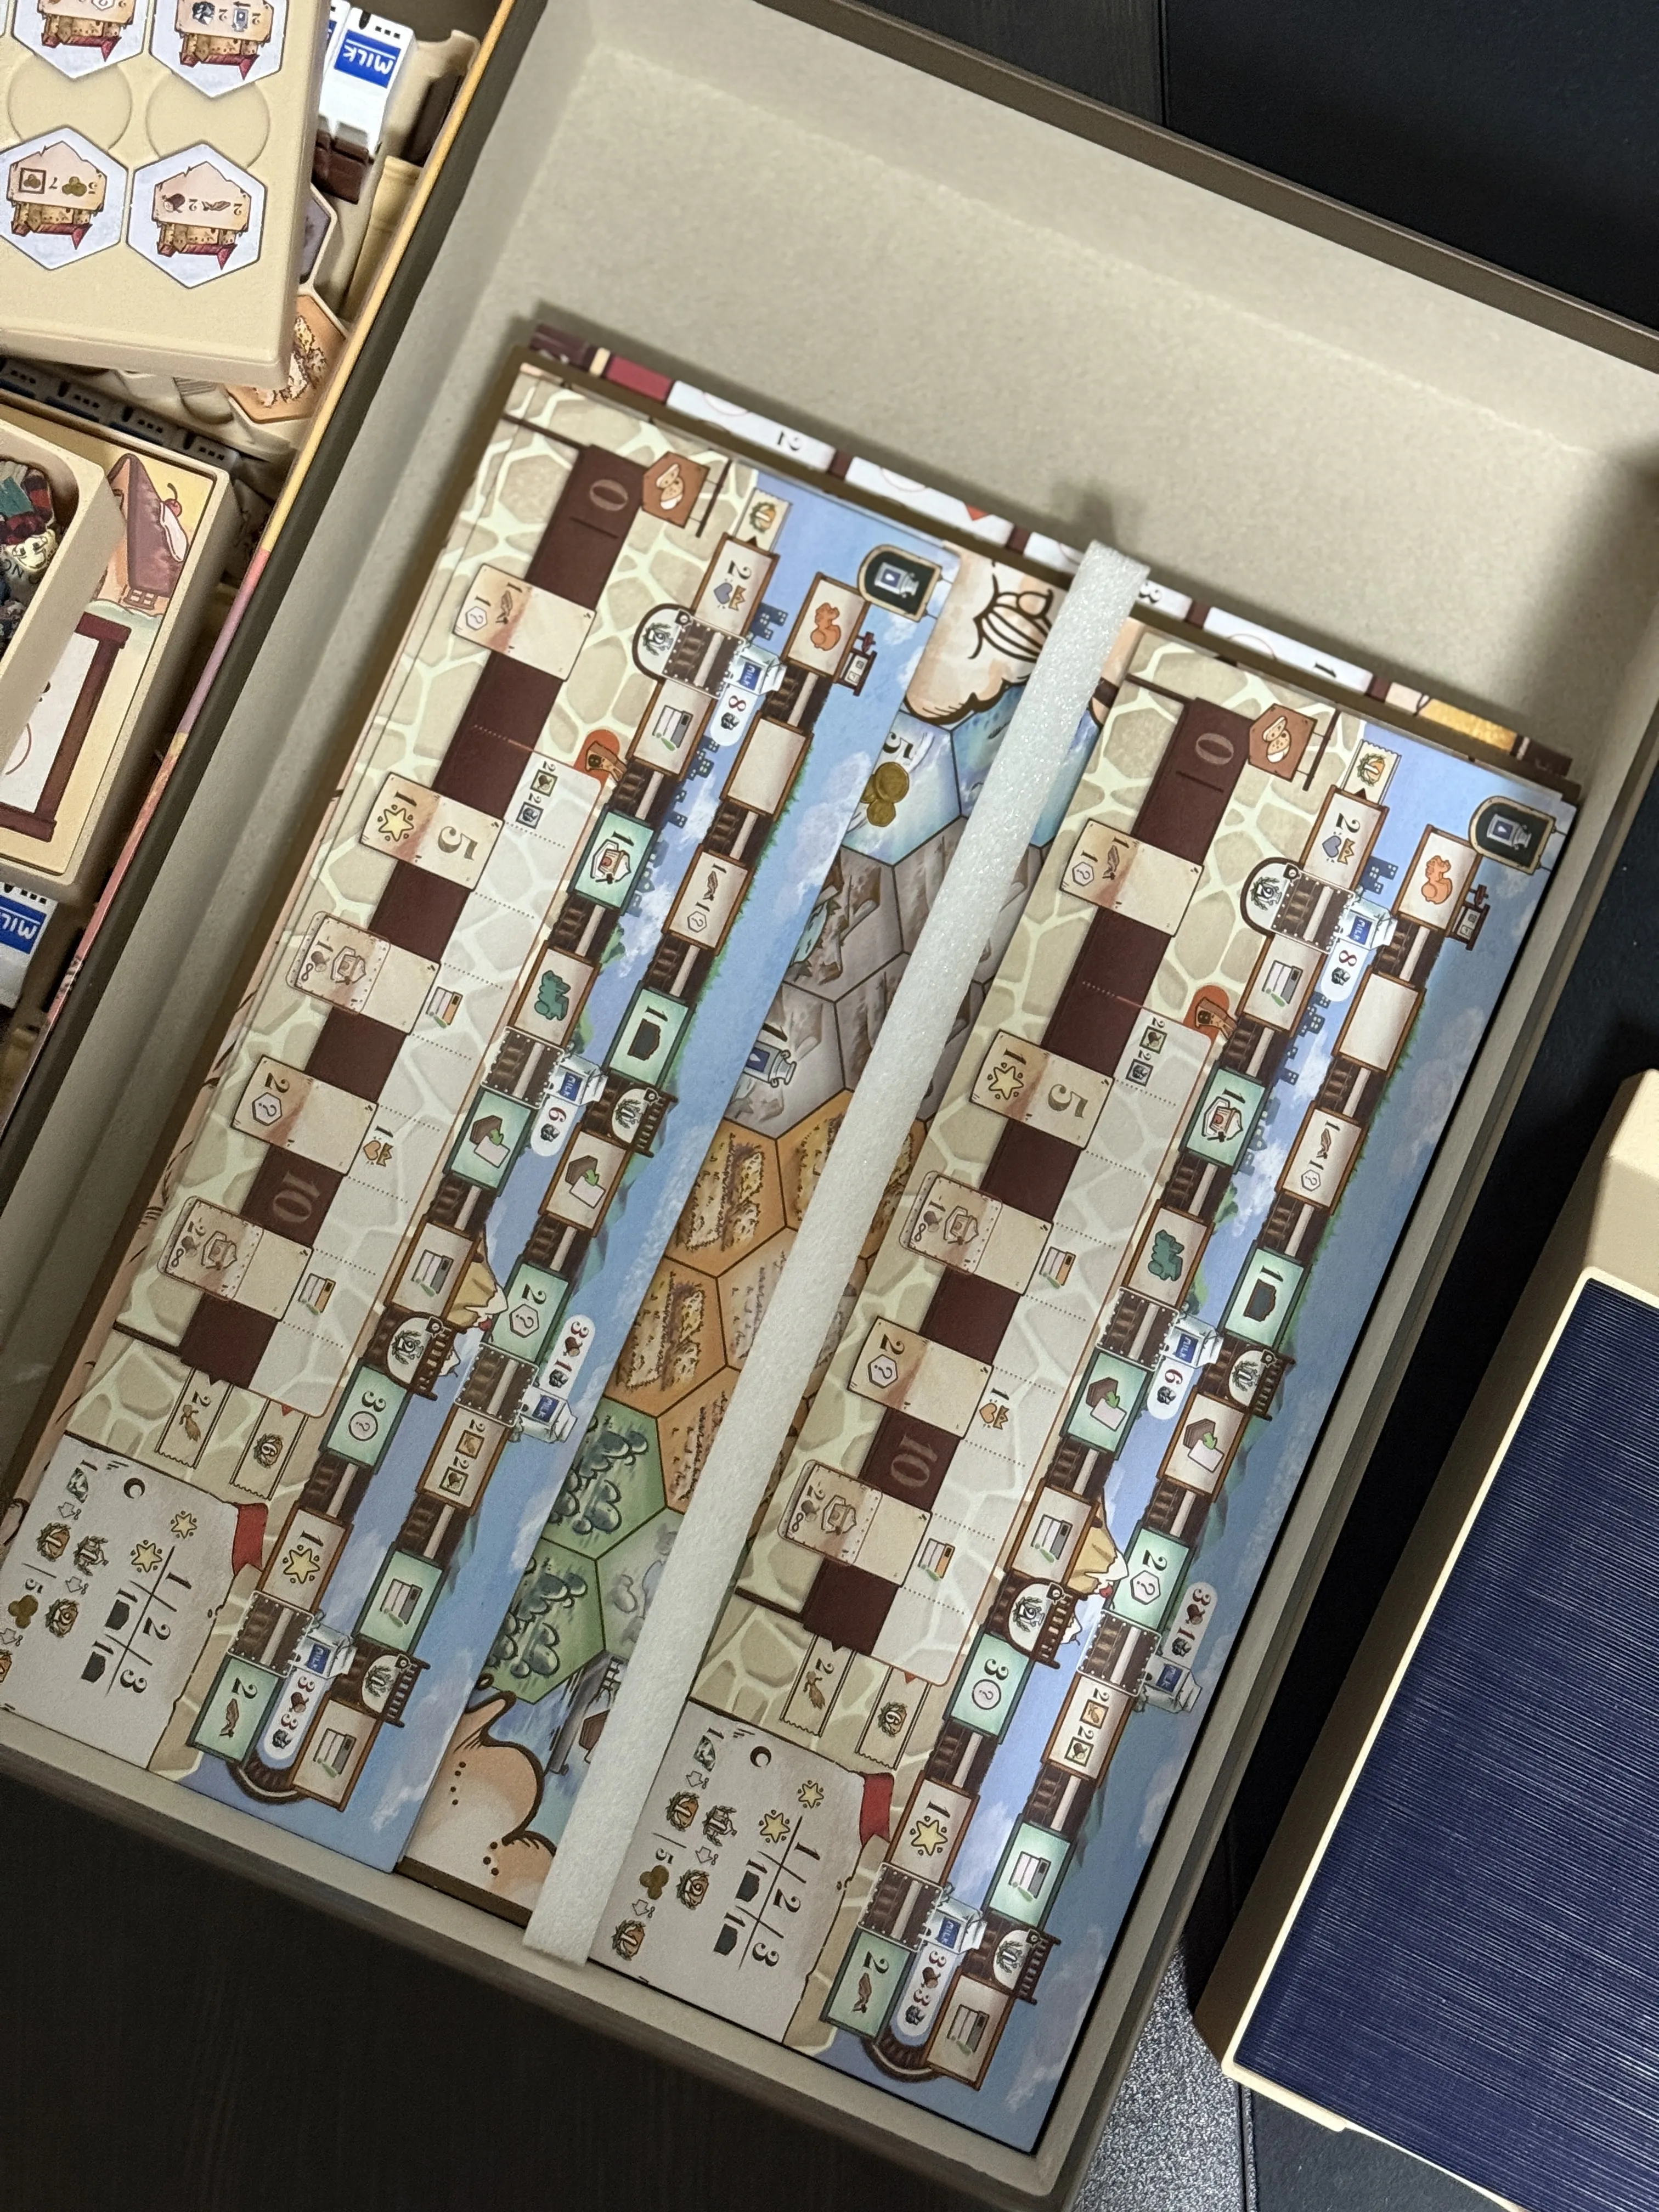
- Place the citizen card tray in the corner
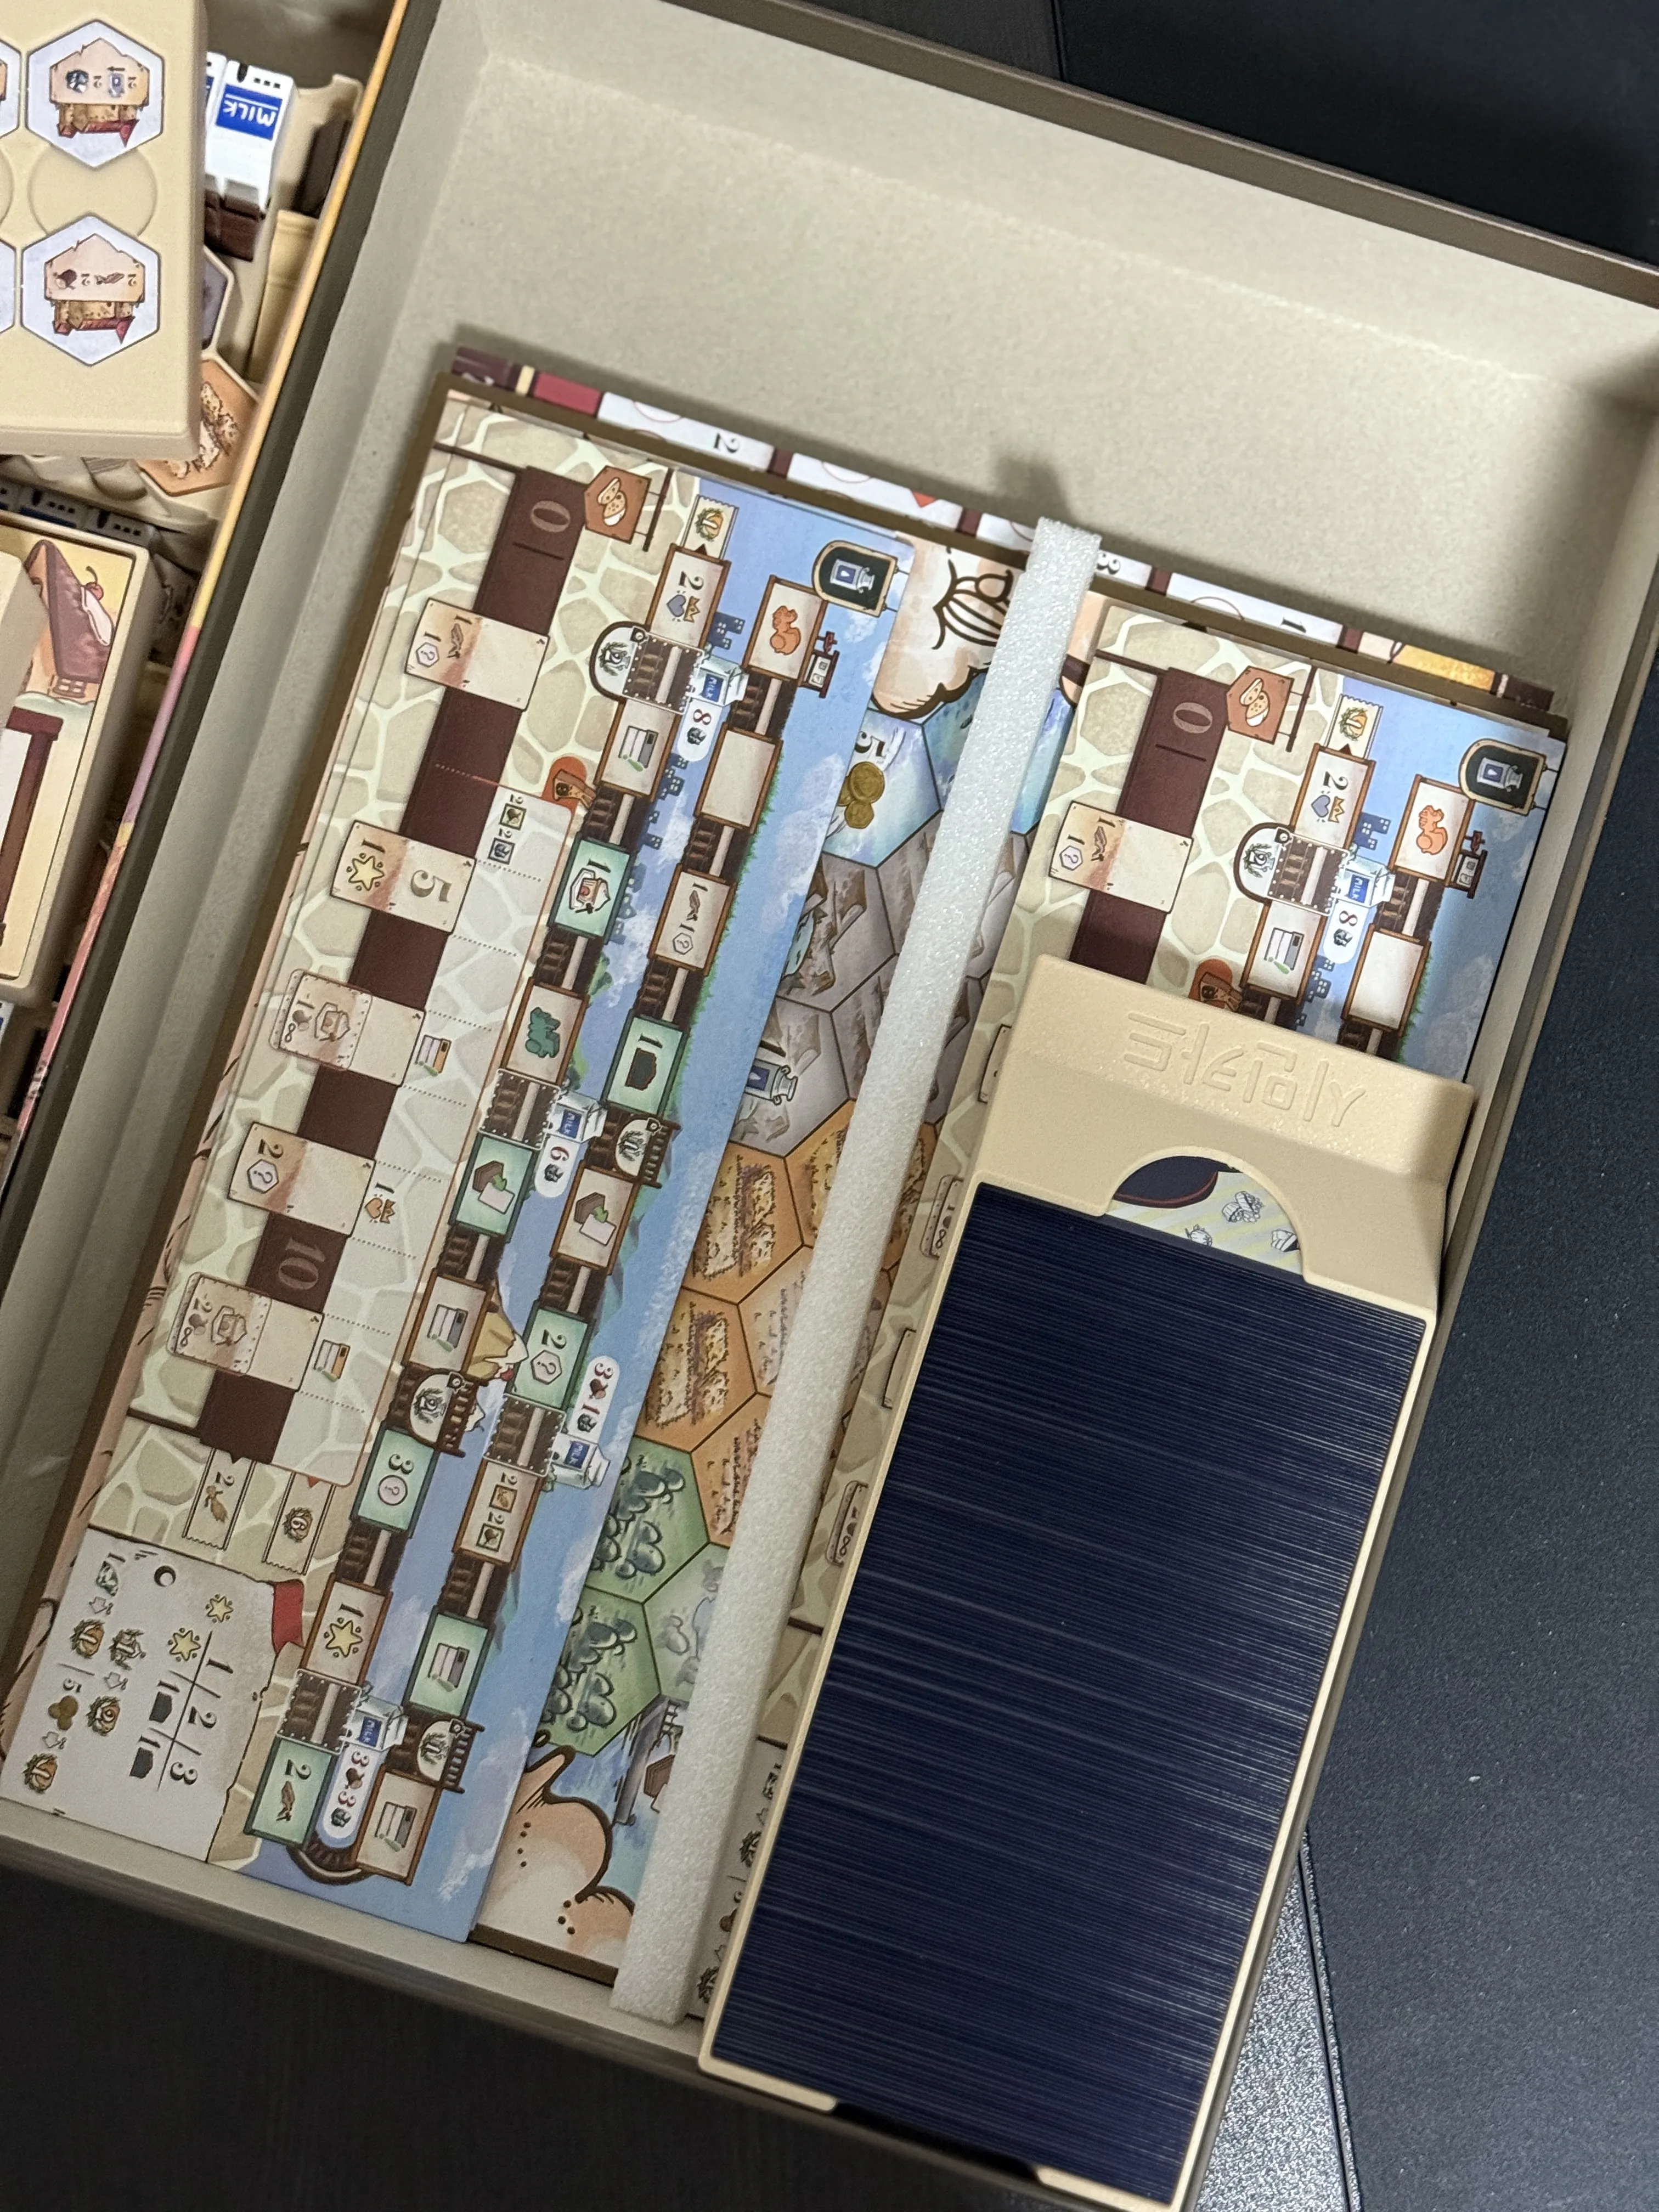
- Place the planning boards and character boards on the left side
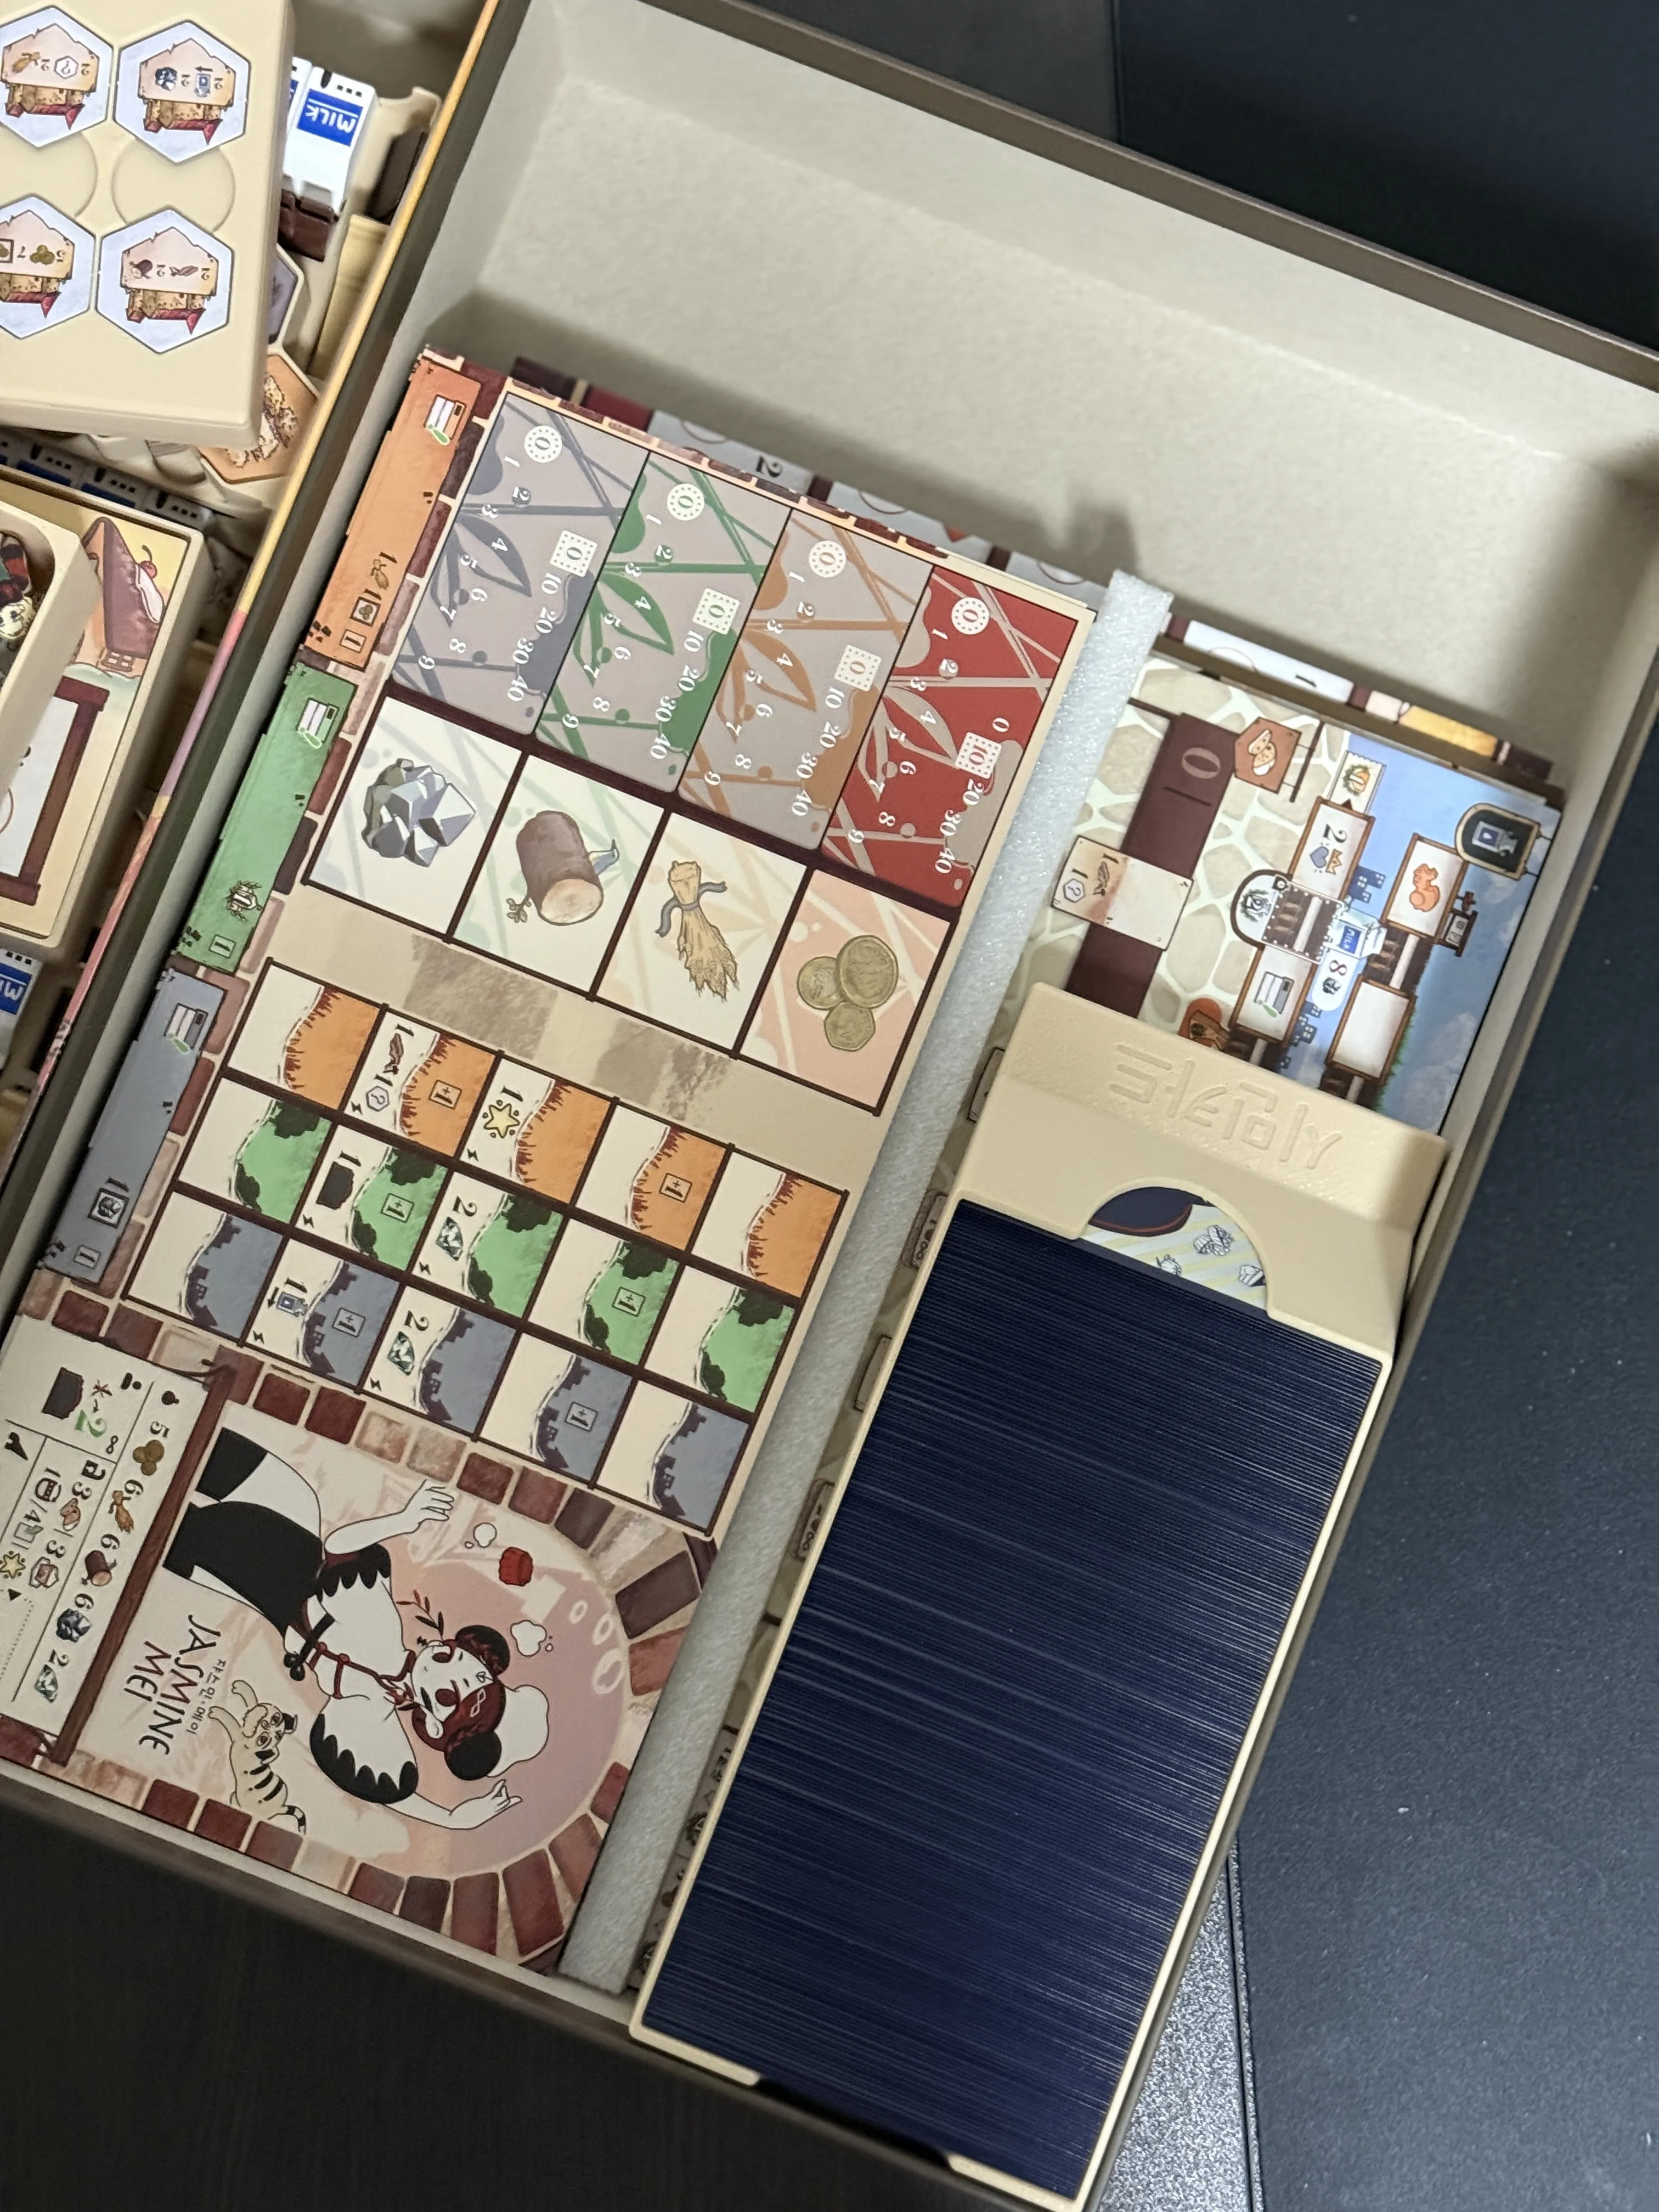
- Stack the two resource trays neatly in the empty space above. Push them flush to the left
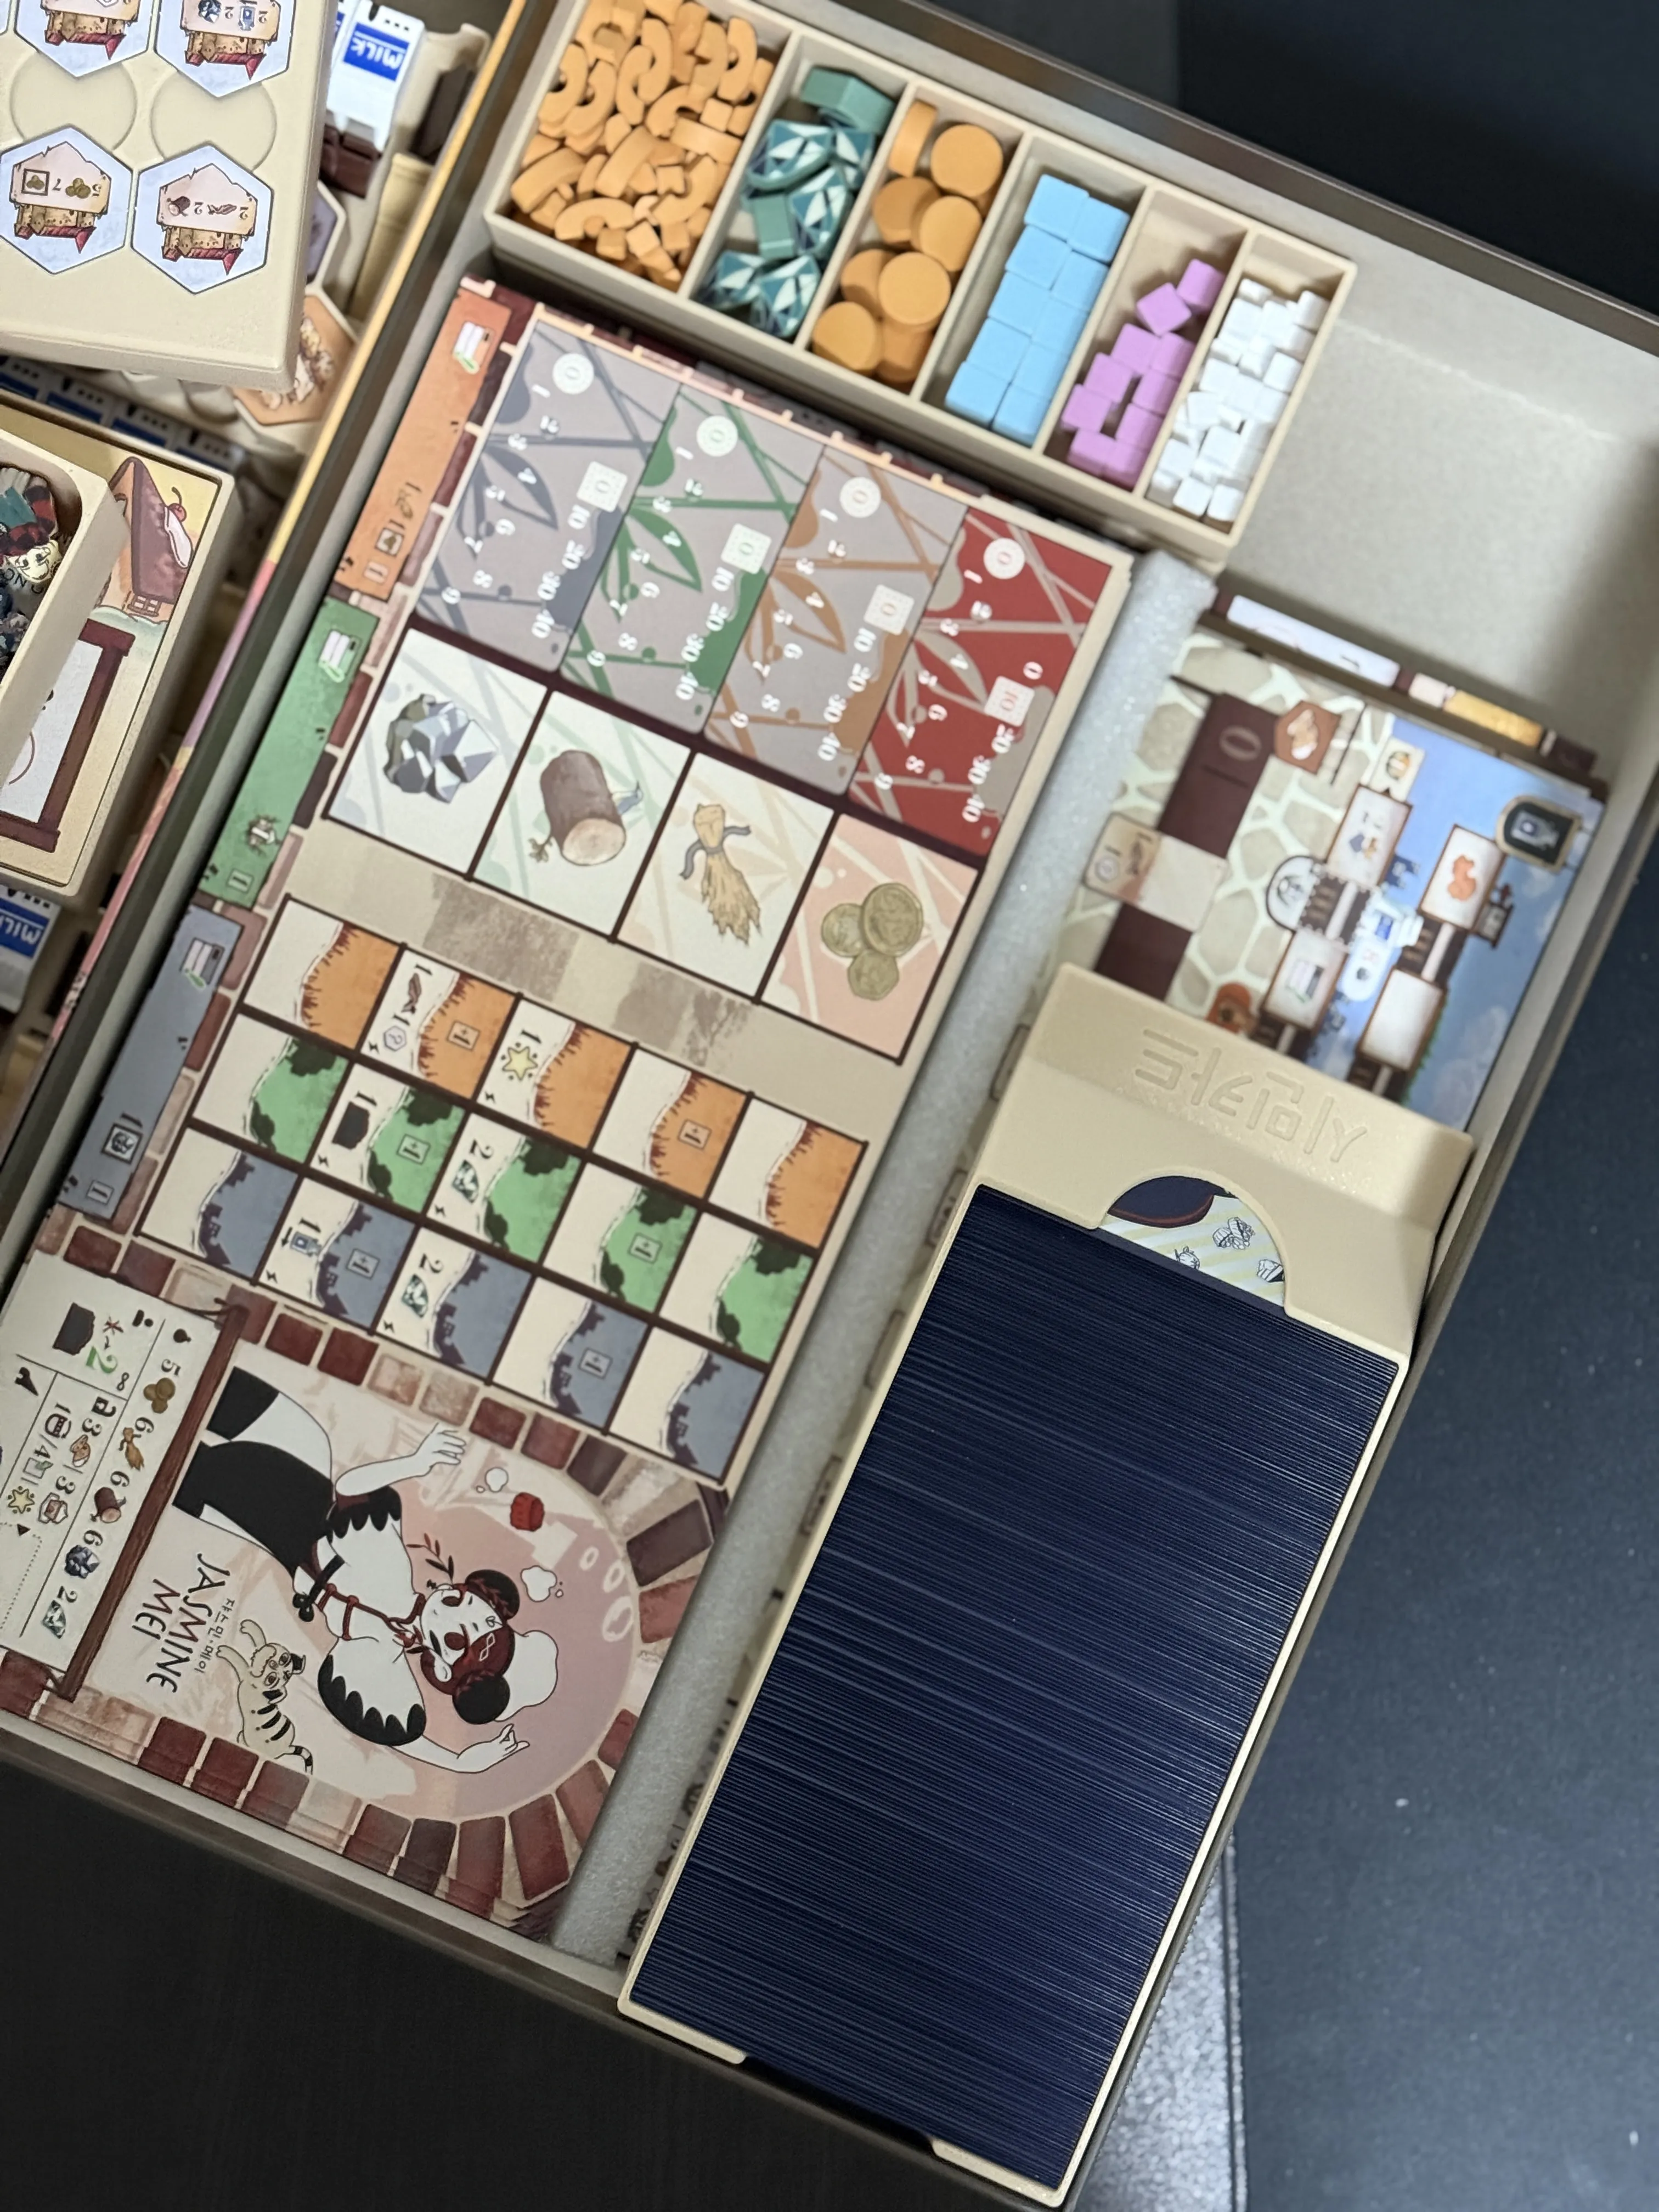
- Attach the special terrain tile tray to the top edge of the citizen card tray
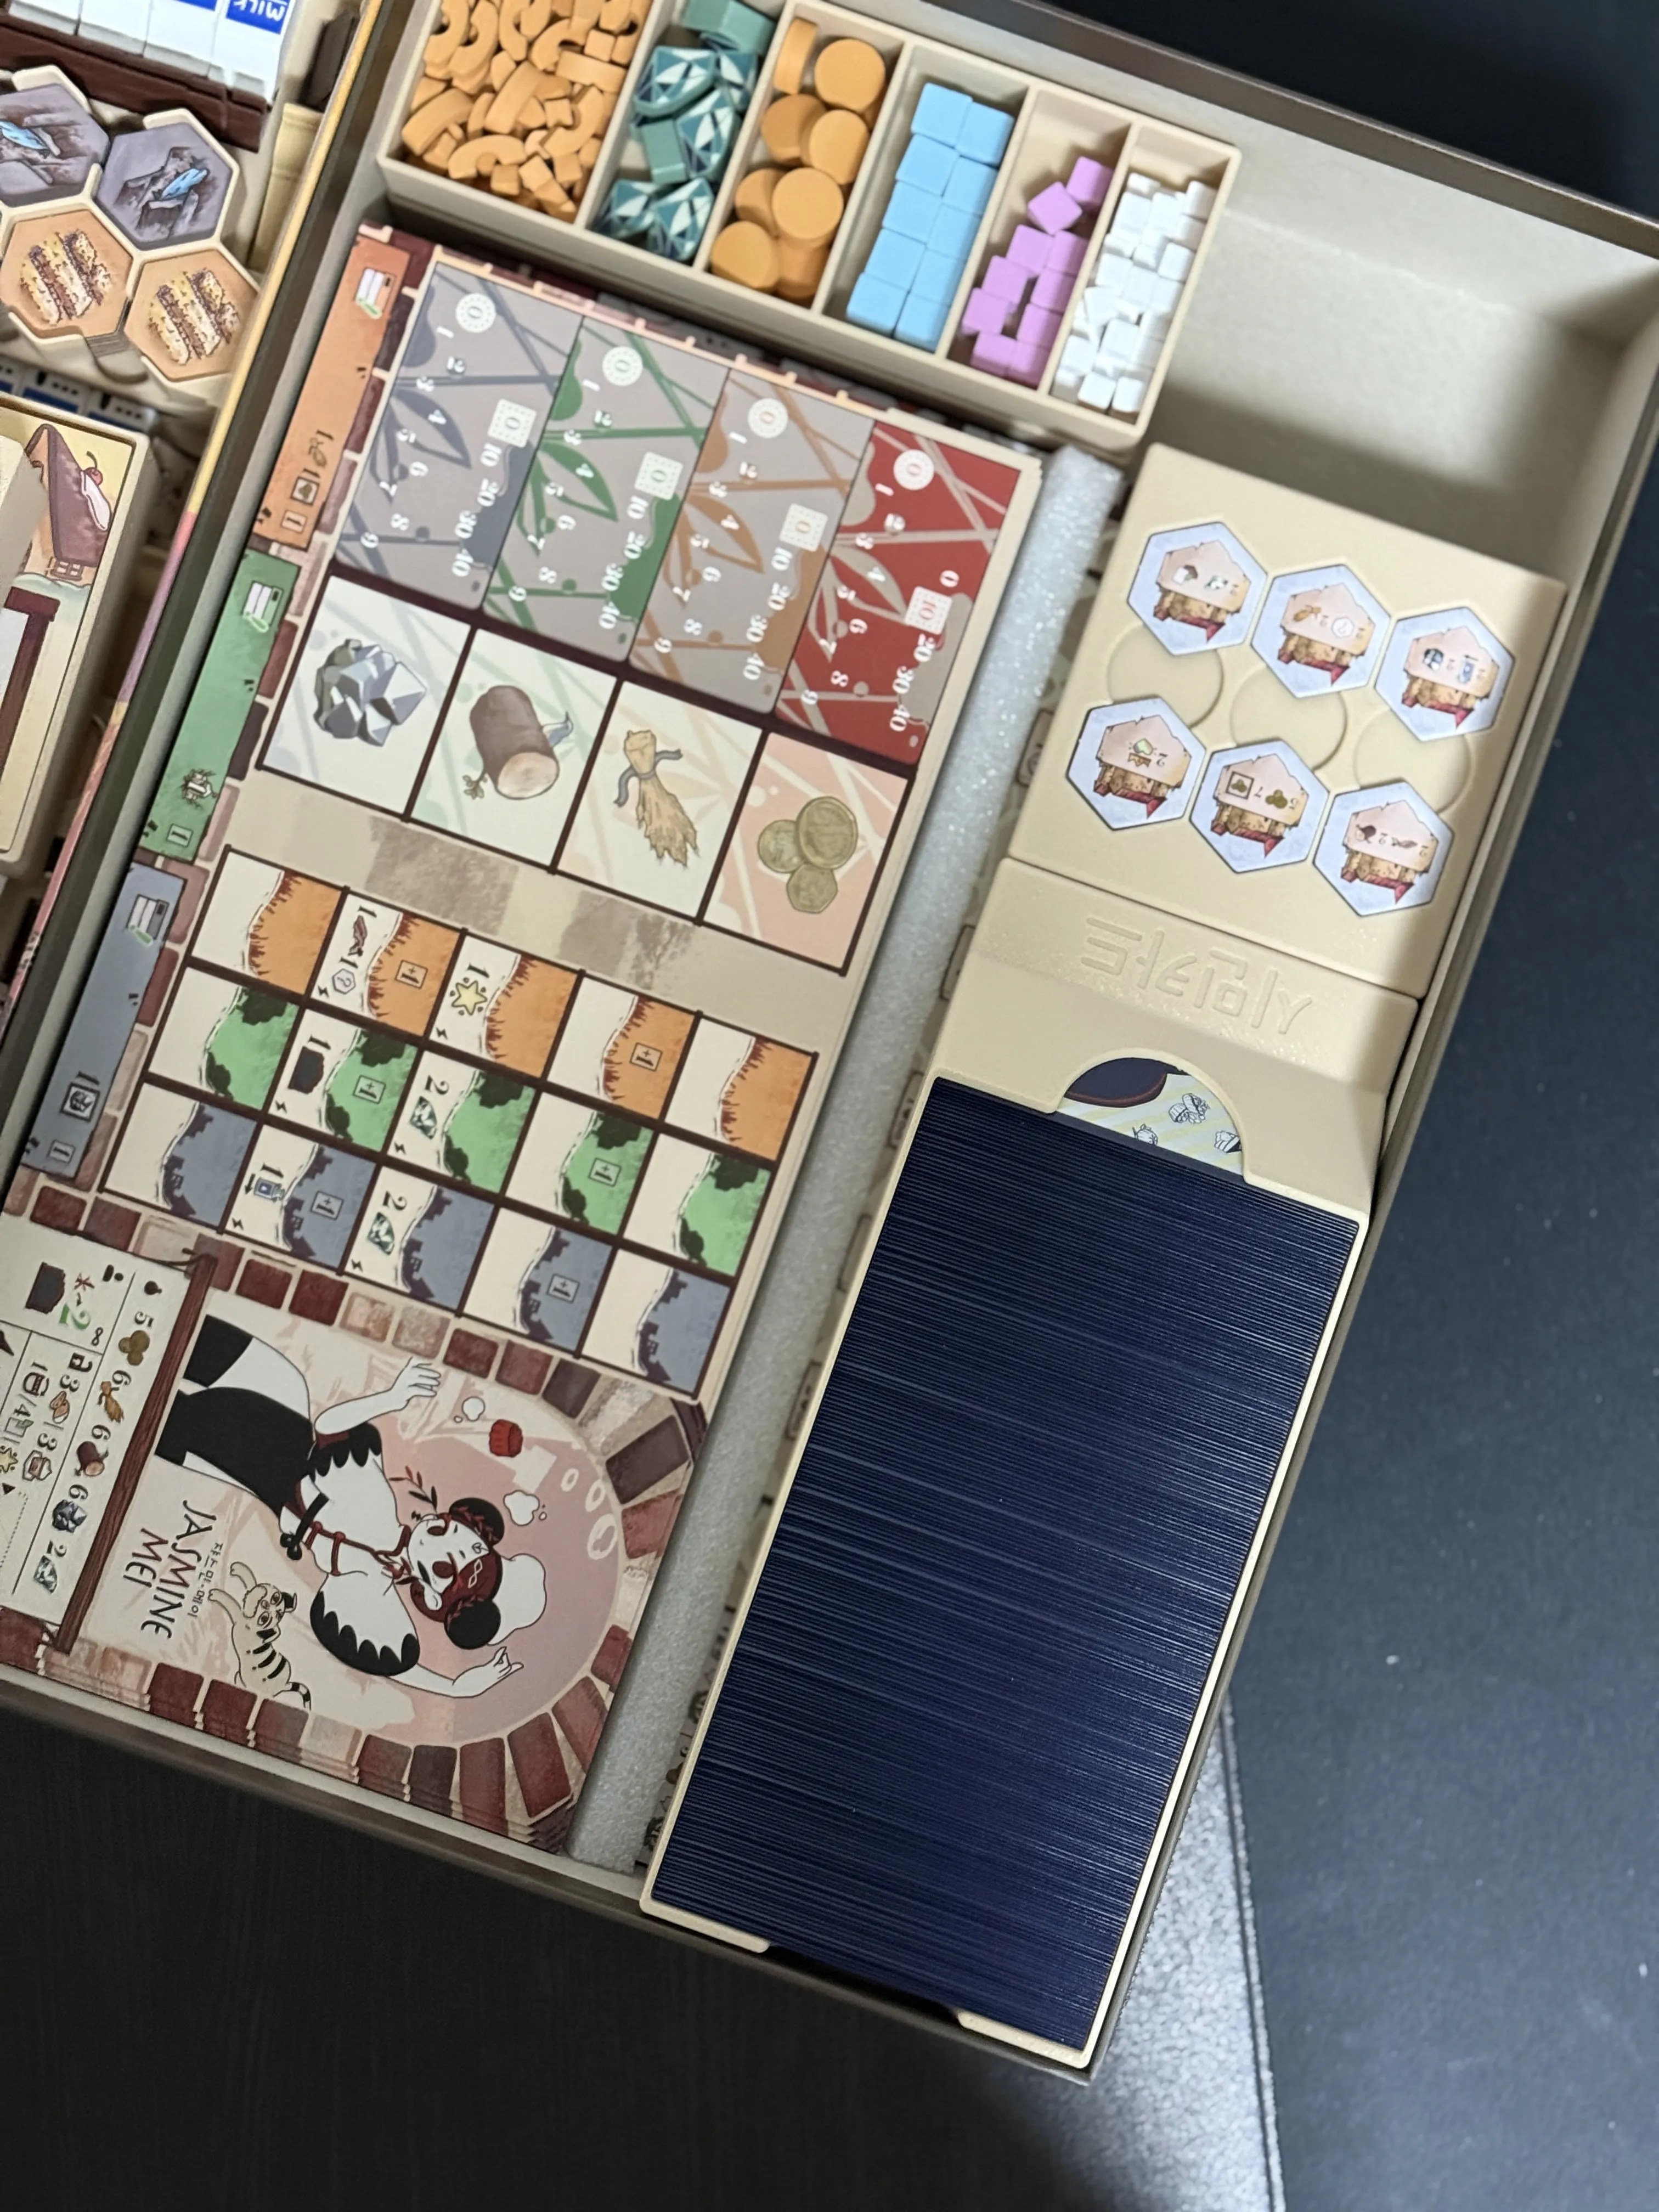
- Place the upgraded character meeples in the empty space at the top
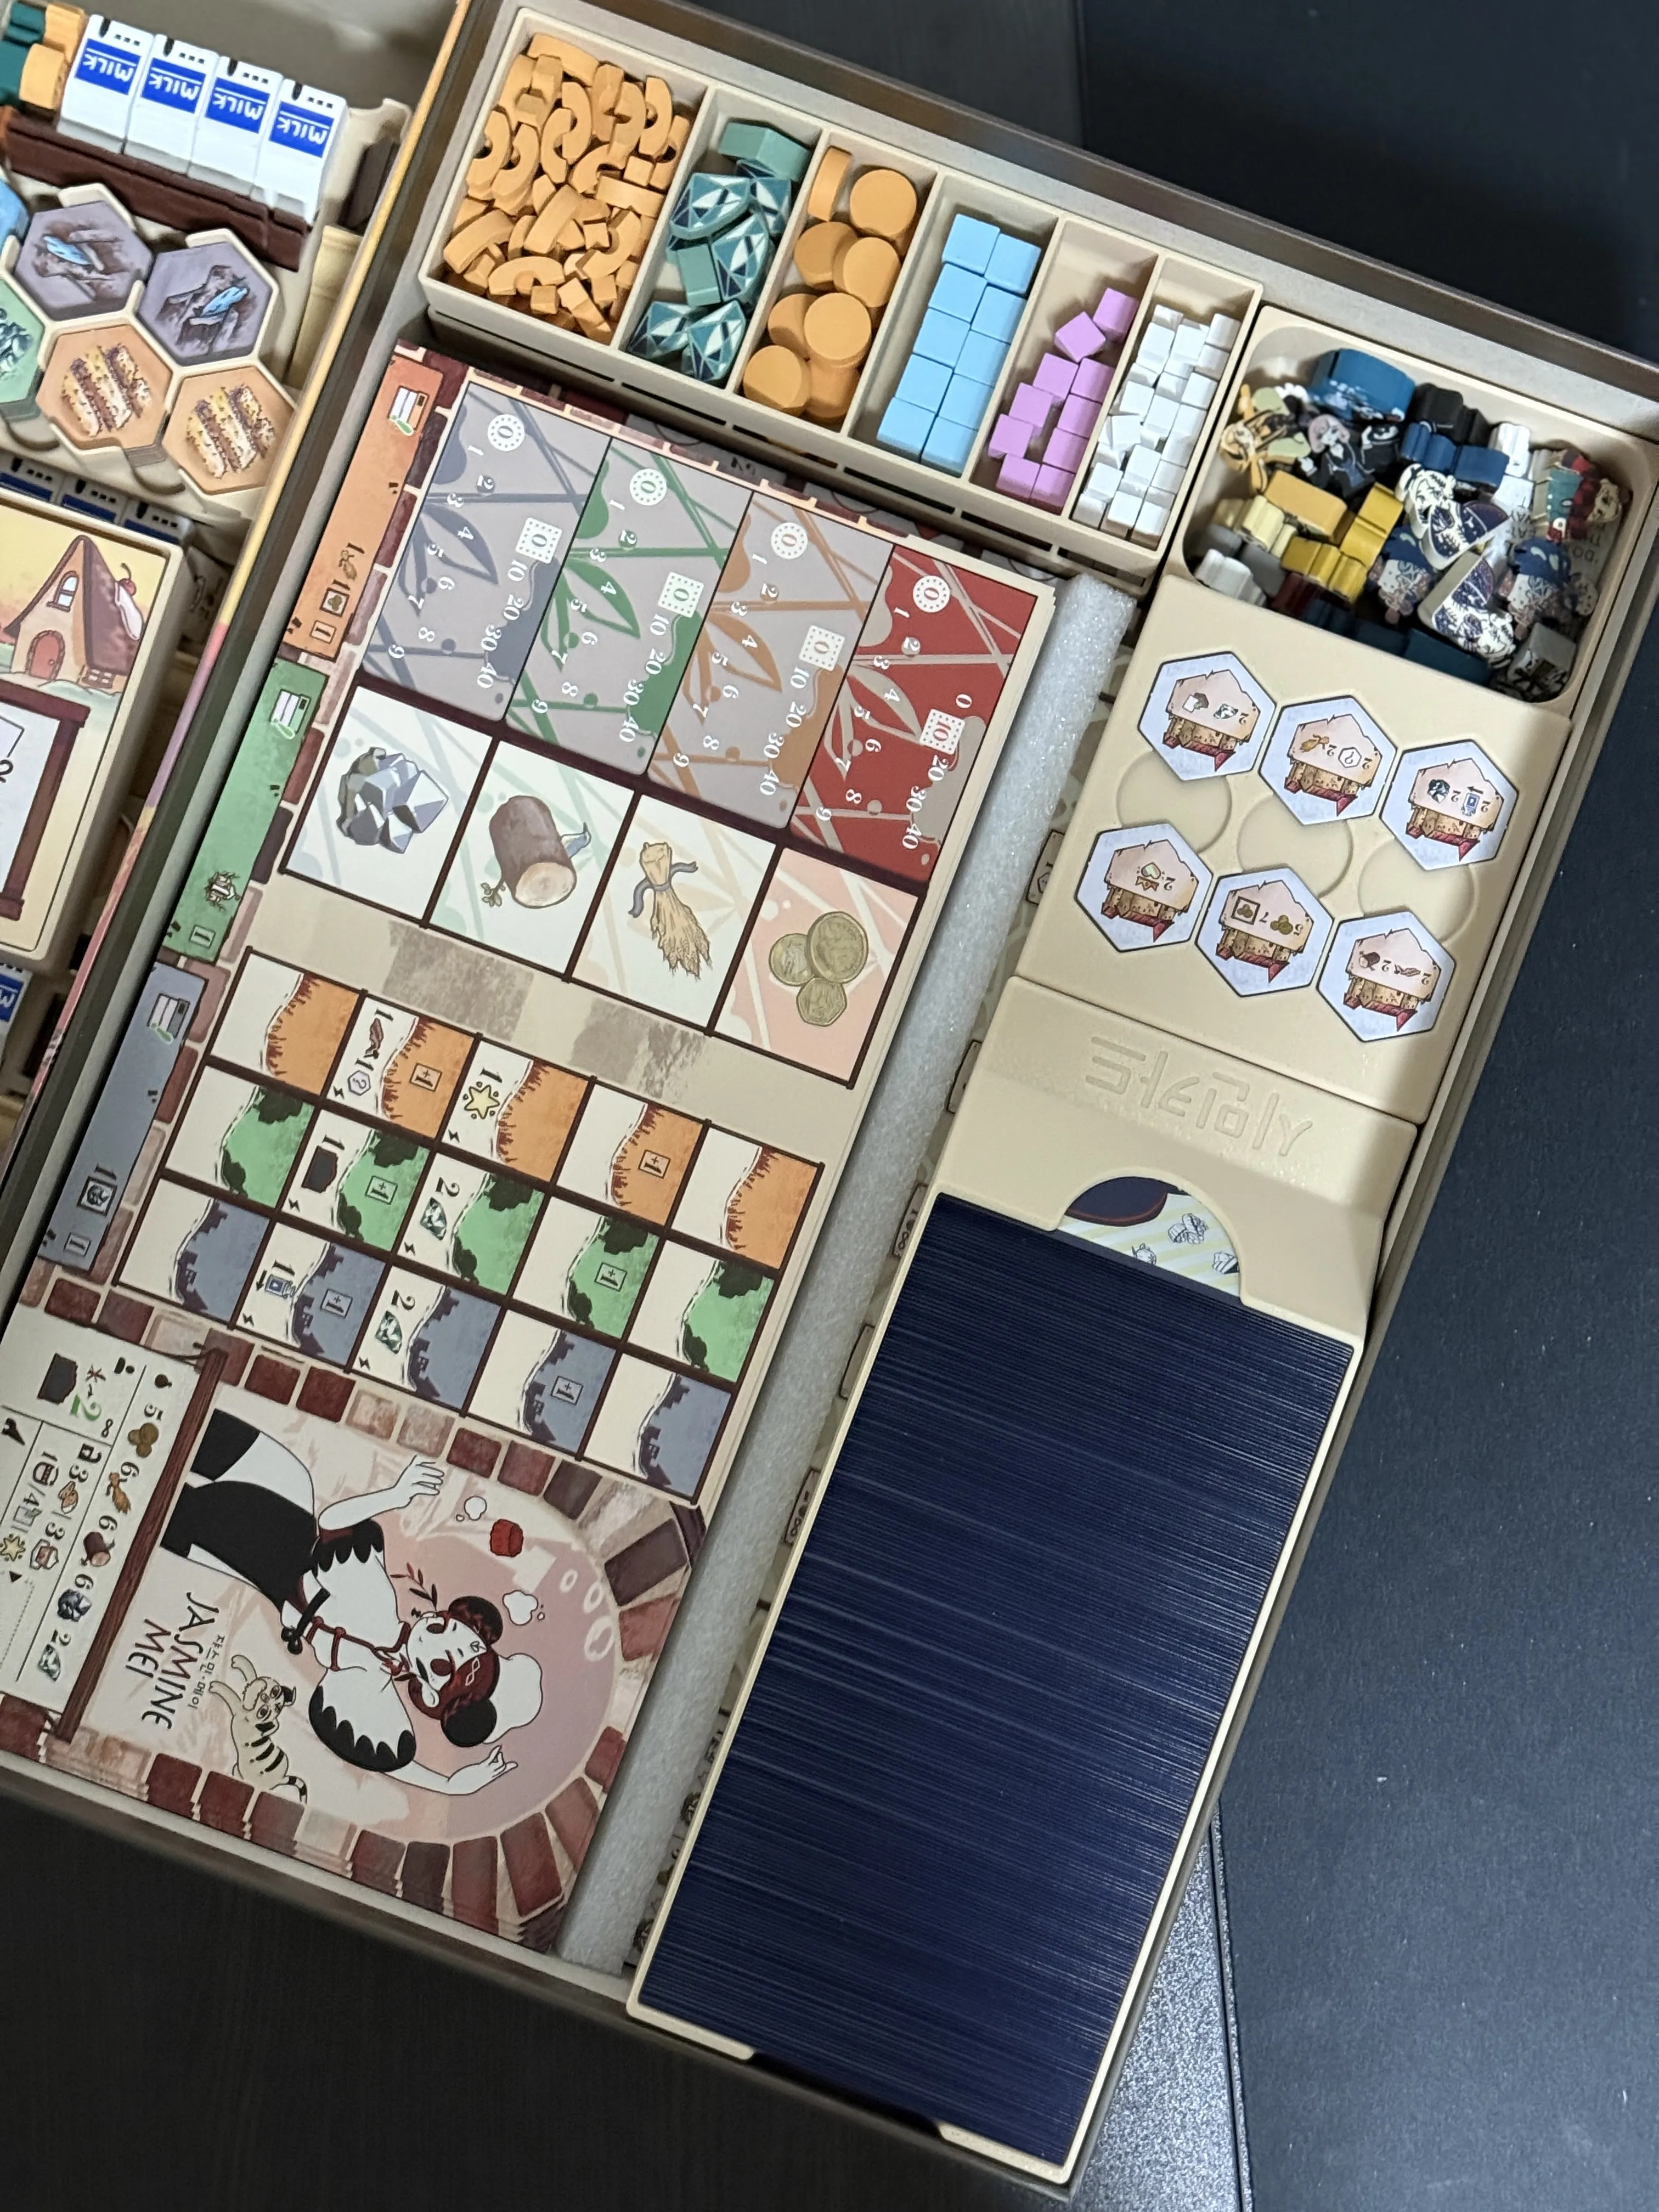
- Place the tray containing advanced technology tiles/final score tiles/basic support tiles/pass support tiles on top of it
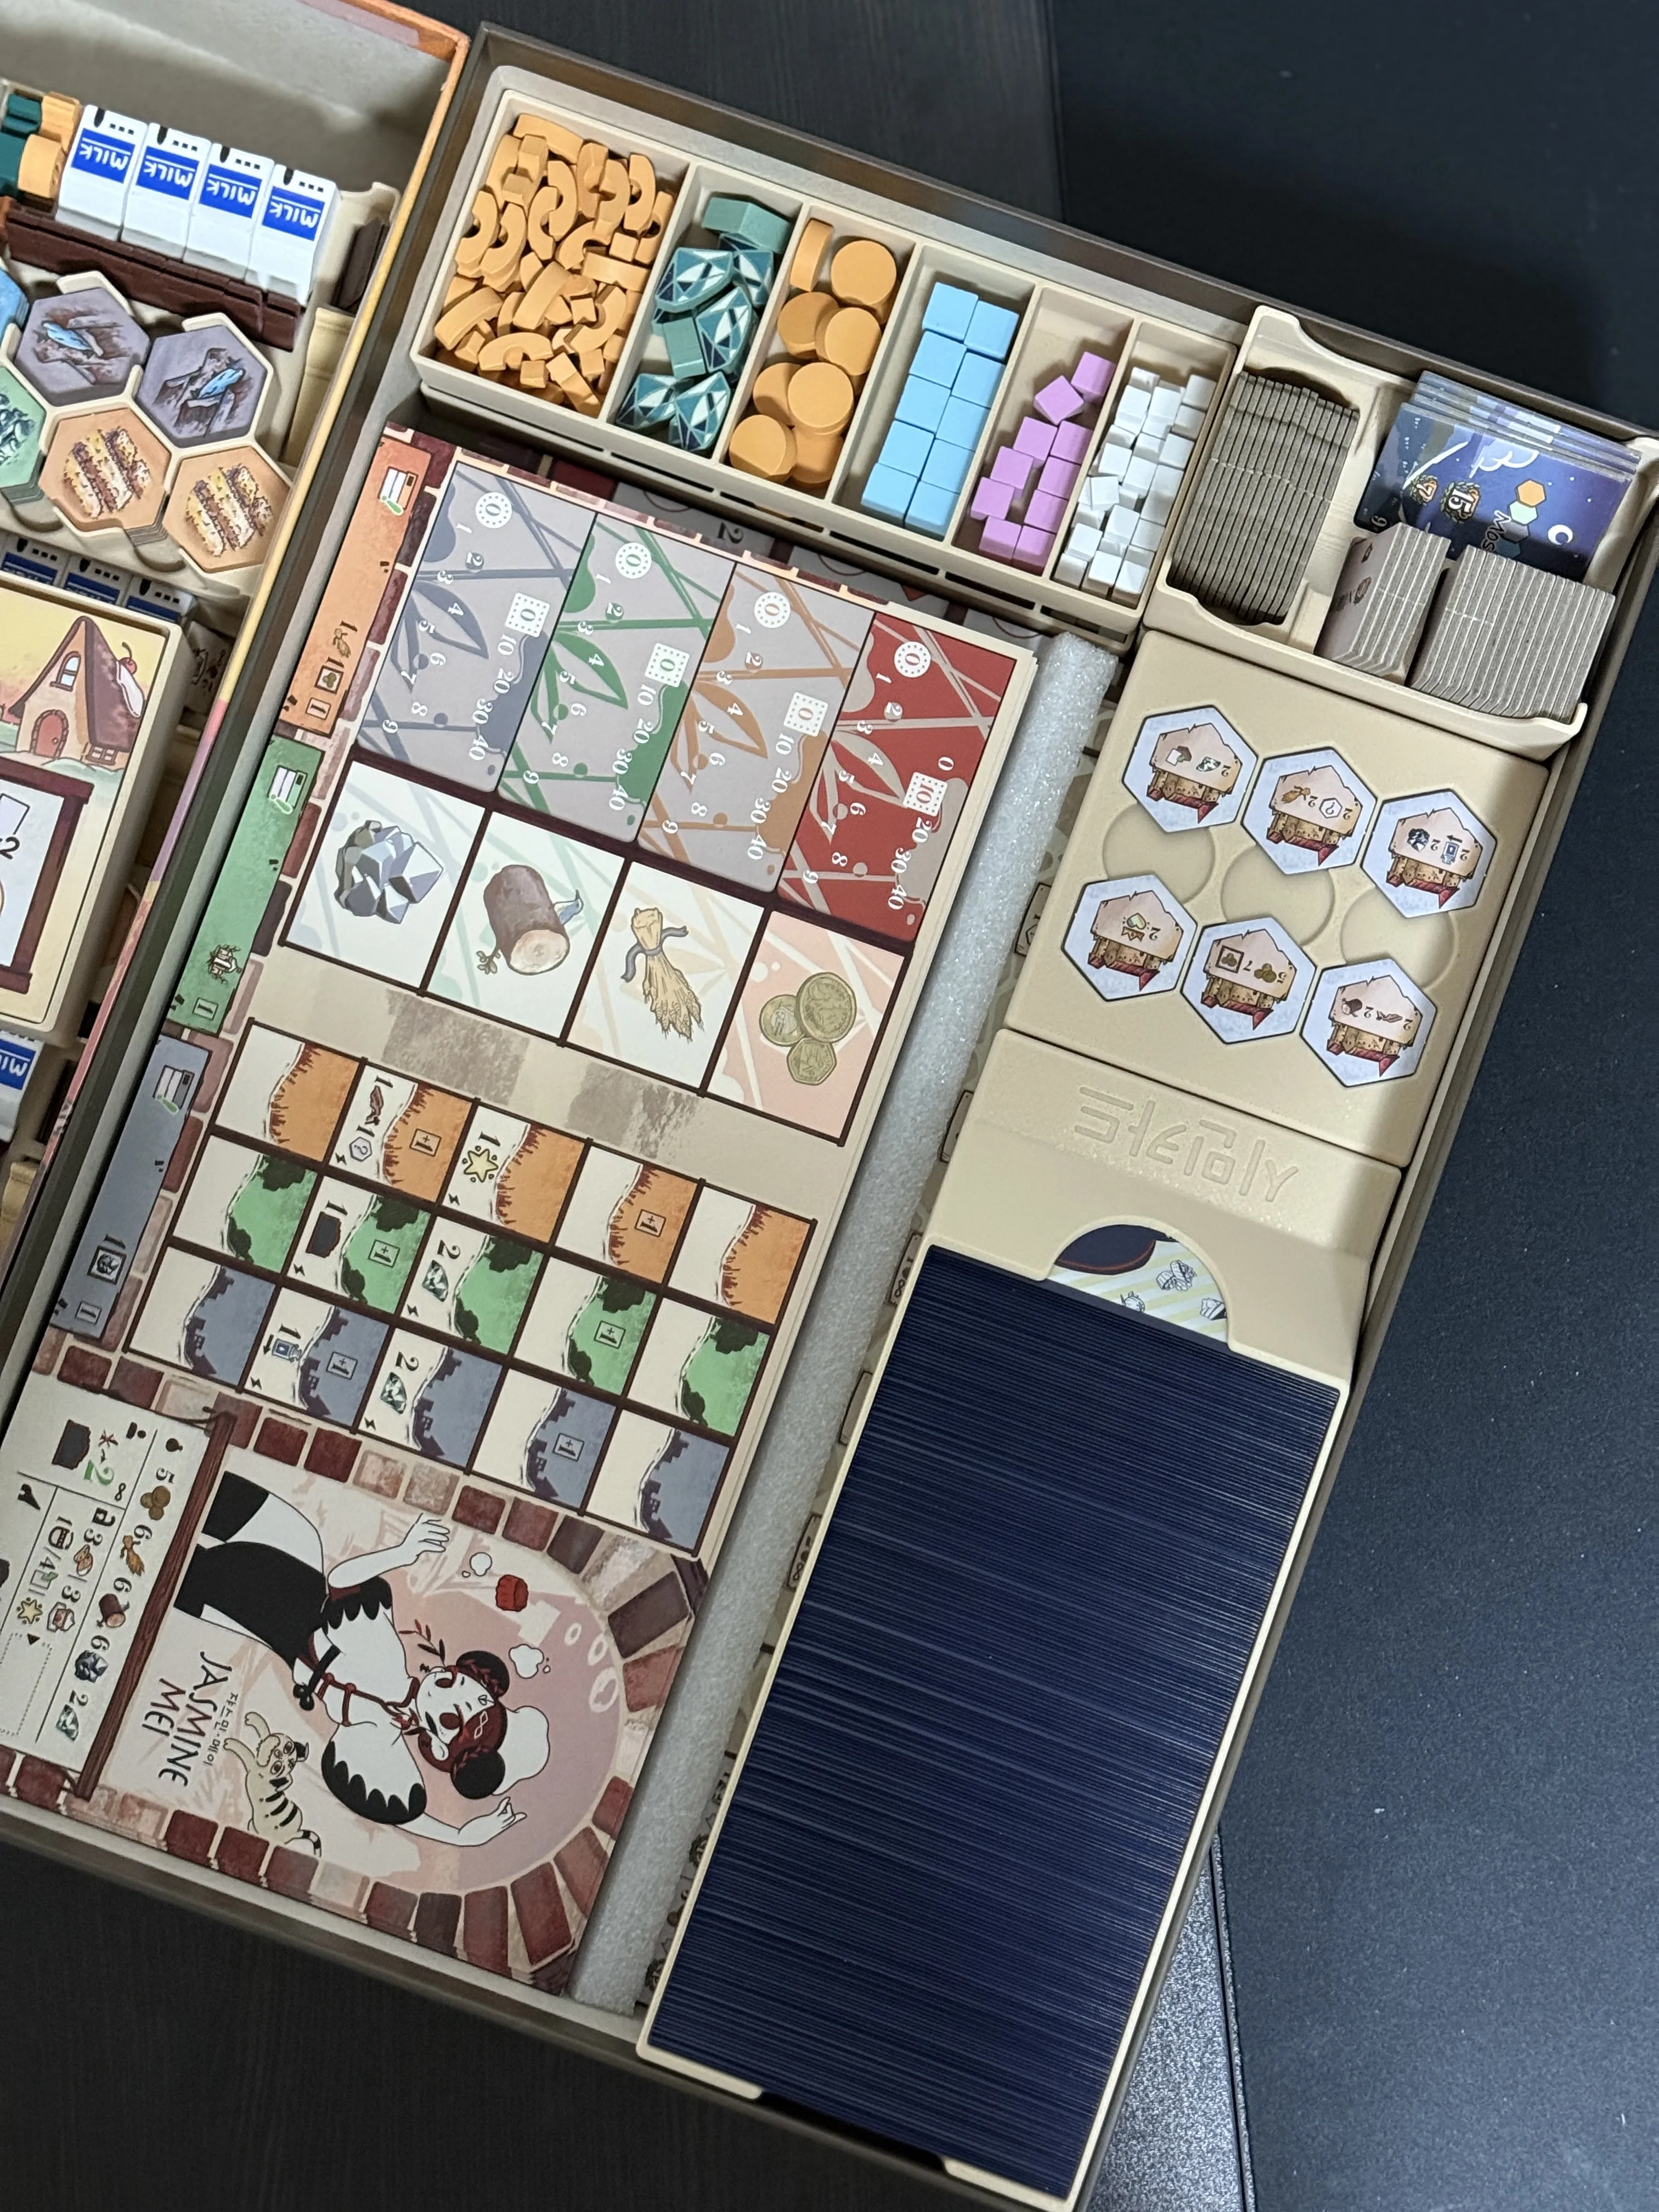
- The empty space at the end of the citizen card tray and where the special terrain tiles are attached will fit perfectly with the tray that uses the "imitation board" as a lid. Please place it there
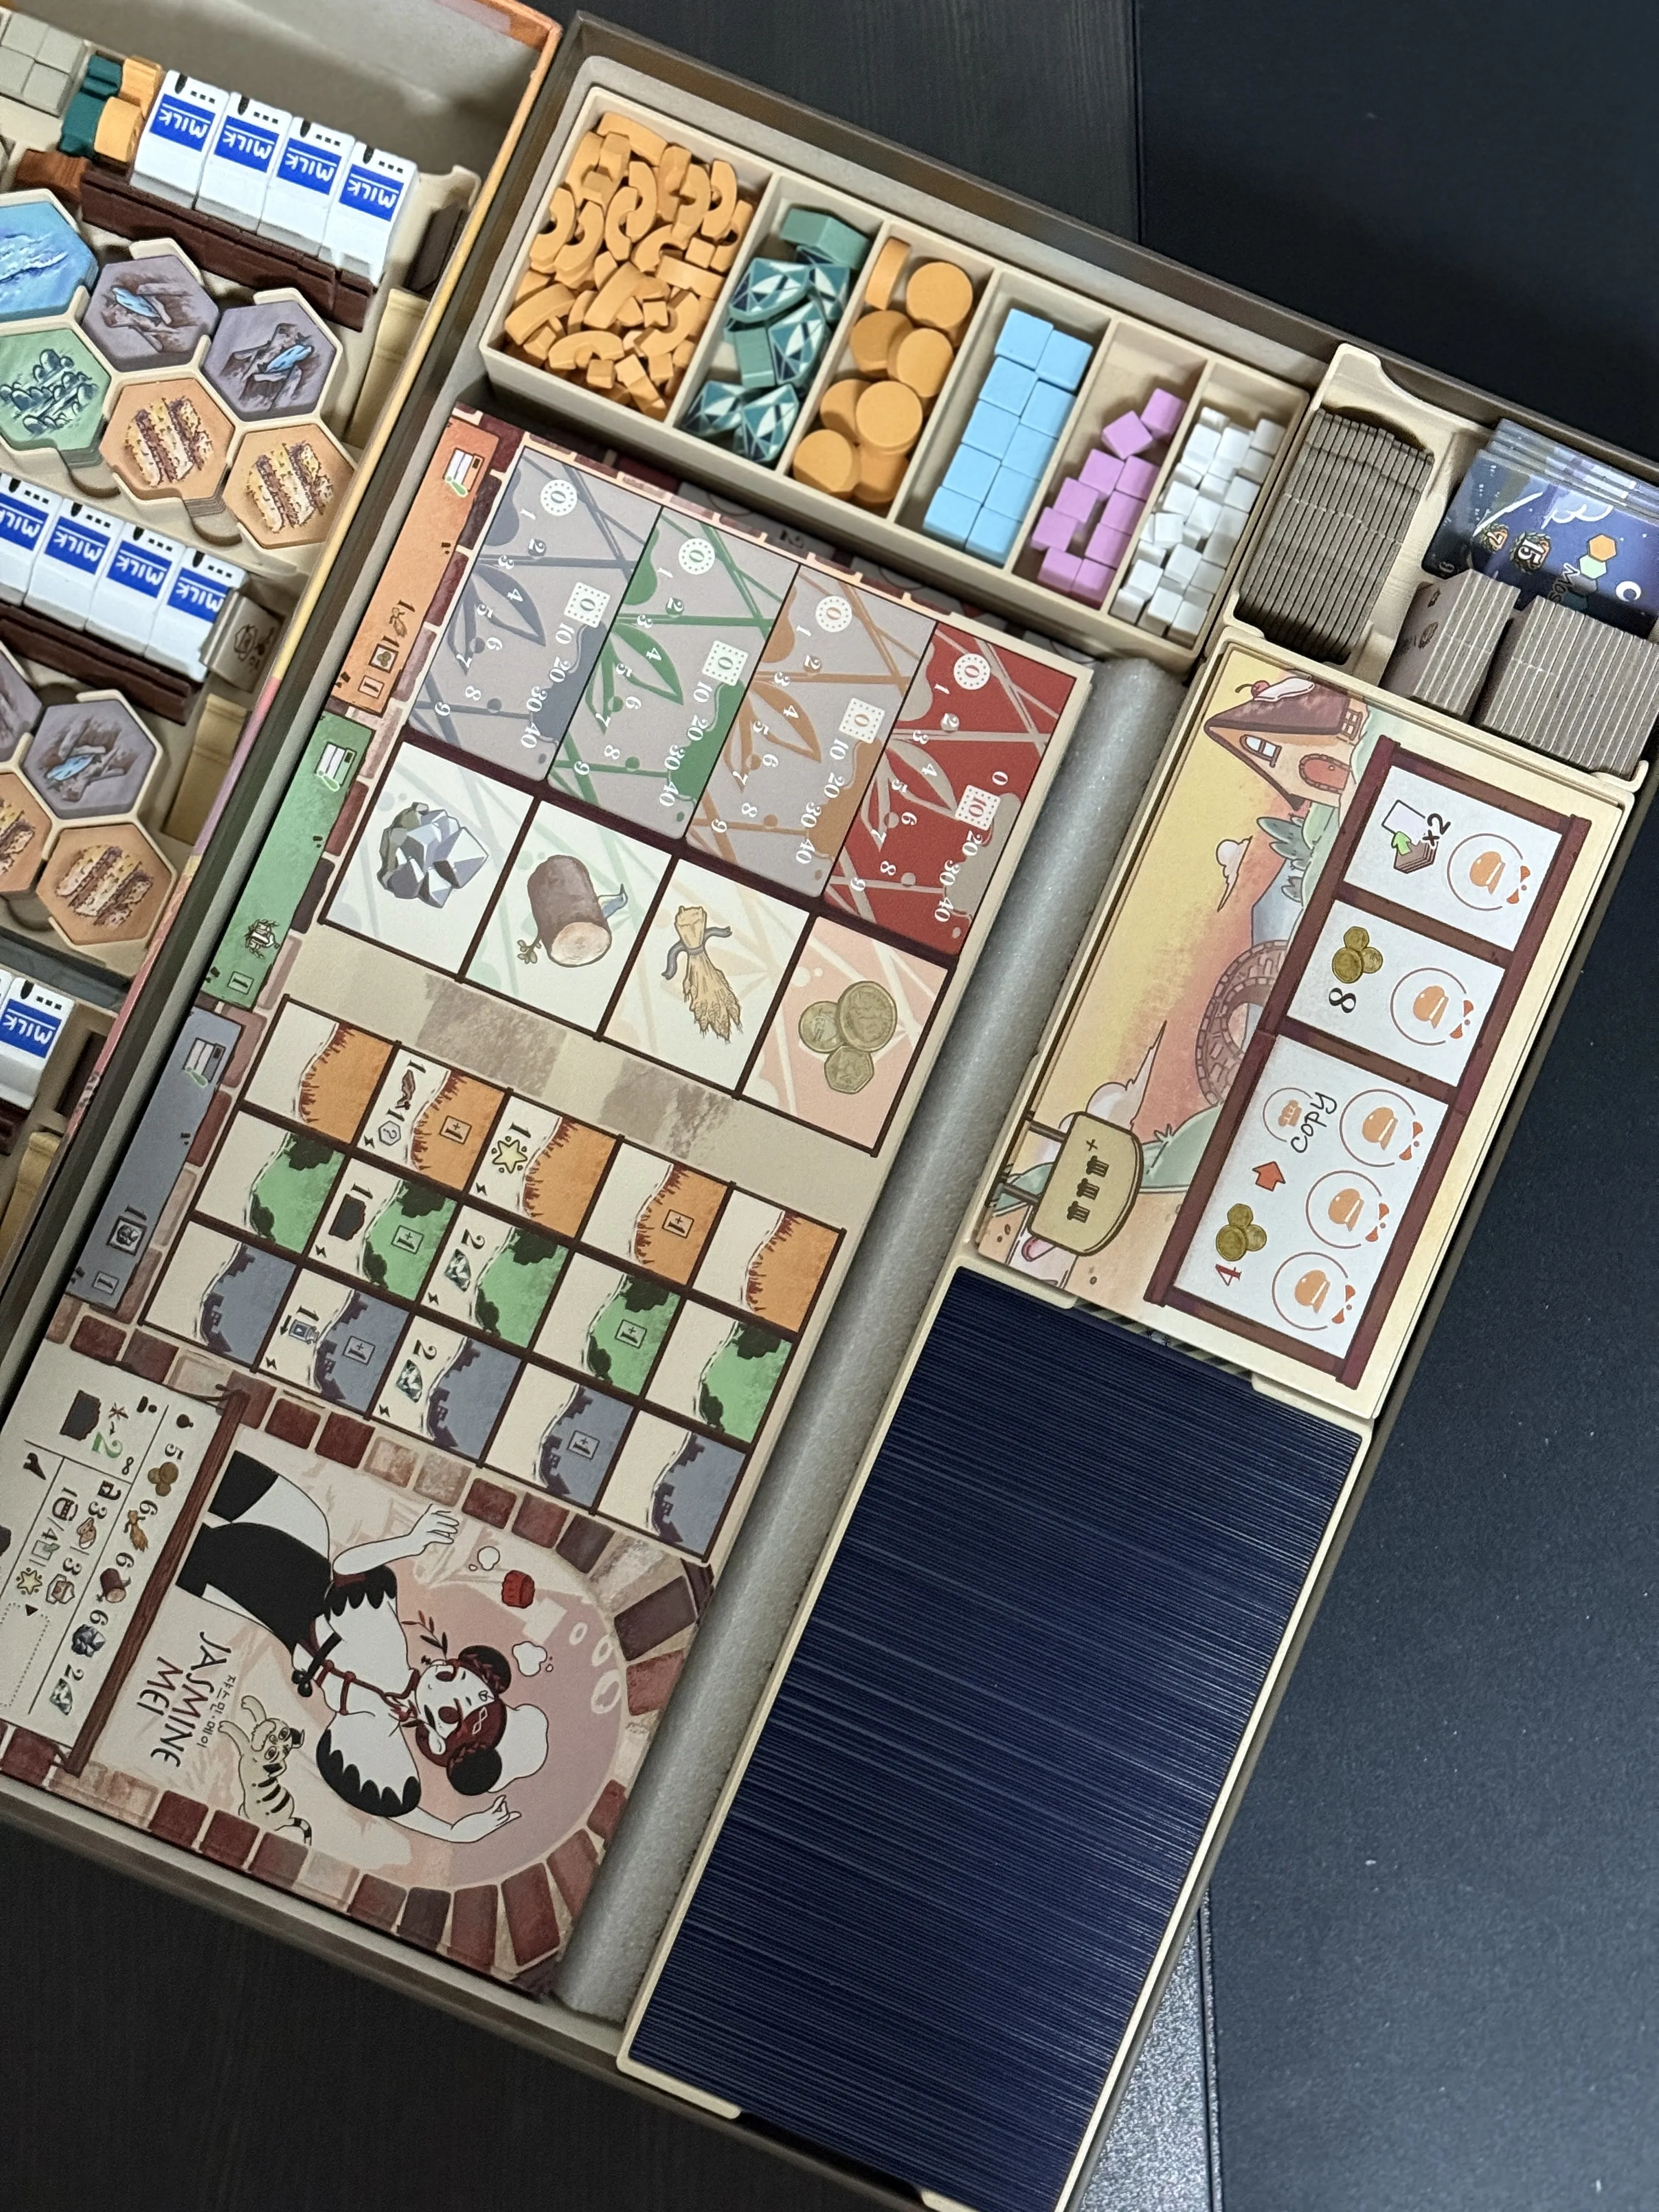
- Place the four trays containing individual player components on the left side to fill the space
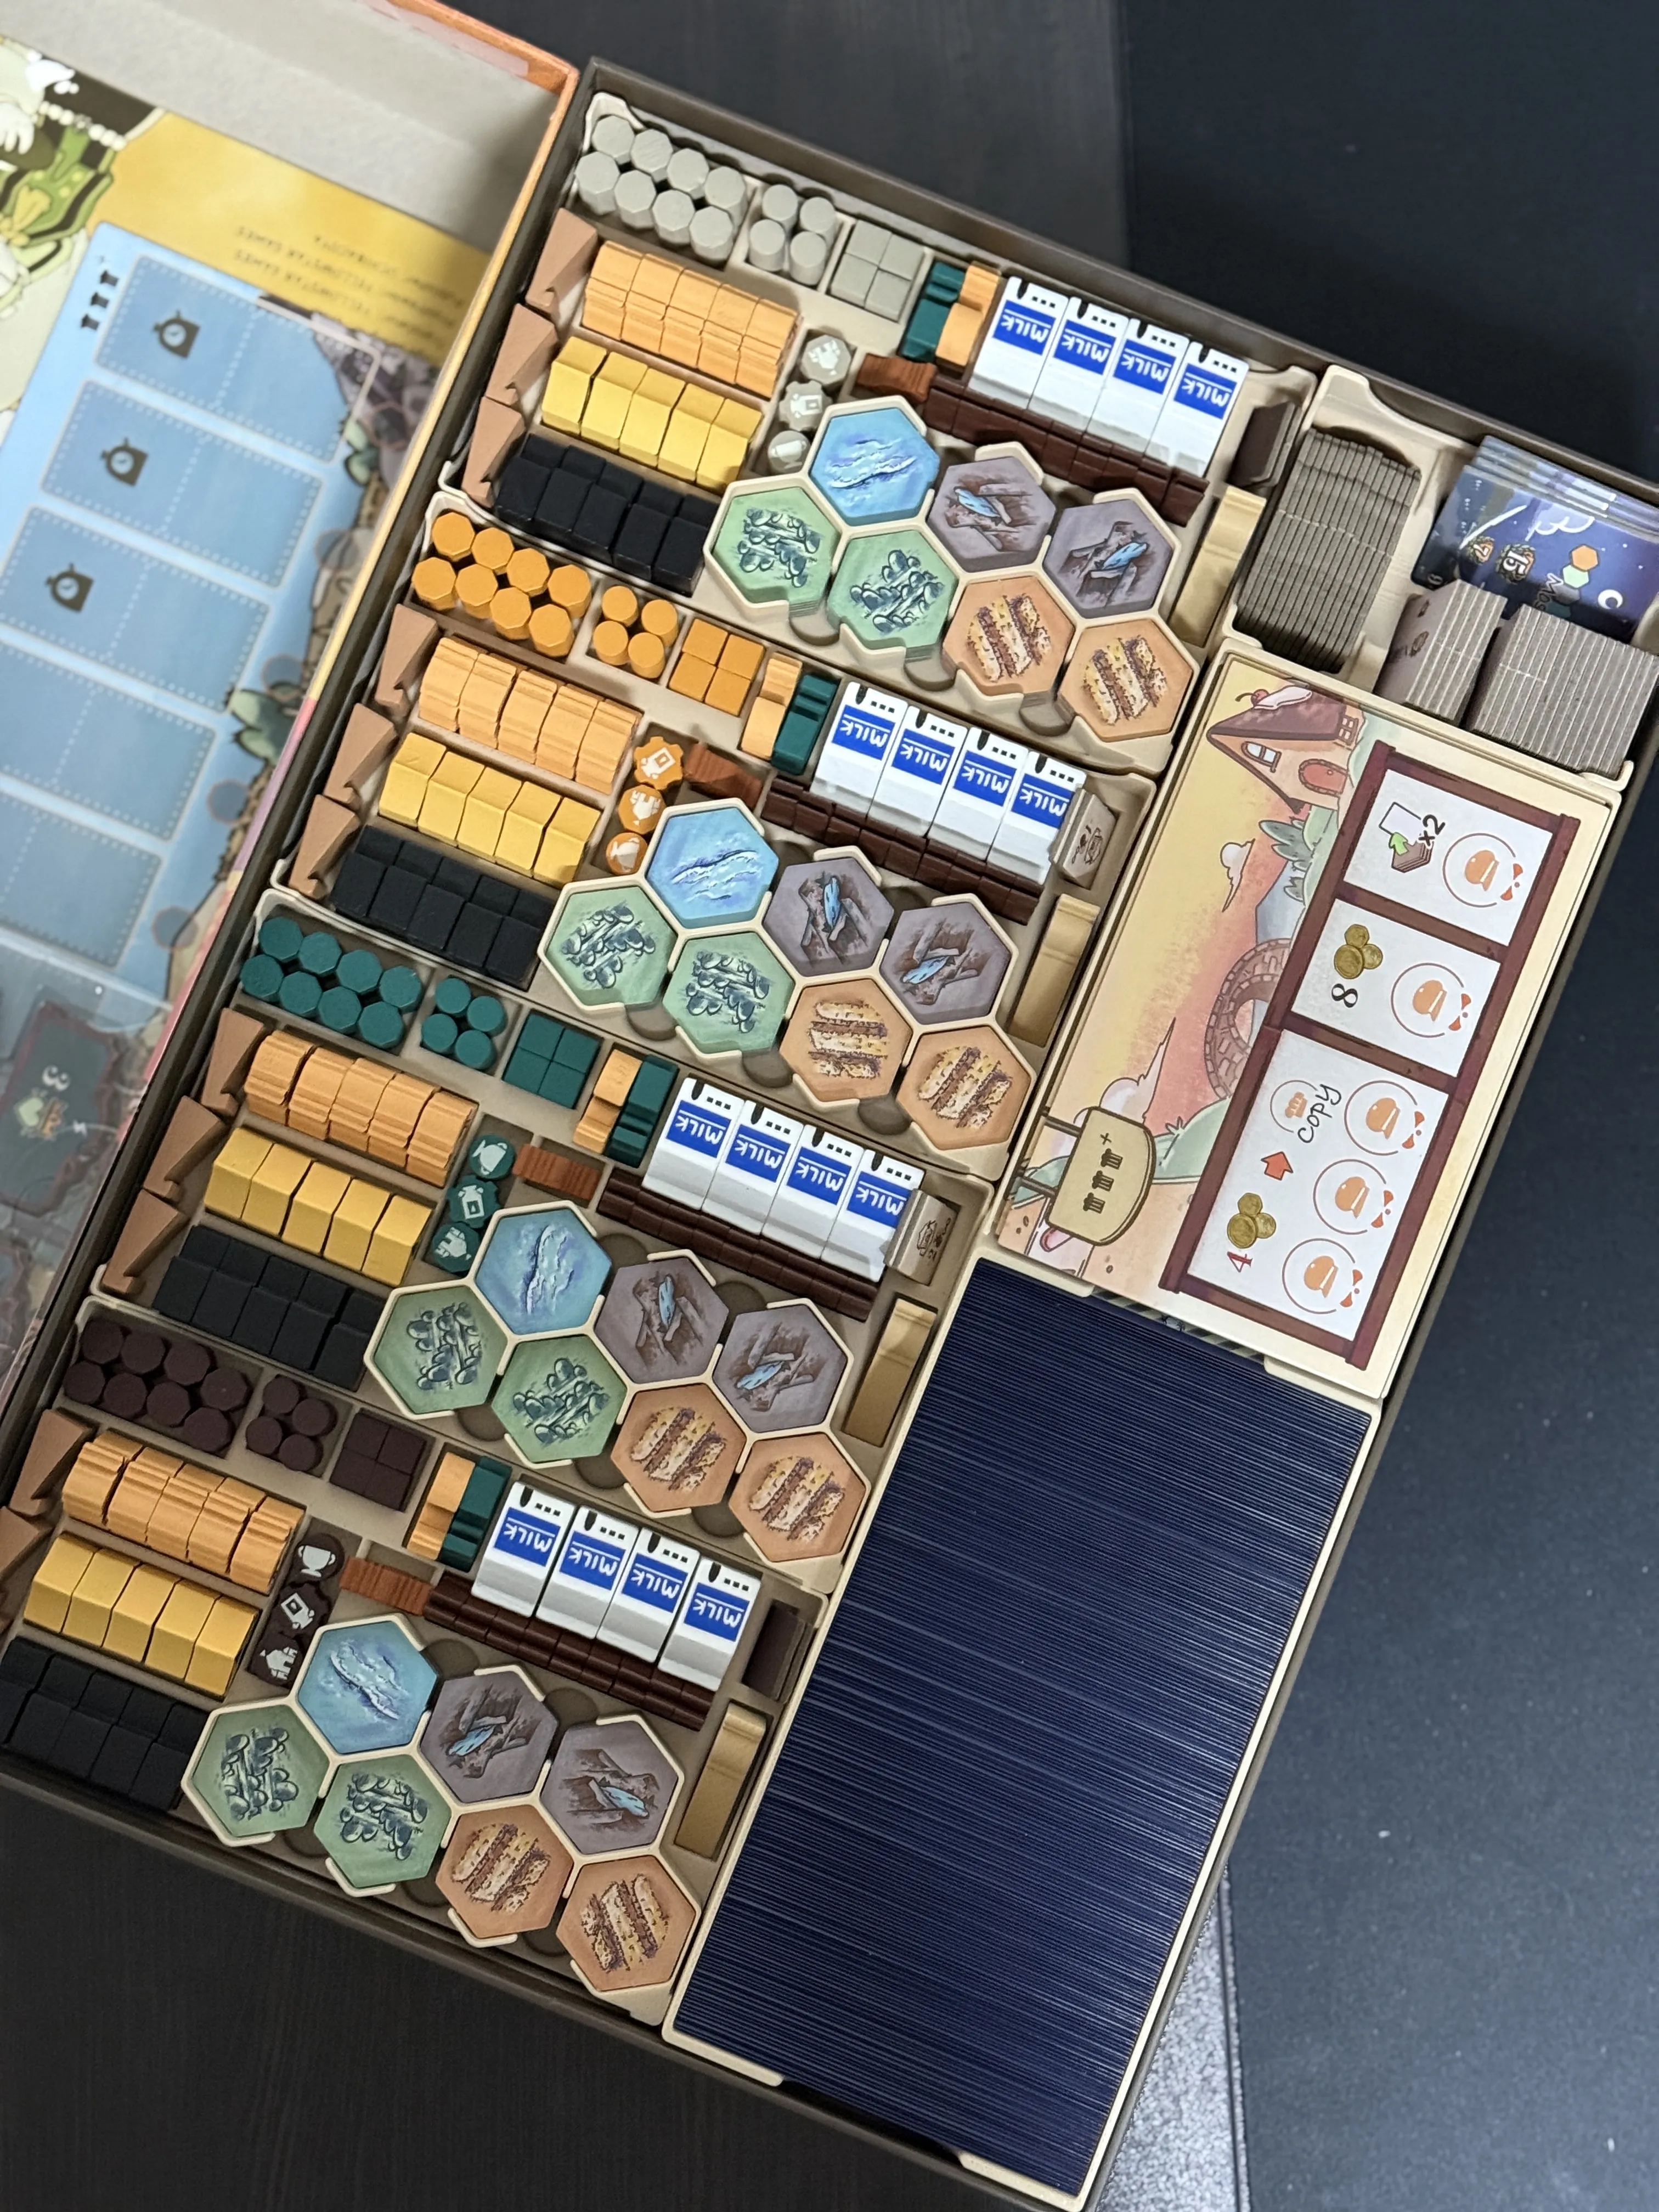
- The round support board, turn order board for variant rules, and the technology tile tray from the upgrade pack will remain, but there is enough space to place all three. Place them there
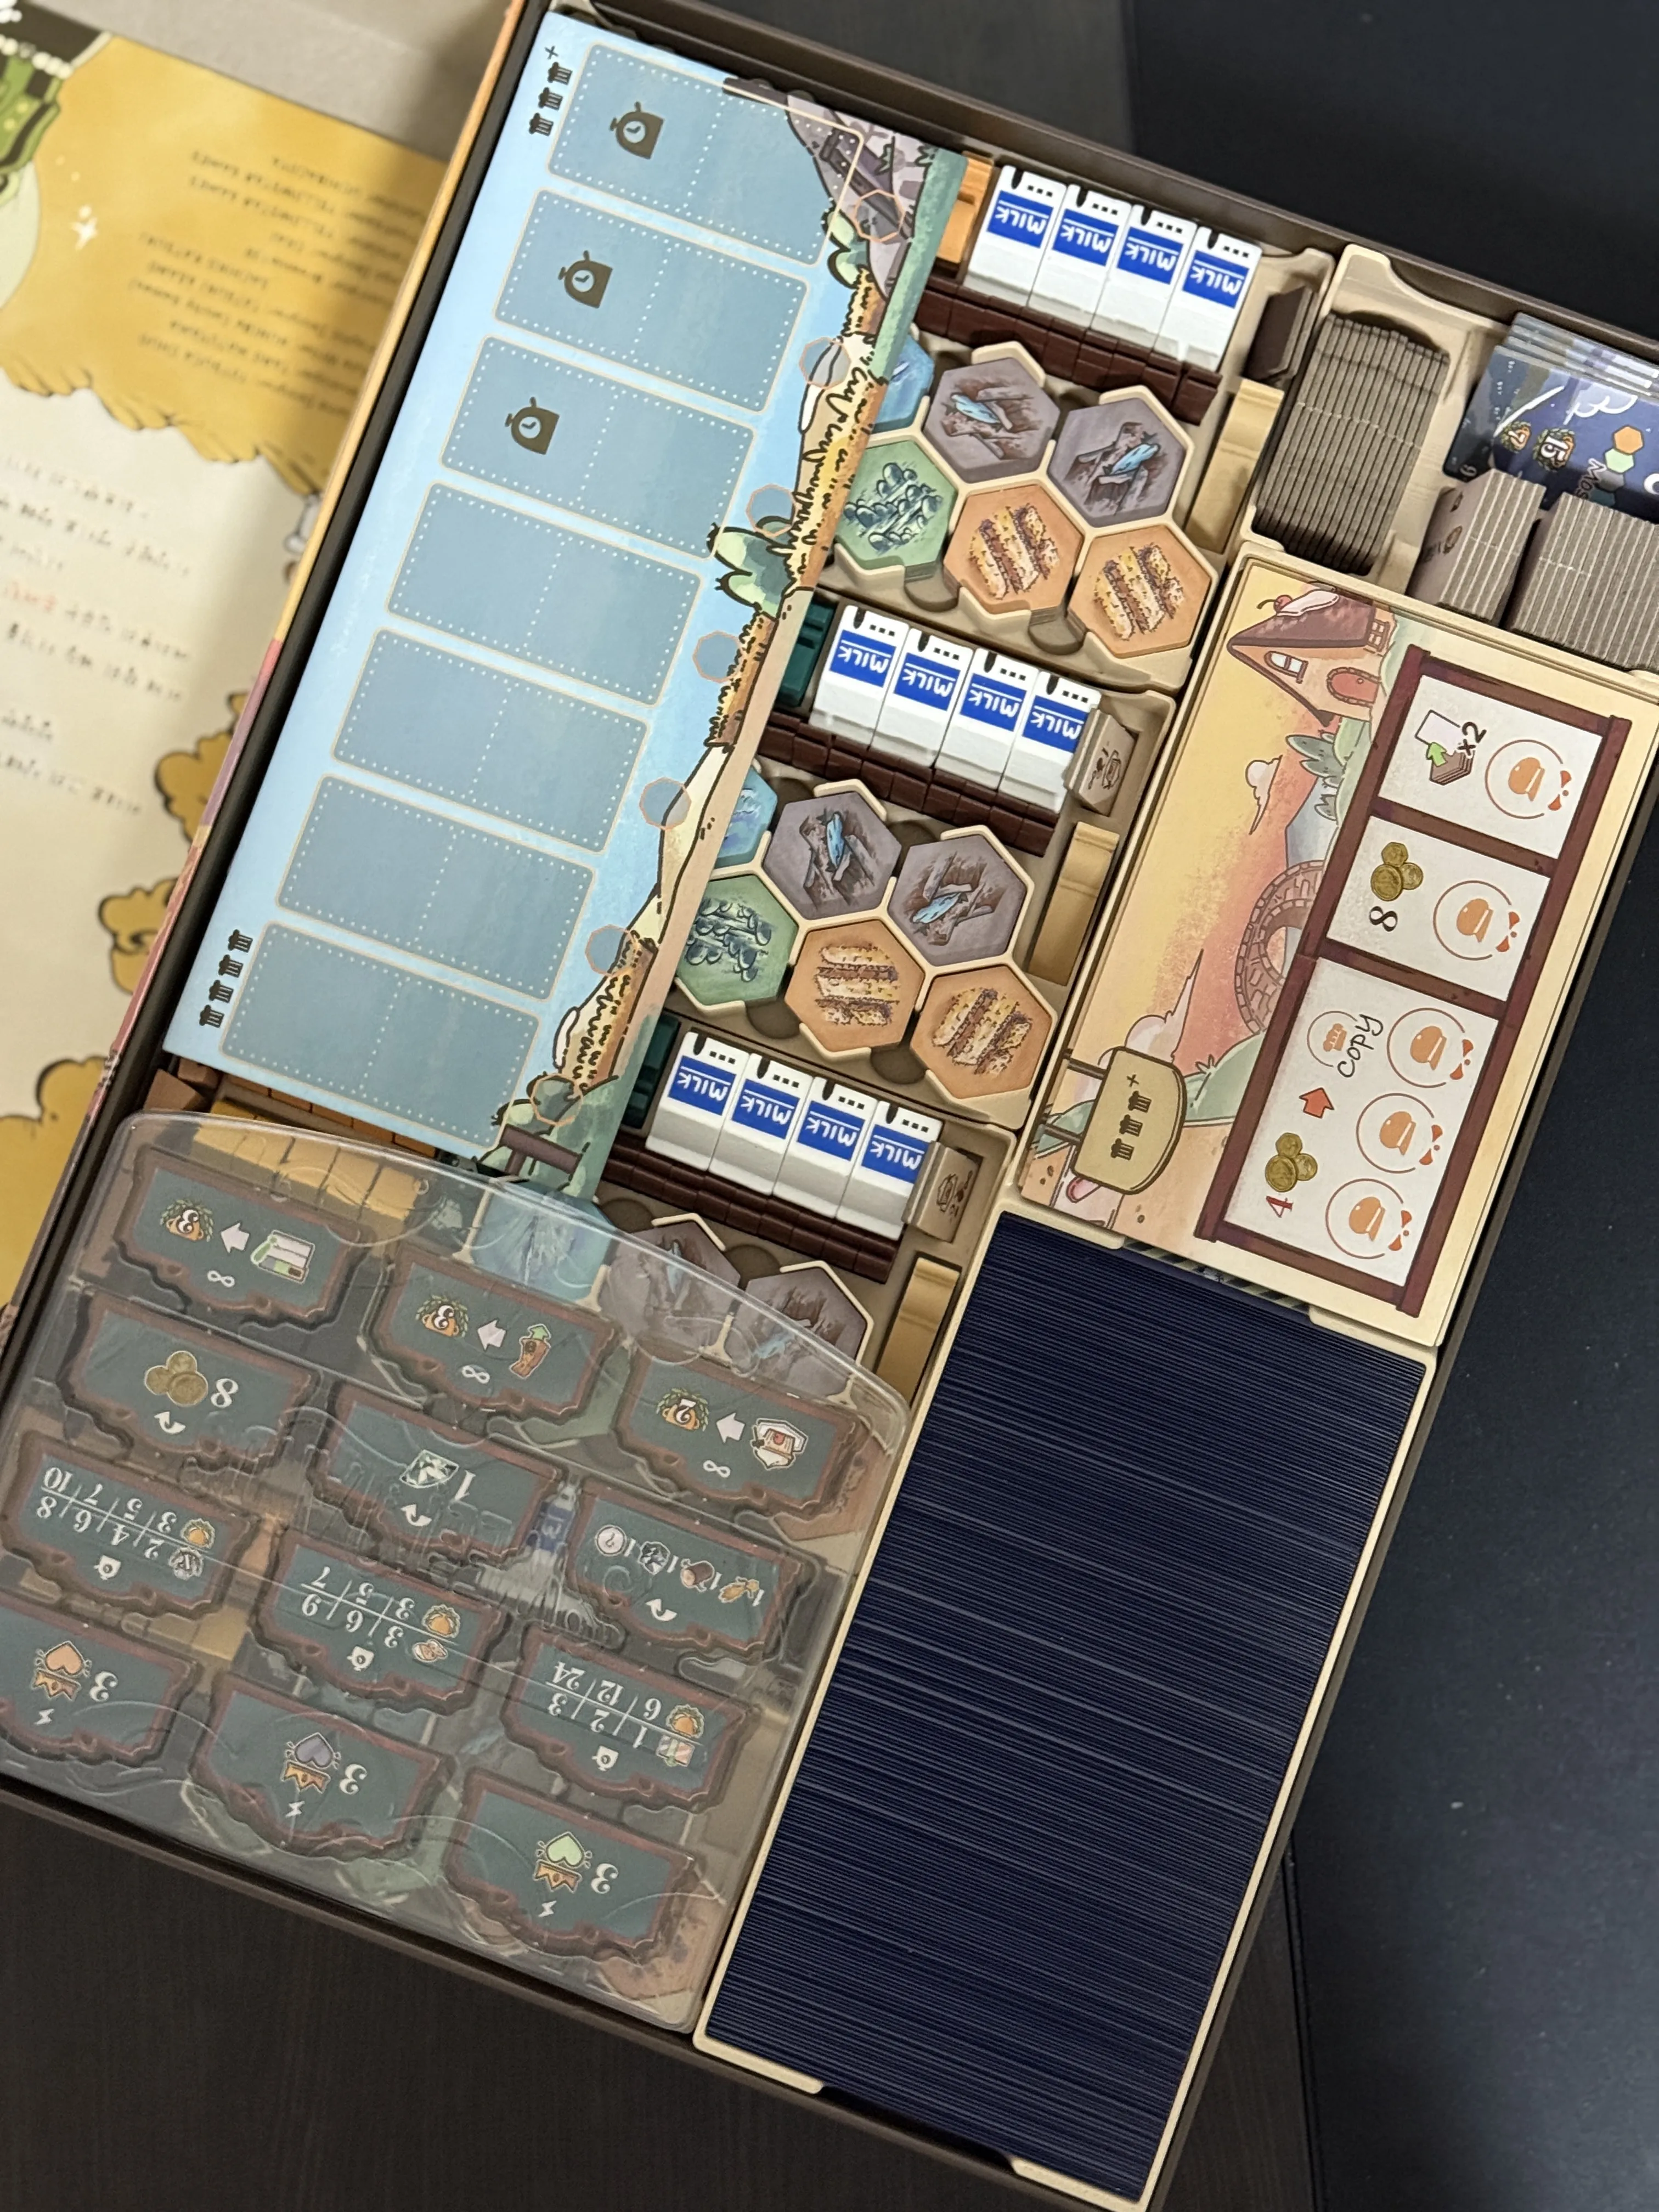
- Then, just place the rulebook on top. Organization complete
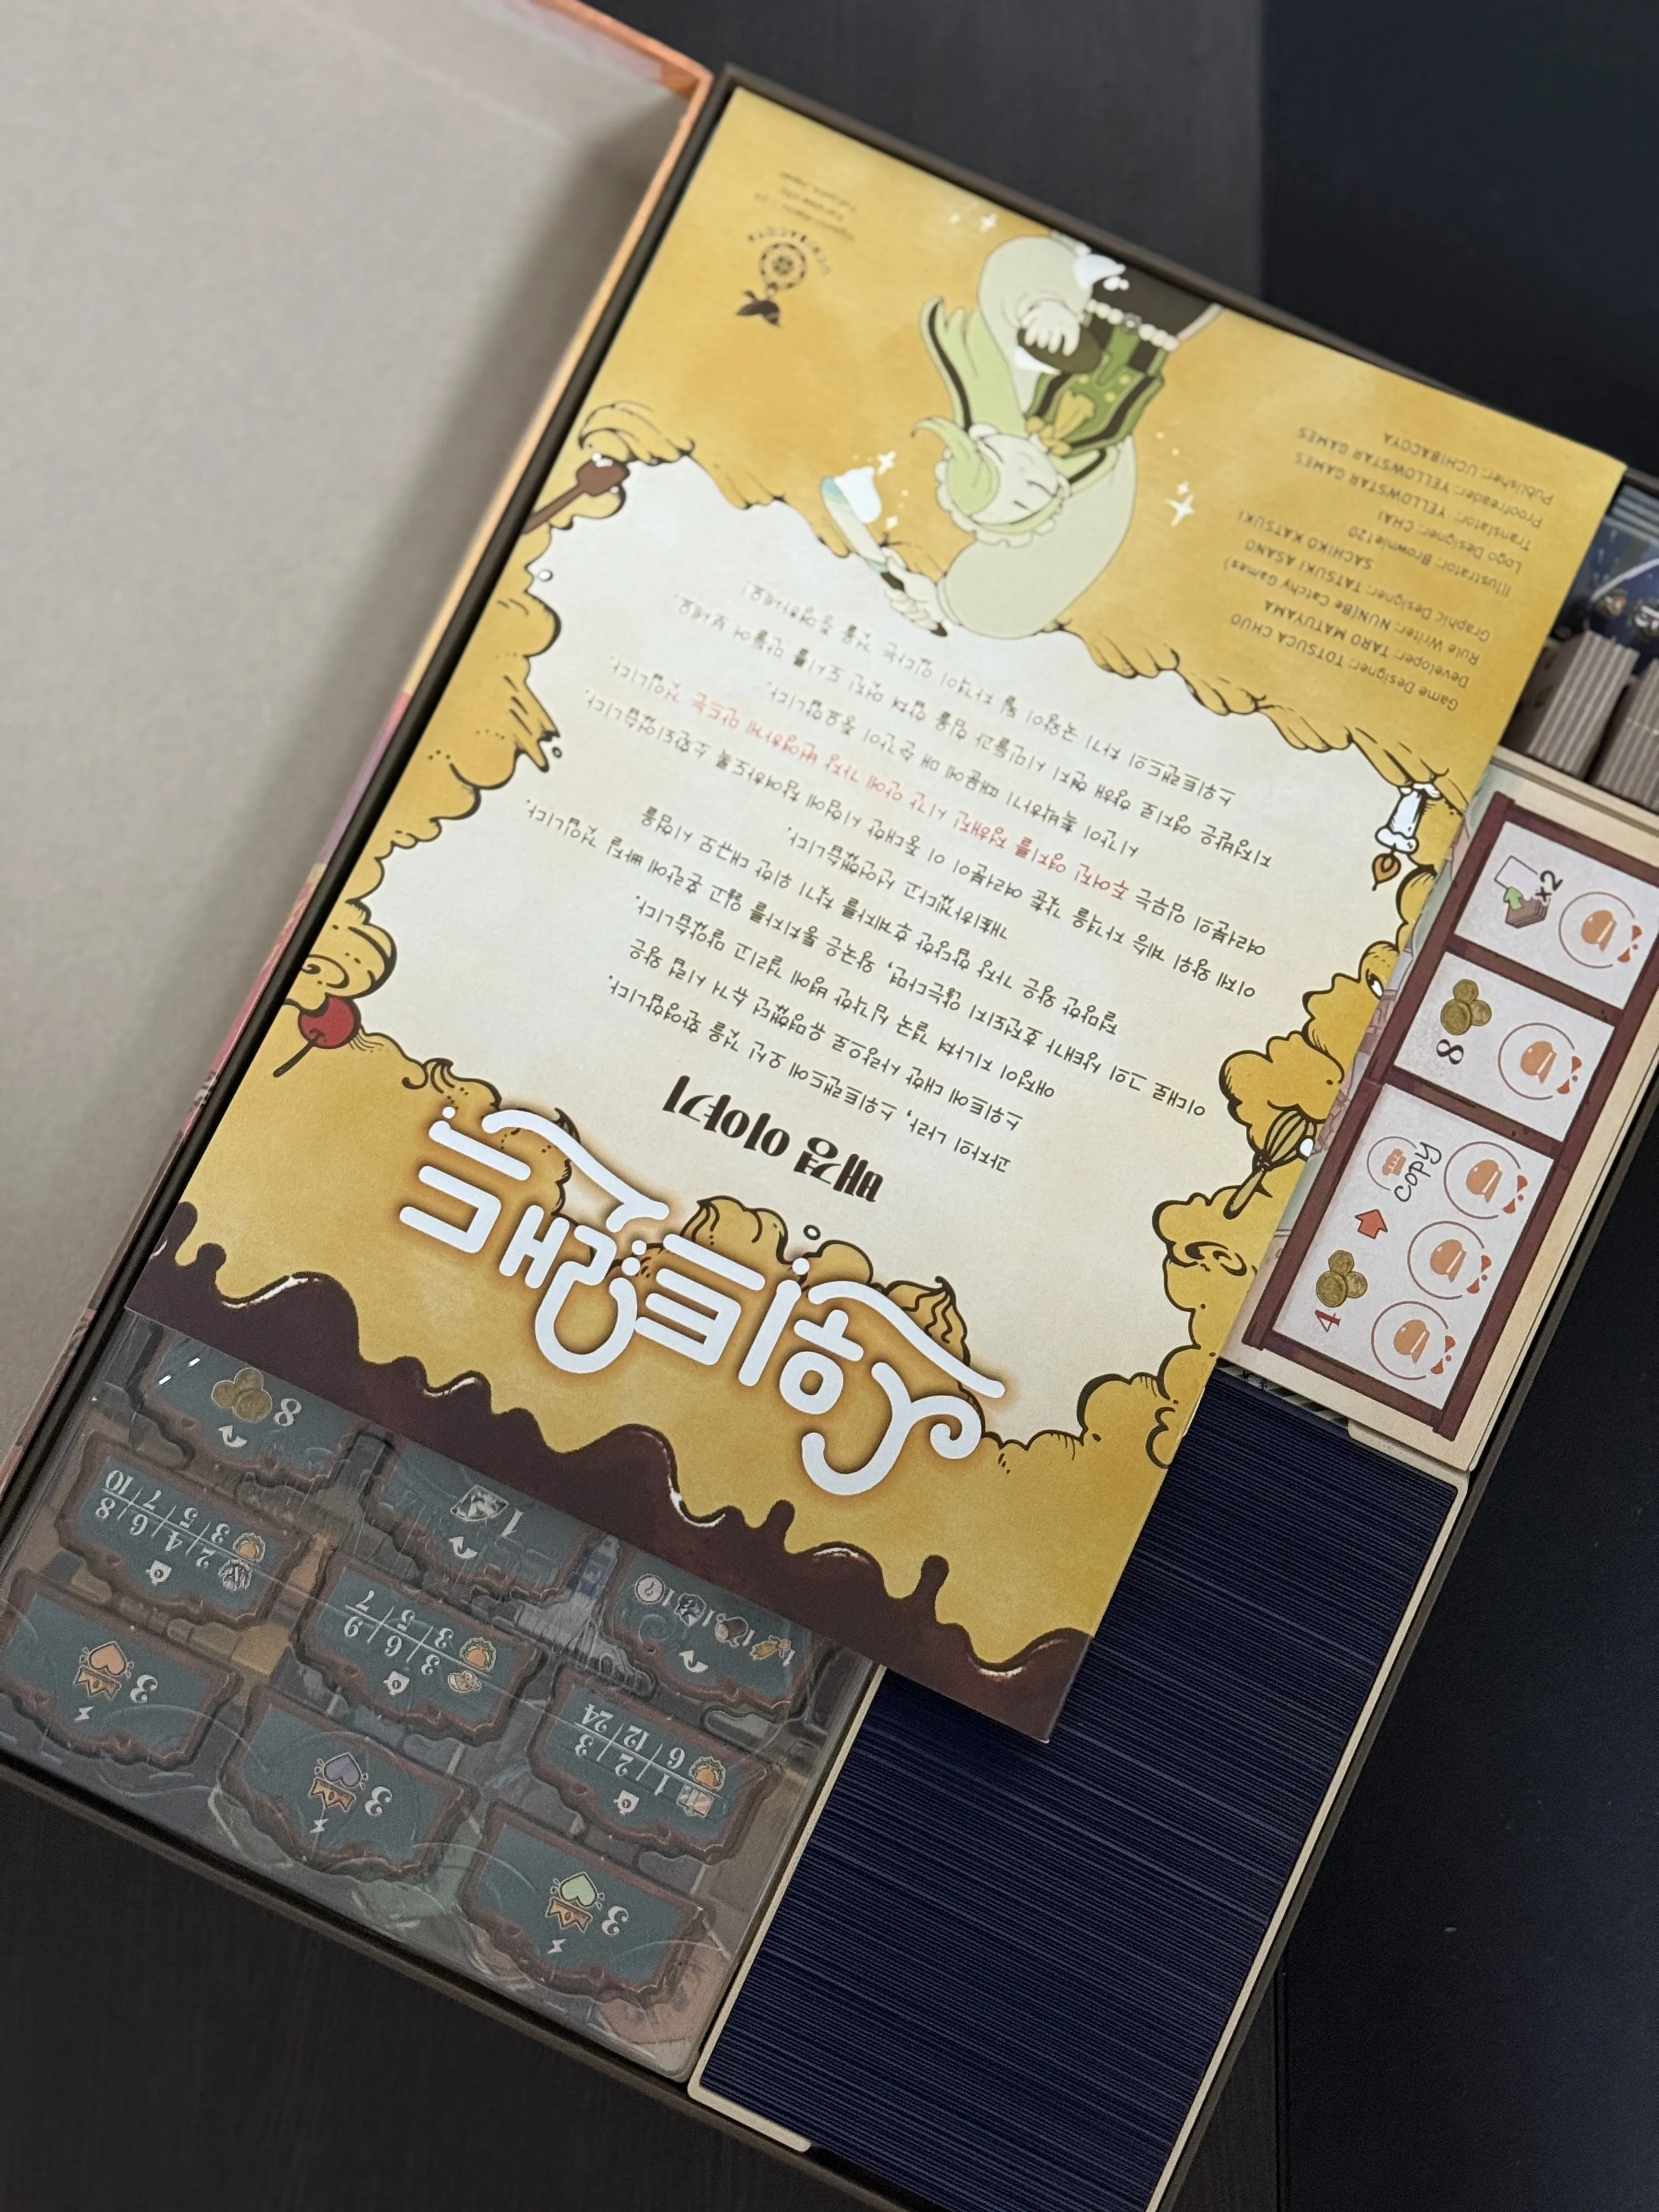
- Actually, I designed it without separately calculating space for the rulebook, and by the time I realized it, the work was almost finished, so I gave up on modifications. If it's inconvenient for the rulebook to be awkwardly perched, place the rulebook along with the main game board when you first organize it. That way, the box lid can float evenly by the thickness of the rulebook (?)
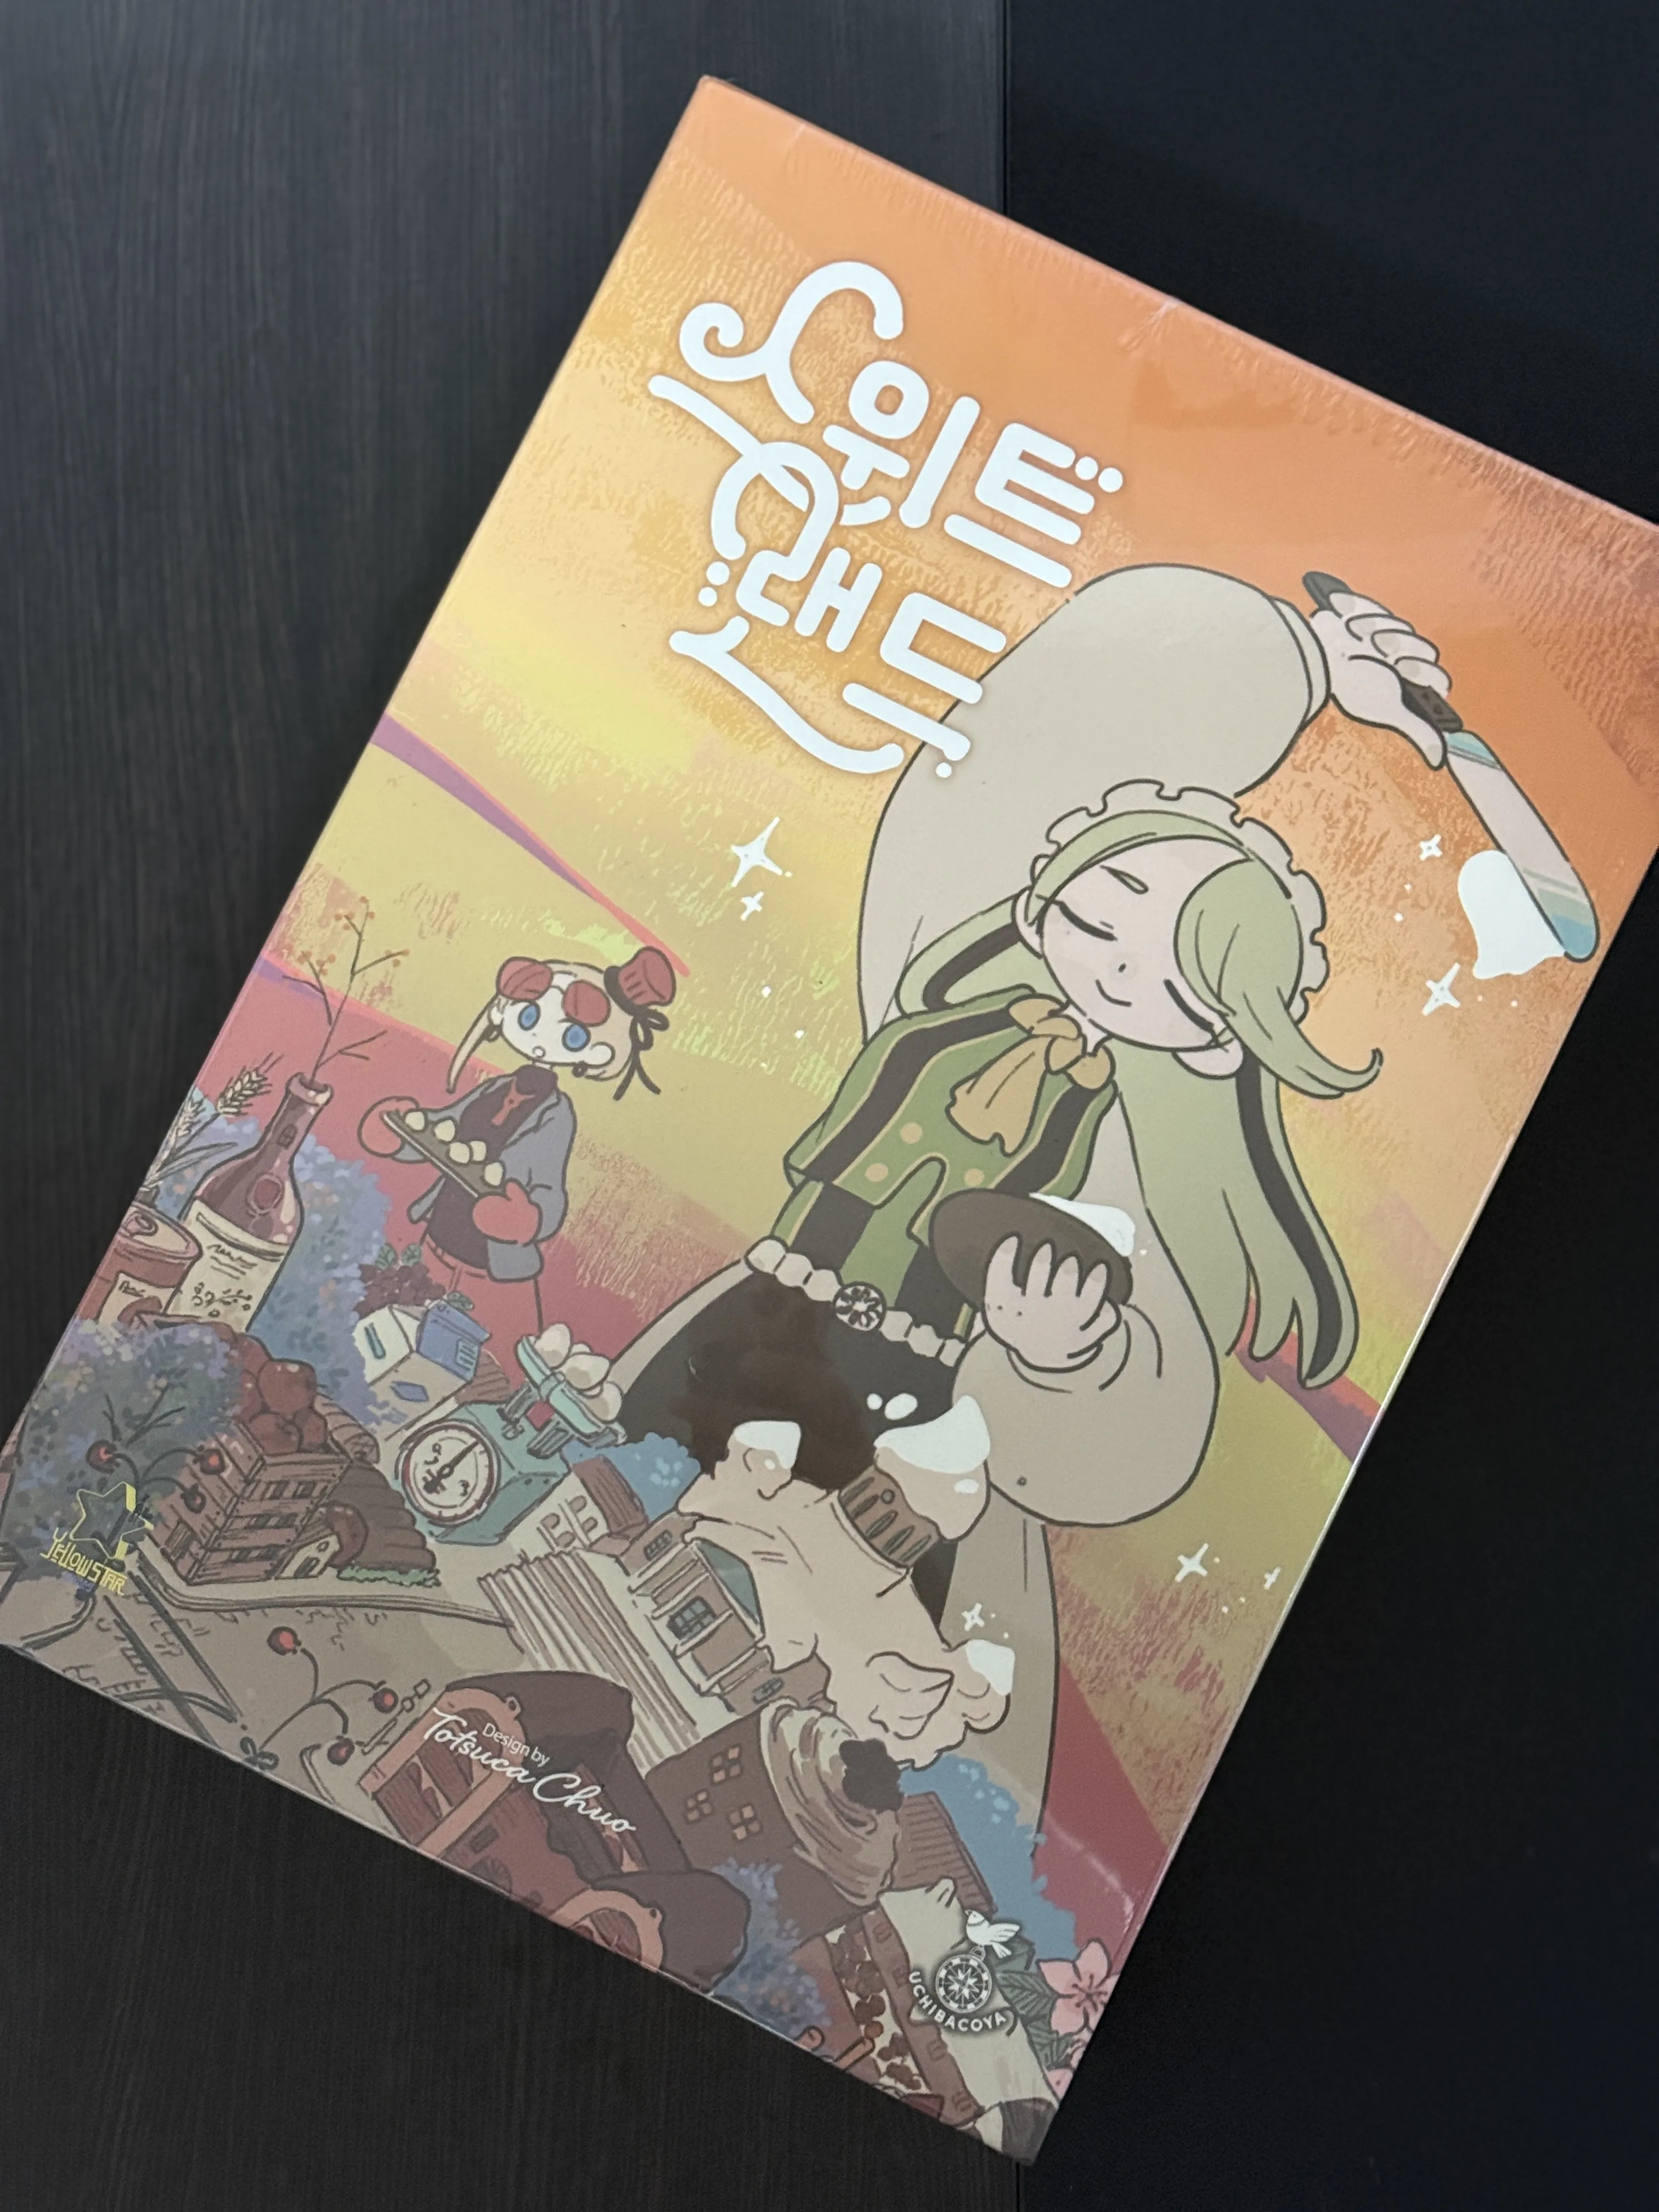
Fonts used for engraving on the organizer: Nanum Gothic (Citizen Card Tray) and Reco typeface (Player Tray)
-End-
--Update. 25.08.19
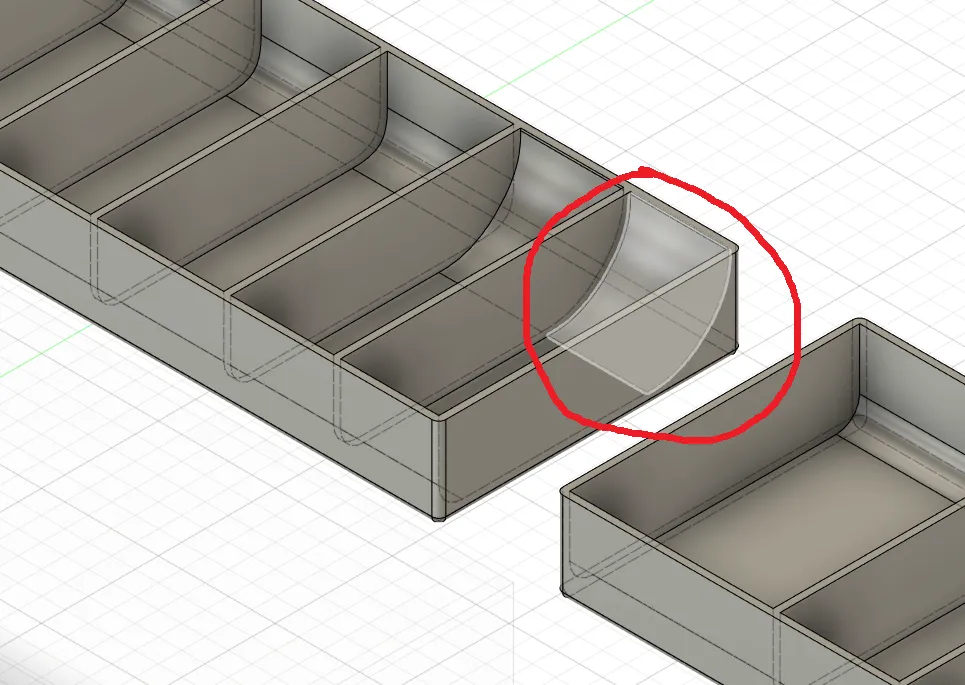
When using 2 resource trays, there was a problem with difficulty in removing some resources, so I modified one end of the tray to include a gentle curved slope, allowing resources to be scooped up along the slope. If you found the original resource trays inconvenient, please print and use only the resource trays again
This is not a dramatic change, so if you weren't particularly inconvenienced by the original trays, you can continue to use them
--Update. 25.09.04
Added "Player Tray Lid" to the print profile
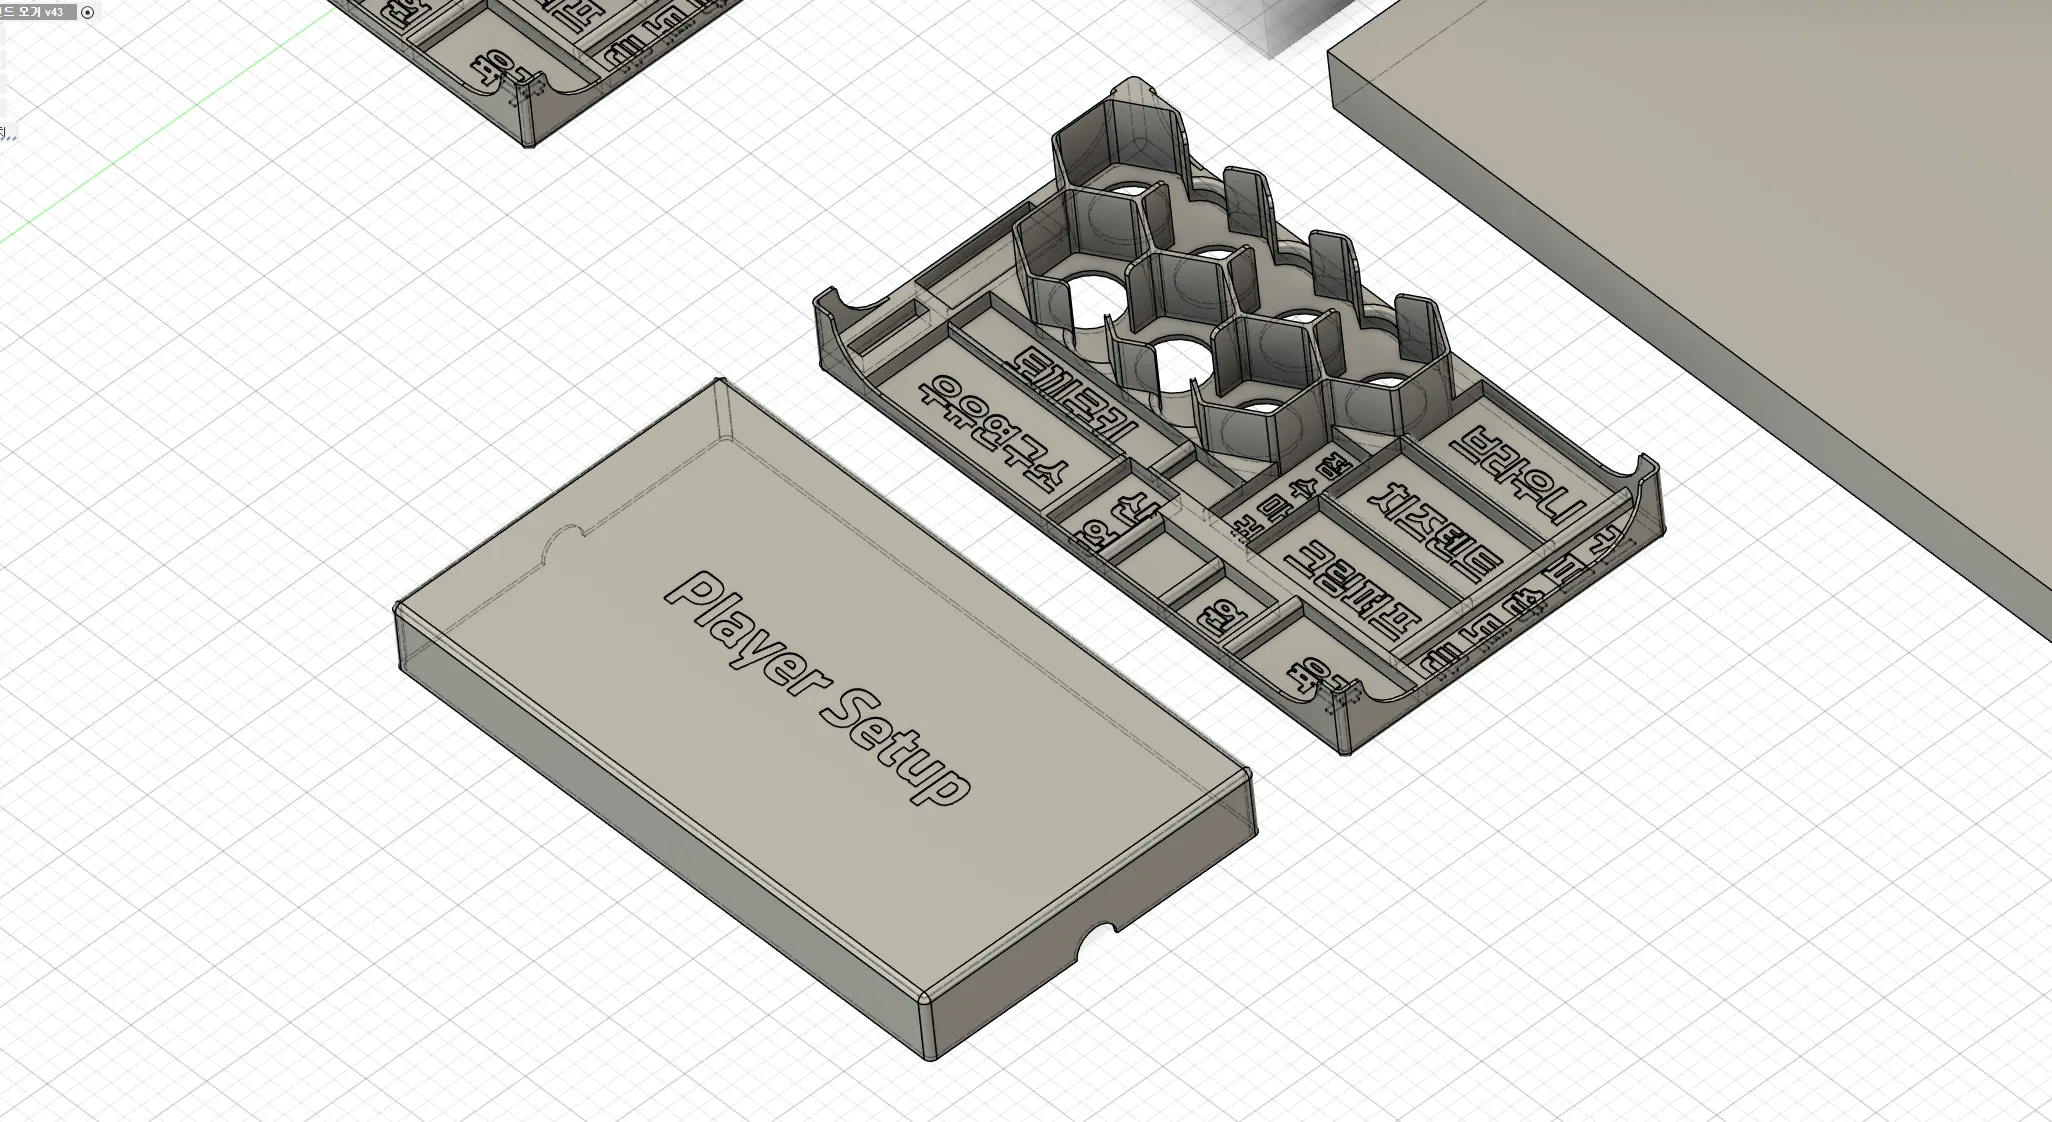
Since the original organizer was designed with almost no extra space, the lid walls had to be made as thin as possible. Even with this thinness, if all four trays are covered with lids, it will be very tight, so please be careful when organizing. The lid itself can be easily opened by gently inserting a fingertip into the groove on the side and pulling it. (It might be a bit stiff depending on the print quality). It merely acts as a lid, so small meeples inside the tray will still get scattered if stored vertically. Please only use it to prevent individual meeples from scattering outside the personal tray lid when stored vertically
※ This organizer was not designed with vertical storage in mind from the beginning, therefore, even with the provision of lids, vertical storage and lid usage are still not recommended
--Update. 25.09.09
Add Print Profile
Sweet Land English Ver. Parts Only
--Update. 25.11.04
Add Print Profile
Sweet Land Spanish Ver
by @xgruber
--Update. 25.11.20
Add Print Profile
Skill Tiles Tray — Standard Edition Only
--Update. 25.11.25
Add Print Profile
Sweet Land French Ver.
by @Pandora
--Update. 25.11.29
Temporarily hid the split tray version (for small bed sizes) due to alignment issues reported by users.
I will upload it again after reviewing alternative methods for splitting the model.
License

You shall not share, sub-license, sell, rent, host, transfer, or distribute in any way the digital or 3D printed versions of this object, nor any other derivative work of this object in its digital or physical format (including - but not limited to - remixes of this object, and hosting on other digital platforms). The objects may not be used without permission in any way whatsoever in which you charge money, or collect fees.


Comment & Rating (161)