
Sim Racing Simhub Flag
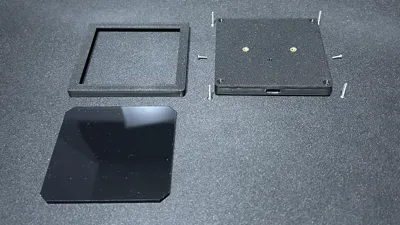
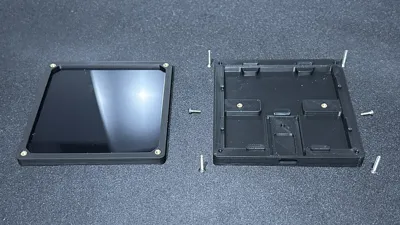
Print Profile(1)

Description
Flag
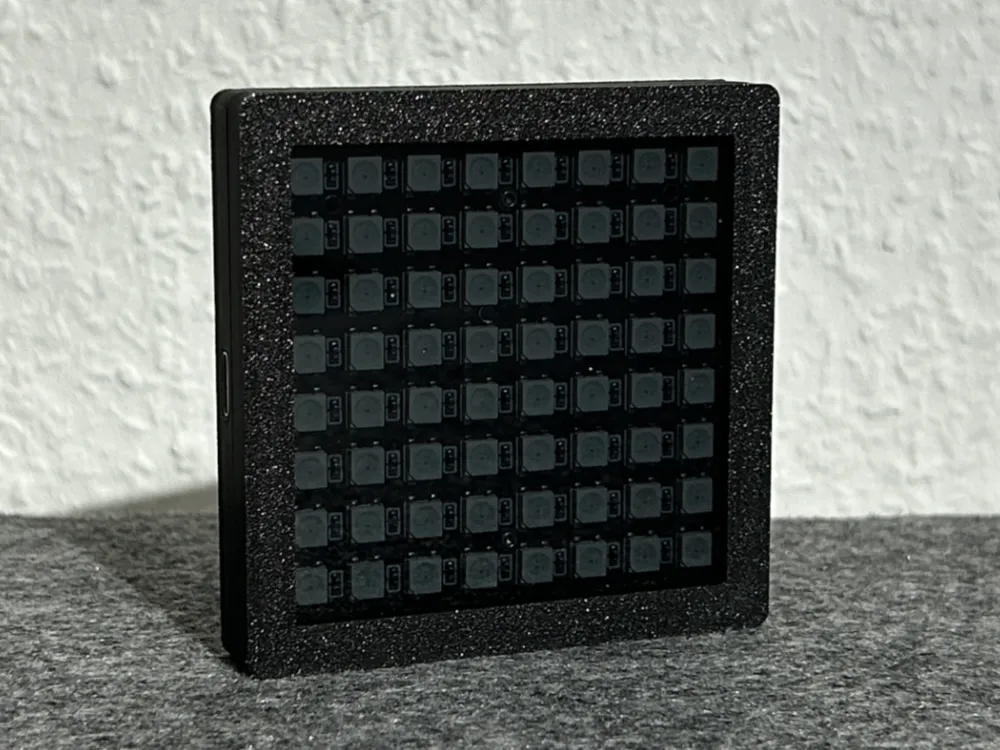
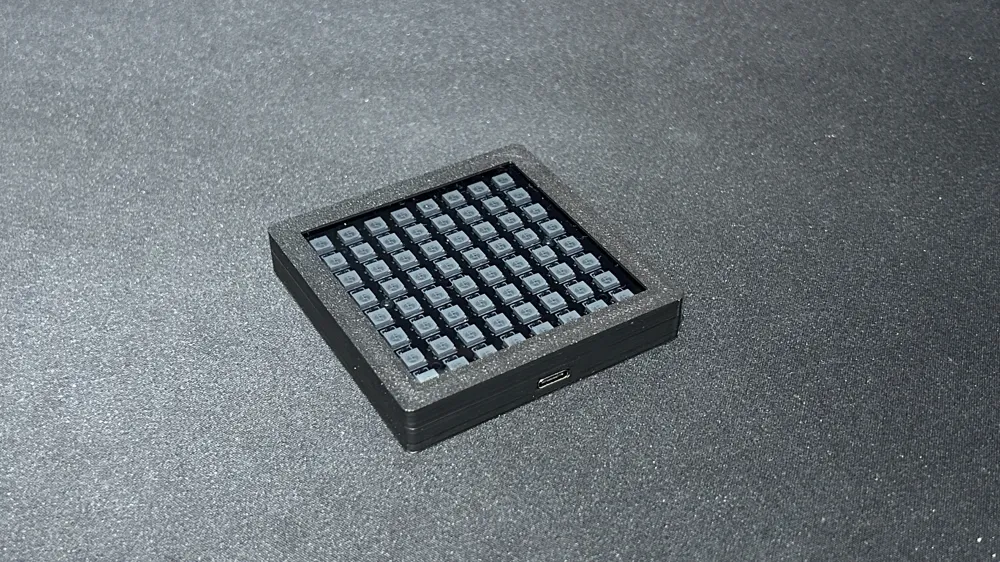
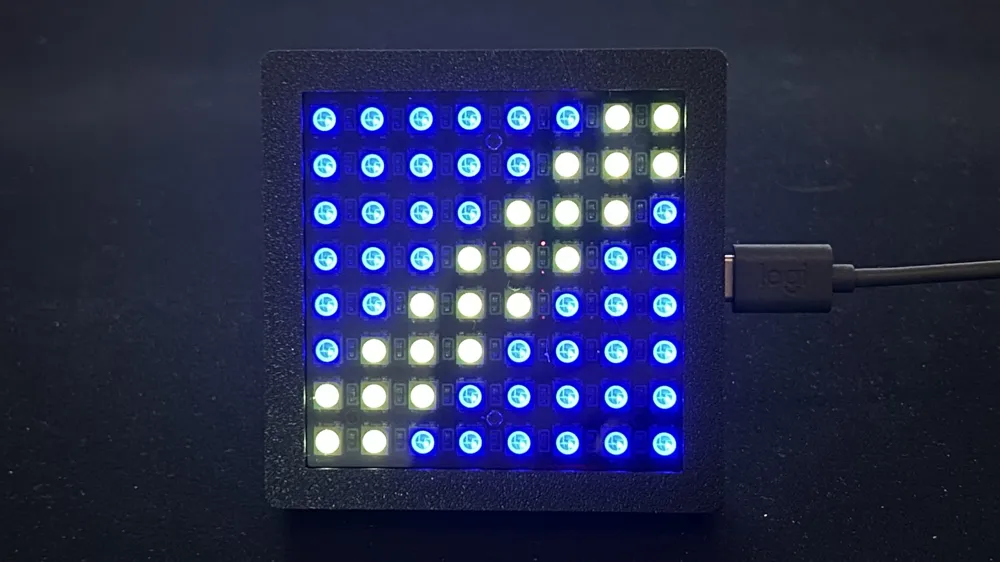
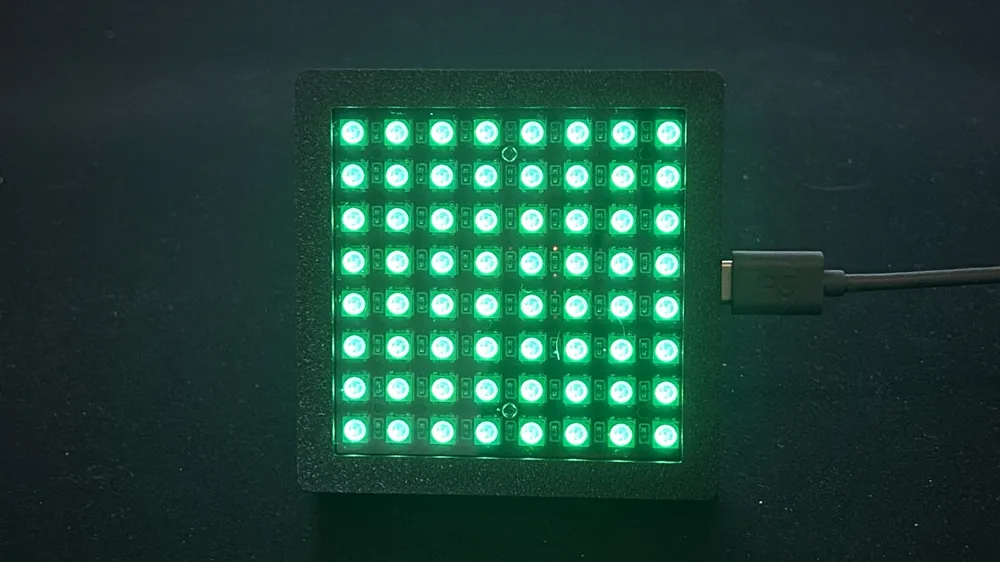
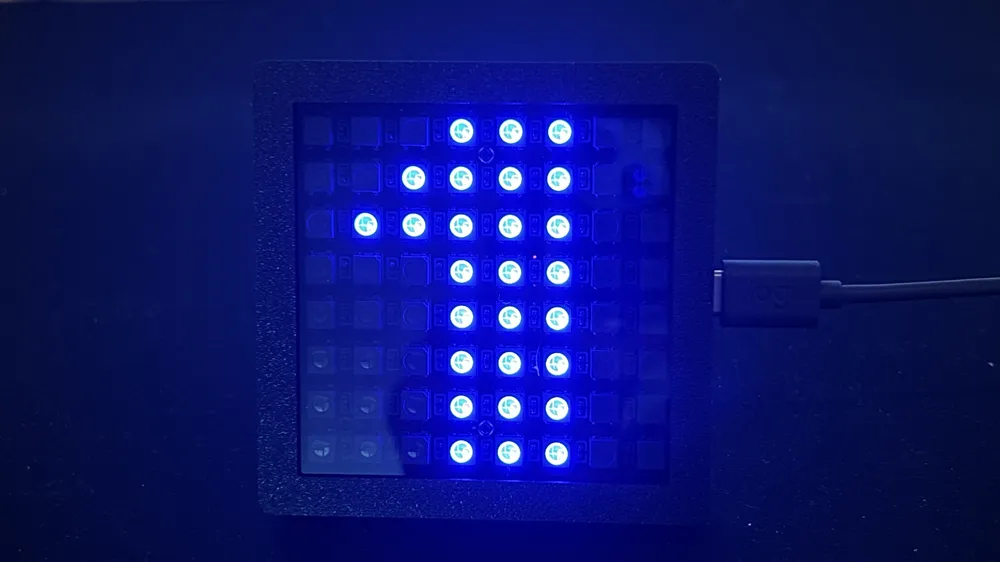
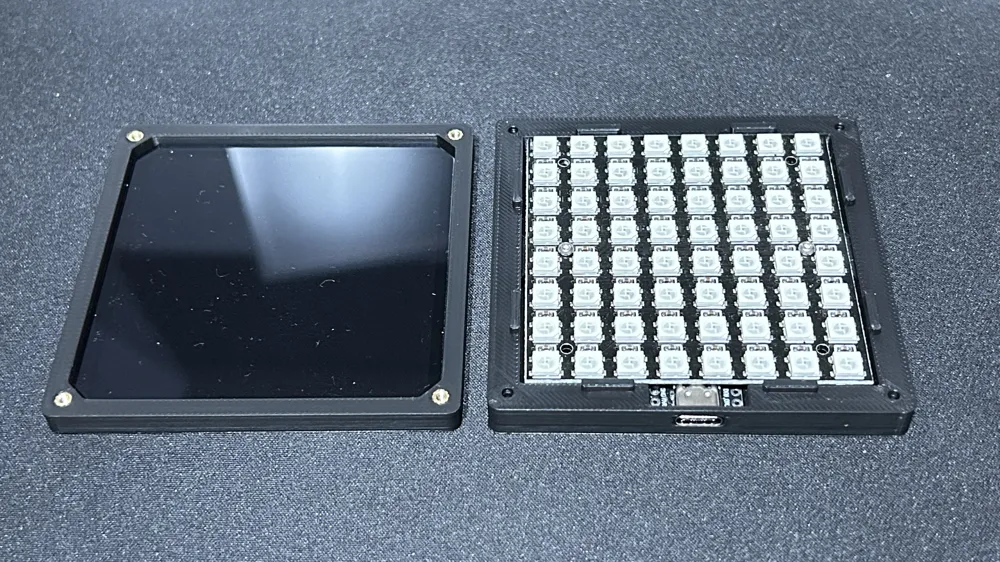
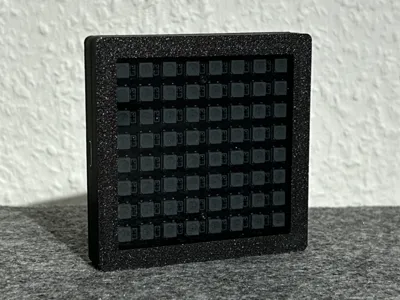
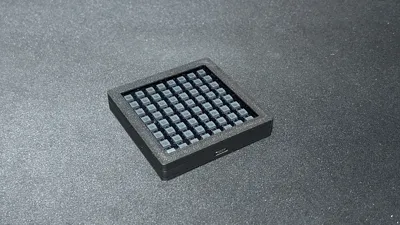
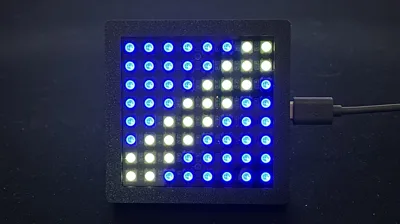
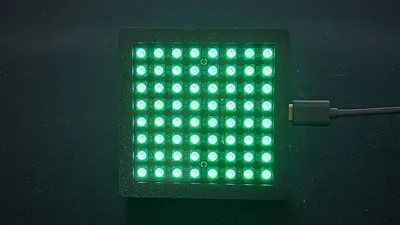
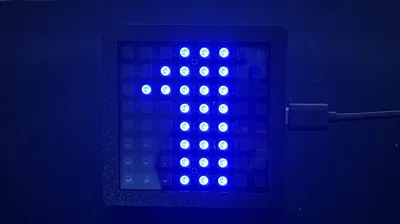
This is my compact Sim-Flag, controllable with Simhub. Feel free to remix, add print-profiles or critizise me :D
Parts List
Printed Parts:
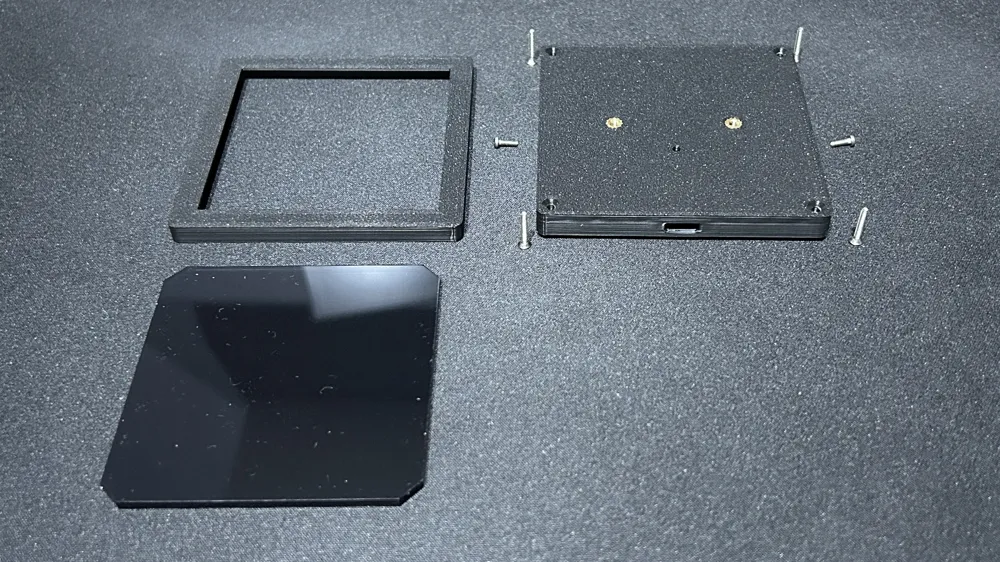
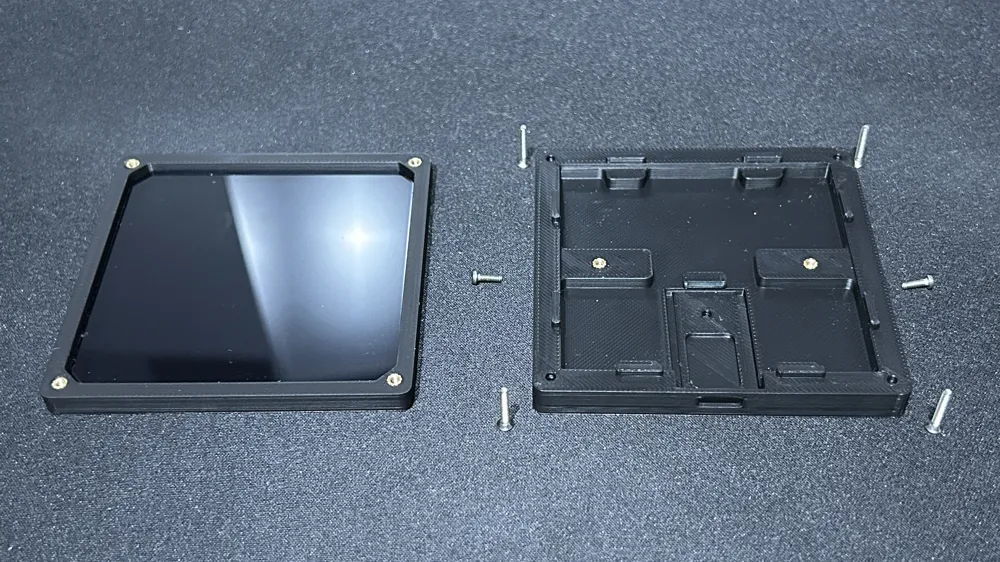
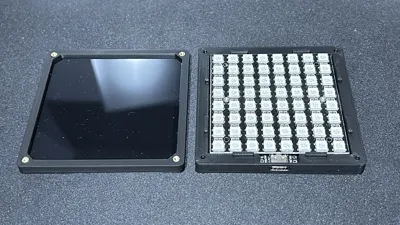
- Bottom-Case
- Front-Cover
- Glass (template for cutting acrylic glass, in theory it is not needed, but I recommend to test the fit/tolerances first)
Other Parts:
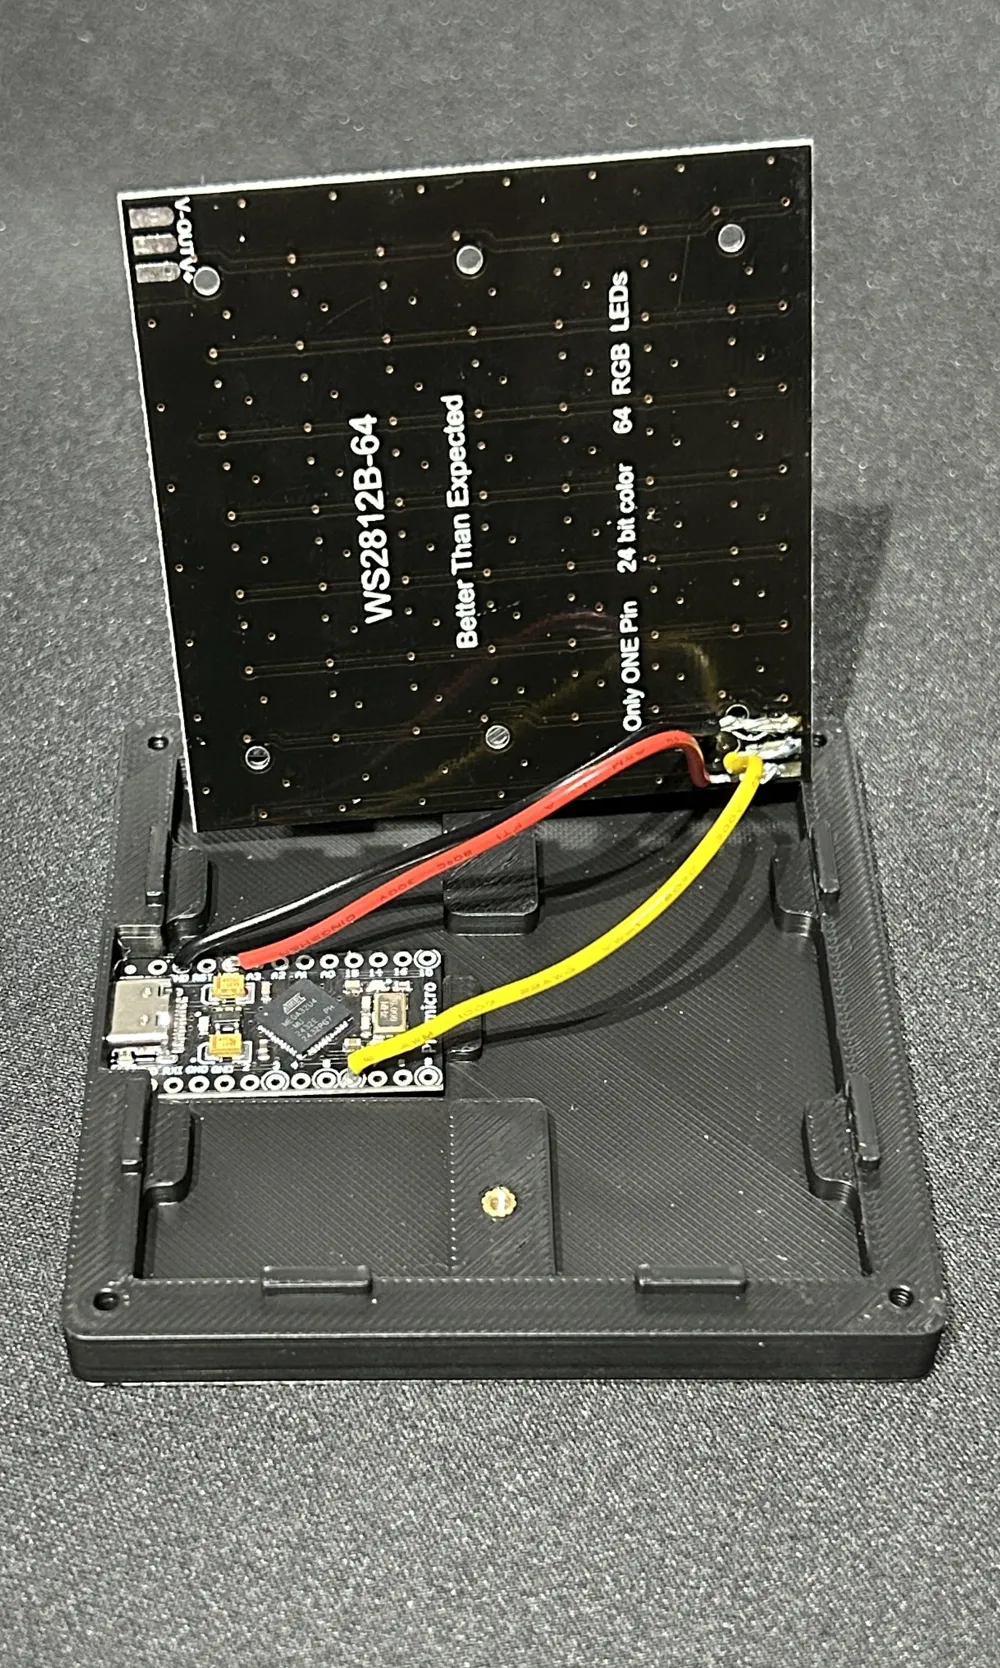
- 1x Arduino Pro Micro: USB-C Version
- 1x 8x8 LED Matrix WS2812 5050
- Cable (22AWG, but any similar cable should work)
- 1x 72x72x3mm Acrylic Glass, 5mm chamfer at the corners (light transmittance of 21%, but you can go darker, since the LEDs are extremely bright, in the photos they are at only 5% brightness)
- Heat-Inserts:
- 2x M3x4x5mm
- 6x M2x3x3.2mm
- Screws:
- 4x M2x12mm countersunk head screw
- 2x M2x6mm pan head screw
- 2x M3 Screws (→ Mounting)
- USB-C Cable
Electronics
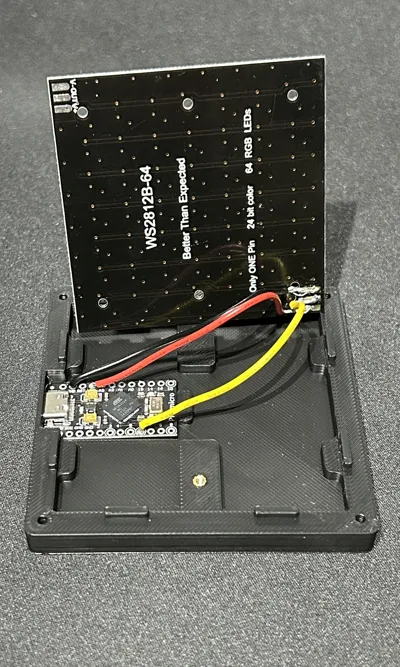
The Arduino must be connected to the LED matrix. To do this, use and solder the 22AWG wires to the corresponding contacts. The Matrix has soldering points on 2 corners. Use the “IN” one, not the “OUT”. I cut the wire to a length of about 8-9cm.
- V+ → VCC
- V- → GND
- IN → Pin 6
Heat Inserts
I personally printed the flag with PLA Basic Black. The soldering iron temperature should be between 190-210°C or 375-410°F.
Assembly
- Print the parts
- Cut the Acrylic Glass
- Solder the Arduino and LED-Matrix
- Melt the Heat-Inserts in place.
- Put the Arduino in its place and slowly put the Matrix in the case. Make sure that the wires are nicely lose and not under tension.
- Use M2x6mm panhead screws to mount the Matrix to the Bottom-Case.
- place the Acrylic Glass inside the front cover and check if its wiggling. If needed, glue it in place.
- use the M2x12mm countersunk head screws to connect the front cover with the base
Software
Connect the flag via USB to your PC. Install Simhub (free version also works) and go to the Arduino Section.
Go to “My Hardware” and click on “Open Arduino setup tool”. Scroll down until you get to the WS2812 Matrix:
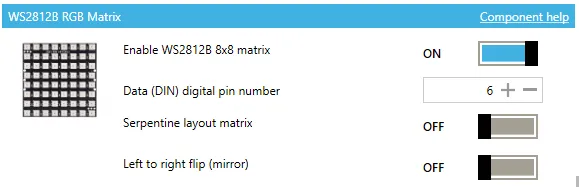
Make sure you got the Pro Micro and correct COM-Port selected and click on upload.
If there are multiple COM-Ports available and you don´t know which one is correct, simply disconnect the Arduino and look for the COM-Port thats not there anymore.
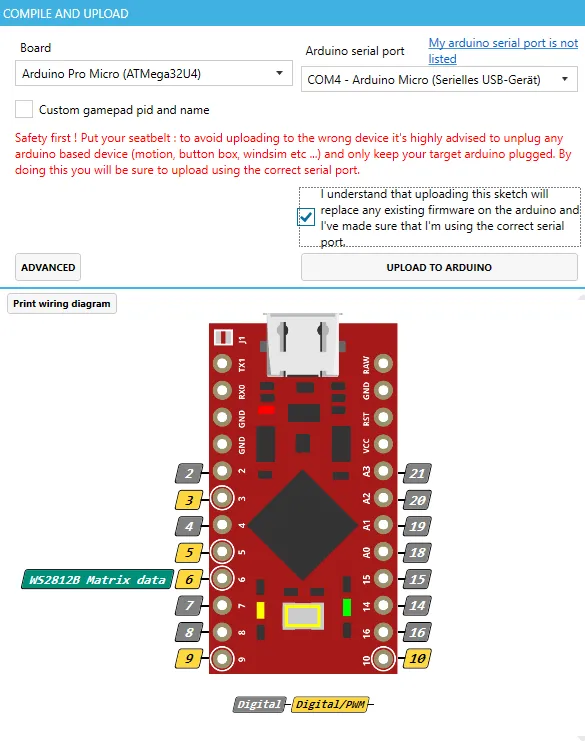
After that, you can take a look at the “RGB Matrix” Section.
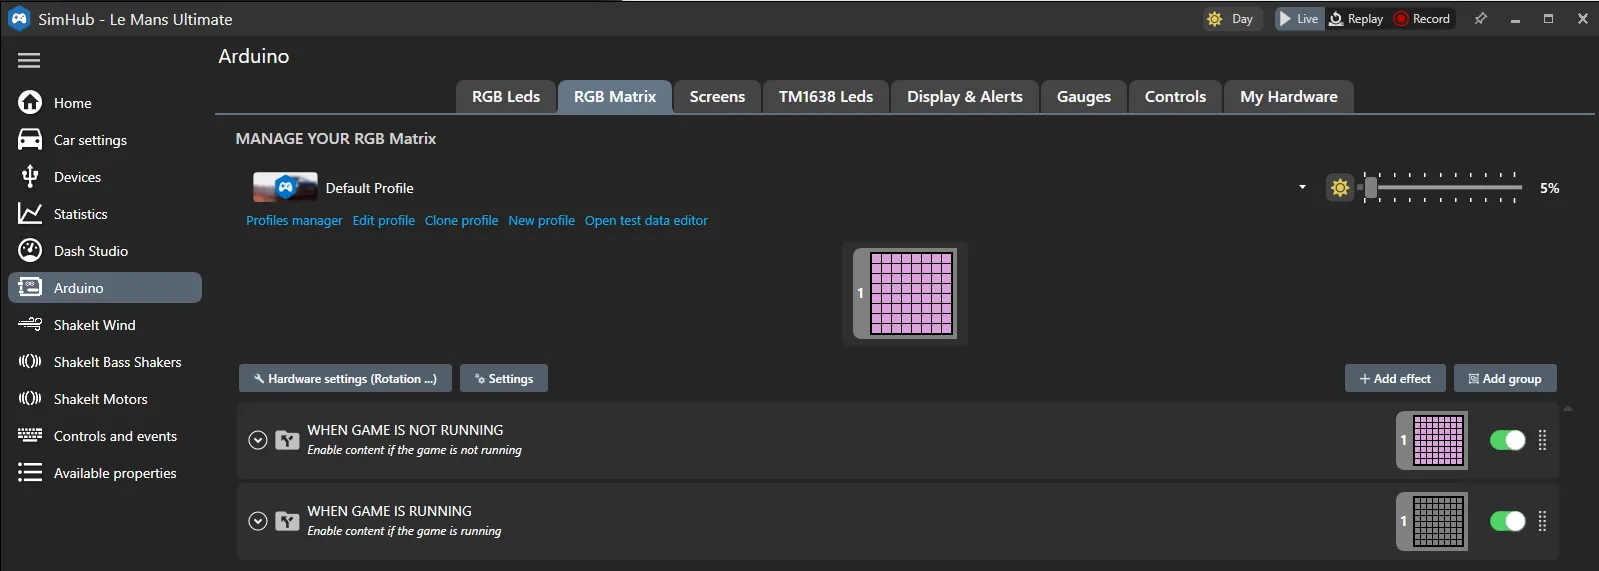
You can select which effects you want the matrix to display: Flags, Spotter, Turn Signals, ABS, TC, etc.
Colors are also individually changable.
License



Comment & Rating (39)