Customizable Arcade Joystick


Print Profile(5)


Bill of Materials


Description

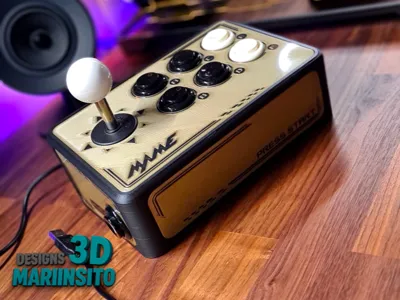
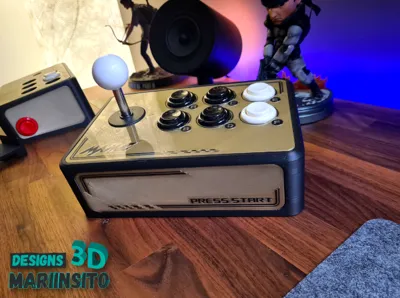
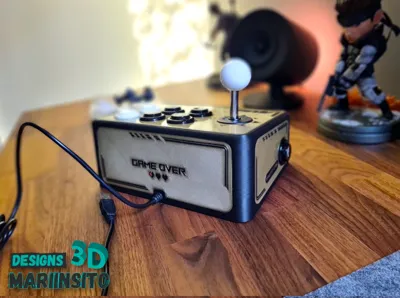
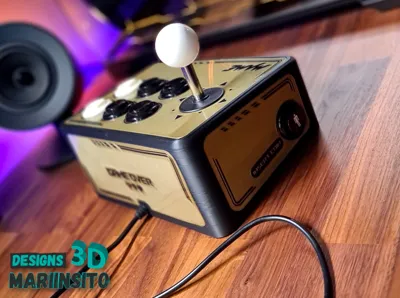
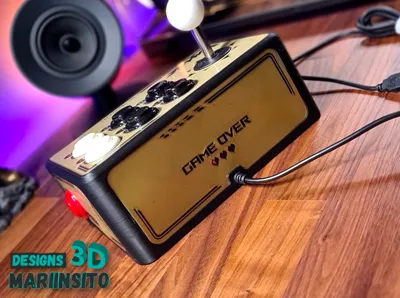
Experience authentic retro gaming with this arcade joystick featuring customizable buttons, designed for true classic gaming enthusiasts. Its robust construction and ergonomic design ensure comfort and durability, even during the most intense gaming sessions.
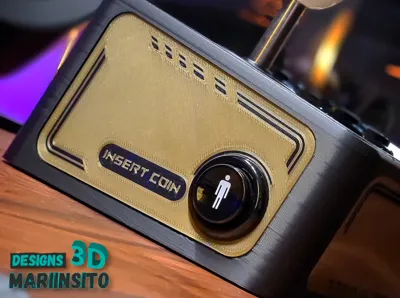
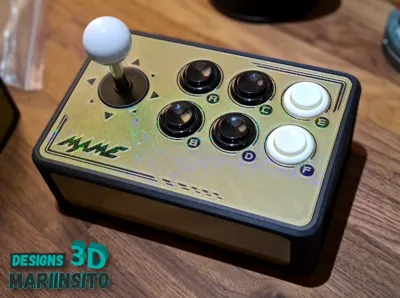
Compatible with the popular Sanwa joystick model, although its mounting plate adapts to most joysticks on the market. It supports six game buttons and two additional buttons for functions such as credits, menus, or settings. Prepared for nearly all types of arcade buttons, including tall American models.
Personalize your experience with interchangeable buttons, available in versions with and without AMS, and create a truly unique joystick. It's the perfect addition to relive the magic of arcades from the comfort of your home.
🛠️ Arcade Joystick Assembly
- Printing and Profile Preparation
Print the joystick profile and carefully remove the print supports. - Joystick Installation
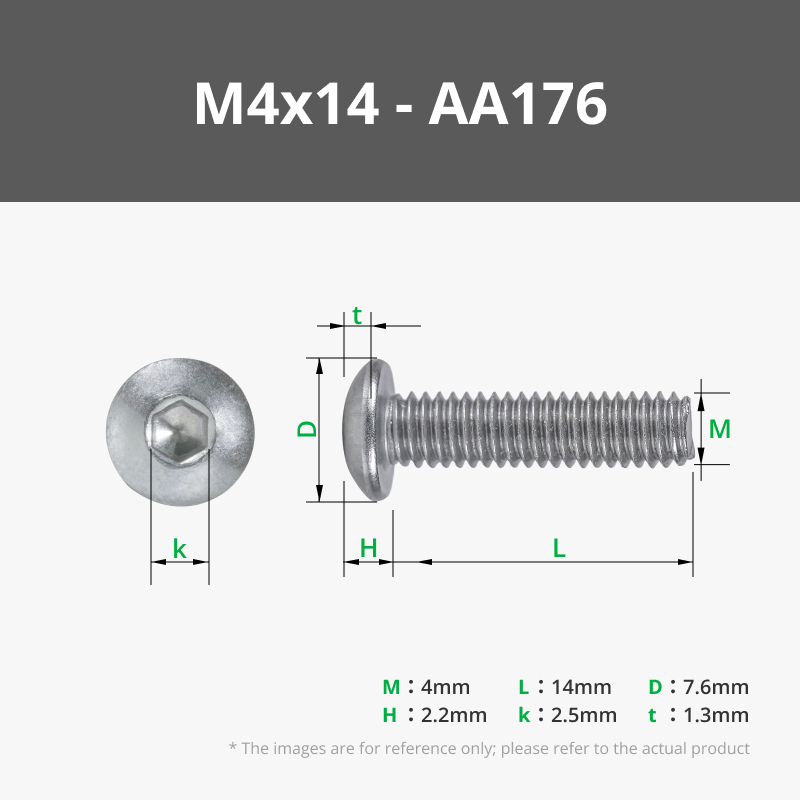
- Insert the M4x14 screws (reference AA176) into the holes on the top of the panel.
- From the inside, secure the joystick using the M4 nuts (reference AB028).
- With this system, the screws are hidden under the custom top cover, and the joystick is firmly secured.
- Placement of Custom Buttons
- Print the custom buttons and place them in position using the pins that fit into the corresponding holes.
- You can apply a small amount of adhesive for a more permanent bond.
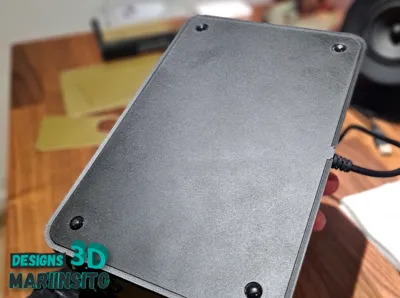
- Installation of the Bottom Cover
- Print the bottom cover.
- Glue the D5x2 mm magnets (reference CA003) to the base of the joystick.
- Then, place the D5x1 mm magnets (reference CA002) in the corresponding holes of the bottom cover.
- This will allow the cover to be firmly held but easily removed for access to the interior when needed.
- Electronic Connection
- Connect the electronic board to all the joystick buttons.
- Route the main cable through the front hole of the casing.
- Ensure the cable is securely fastened to prevent accidental movement or disconnection.
- Final Closure and Commissioning
- Attach the bottom cover with its magnet system.
- Ready! Your arcade joystick is complete and ready for you to enjoy an authentic retro experience.
License
You shall not share, sub-license, sell, rent, host, transfer, or distribute in any way the digital or 3D printed versions of this object, nor any other derivative work of this object in its digital or physical format (including - but not limited to - remixes of this object, and hosting on other digital platforms). The objects may not be used without permission in any way whatsoever in which you charge money, or collect fees.
Comment & Rating (8)