Search models, users, collections, and posts
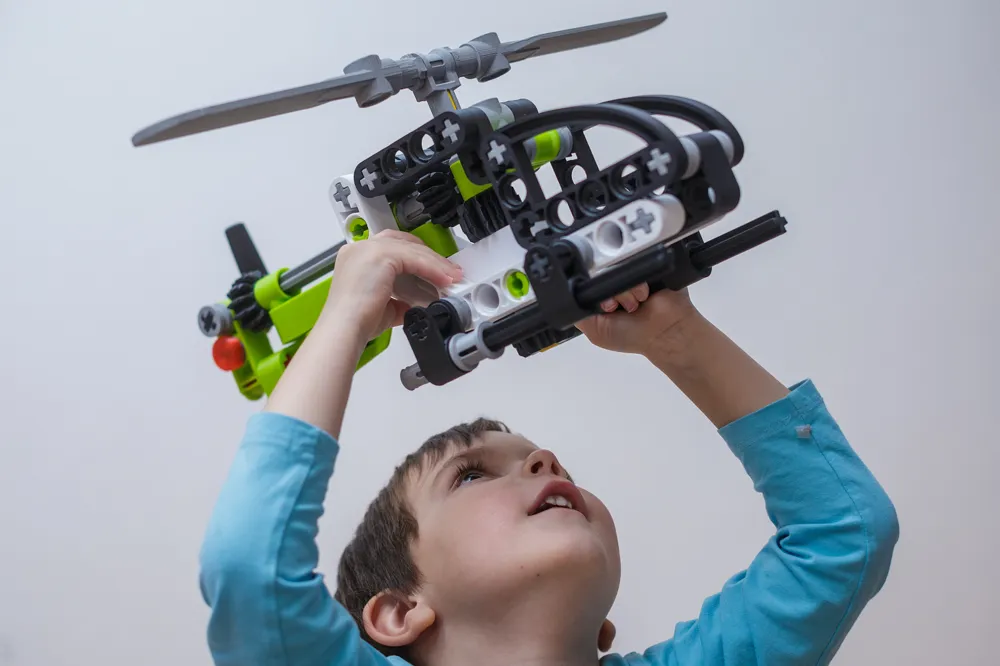
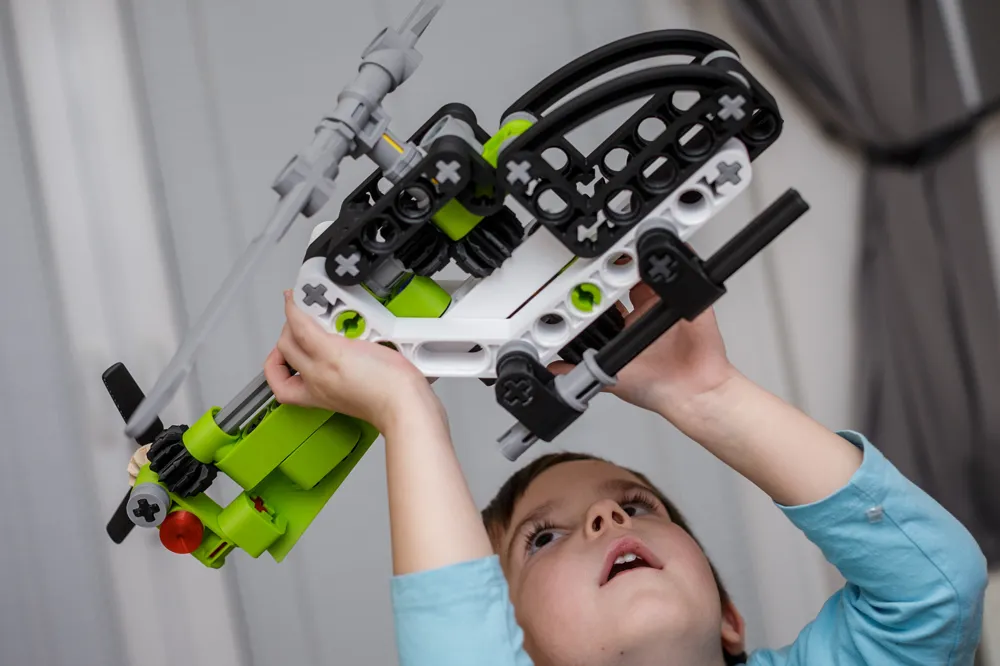
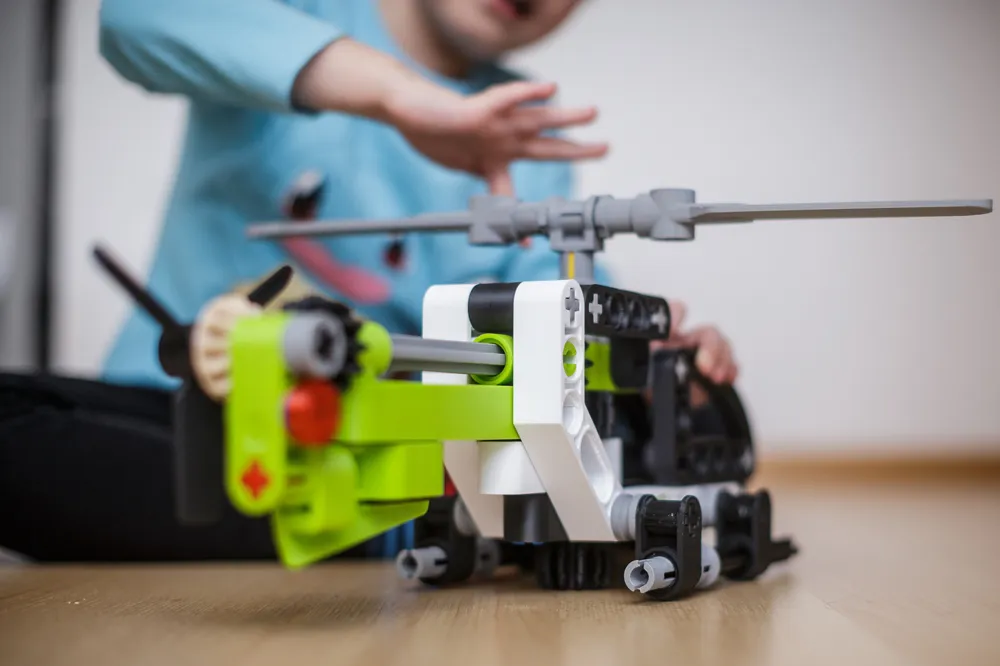
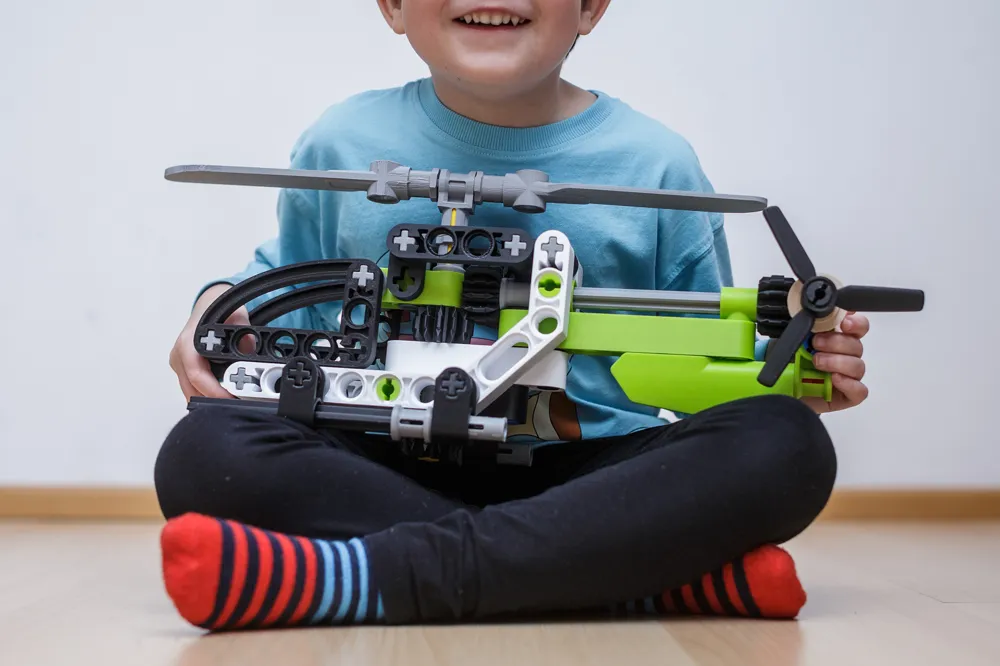
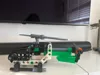
Helicopter 300 %

Remixed by

Print Profile(4)

All
P1P
P1S
X1
X1 Carbon
X1E
A1
H2D
H2D Pro
H2S
P2S
H2C
X2D
A2L
A1 mini

0.2mm layer, 2 walls, 10% infill
Designer
29.2 h
11 plates
4.8(206)

0.2mm layer, 2 walls, 10% infill
29.4 h
29 plates
4.7(7)

0.2mm layer, 2 walls, 10% infill
12.9 h
5 plates
5.0(3)

Two part light
Two part light
30 min
1 plate
1.0(1)

Open in Bambu Studio
Boost
1417
2650
290
218
2.6 k
3.9 k
Released 

Description

Model

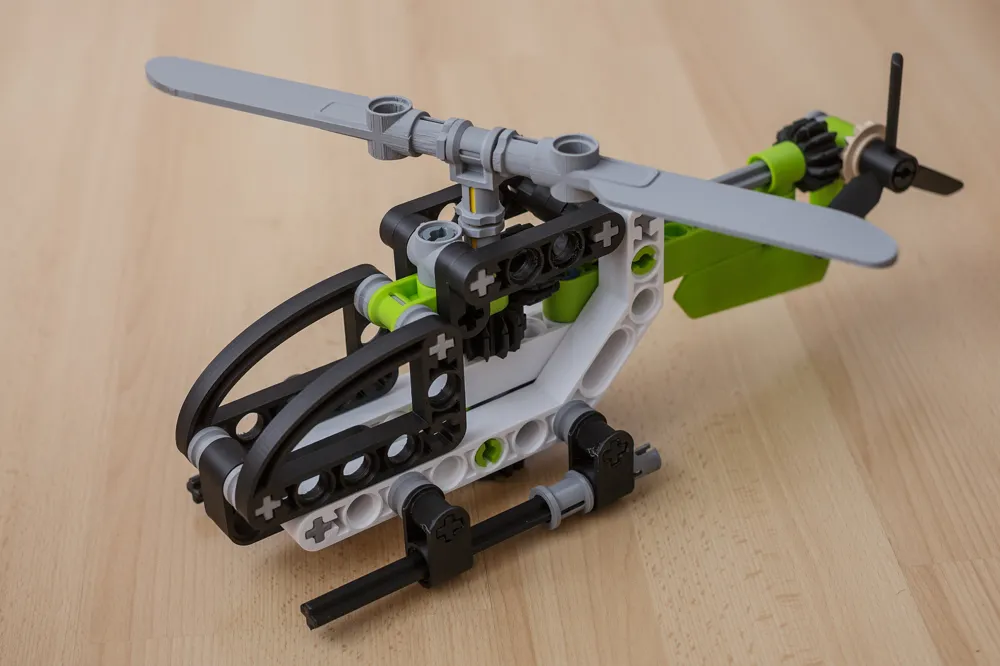
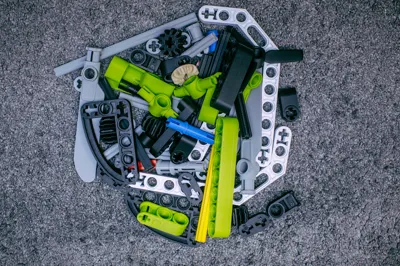
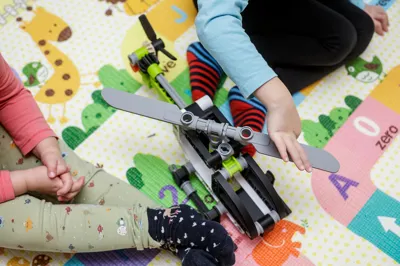
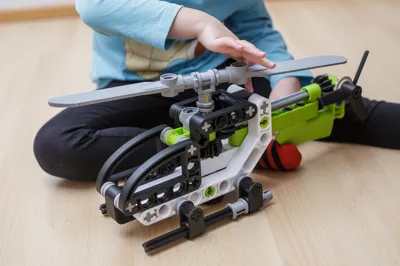
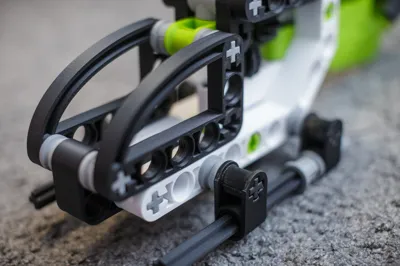
  • Model is 45 cm long, consists of 70 pieces and needs 720 g of PLA filament. Total print time is about 30 hours.
  • Biggest part is 214 x 118 mm and does not fit A1 mini build plate.
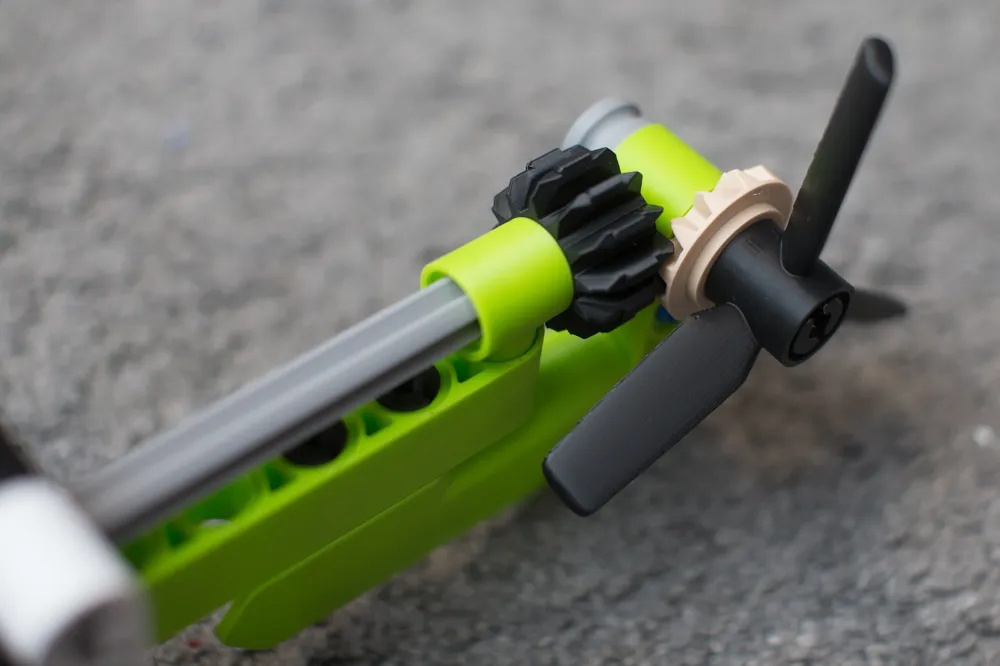
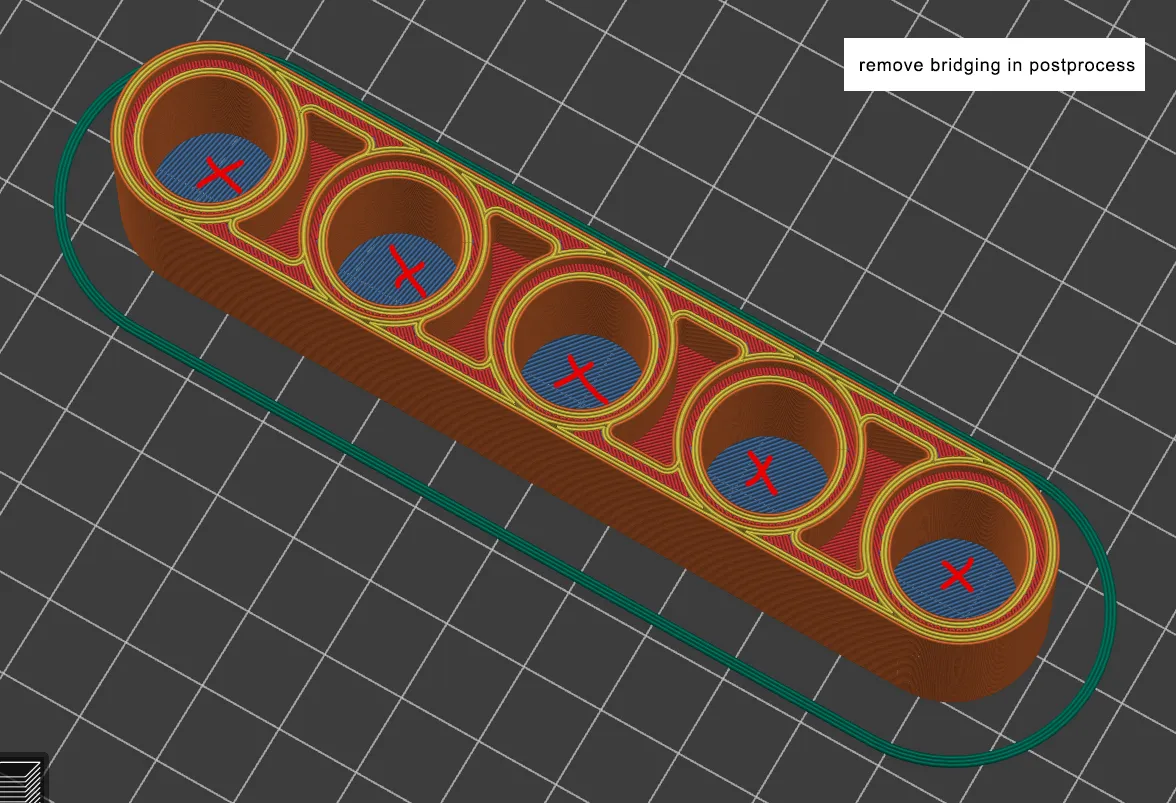
Postprocessing

  • Remove supports.
  • Use deburring tool to remove sacrificial bridging inside the holes.
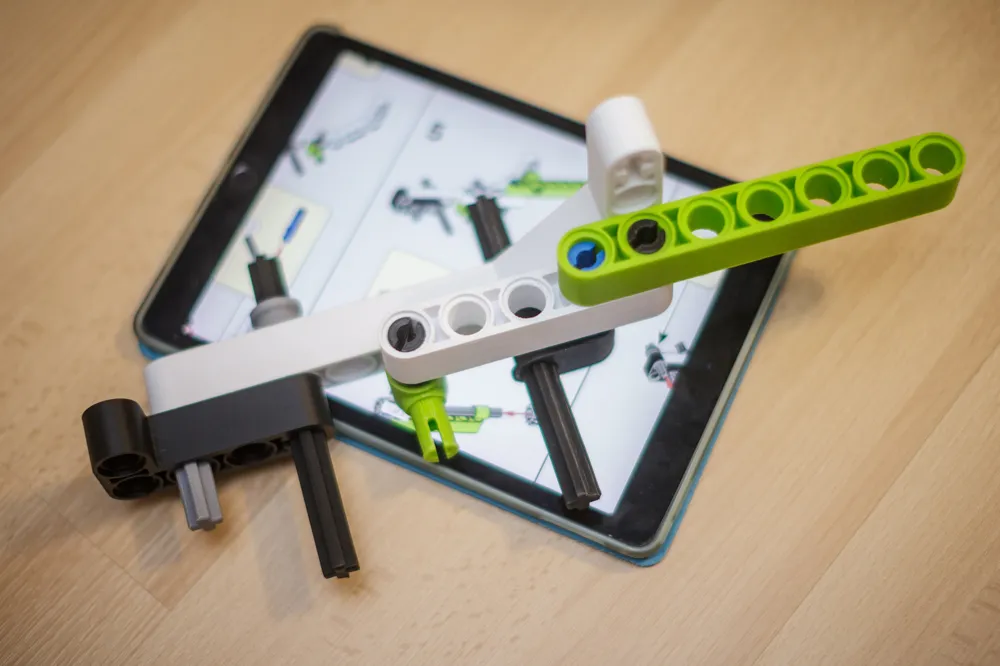
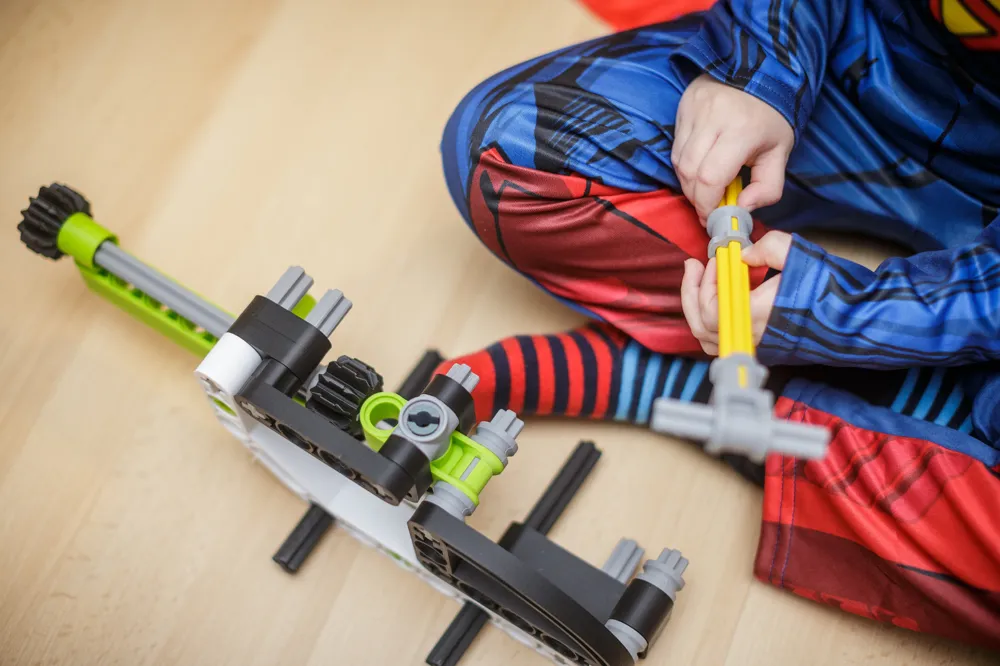
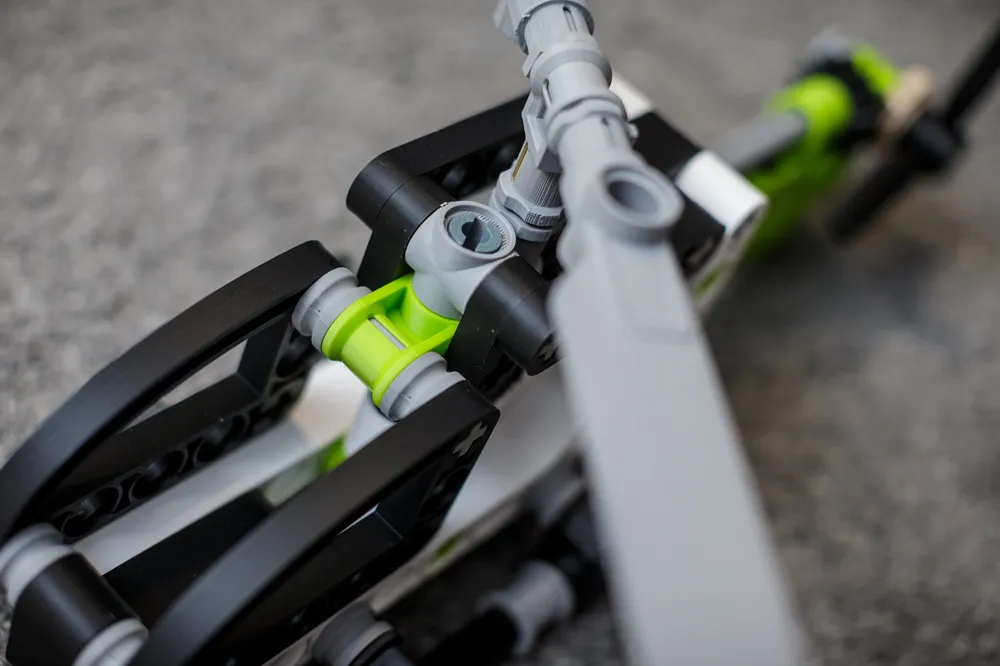
 

Assembly

  • See attached assembly guide.
  • Due to the printer tolerances and nature of FDM printing, sometimes you'll need to apply more strength to assemble, some parts will be little loose and need a glue to secure it in position and whole drive train will need a lubrication in order to make it work smoothly (PTFE lubrication or silicion oil in spray recommended).

See my other upscaled creation:


Documentation (1)

Assembly Guide (1)
instructions_a8a765d3-5974-4725-876a-a3e9f11a62d6.pdf

Comment & Rating (290)

(0/1000)

Print Profile
0.2mm layer, 2 walls, 10% infill
Very well designed. I tested both using normal supports for the bottom of the circles by splitting the pieces by parts and also printing with the default sacrificial bridging and not sure which one I like better, they both have their pros and cons. But overall the assembly was very smooth, the 3mf was well laid out and simple to print each plate by color, and it works extremely well. Spinning the gear on the bottom is very satisfying and smooth. Thanks for designing all of these 300% models!
profile
7
Reply
What do you find is the best way to remove the bridging material?
0
Reply
Replying to @BDBHogo :
I used a deburr tool from amazon, it takes some practice but once you get a feel for the pressure and angle to hold it, you can swipe it around the inside edge of each circle and it will cut all the strands off. It did ultimately look worse than just using snug supports and removing those support circles.
0
Reply
Boosted
Replying to @BDBHogo :
A 19mm countersink is optimal.
0
Reply
Print Profile
0.2mm layer, 2 walls, 10% infill
wow, this is an amazing project, I only needed glue in two places
profile
4
Reply
great design!
3
Reply
Print Profile
0.2mm layer, 2 walls, 10% infill
Very long to print but the result is great! Printed on my A1 mini with eSUN's black PLA+, eSUN's black PLA+, Creality Ender's grey PLA and SUNLU fuchsia PLA+
The profile uploader has replied
1
Reply
Boosted
looks amazing! love the colour combo.
(Edited)
1
Reply
Print Profile
0.2mm layer, 2 walls, 10% infill
3 days printing. 3 hrs support cleaning. It was very painfull project to me. Yet my son loved much. Thank you.
profile
2
Reply
Very nice
designer
1
Reply
Very nice model, I did not like the weird single layer support, but did not realize it was there until I printed it. also the regular support makes it nearly impossible to insert the „cross beams“. The kids like it - that’s all that matters. If I were to print it again, I would probably rotate all parts by 45degs so that no inside support in the bricks is necessary.
0
Reply
looks kinda like a carrotcopter lol
0
Reply
Printed in 3:1 Great model!
1
Reply
Print Profile
0.2mm layer, 2 walls, 10% infill
Unfortunately, very complicated to assemble, some parts didn't fit together, the supports were very difficult to remove, and some parts had to be glued because they wouldn't hold otherwise Otherwise, a beautiful model, but I wouldn't print it again
Show original
1
Reply
Thanks!
1
Reply