Search models, users, collections, and posts

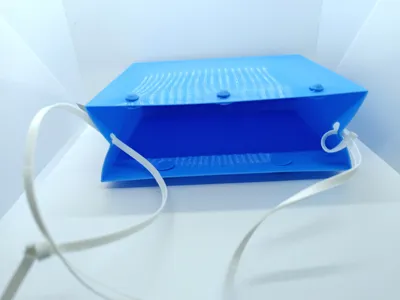
Customizable TPU small bag
Print Profile(1)

0.2mm layer, 2 walls, 9% infill
Designer
4.2 h
3 plates
Open in Bambu Studio
Boost
36
76
0
1
38
11
Released
Description
Content has been automatically translated.
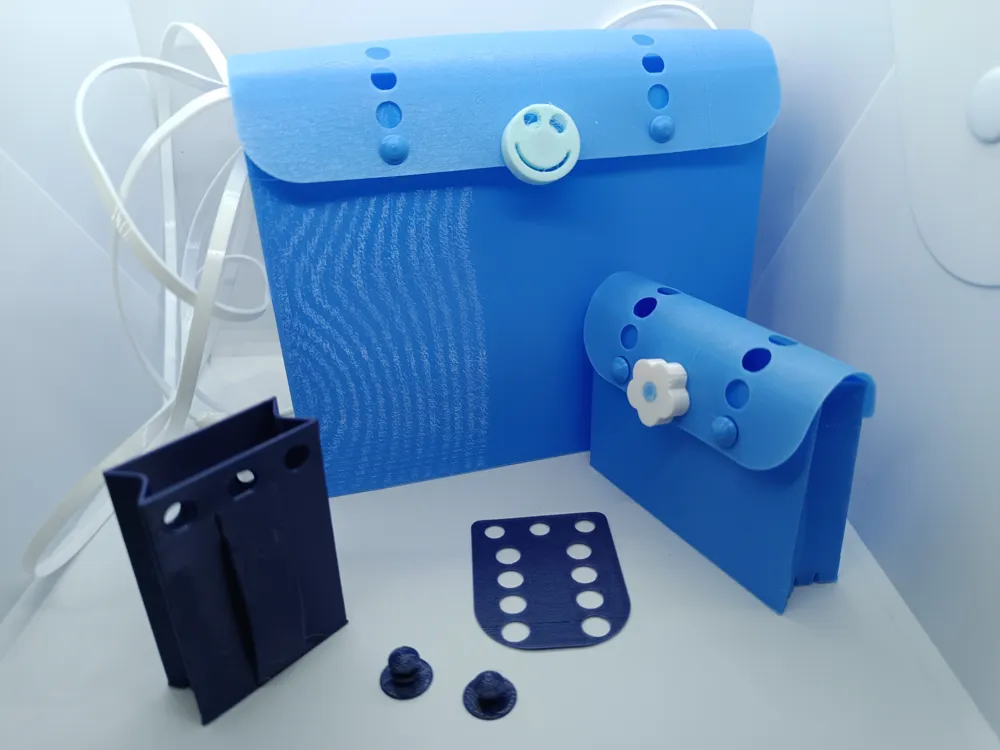
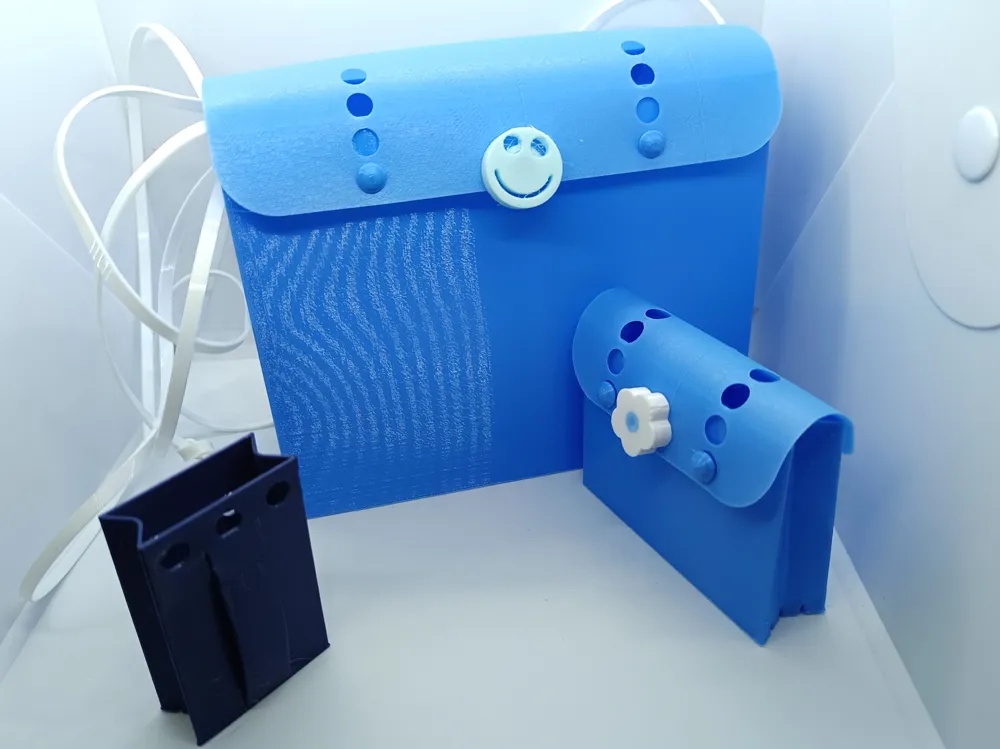
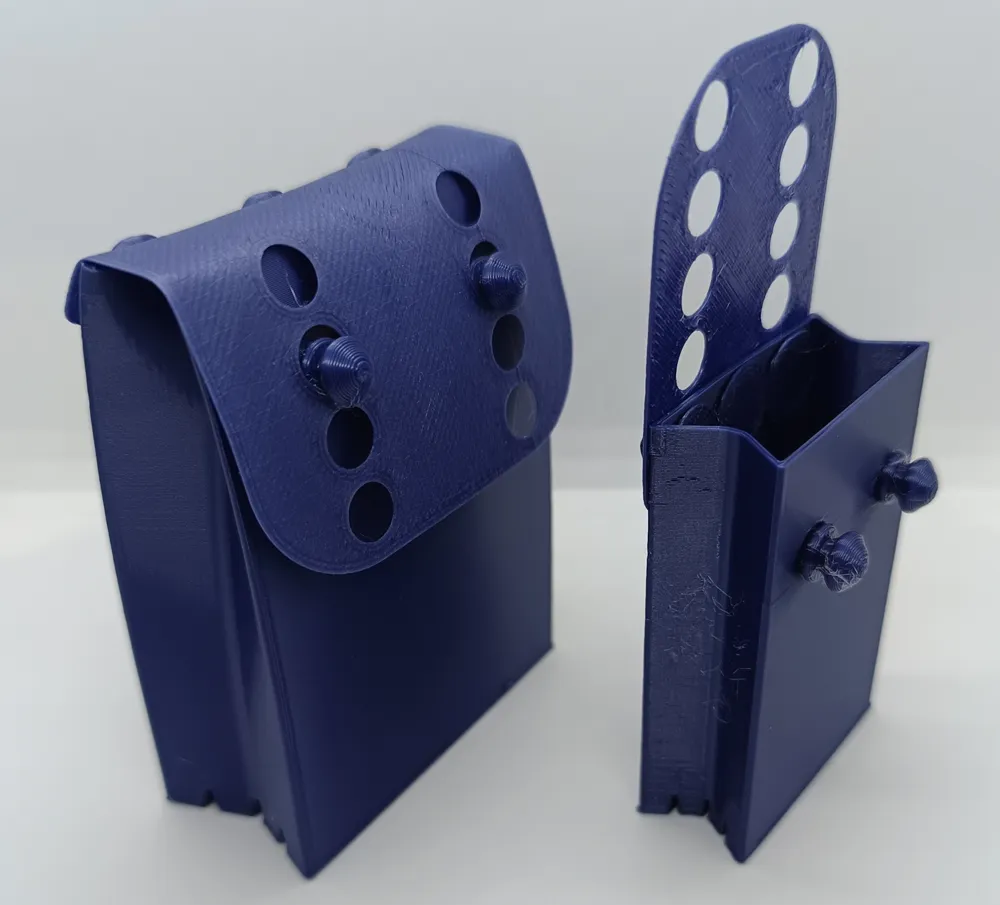
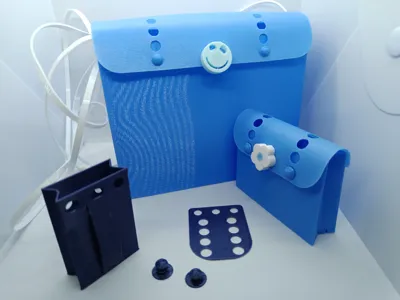
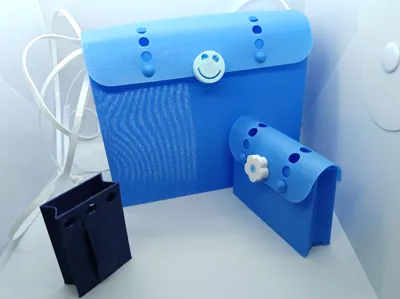
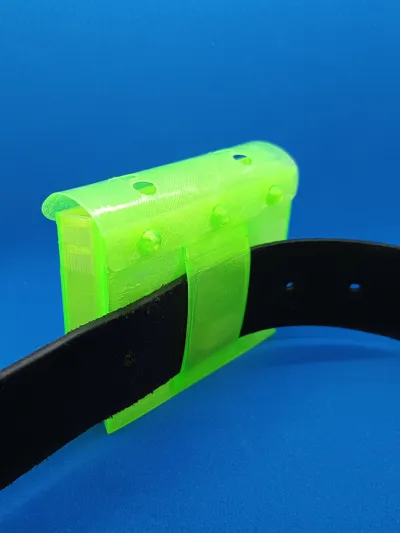
This is a small practical bag for items like keys, change, or a mobile phone
Update 31.08.2025
- Parametric files changed, as an object is exported during download
- after opening in Bambu Studio, the object can now be automatically split into multiple objects
Different versions are available
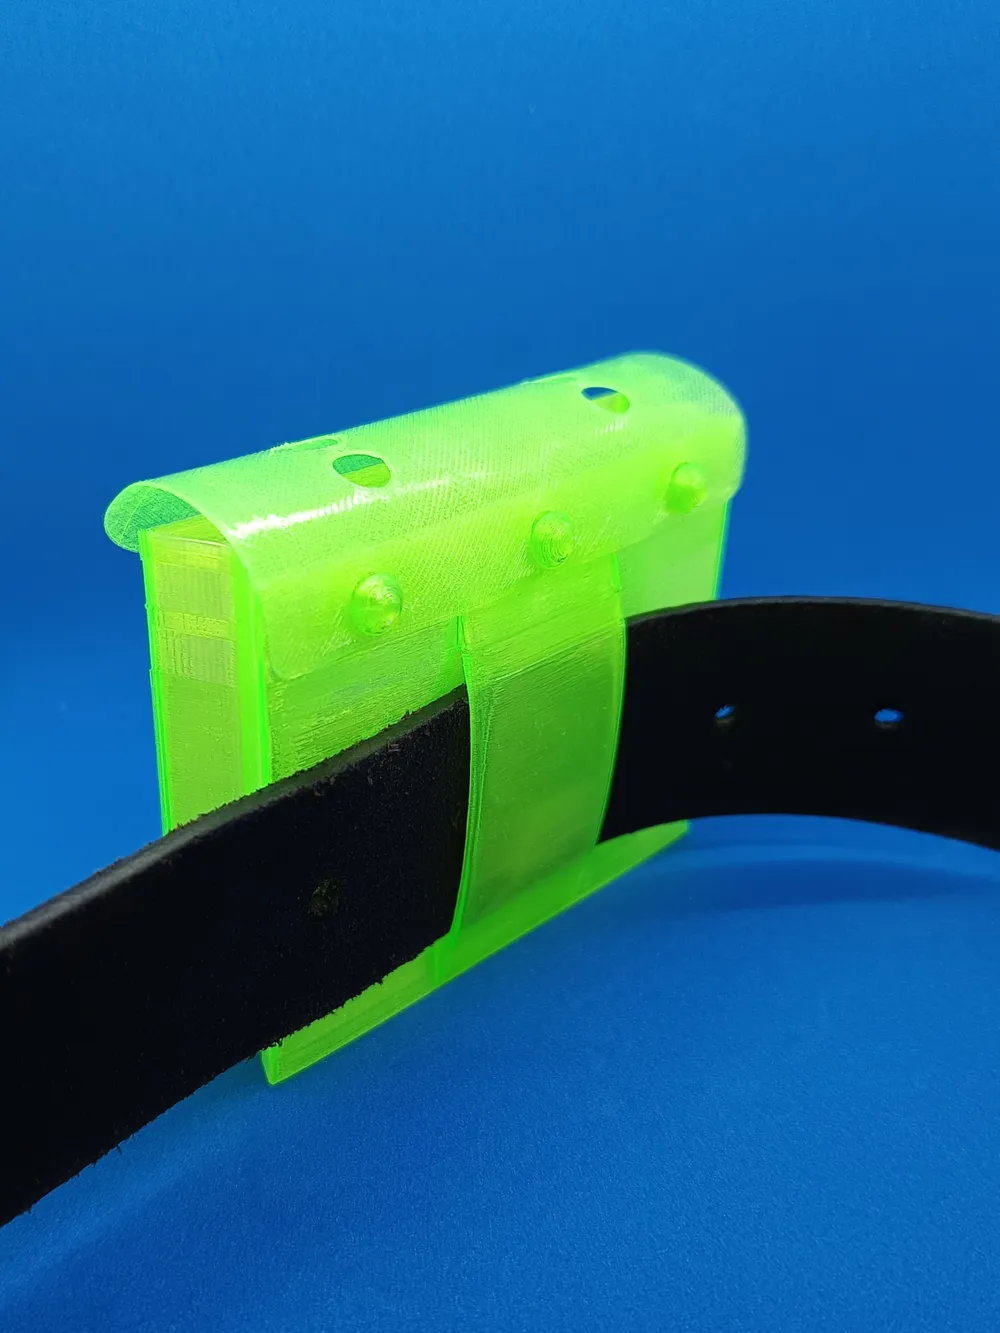
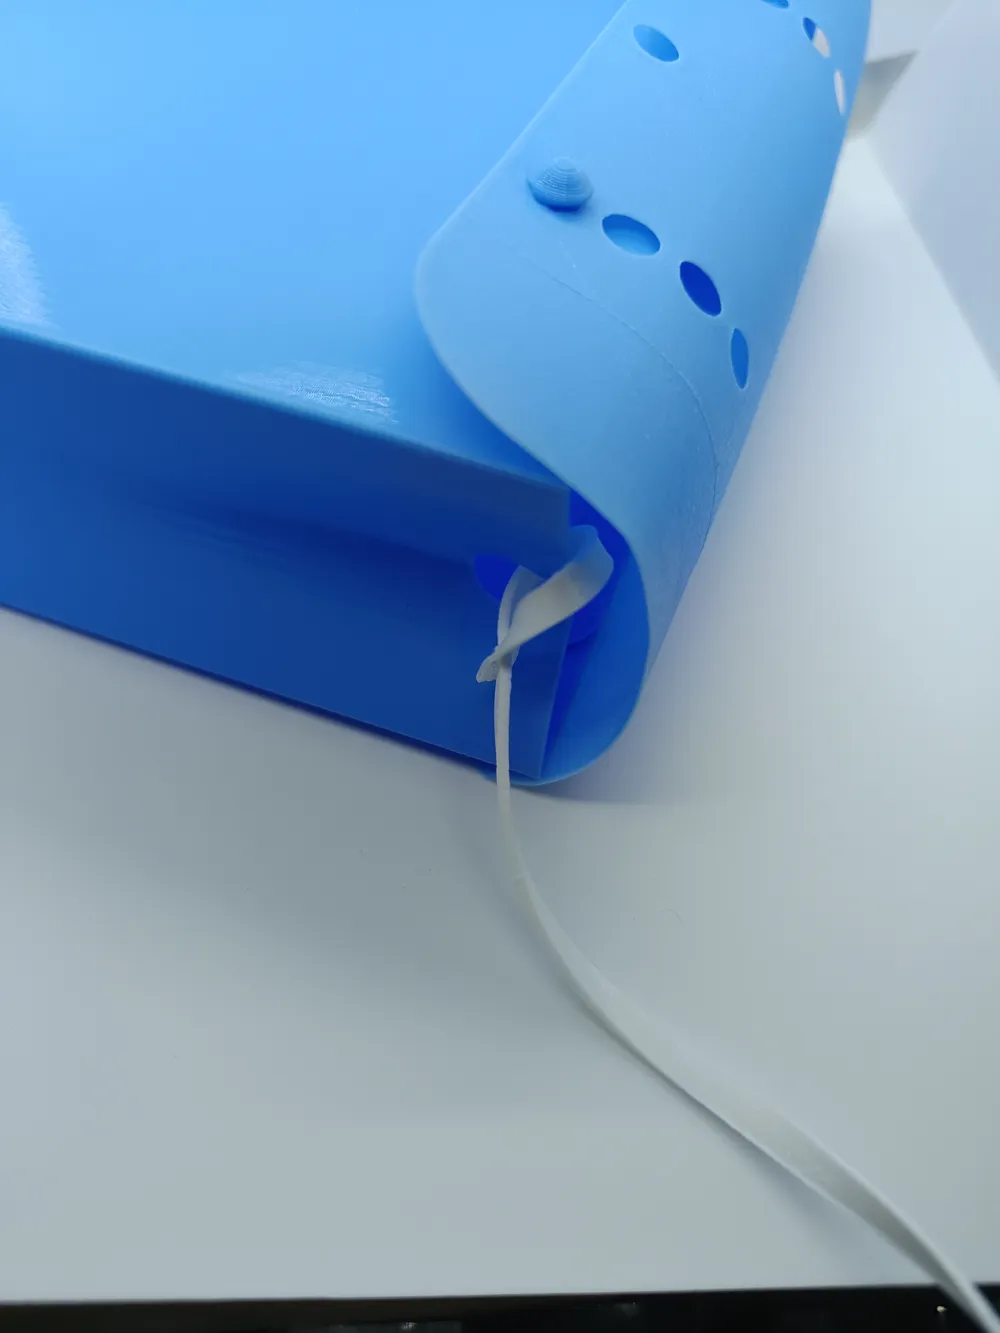
- for wearing on a belt or with a strap
- Model “bag” has a wide loop on the back for a belt to pass through
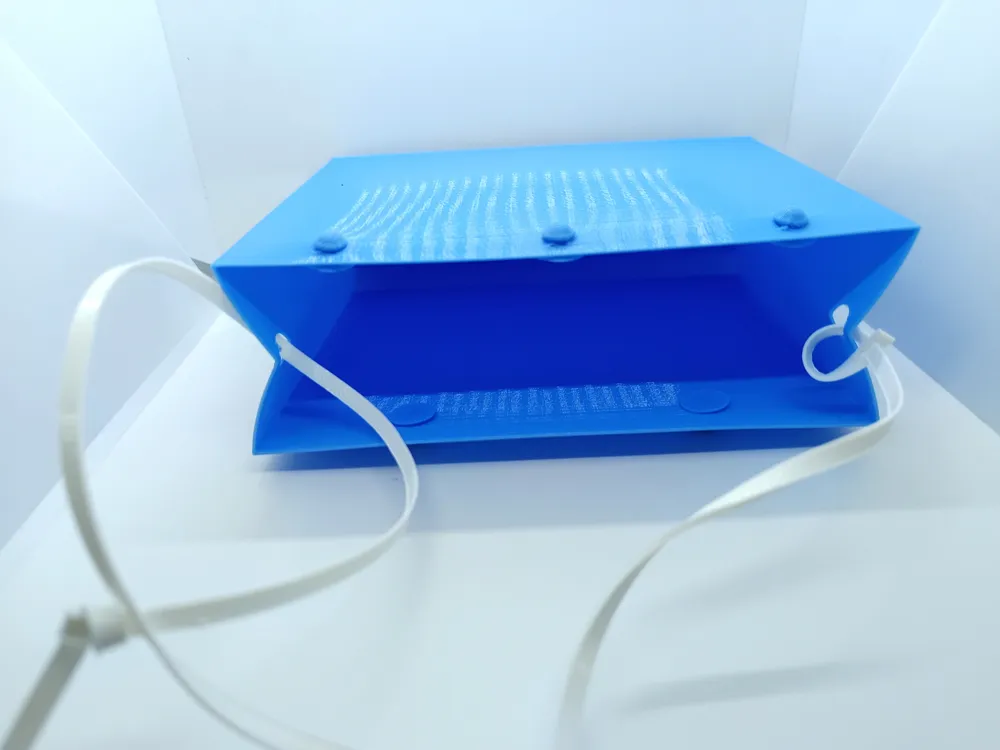
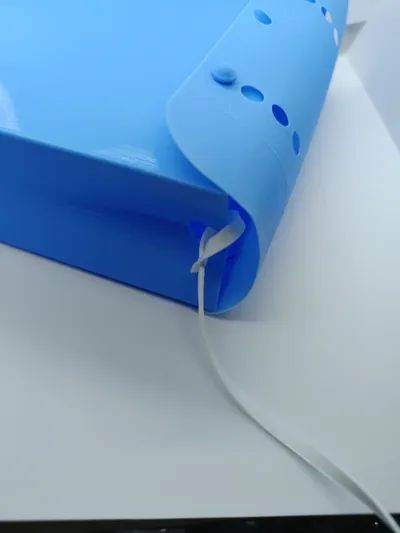
- Model “bag_for_strap” has 2 side eyelets for attaching a strap
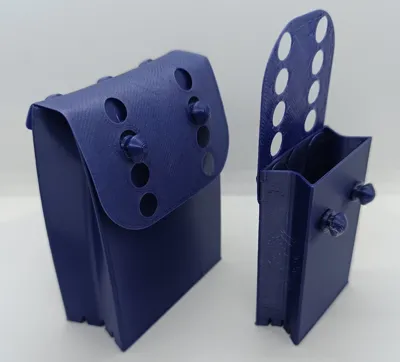
- You can choose between two flaps
- without eyelet
- with an eyelet for your own pin, which is not included here
- e.g. the pins designed by me https://makerworld.com/en/models/1617814-tpu-plugs-letters-and-forms-with-or-without-ams#profileId-1707394)
- print an additional button onto which you attach the accessory
- e.g. the pins designed by me https://makerworld.com/en/models/1617814-tpu-plugs-letters-and-forms-with-or-without-ams#profileId-1707394)
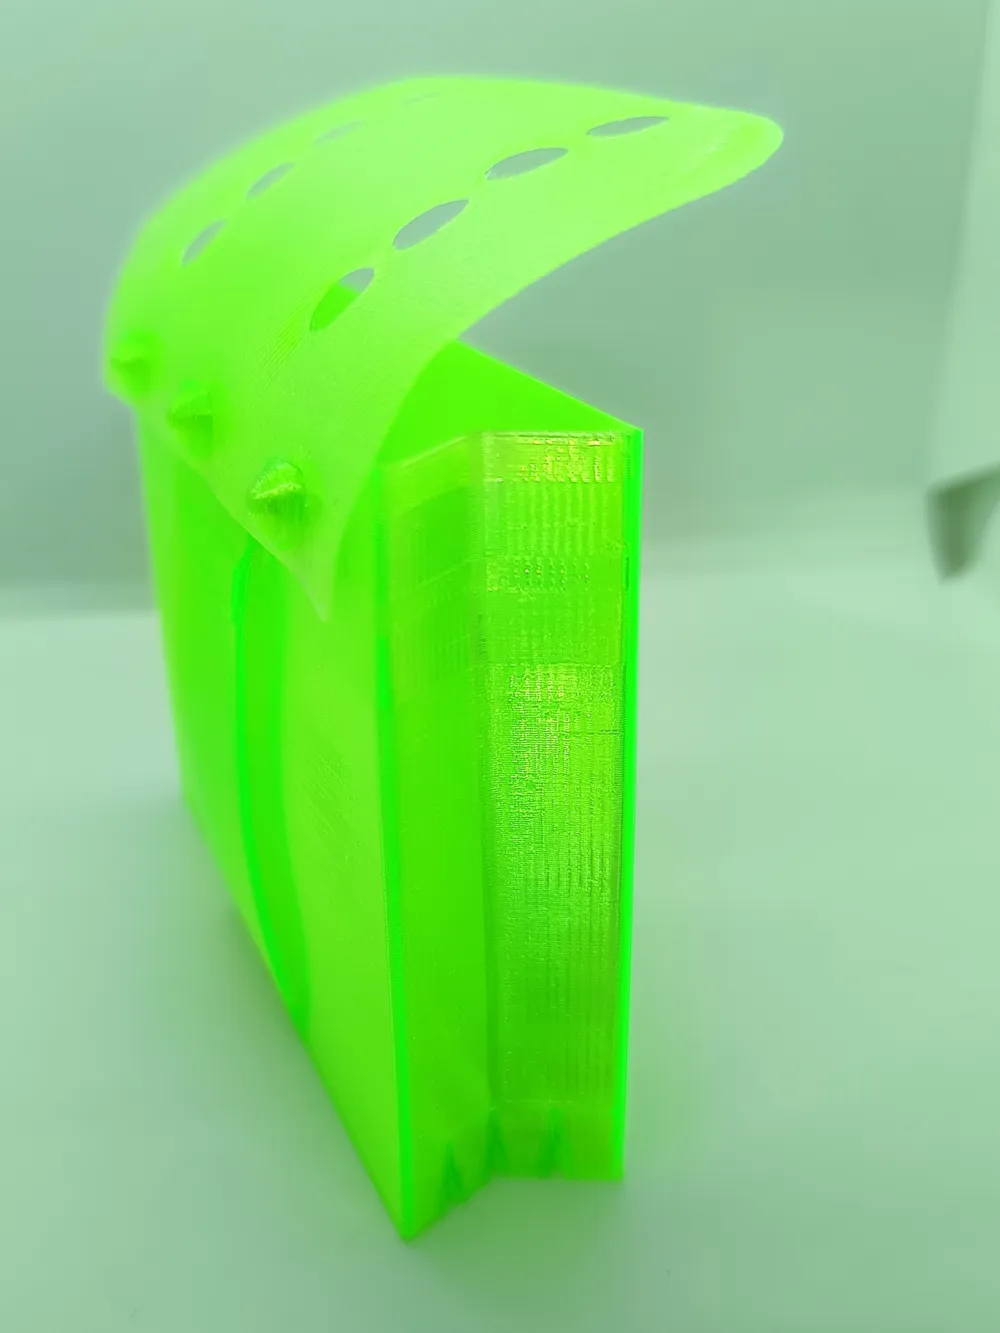
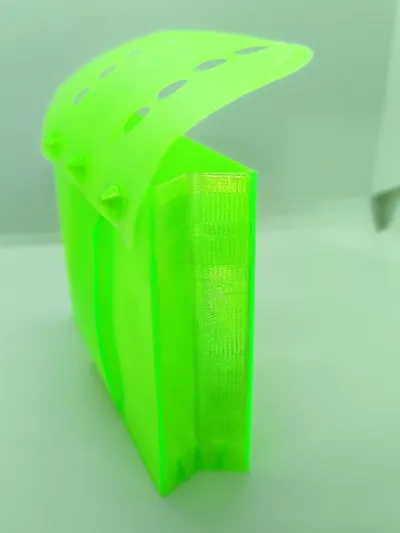
- The bottom of the bag is designed not to sag outwards
- The width, height, depth, belt loop, and wall thickness are adjustable with parameters
- The bag in the print profile is 80x60x20mm, the wall thickness is 0.84mm
- ATTENTION: not all combinations are possible
- with a wall thickness of 2.1, the minimum depth must be 20mm
- if you want even thicker walls, increase the depth accordingly
- the belt loop must be smaller than the height - 10
- with a wall thickness of 2.1, the minimum depth must be 20mm
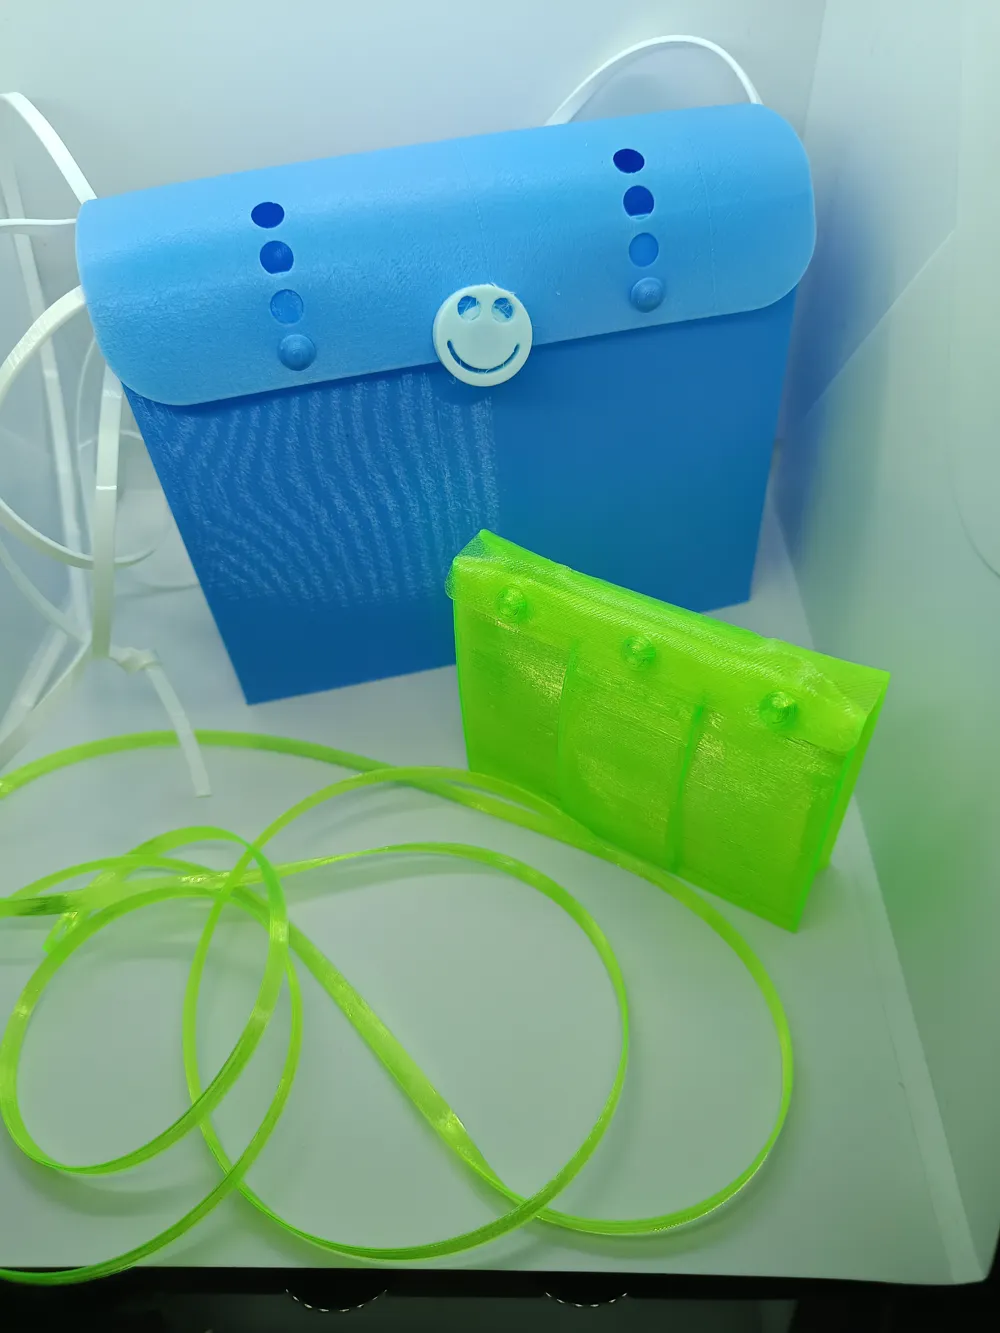
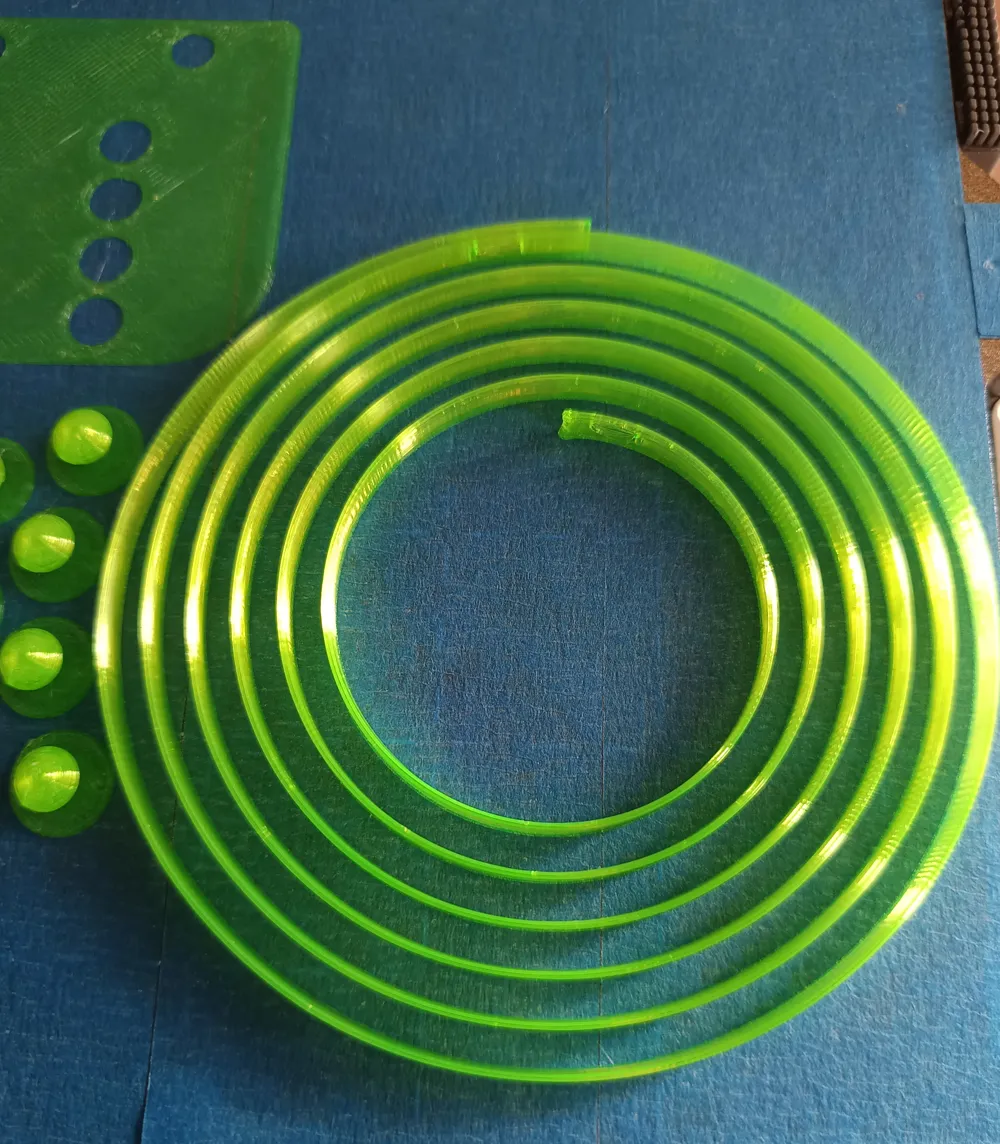
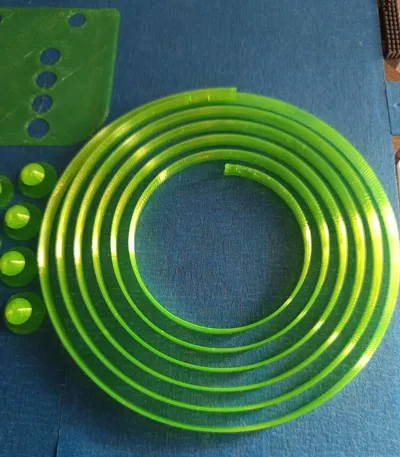
- The strap is a simple “cord”
- You change the length with turns
- the height is determined by the diameter
- Dry the filament before printing
- Refer to the WIKI for printing with TPU
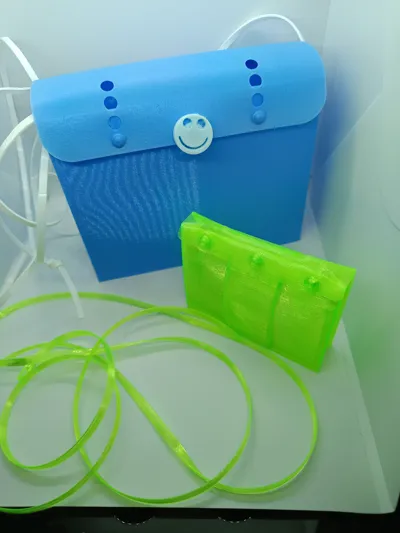
- green: printed in TPU 95A,
- with this filament the bag and the strap become nicely soft,
- may not be printable in a large size
- with this filament the bag and the strap become nicely soft,
- dark blue: TPU 98A
- light blue: Bambu TPU for AMS
- I have not tested softer TPU
- possibly the wall cannot be reliably printed with softer TPU
Assembly
- insert the three simple buttons from the inside out through the three back holes
- insert the two tall buttons also from the inside out through the two front holes
- if you use the strap
- pull the strap through a side hole
- pull the strap through the eyelet in the strap on the side where the eyelet is closer to the edge
- pull the other end of the strap through the other eyelet
- pull the strap through the eyelet in the strap and secure the end with a knot
License

This user content is licensed under a Standard Digital File License.
You shall not share, sub-license, sell, rent, host, transfer, or distribute in any way the digital or 3D printed versions of this object, nor any other derivative work of this object in its digital or physical format (including - but not limited to - remixes of this object, and hosting on other digital platforms). The objects may not be used without permission in any way whatsoever in which you charge money, or collect fees.


Comment & Rating (0)