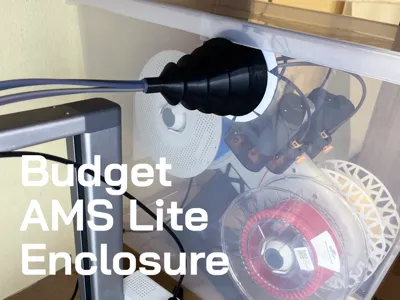
Quick and Cheap AMS Lite Enclosure Adapter


Print Profile(1)

Description
Why make AMS lite enclosures which take few kilos of filament and multiple days to print and assemble? This is extremely cheap and fast setup. It works for my A1 for a YEAR already without a single problem. My printers are located in a humid and dusty garage. Did not want the moisture and dust to interfere with my prints (I print with PETG quite a lot).
I paid 15$ for the plastic box and amount of TPU used.
Printed the Adapter and spent 30 minutes to mount it.
Threw a big pack of desiccant and a humidity sensor.
And that was it!
Last 6 months humidity readings are 15-20 RH while it is 50-60 RH in the garage.
Recommendations (A1):
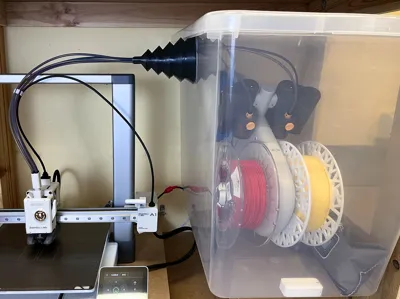
- The plastic box size needs to be approx. 80liters / 20 gallon. Minimum dimensions: 43cm height, 60cm width, 40cm length. I found one in a big hardware store.
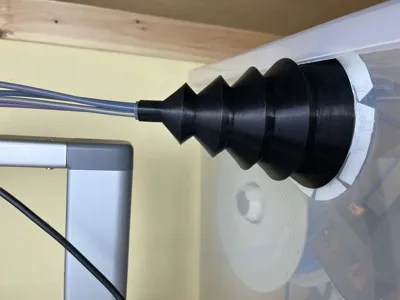
- Dry your TPU well, suggest to print the Adapter using 85A or 90A, go slow. TPU is essential here as it provides good seal and flexes.
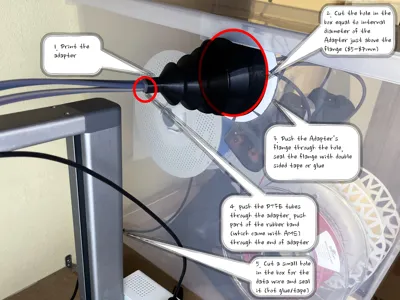
- You need to cut the hole for the Adapter, just below the rim of the box - diameter approx. 85-87mm, best cut using hot tool to avoid plastic snapping
- Push the Adapter's flange through the hole, seal the flange with double sided tape or glue
- Push the PTFE tubes through the adapter , it will seal if you push part of the rubber band (which came with AMS tubes) through the end of the adapter
- Cut a second, small hole in the box for the data wire and seal it, eg. with electrical tape
- Put the desiccant in and close the lid
- Works best when the box and the printer are on the ground or on the low shelf (filament changes are easier)
- Check how the tubes work with all the extreme positions of the print head
- For my box I found it needed to be placed few cm higher then the printer
License
You shall not share, sub-license, sell, rent, host, transfer, or distribute in any way the digital or 3D printed versions of this object, nor any other derivative work of this object in its digital or physical format (including - but not limited to - remixes of this object, and hosting on other digital platforms). The objects may not be used without permission in any way whatsoever in which you charge money, or collect fees.
Comment & Rating (10)