
Print Profile(1)

Bill of Materials



Description
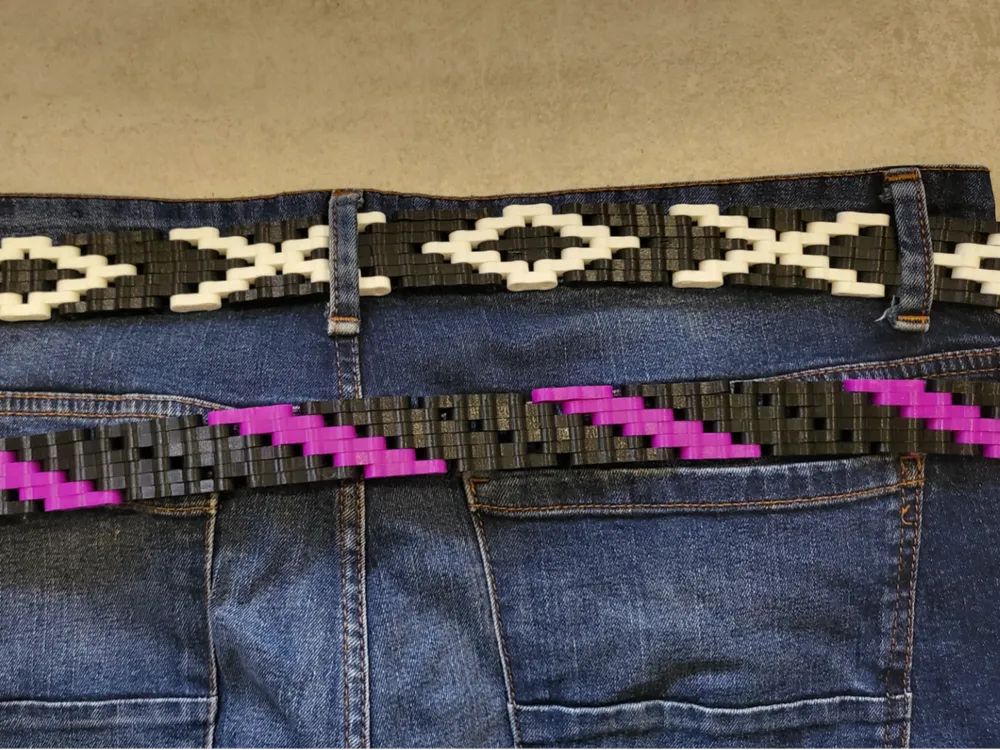
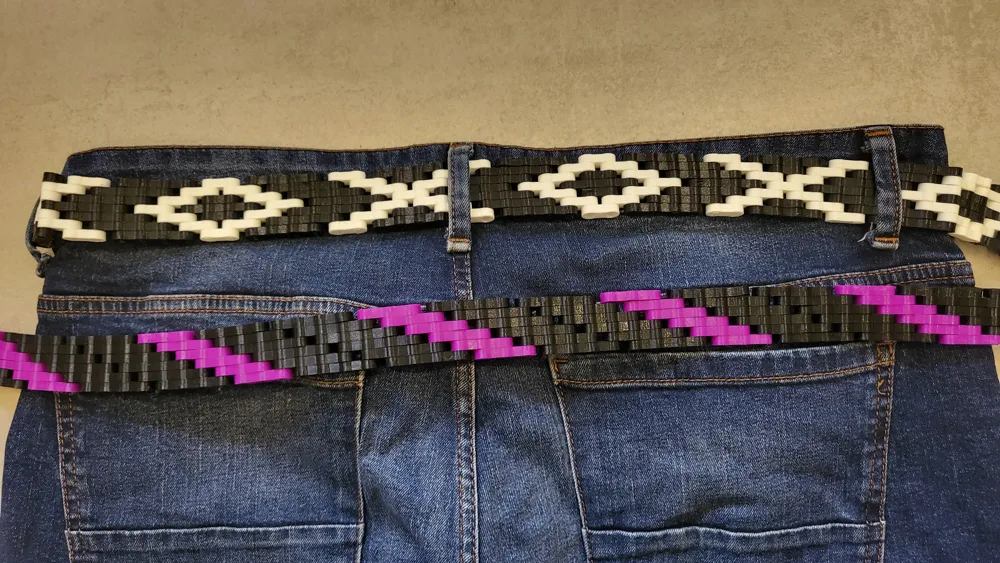
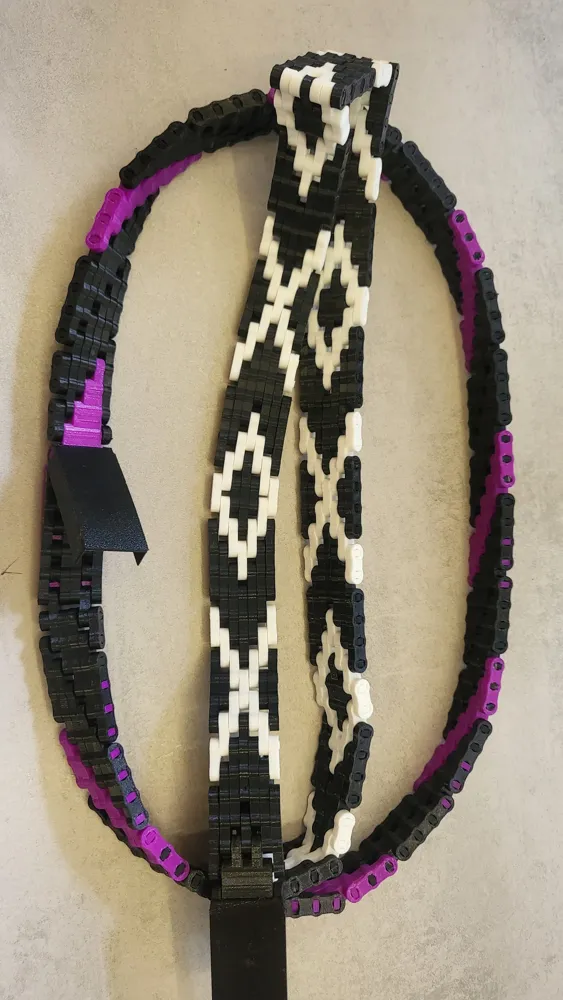
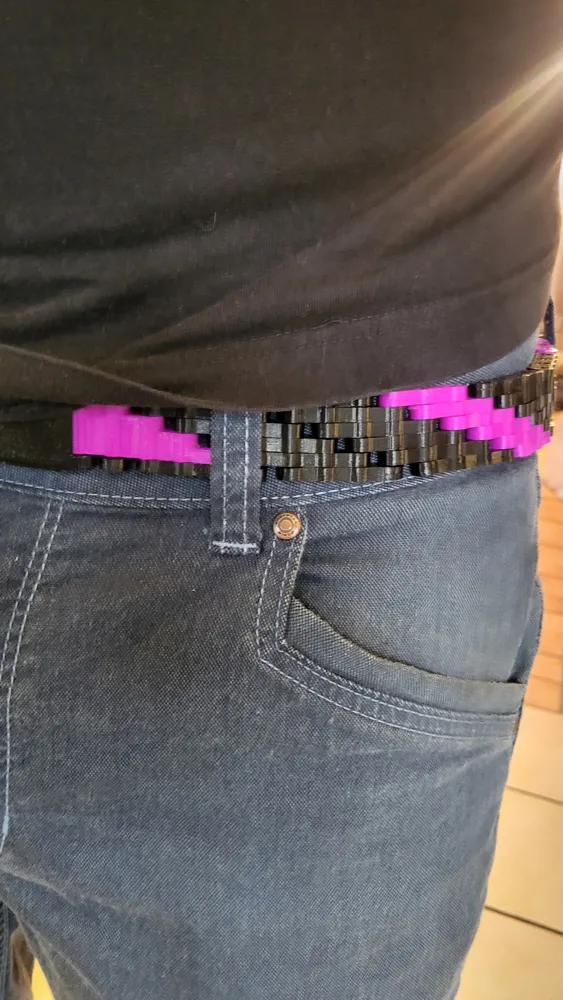
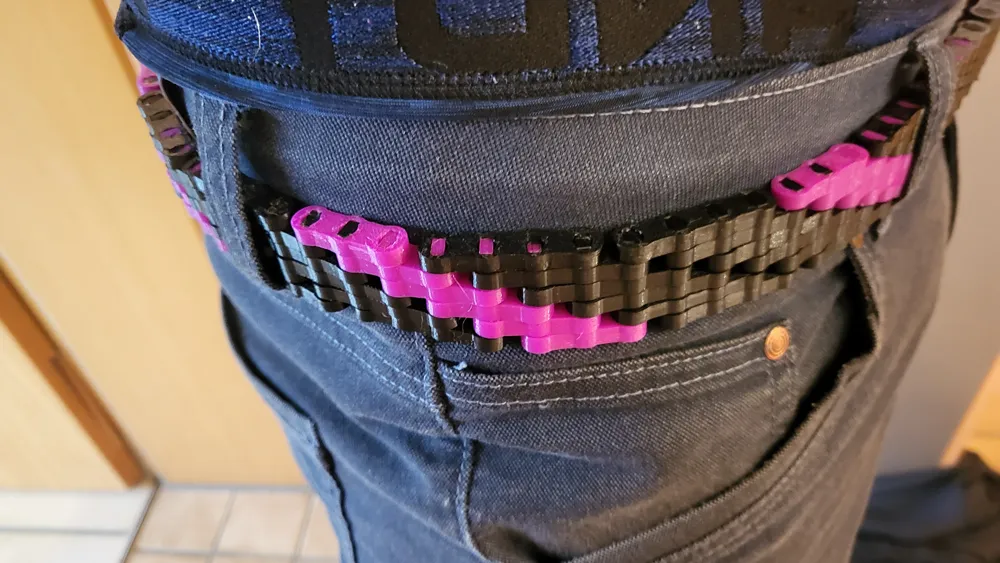
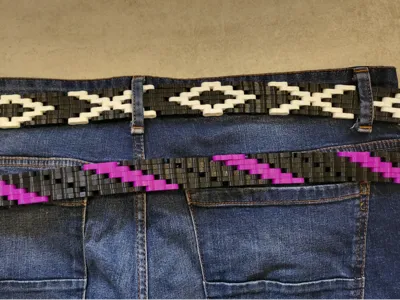
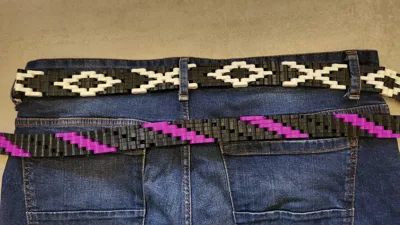
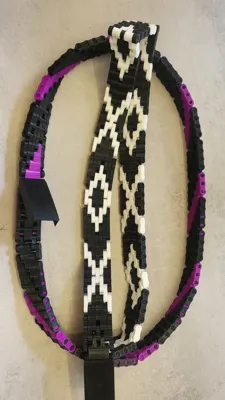
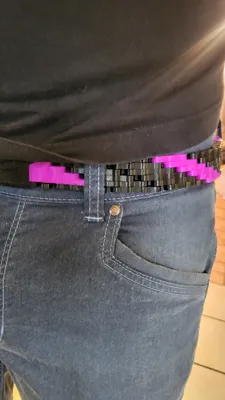
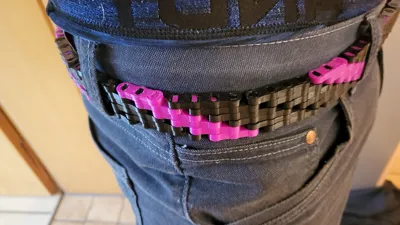
Modular, self-designable chain-style belt
My intention was to design a belt that can be individually assembled by everyone.
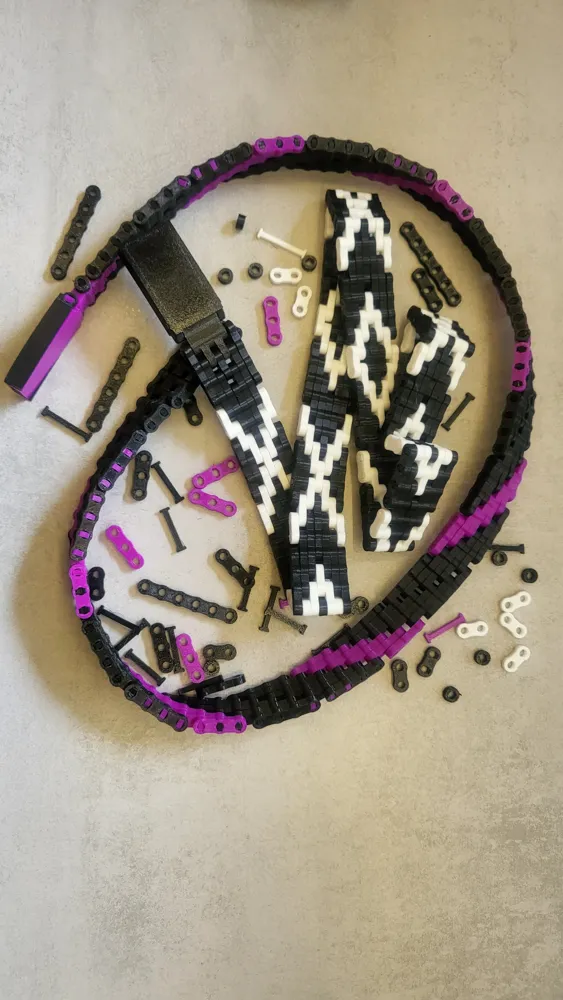
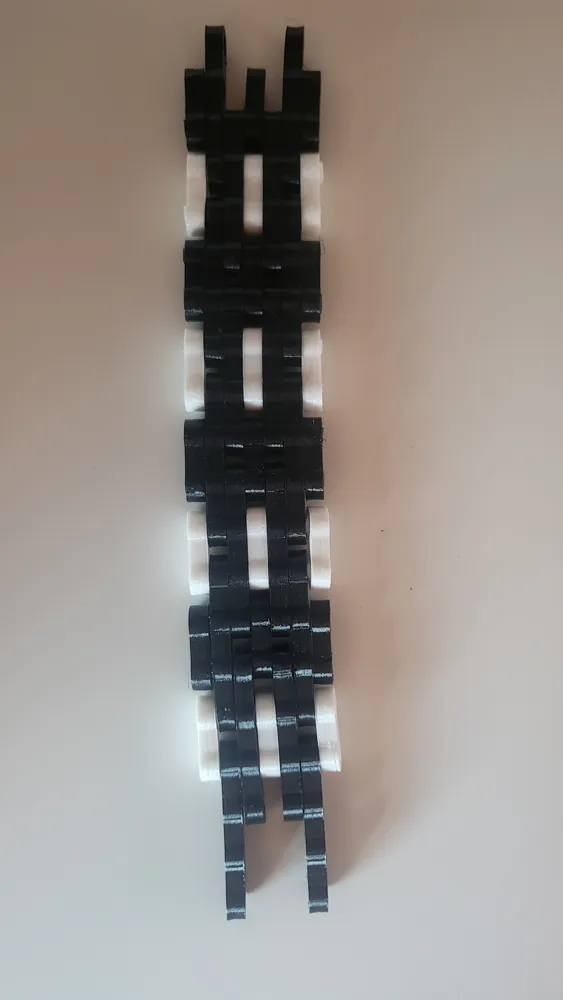
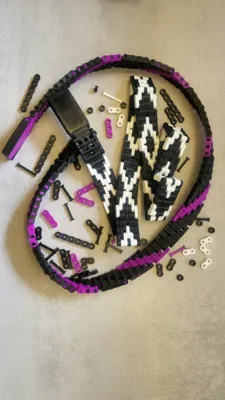
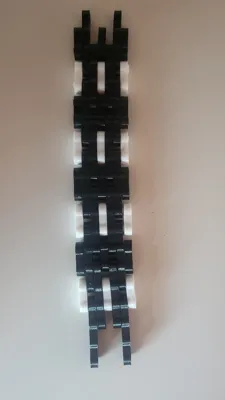
There are chain links with 1 to 6 holes, so that everyone can choose their own pattern.
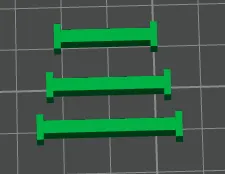
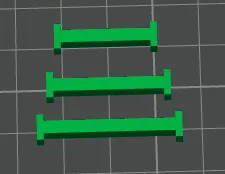
There are also rods and belt buckles in various widths. Widths of 4 to 6 links on top of each other are possible (files s5x, s6x and s7x are the rods that hold the links together).
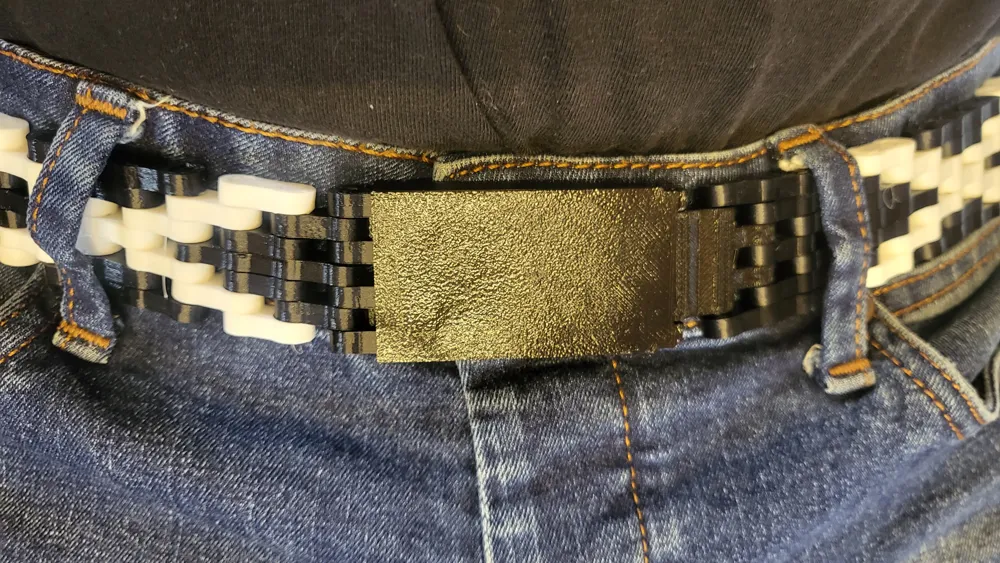
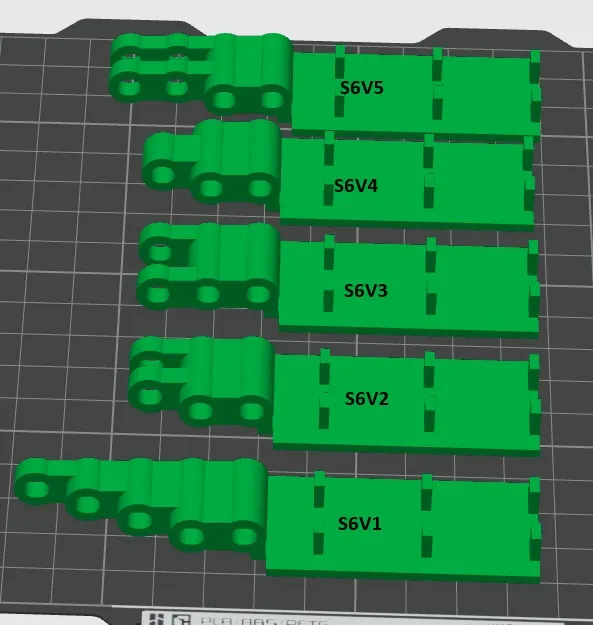
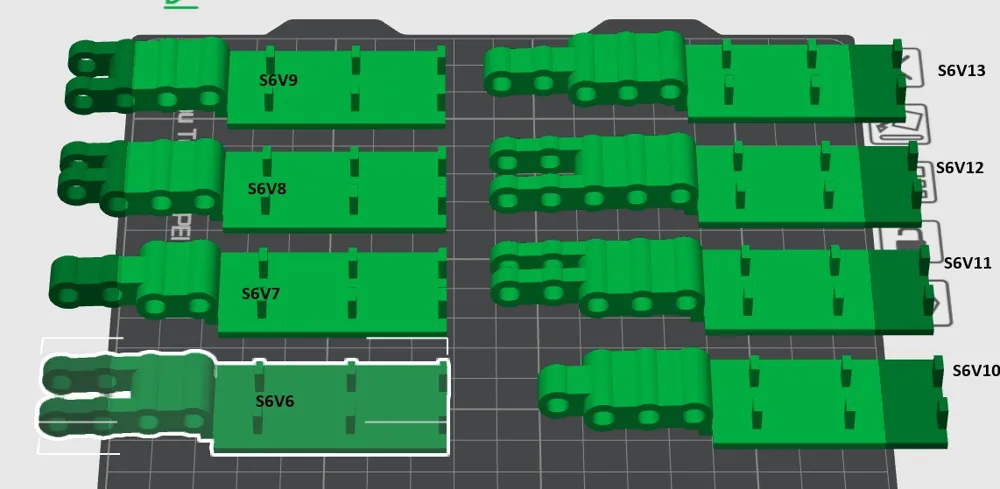
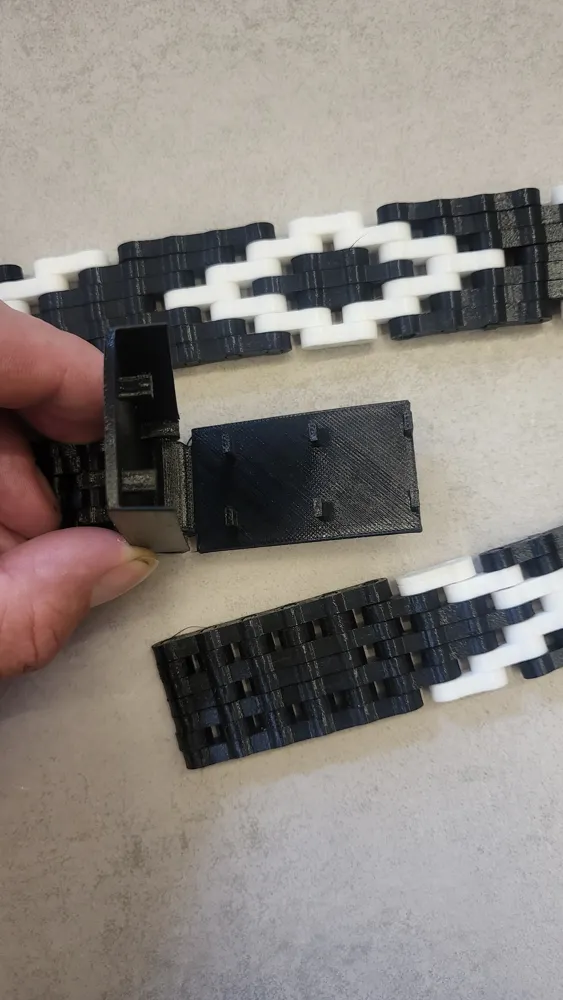
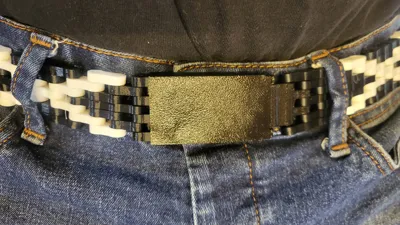
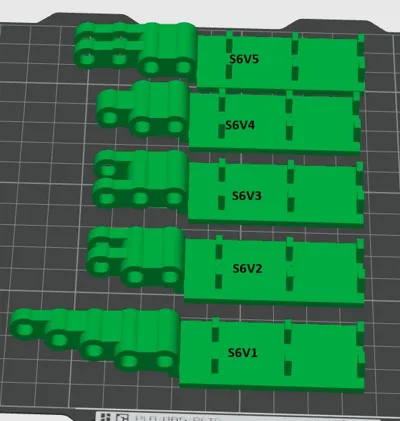
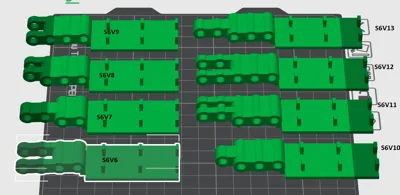
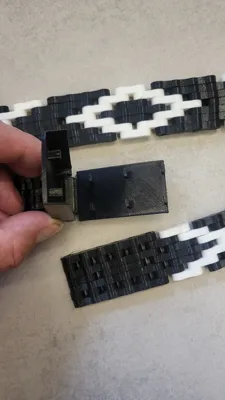
Belt buckles are files s7 for 7 links, s5 for 5 links and s6 (top part) or s6v1 to s6v13.
Personally, I like the belt best with 6 links, so there are 13 different belt buckle combinations for this, but that doesn't matter because many possibilities can also be assembled with buckles s7 and s5 due to the different links.
The files are each created twice: IN and OUT
The IN files are for the inner chain links, the OUT files are for the first and last link (top and bottom) because there is a recess for the rod (files s5-7x), so that the rods remain firmly anchored. The IN files have a larger hole to make assembly easier.
Printing:
- The belt can only be printed/used in flexible material, or individual links can also be used in rigid material
- Print with a maximum layer height of 0.16mm for a good result
- Supports should be used to print the belt buckle
- Tip for printing: In Bambu Slicer, duplicate the required file as often as needed and select Other → Special mode → Print order: By object! This prevents stringing between the individual parts and thus ensures a clean print.
Assembly:
- For assembly, it is best to first insert the rods from the bottom through the OUT links (printing plate side)
- Then thread the IN files through the rods
- Finally, mount another OUT link
For the belt beginning, it is best to use the longest possible OUT links and use the link with only one hole in the link rows in which the teeth of the belt buckle engage, so you have 4 links (1 hole) of play to adjust the belt.
License

You shall not share, sub-license, sell, rent, host, transfer, or distribute in any way the digital or 3D printed versions of this object, nor any other derivative work of this object in its digital or physical format (including - but not limited to - remixes of this object, and hosting on other digital platforms). The objects may not be used without permission in any way whatsoever in which you charge money, or collect fees.


Comment & Rating (0)