
NCase M2 Evolved Power Feet 15mm
Print Profile(1)

Bill of Materials
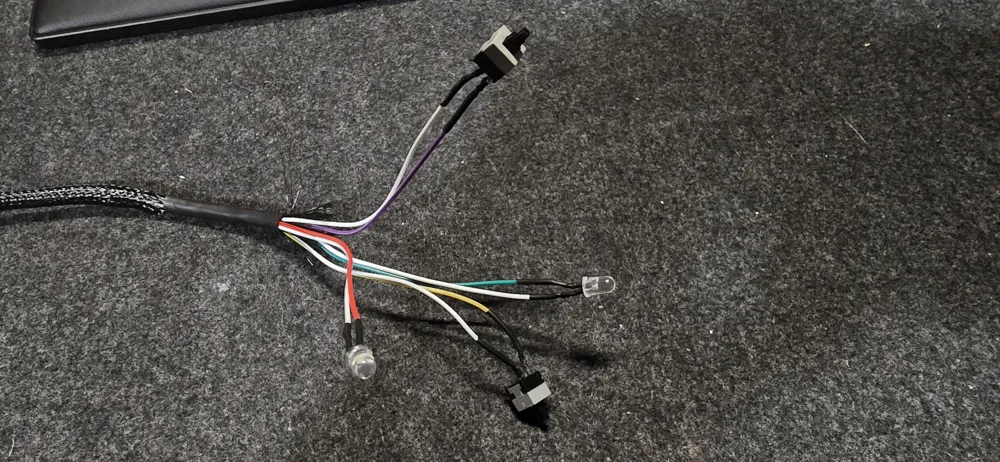
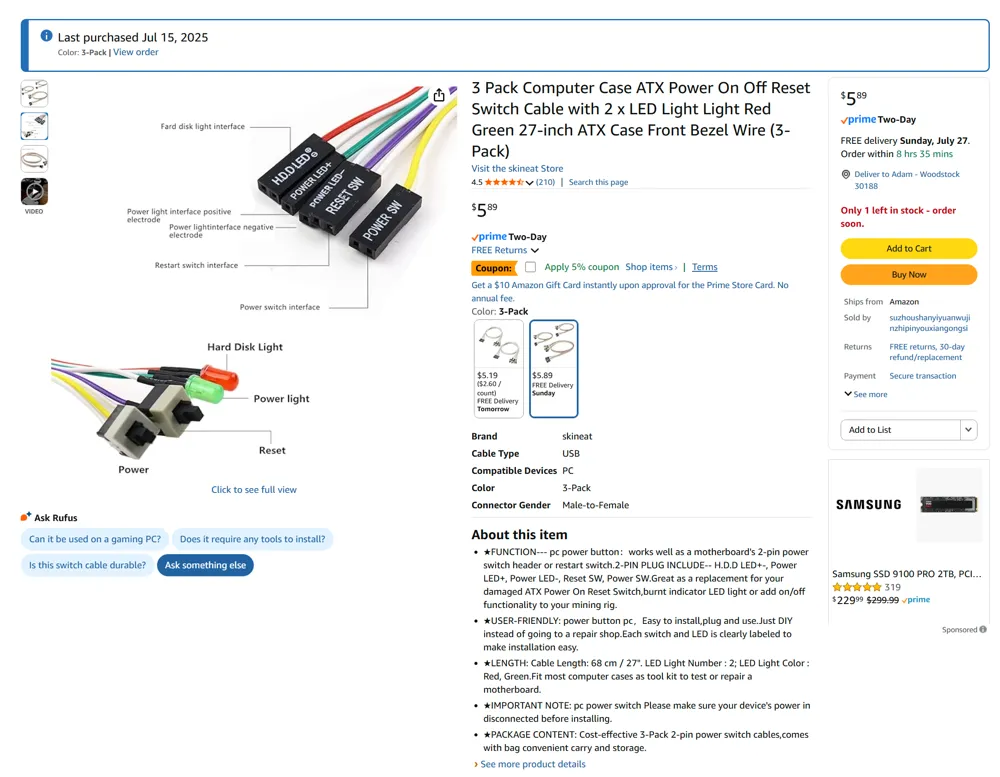
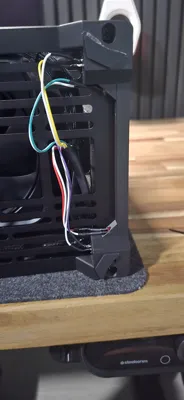
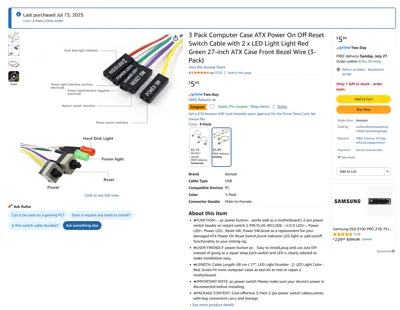
- Computer Case ATX Power On Off Reset Switch Cable with 2 x LED Light x 1: The switches are basic momentary switches with main bodies that are 8.5mmx8.5mmx 8mm with 5.3mm plungers (the part you press) sticking out. The Amazon kit is the easiest way to get teh leads, wires, switches an lights connected and ready to go.
Description
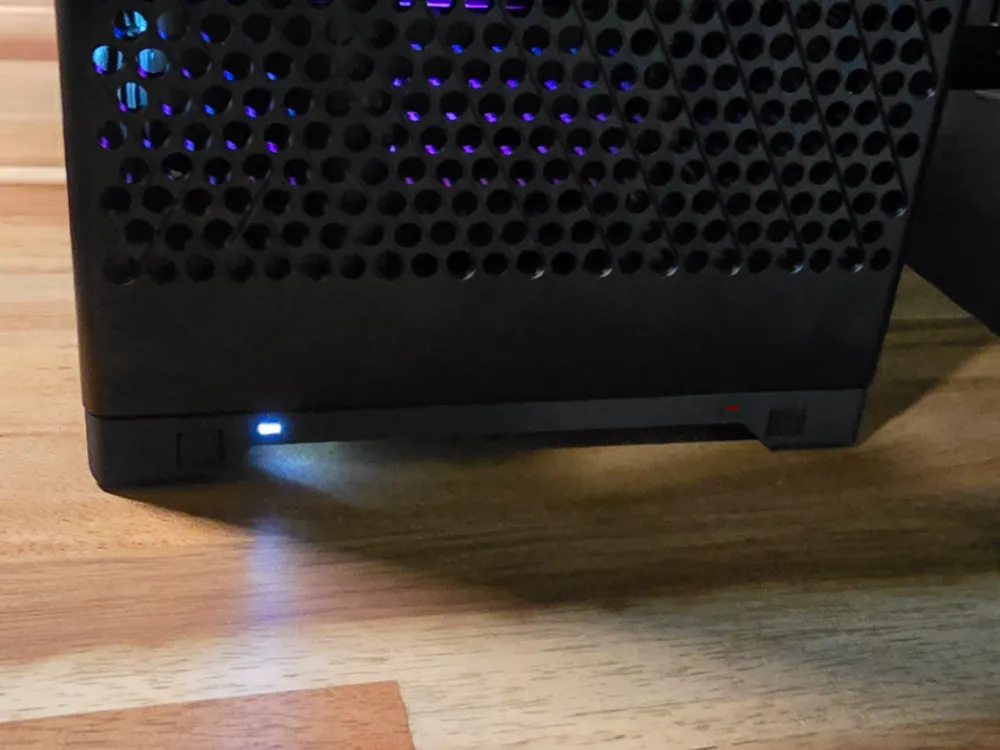
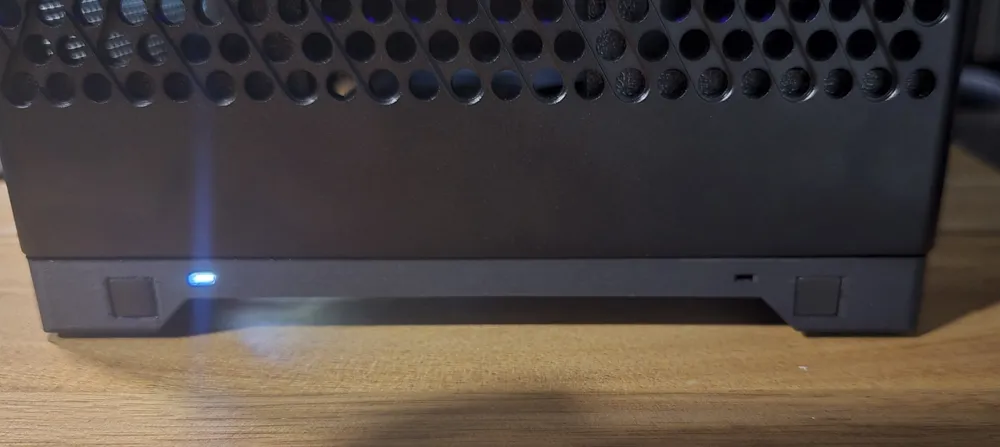
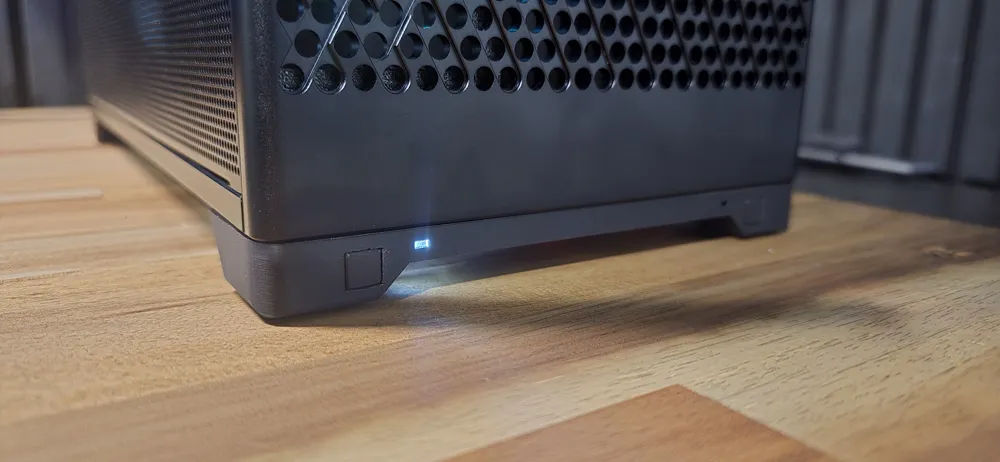
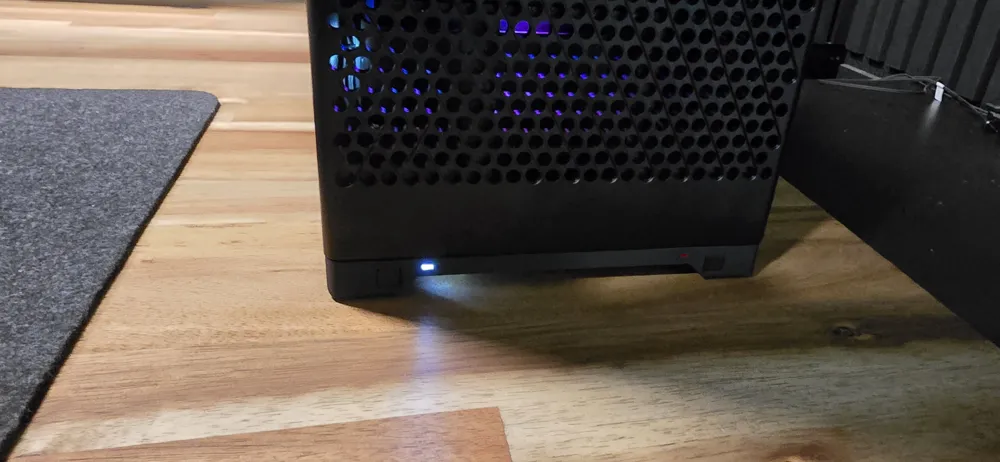
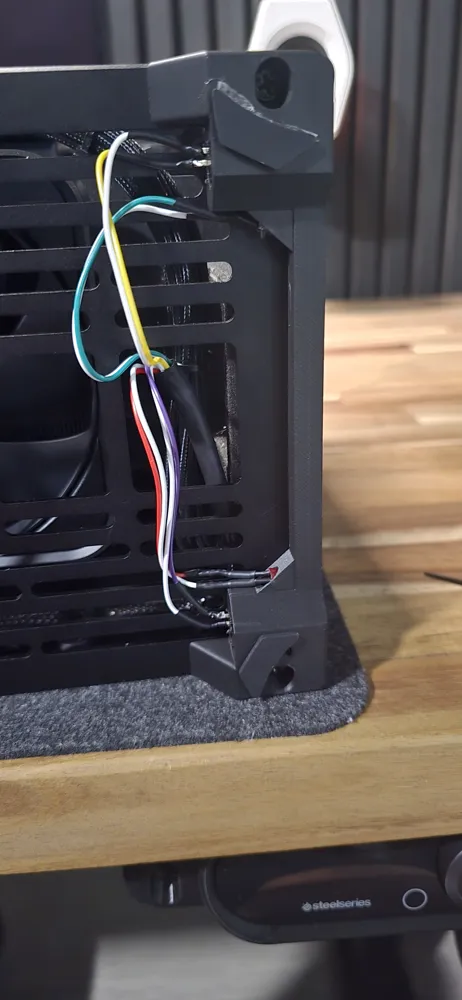
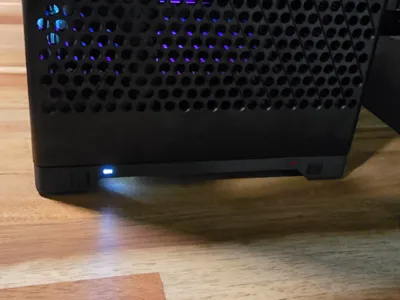
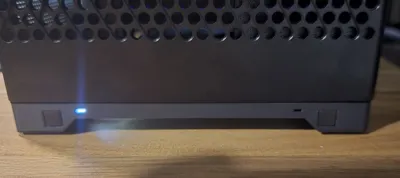
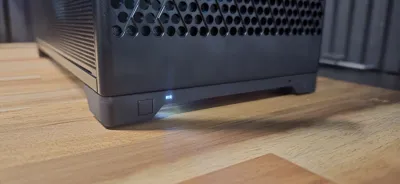
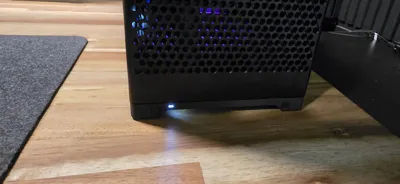
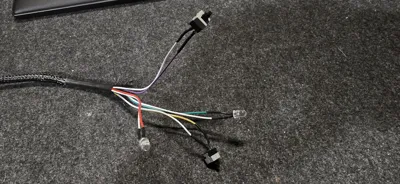
I love the NCase M2 and this thing has sent me on a parts designing rabbit hole. I missed having an accessible power and reset button though. I wanted something stealthy, not obvious. I purchased the pictured power reset, led light combo from Amazon, and modified the design of my original feet to accommodate the buttons and lights. Ignore the chewed up bits around the button hole in the picture. This has been my working base and has been used for re-measuring and tinkering so the edges of the hole have gotten chewed up. I am already working on the next evolution of these but wanted to get these out instead of waiting to get the next ones just right as it may take a bit. Everything is press fit, but you could use dabs of super glue to hold the lights and switches in place. I am experimenting with printing without supports but I would suggest using some.
I measured my case rung and cut the wires from the Amazon button and LED kit, replaced the green PWR led with a white one of similar size (5mm) that I had, soldered it all back together and used some wire cover and heat shrink to keep the wires looking clean in the case. ITs overkill, you don't have to do that.
The Feet screw in with the longer stepped feet screws that came with the 8mm feet with the case. I made the screw holes elongated to allow wiggle room when installing the feet so you can get the sides nice and almost perfectly flush fit. I worked the fillet to match the front panel of the case.
As I said, these are perfectly fine, but I am working on a 20mm version, for those that will want the extra space. I tested and didn't see a difference after 15mm with my setup.
.12mm with matte PLA filament provides minimal layer lines and smooth surfaces for the moving parts.
I used tree supports and will be experimenting with printing without.
Smooth high temp or smooth cold plate (untested but assume it would work well) works best to keep faces smooth and reduce need for supports. Printing them any other way leaves scars and reduced the buttons ability to slide back and forth in the channel. I did not leave a lot of room for tolerances to reduce slop in buttons. If changing orientations, any scarring from supports on the button or channels needs cleaned up well to work.
I am still experimenting with the next design.
The button inserts have rectangle cutouts on on the back to mate up with the tip of the momentary switches. The friction fit keeps the buttons in place. Note orientation of cutouts when assembling. Buttons should set near perfectly flush with front of main body.
NOTE: I have not tested these with any other buttons/switches.
If you don' t want the lights, I will likely have a version of the next design without light holes.
Enjoy.
Boost Me (for free)
Boost is love. Keeps me designing.
License



Comment & Rating (0)