
Grow a Garden - Raccoon (NO AMS) - Roblox
Print Profile(7)


Bill of Materials







- 16 Acrylic Plastic Cement x 1 x 1: High-strength solvent cement for bonding acrylic Fast setting with a working time of 5 - 6 minutes Low VOC content Bonds rigid PVC, ABS, styrene, butyrate, polycarbonate to themselves and each other, as well as other plastics and porous surfaces
Description
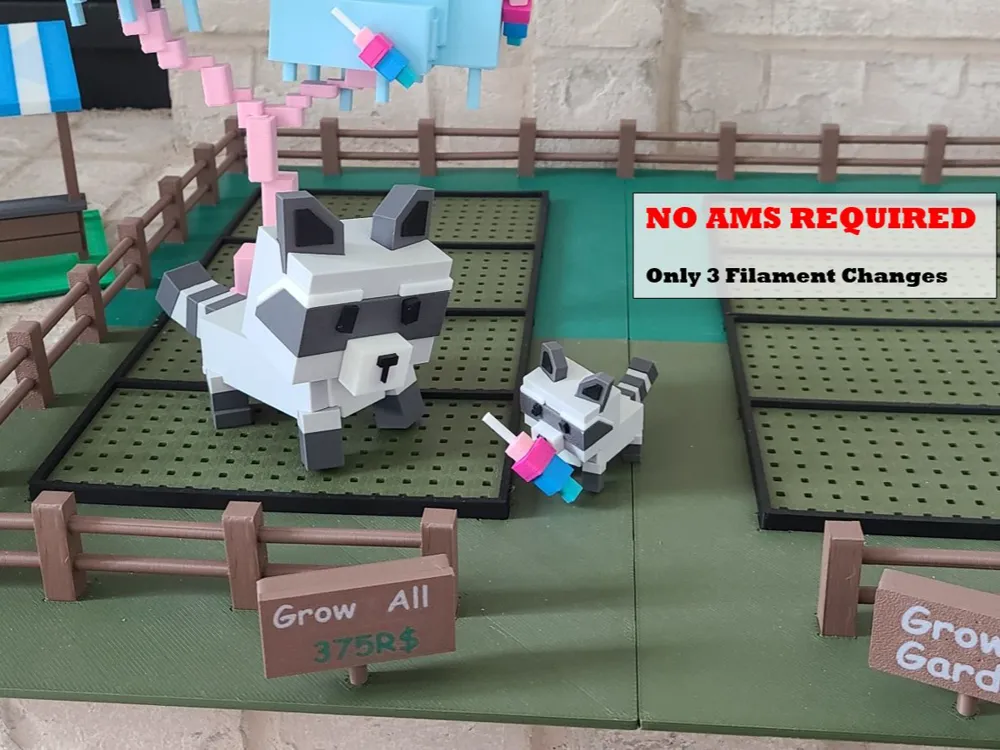
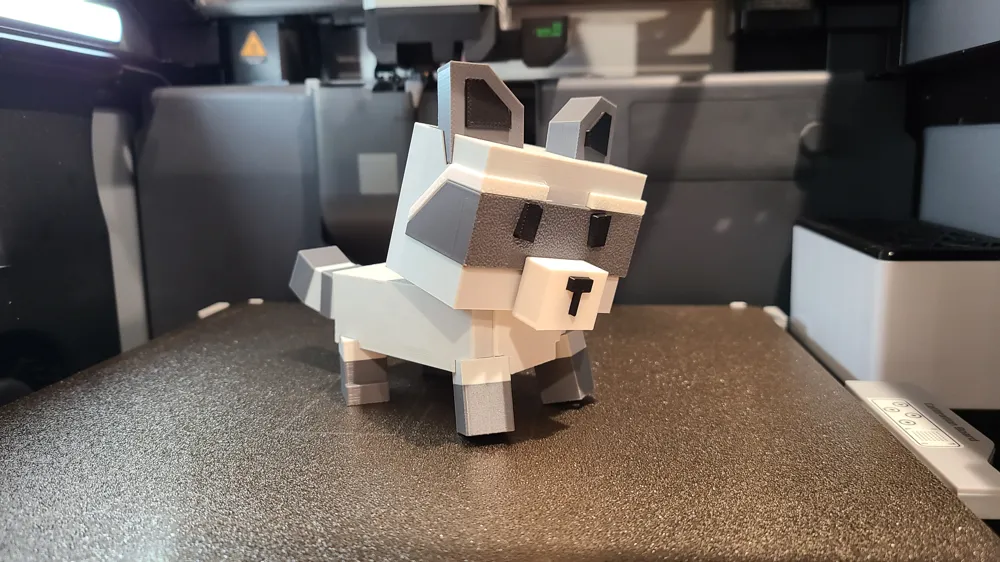
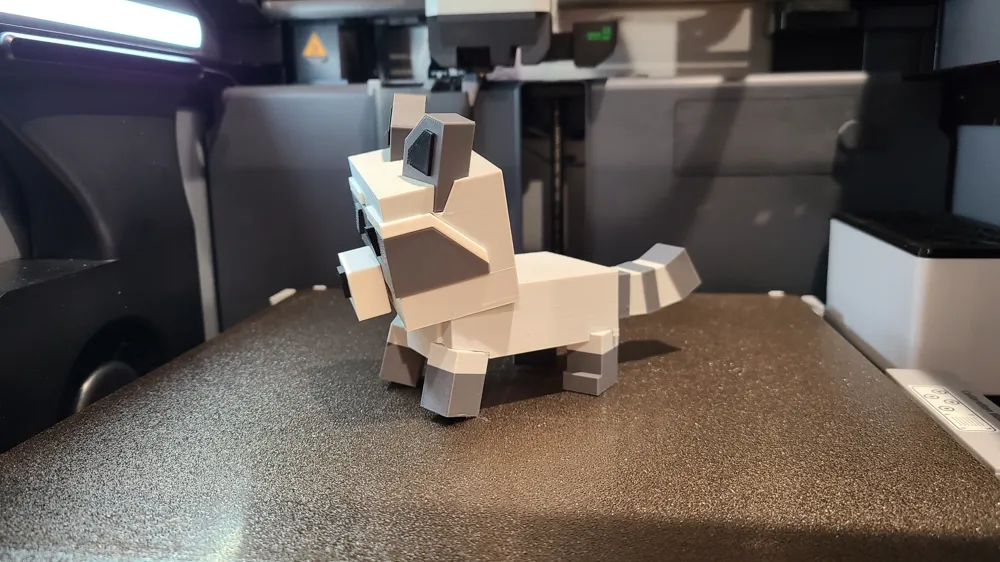
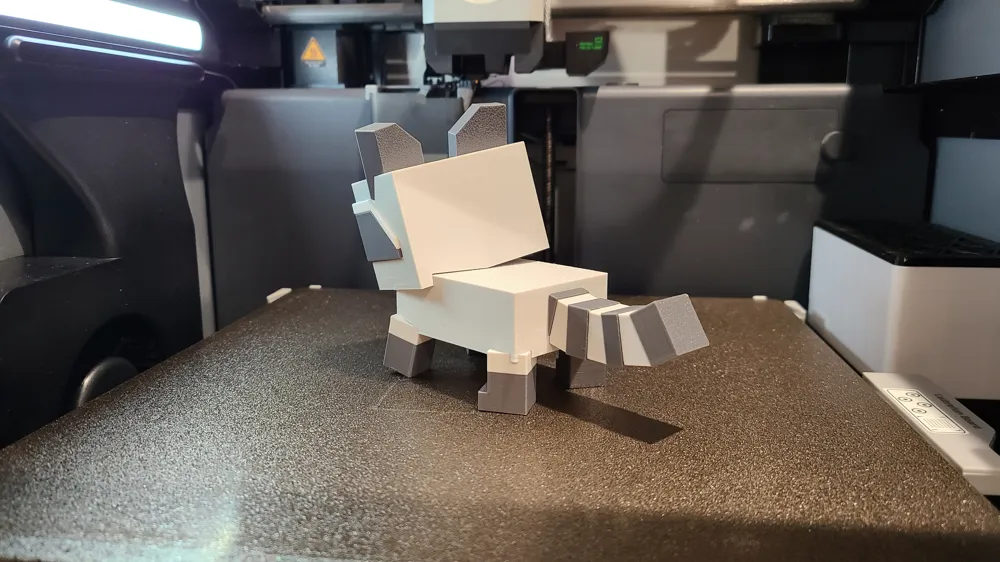
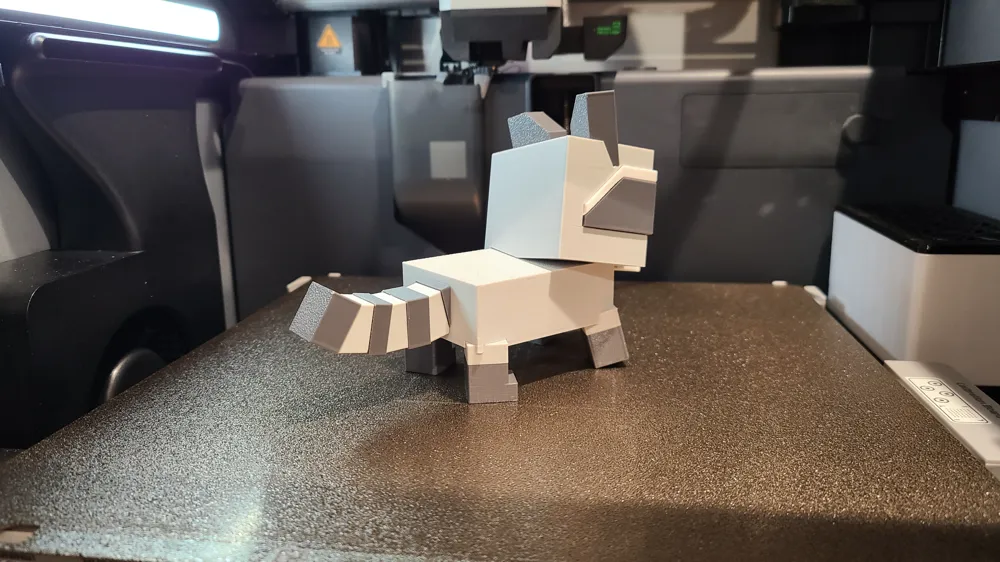
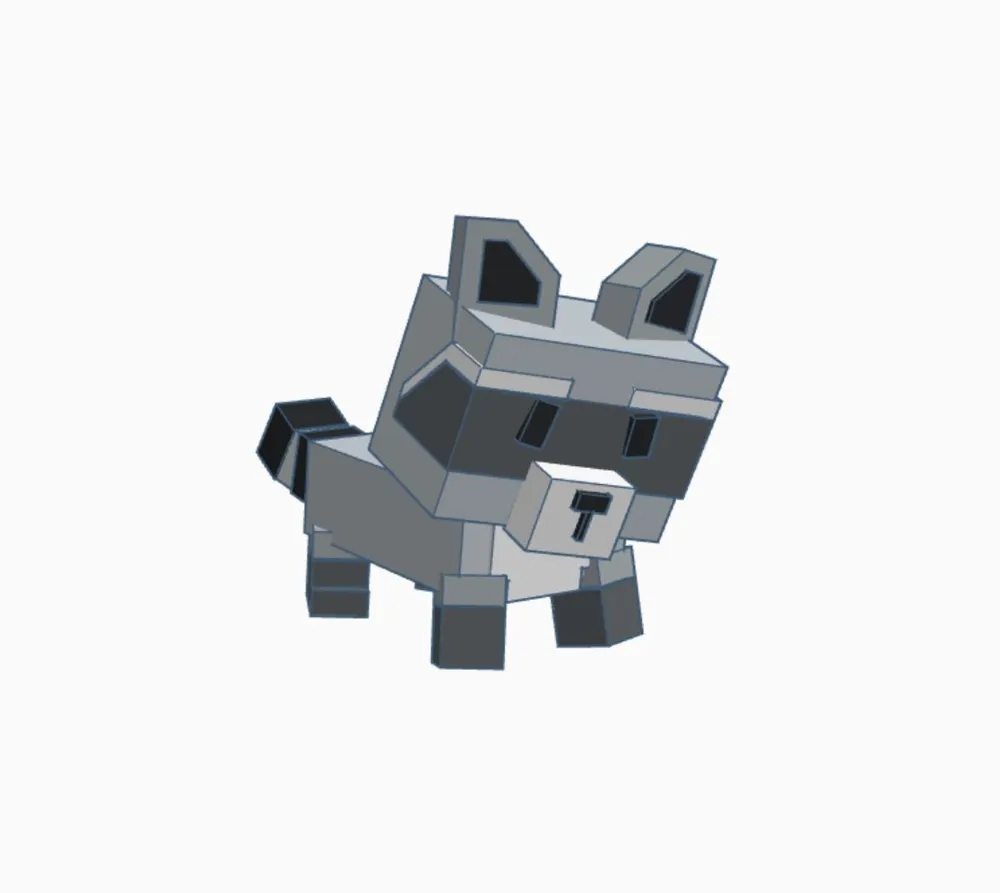
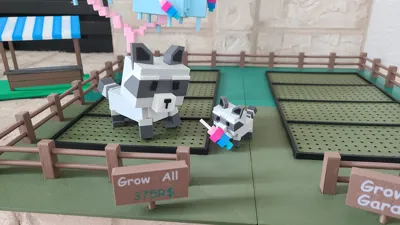
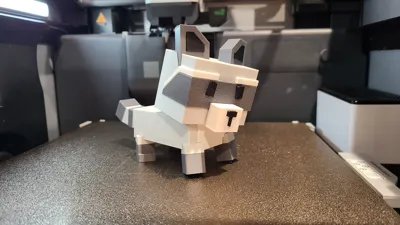
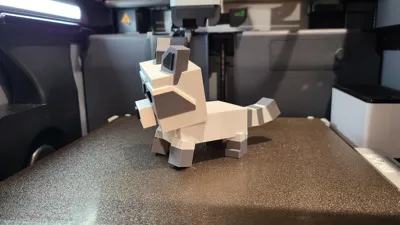
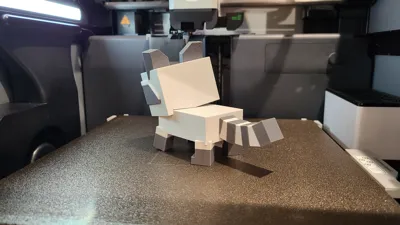
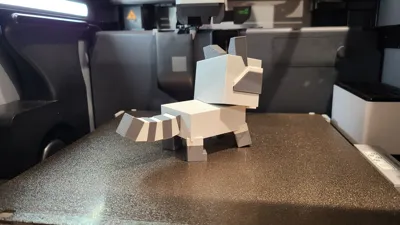
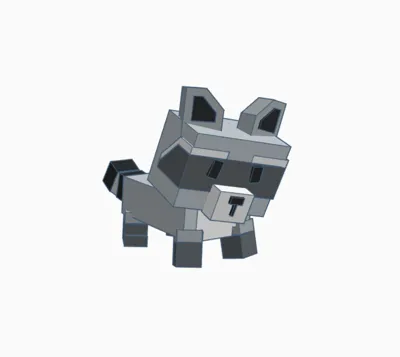
Grow a Garden - Raccoon - 3 sizes
NO AMS NEEDED. Assembly and glueing is required.
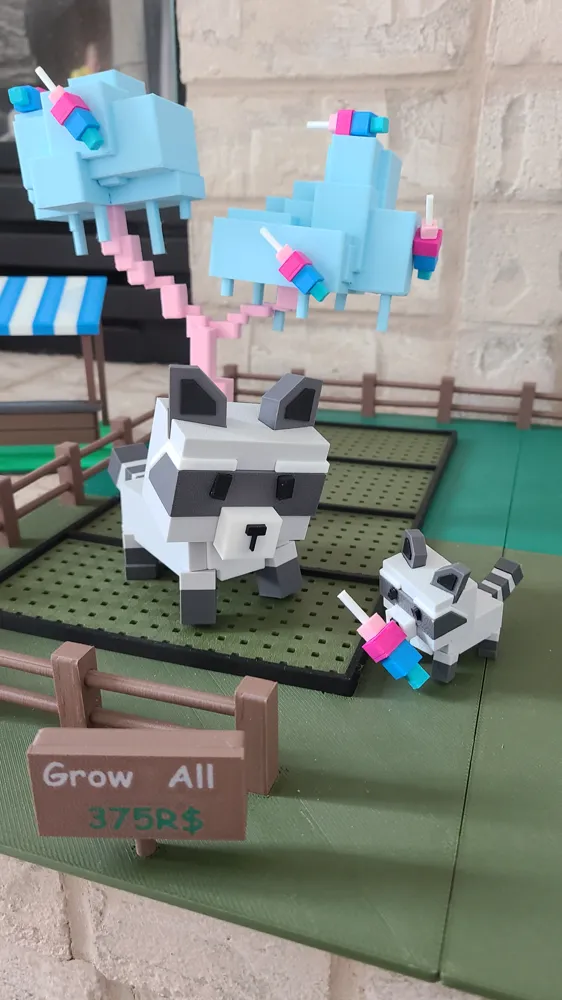
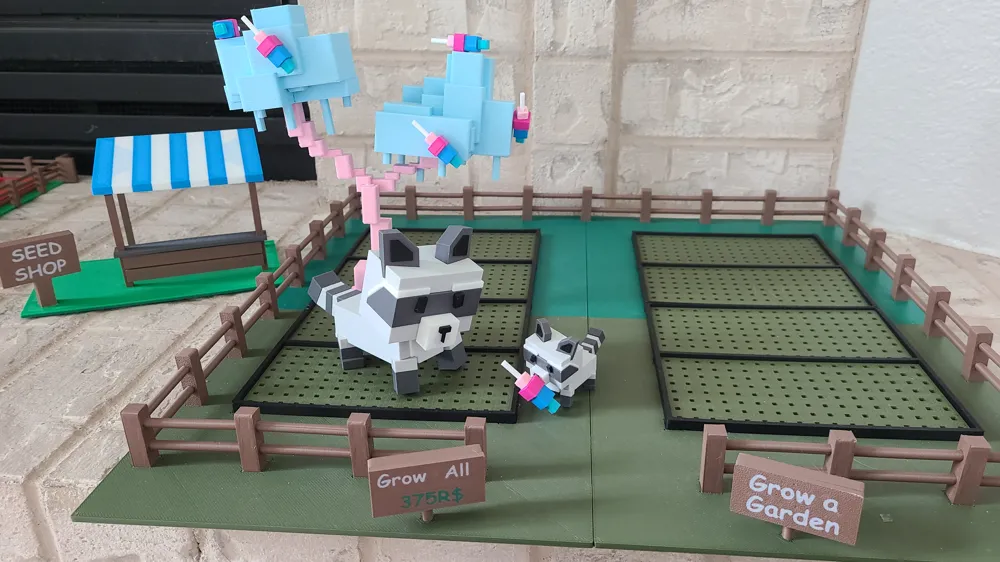
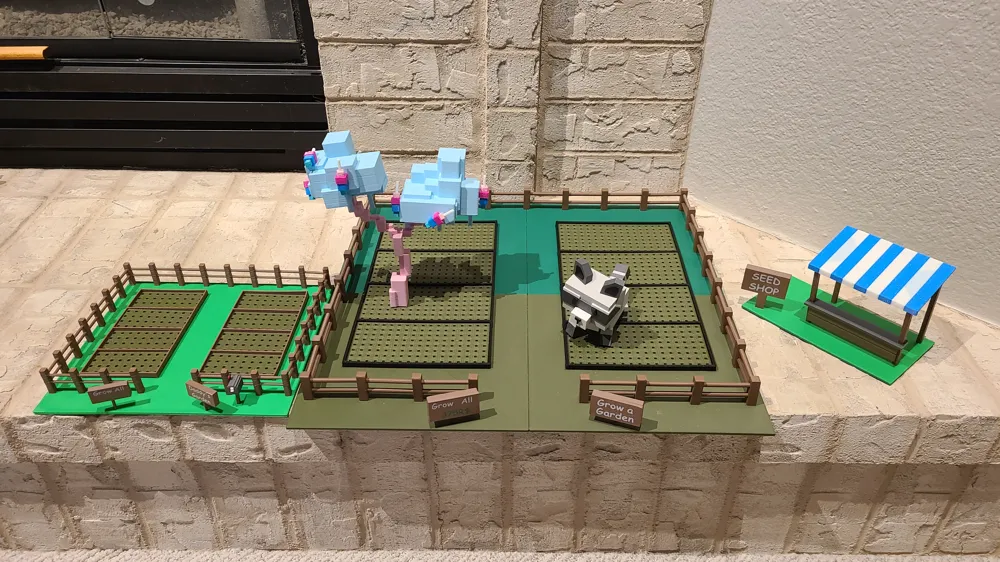
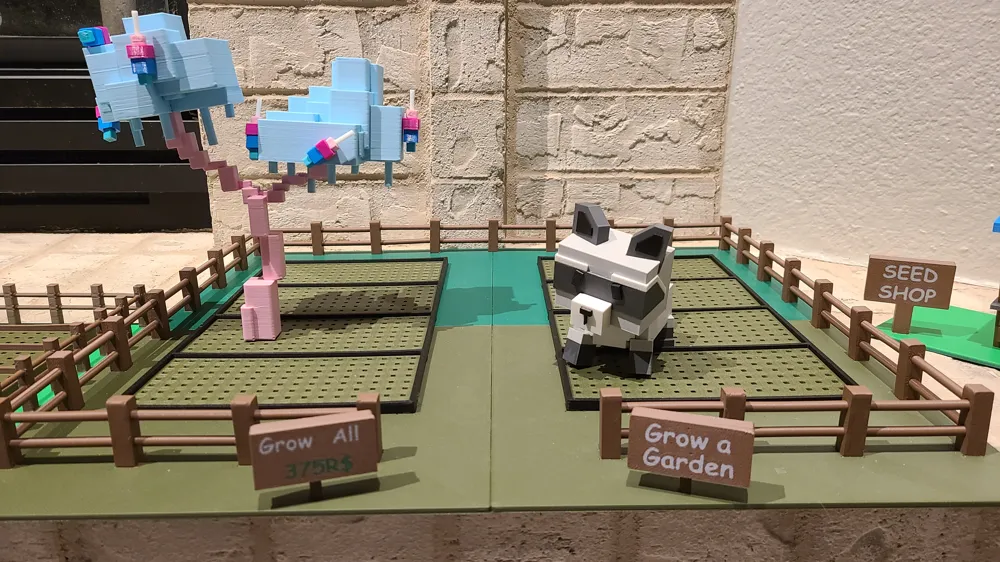
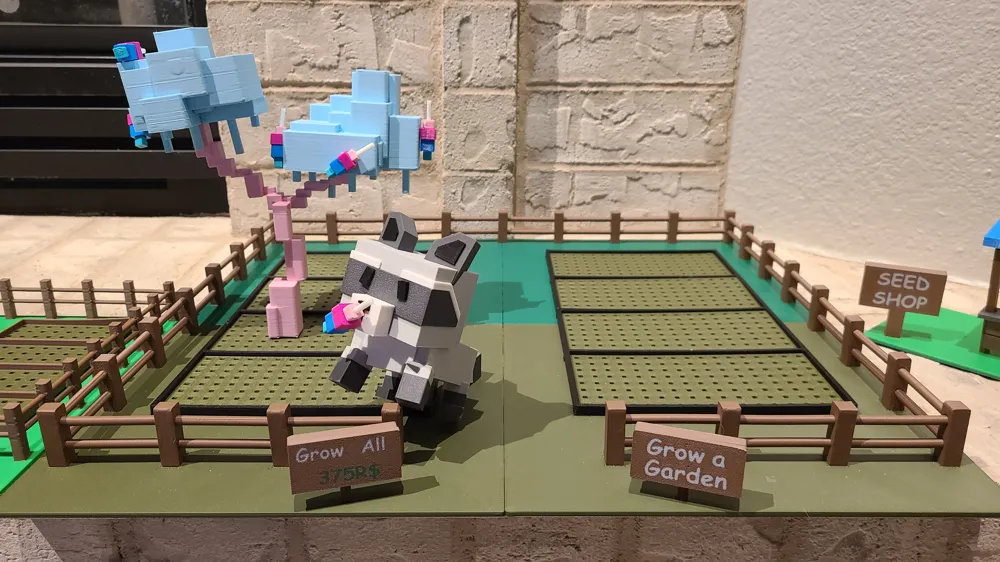
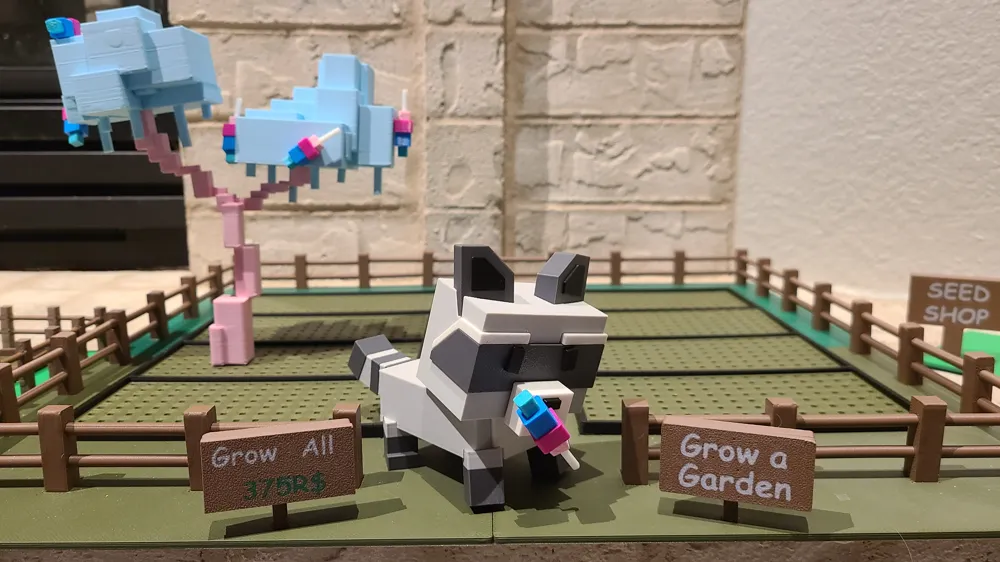
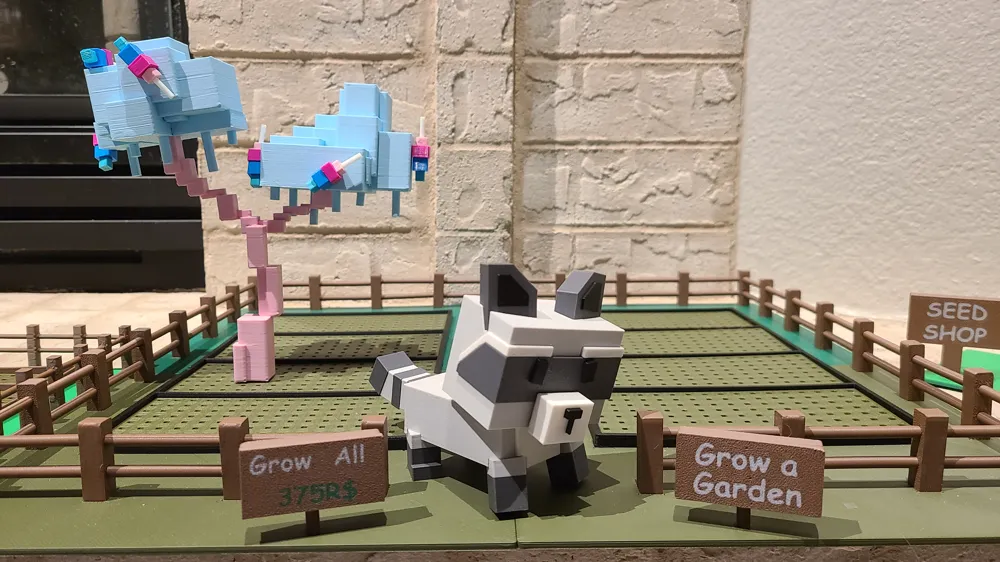
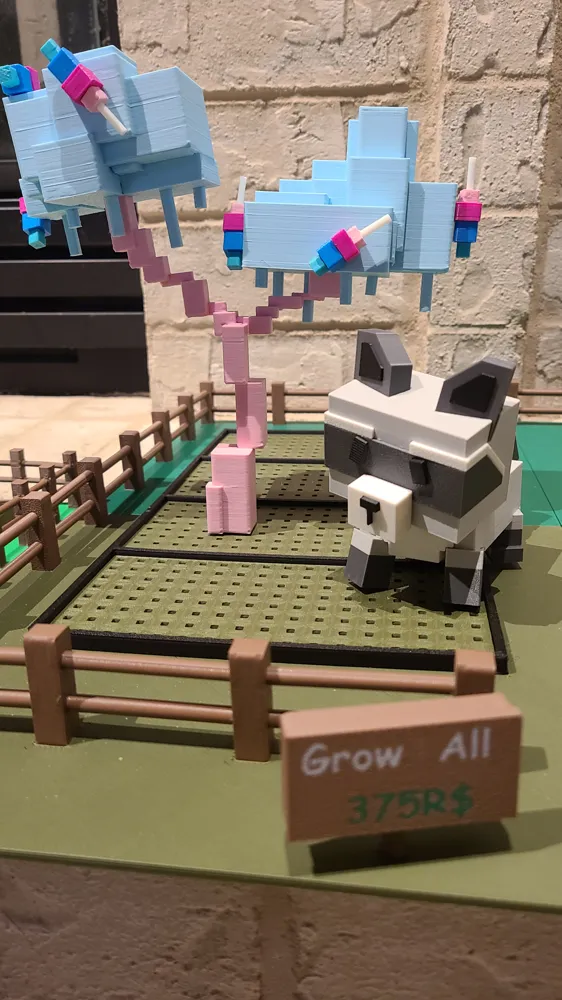
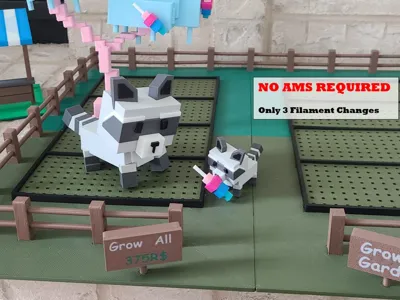
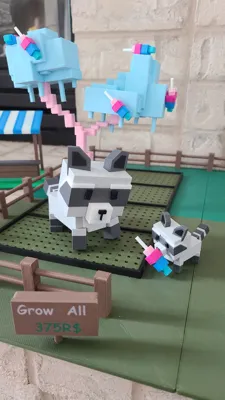
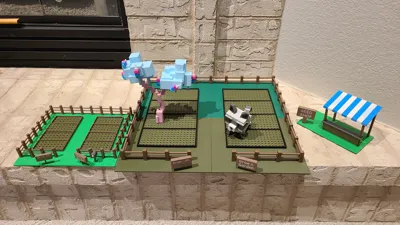
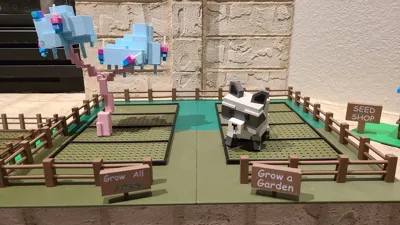
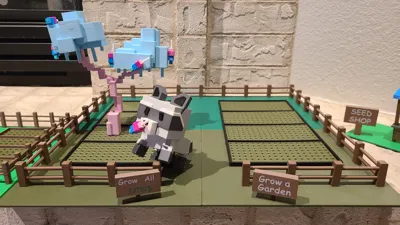
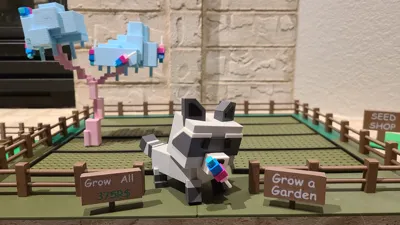
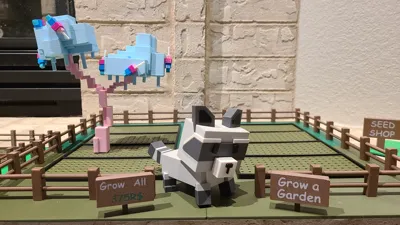
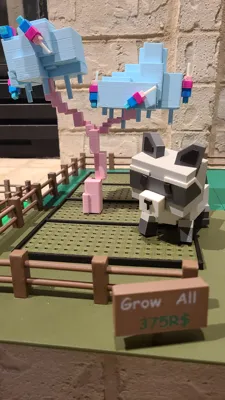
Grow a Garden's most famous and sneaky pet used to steal other users fruit. Install the magnet during the print (plate 8) and your raccoon can steal some Candy Blossoms from the Candy Blossom Tree!
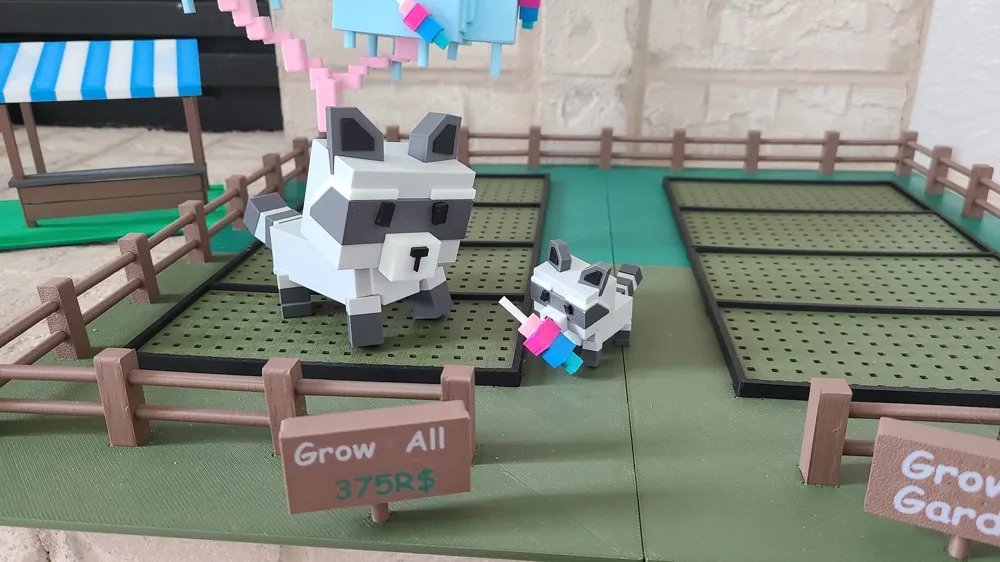
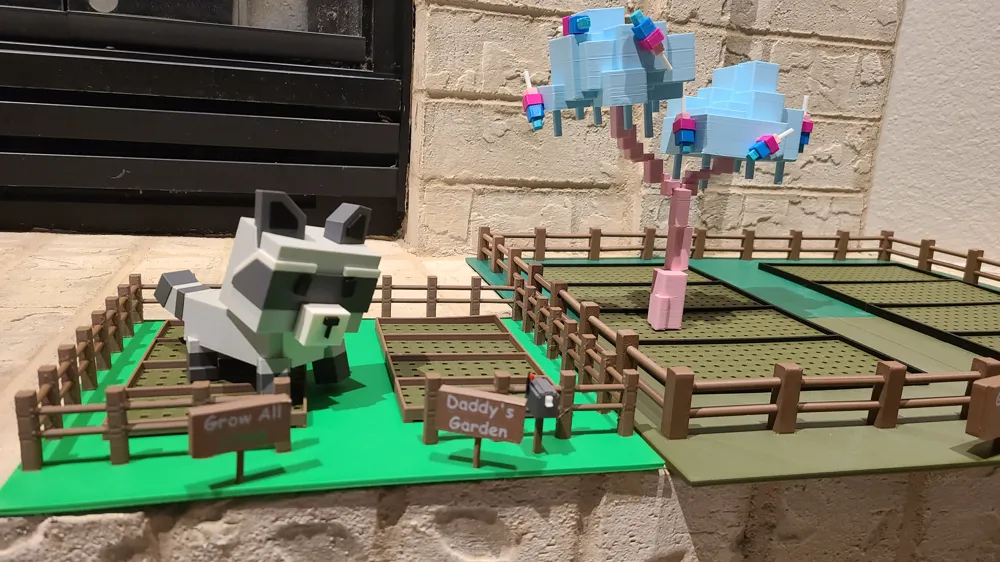
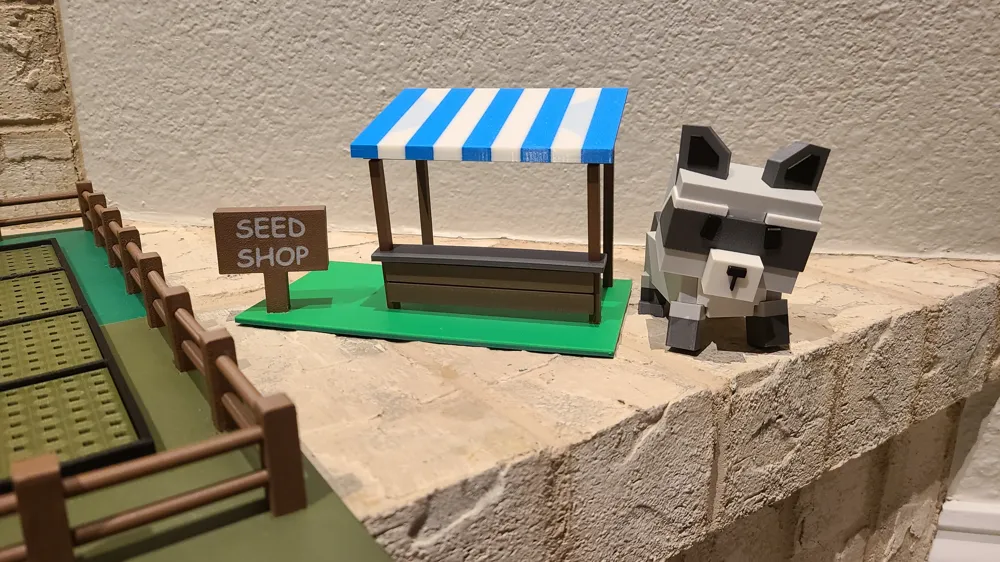
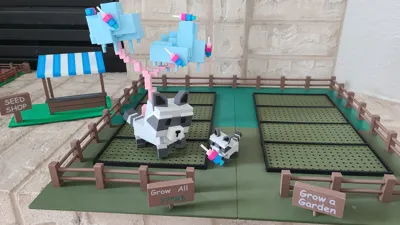
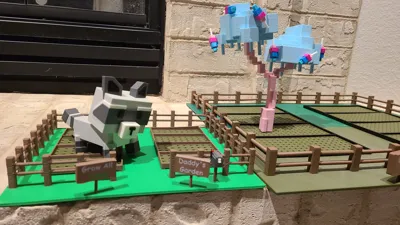
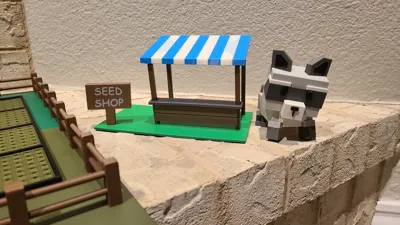
Raccoon size: 2.75" wide x 5.25" long x 3.75" tall. See photos (this size and the small (50%) are in the photos together) for scale in relation to my other Grow a Garden models.
Small Raccoon size (50%): 1.375" wide x 2.625" long x 1.875" tall. This Racoon has very small pieces, so be patient in assembling.
Large Raccoon size (200%): 5.375" wide x 10.125" long x 7.625" tall.
Printing:
3 of the plates require 1 color change, all others are 1 color only.
Plate One - Legs - 2 colors. 1 Filament change. Dark Grey and Light Grey.
Plate Two - Light Grey parts of Tail and connectors - 1 color. Light Grey. Pieces are labeled A-F, sandwich the light Grey and Dark Grey letters together.
Plate Three - Dark Grey parts of Tail - 1 color. Dark Grey. Pieces are labeled A-F, sandwich the light Grey and Dark Grey letters together.
Plate Four - Body and head connector - 1 color. Light Grey.
Plate Five - Body Strip - 1 color. White.
Plate Six - Head - 1 color. Light Grey.
Plate Seven - Snout/Mouth Option 1 (no magnet). 2 colors. 1 Filament change. White & Black.
Plate Eight - Snout/Mouth Option 2 (magnet). 2 colors. 1 Filament change. White & Black.
Pause is already included at layer 80 in the G-Code.
Magnet max size: Round 10mm dia. x 2mm height. I actually installed an 8mm x 2mm with some glue during the pause (I didn't have anymore 10mm). Hole size is 10.25 mm dia x 2.25mm high.
Plate Nine - Ears 2 colors. 1 Filament change. Dark Grey and Black.
Plate Ten - Mask Dark - 1 color. Dark Grey.
Plate Eleven - Mask Light - 1 color. White.
Plate Twelve - Eyes - 1 color. Black.
Assembly:
(See attached Assembly Guide below if needed)
Step 1: Connect the Body Strip (Plate 5) to the Body (Plate 4).
Step 2: Connect the Head (Plate 6) to the Body, remove supports, then use the connector.
Step 3: Connect the Mask Dark (Plate 10) to the Head. Push in from the front.
Step 4: Connect the Mask Light (Plate 11) to the Head. Push these in from each side.
Step 5: Connect the Eyes (Plate 12) to the Head.
Step 6: Connect the Ears (Plate 9) to the Head.
Step 7: Connect the Snout/Mouth (Plate 7 or 8) to the head.
Step 8: Connect the 4 legs (Plate 1) to the Body (Glue is going to be needed).
Step 9: Assemble the Tail (Plate 2 & 3), use the connectors (you will have extra). Start at the (A) end of the tail (use medium size connector), which is closest to the body. Letters should be back-to-back when assembled.
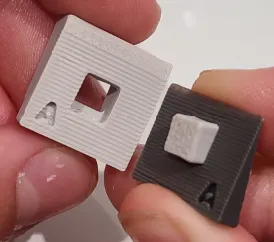
Step 10: Connect Tail to the body “A” will be upside down.
Step 11: Enjoy playing with your raccoon pet and go steal some fruit!
Other related models to print and use with your raccoon:
Large Garden Plot that requires 4 base plates:
Roblox - Grow a Garden - NO AMS - 18.75" x 17.625":
Small Garden Plot that requires 1 base plate:
ROBLOX - Grow a Garden - Garden Plot - Version 2.0
Roblox - Grow a Garden - Mailbox (10x16x12mm):
https://makerworld.com/en/models/1627648-roblox-grow-a-garden-mailbox-10x16x12mm#profileId-1718656
Candy Blossom Tree with magnetic candy Blossoms:
https://makerworld.com/en/models/1585752-roblox-grow-a-garden-candy-blossom-tree#profileId-1669491
Candy Blossom without magnets:
https://makerworld.com/en/models/1531969-roblox-grow-a-garden-candy-blossom-no-ams#profileId-1606632
Roblox - Grow a Garden - SEED SHOP
https://makerworld.com/en/models/1636673-roblox-grow-a-garden-seed-shop#profileId-1729081
Roblox - Grow a Garden - SELL SHOP
https://makerworld.com/en/models/1655459-roblox-grow-a-garden-sell-shop#profileId-1750822
Beanstalk (NO supports) - Grow a Garden - Roblox
Grow a Garden - Mole (NO AMS) - Roblox
https://makerworld.com/en/models/1698546-grow-a-garden-mole-no-ams-roblox#profileId-1801057
Grow a Garden - Pancake Mole (NO AMS) - Roblox
https://makerworld.com/en/models/1746171-grow-a-garden-pancake-mole-no-ams-roblox#profileId-1856073
Bone Blossom Tree - Grow a Garden - Roblox
https://makerworld.com/en/models/1748656-bone-blossom-tree-grow-a-garden-roblox#profileId-1858811
Grow a Garden - Kitsune (NO AMS) - Roblox
https://makerworld.com/en/models/1777851-grow-a-garden-kitsune-no-ams-roblox#profileId-1893540
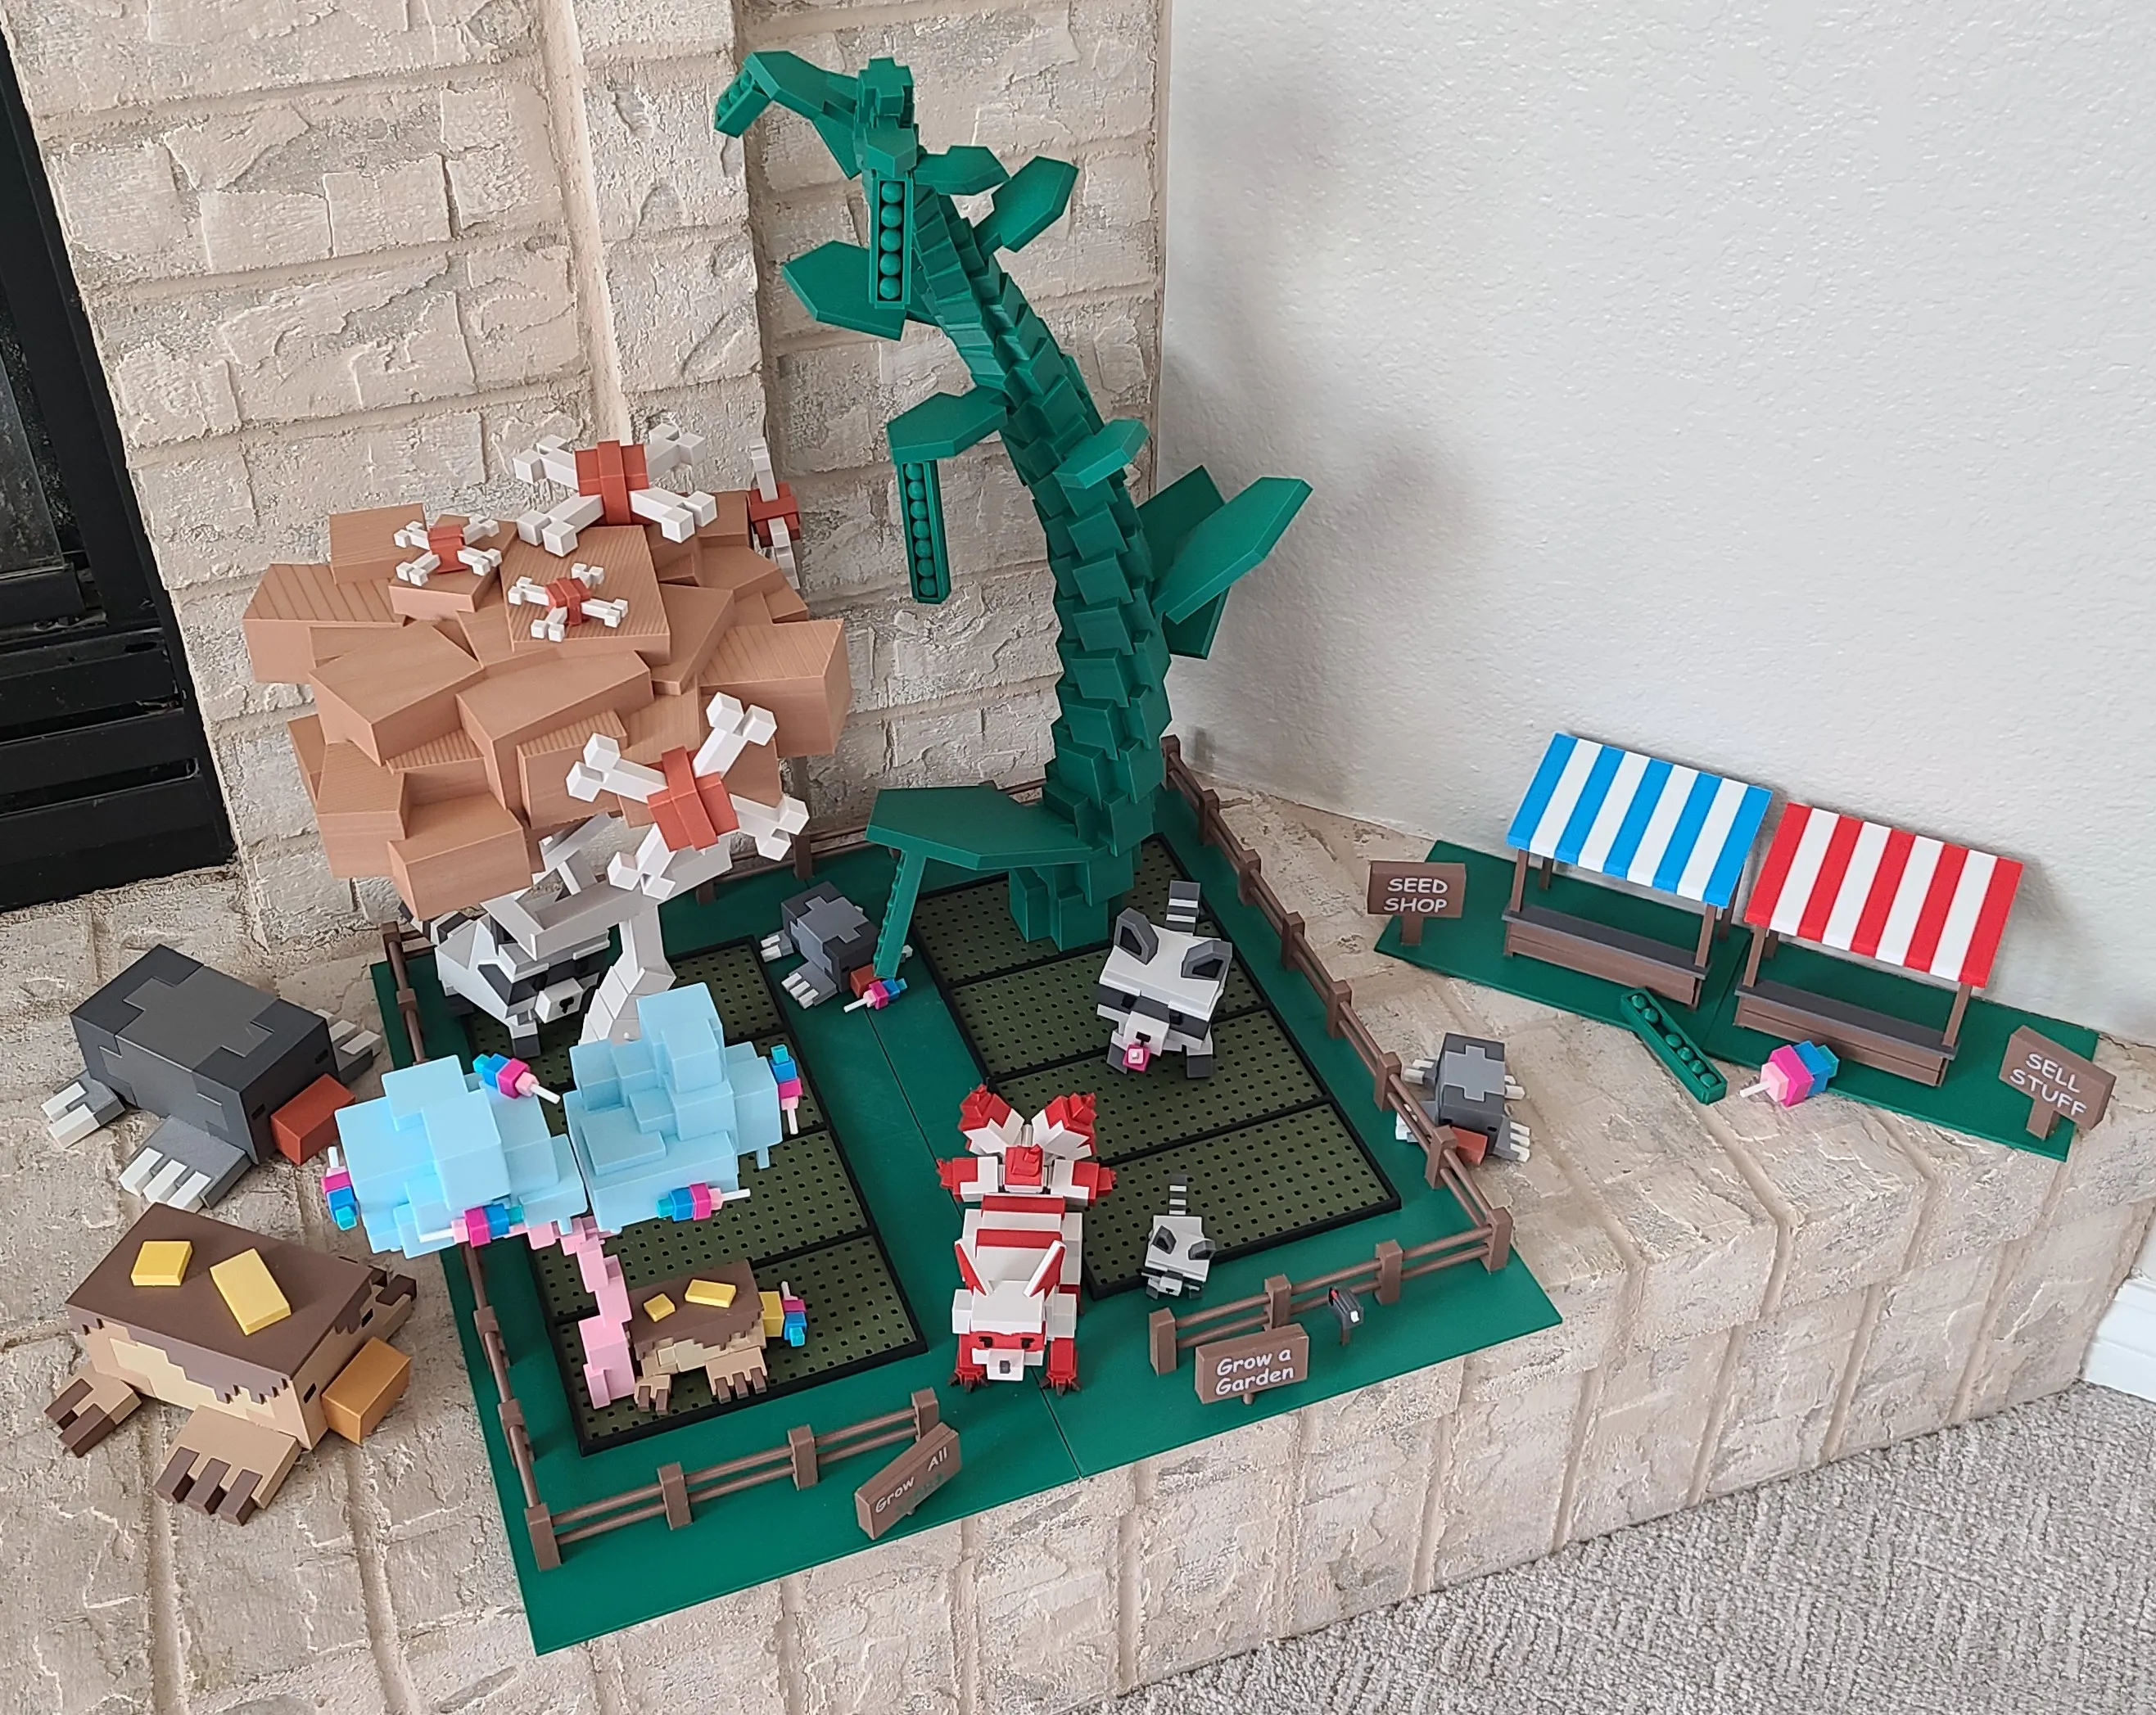
Please rate and include a photo of your completed Raccoon.
Boost Me (for free)
Want more great Grow a Garden fruits and animals, then help out with a boost for all the filament needed to test print the models before publishing. THANKS!!!!
Interested in finding out when I post a new Grow a Garden model, then please “Follow” my Grow a Garden - Roblox Collection.
https://makerworld.com/collections/8142138
Documentation (1)
License

You shall not share, sub-license, sell, rent, host, transfer, or distribute in any way the digital or 3D printed versions of this object, nor any other derivative work of this object in its digital or physical format (including - but not limited to - remixes of this object, and hosting on other digital platforms). The objects may not be used without permission in any way whatsoever in which you charge money, or collect fees.


Comment & Rating (73)