
DPS5005 Minimalist case


Print Profile(0)
Description
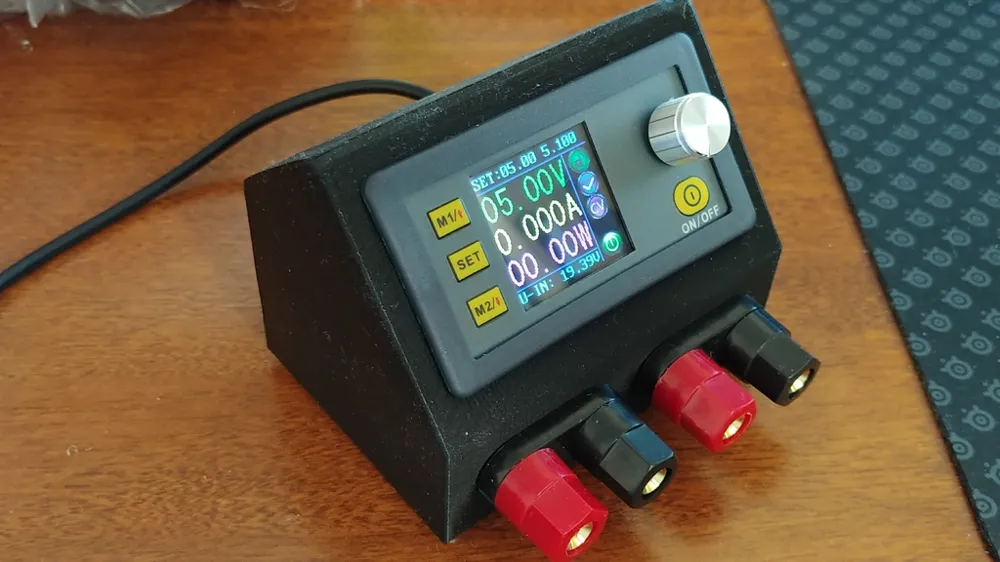
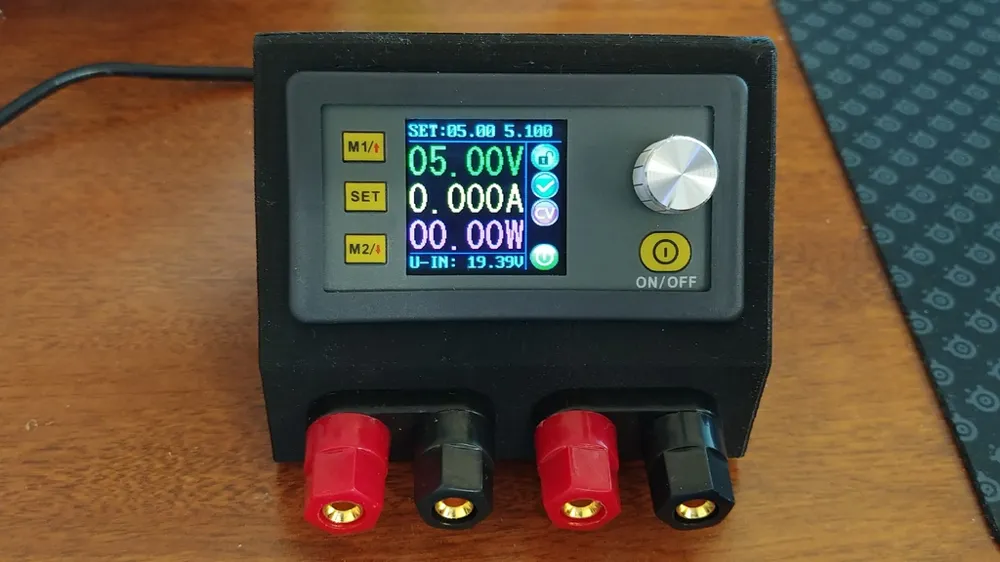
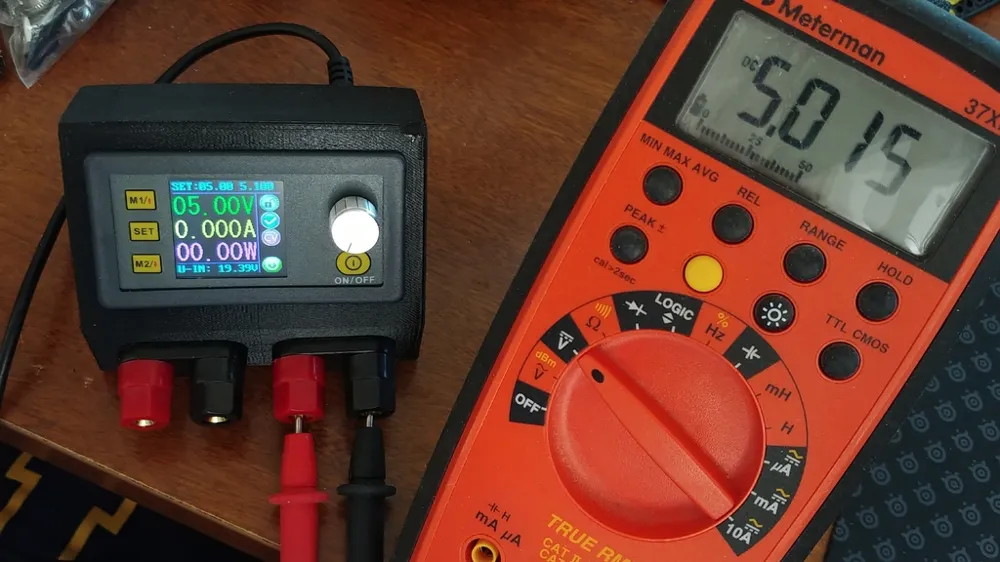
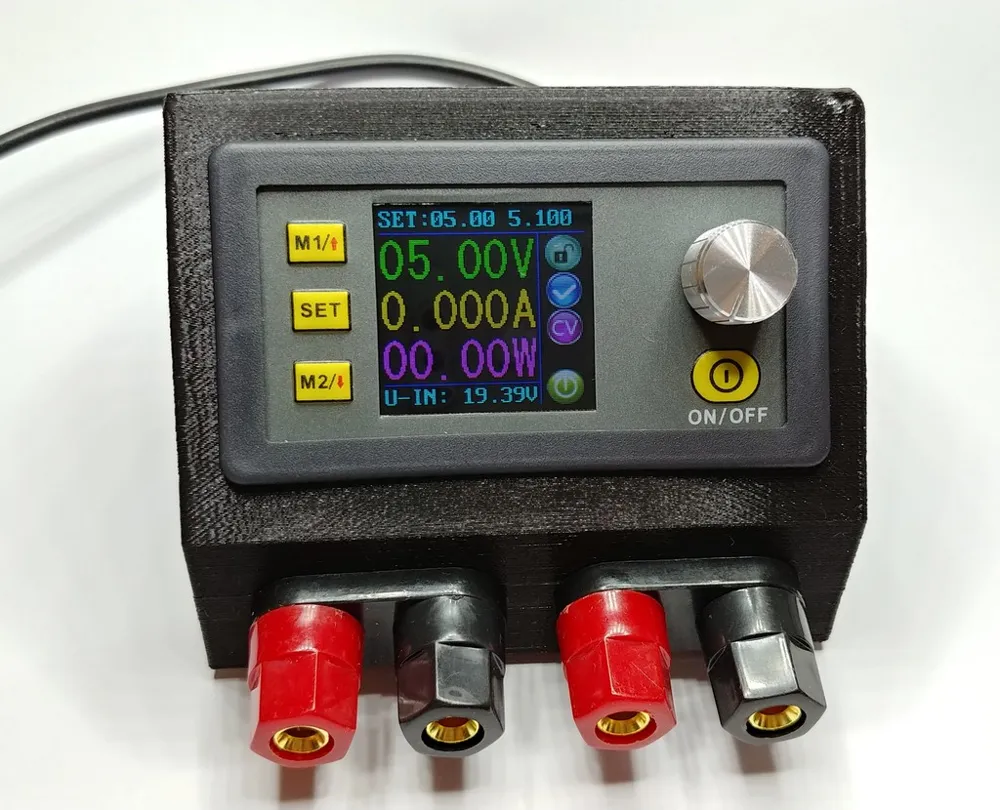
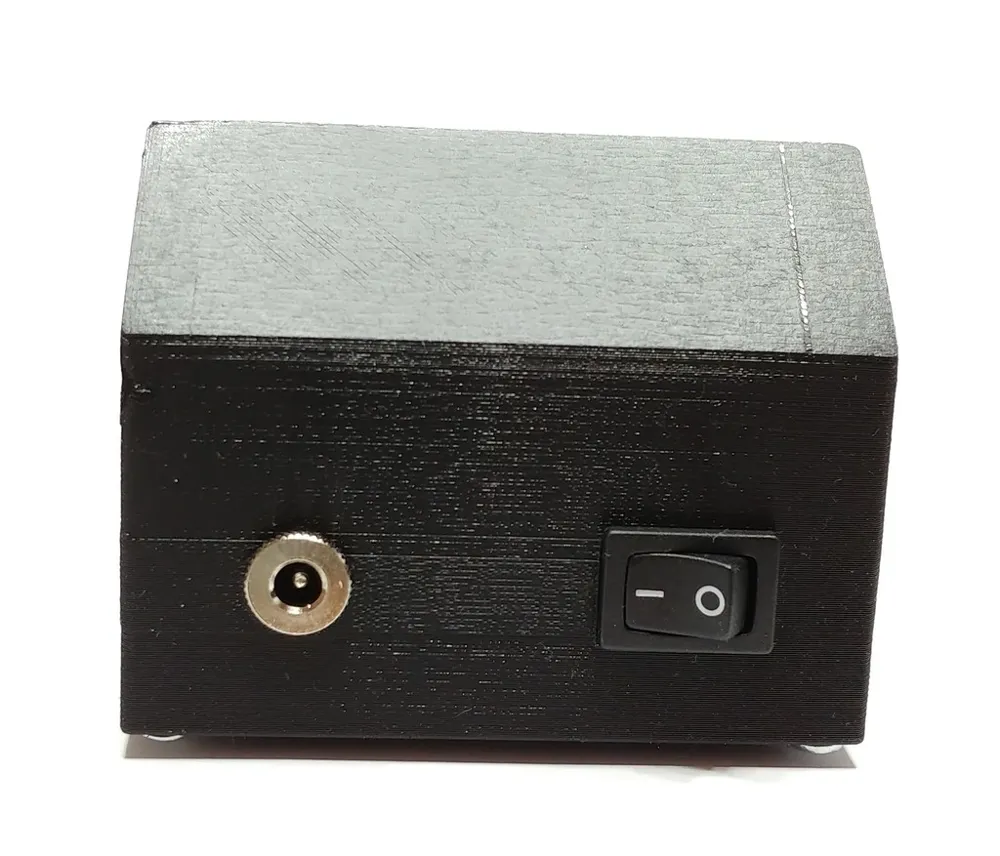
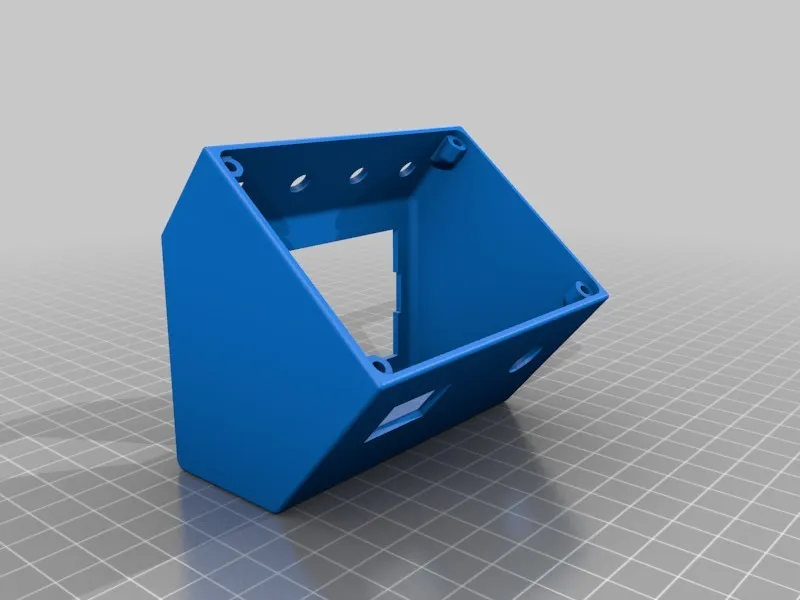
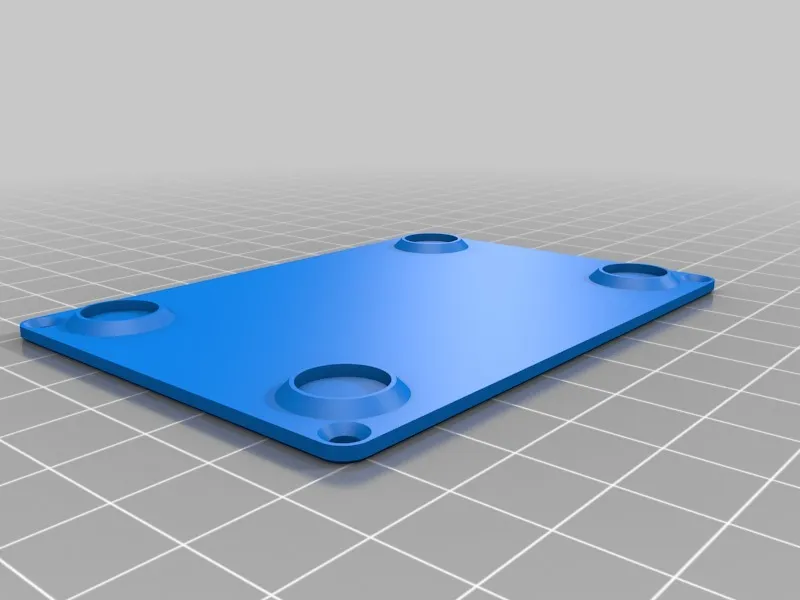
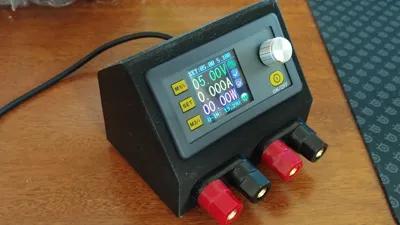
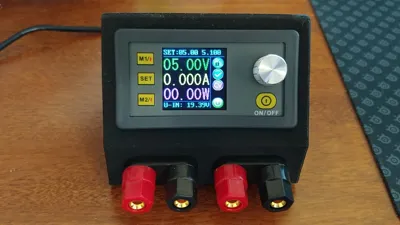
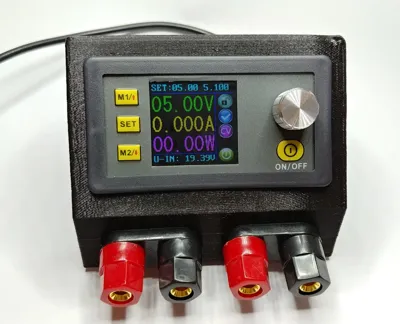
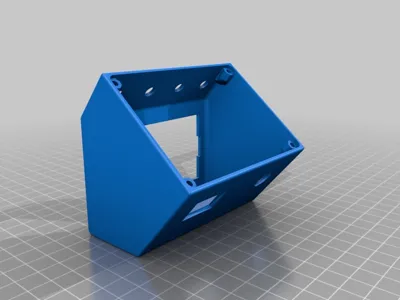
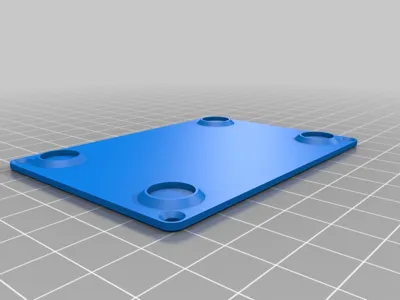
This is my interpretation of what a DPS5005 case should look like. I wanted a smaller case than was typically available. Although you need to print this with supports, they are very easily removed. Print the models the way they are orientated. It's the fastest, and cleanest way to print them.
Parts List:
1 x DPS5005 (can find on Amazon or eBay or elsewhere)
1 x DC Barrel Jack: https://smile.amazon.com/gp/product/B06XRT5C2Q/ref=oh_aui_search_detailpage?ie=UTF8&psc=1
1 x SPST Rocker Power Switch https://smile.amazon.com/gp/product/B00B88E5EU/ref=oh_aui_detailpage_o04_s00?ie=UTF8&psc=1
2 x Binding Posts / Banana plugs https://smile.amazon.com/gp/product/B00UHFF2ME/ref=oh_aui_detailpage_o04_s00?ie=UTF8&psc=1
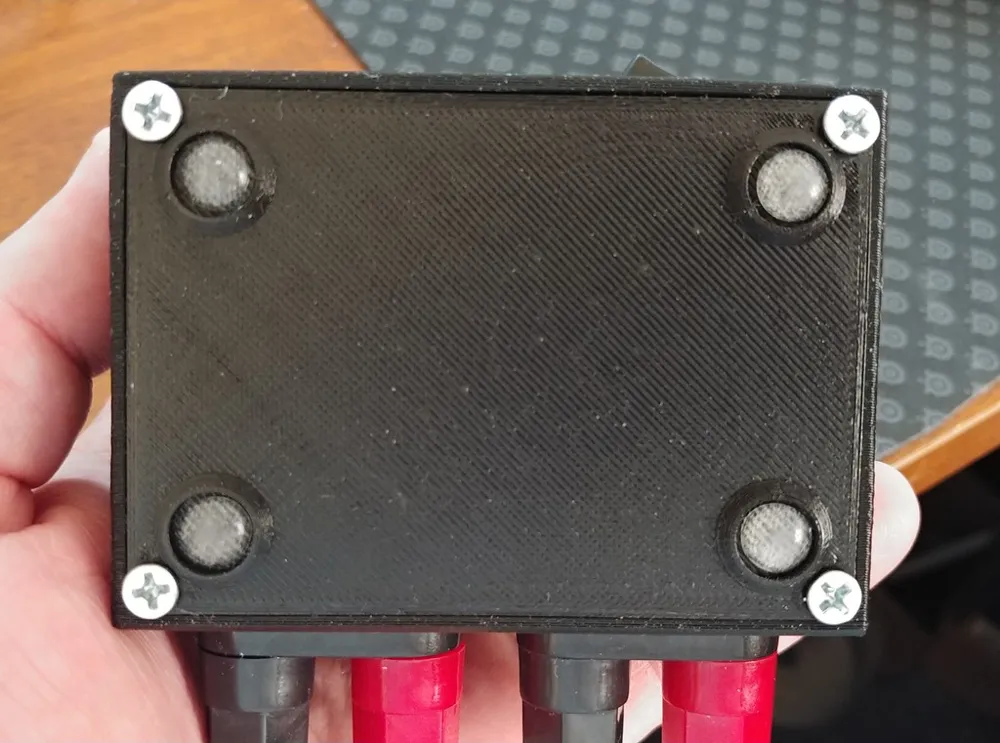
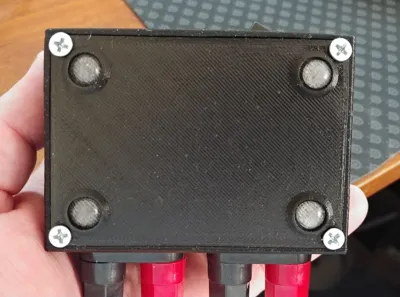
4 x screws (the holes are 3mm. I used small wood screws but I'm sure better options exist)
4 x rubber feet (10mm diameter or smaller)
You'll also need some 16 gauge hookup wire. Terminal connectors are optional if you want to minimize soldering.
You can also use your own choice of parts. These are what I used and fit the PS case.
Please post your comments and makes!
Print Settings
Printer:
Hatchbox Alpha
Rafts:
No
Supports:
Yes
Resolution:
0.20mm
Infill:
20%
Notes:
Although this model requires supports, they are very easily and cleanly removed.
I printed both parts in 4.5 hours @ 0.20mm layer height with supports.If you are using Simplify3D, you'll need to add manual support for the DPS5005 opening and the top screw holes for the case. Supports aren't generated for it for some reason. I haven't tried any other slicers.
Post-Printing
Assembly
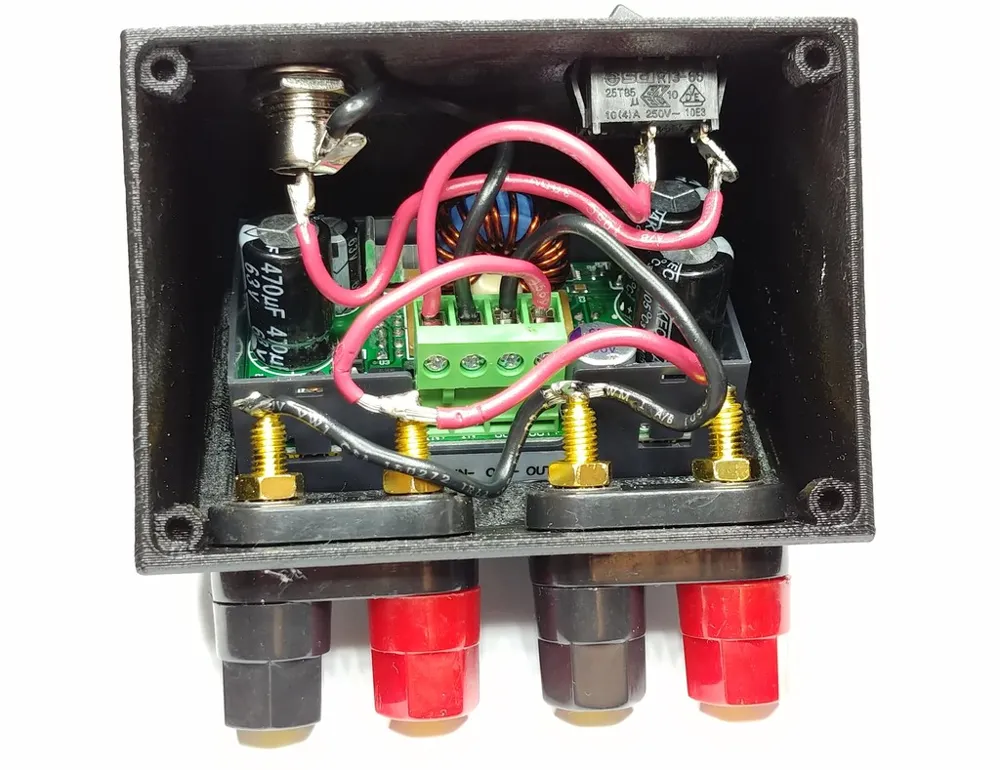
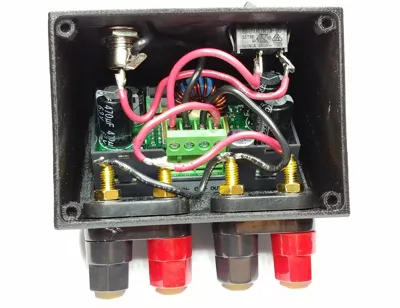
I inserted the binding posts first, then DPS5005, power switch, DC jack. You then simply wire each component as noted in the picture.
USE
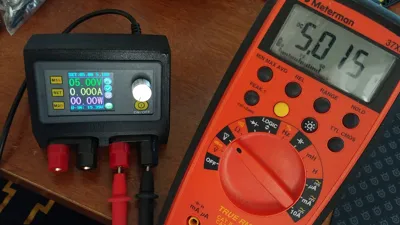
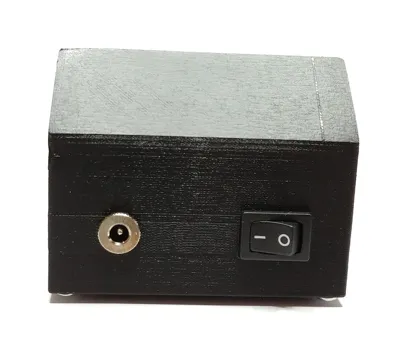
I use a laptop power supply to power my DPS5005. The connector fits well. You will need to match the connector to your intended power supply.
License



Comment & Rating (0)