Search models, users, collections, and posts

Monochromatic Scalable or Polychromatic Hand Fan
IP Report
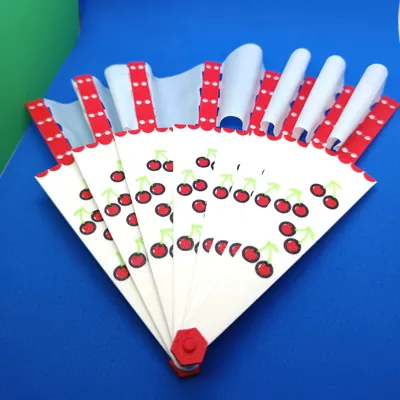
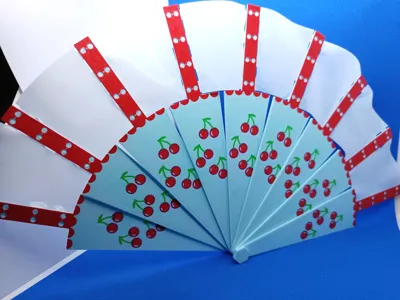
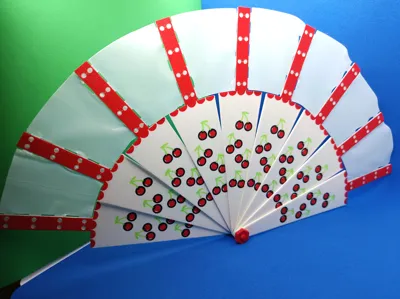
Print Profile(4)

0.12mm layer, 4 walls, 15% infill
Designer
3.4 h
3 plates

0.12mm layer, 2 walls, 15% infill
Designer
3.7 h
3 plates
0.12mm layer, 4 walls, 15% infill
Designer
4.2 h
3 plates

0.12mm layer, 4 walls, 15% infill
Designer
4.3 h
3 plates
Open in Bambu Studio
Boost
29
48
0
0
9
3
Released
Bill of Materials
Bambu Filaments
Select all








Description
Content has been automatically translated.
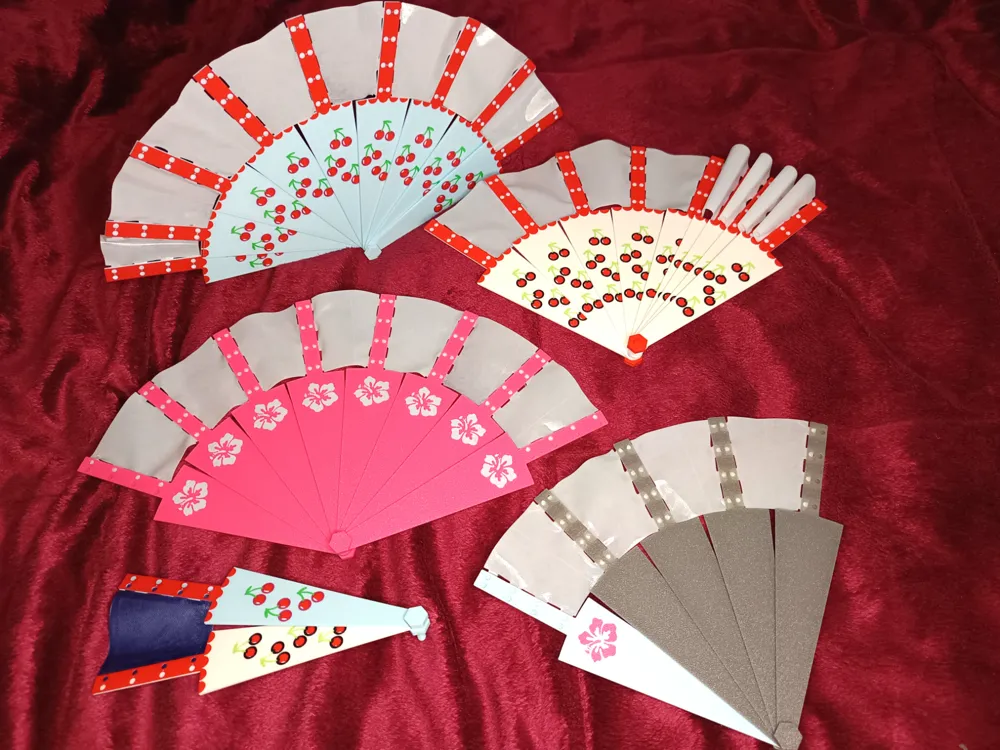
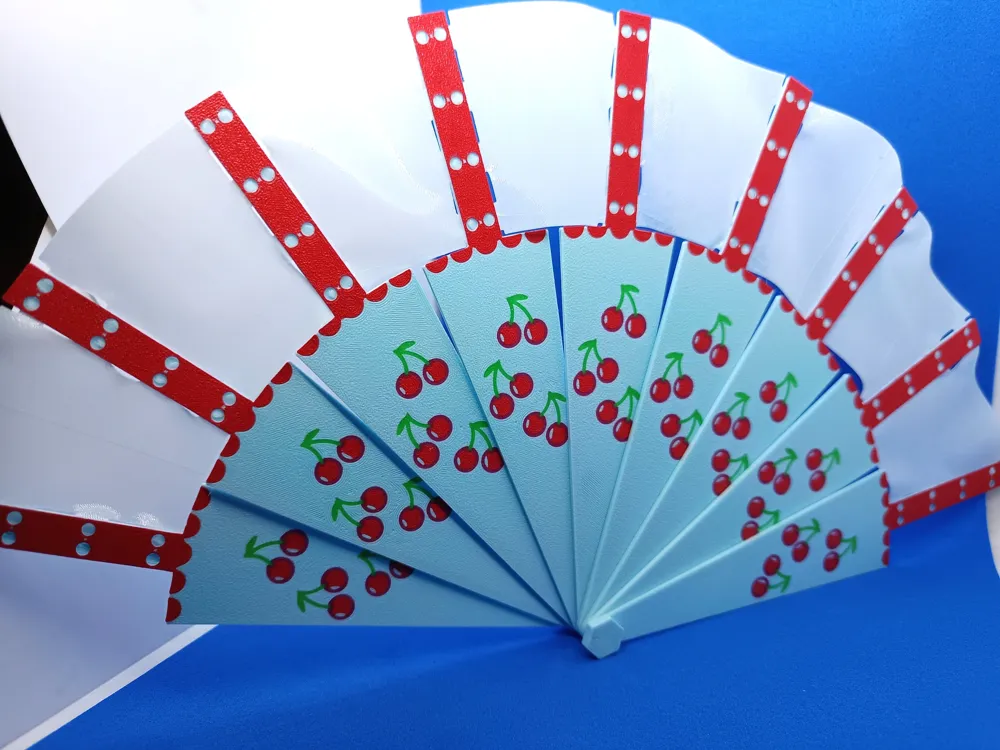
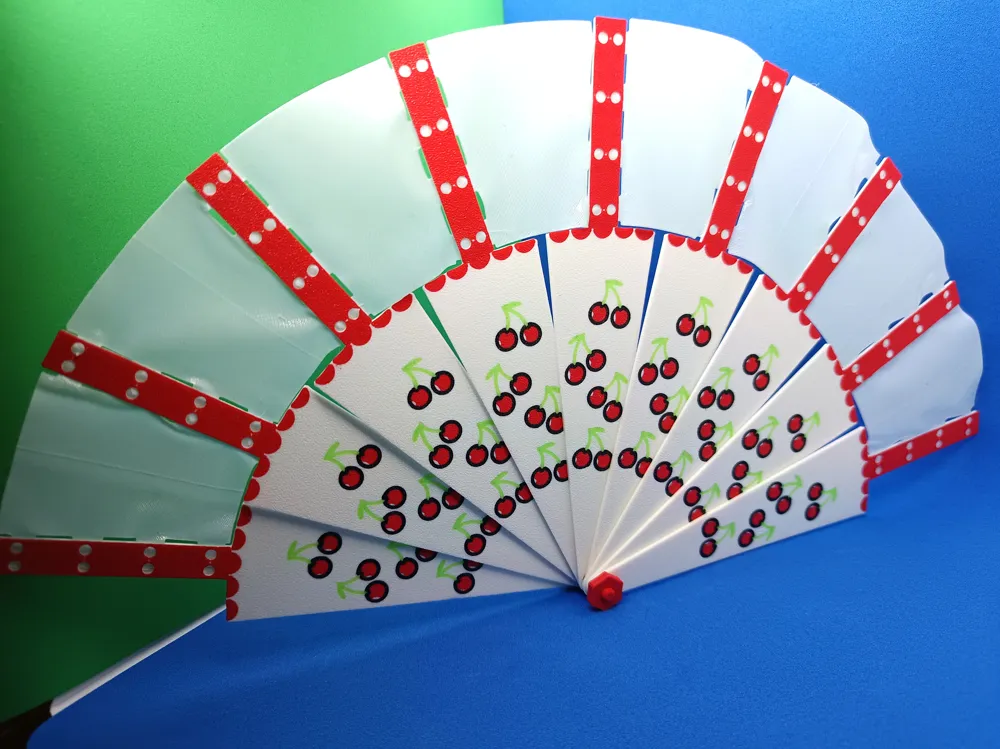
A hand fan that can be opened and closed
UPDATE: 08/31/2025:
- parametric file changed, as only one object is exported during download
- after opening the file in Bambu Studio, separating into objects is now possible
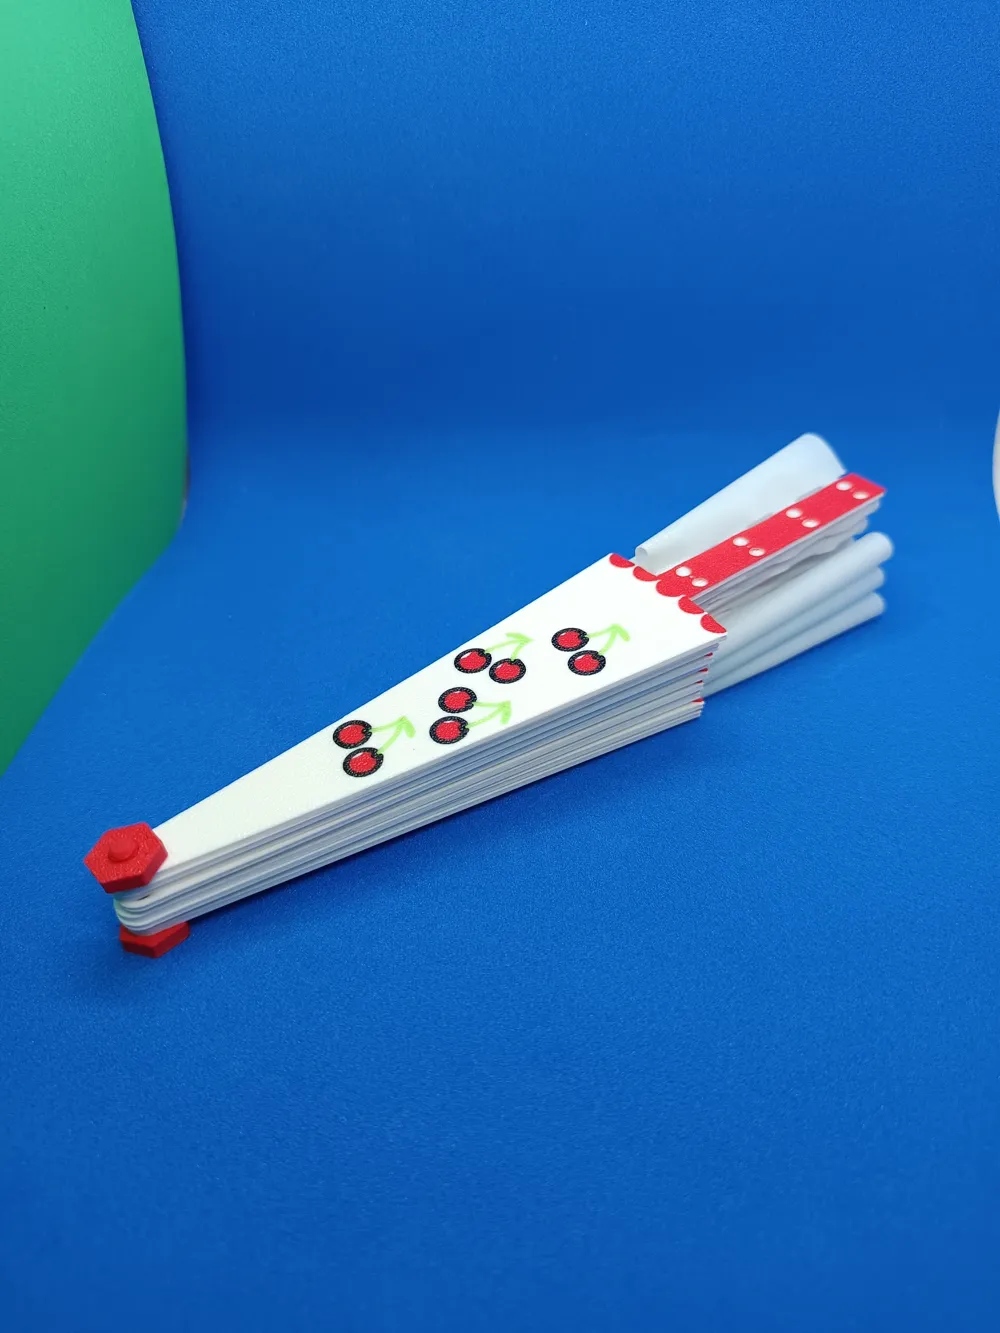
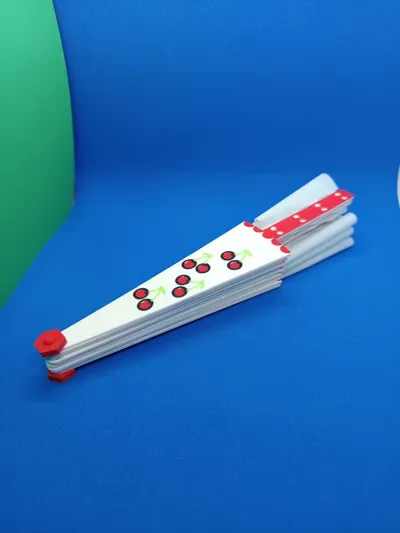
- fits well in a handbag
- Length: 160mm
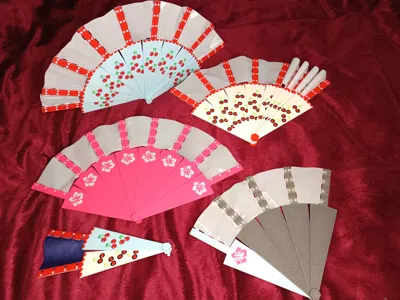
- in multiple variations
- the single-color version is parametric
- there is a print profile for each version
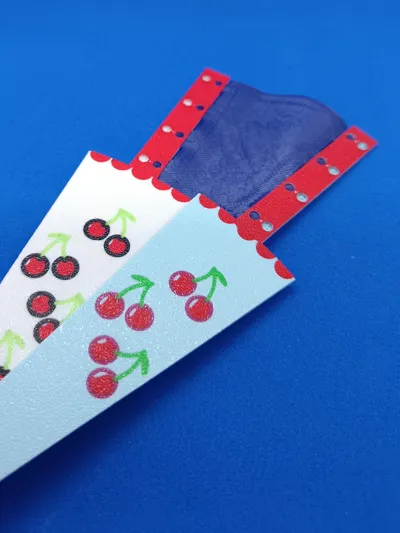
- the red part is painted in the print profile
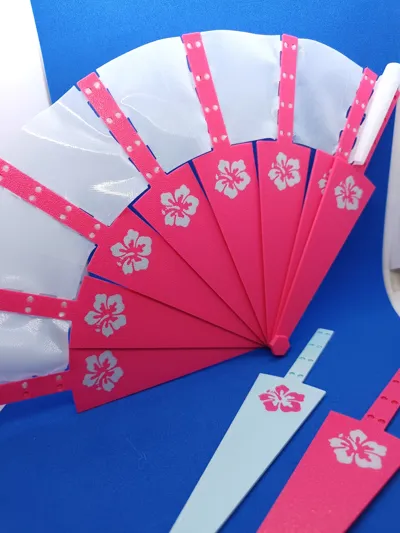
- the cherries and flowers are individual objects
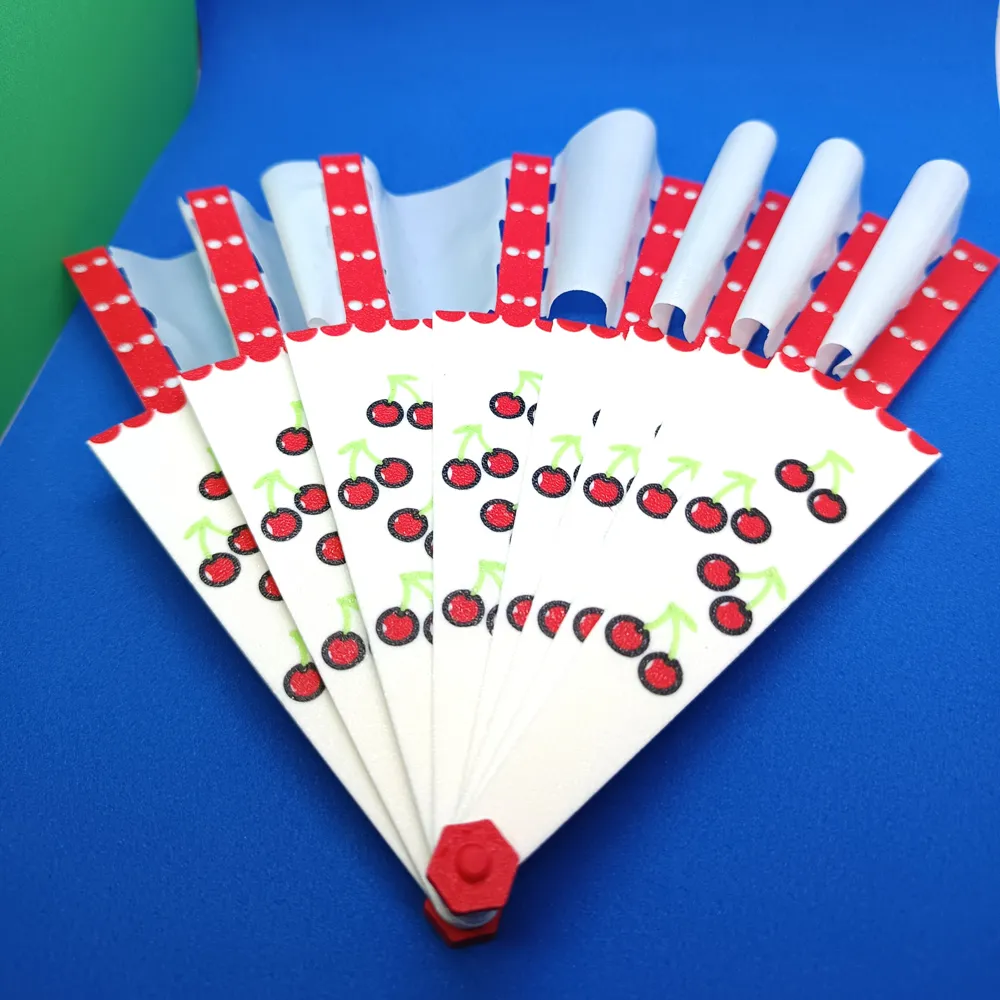
- with 3 pairs of cherries
- with 4 pairs of cherries
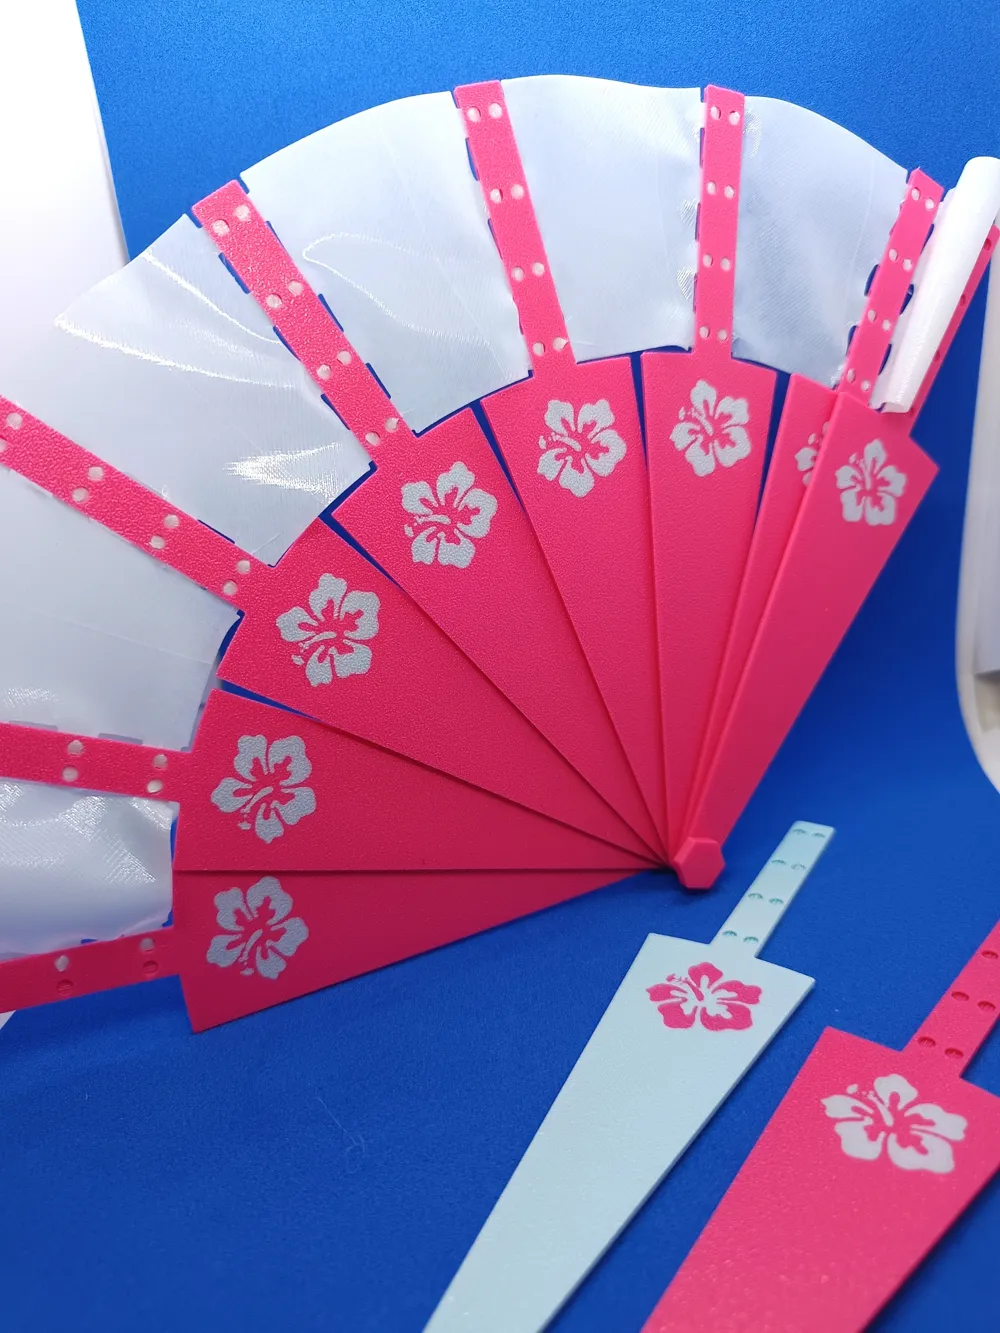
- with hibiscus
- single color, scalable
- print in your favorite color
- the back is always single-color
- The nut loosens after opening the fan a few times
- simply tighten again
- possibly secure with glue
- possibly use a metal screw and nut, maximum M6
- Assembly is simple, but requires patience and care
Printing
- Layer height: 1.2
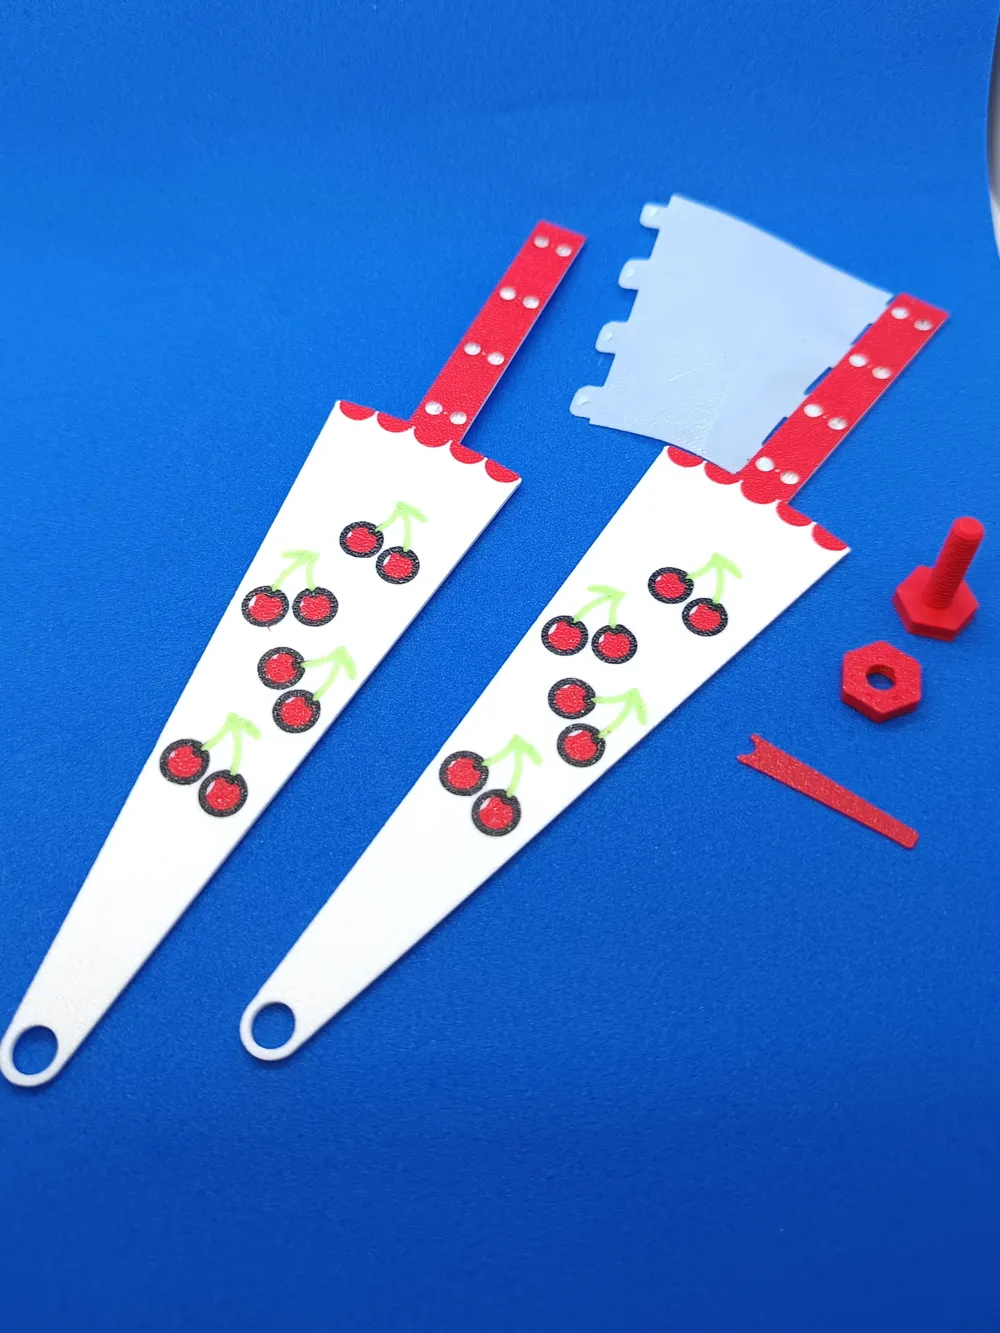
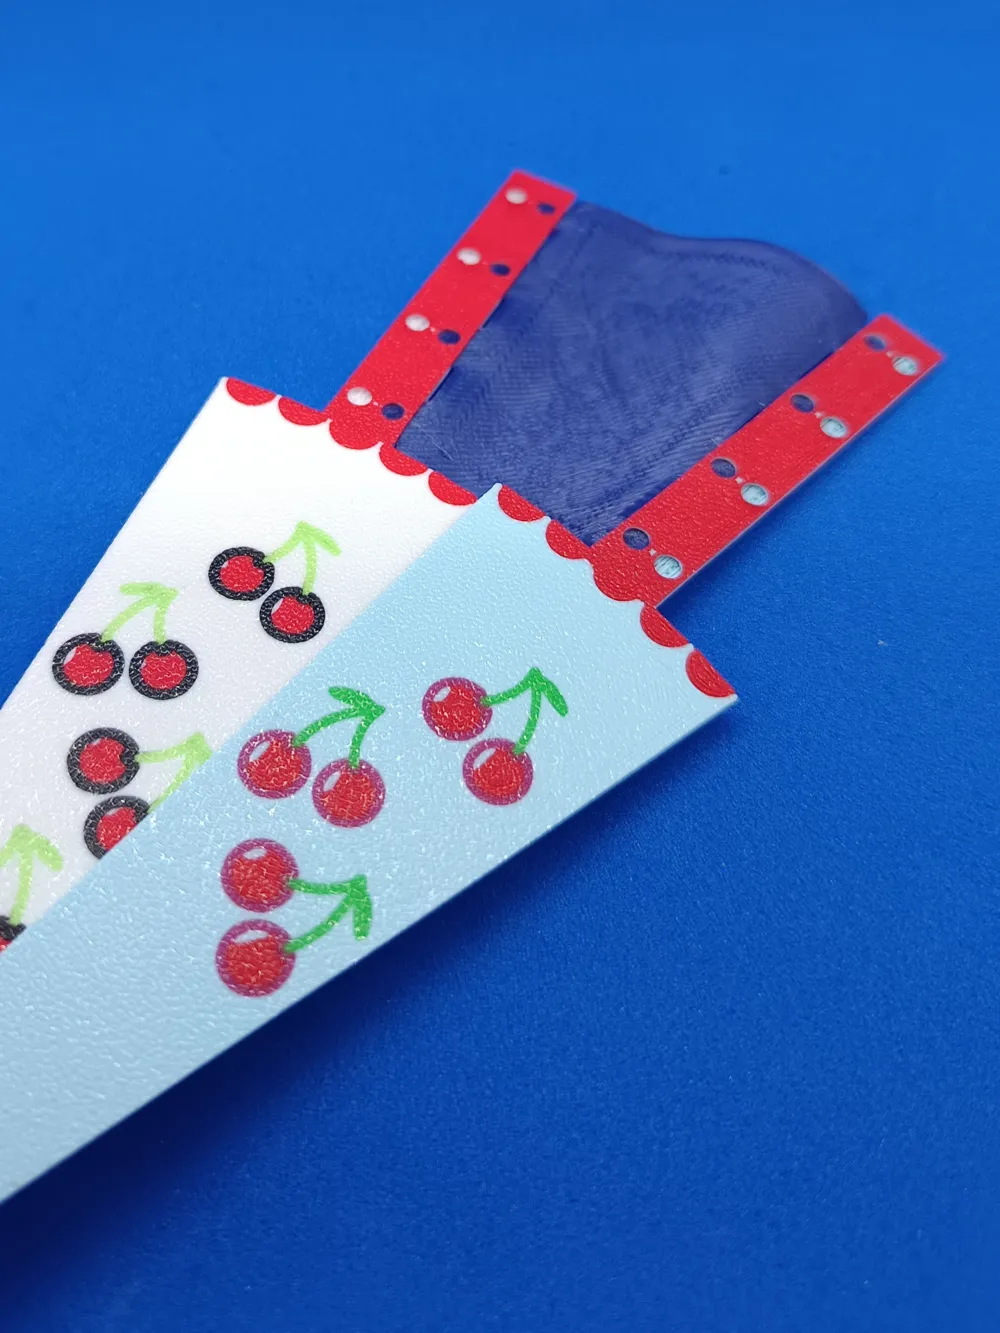
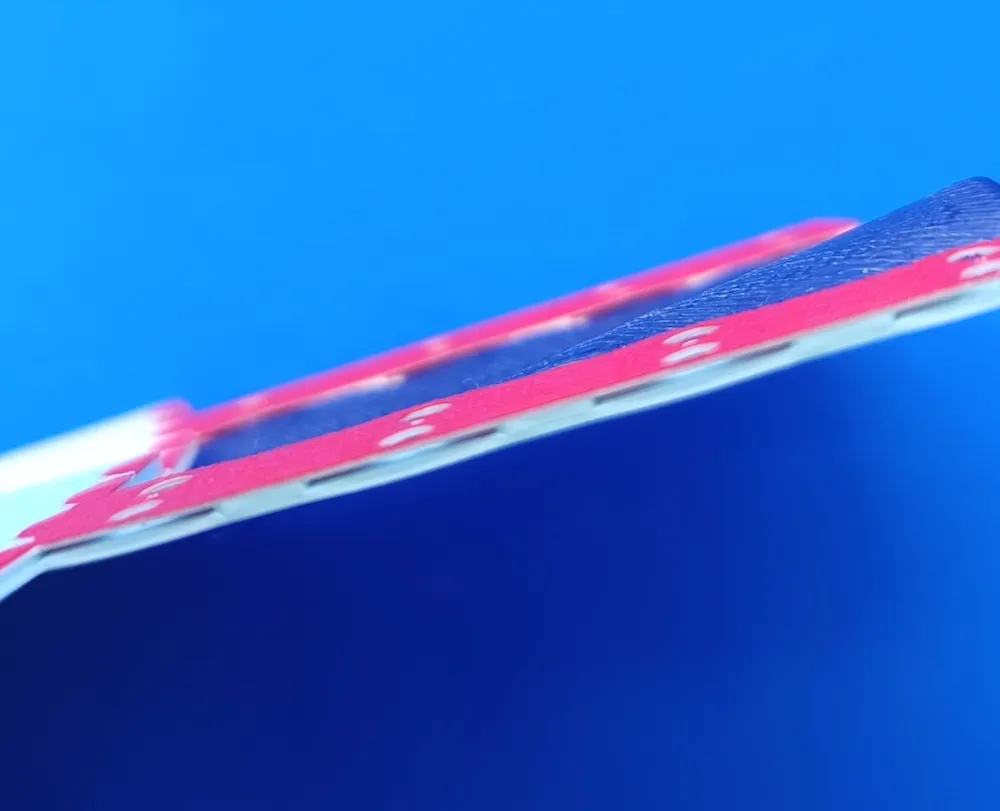
- the “fabric”-like connectors in TPU
- as soft as possible
- I used A90
- A98 is almost too rigid (dark blue)
- ATTENTION: observe the general recommendations for printing TPU
- e.g. dry filament well
- apply glue to the print plate
- one fabric piece remains as a spare
- as soft as possible
- the rigid parts in PLA
- PETG also works, but showed small imperfections on the back
- the holes must lie at the bottom of the print plate
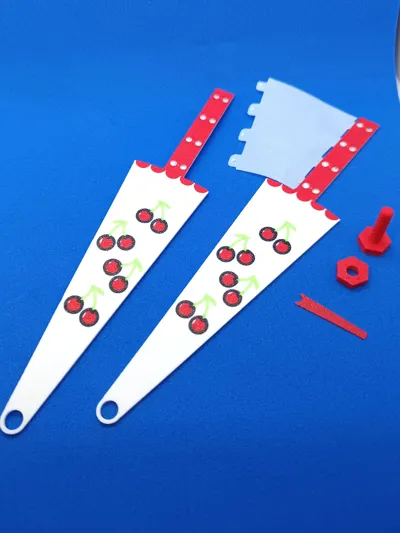
- I have provided 9 parts for one fan
Assembly
- Slide the fabric from the side into the recess of the rigid parts
- the small protrusions snap into the holes
- use the tool or another flat object for this
- the tool may bend, push it straight again
- requires patience and skill
- stack the rigid parts with the eyelet on top of each other
- secure everything with the screw and nut
- finished
License

This user content is licensed under a Standard Digital File License.
You shall not share, sub-license, sell, rent, host, transfer, or distribute in any way the digital or 3D printed versions of this object, nor any other derivative work of this object in its digital or physical format (including - but not limited to - remixes of this object, and hosting on other digital platforms). The objects may not be used without permission in any way whatsoever in which you charge money, or collect fees.


Comment & Rating (0)