
NAS chassis (for MATX motherboard + pressurized airflow cooling + pre-embedded nut design)
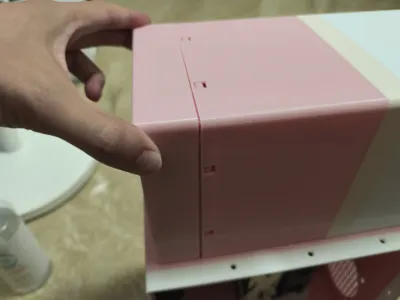
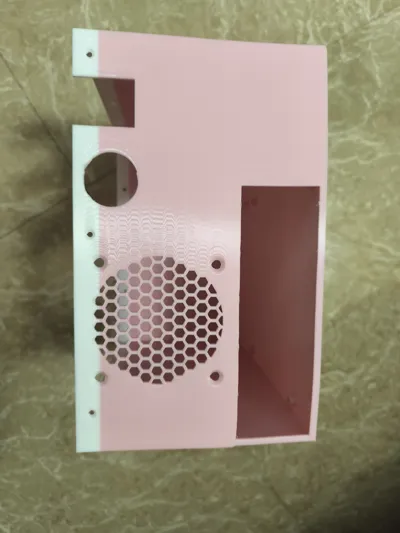
Print Profile(1)

Description
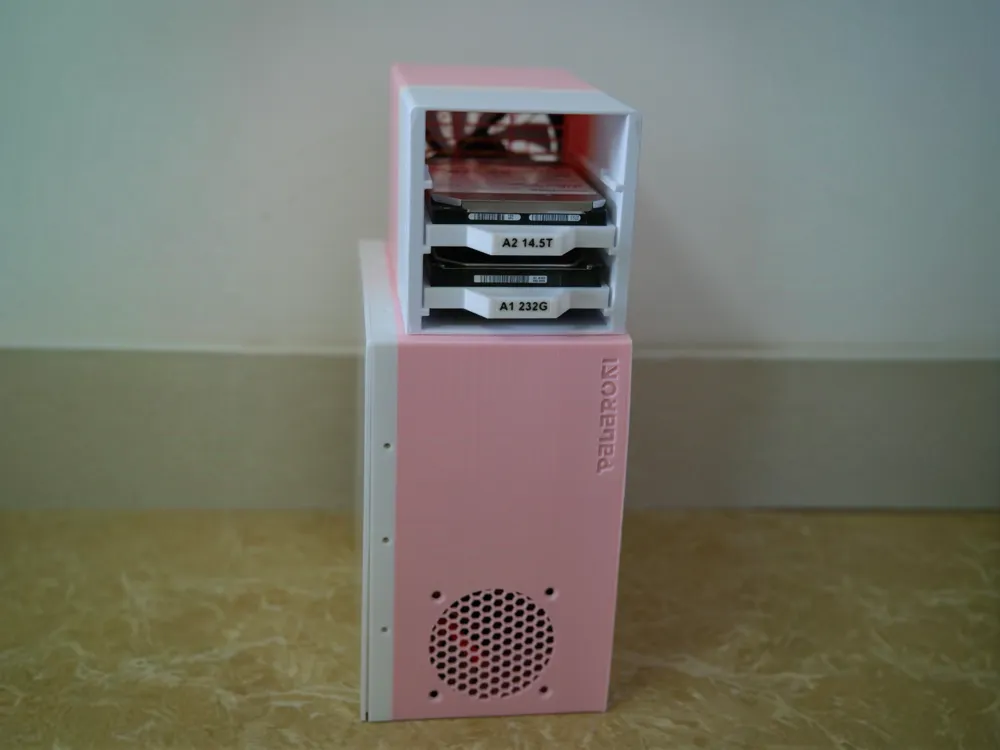
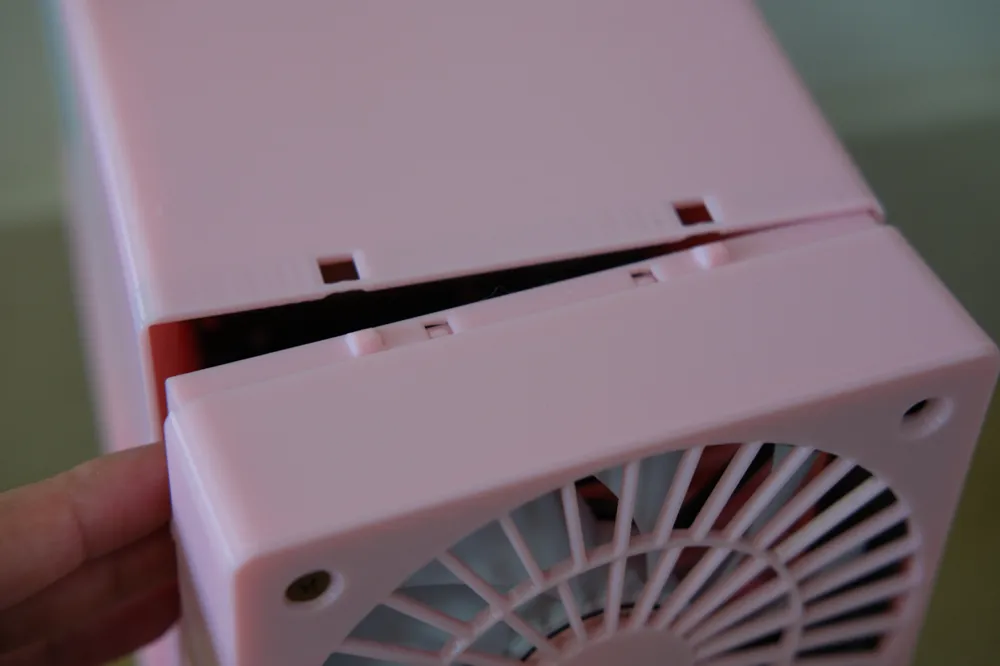
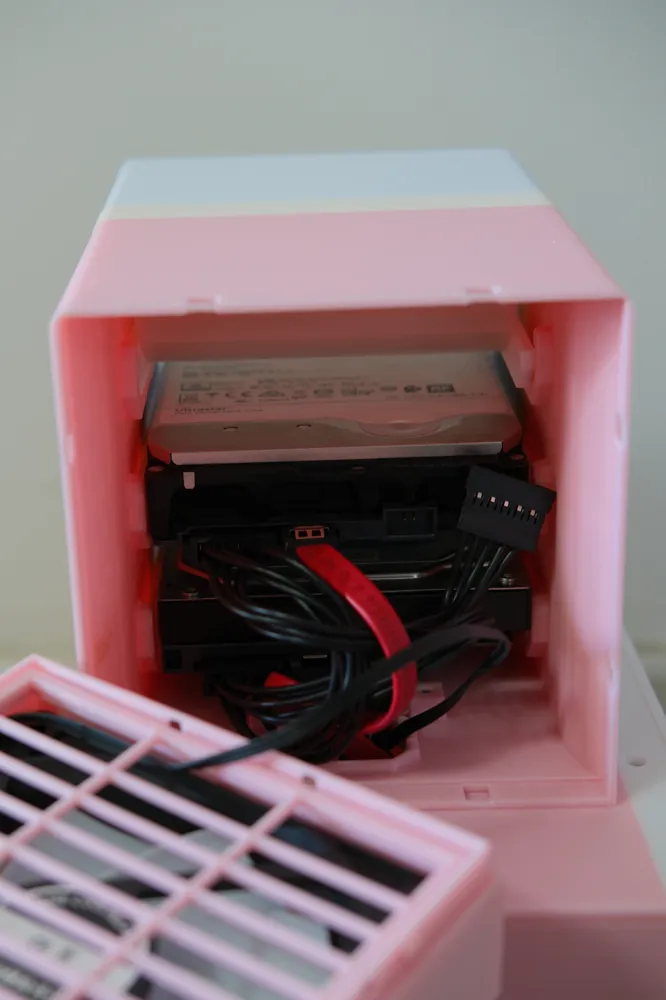
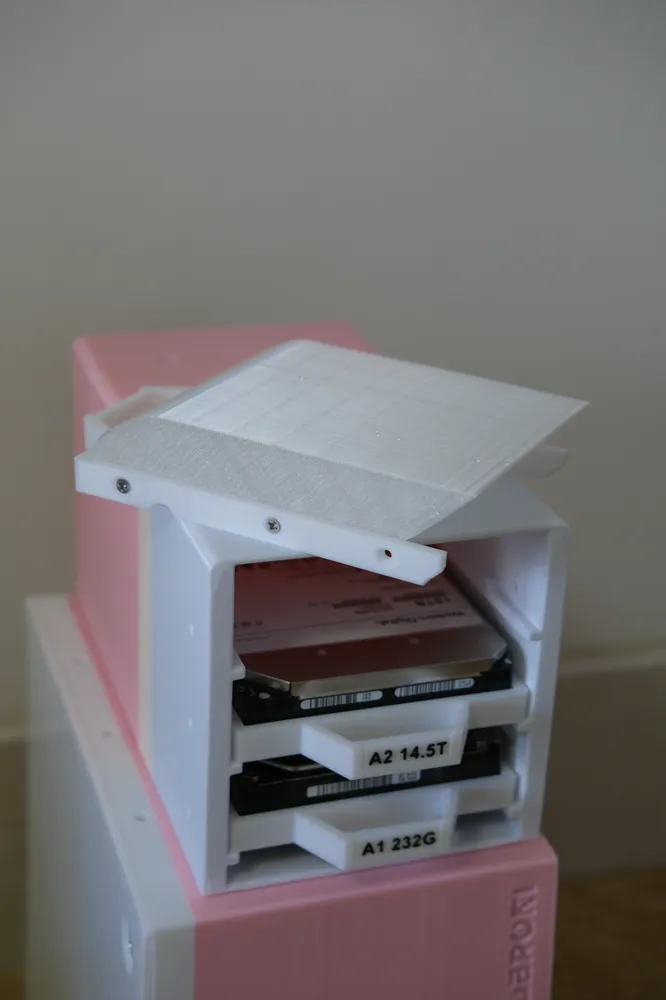
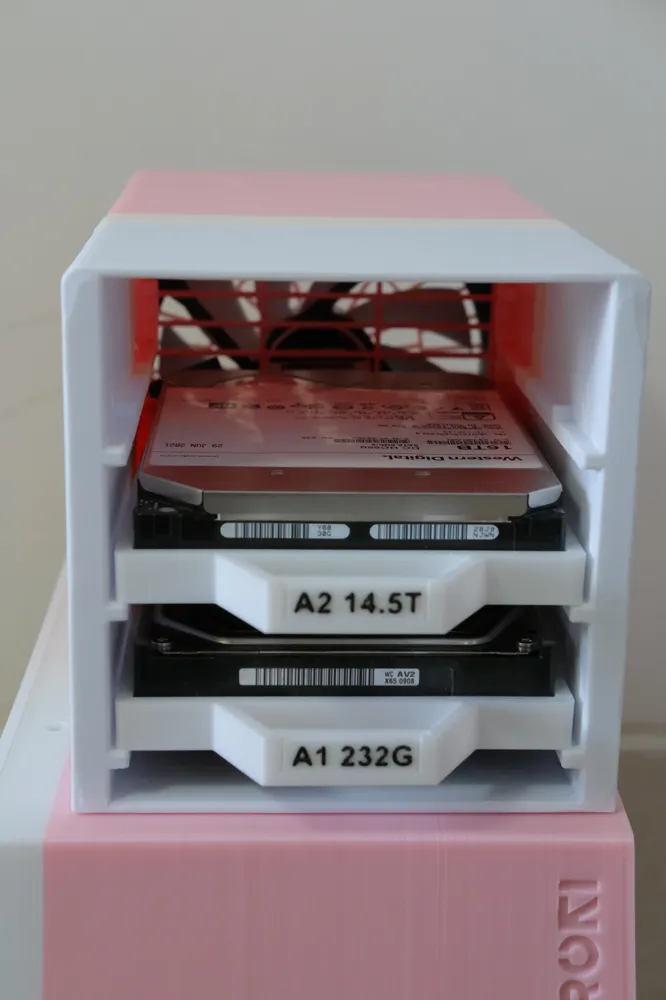
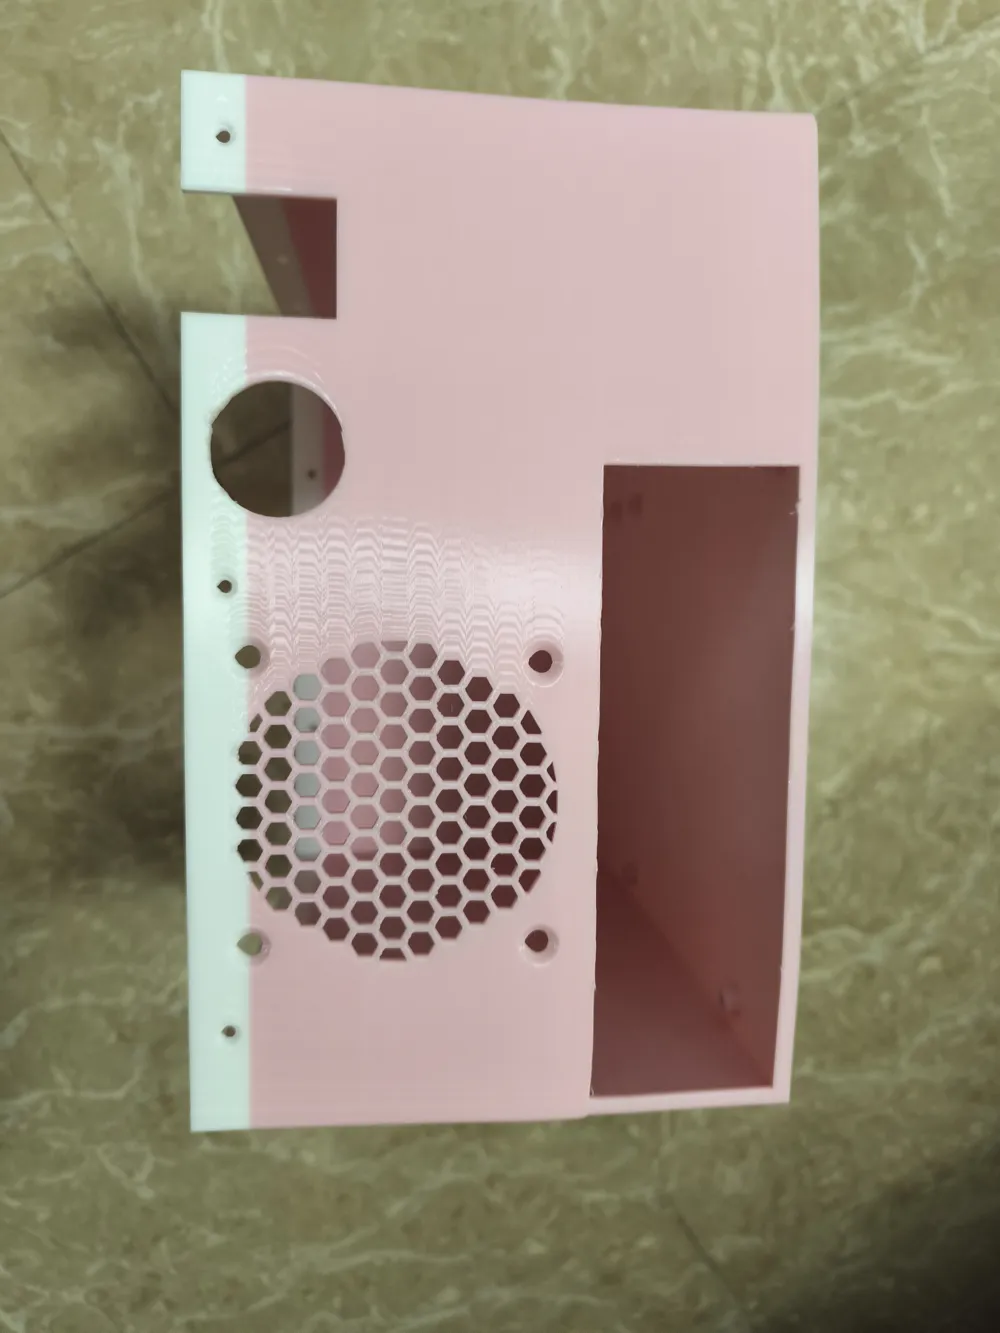
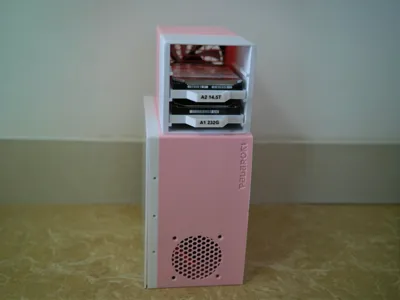
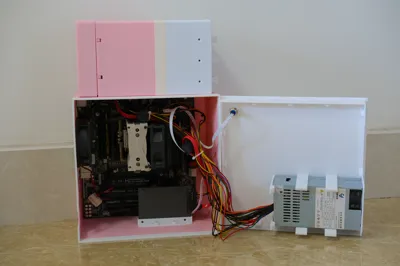
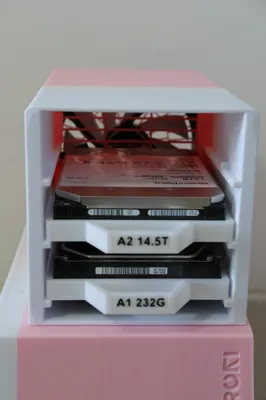
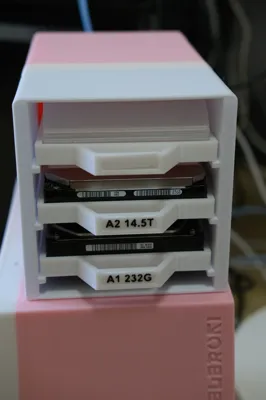
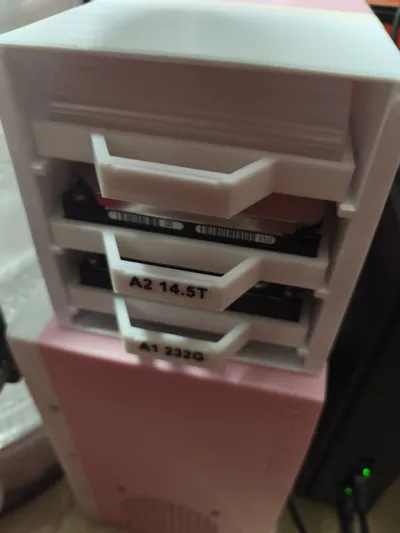
Introduction to this NAS chassis:
- The current design accommodates a maximum of 3 x 3.5-inch HDD drives + 1 SSD drive. It is compatible with MATX and 17cm industrial motherboards, as well as smaller motherboards. The chassis utilizes a small 1U power supply. Motherboard height limit: 147mm (1U power supply location height limit: 105mm).
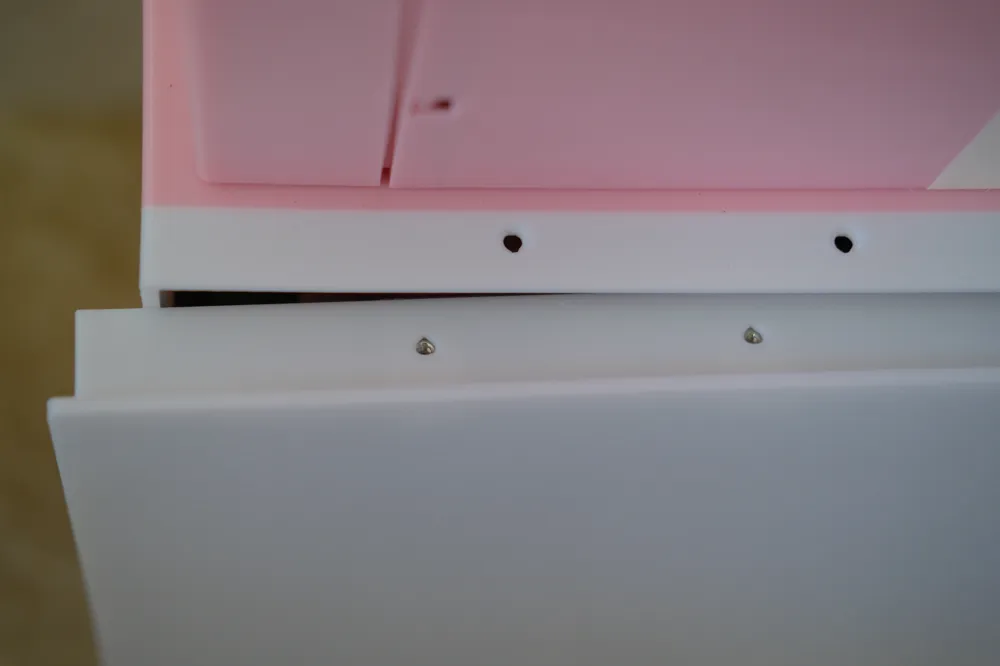
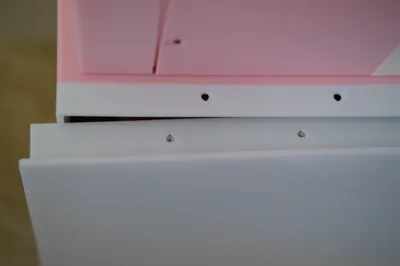
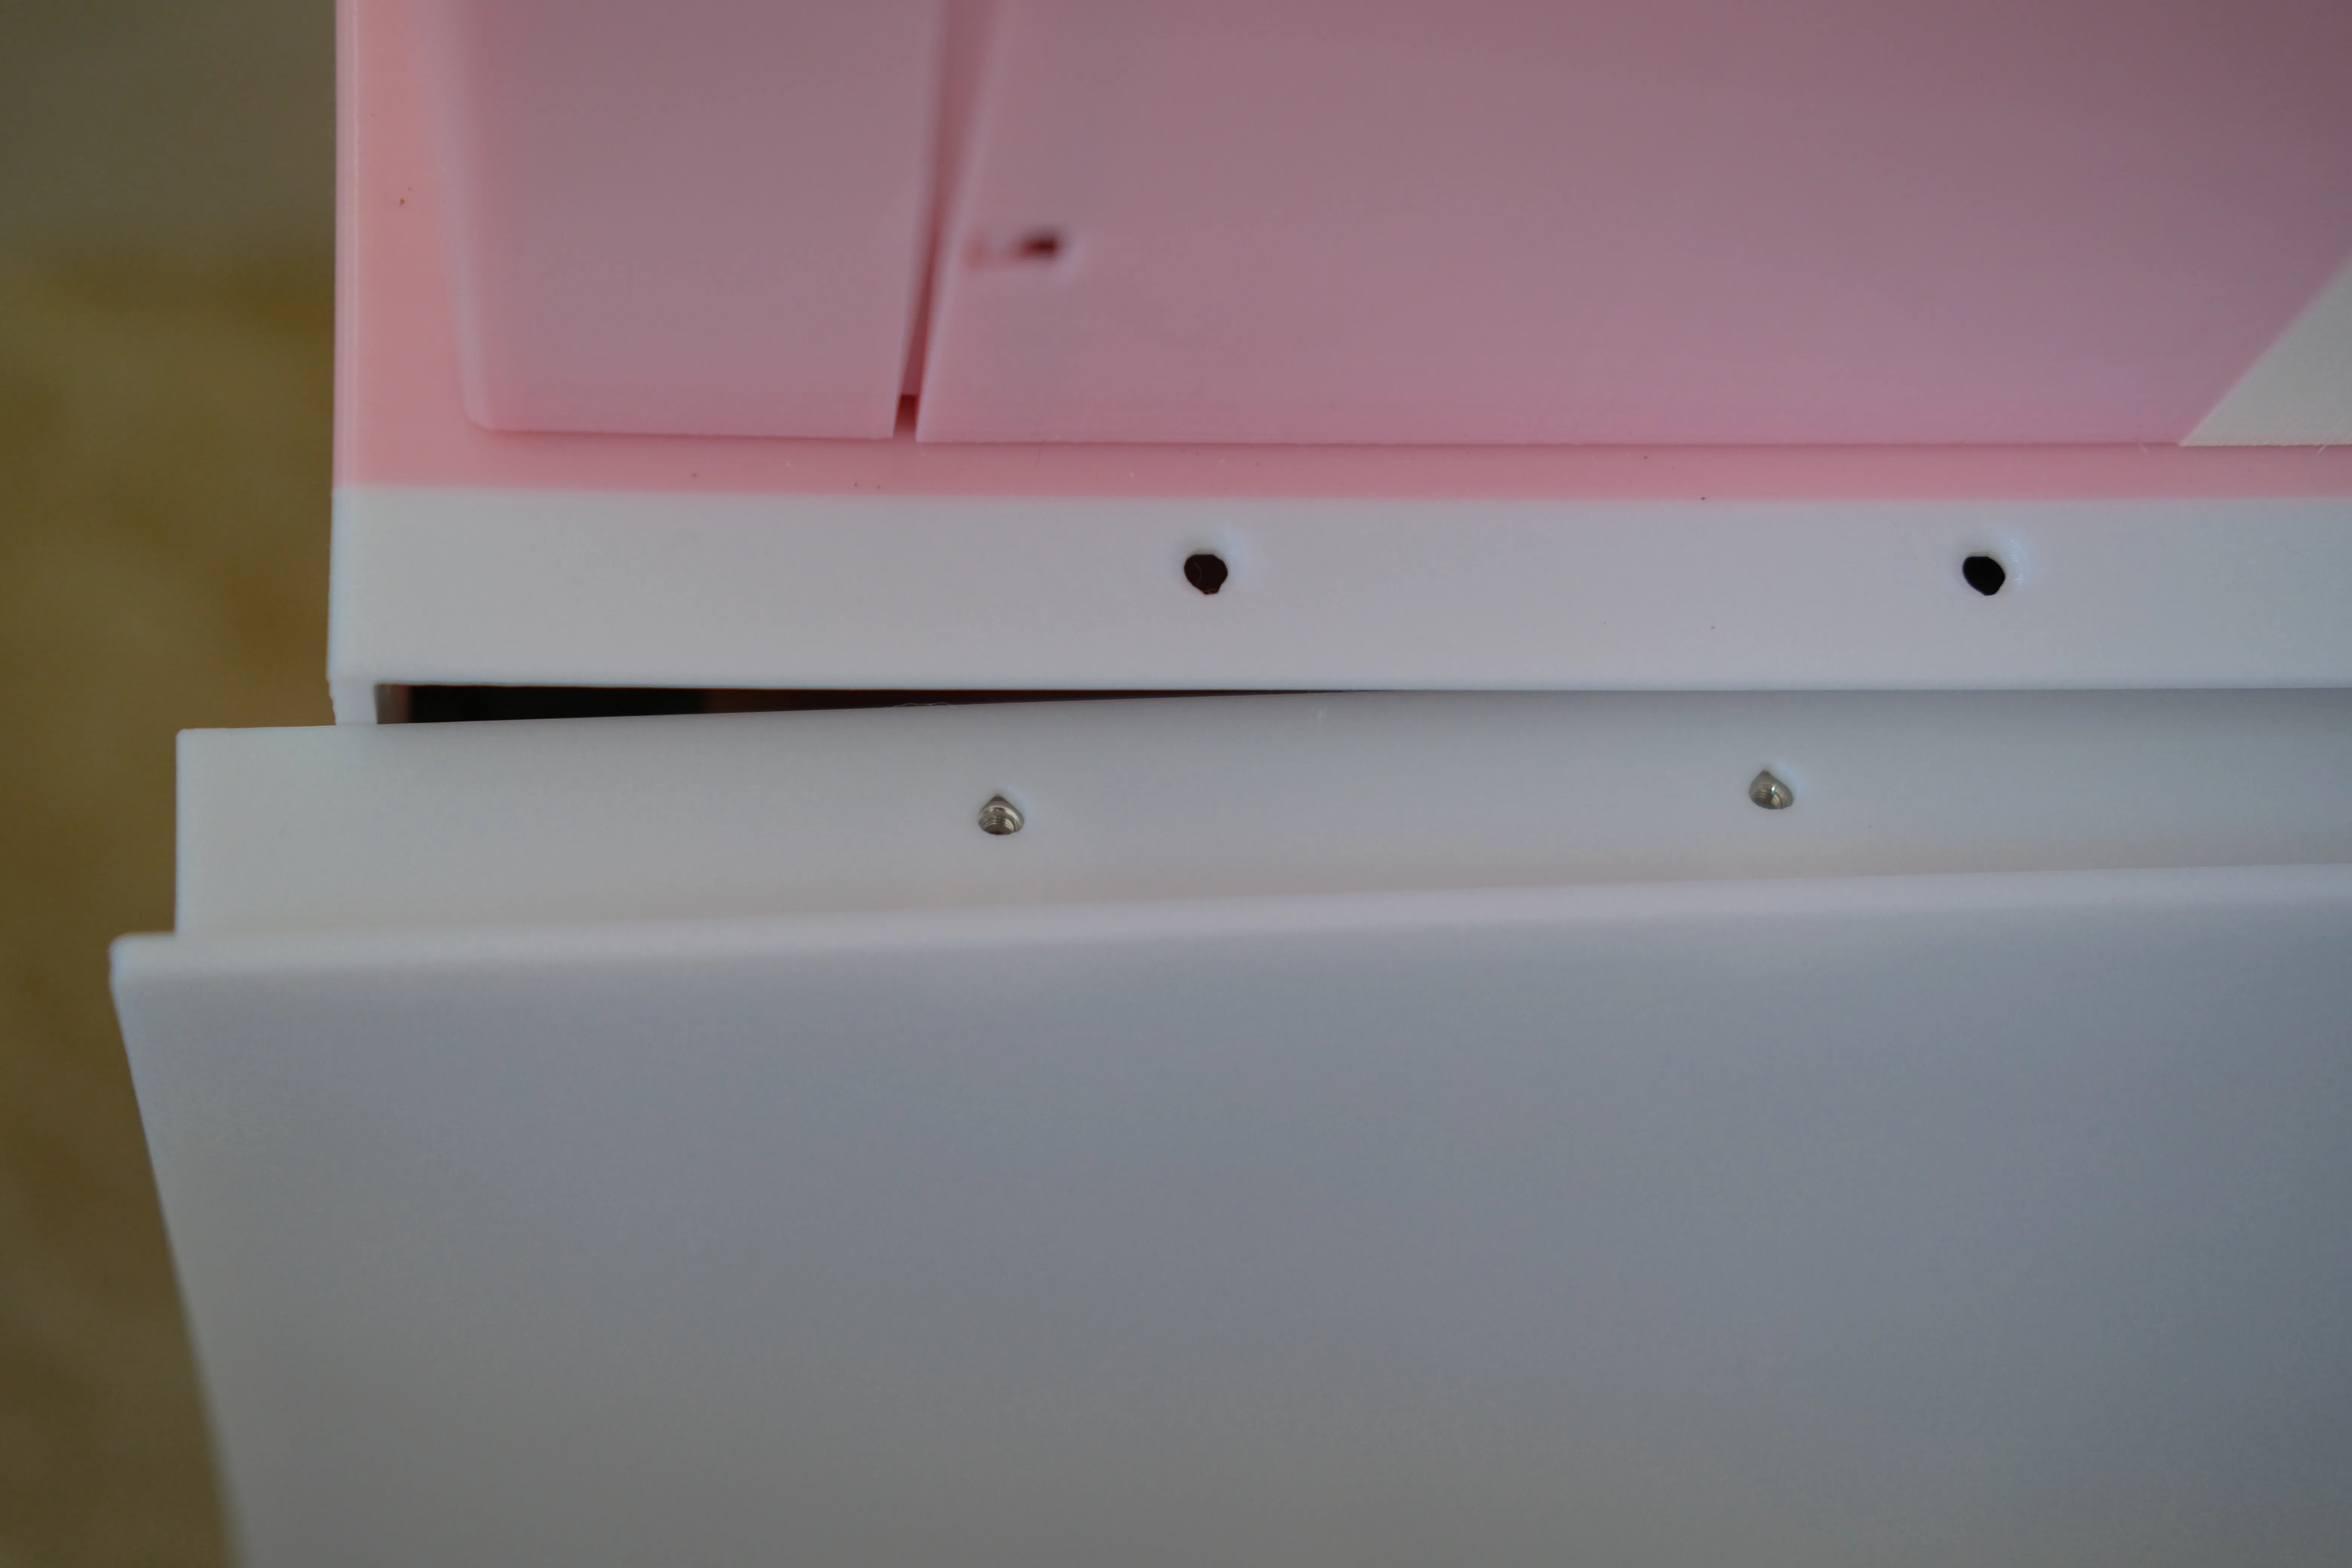
- This NAS chassis is specifically designed for 3D printing, suitable for build plates of 256*256mm and larger (A1 mini is not applicable). The screw holes feature a teardrop design, preventing gravitational collapse and ensuring print accuracy. Pre-embedded nuts make chassis assembly more secure and convenient, while manually designed supports ensure both the robustness and aesthetic appeal of the model.
- Considering future upgrade possibilities (Currently, the hard drive enclosure accommodates 3 x 3.5-inch hard drives; if you desire more hard drive bays or wish to install 2.5-inch hard drives, please leave a comment, as I currently have no personal need for them, I haven't bothered to design the models).
- Minimalist exterior design (too lazy to refine the exterior).
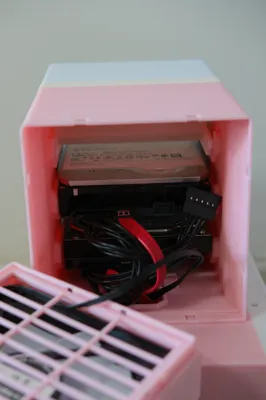
Given the critical importance of hard drive longevity in a NAS, and temperature being one of the key factors affecting mechanical hard drives, this NAS chassis's hard drive enclosure incorporates a pressurized airflow design. Actual tests show that even during Shenzhen's indoor summer, the temperature of continuously operating hard drives does not exceed 35 degrees Celsius.
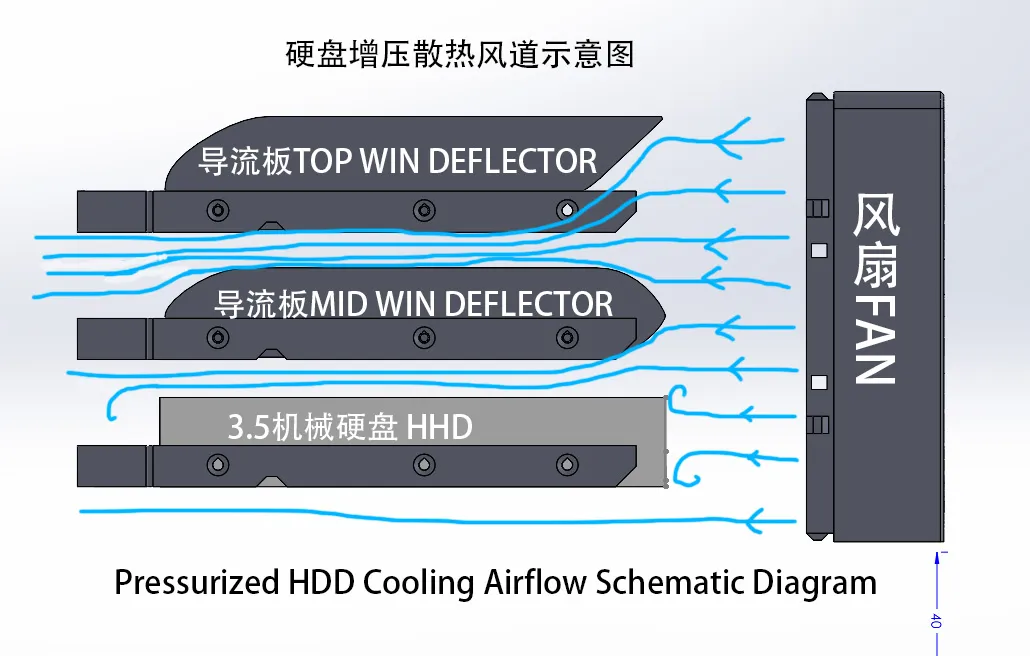
Diagram of pre-embedded nuts:
Hardware and other accessories required for assembly:
- Countersunk screws:
- M3 x 8mm 40pcs
- M3 x 10mm 26pcs
- M5 x 12mm 8PCS (for securing cooling fans)
- M3 hex nuts 66pcs
- Cooling fans:
- 8CM (1~2pcs, for chassis cooling)
- 12cm 1pcs (for hard drive cooling)
- Power button (12mm)
- Tools
- Flush cutters (for removing manual supports)
- Pliers (for processing the motherboard I/O shield when it exceeds limits)
- Countersunk screws:
Printing methods/Precautions during printing:
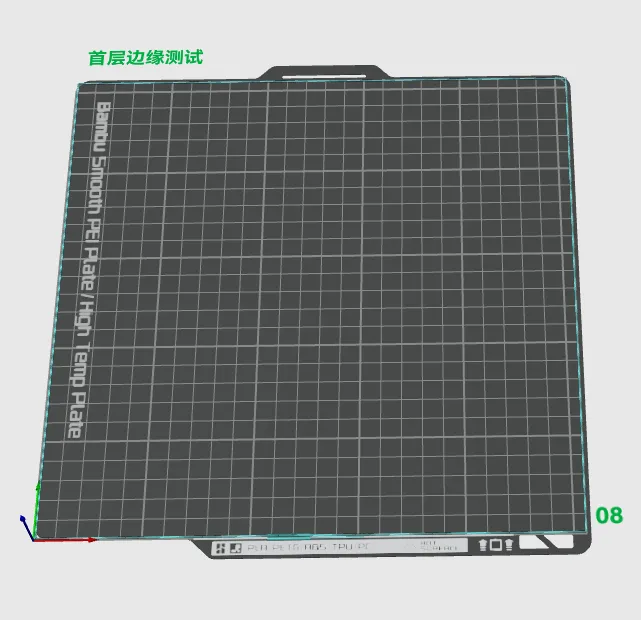
- Before printing, clean the build plate, run the printer's automatic calibration program, then, based on your build plate's adhesion, choose whether to apply glue to the build plate.
Perform the first layer edge test for plate 8 to ensure the printed square remains within the build plate boundaries. If it's outside the build plate, adjust the build plate's position and run the printer's automatic calibration program again. Repeat this step until the printed square is within the build plate.
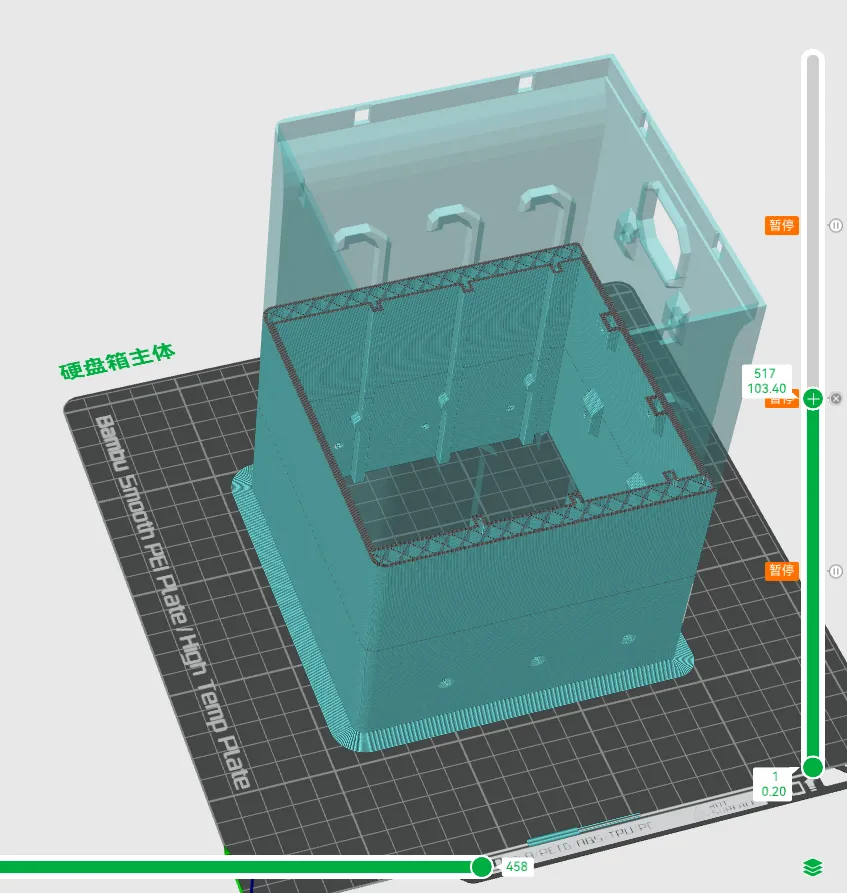
Method for embedding nuts: The downloaded 3MF file has pre-set automatic pause points for printing. When printing reaches a pause point, you will need to manually embed the M3 hex nuts, then click 'resume printing' on the printer.
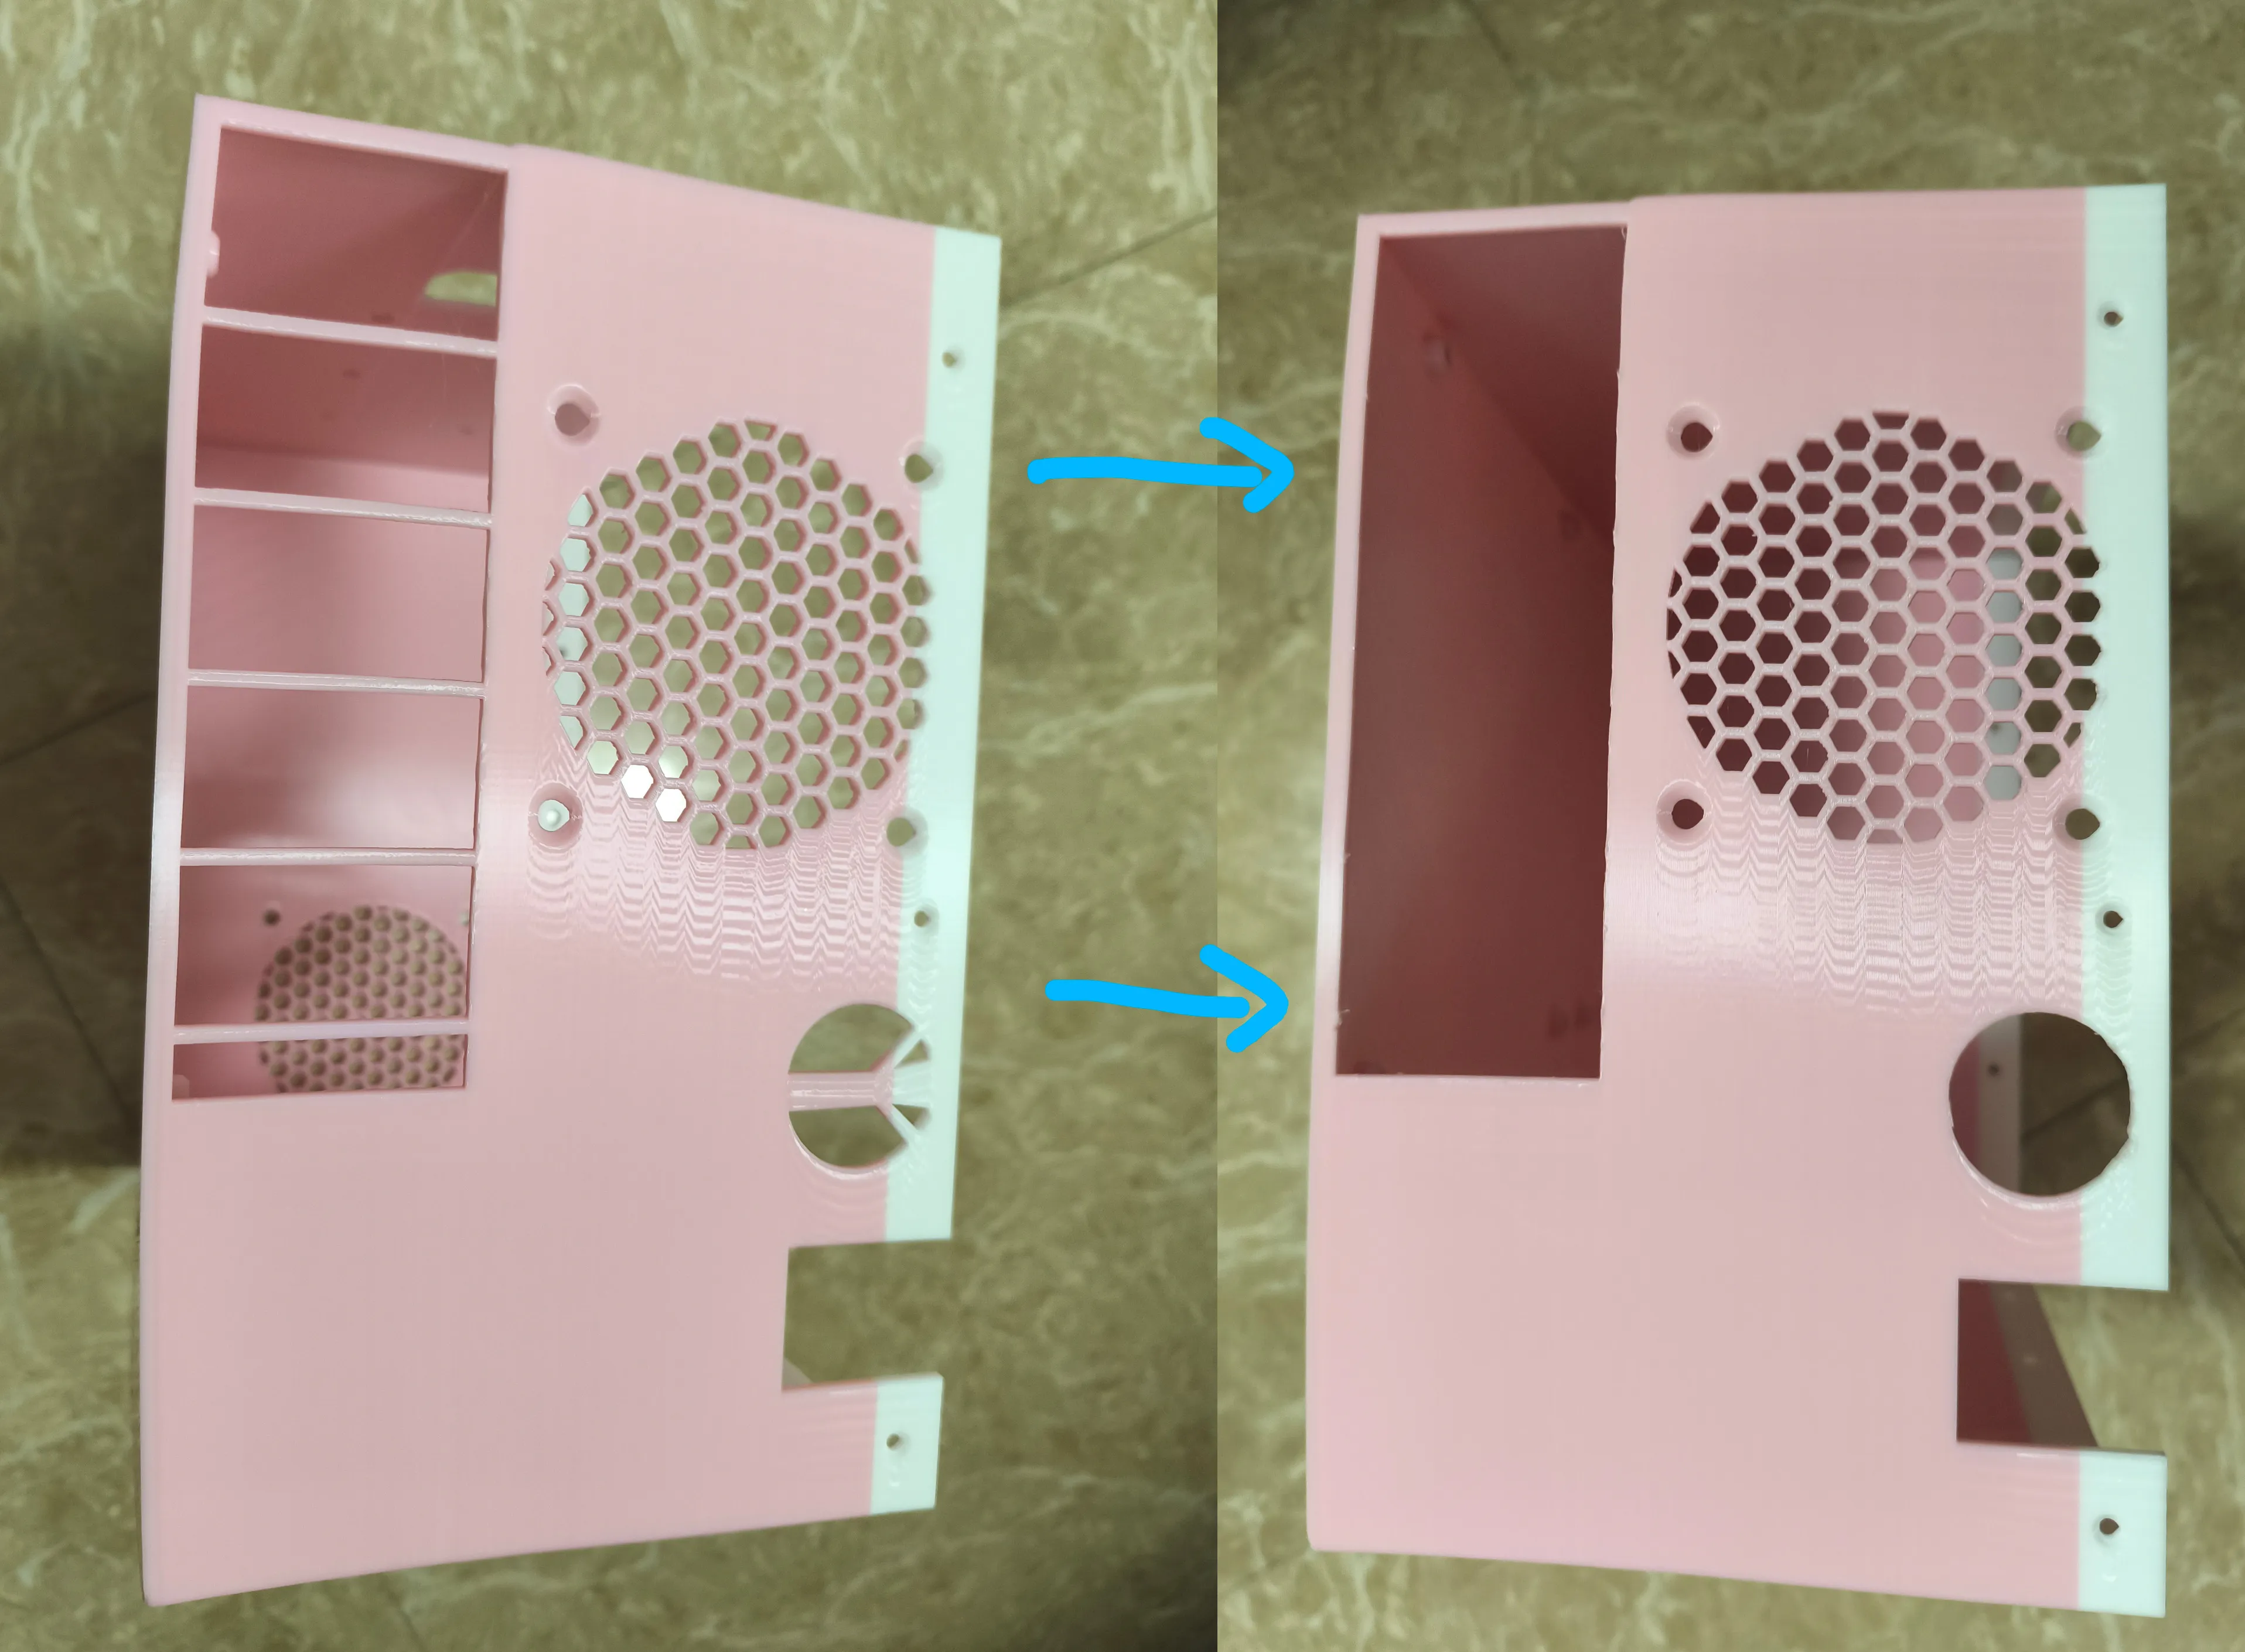
Assembly method:
Use flush cutters to remove the supports from the main chassis body as shown in the image.
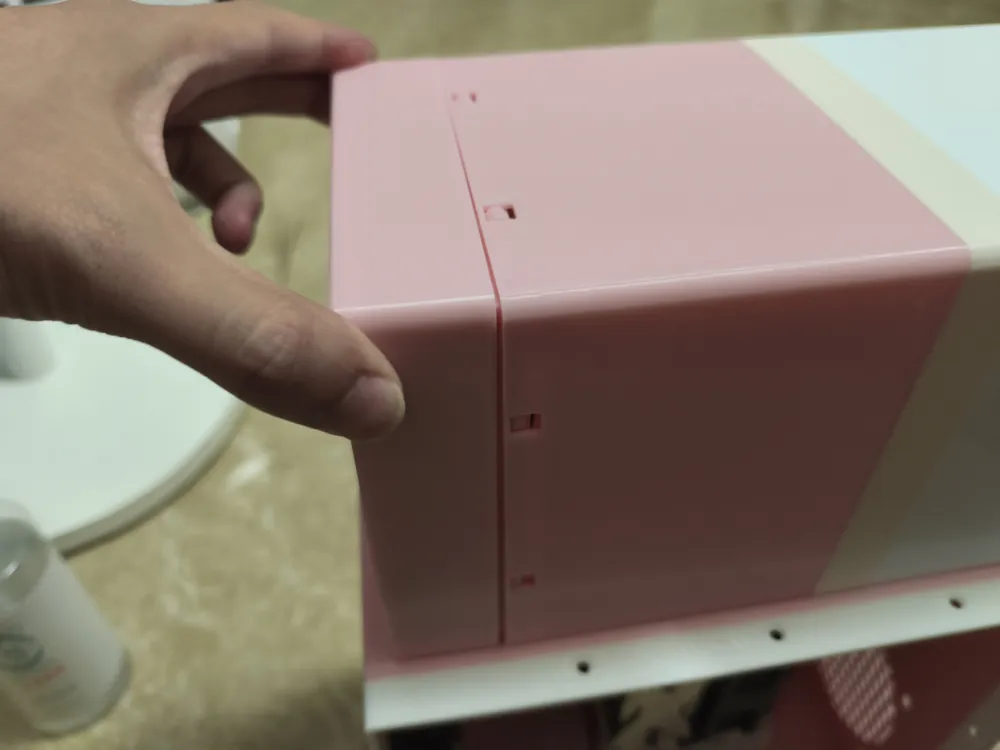
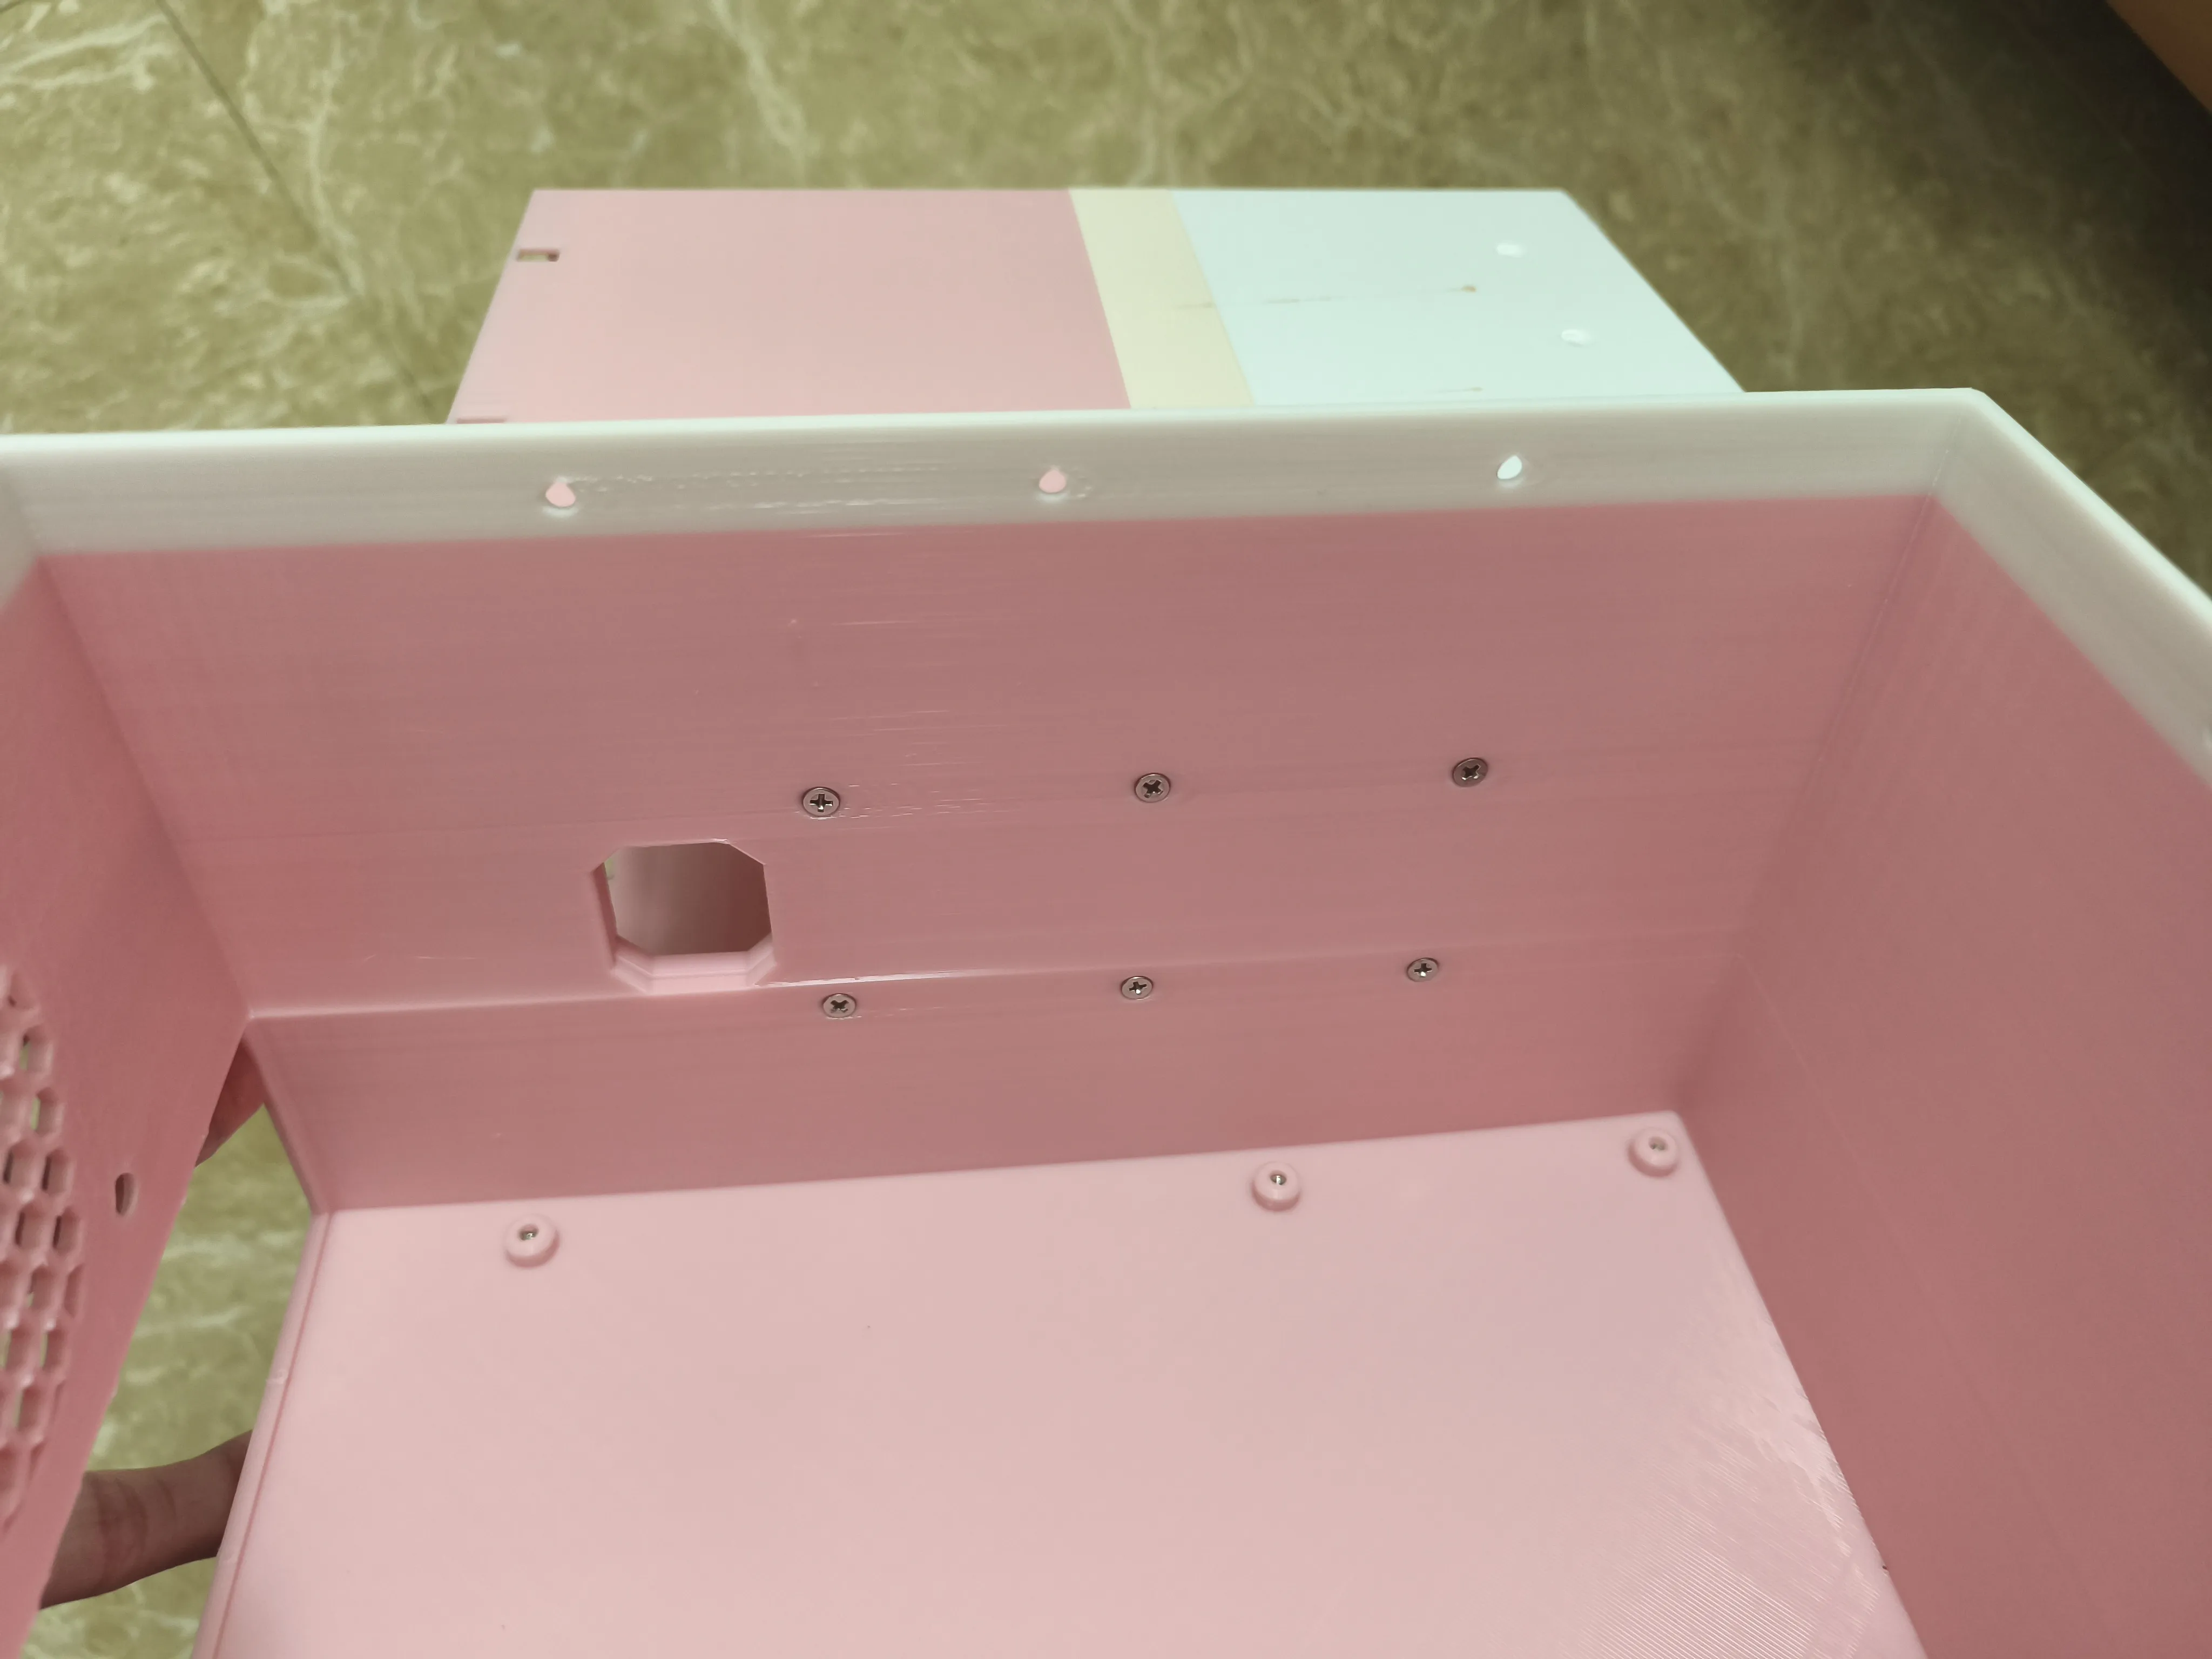
Assemble the main chassis body and hard drive enclosure body using M3 x 8mm screws.
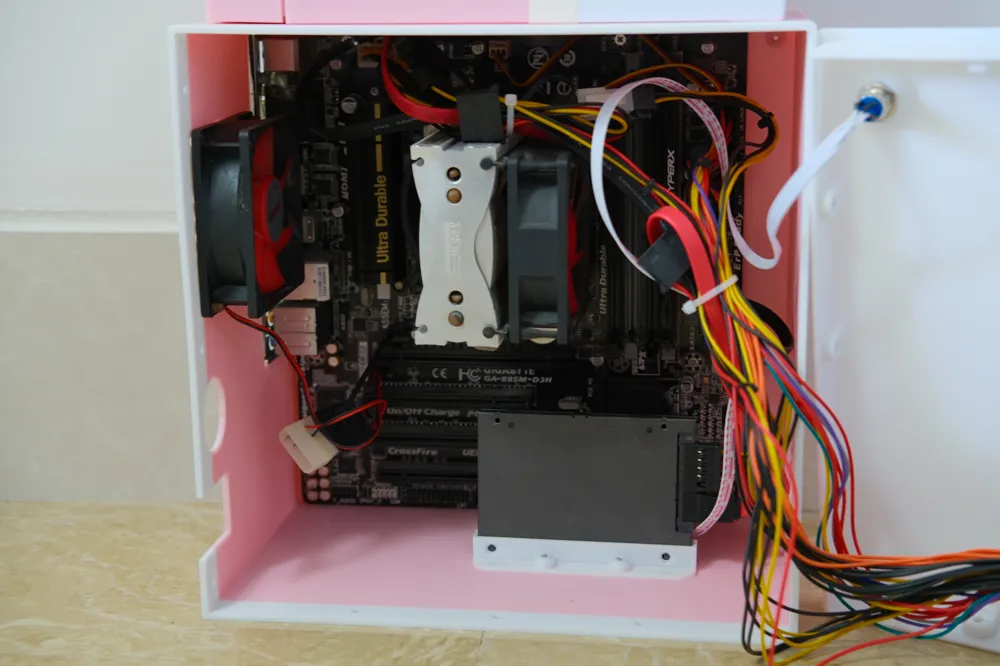
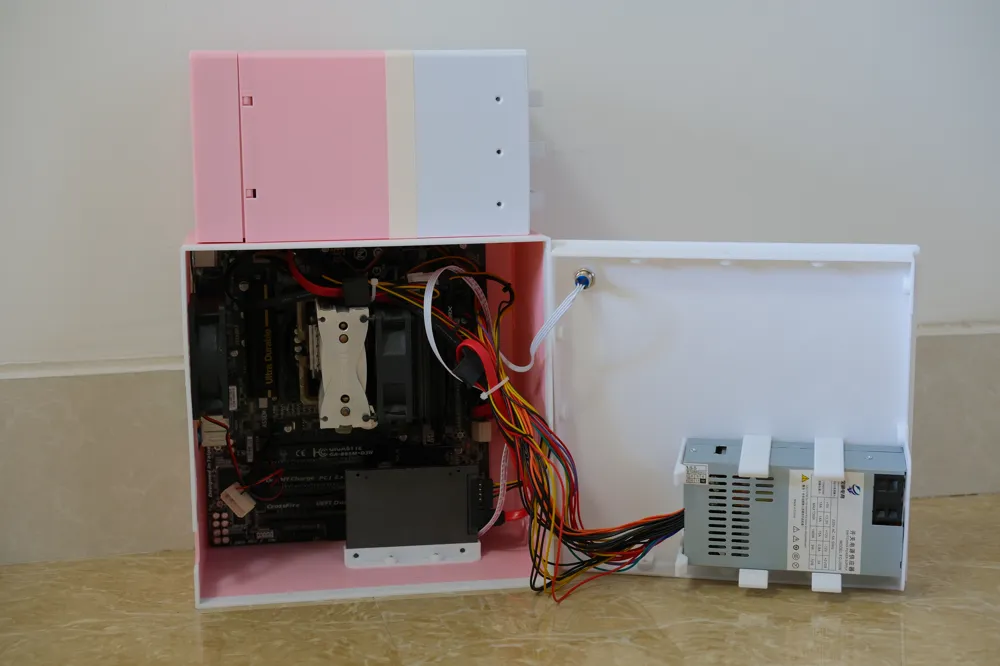
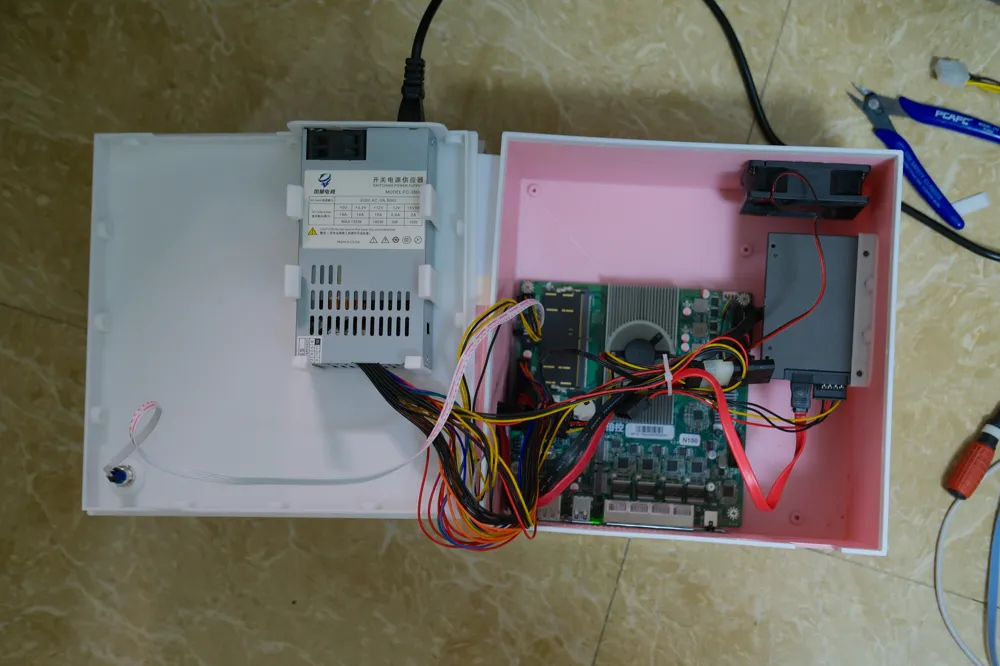
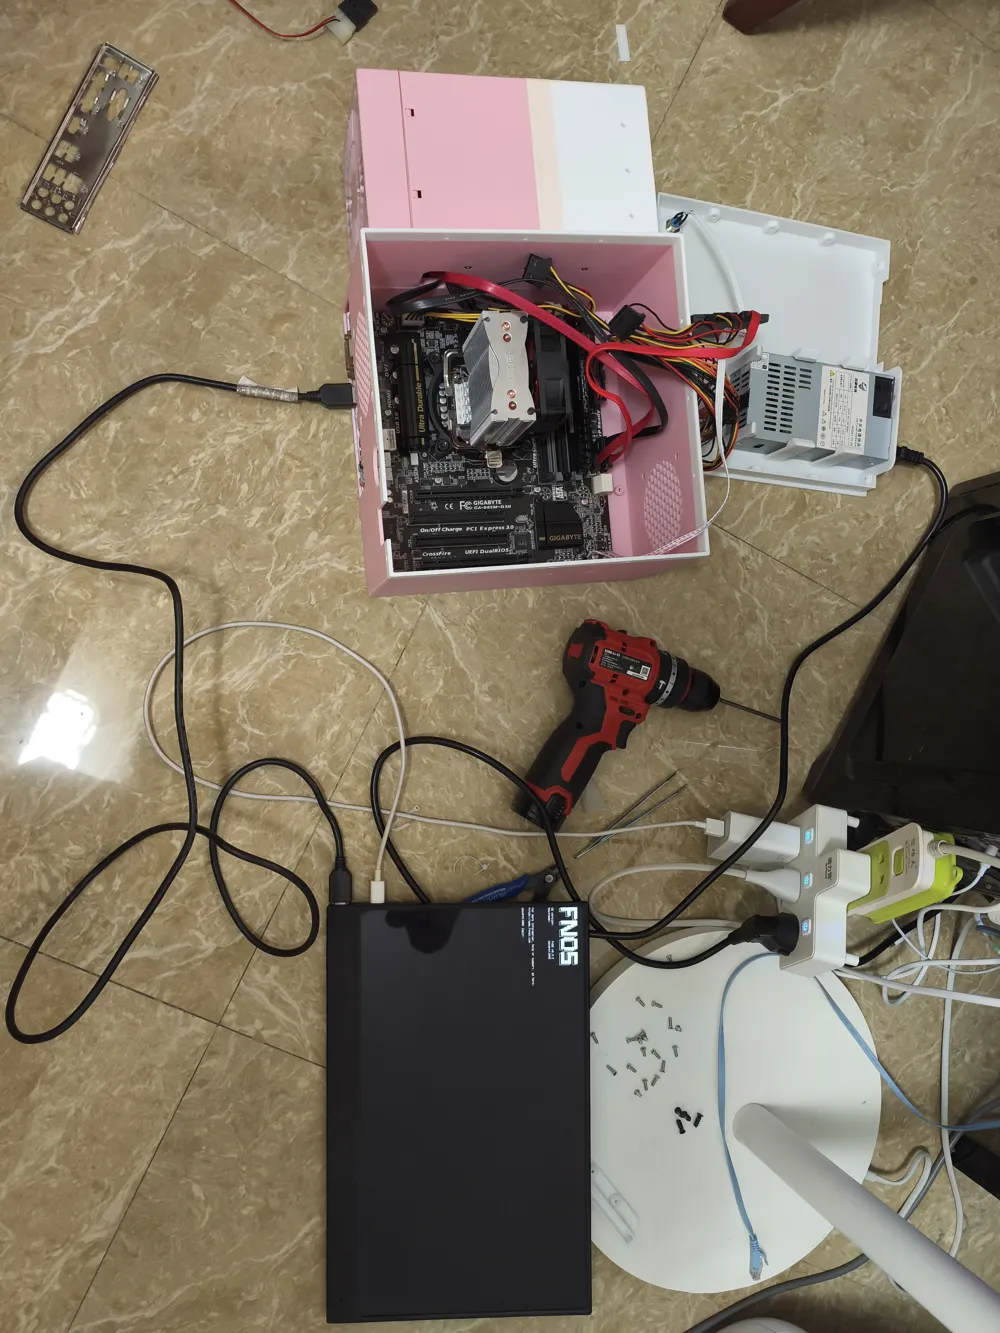
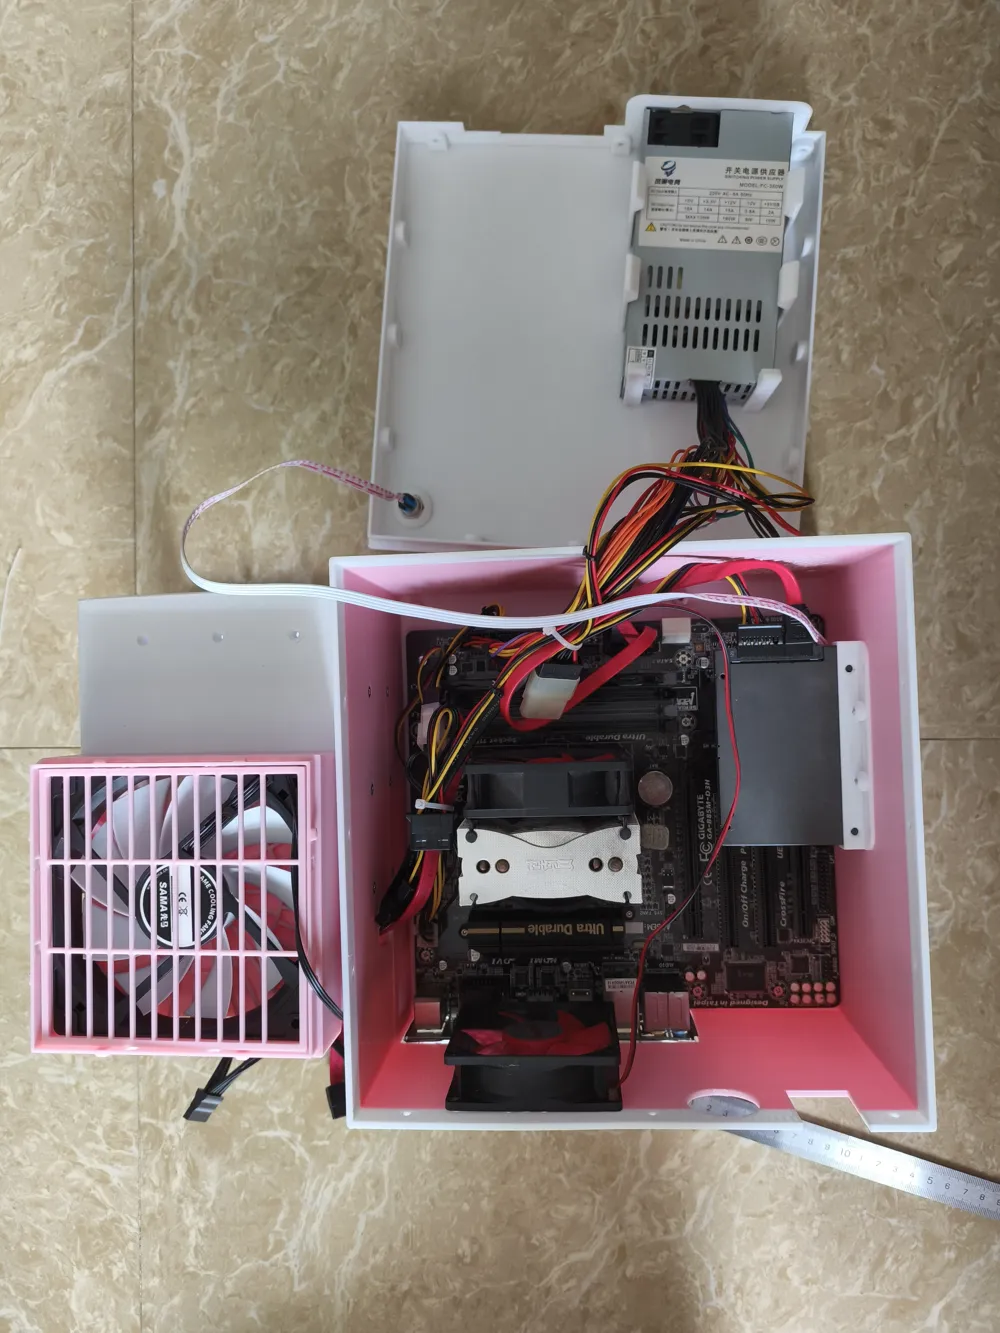
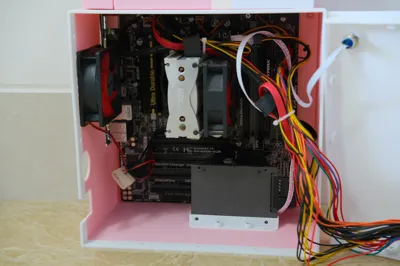
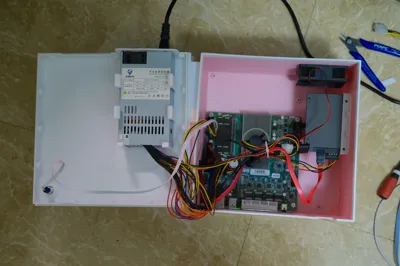
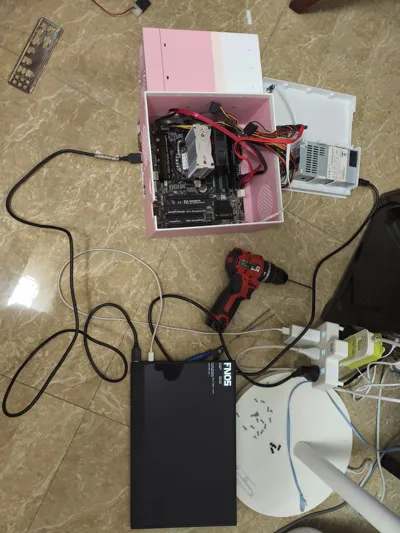
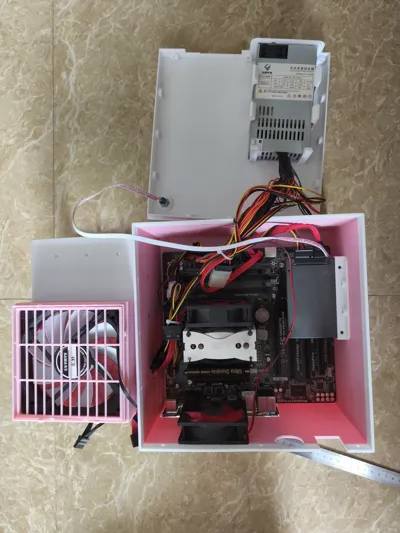
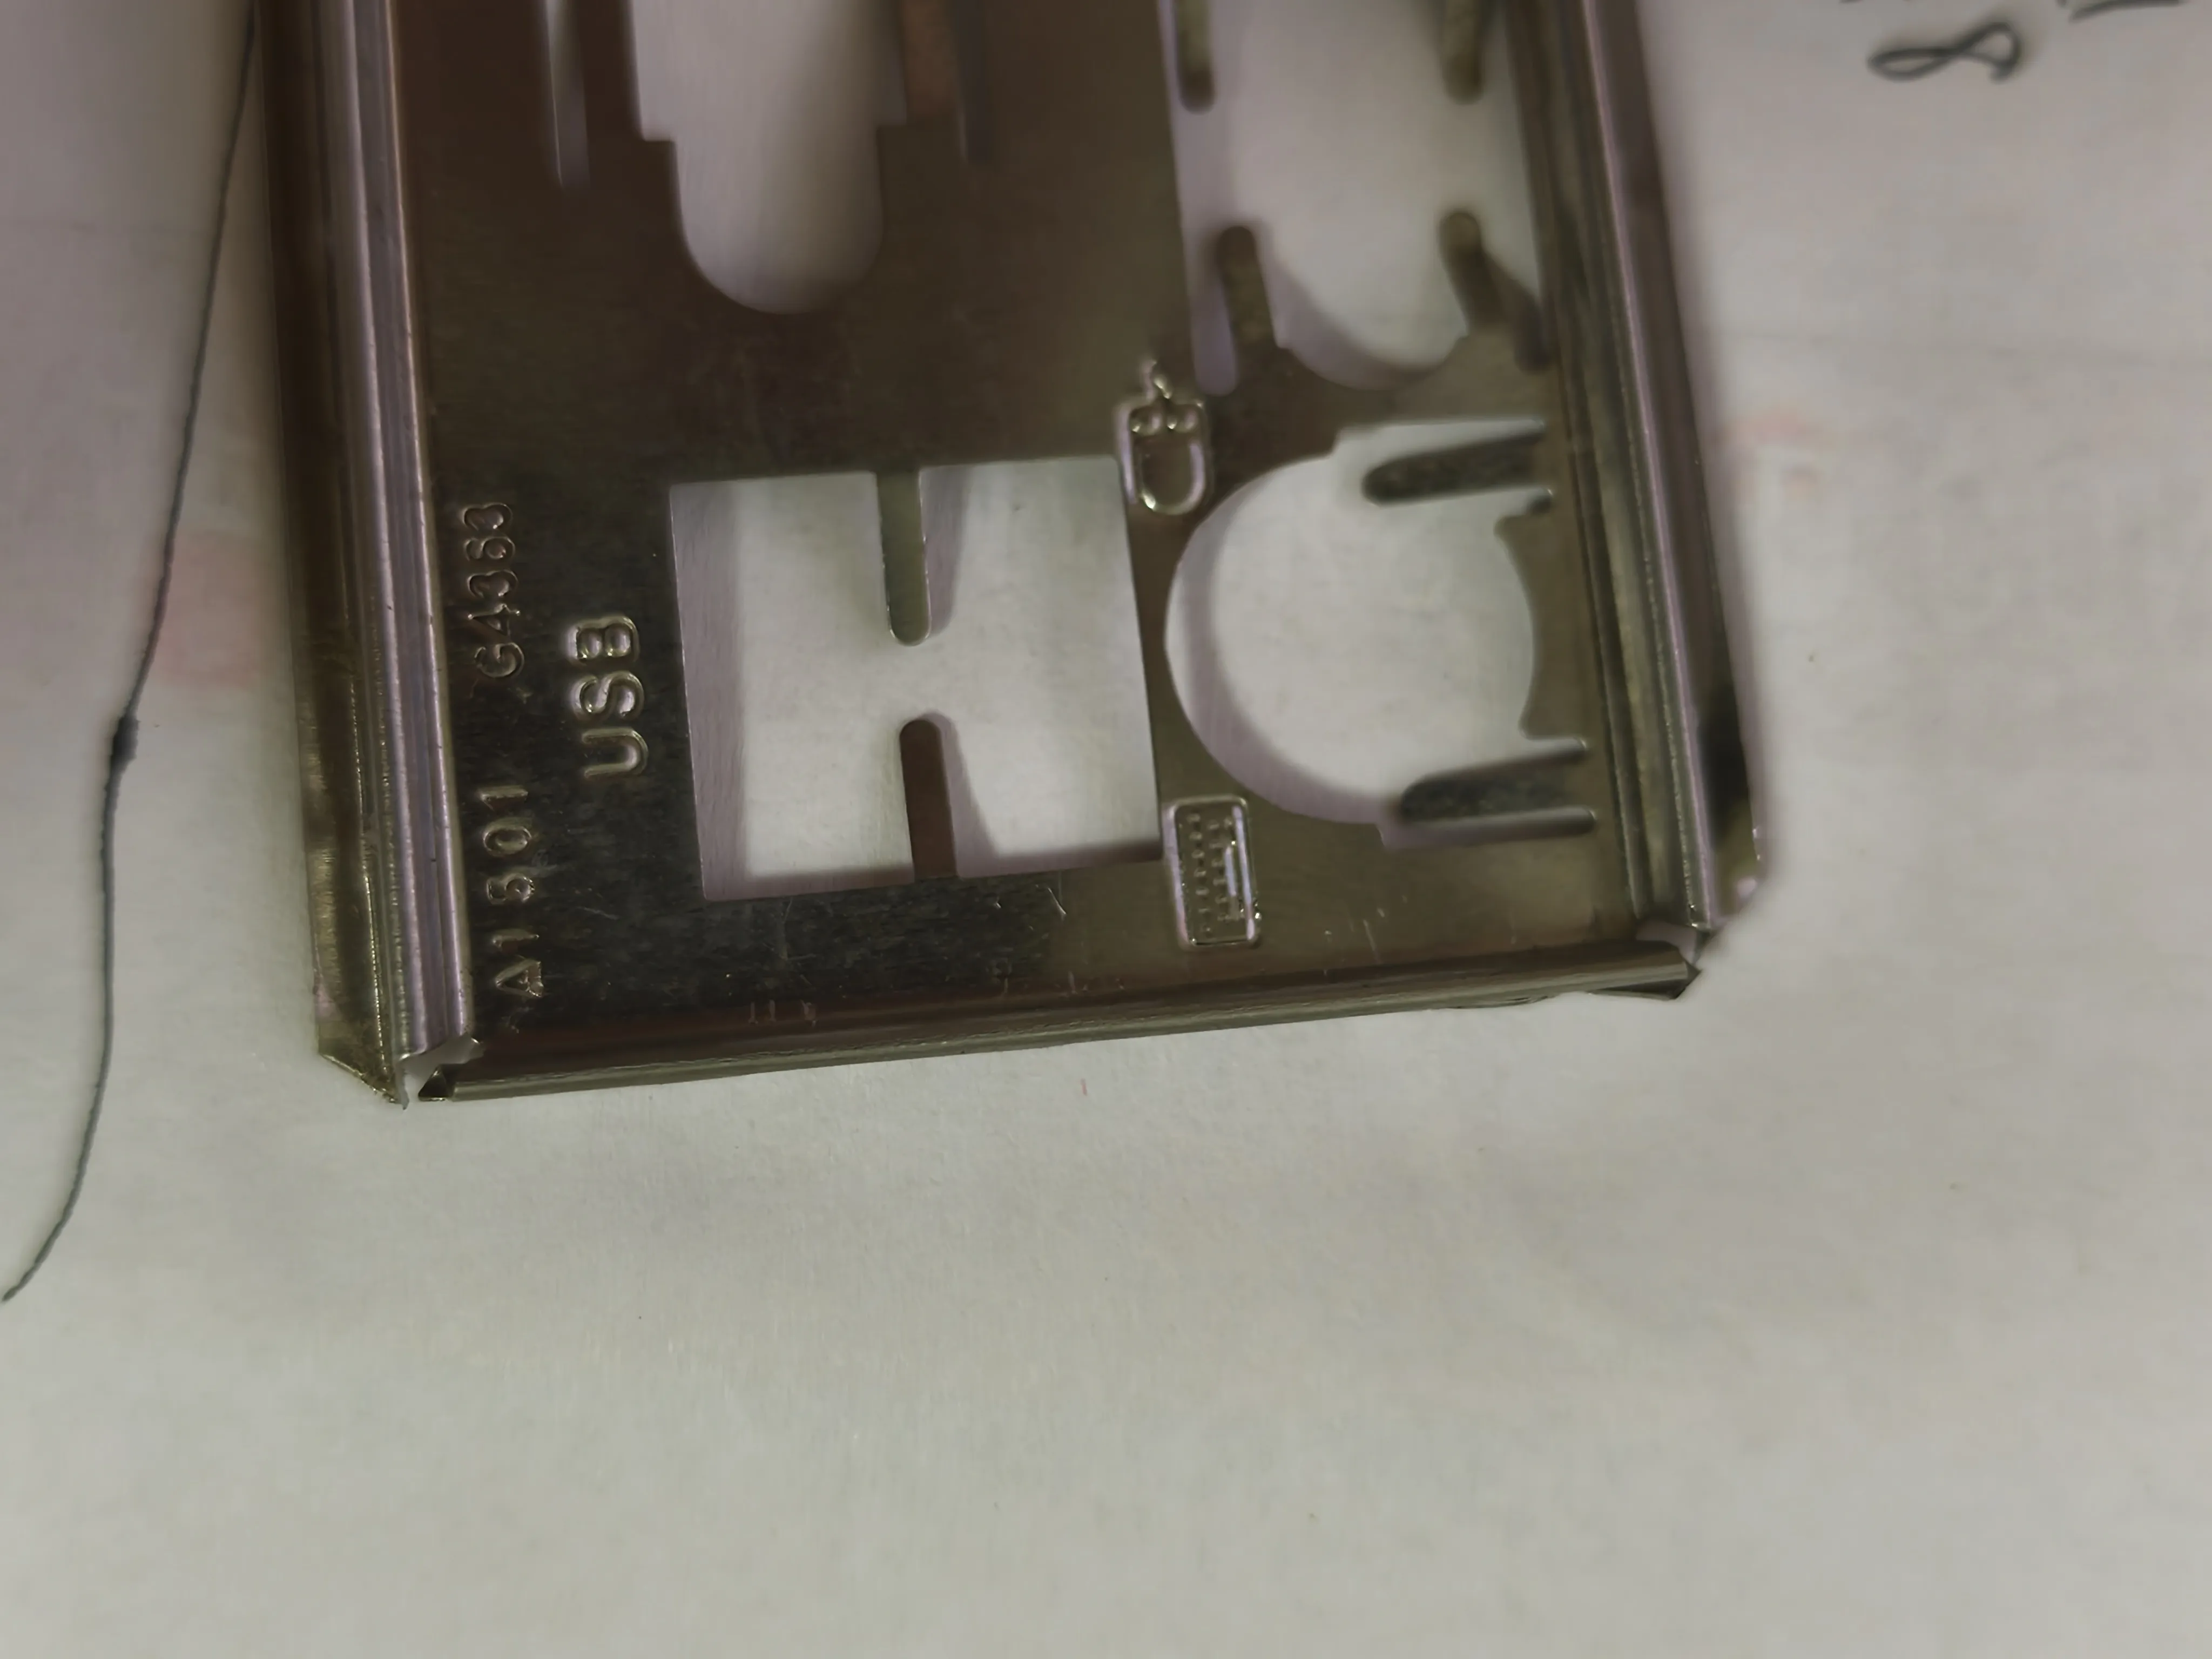
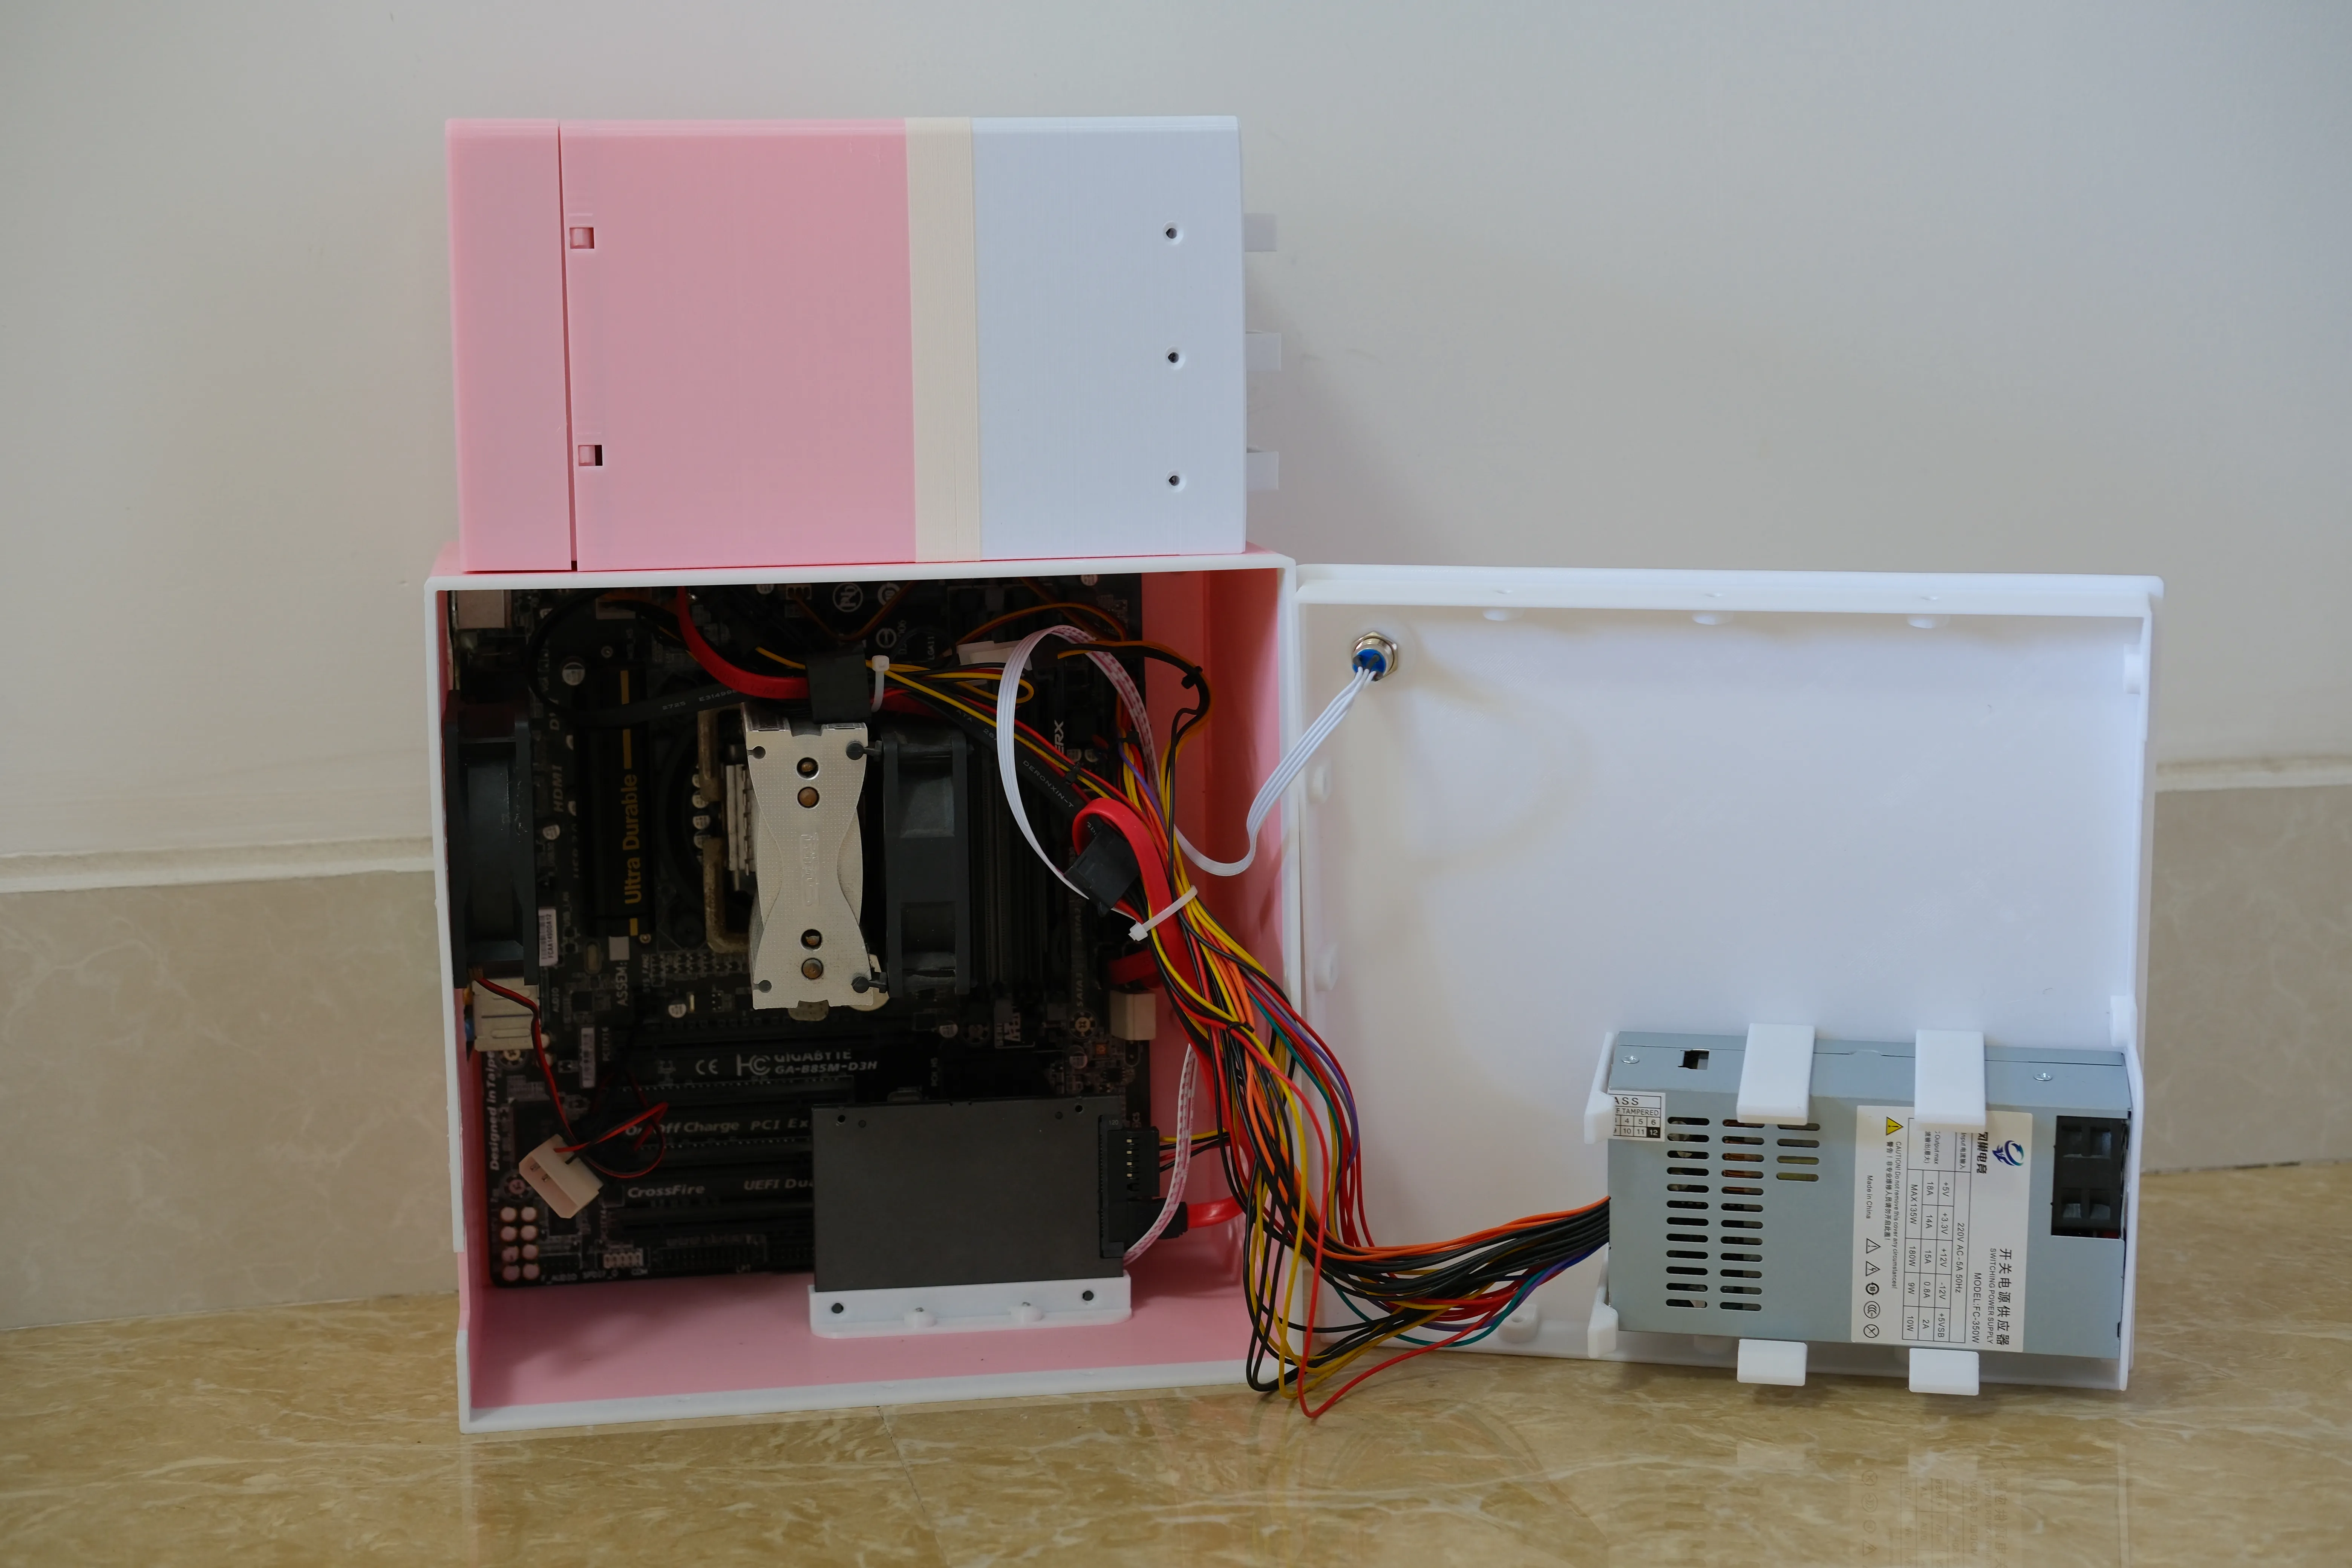
Install the motherboard + I/O shield in sequence (Due to printing size limitations, if the I/O shield is too long, you may need to use pliers to narrow the extended portion; the image below shows the I/O shield after narrowing), the SSD bracket, and the small 1U power supply, then connect the cables. Route the hard drive cables from the holes in the chassis and hard drive enclosure to connect the hard drives. Secure the power button to the chassis cover, then connect it to the motherboard's power pins.
- Chassis fan installation position options:
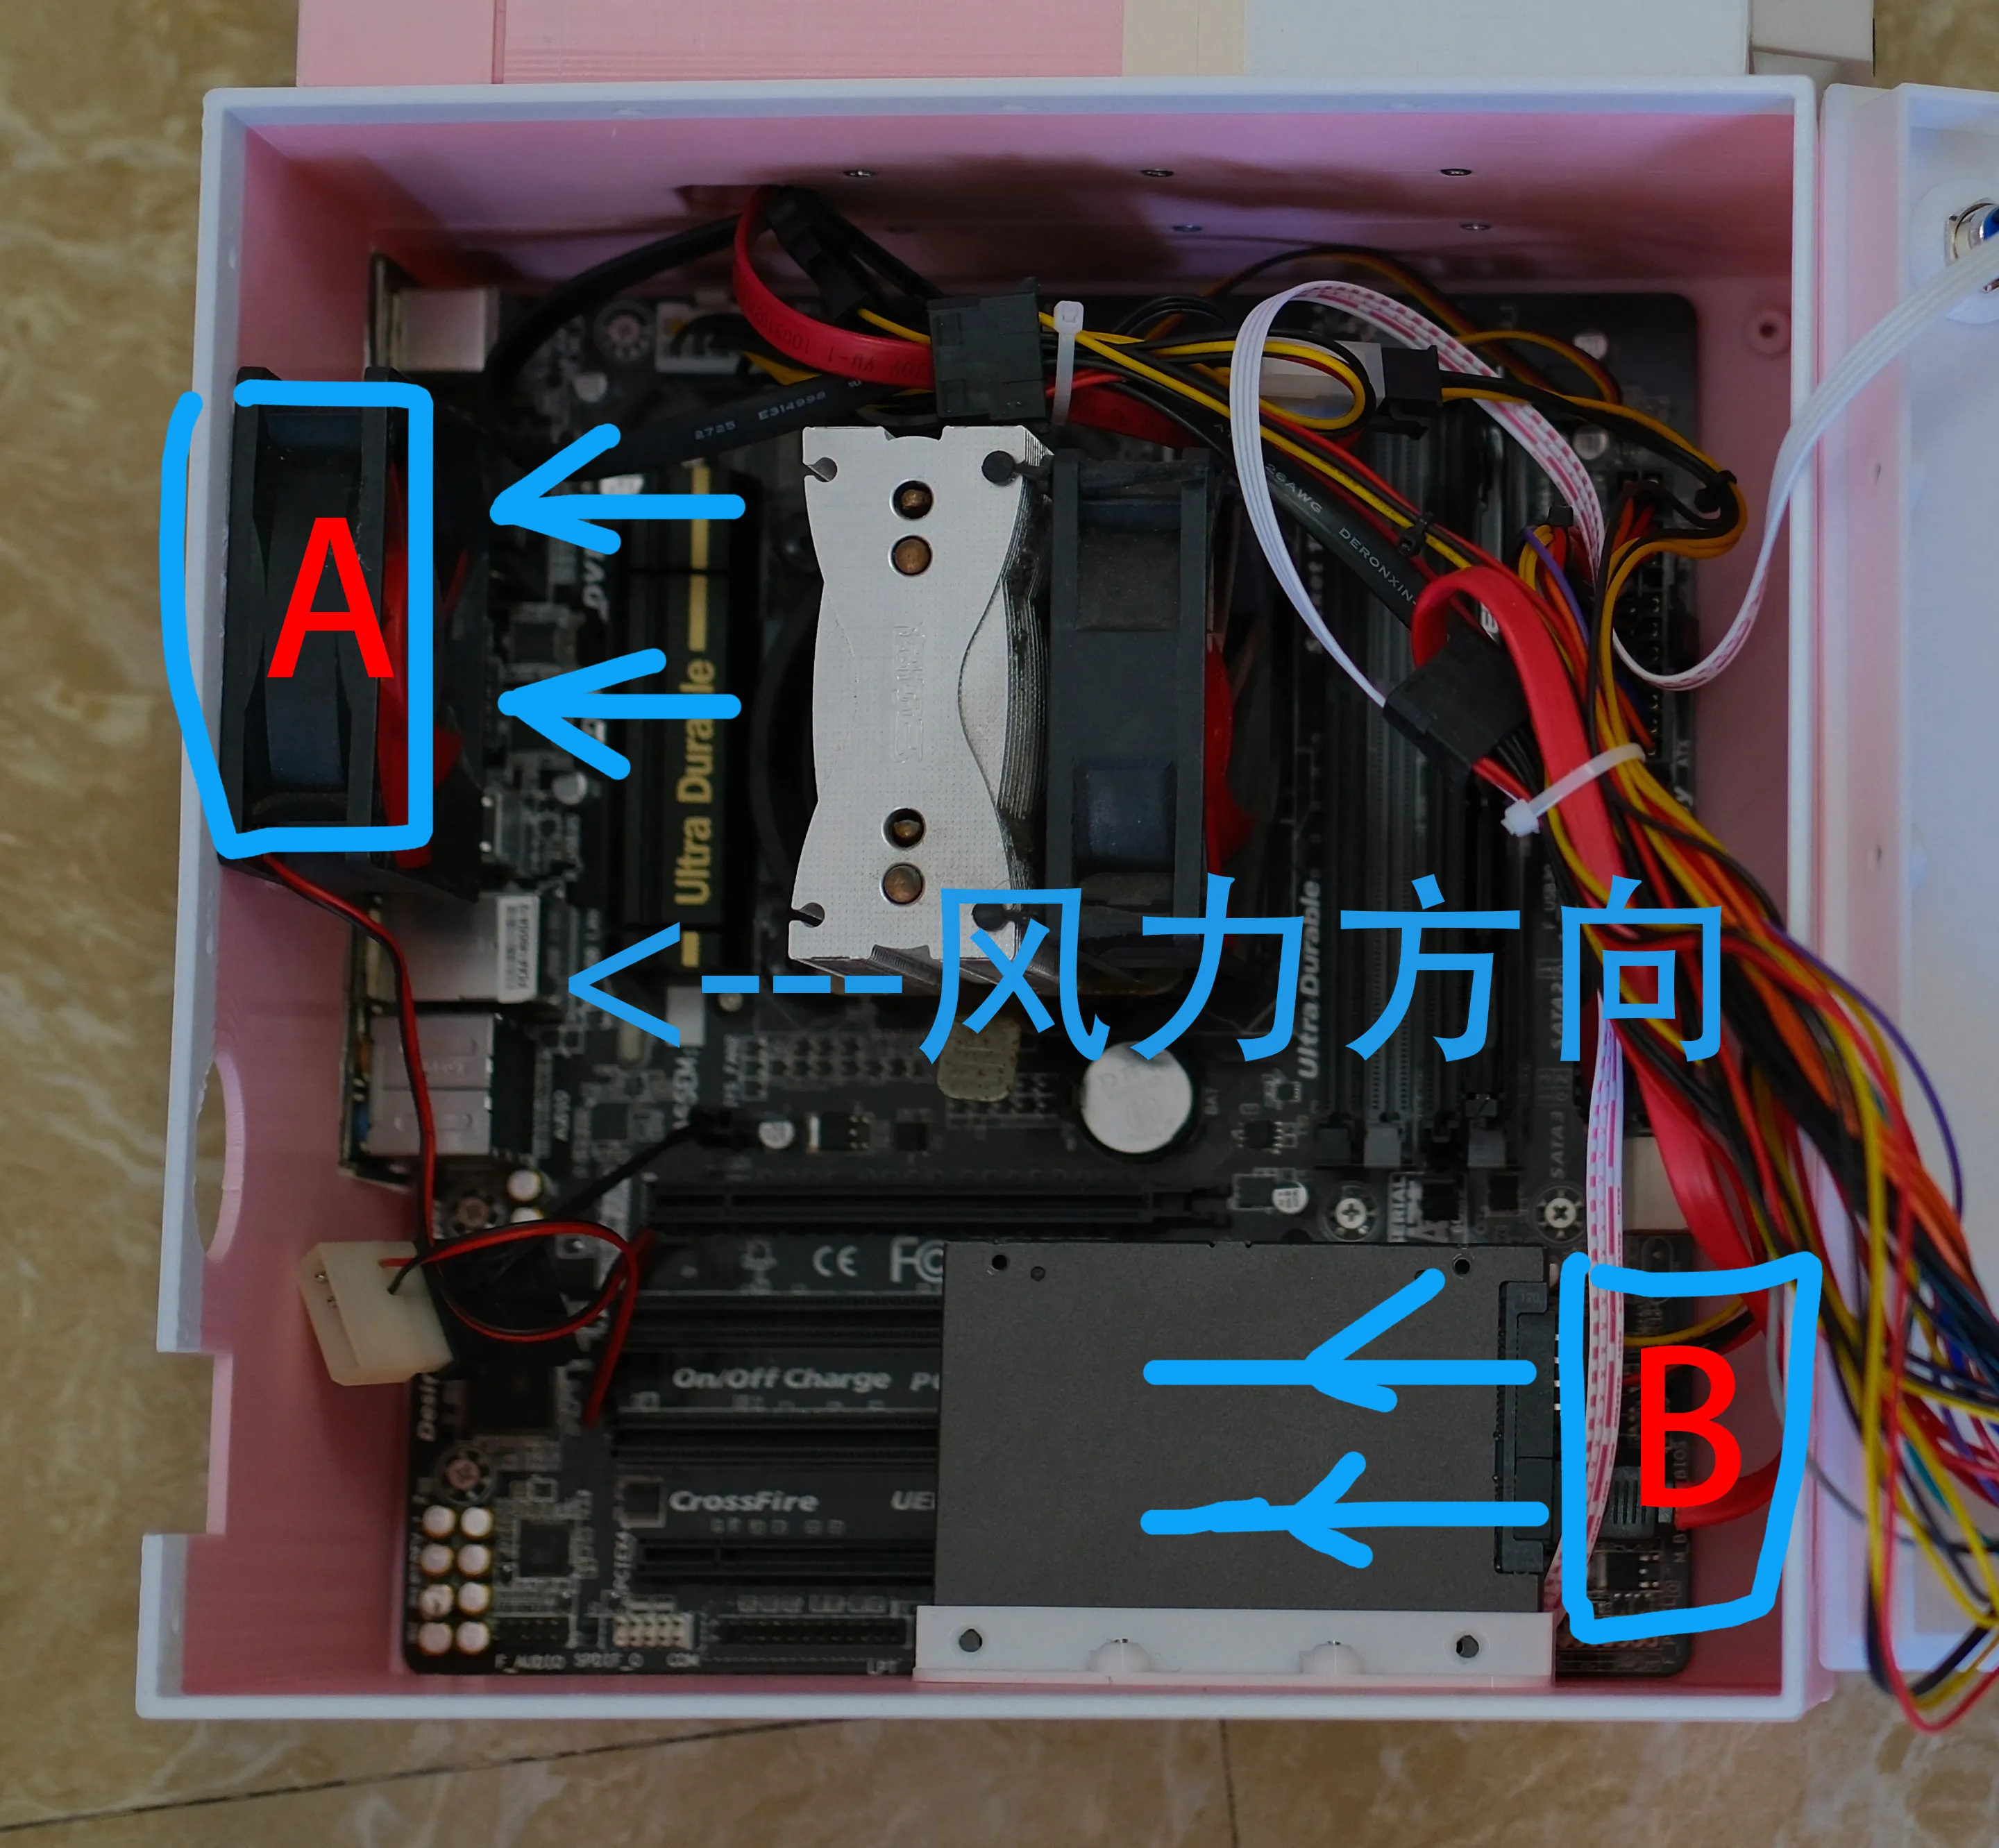
- When installing only one 8cm fan, if installed at position A, the chassis will have negative pressure, providing superior cooling performance; however, dust is prone to accumulating inside the chassis, and CPU cooling is enhanced (when the motherboard's CPU is near the cooling vent)
When installing only one 8cm fan, if installed at position B, the chassis will have positive pressure; cooling performance is relatively inferior to the former, but dust accumulates less rapidly inside the chassis, and the SSD receives direct cooling.
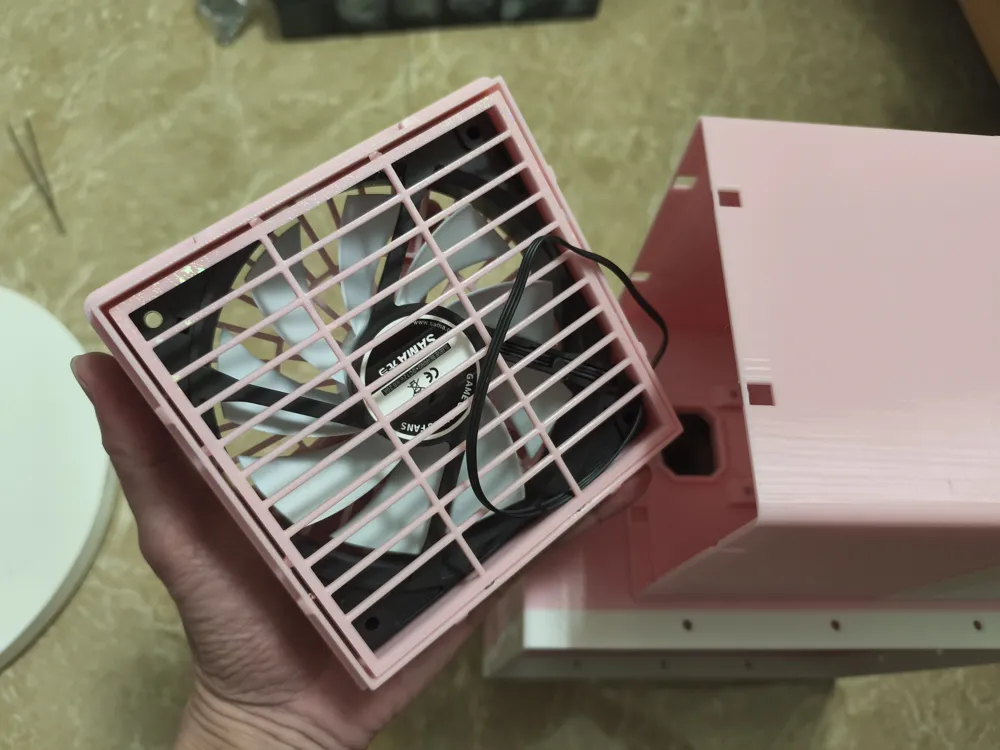
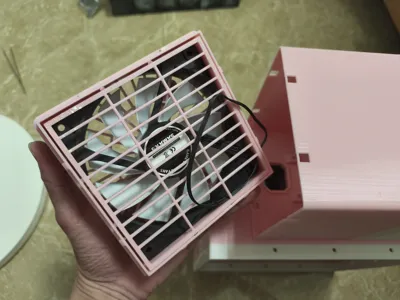
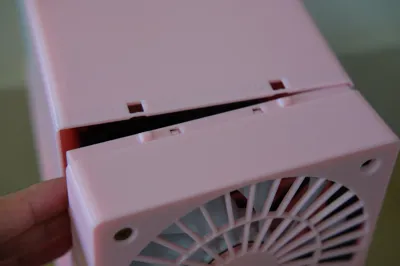
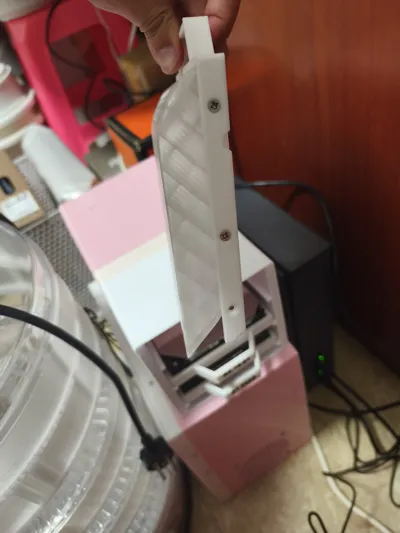
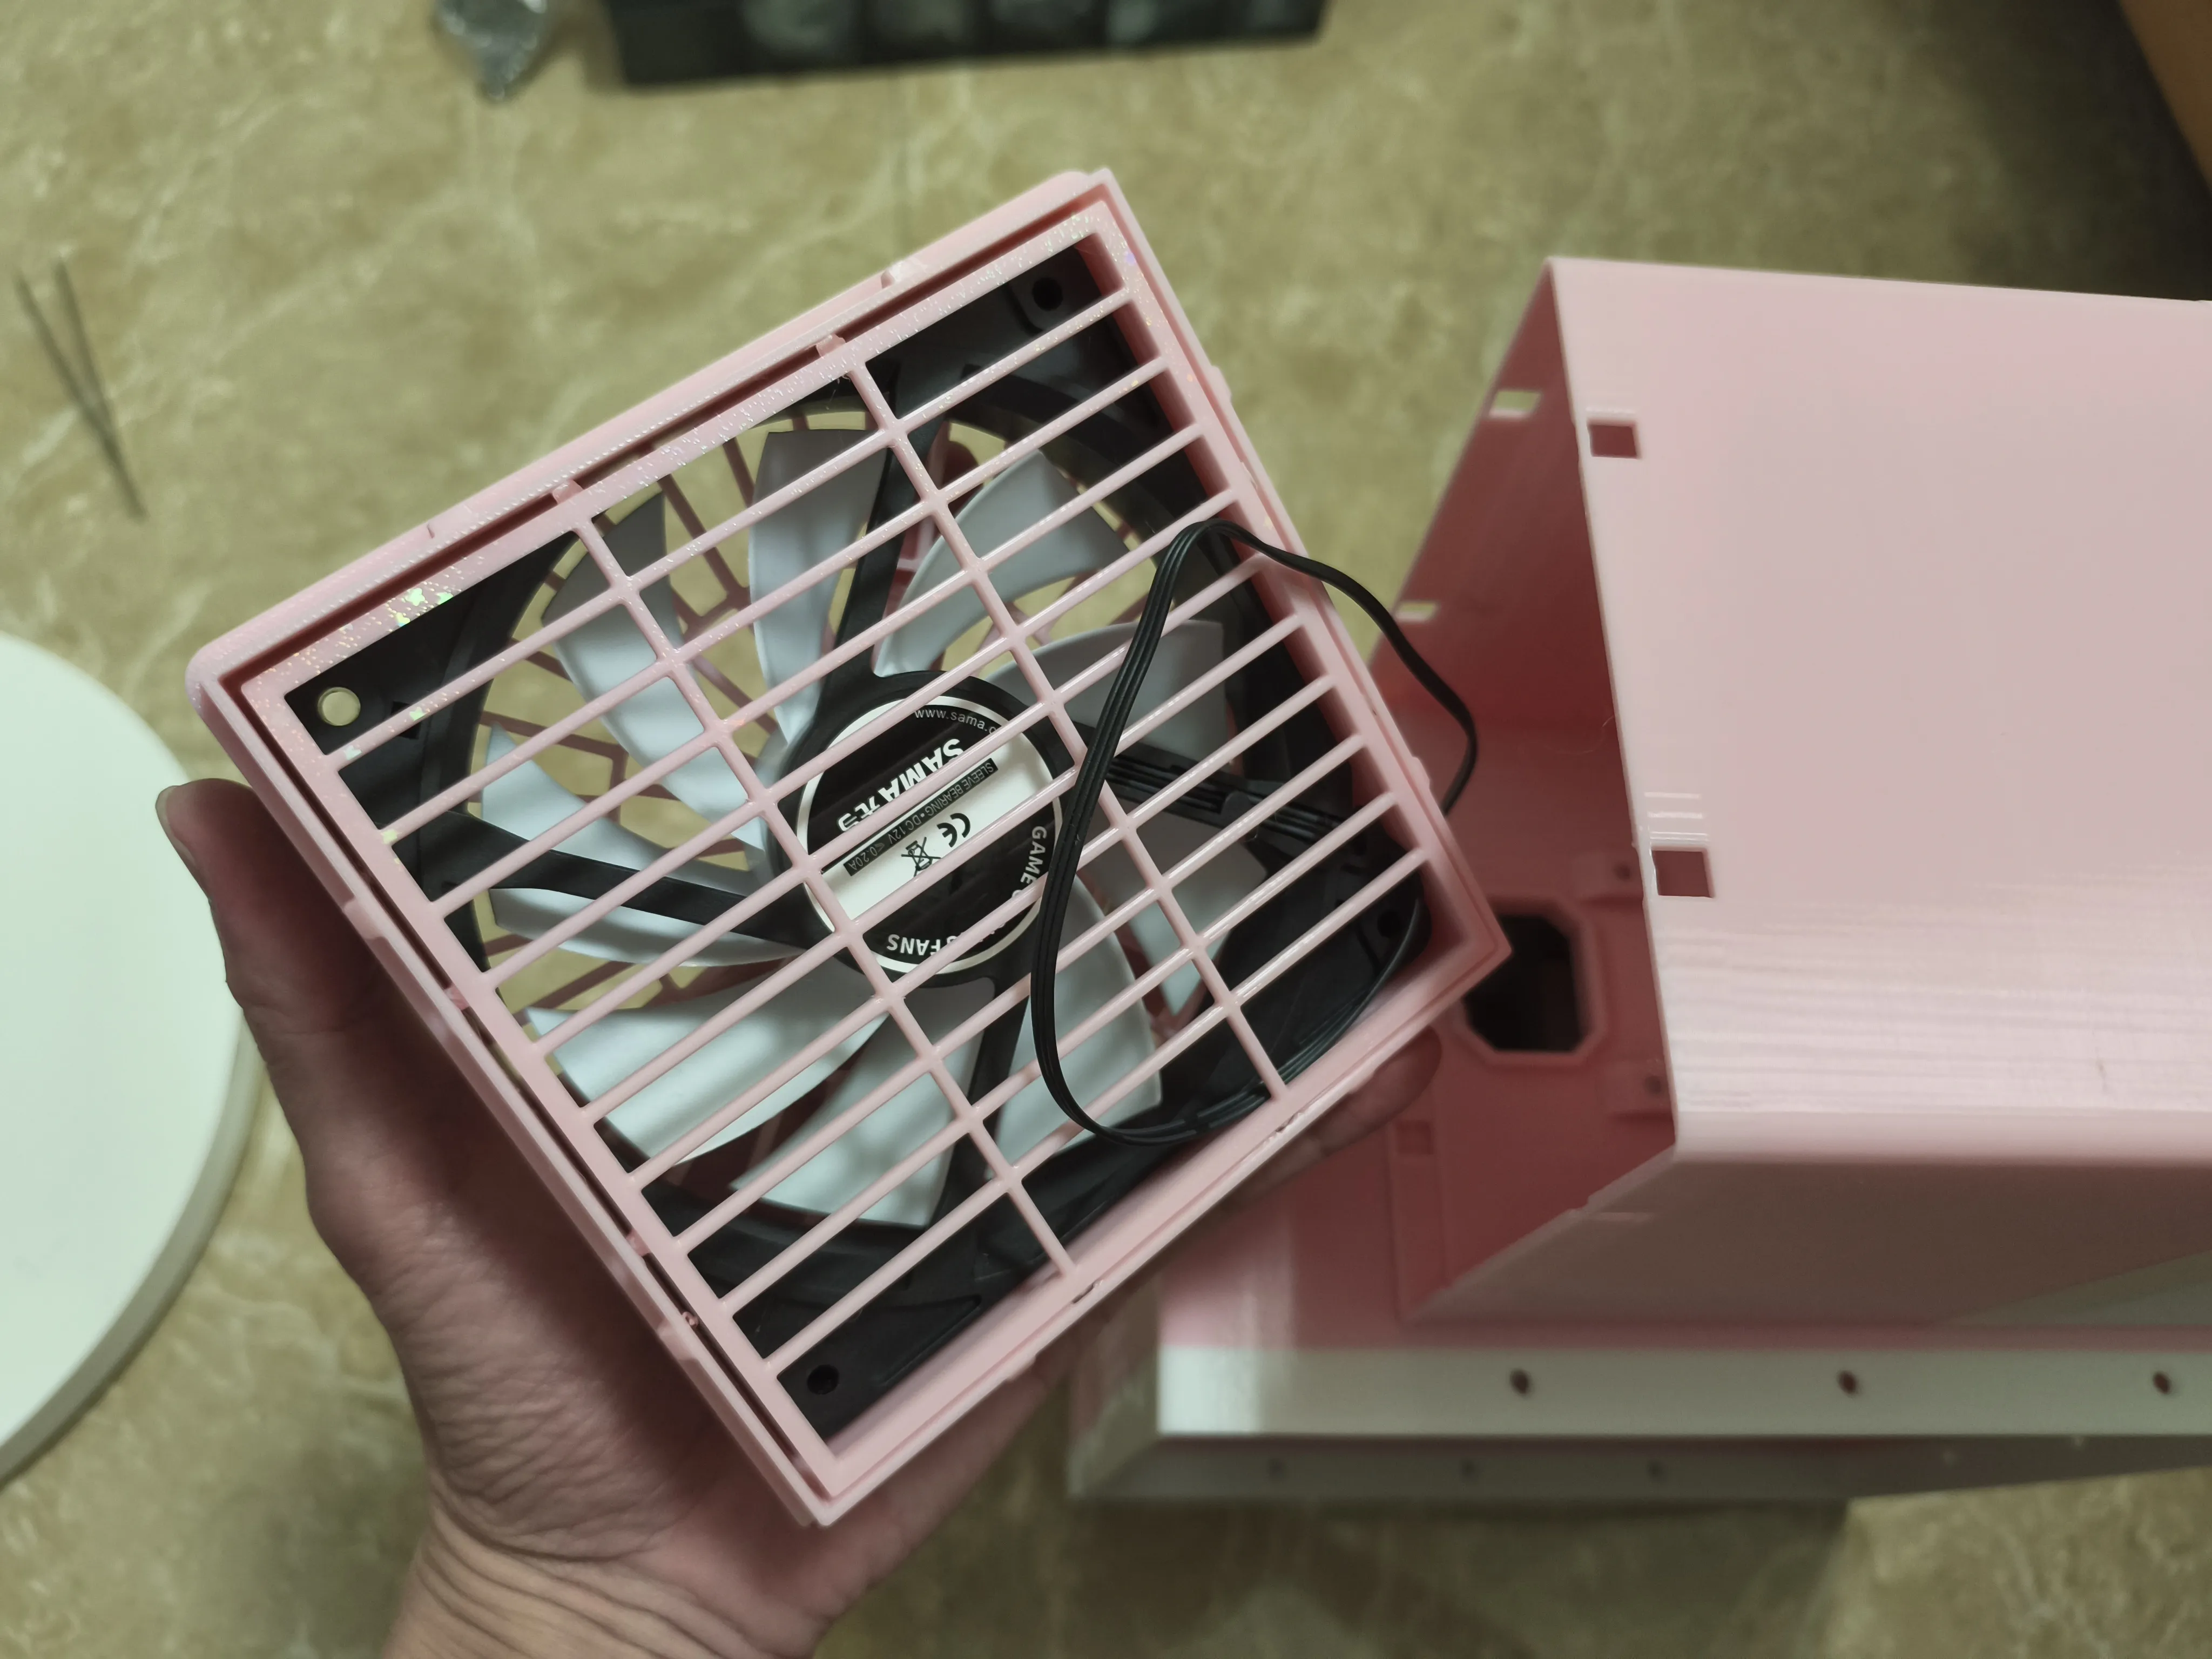
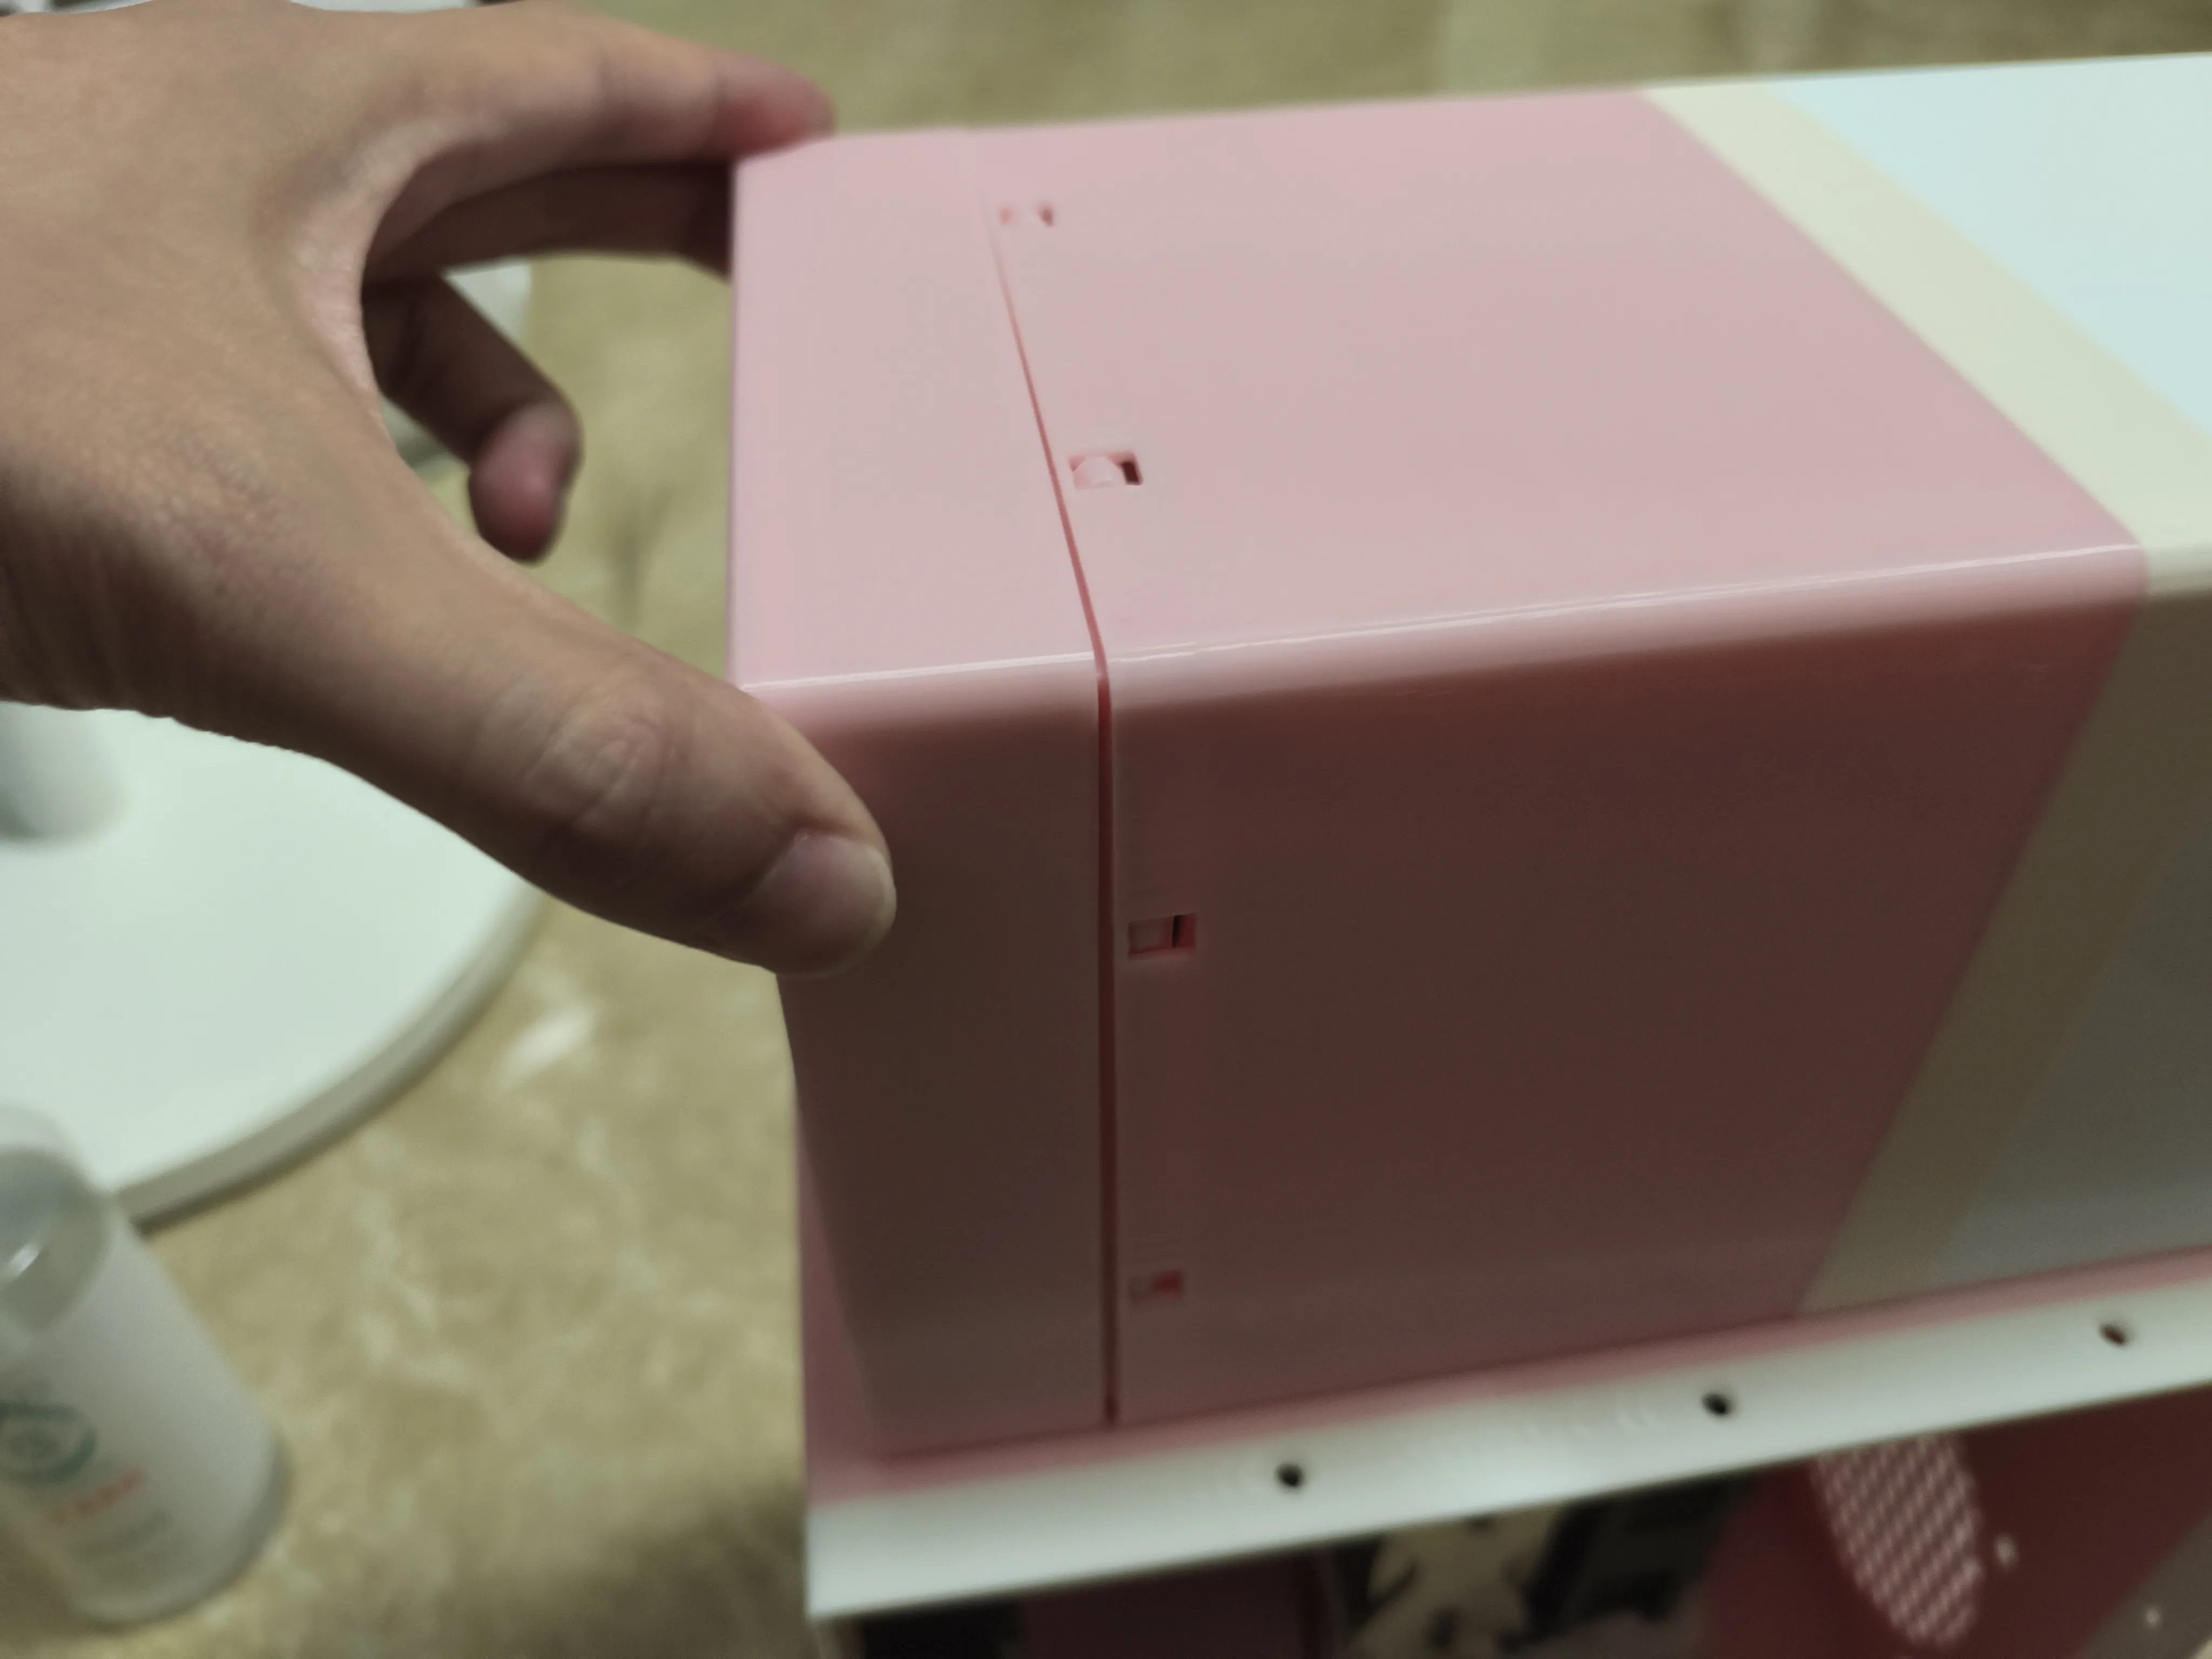
Hard drive enclosure cooling fan installation method: Install the 12cm fan as shown in the figure, securing it to the hard drive enclosure cover using its included screws (or M5 x 12mm screws). Route the fan cable as depicted in the diagram. The fan should be oriented to blow air towards the hard drives. After installing the fan and securing the fan plate, it can be directly snapped into the hard drive enclosure without screws (snap-on quick-release design for convenient wiring).
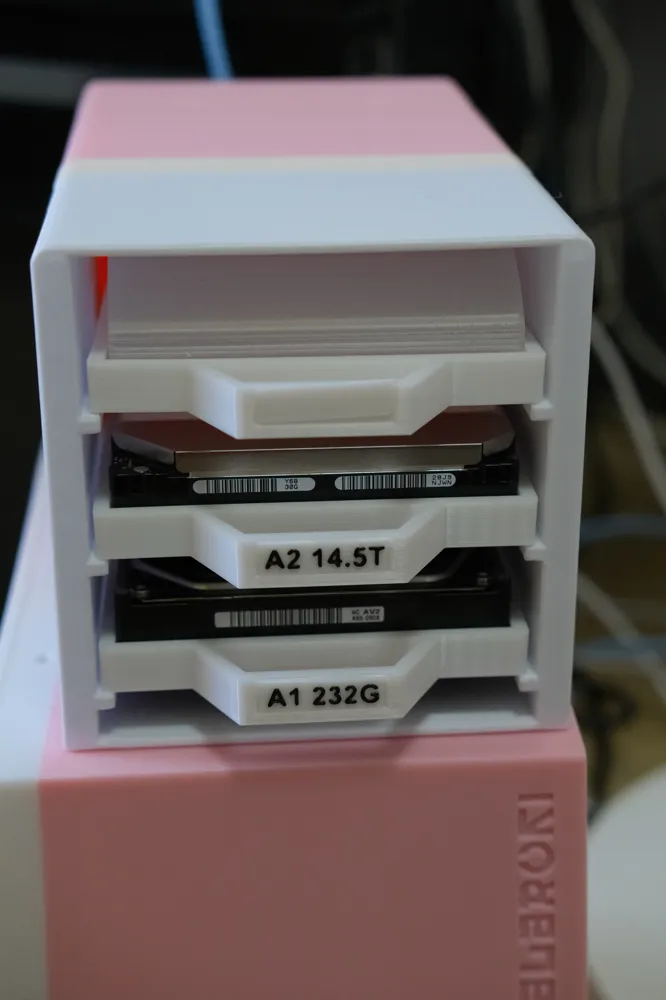
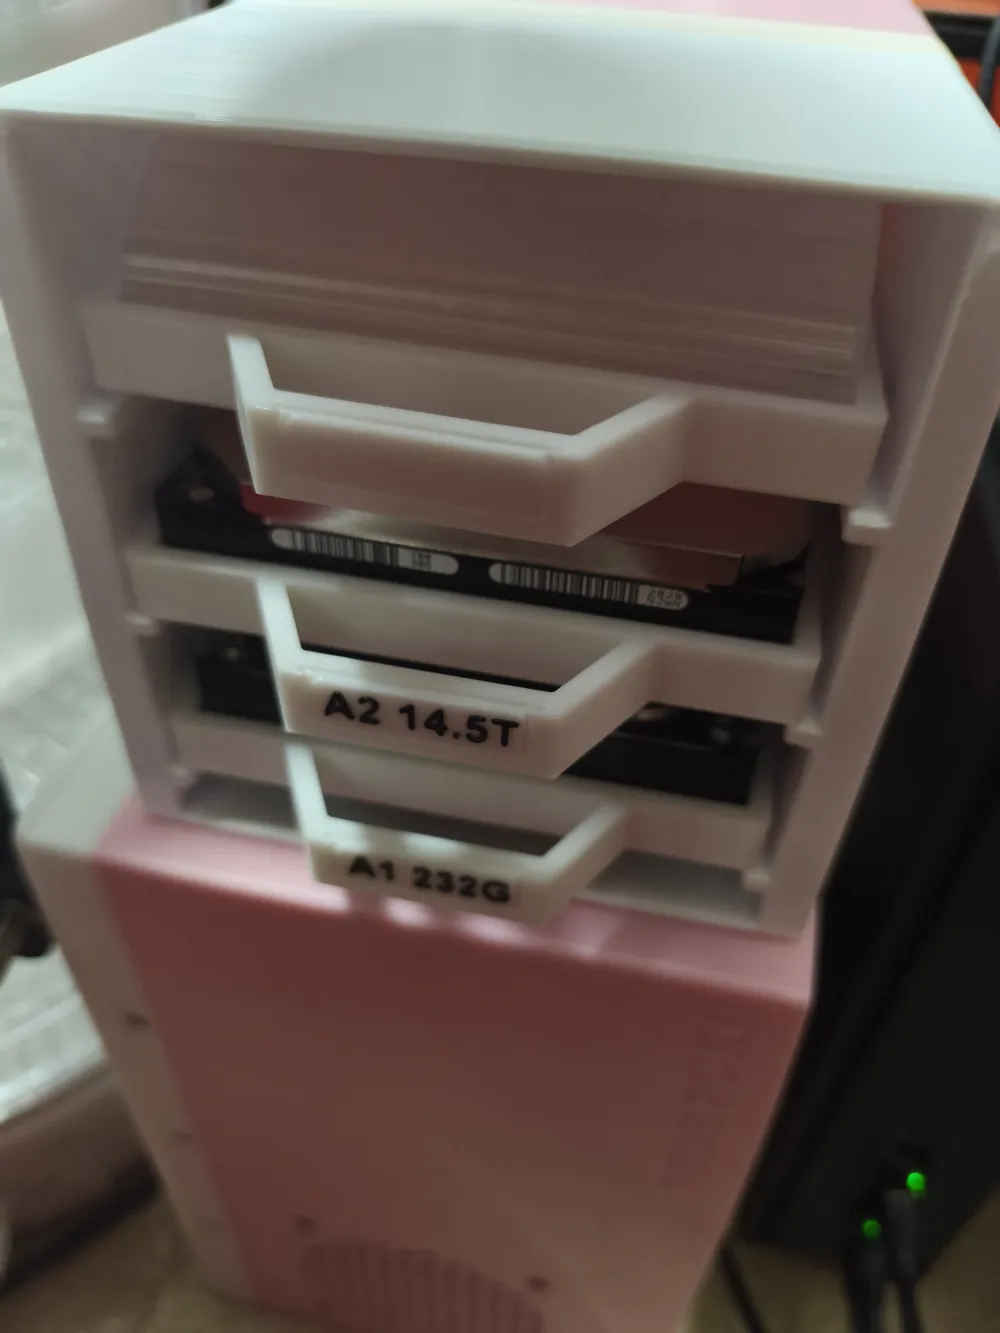
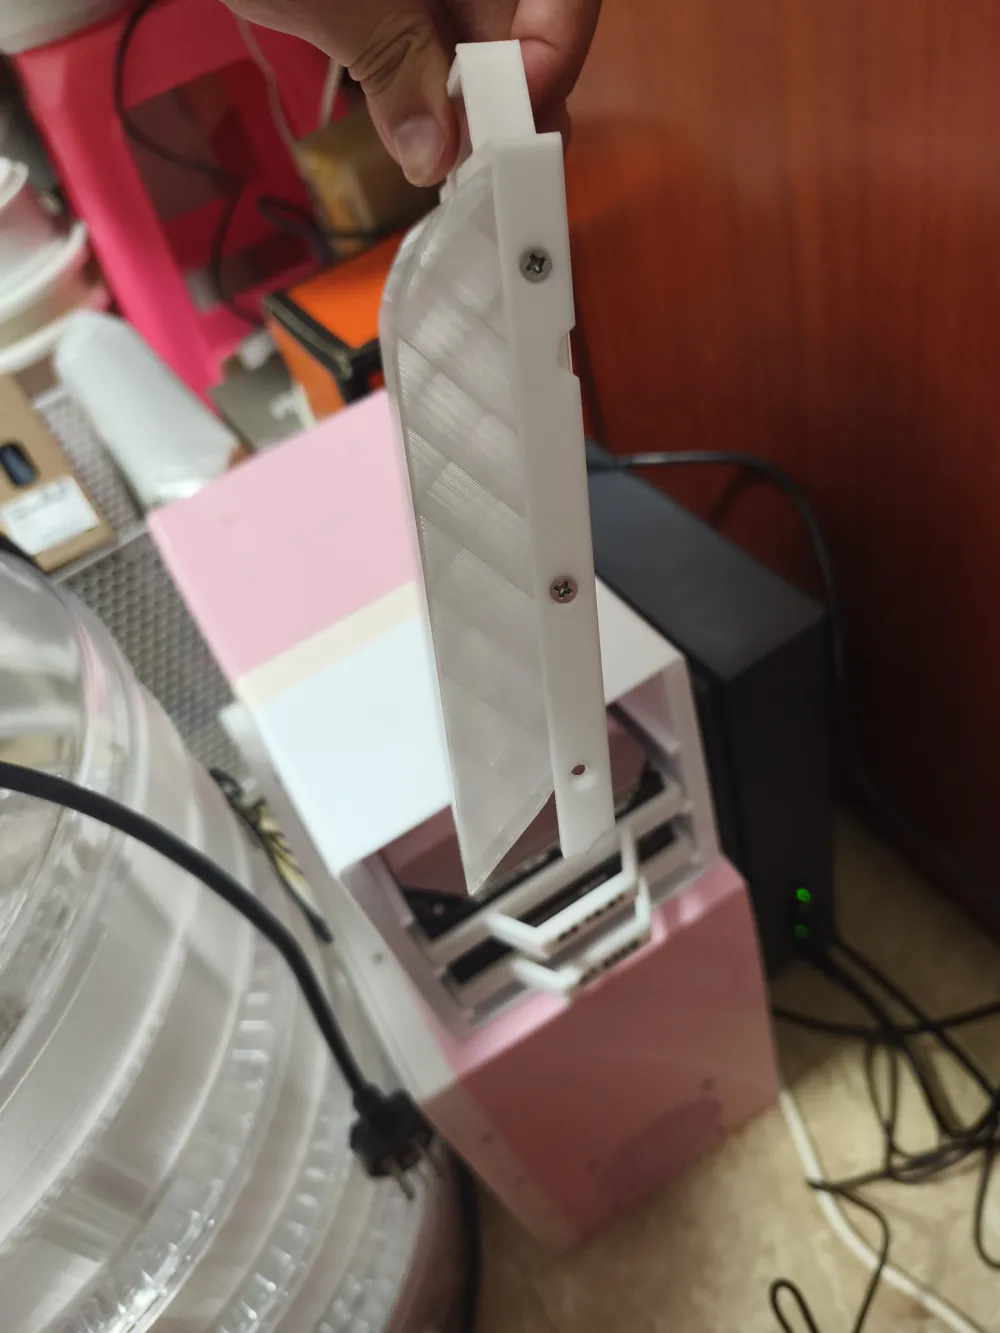
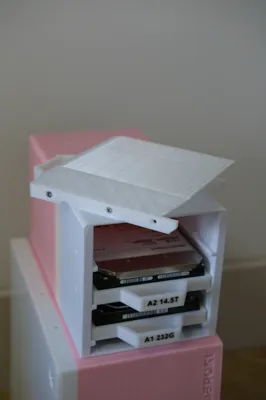
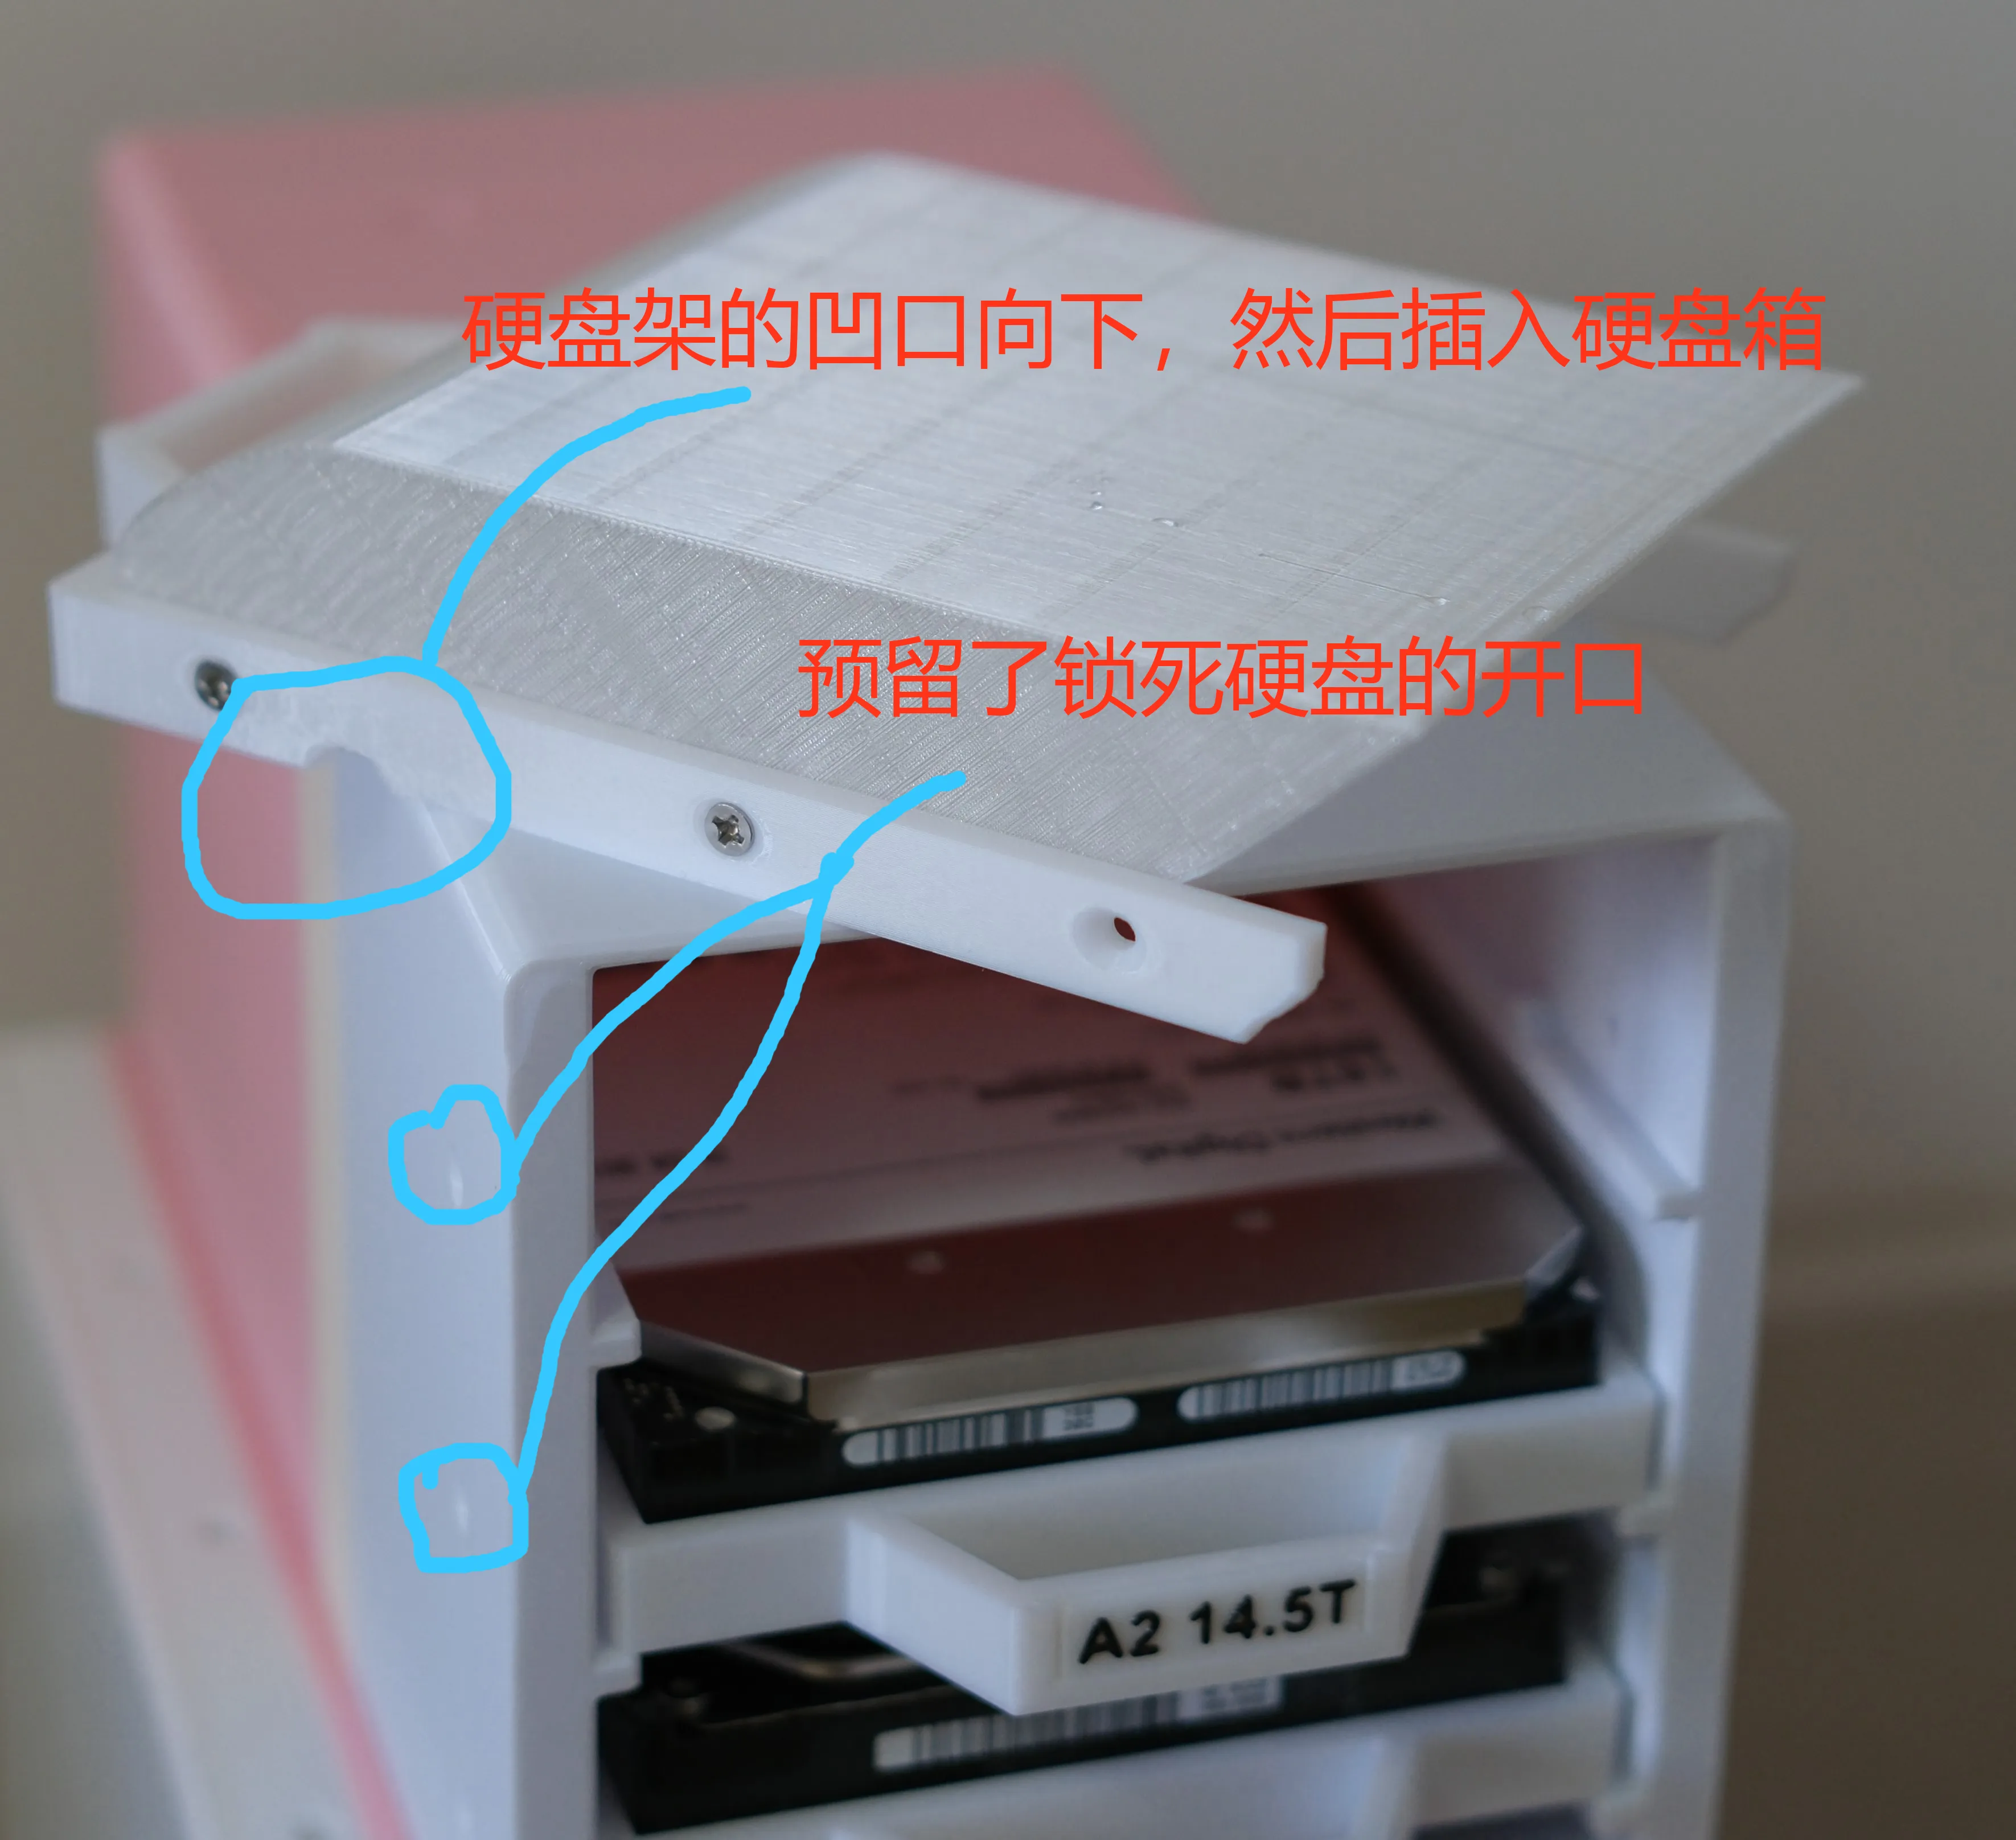
Method for installing the hard drive tray or air guide: Use M3 x 8mm countersunk screws to secure the hard drive/air guide to the hard drive tray. The hard drive's label card can have custom text defined in the slicer software. Then, insert the hard drive tray's notch downwards into the hard drive enclosure, remove the fan section of the hard drive enclosure, and connect the hard drive cables. (Each hard drive bay in the enclosure has a reserved screw hole, allowing you to lock the hard drive with a longer M3 screw, thus preventing the hard drive from falling out due to gravity, even if oriented downwards).
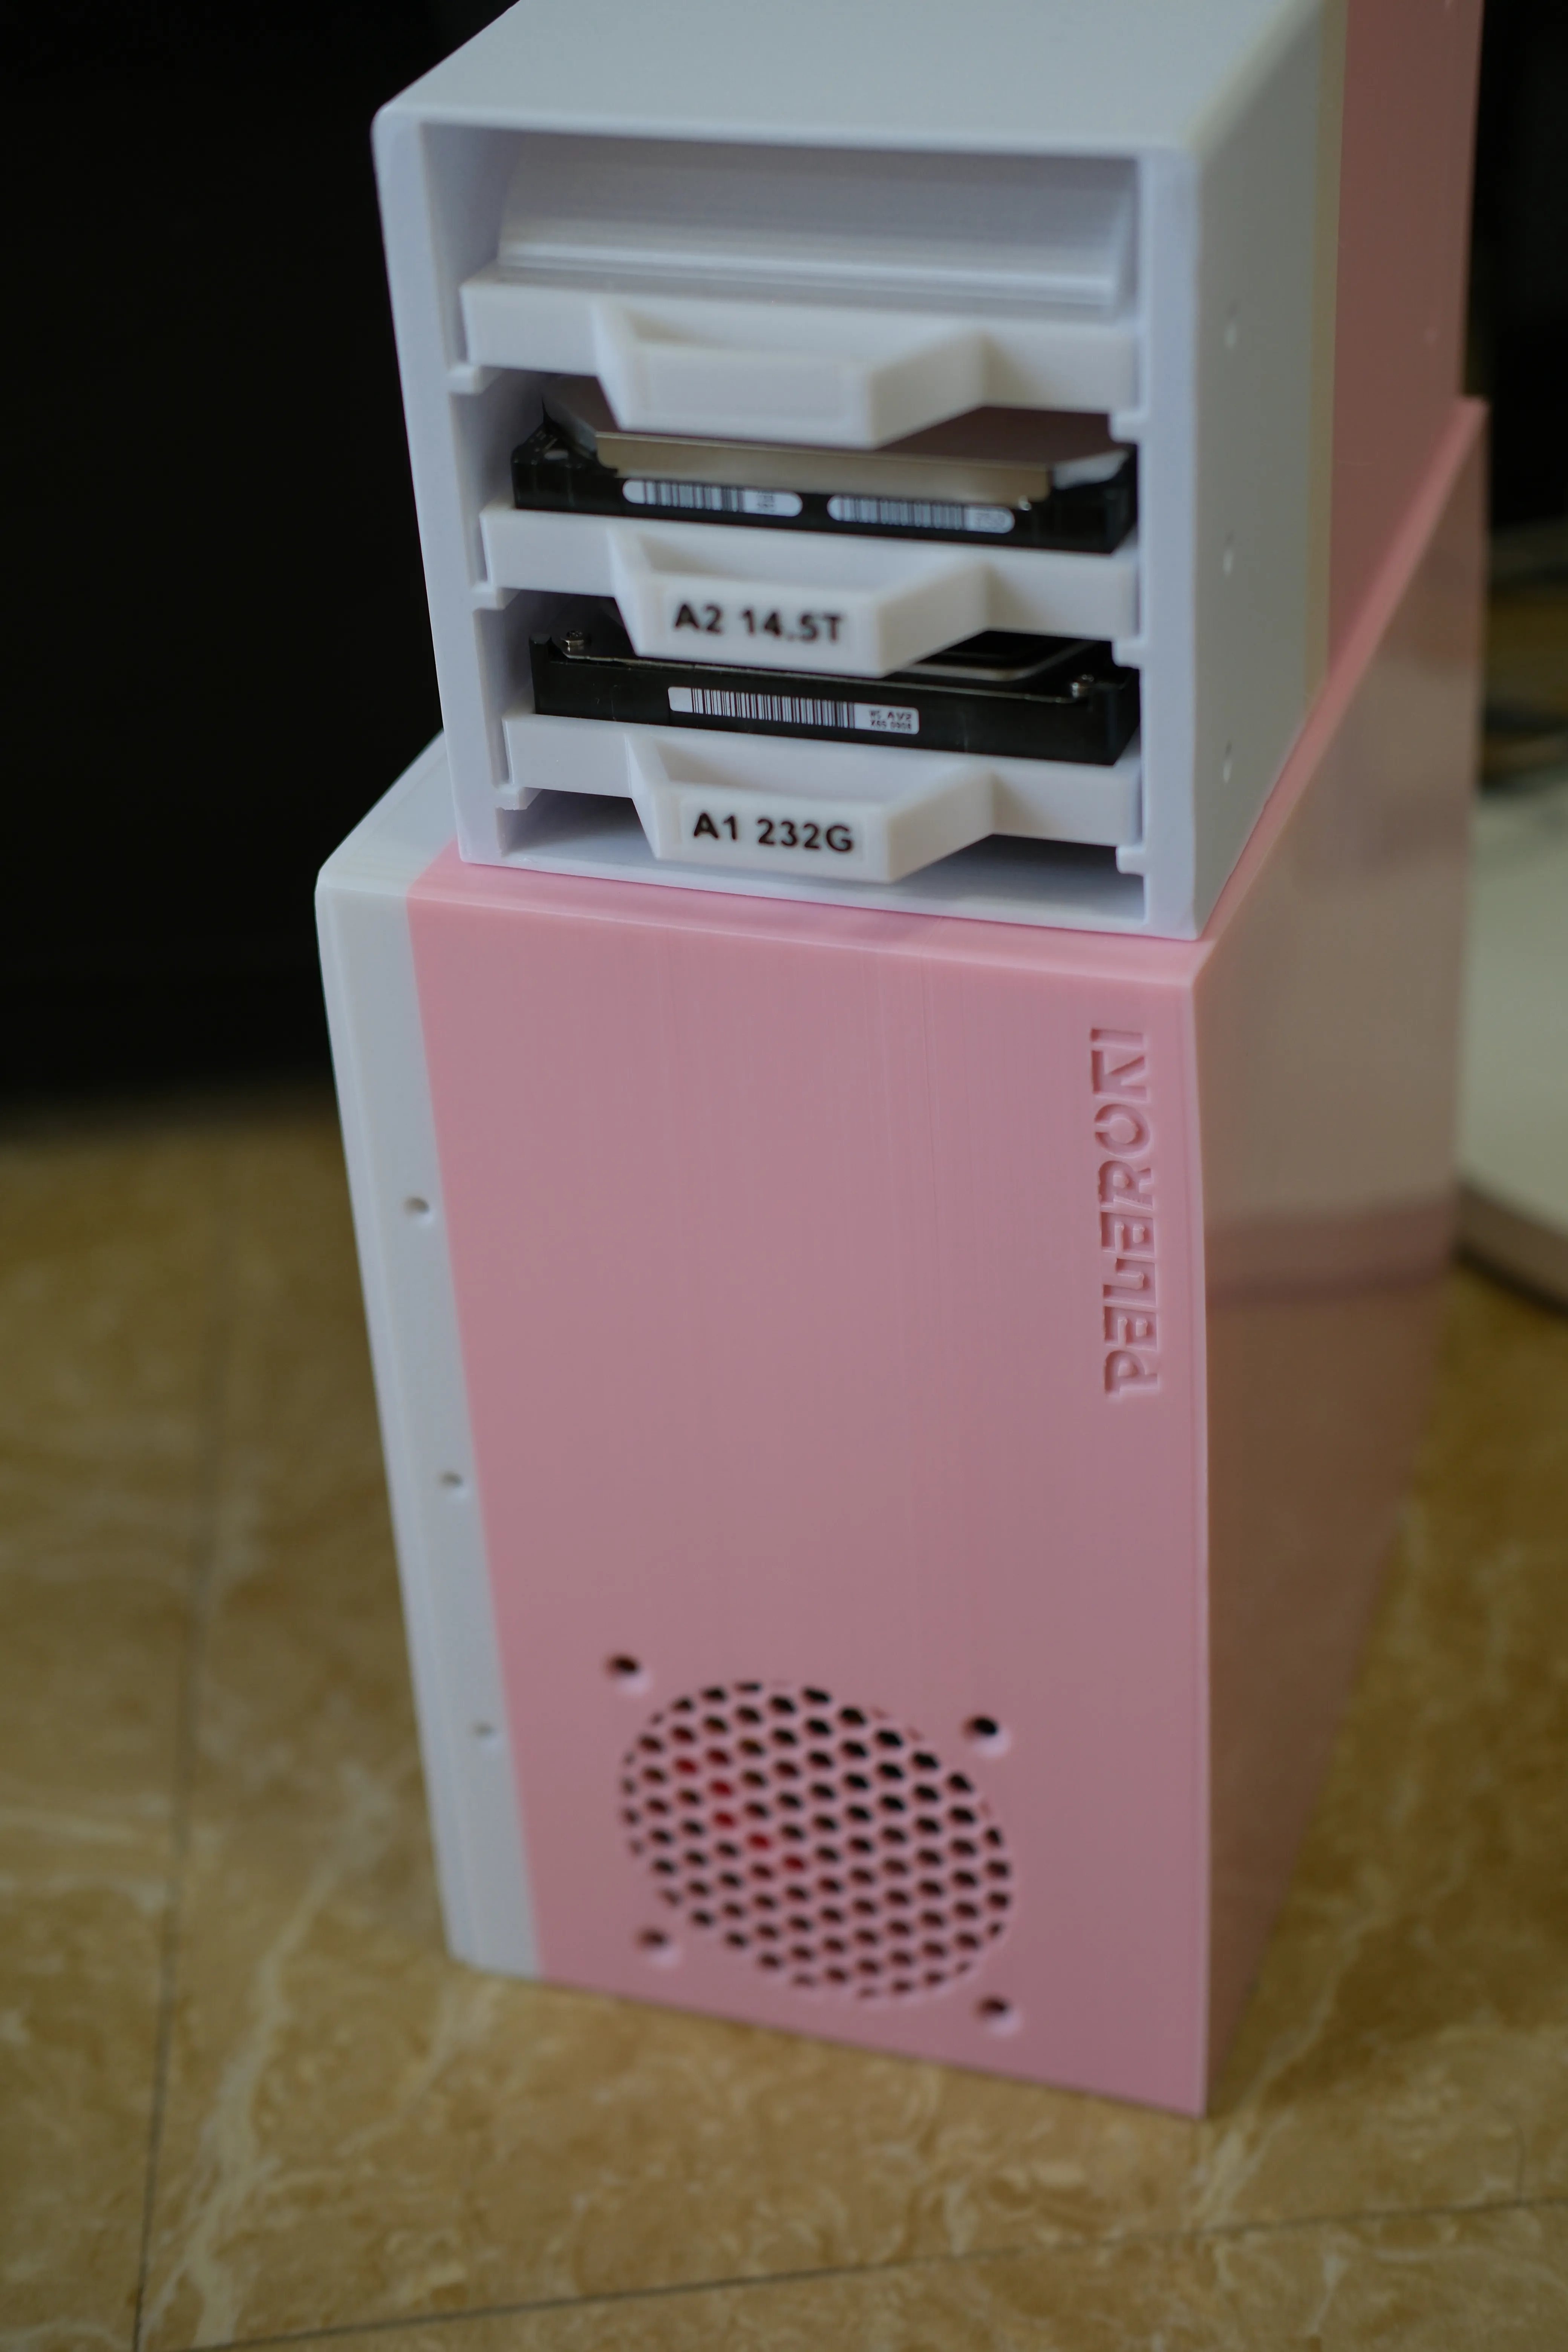
After confirming proper wiring, perform a power-on test. If the test is successful, install the remaining screws to complete the assembly of this NAS chassis.
On a side note:
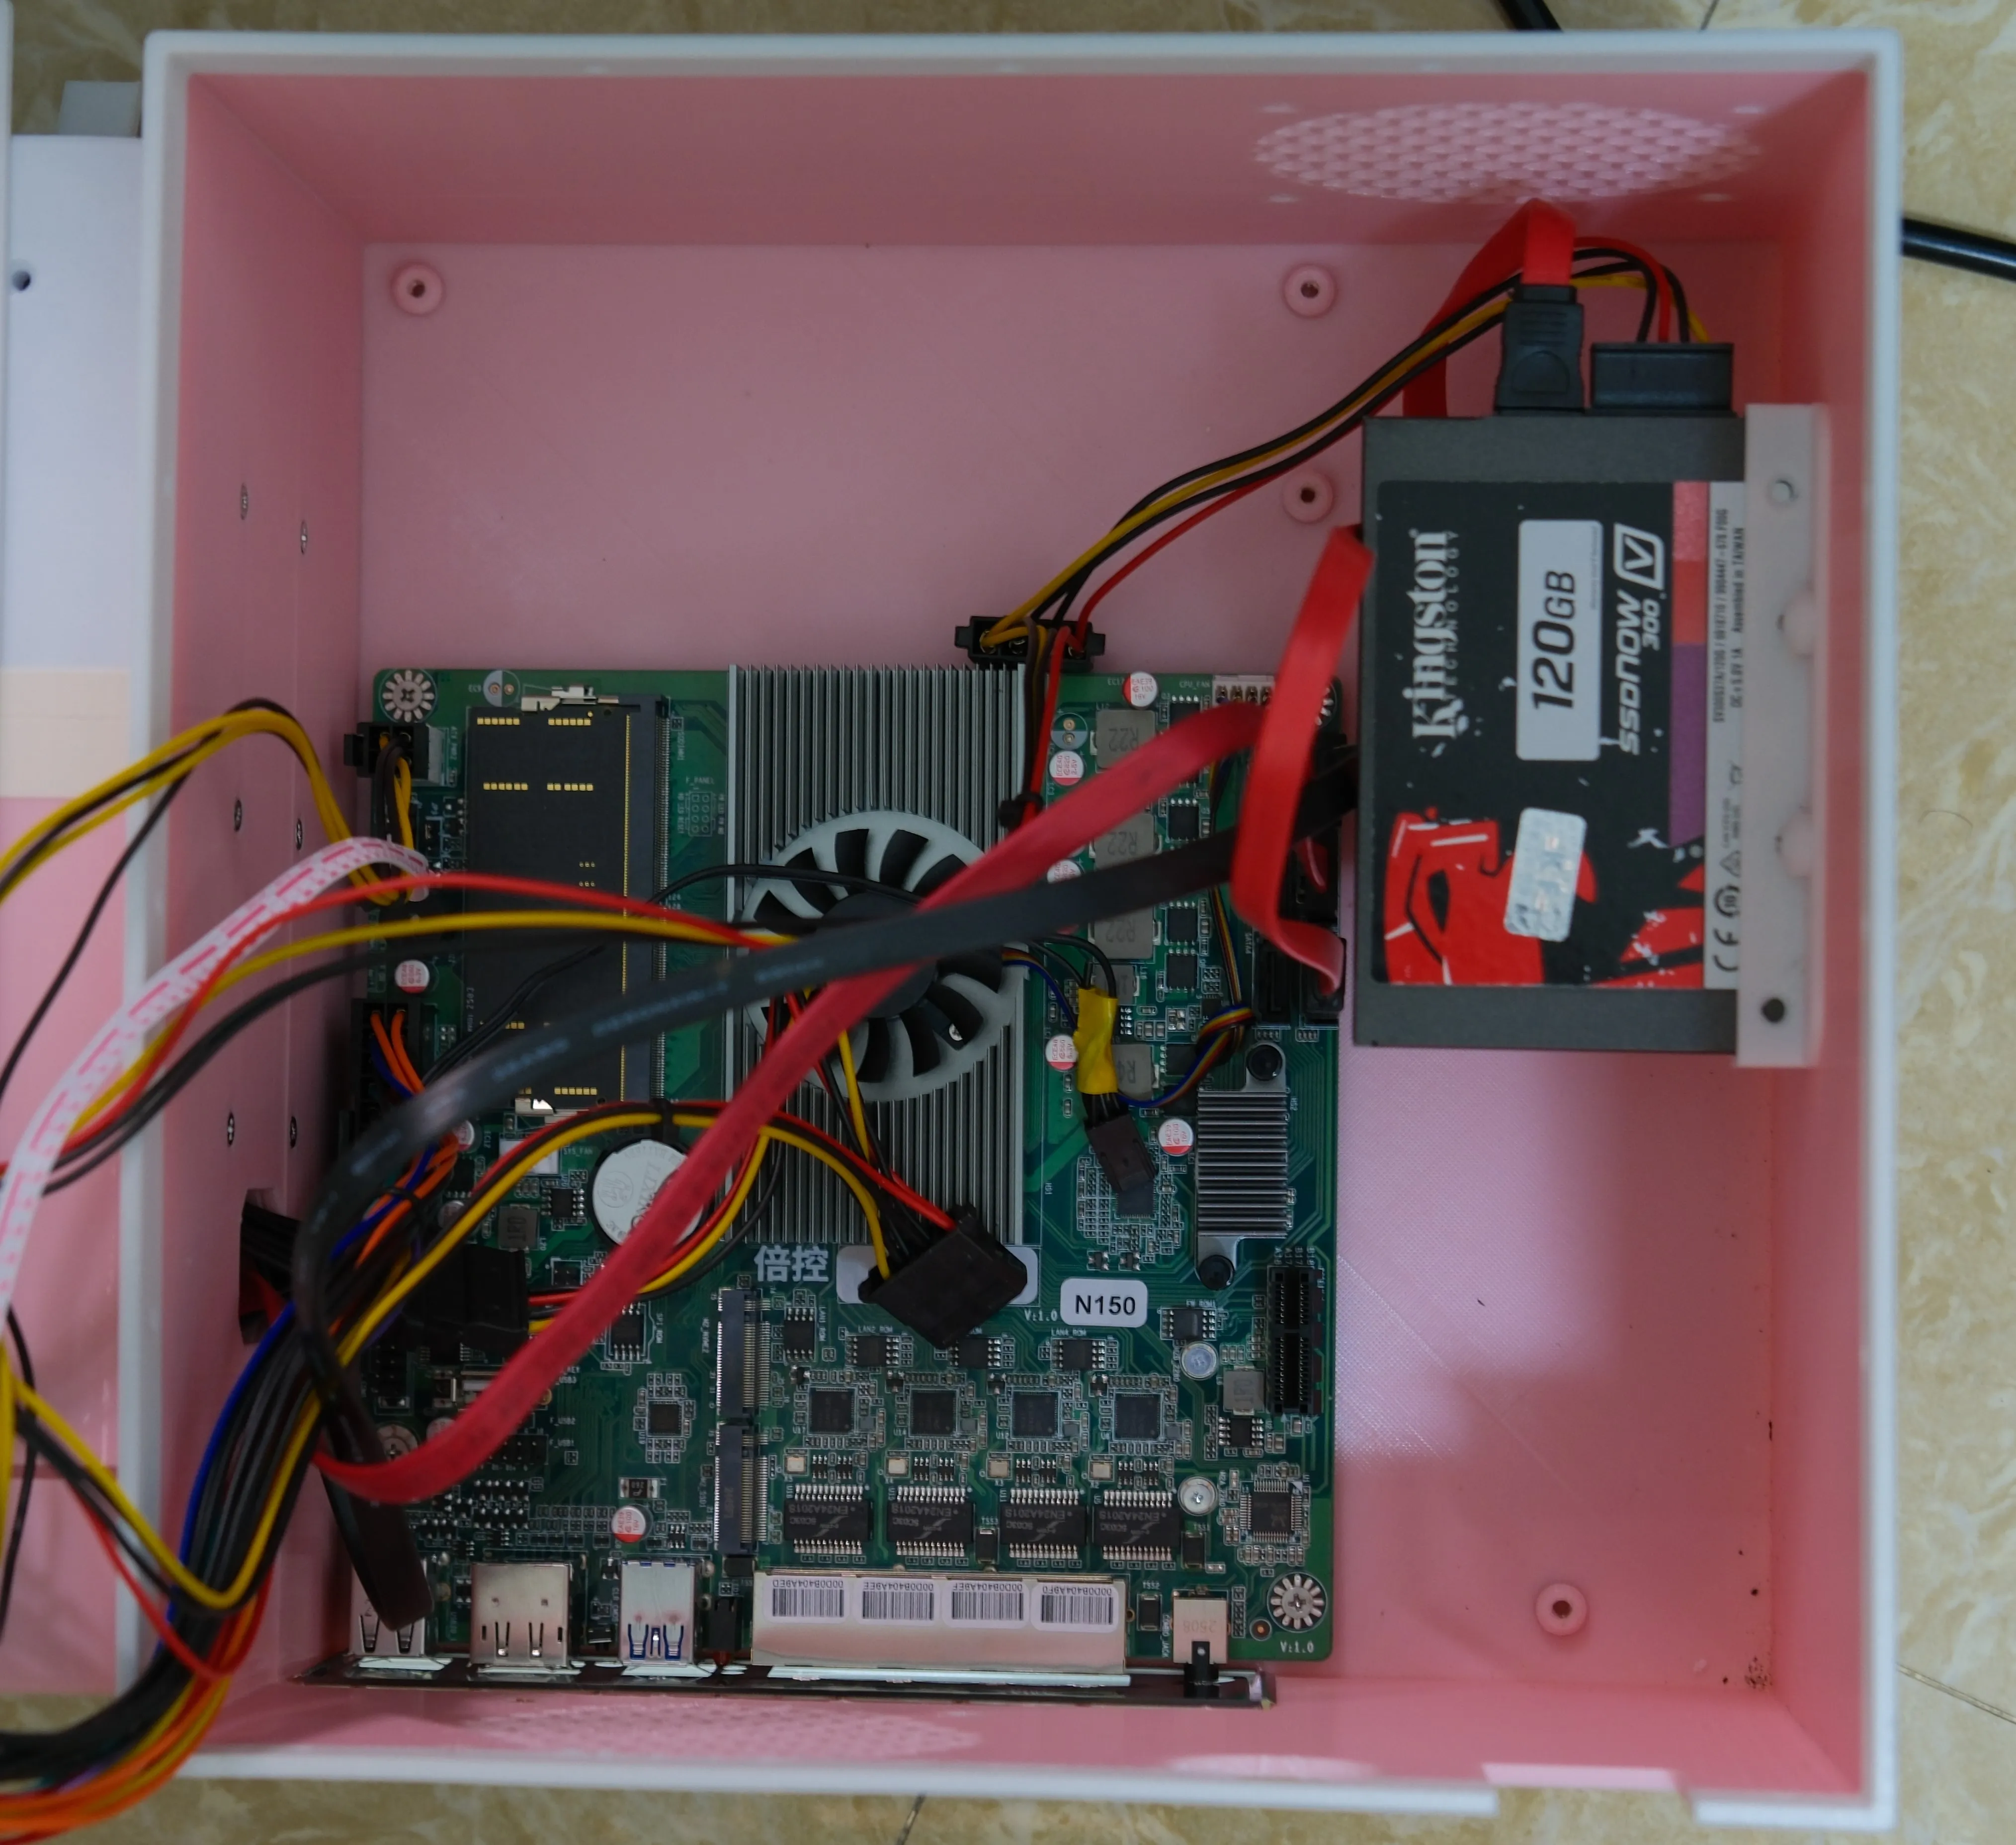
I, the author, originally intended to repurpose an old computer to build a NAS. However, since there were no suitable NAS chassis designs for MATX motherboards on model websites, I had to design this NAS chassis myself for personal use. But one day, after setting up the NAS with my old computer (i5 4590 processor), I played a 4K HDR video (Taylor Swift: The Eras Tour), and it was surprisingly laggy. Upon checking, it turned out this CPU does not support 4K HDR hardware decoding, even though it was a formidable CPU years ago. Inspired by Taylor, I did not hesitate and immediately ordered an N150 industrial motherboard!!! (The image below shows the effect of installing the N150 industrial motherboard (17*17cm)).
- Should you encounter any issues after printing, please feel free to leave a comment, and I will endeavor to improve this NAS chassis with your feedback. Designing is challenging; if you appreciate this chassis, your support is welcome.
Boost Me (for free)
Designing is challenging; if you appreciate this chassis, your support is welcome.
License

You shall not share, sub-license, sell, rent, host, transfer, or distribute in any way the digital or 3D printed versions of this object, nor any other derivative work of this object in its digital or physical format (including - but not limited to - remixes of this object, and hosting on other digital platforms). The objects may not be used without permission in any way whatsoever in which you charge money, or collect fees.


Comment & Rating (1)