
Under desk brackets for drawer slides
Print Profile(1)

Bill of Materials



- 6mm M3 T-nut x 3: At least three per aluminium extrusion. Make sure the nuts you get match the datasheet of your extrusions.
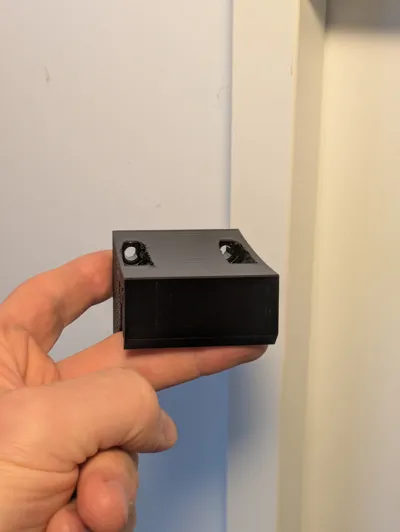
- 6mm wood screws x 4: Four per printed bracket.
Description
Boost Me (for free)
Although the design is simple, it took many iterations and hours to complete. If you appreciate the effort, consider boosting the model or downloading/liking it! Thank you for checking out my work!
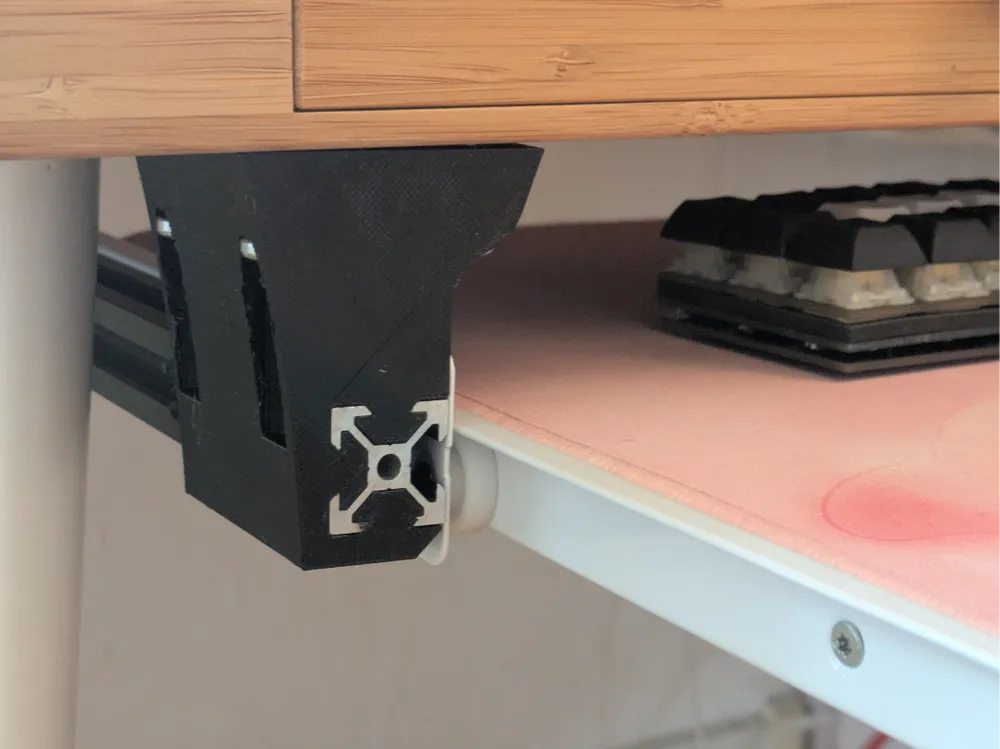
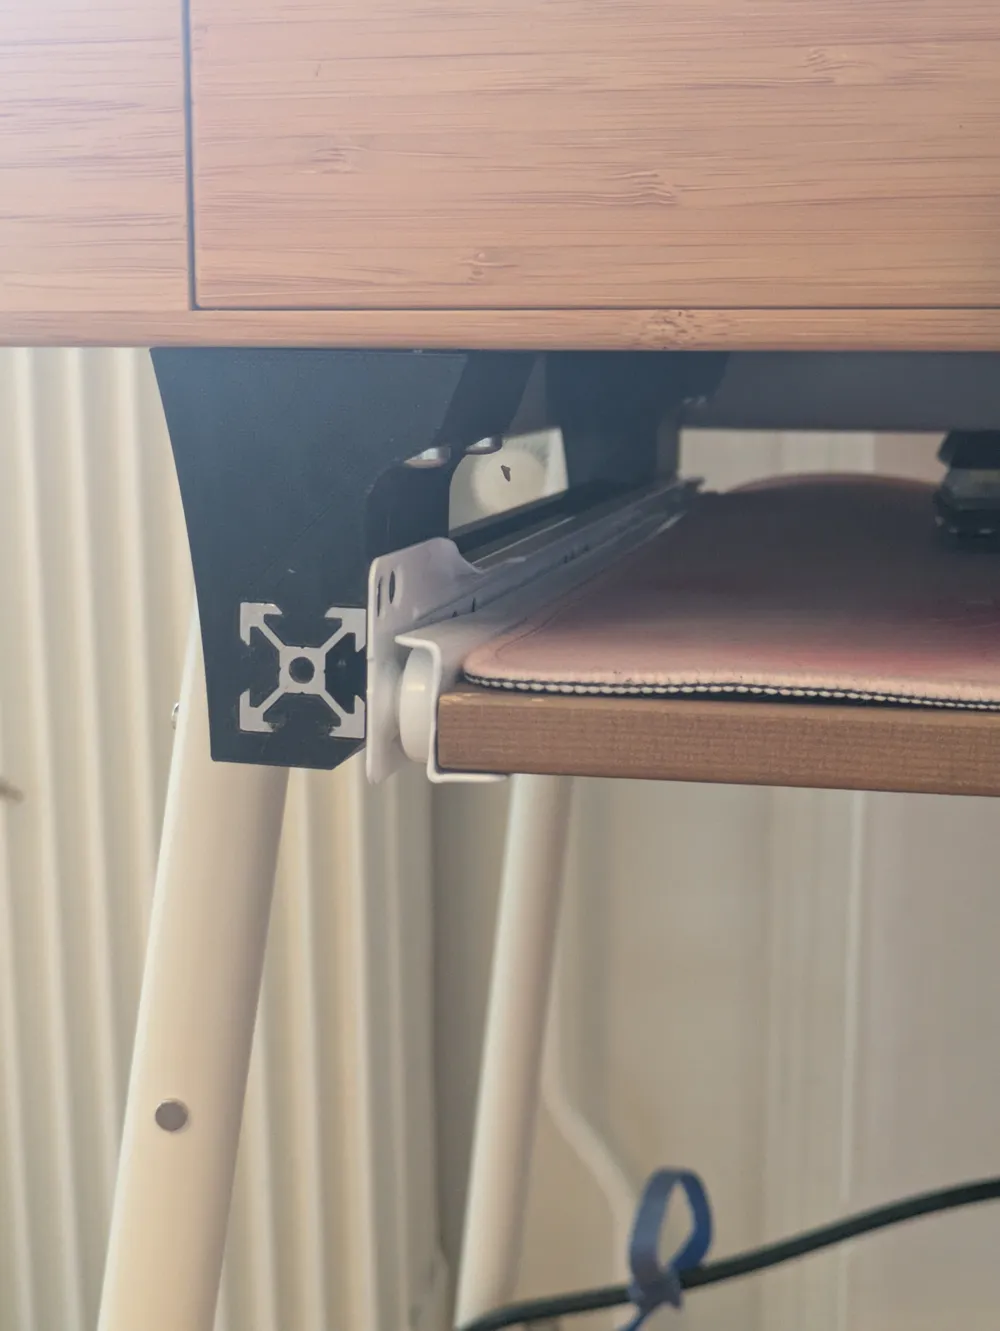
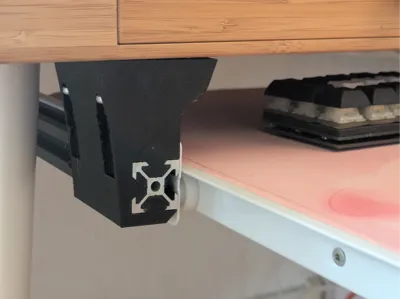
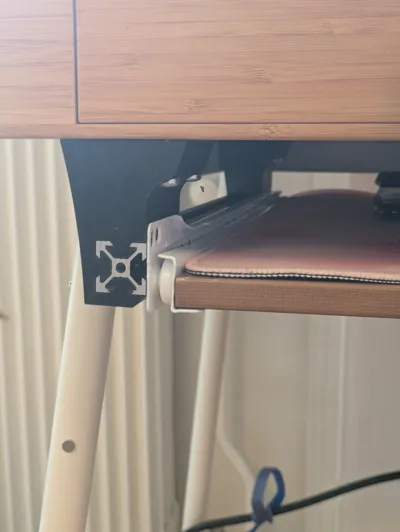
For mounting trays, drawers, etc under tables and desks!
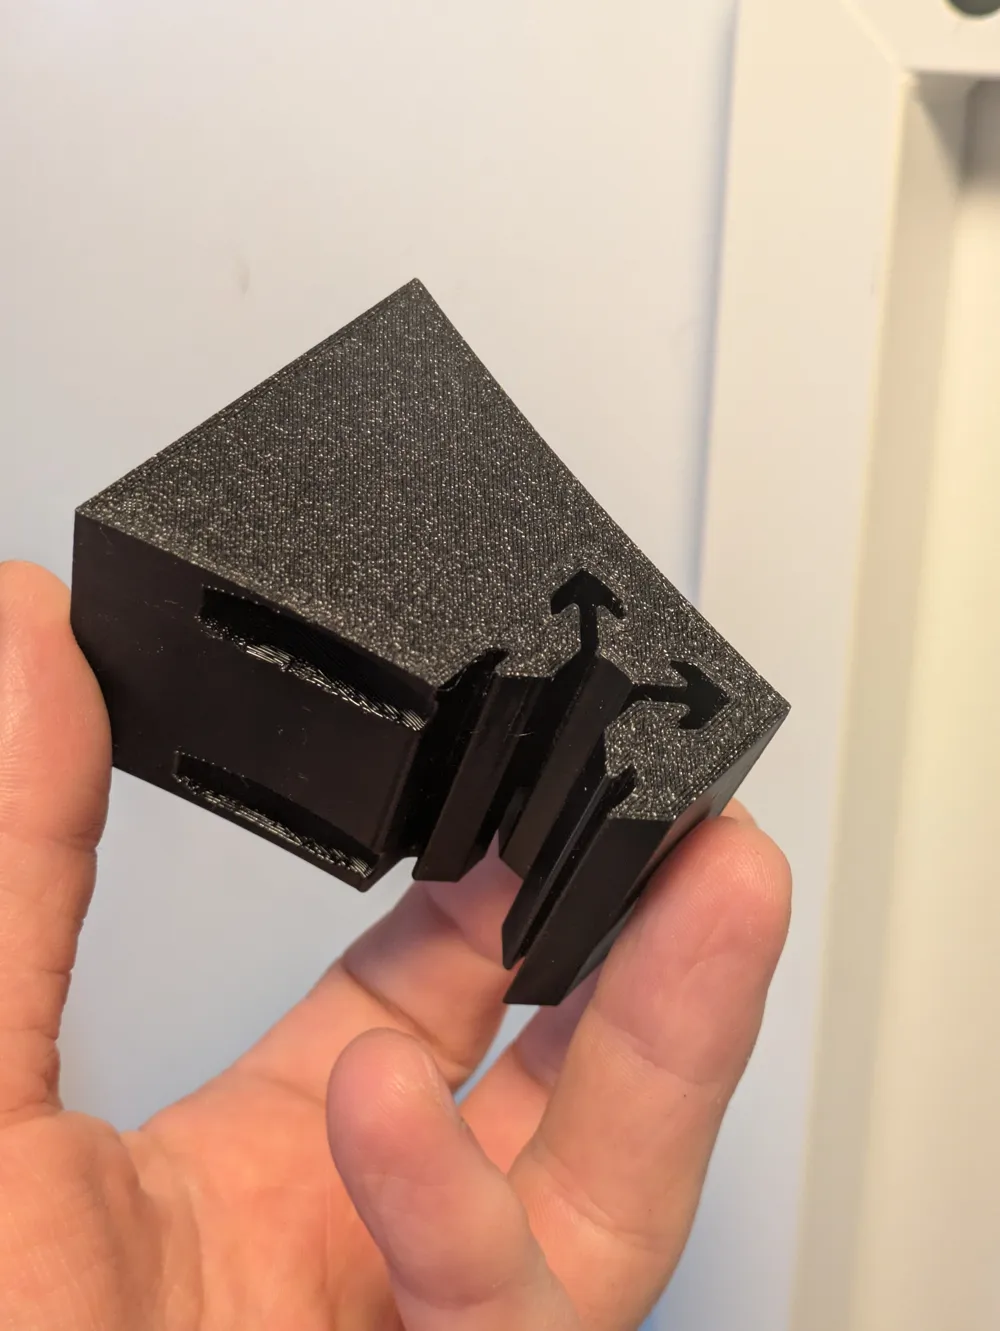
Note that not all 2020 aluminium extrusions are made equal, and different vendors typically have slightly different measurements to each other. This model is specifically made to fit the 2020 V-slot extrusions found in an Ender 3 3D printer. Let me know if you want other profiles and I can upload them to the print profiles.
Print orientation - IMPORTANT
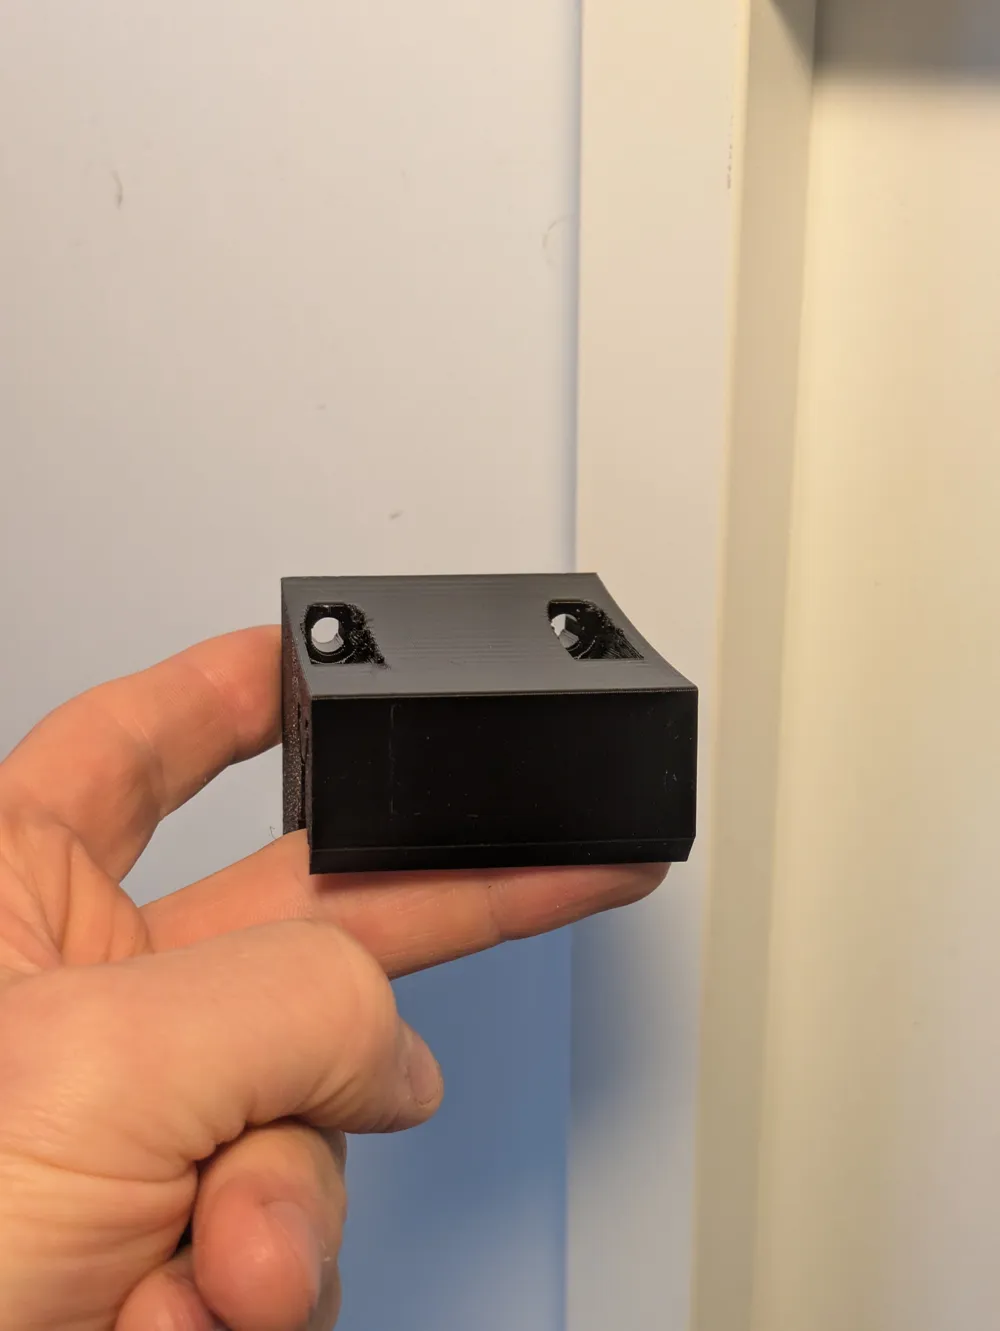
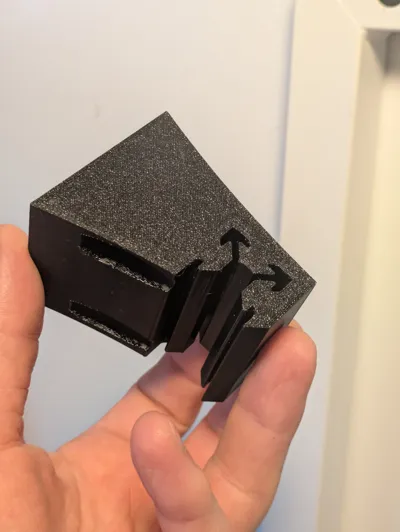
Please print the brackets on their side, that way the layer lines of the print will be aligned with the forces holding the trays or drawers in place. Printing the brackets with the face of the extrusion hole facing the buildplate will result in a much weaker print.
Hardware needed
| Amount | Item |
| 4 psc/bracket | 5mm wood screws. Length will vary depending on the table you're mounting them on |
| 3 or more pairs per extrusion | M3 T-nuts and countersunk M3x6mm screws. |
| 1 pair | Drawer sliders. I used these from a local (Swedish) hardware chain. Any sliders are probably going to work just fine for this application.
|
.
Assembly instructions
| Step | Instruction | |
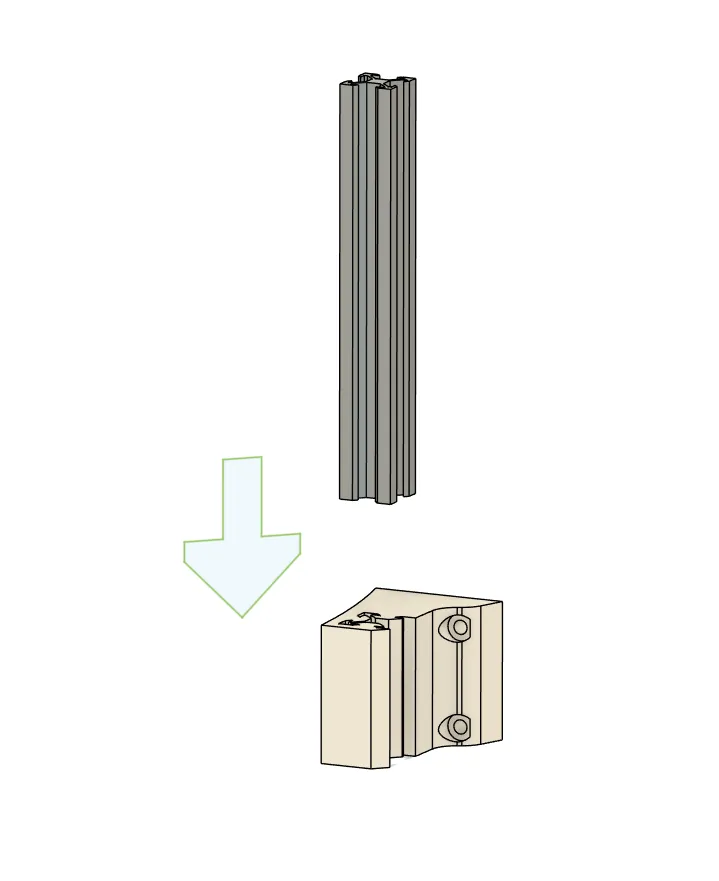
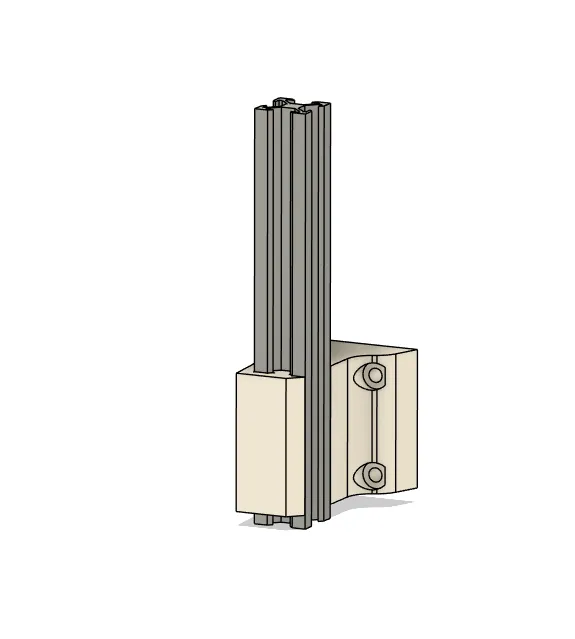
| 1 | Slide the 2020 extrusions into the printed brackets. It is an intentionally tight fit, as the extrusions are held together with friction, no hardware is needed to secure them in place. |
|
| 2 | Mount the sliders onto the extrusions using T-nuts and countersunk M3 screws. | |
| 3 | Drill the assembled extrusions and printed brackets to the underside of a desk or table. | |
| 4 | Instert your drawer or keyboard tray and enjoy a more ergonomic desk experience. |
License

You shall not share, sub-license, sell, rent, host, transfer, or distribute in any way the digital or 3D printed versions of this object, nor any other derivative work of this object in its digital or physical format (including - but not limited to - remixes of this object, and hosting on other digital platforms). The objects may not be used without permission in any way whatsoever in which you charge money, or collect fees.


Comment & Rating (0)